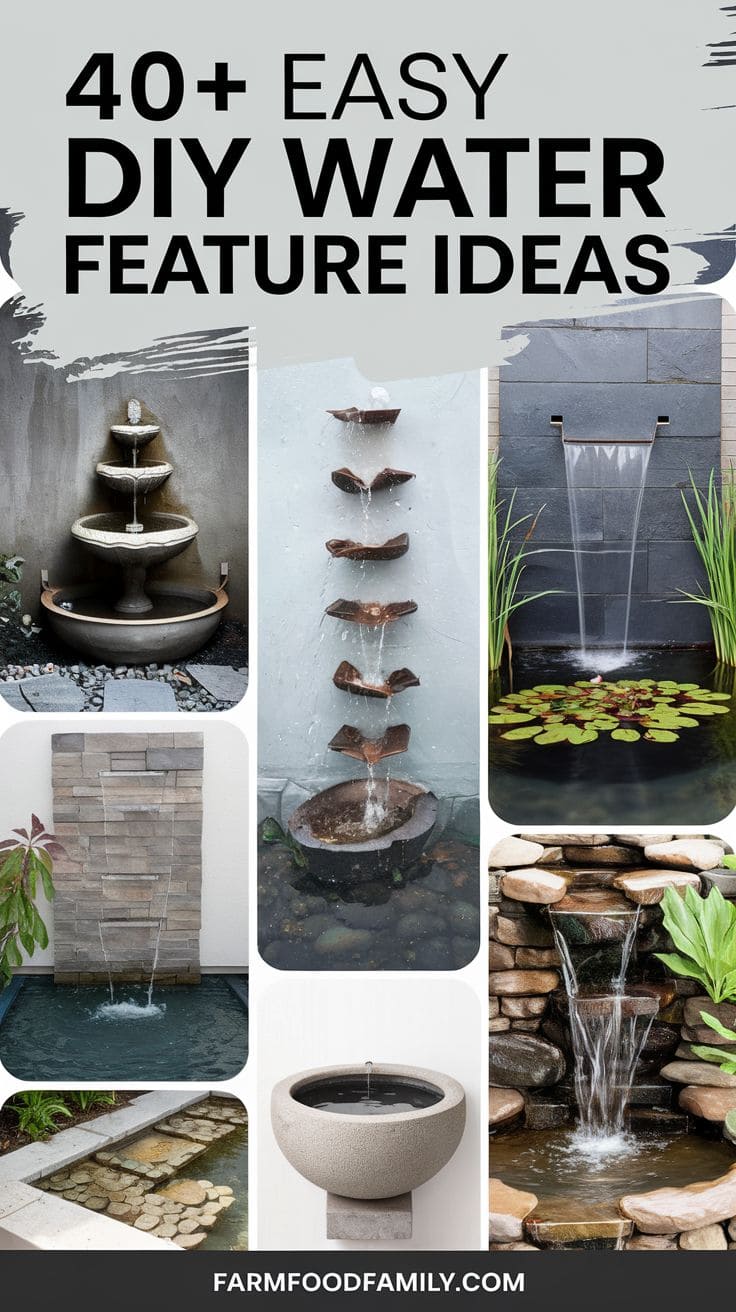
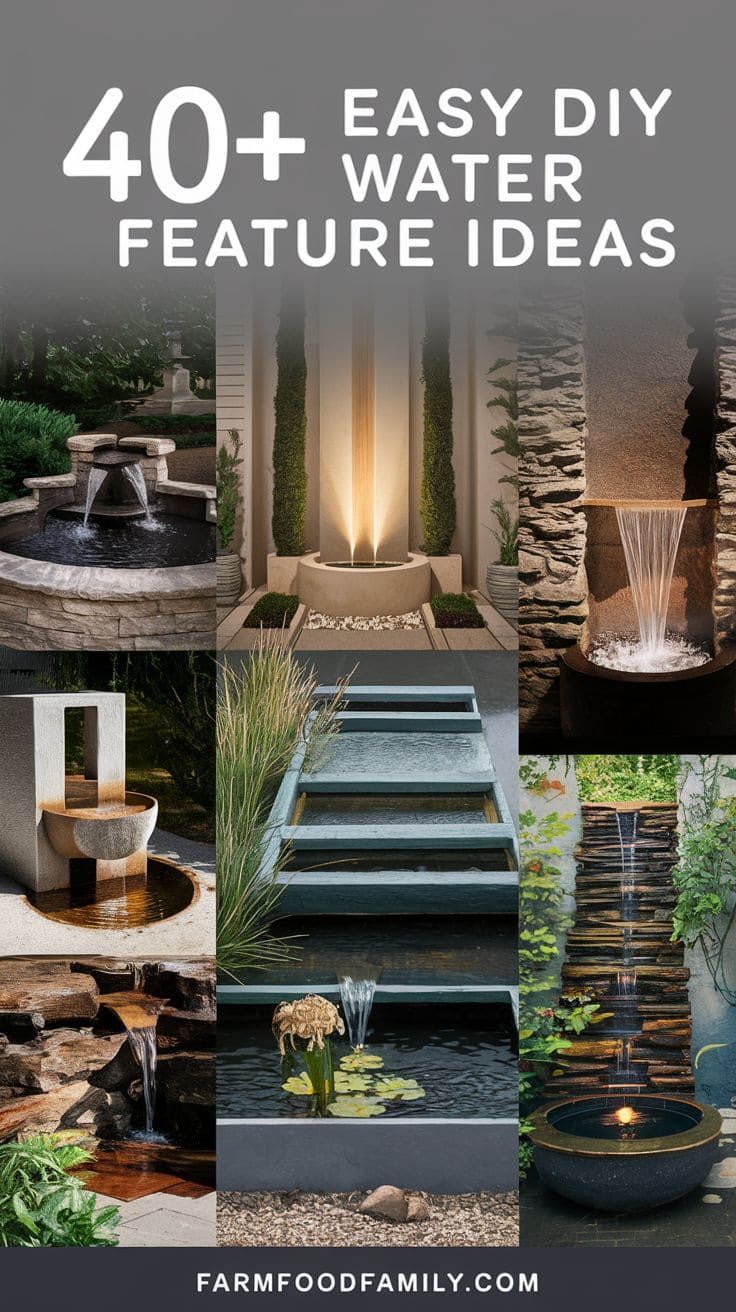
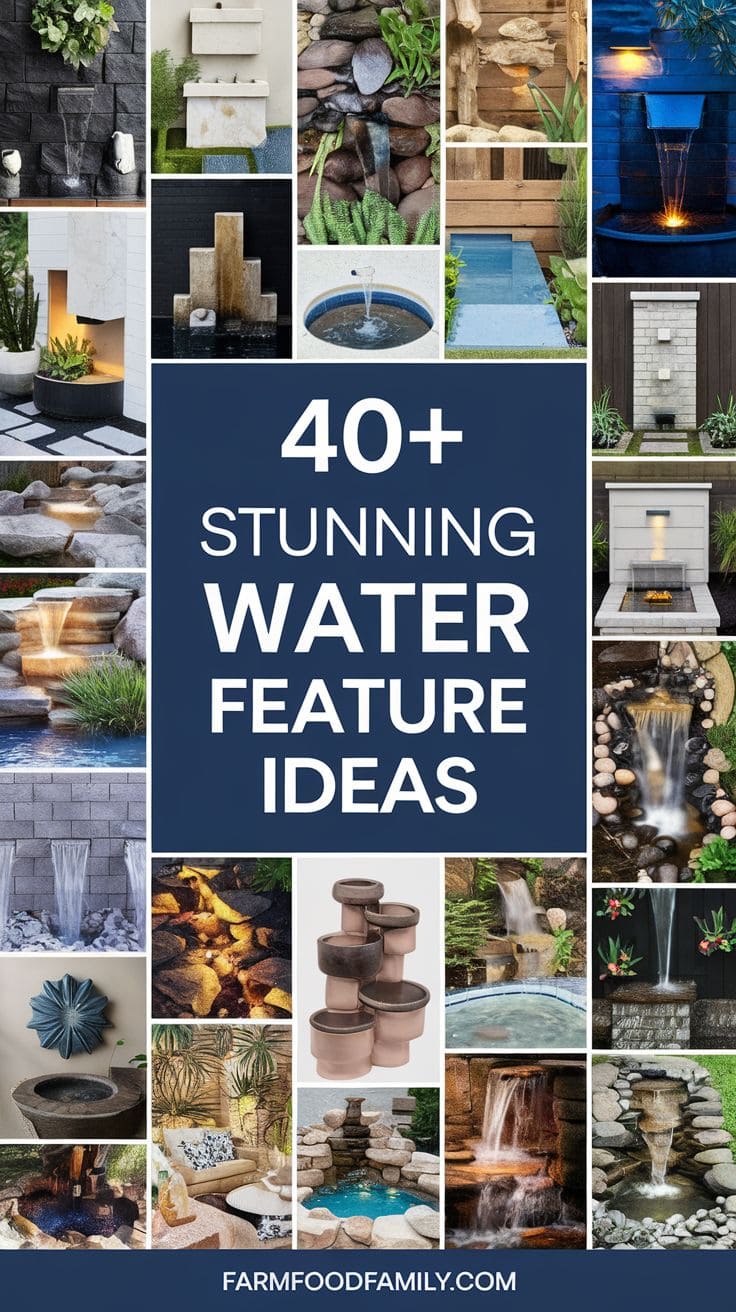
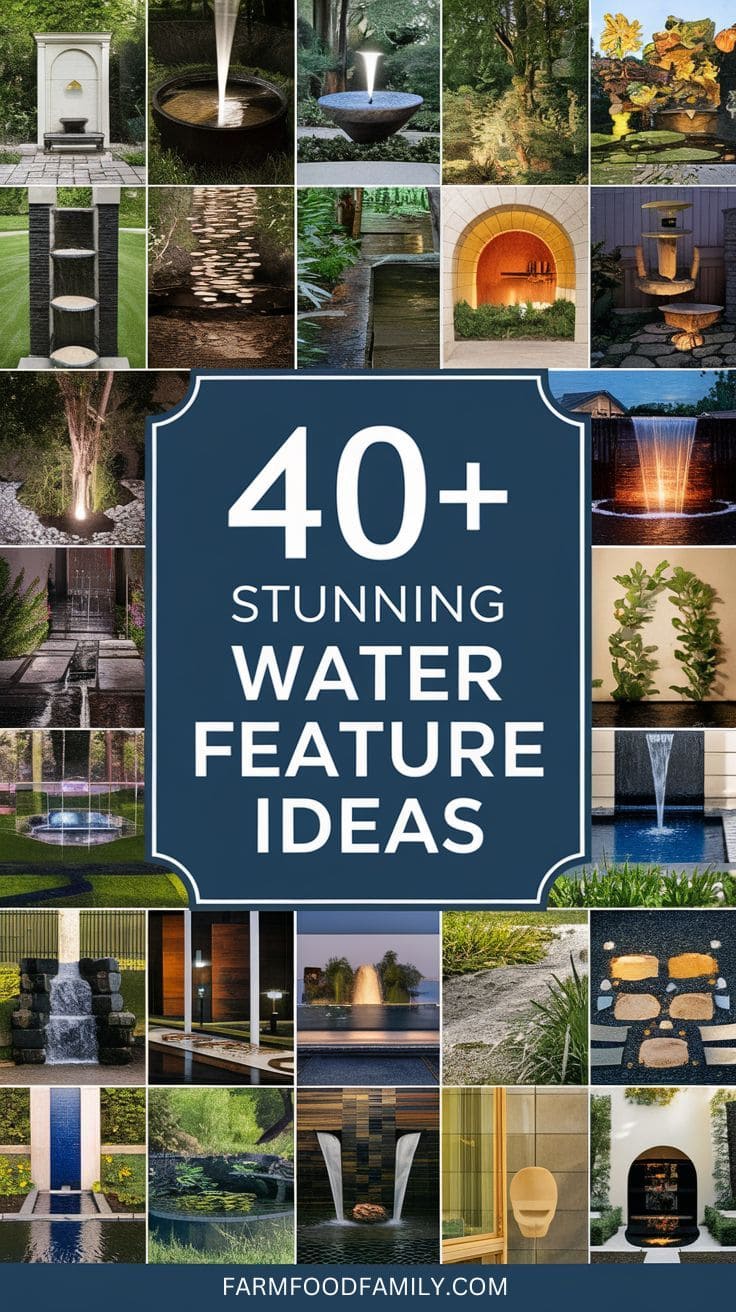
40+ Simple DIY Water Feature Ideas (and How to Keep Them Clean)
Plenty of guides show you what to build. Almost none explain why so many DIY water features end up neglected within a year, green with algae, buzzing with mosquitoes, or eventually hauled to the curb. A fountain that looks great the week it’s installed and turns into a chore by August isn’t a design win.
This guide covers both halves of the problem: real build ideas, and the maintenance reality that actually determines whether the thing lasts.

Build ideas


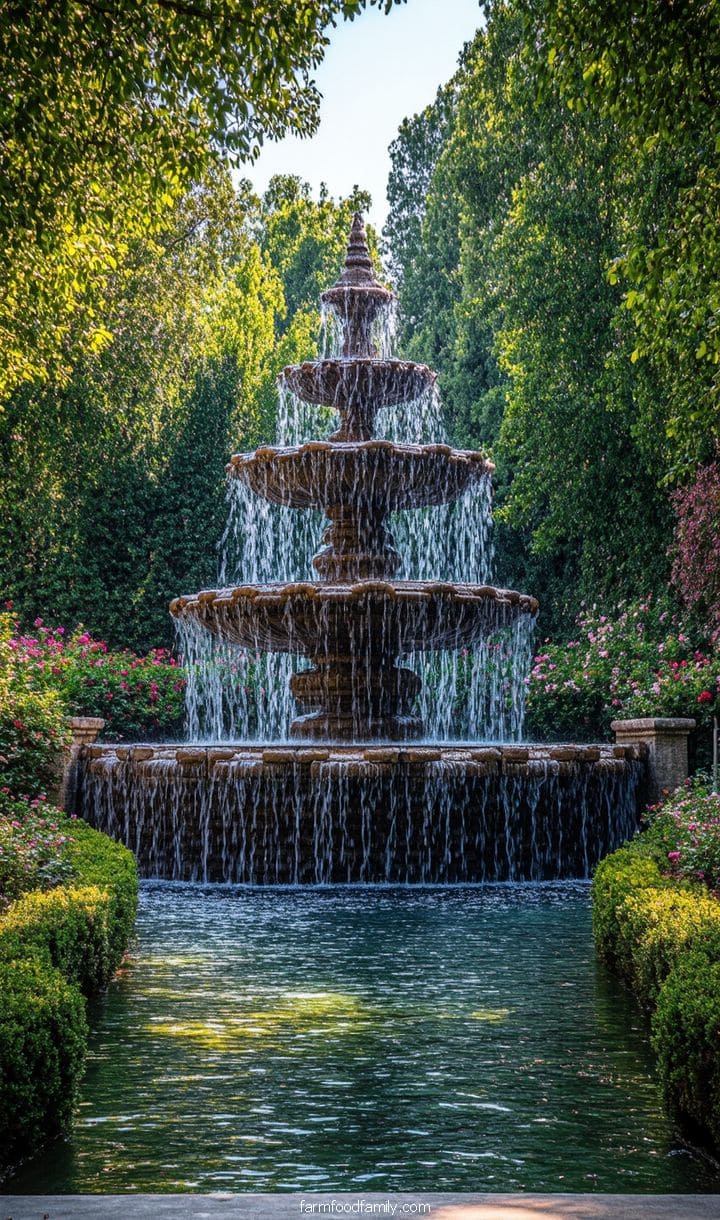
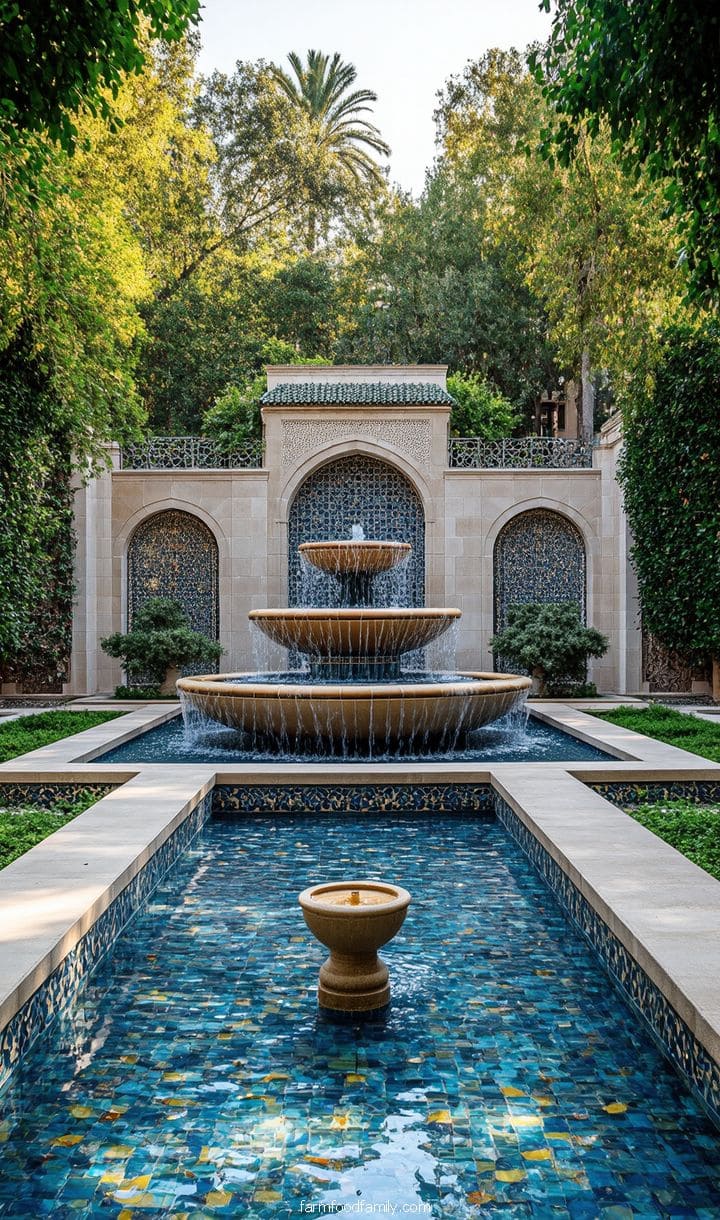
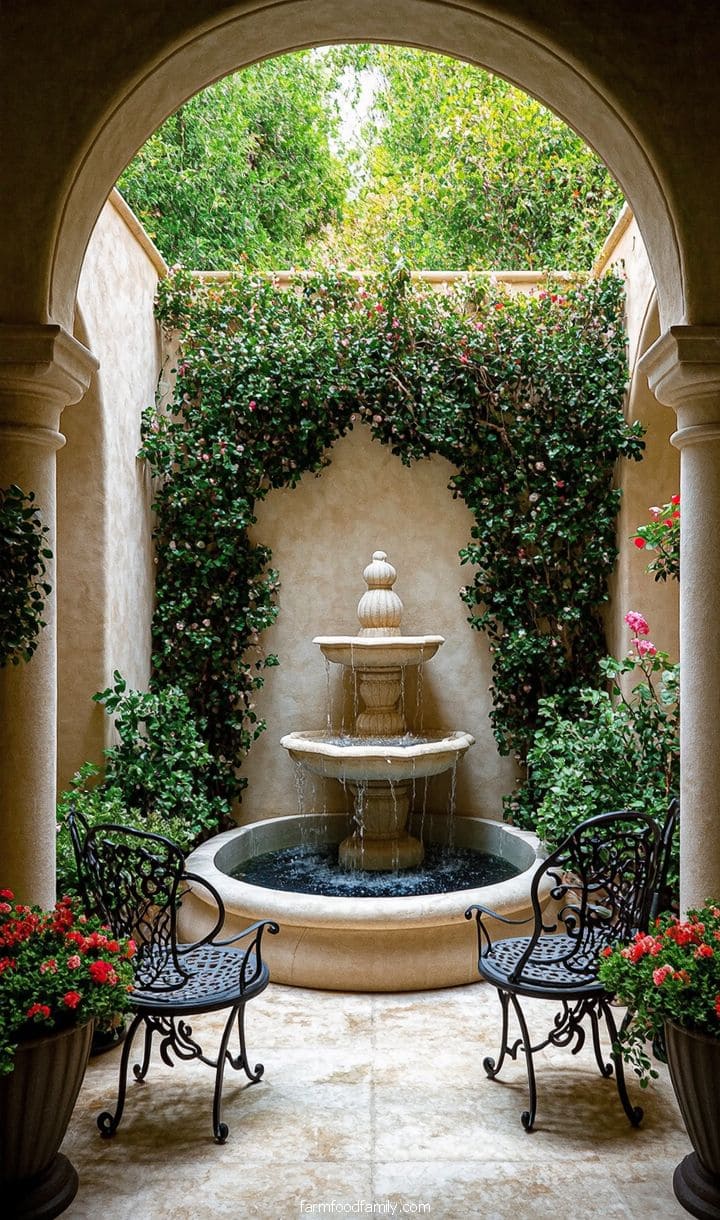
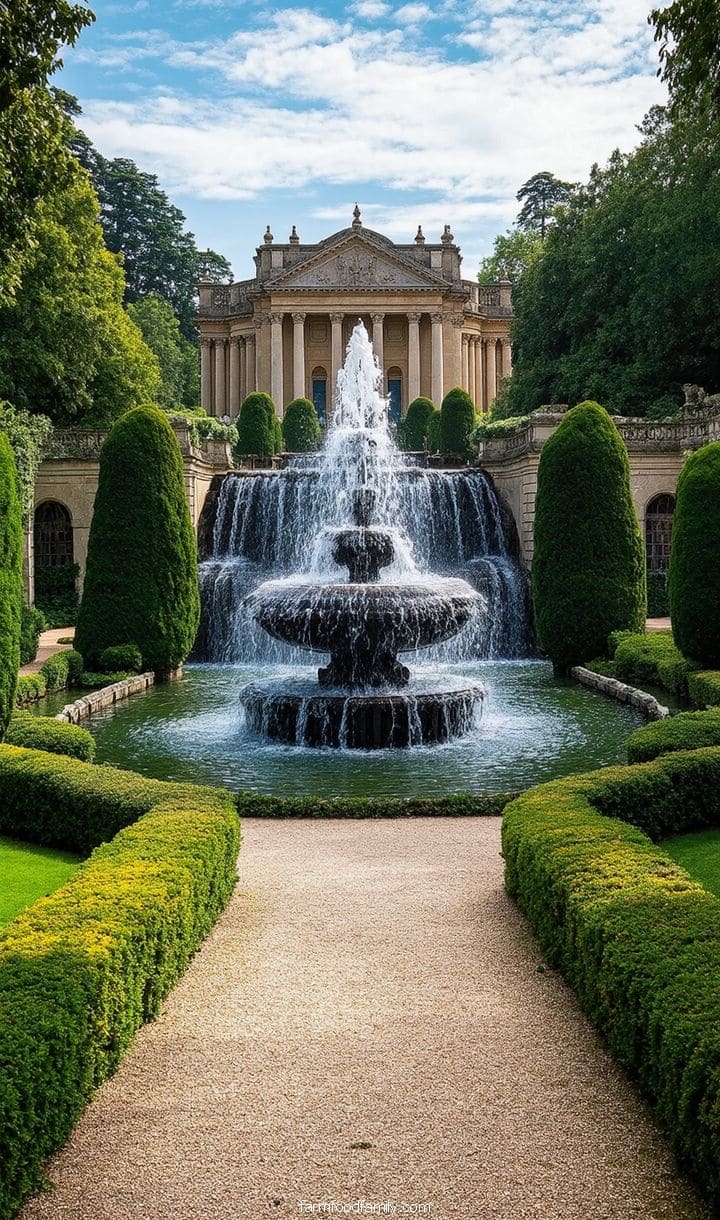
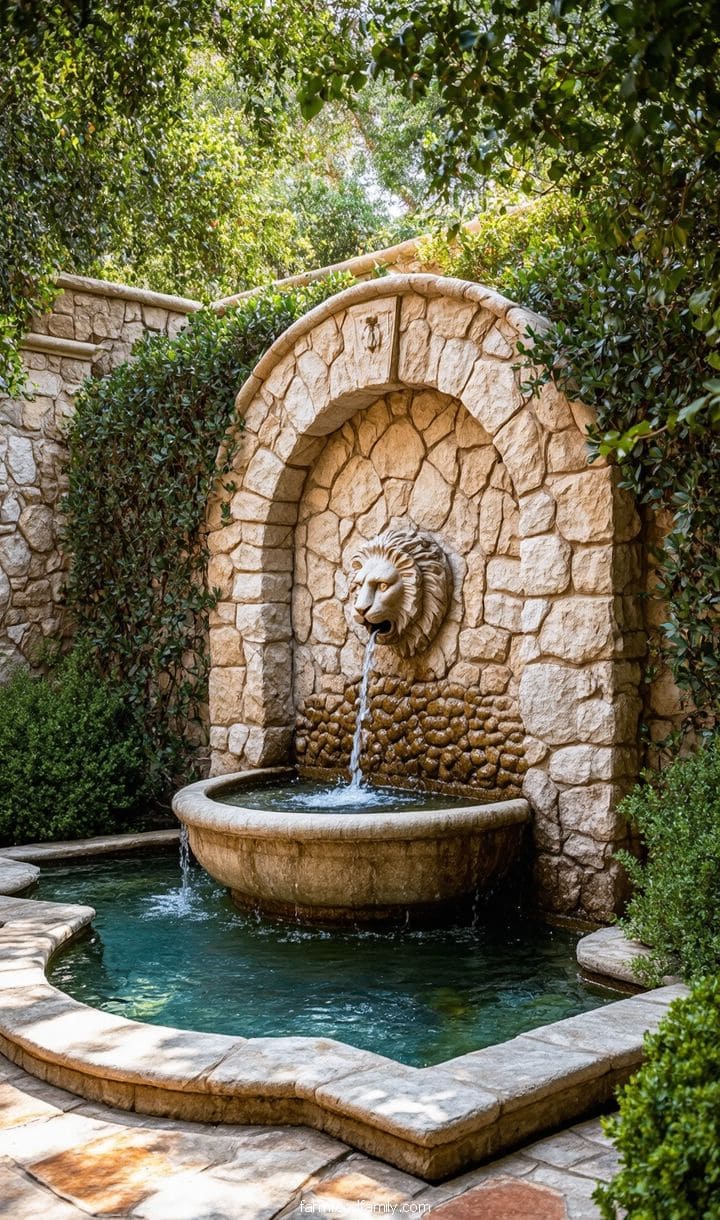
Classic Tiered Fountain for a Traditional Look
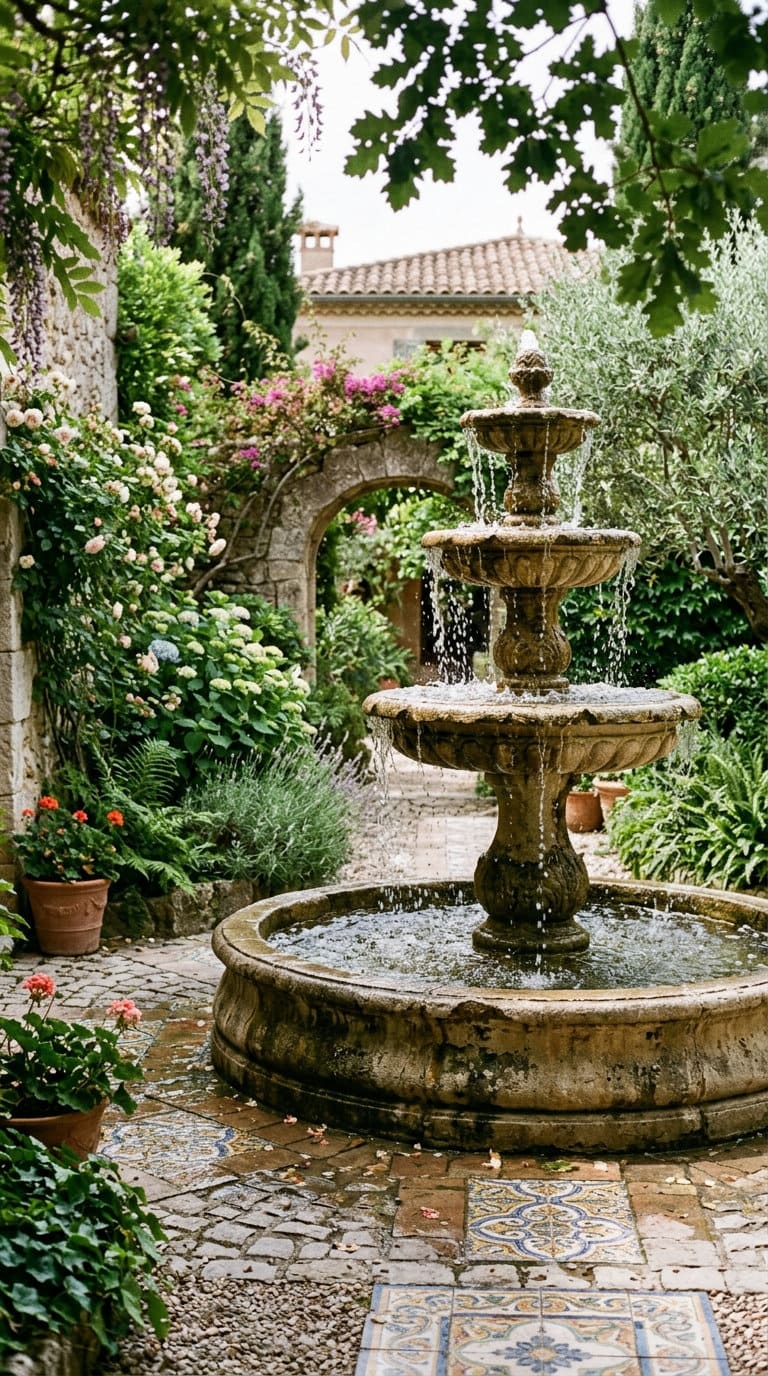
Cascading water falling smoothly from one level to the next, usually cast in stone or concrete. It reads as formal and traditional, a natural fit for a courtyard or a symmetrical garden bed rather than a casual backyard corner.
Surround it with greenery or ornamental tile, and add low lighting if evening ambiance matters, the steady trickle also does real work masking street noise in tighter urban lots.
A tiered fountain is a smart way to incorporate movement and sound into your outdoor environment.
These fountains, which are commonly fashioned of stone or concrete, have cascading water that falls smoothly from one level to the next, creating a pleasant atmosphere.
Their beautiful design complements formal gardens, courtyards, and serves as a focal point in a patio environment.
Surround the fountain with lush greenery, beautiful flowers, or ornamental tiles that reflect the movement of the water to add to its charm.
Lighting can also be installed to emphasize the flowing water in the evening, creating a captivating addition to your yard.
The steady trickle of water helps to hide undesired noise, making it ideal for urban situations that require a little additional serenity.

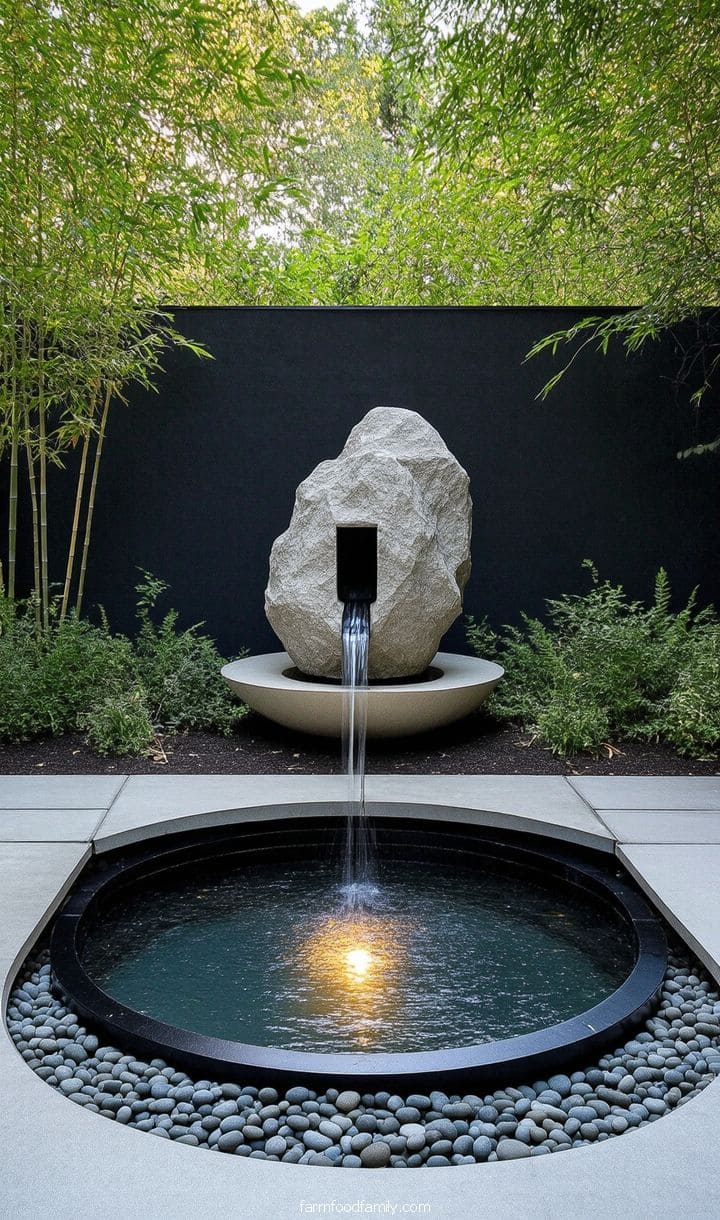
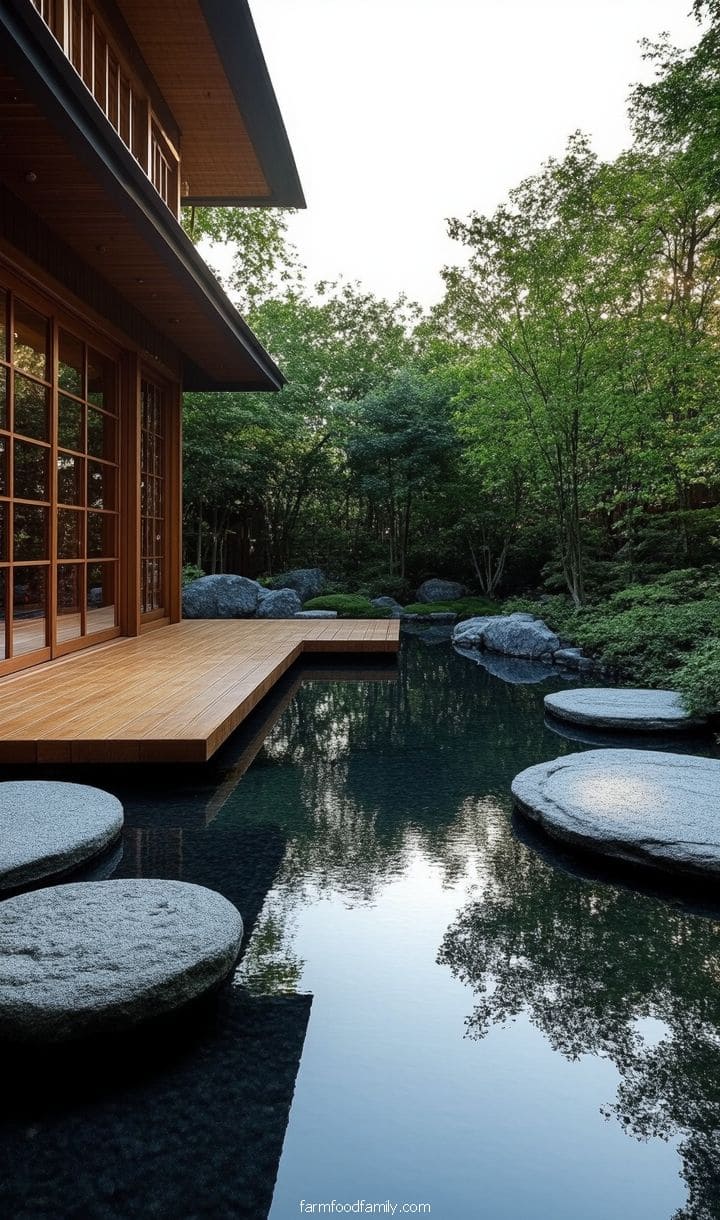
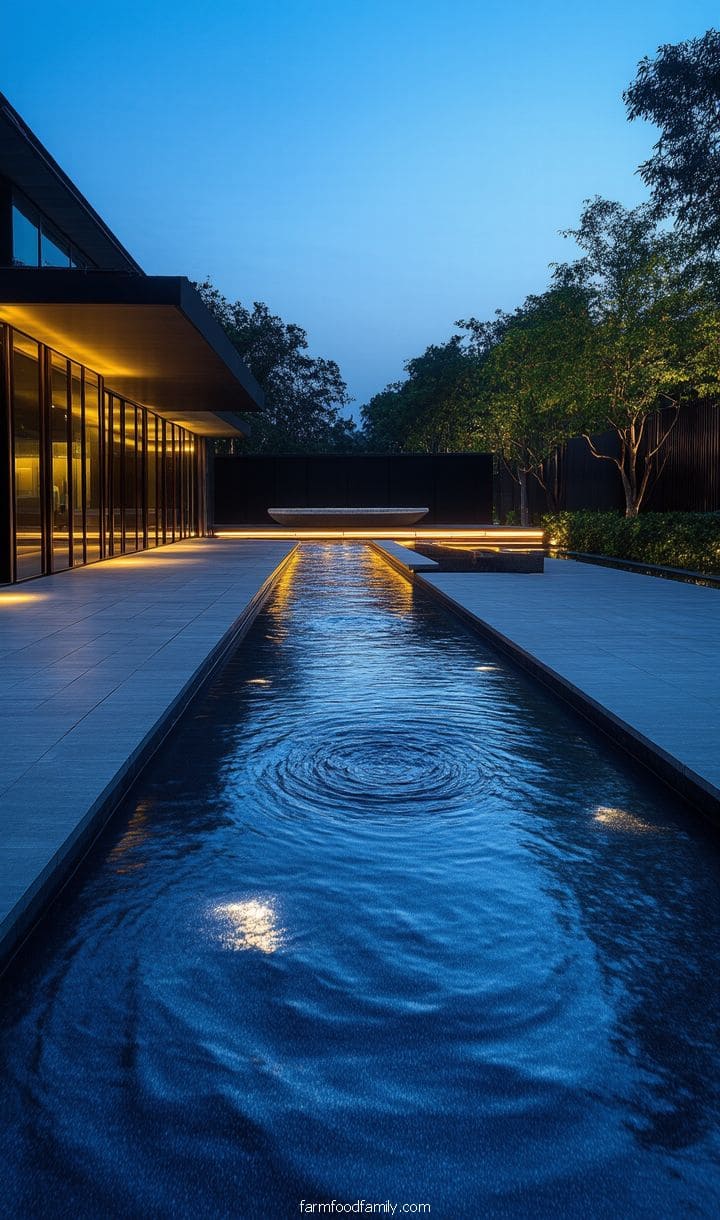
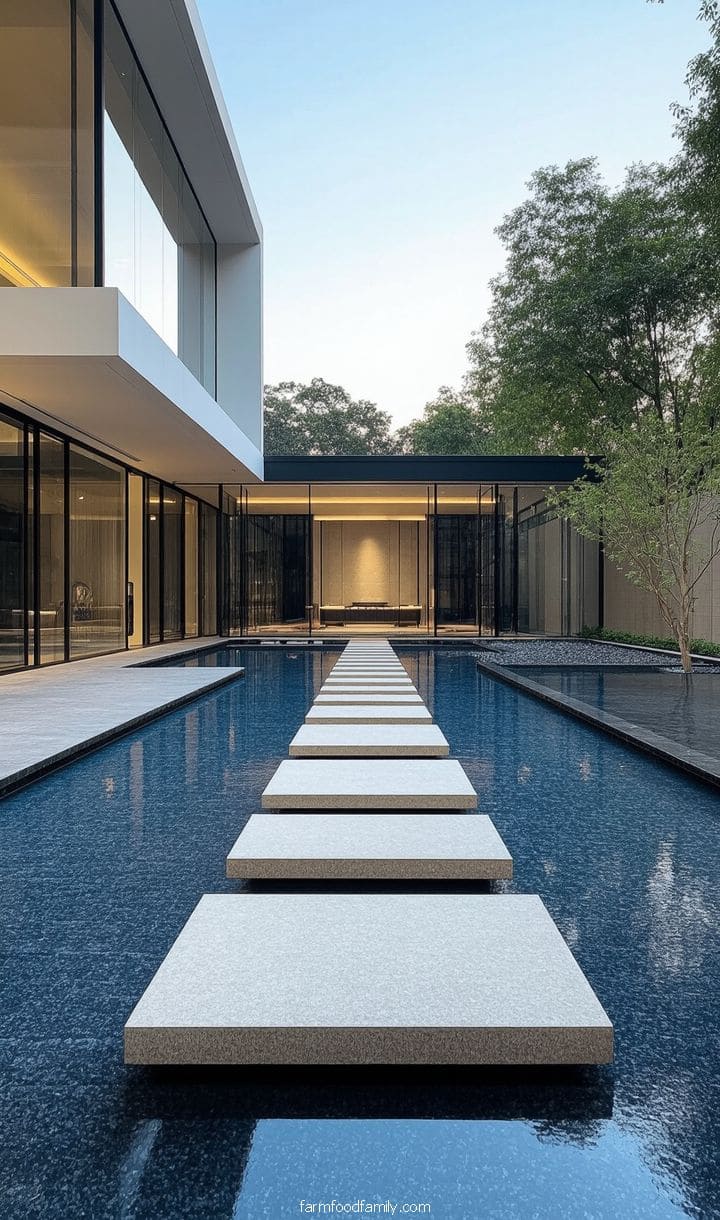
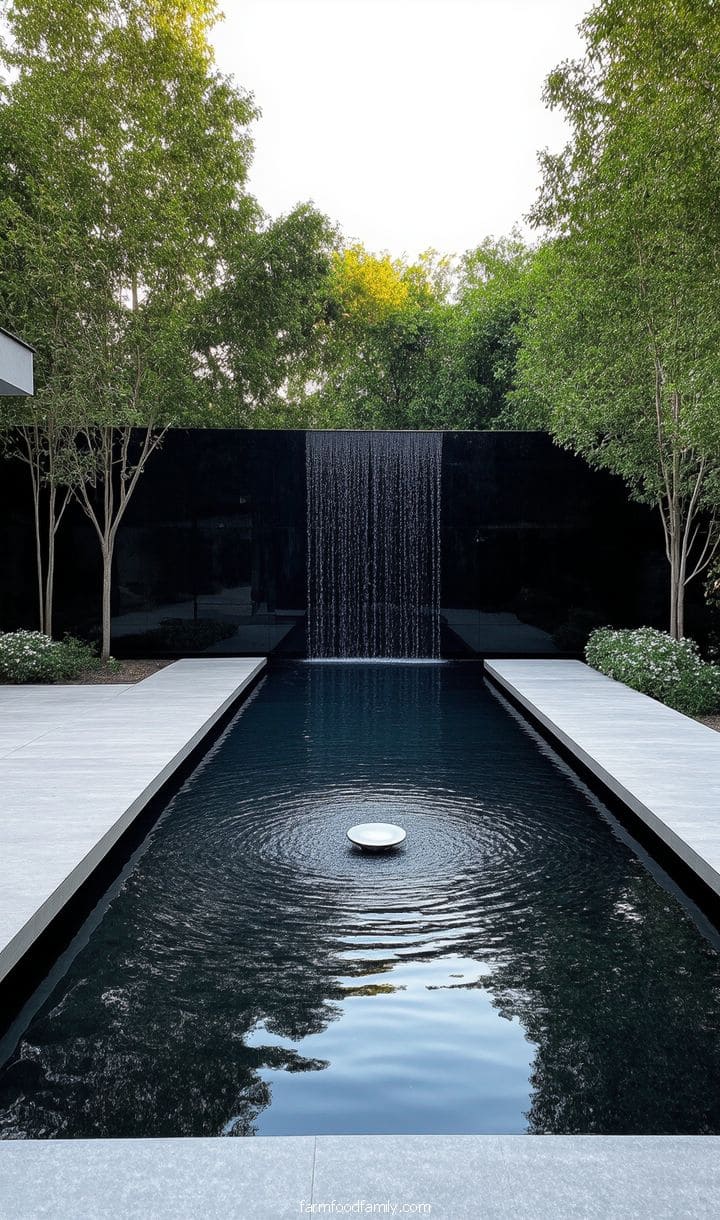
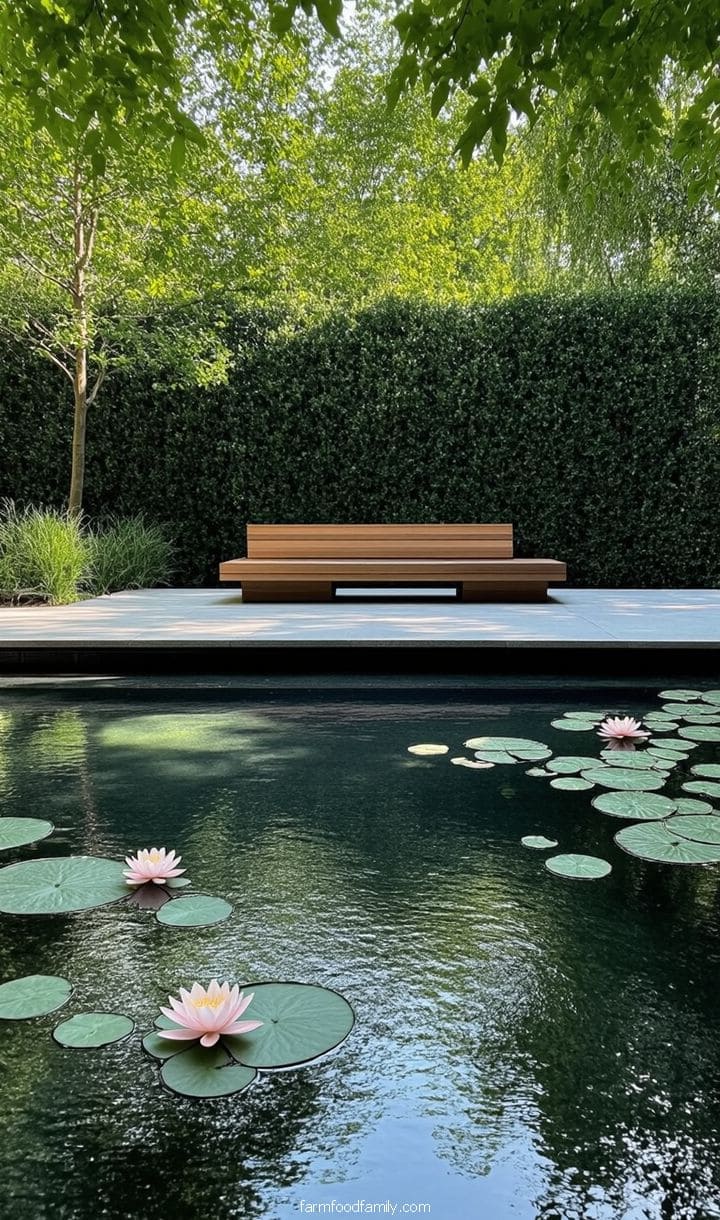
Modern Reflecting Pool with Minimalistic Elegance
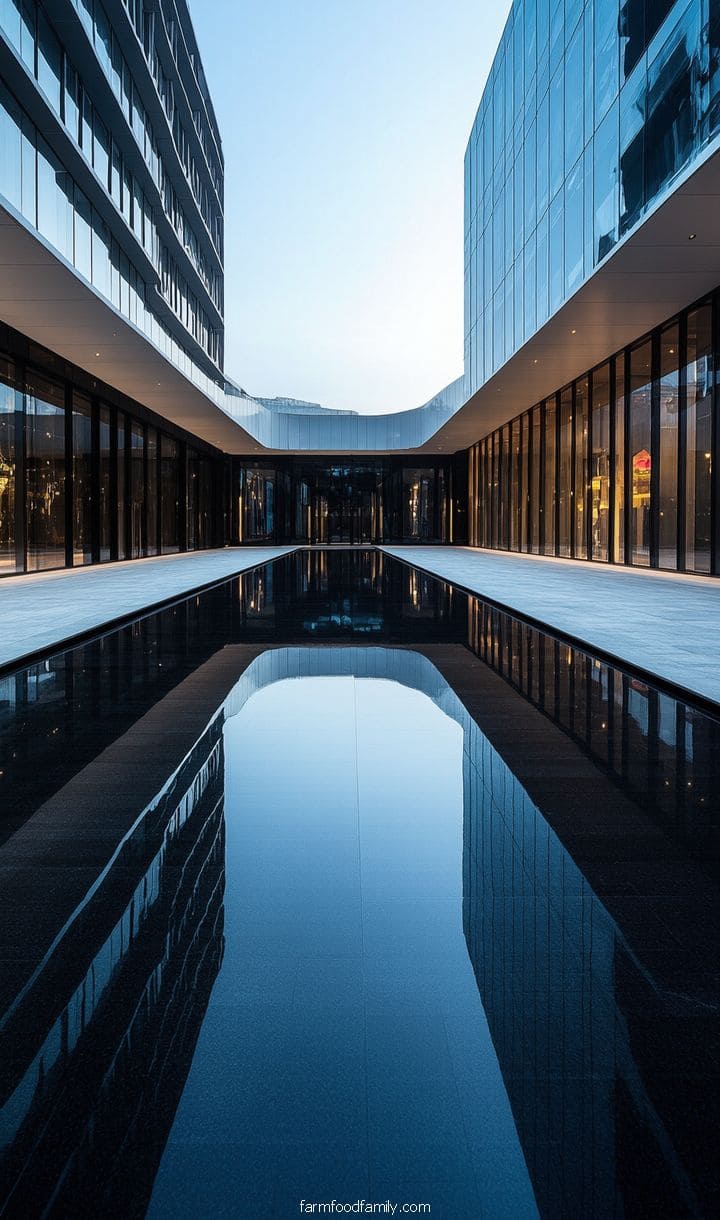
A shallow, still pool that mirrors the sky, trees, or nearby architecture rather than moving water dramatically. Common in Zen-influenced and contemporary landscapes because the effect depends on stillness, not motion.
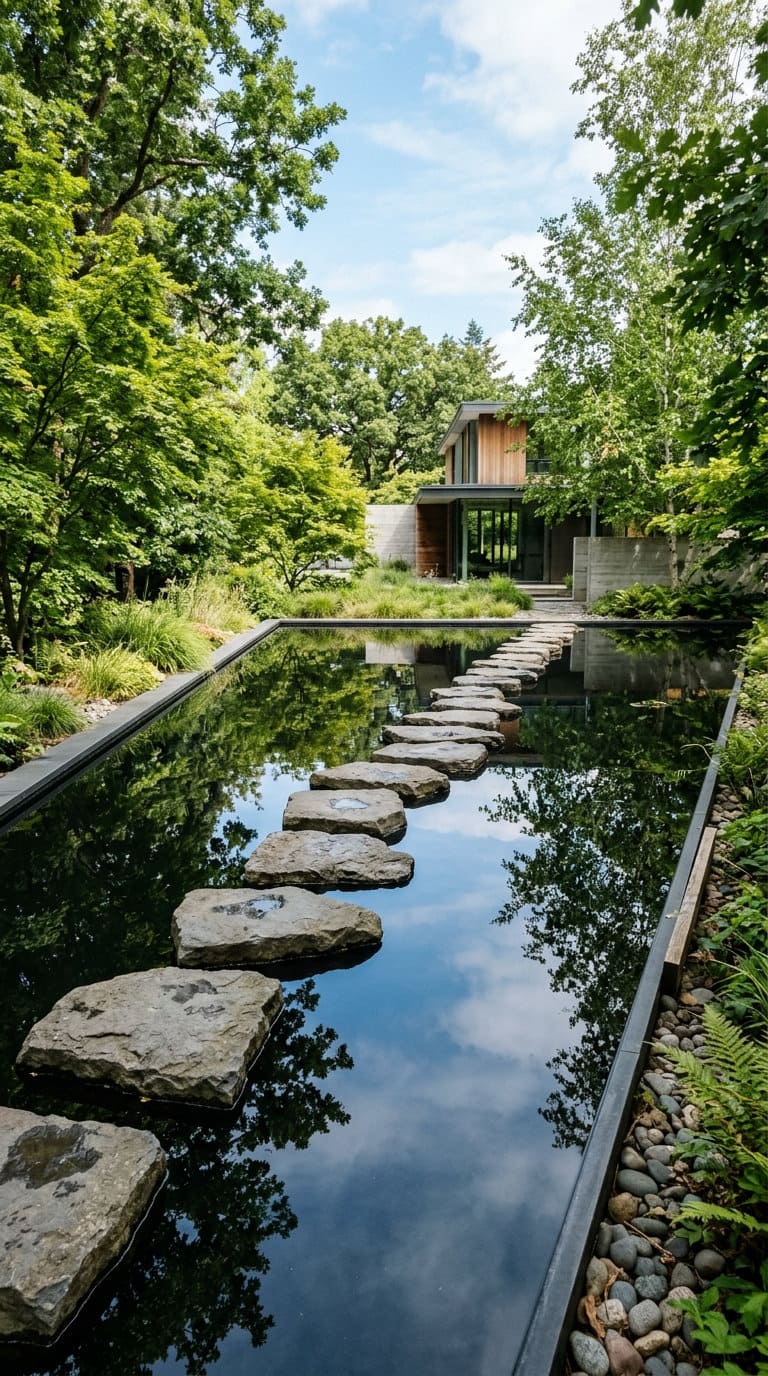
A black-bottom liner deepens the reflection; stepping stones across it turn a purely visual feature into something interactive. A small central bubbler adds a touch of movement without breaking the mirror effect everywhere else.


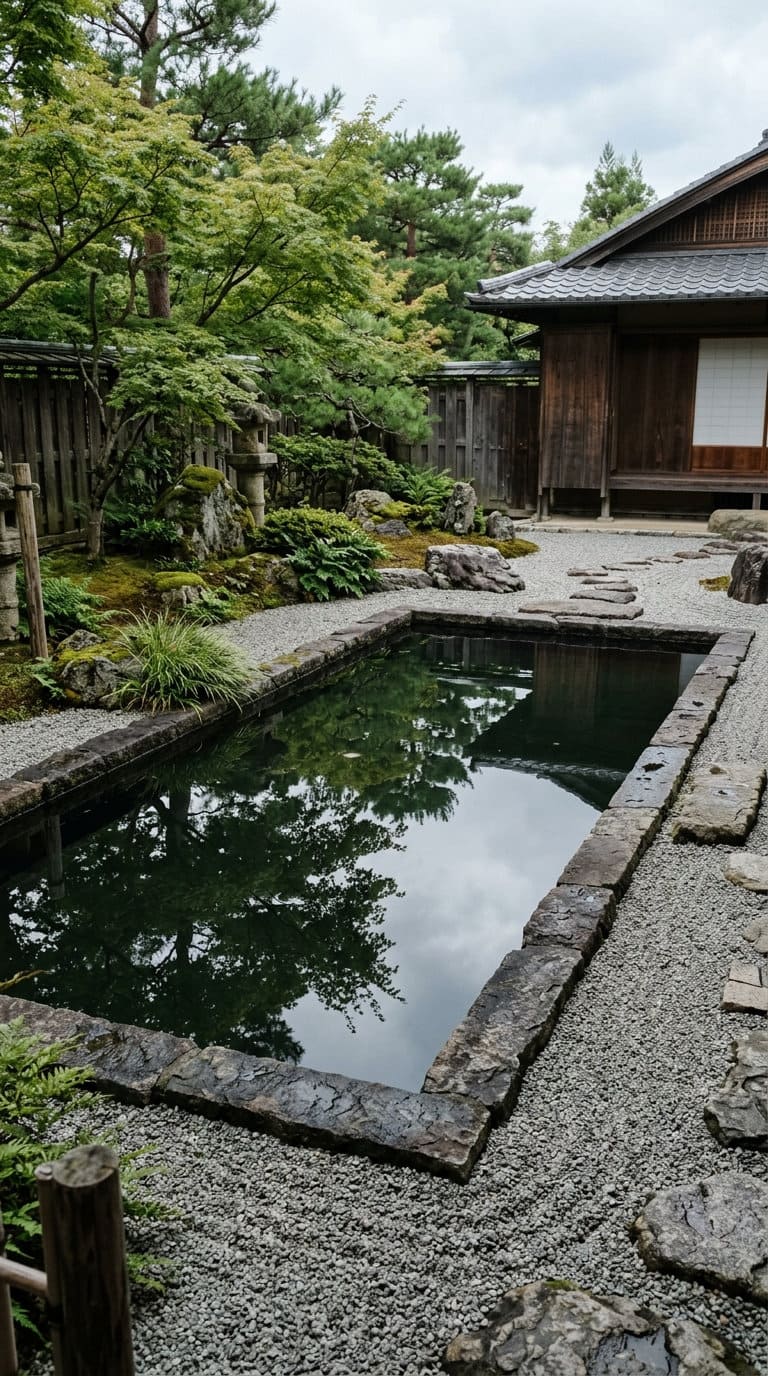
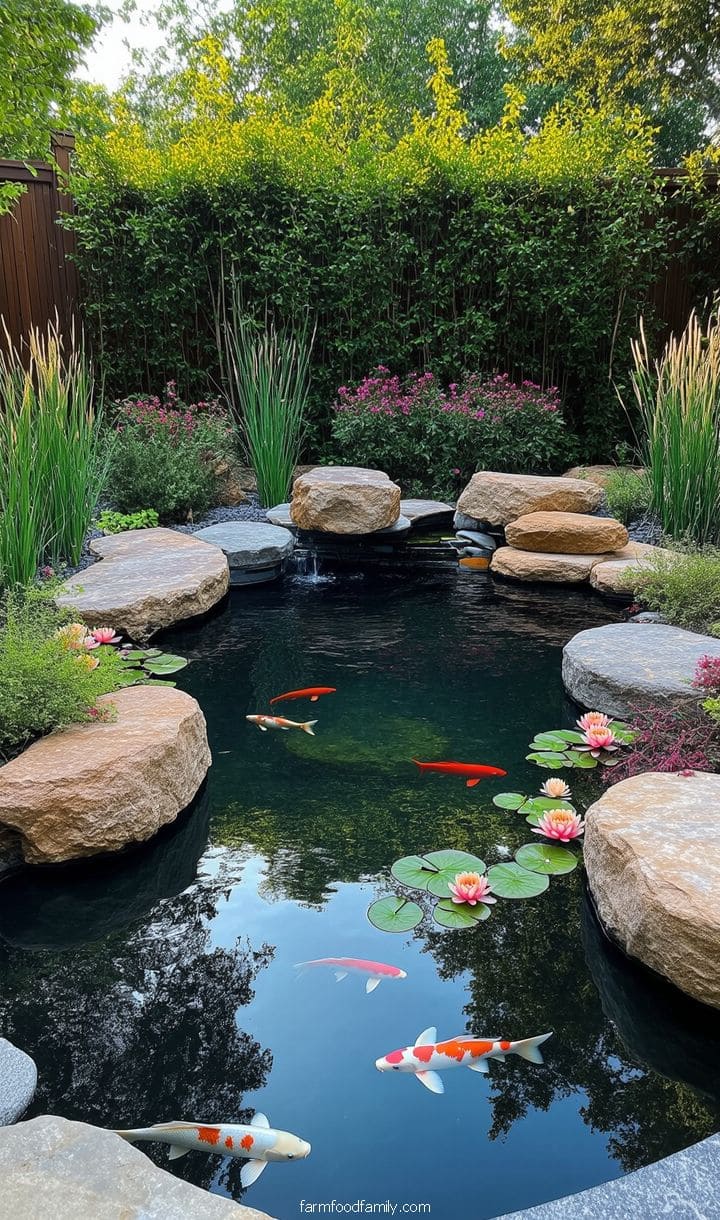
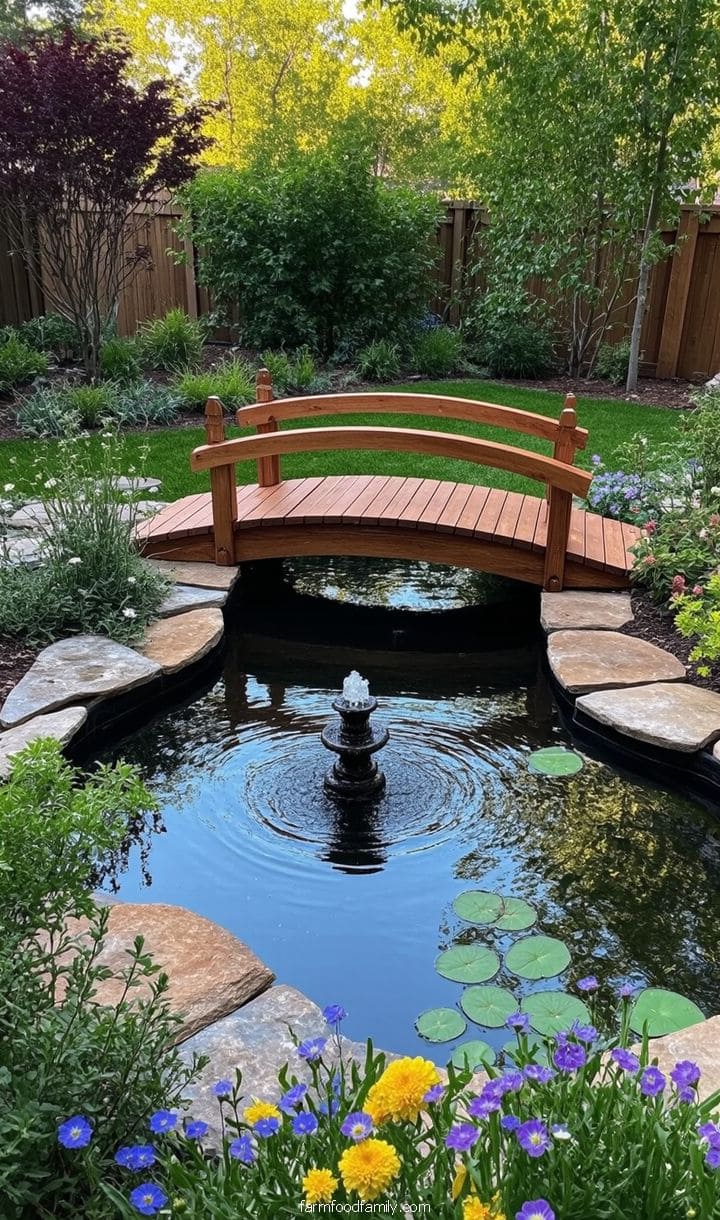
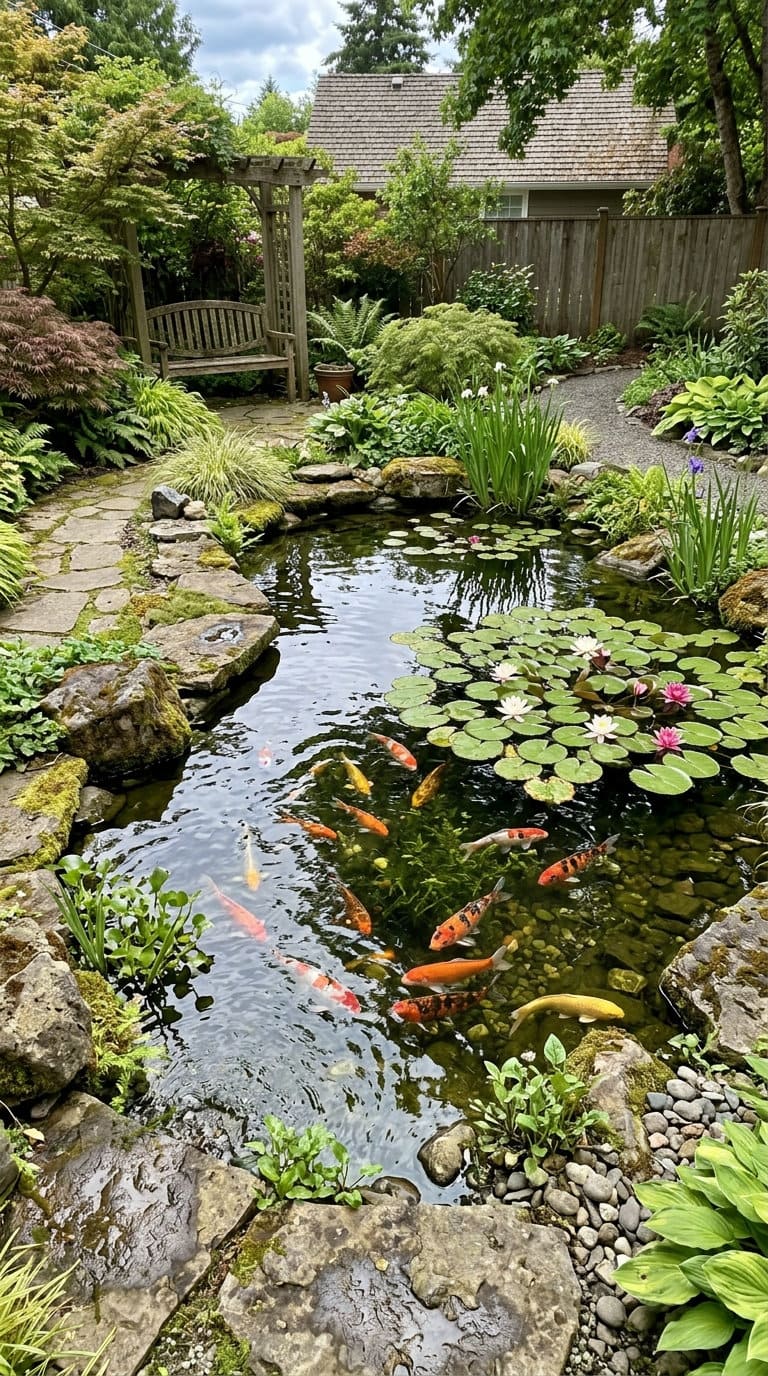
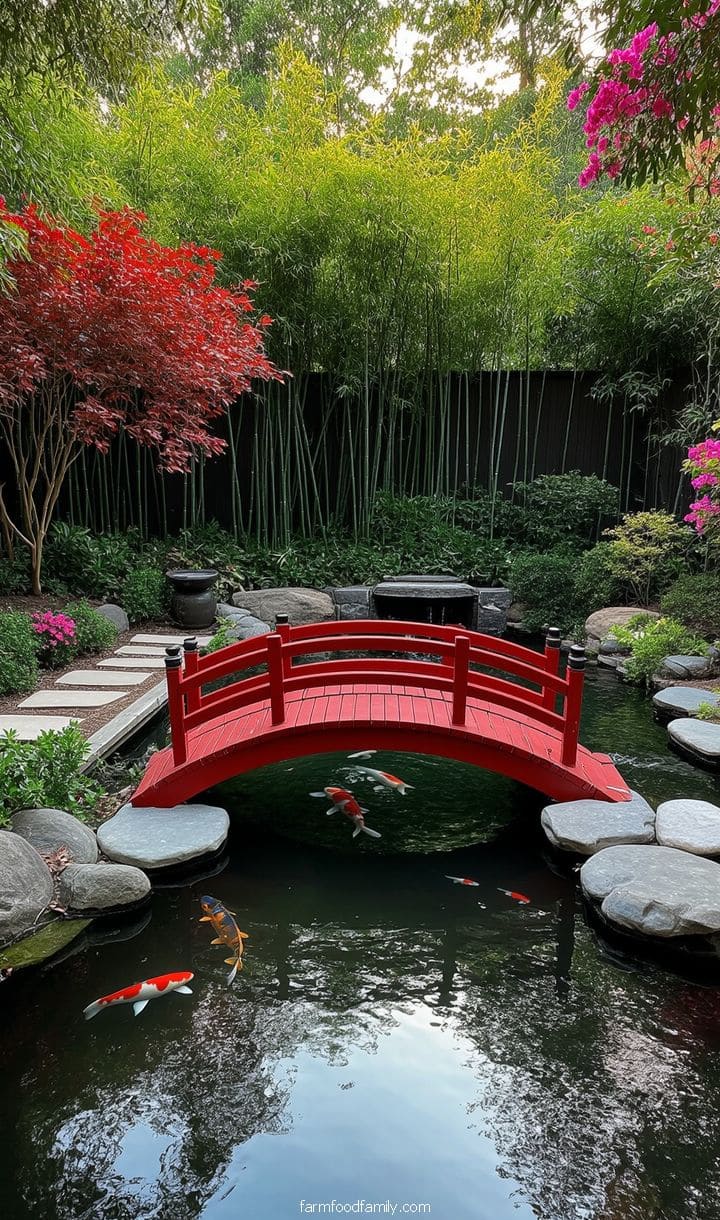
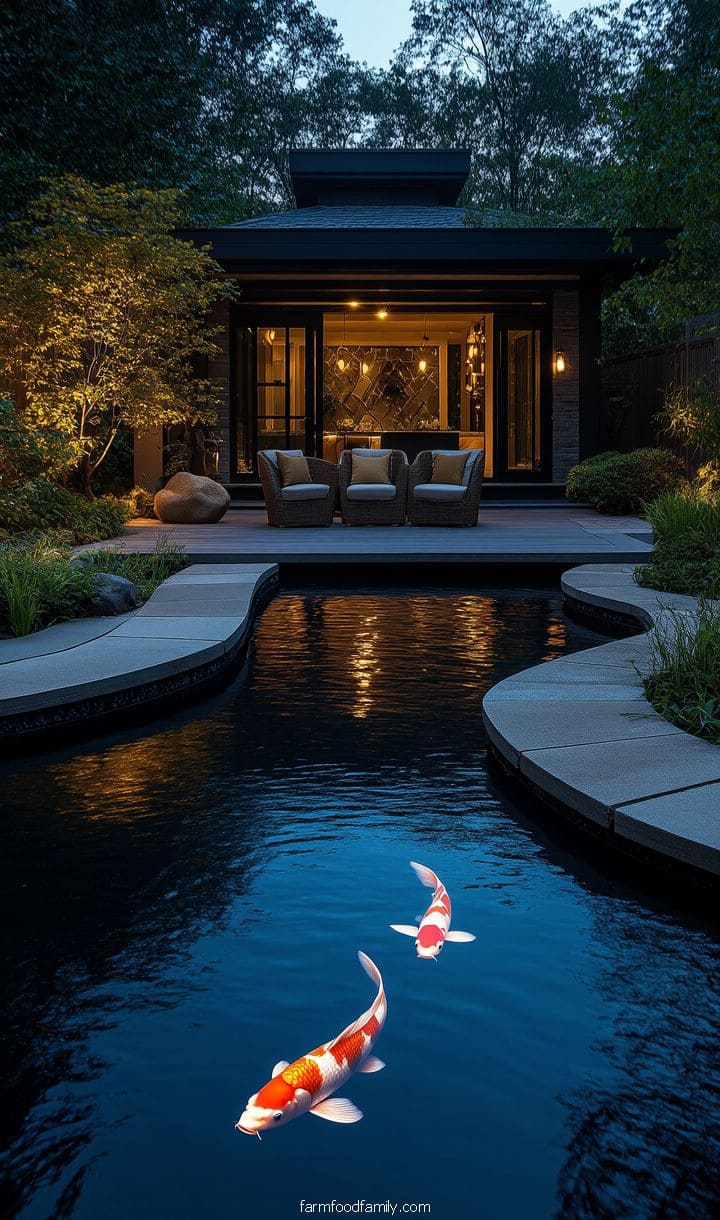
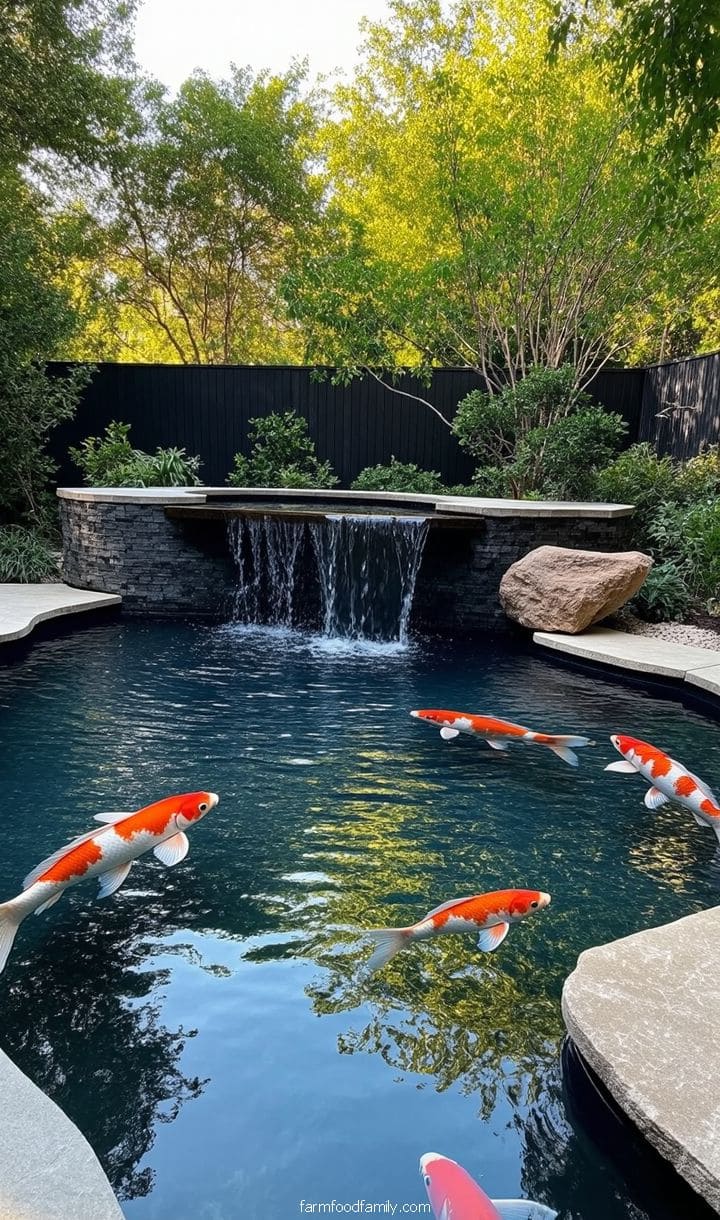
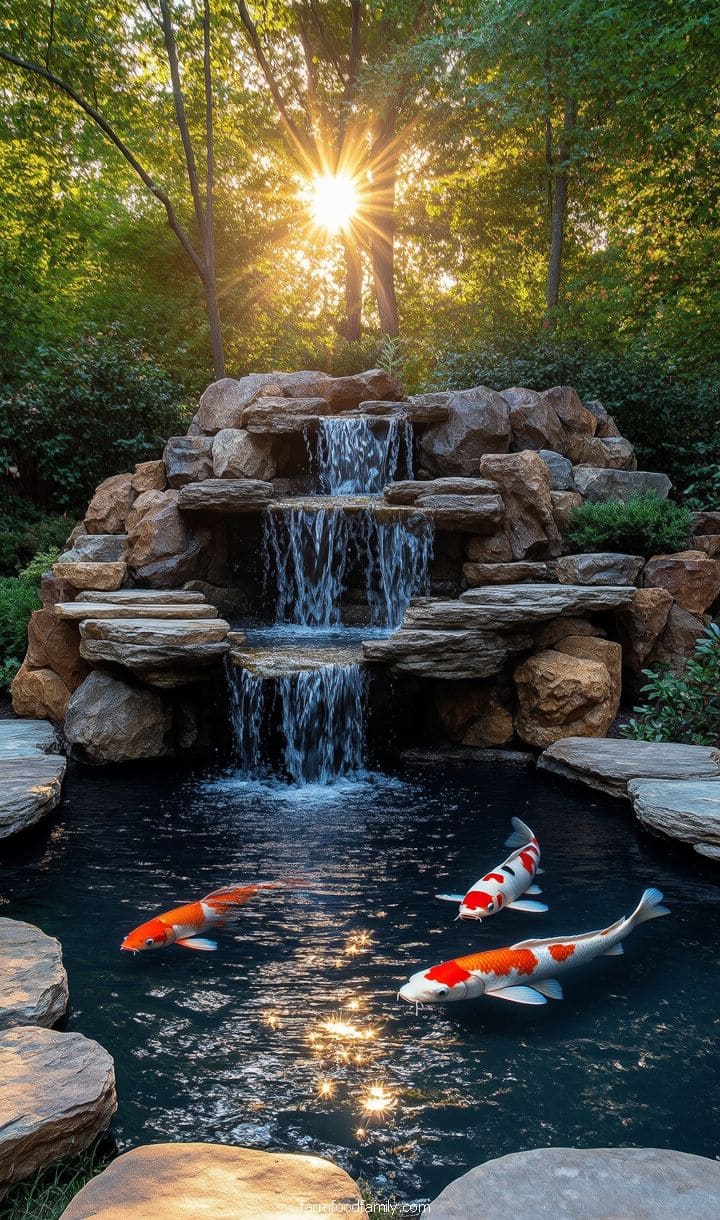
Koi Pond for a Dynamic and Living Water Feature
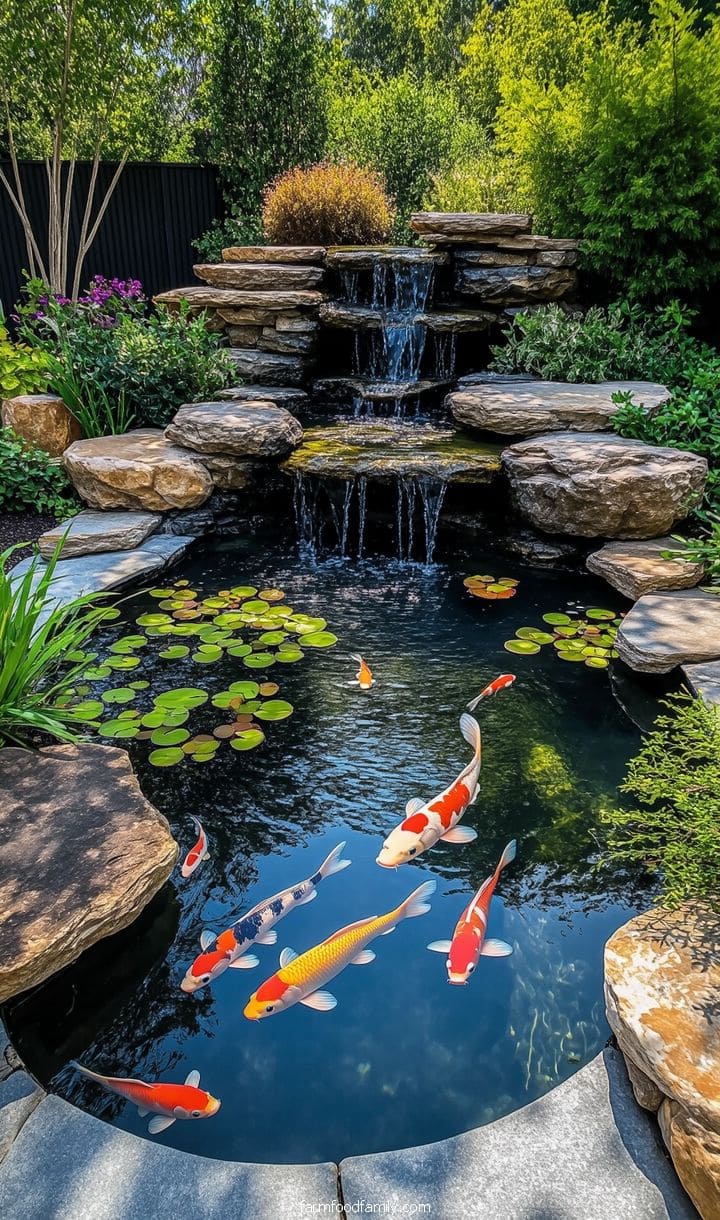
The most maintenance-intensive option on this list, and also the most alive.
Real filtration, aeration, and planted vegetation (water lilies, reeds, lotus) aren’t optional extras here, they’re what keeps the fish healthy and the water from turning. Underwater lighting extends the payoff into evening.
Worth being honest up front: this is a genuine ongoing commitment, not a weekend project you finish and forget.
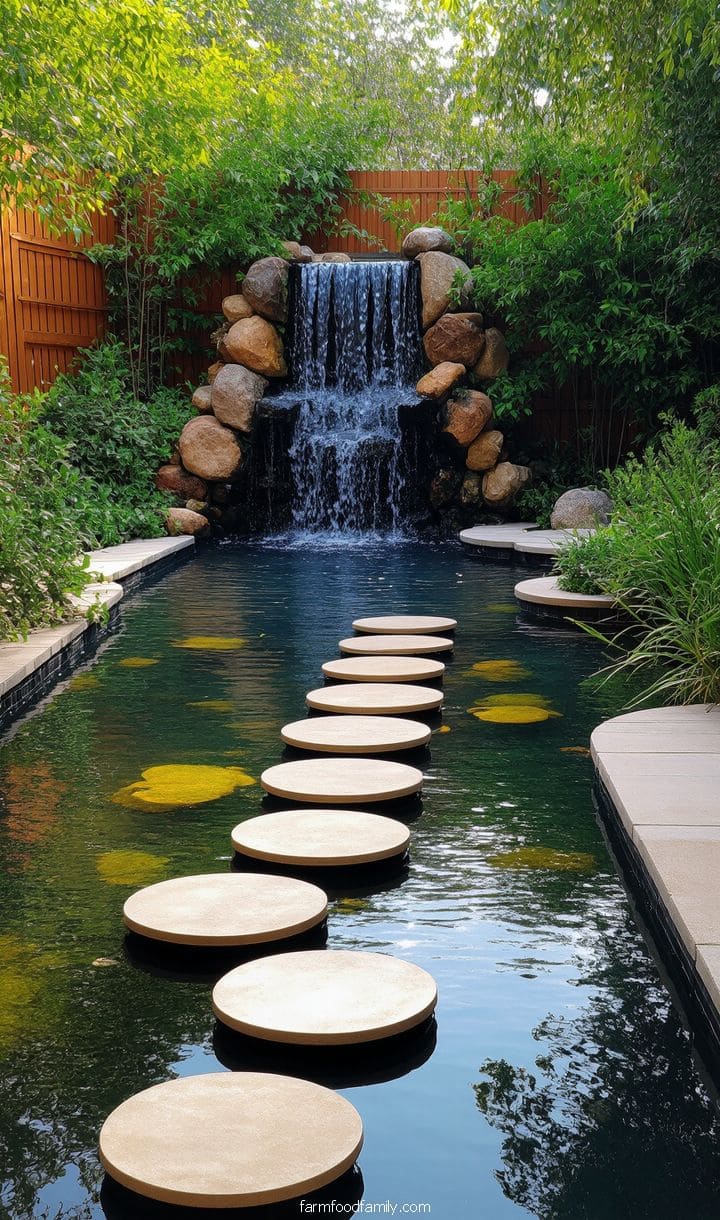
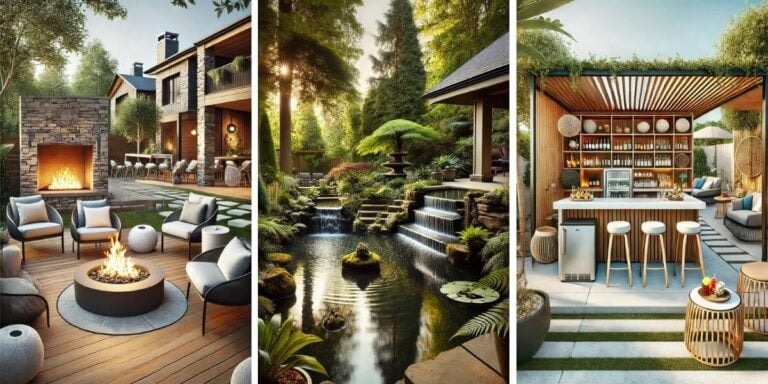
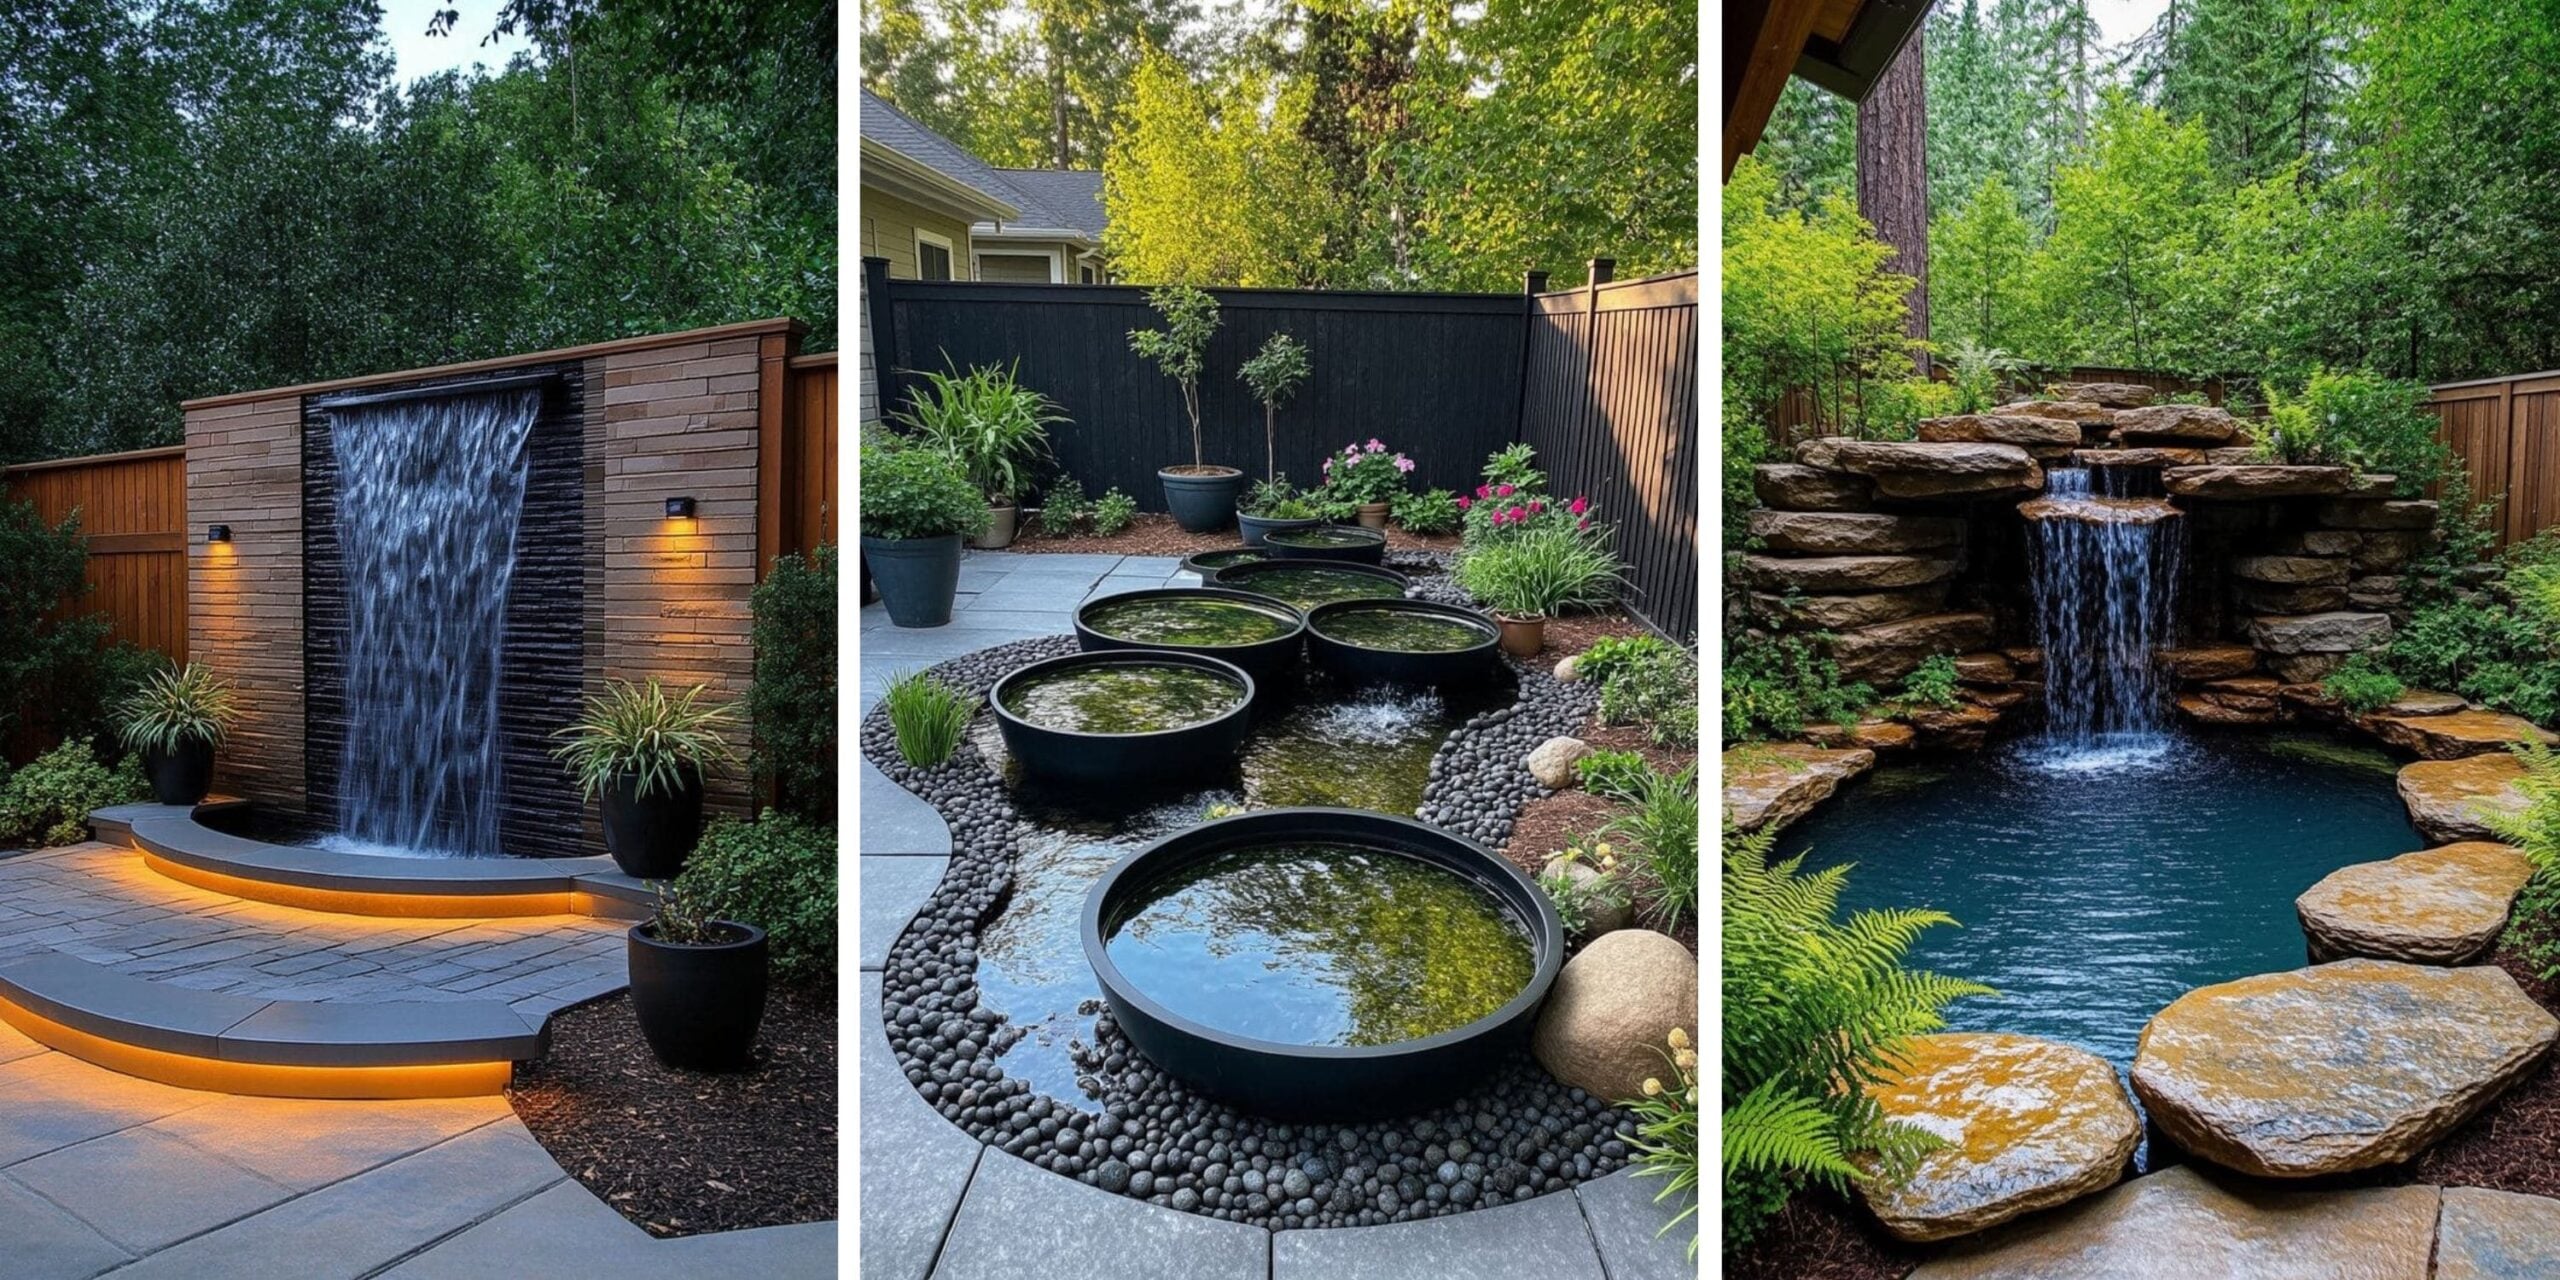
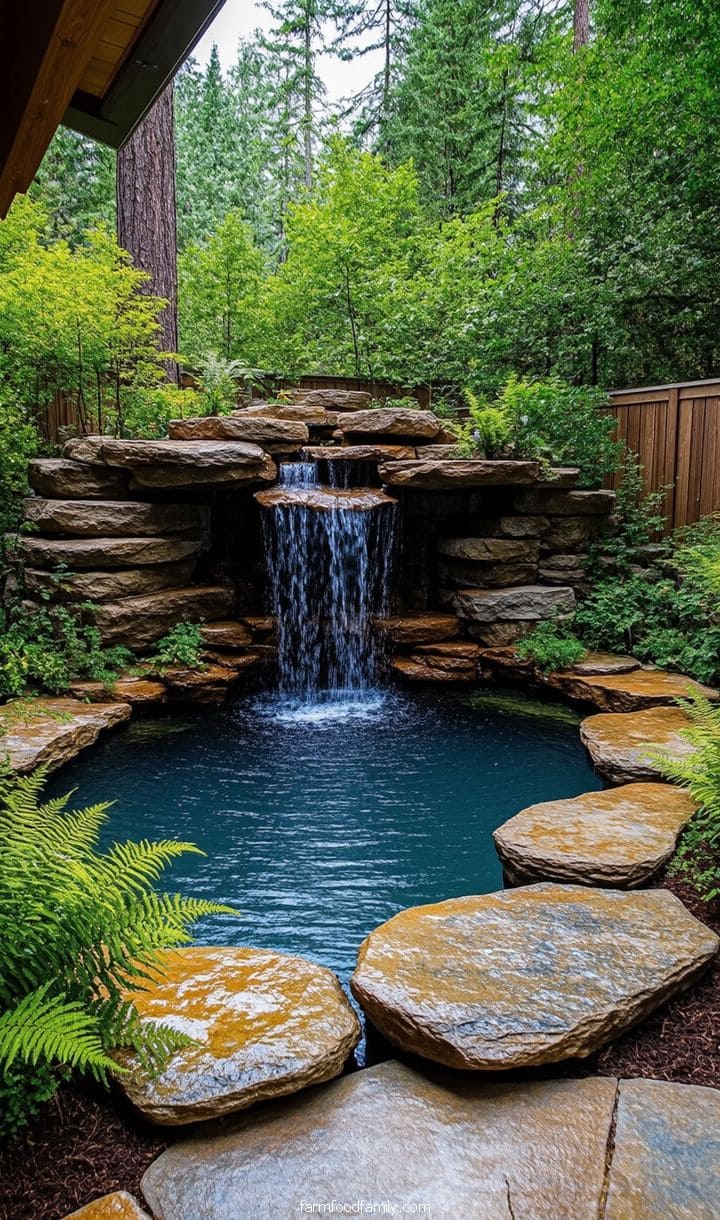
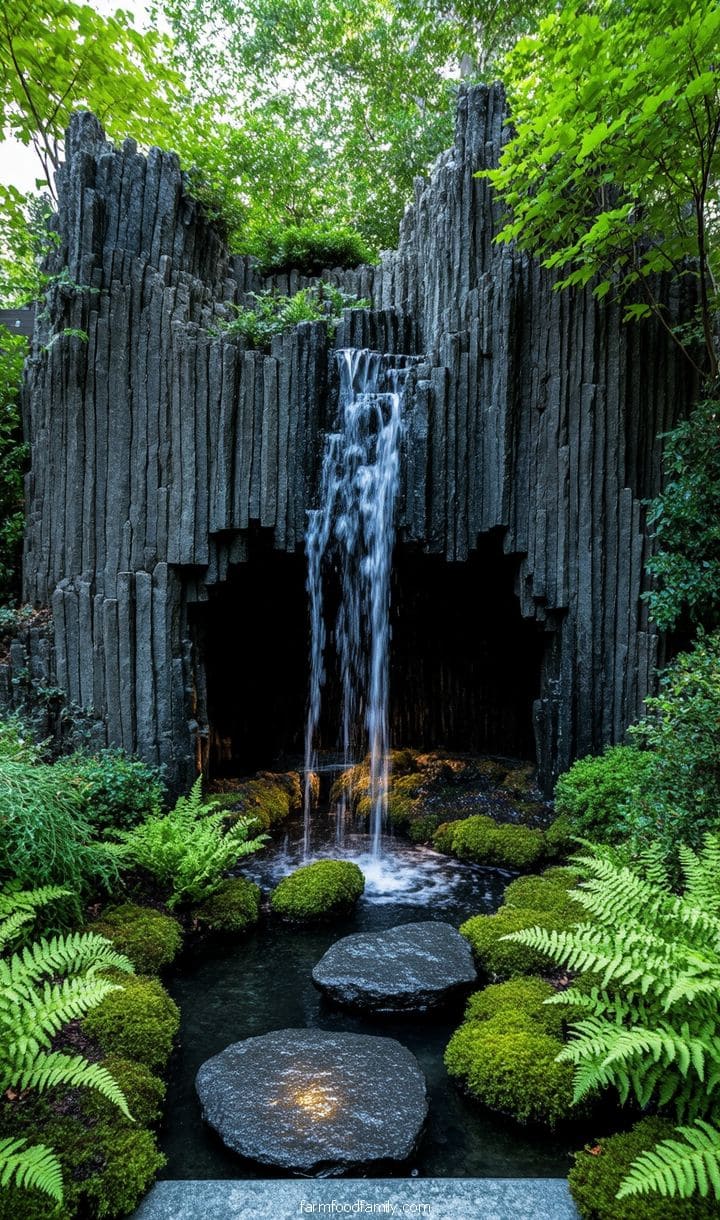
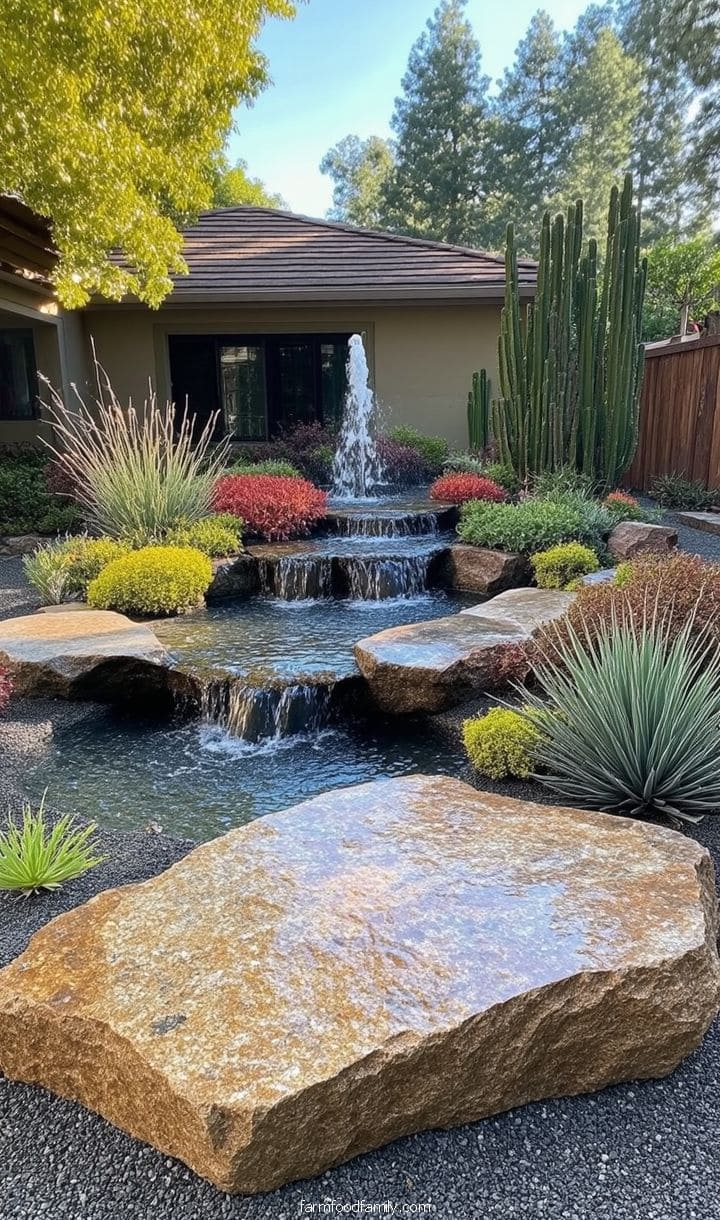
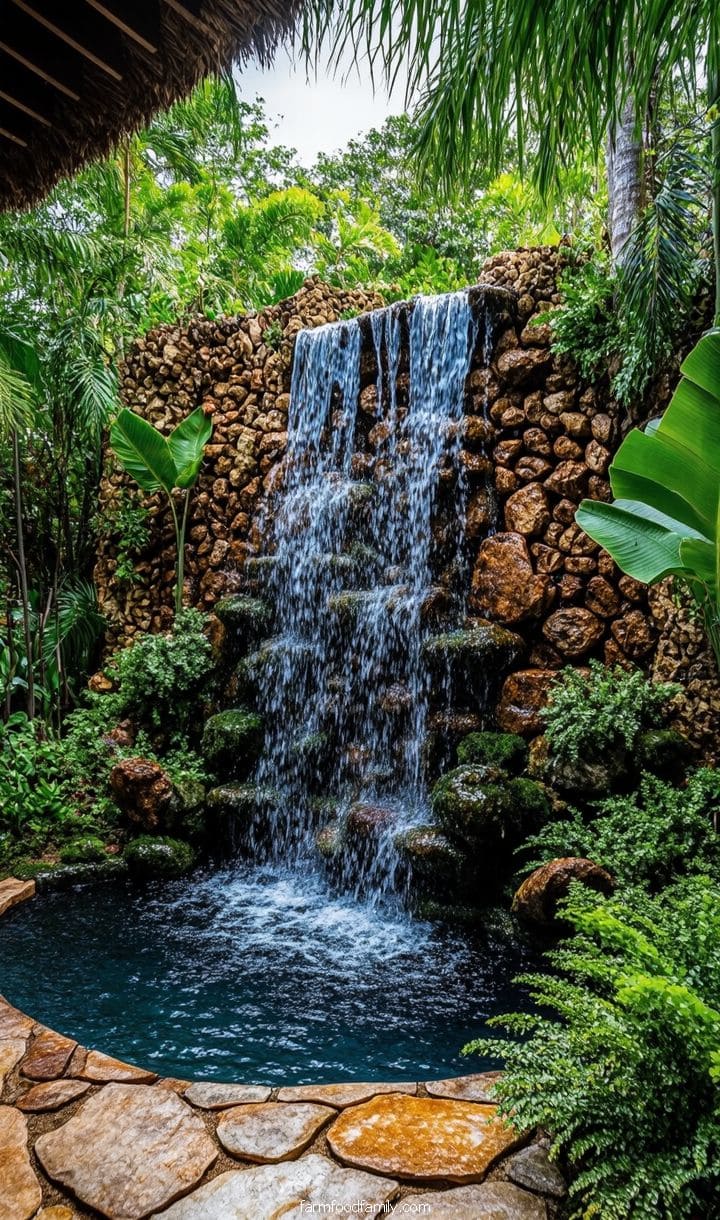
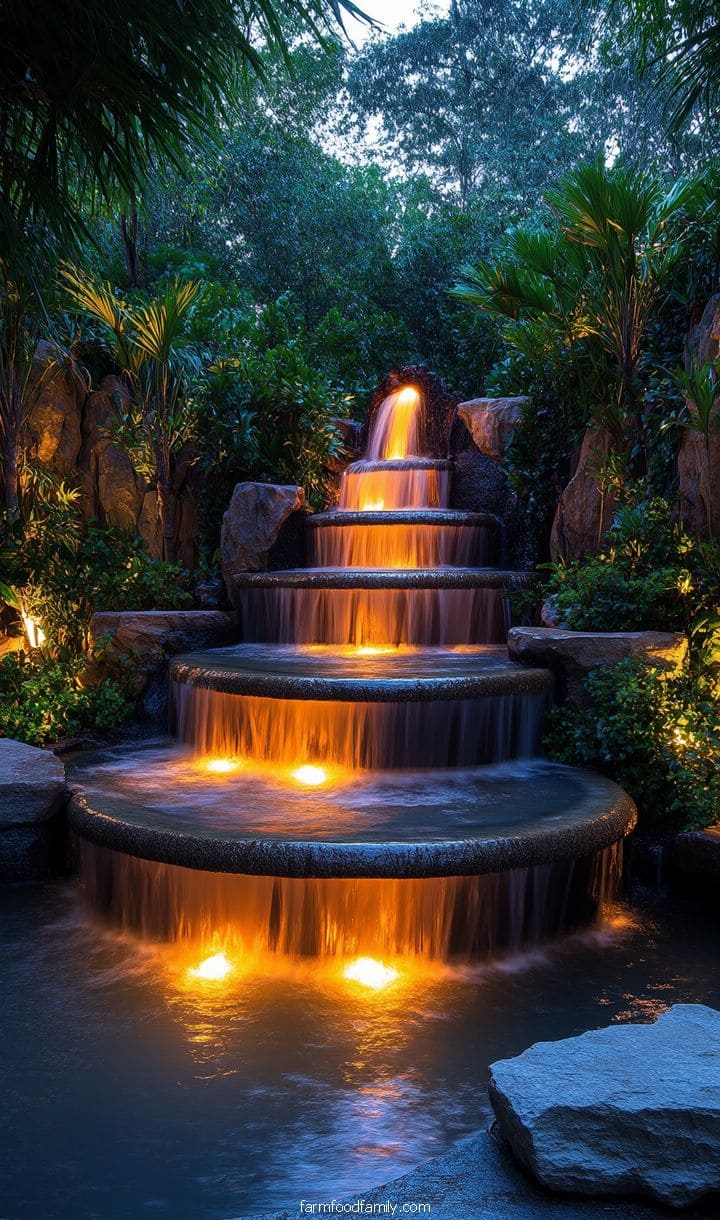
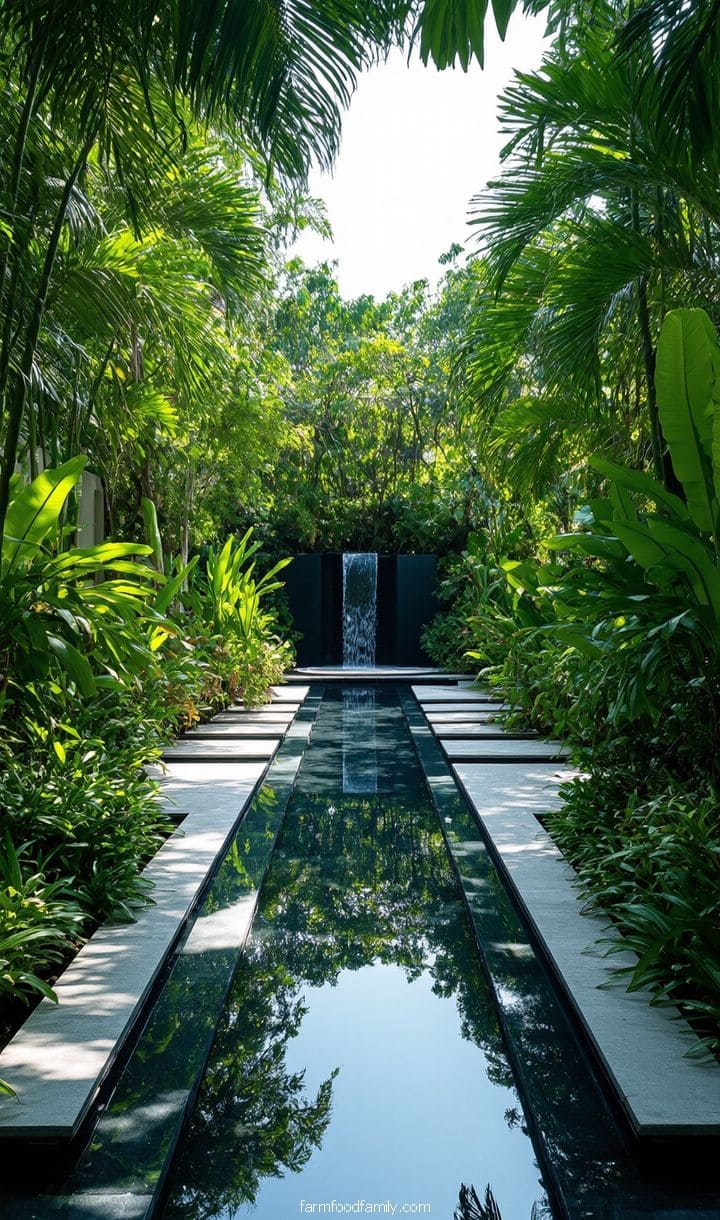
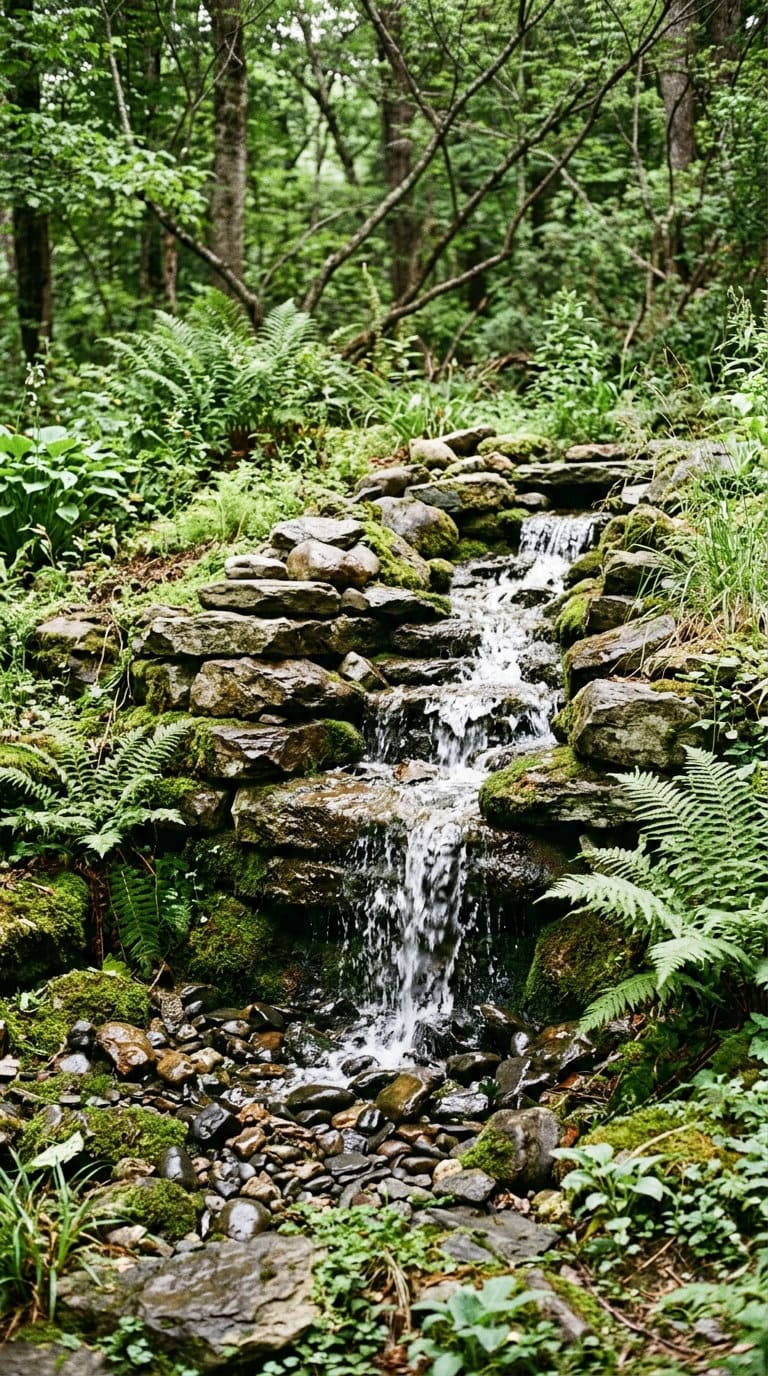
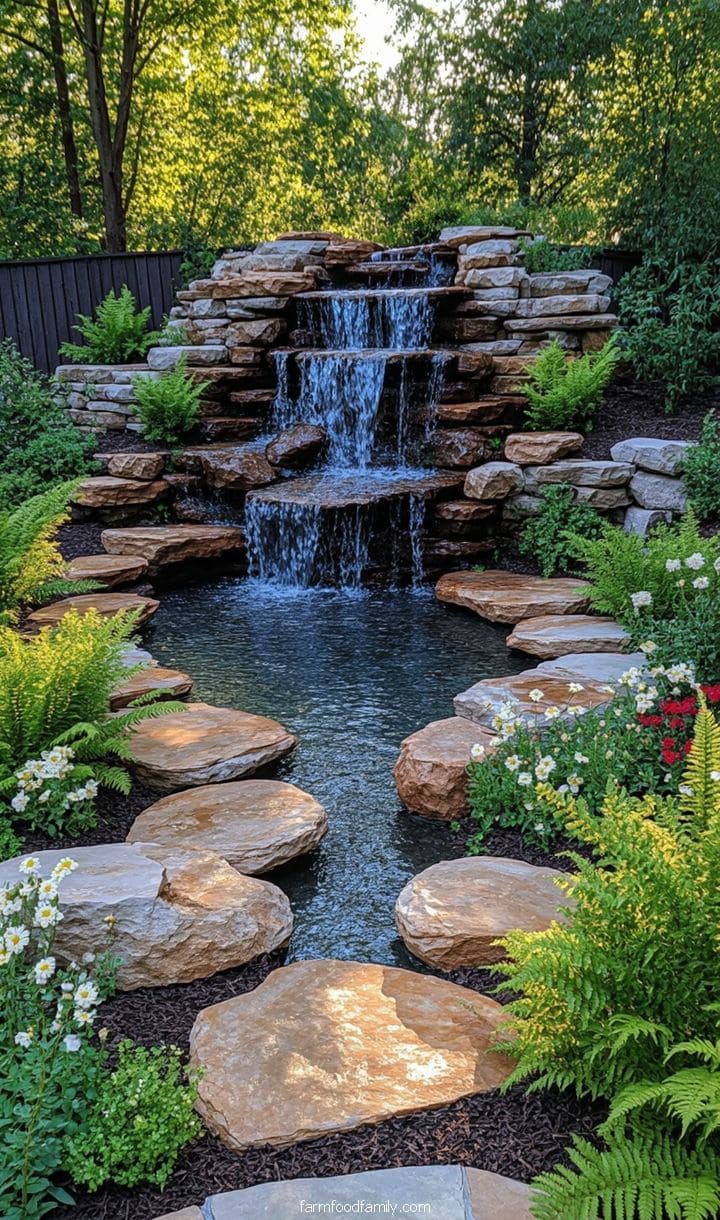
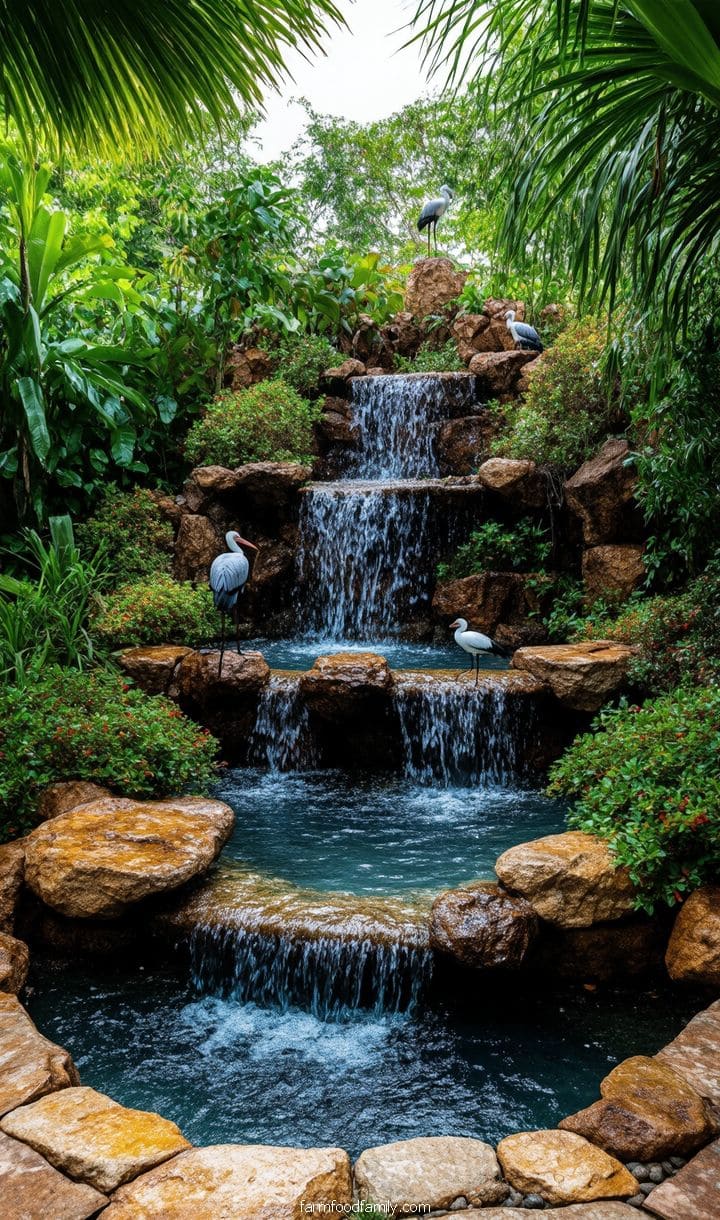
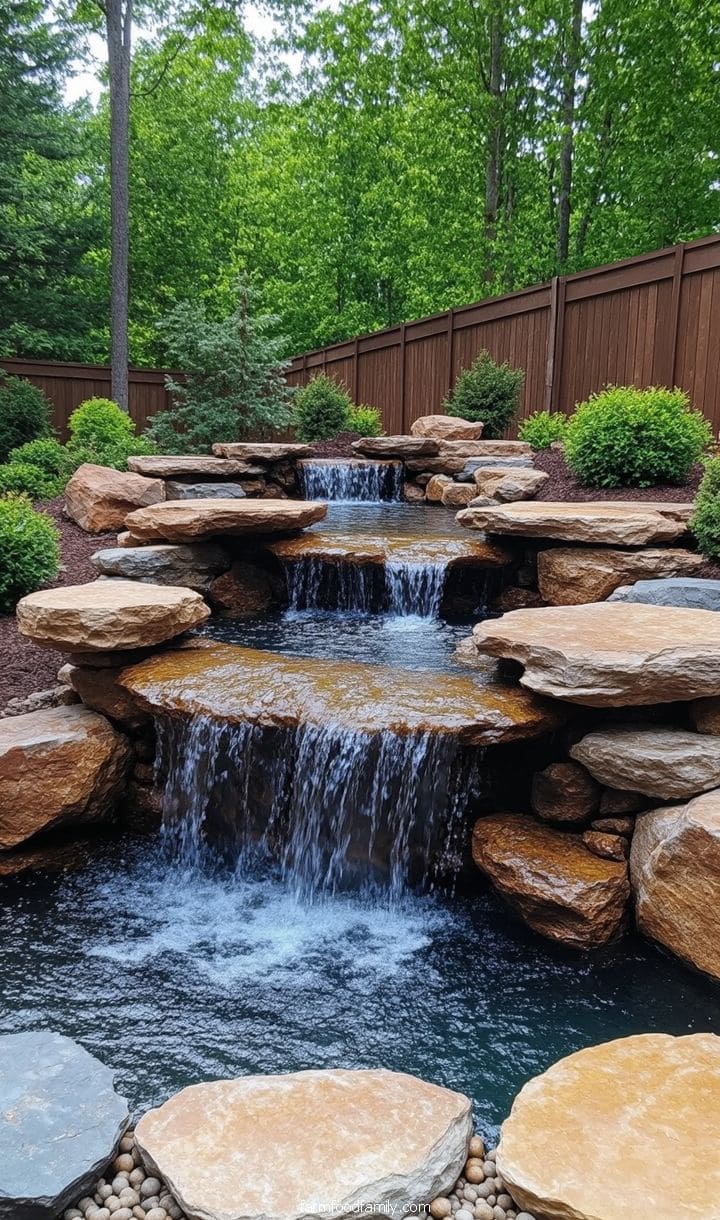
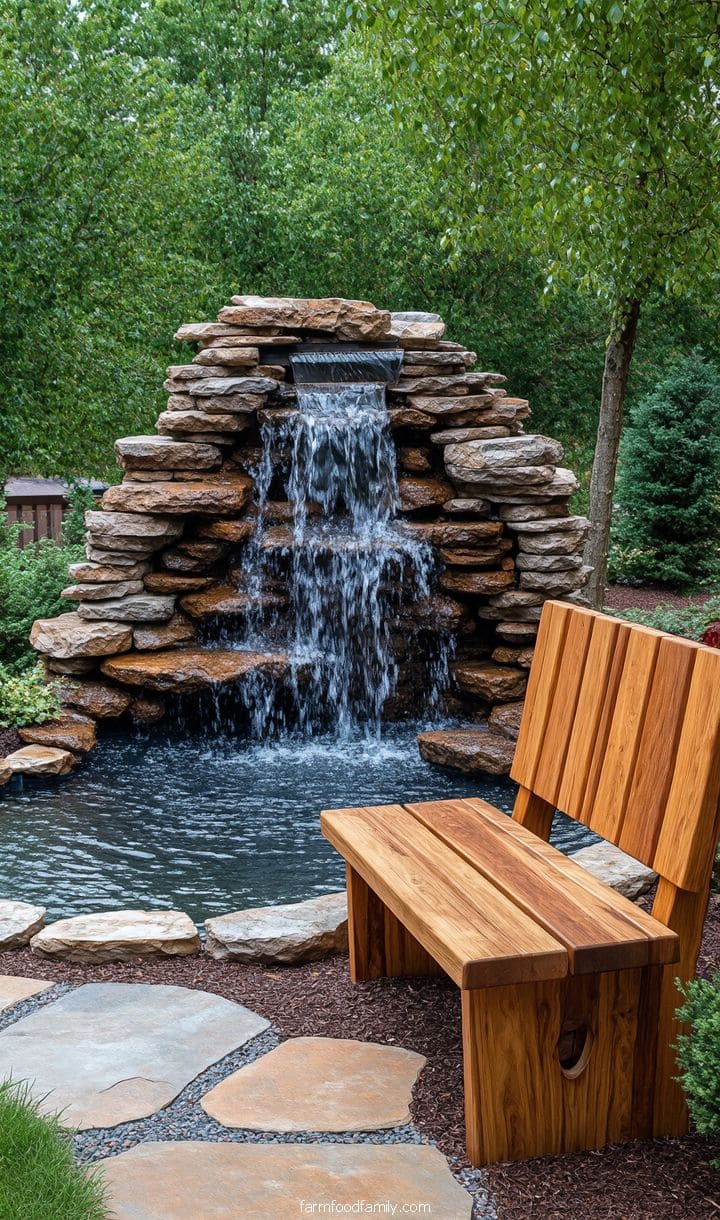
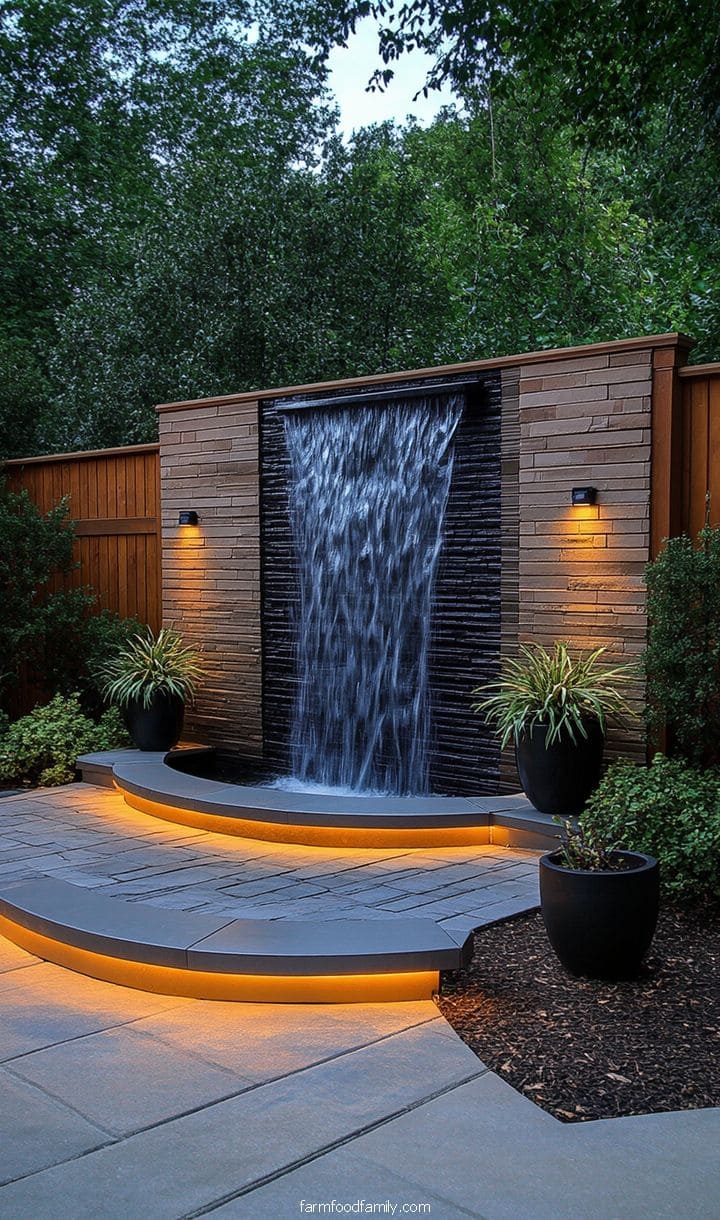
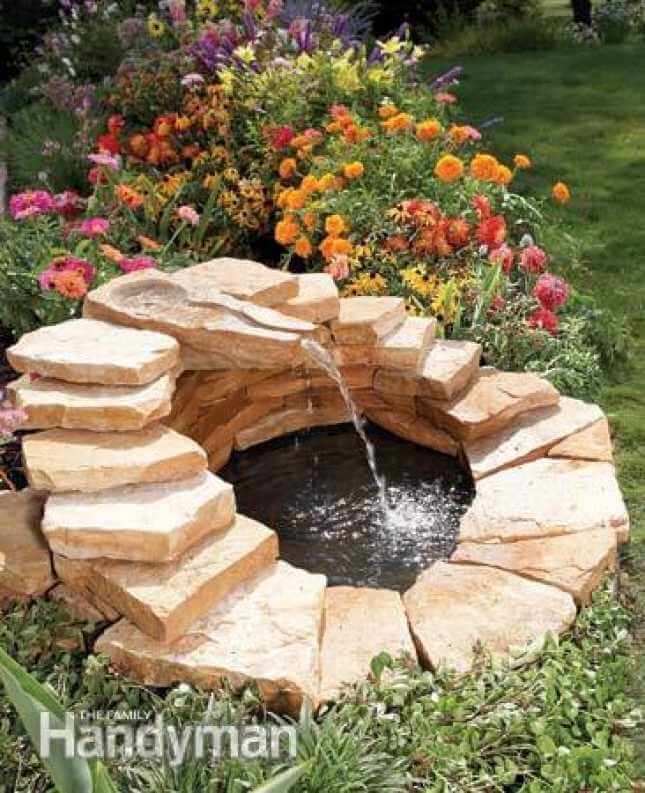
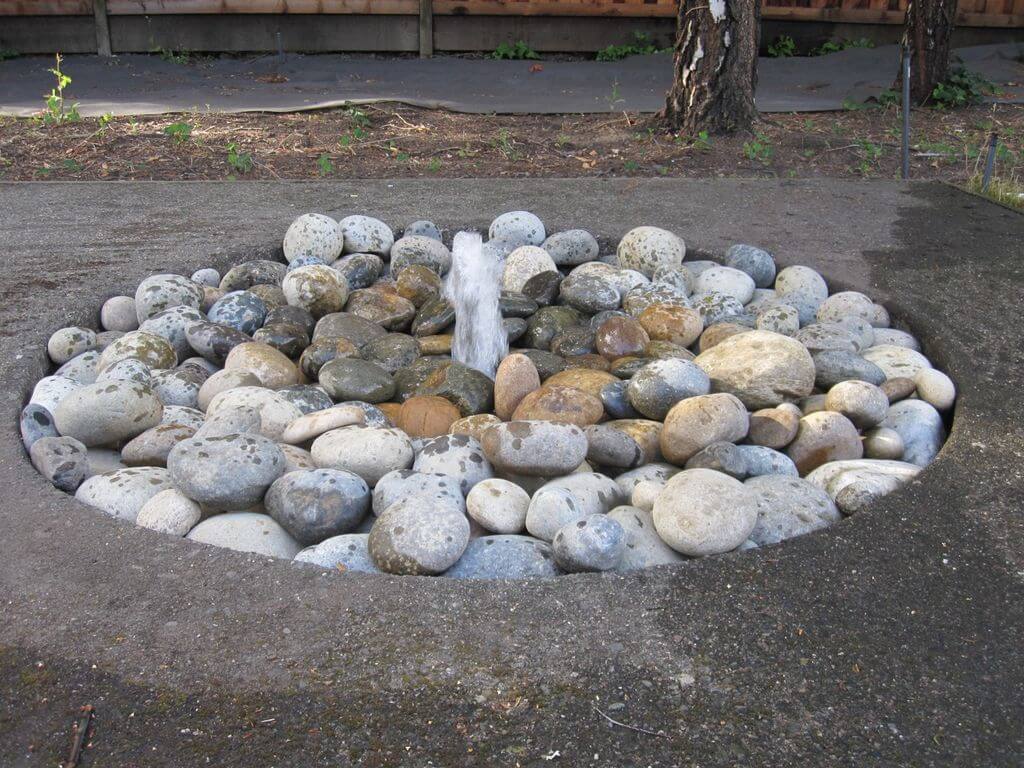
Rock Waterfall for an Organic Oasis
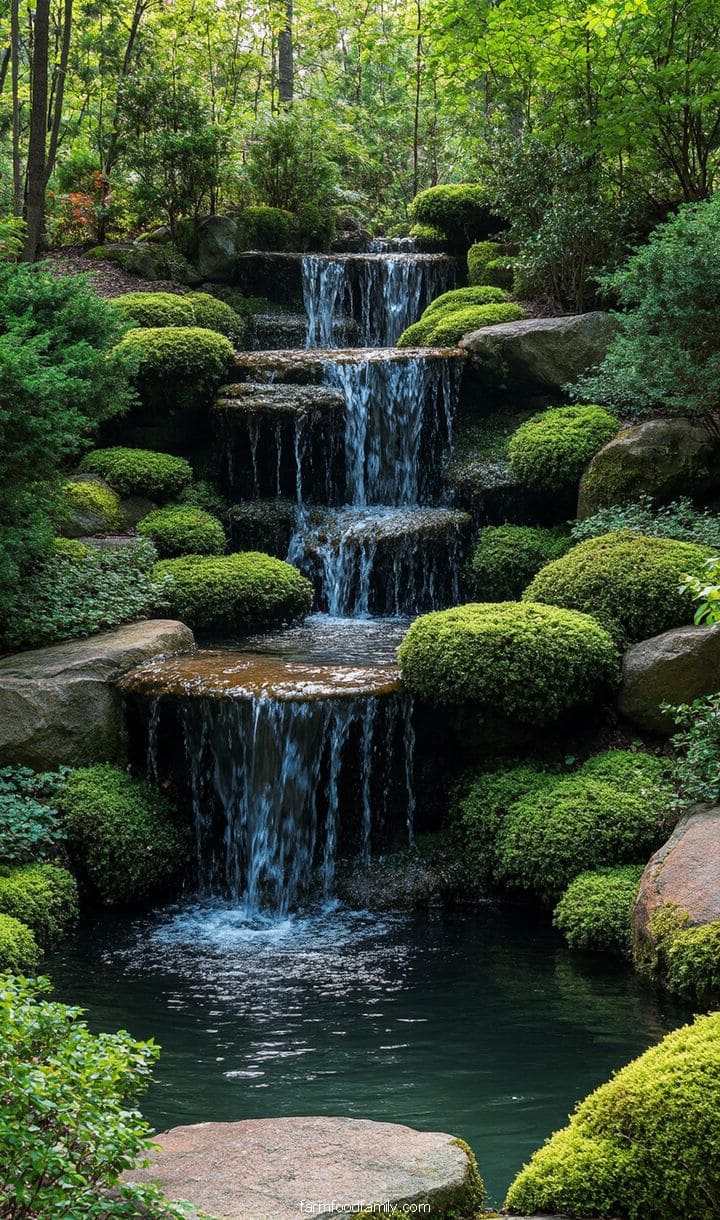
Stacked or natural stone shaped into a cascading flow that blends into the surrounding terrain.
The classic version ends in a small open pond at the base; the pondless waterfall variant, which 2026 trend coverage flags as a genuinely current, growing preference, routes the water into a hidden underground reservoir instead.
That single change removes most of the standing-water maintenance burden covered later in this guide, and it’s noticeably safer around small kids and pets since there’s no open basin to fall into.
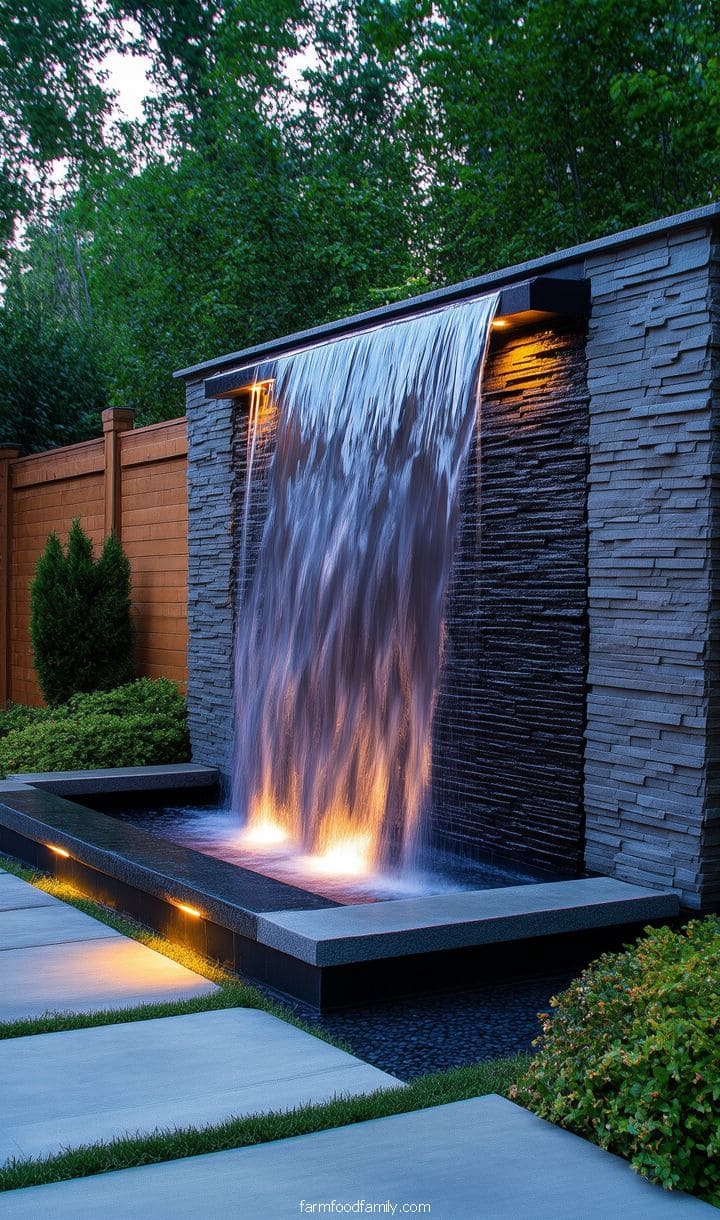
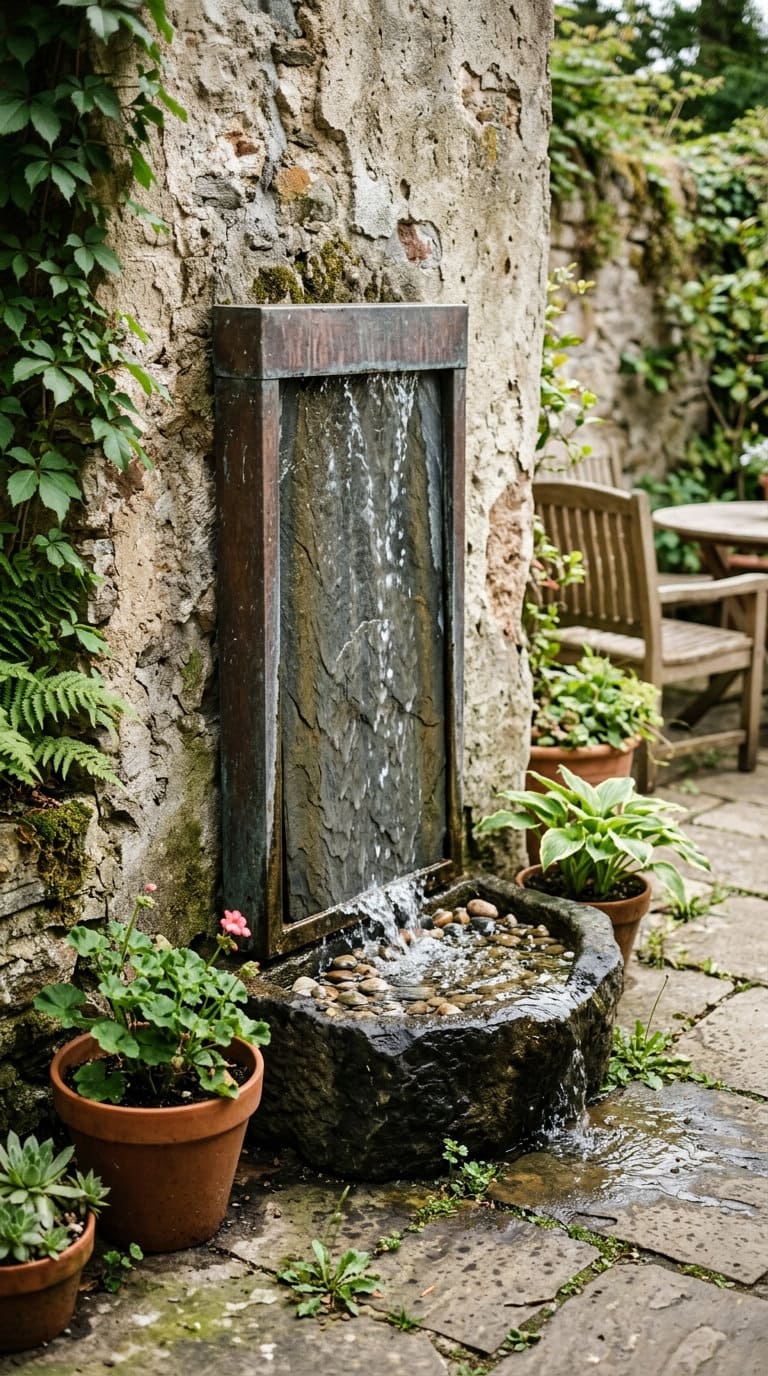
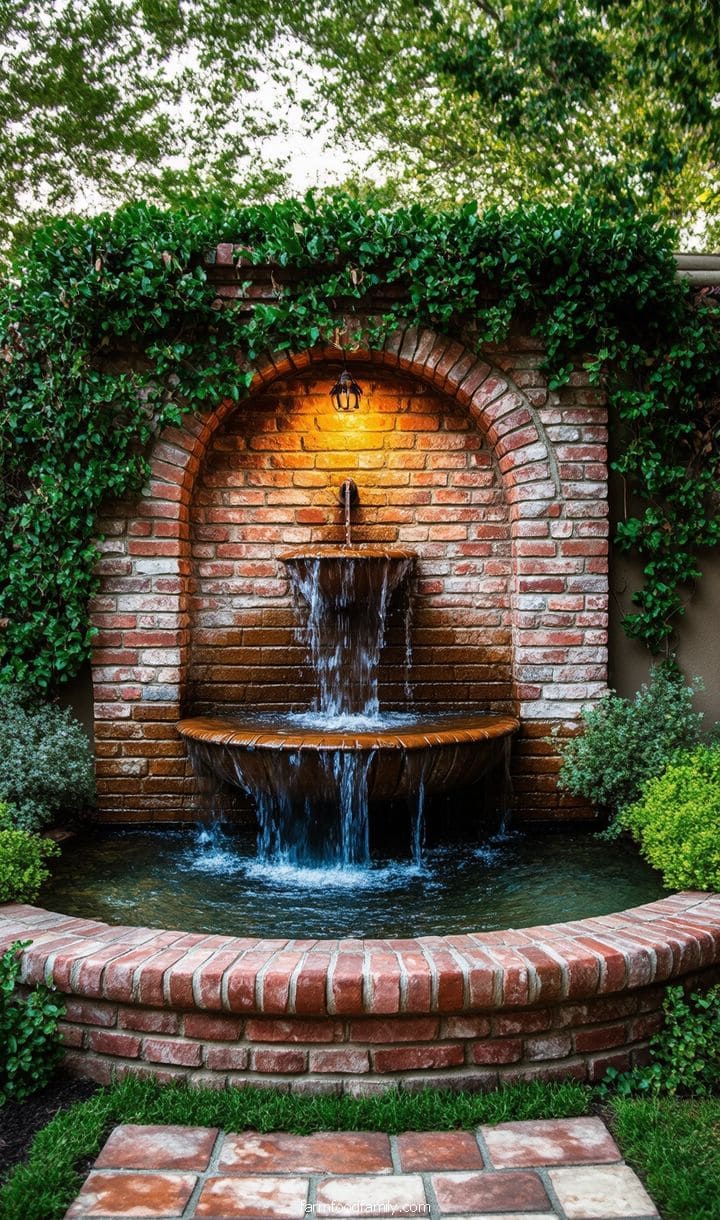
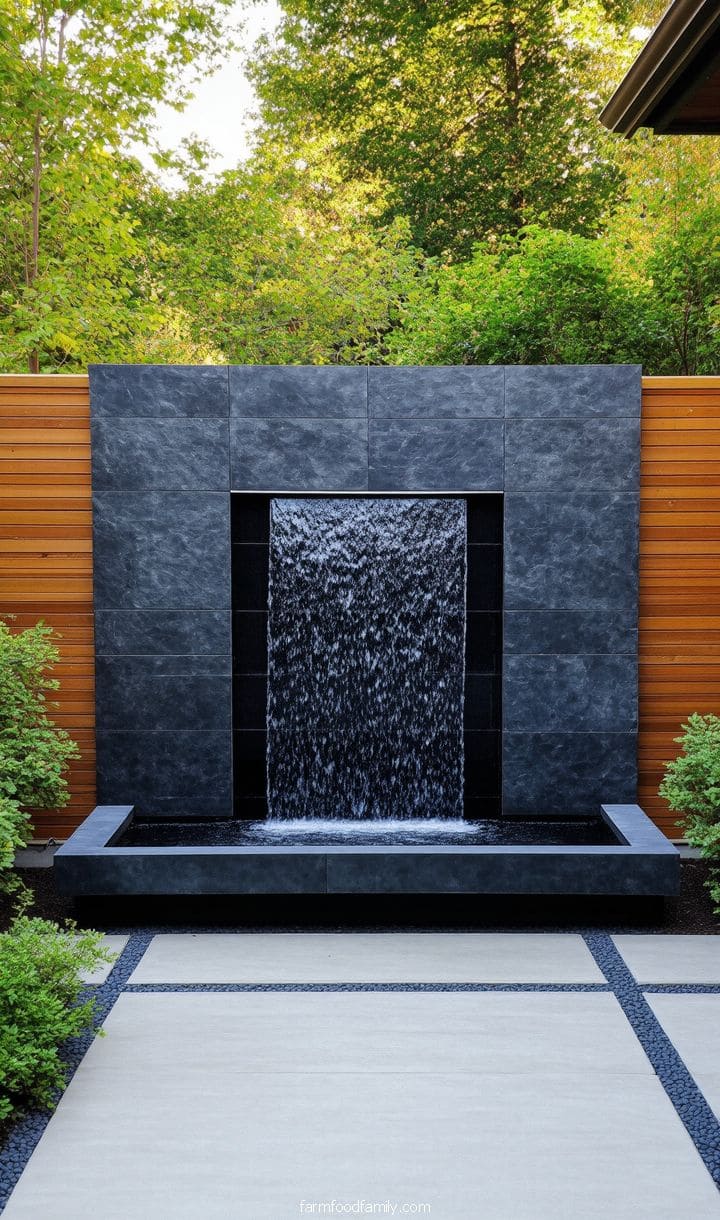
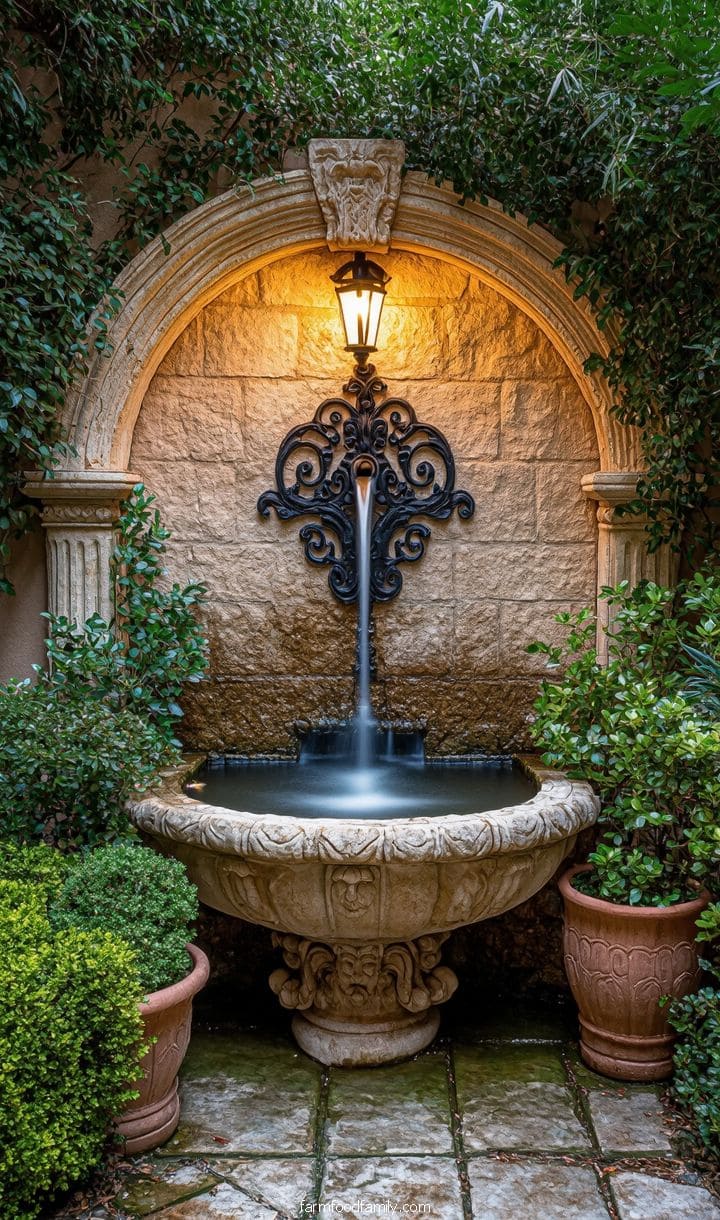
Using a Wall Fountain to Save Space
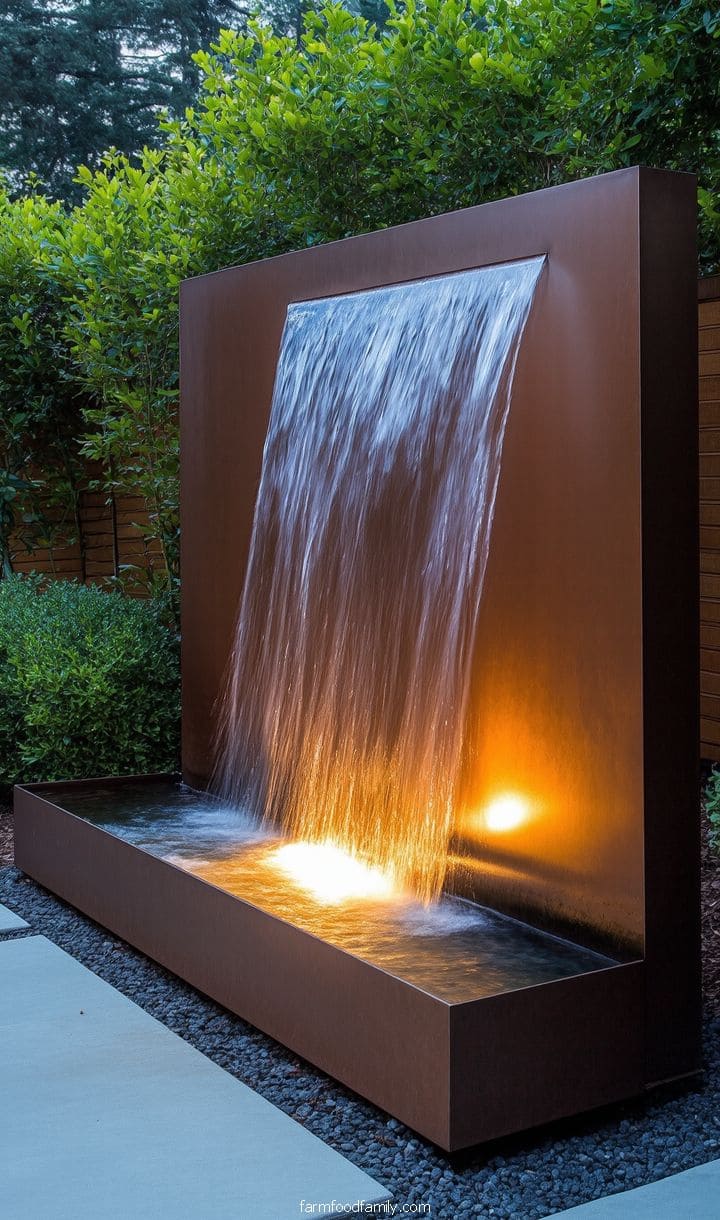
A vertical water feature for anyone short on ground space, mounted against a garden wall, on a patio, or indoors.
Sleek metal or glass with LED accents reads modern; stone or tile leans rustic or Mediterranean.
Climbing ivy softens the hardware and blends the fountain into the wall it’s mounted on.
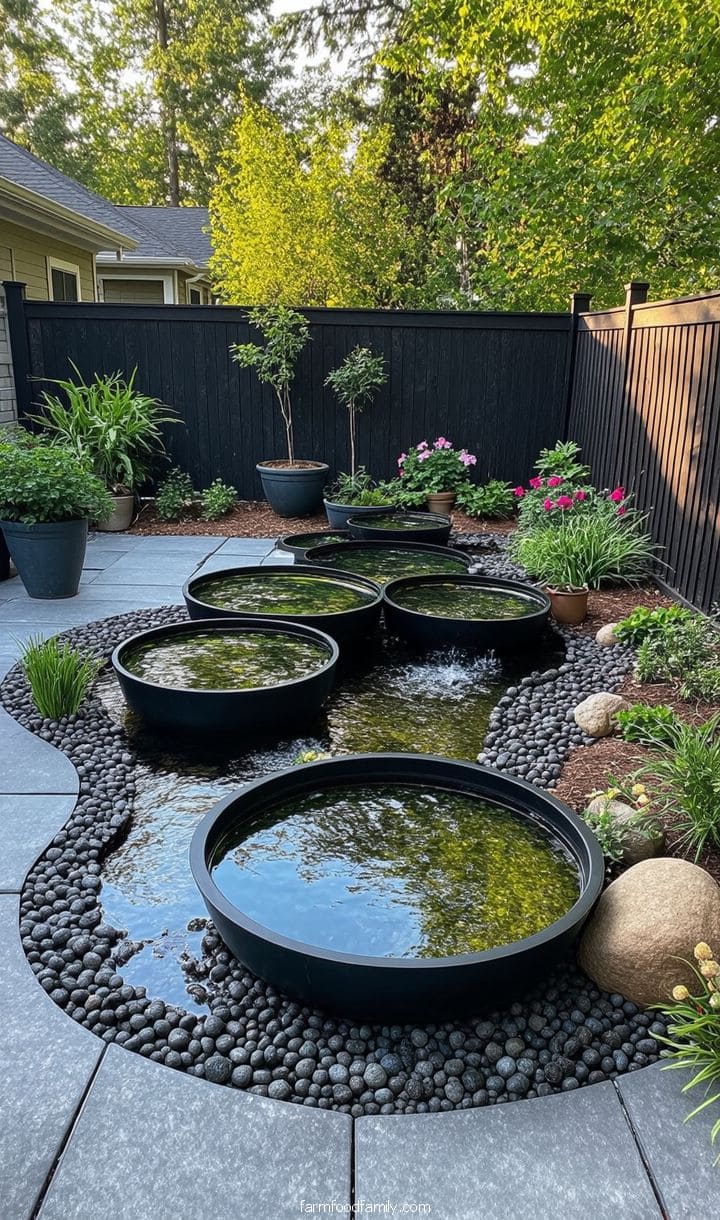
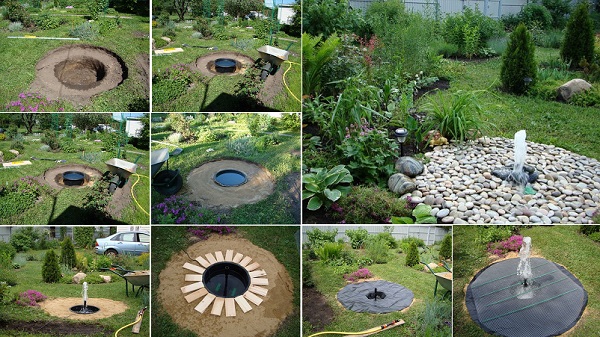
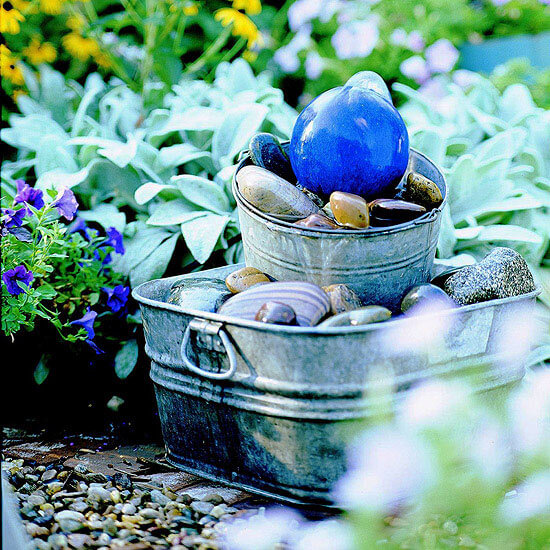
Container micro-pond

A genuinely current 2026 trend, not a relic of older DIY roundups: a large planter or half-barrel, a solar-powered pump, and a few aquatic plants turn into a working water feature for well under $200.
Falling solar pump prices and improved reliability are specifically why this trend has grown, no electrical wiring required, no permanent installation, and it’s genuinely apartment-balcony-friendly if a full in-ground feature isn’t an option.
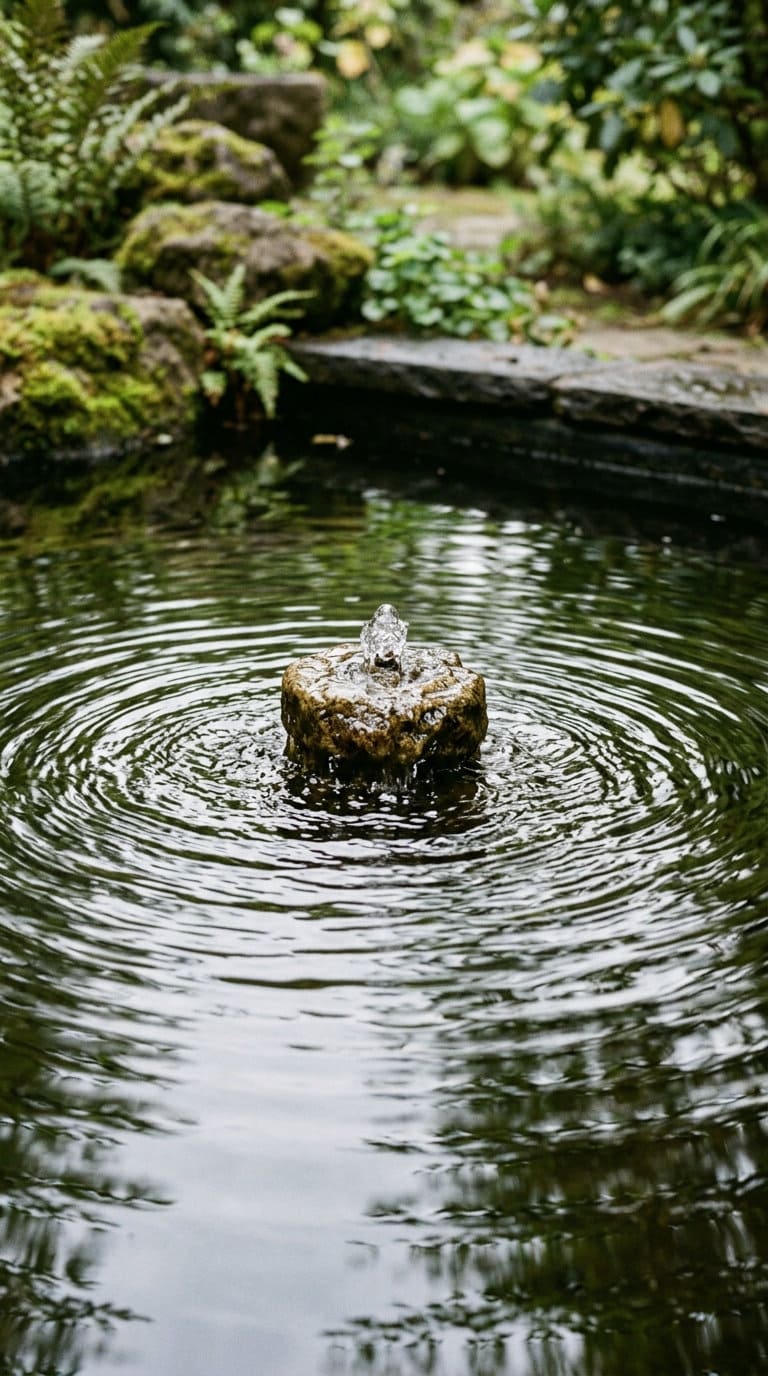
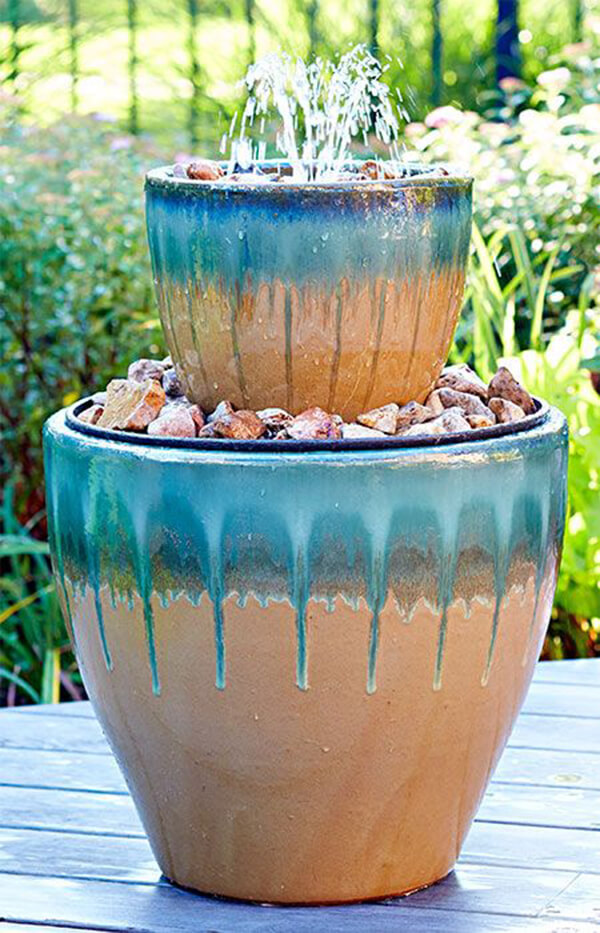
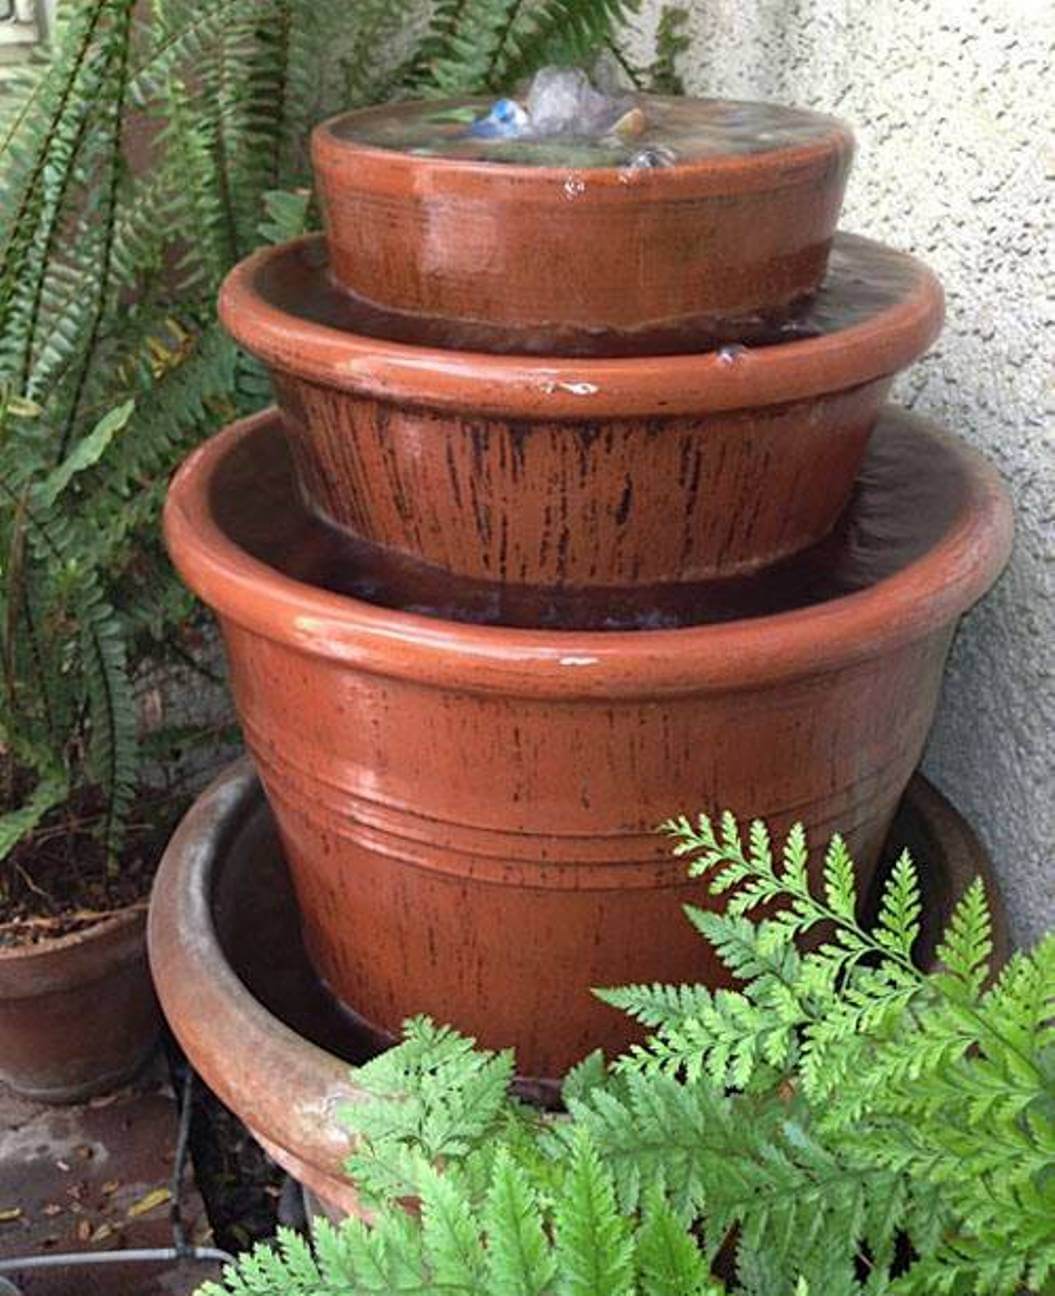
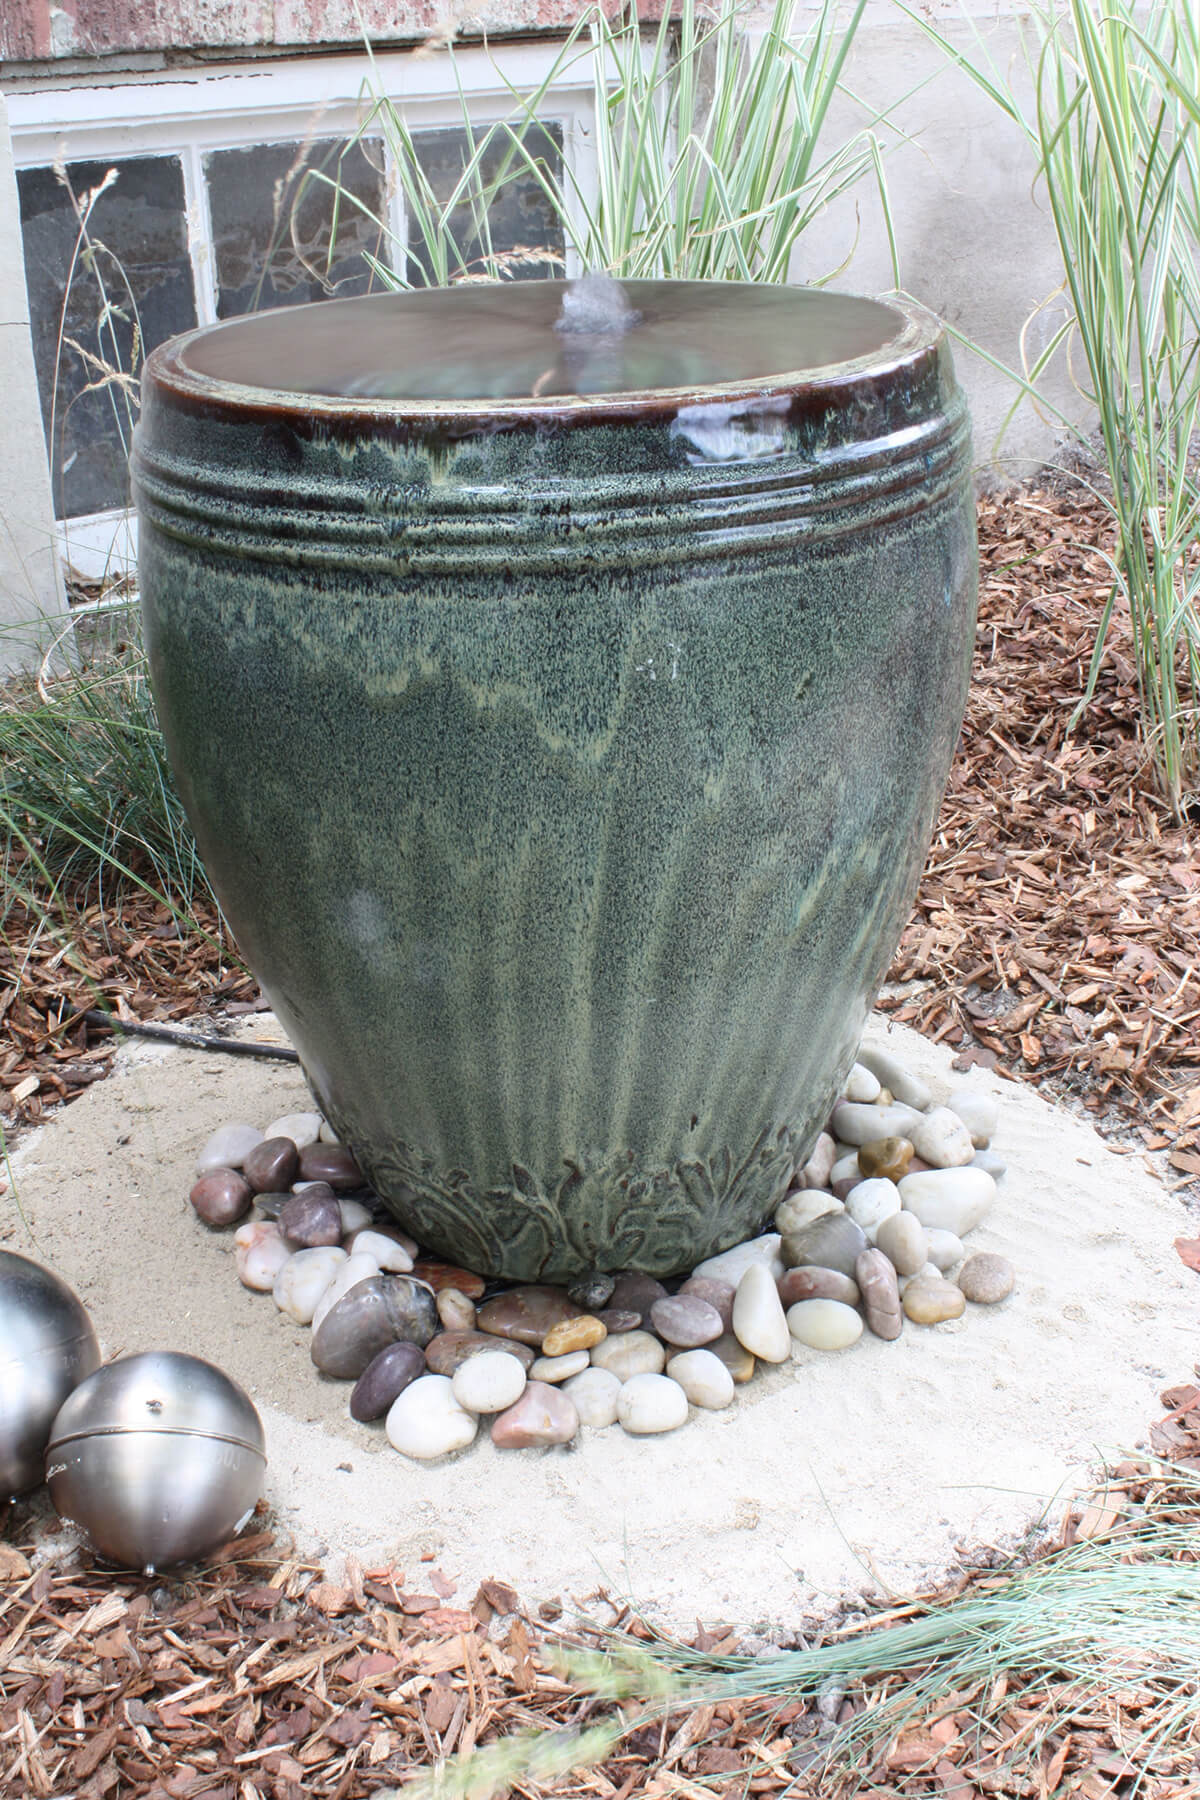
Bubbling urn fountain
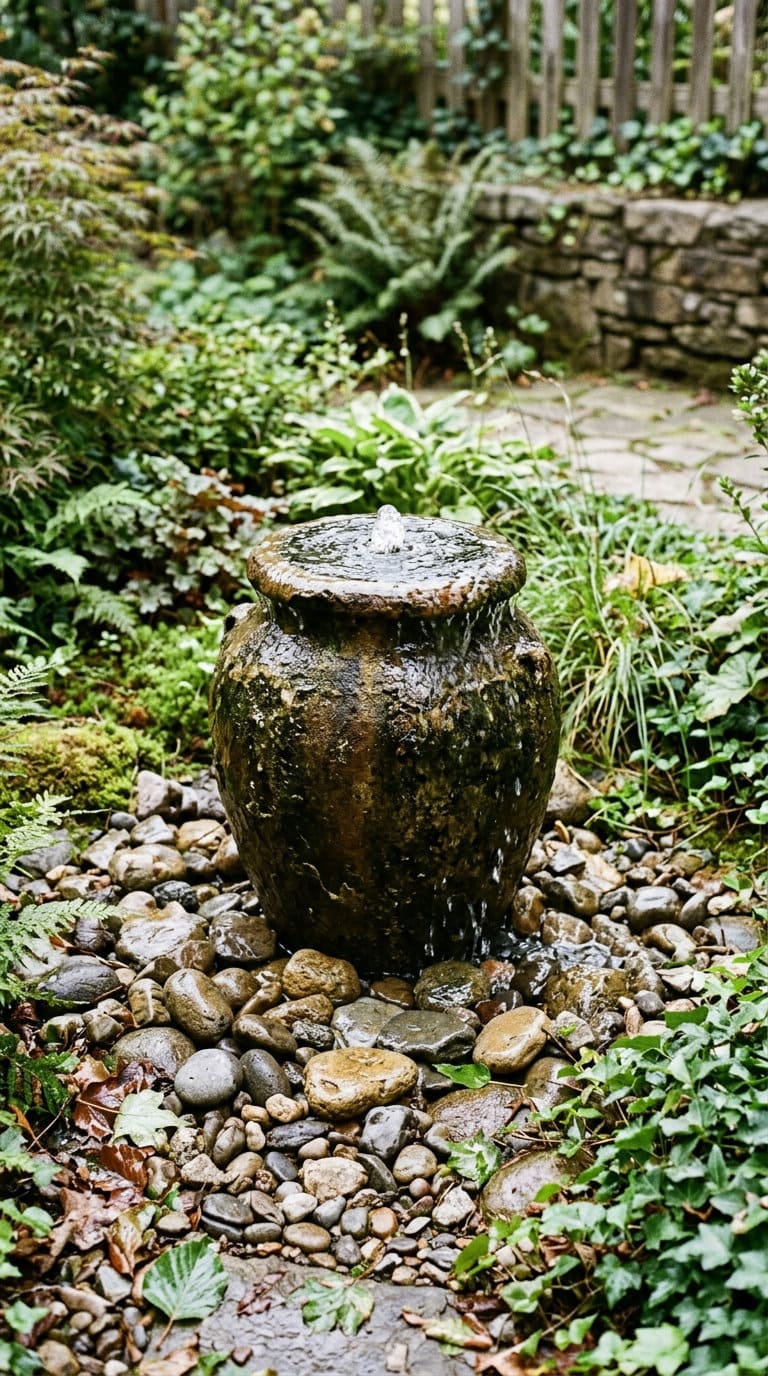
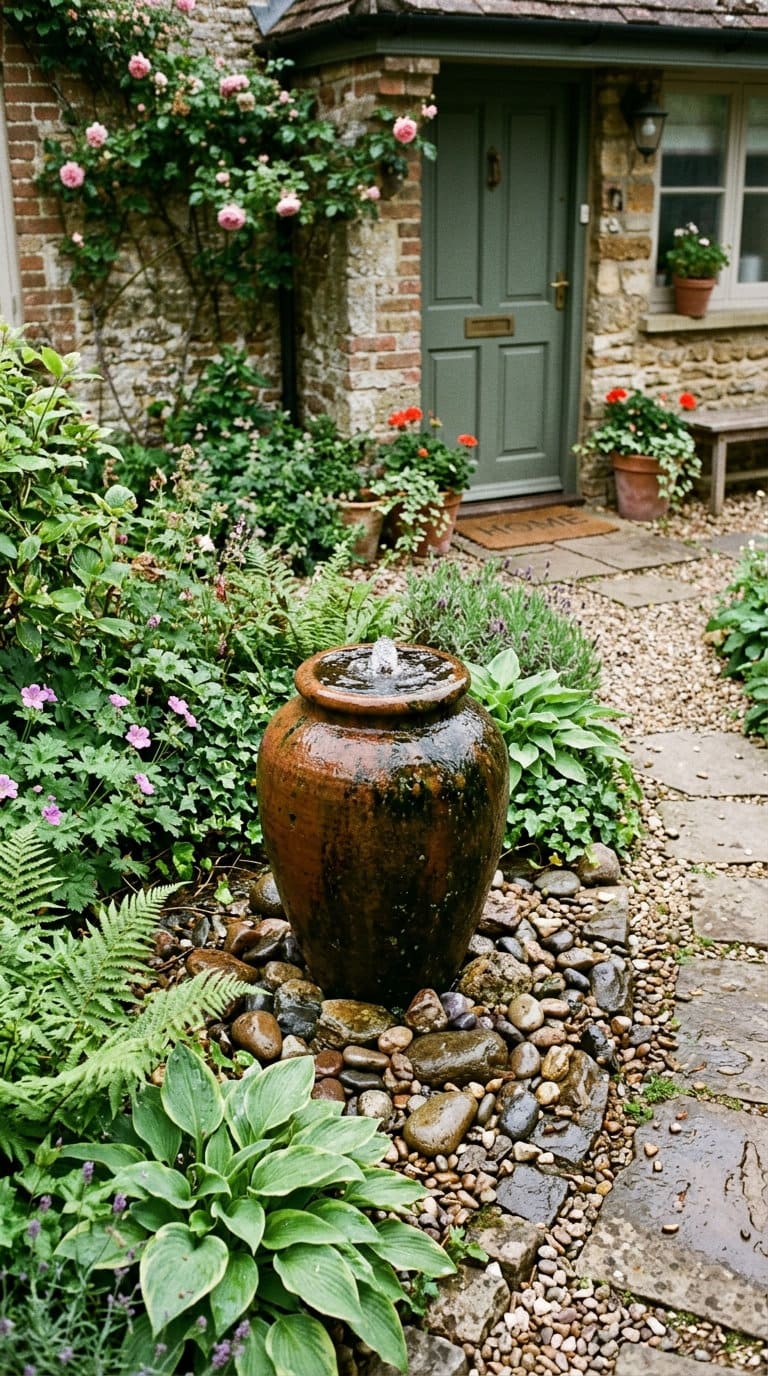
A single ceramic or stone urn with a small pump hidden beneath a layer of river rock, water bubbling gently over the rim and disappearing into a hidden underground reservoir.
Low water volume, low visual footprint, and one of the simplest true DIY builds on this list, a good starting project for anyone who hasn’t built a water feature before.
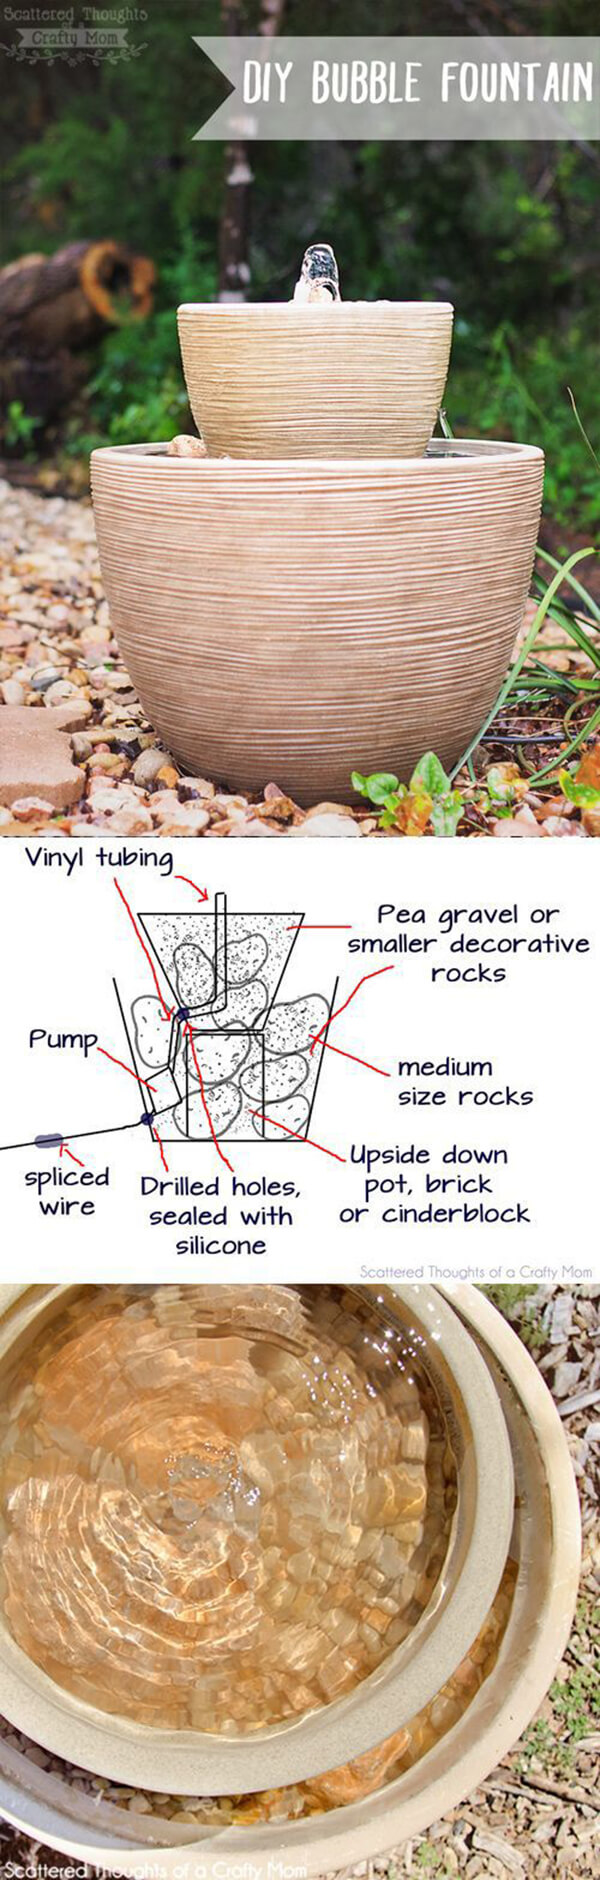

source: scatteredthoughtsofacraftymom.com
source: interiorfrugalista.com
Tea Pot Fountain
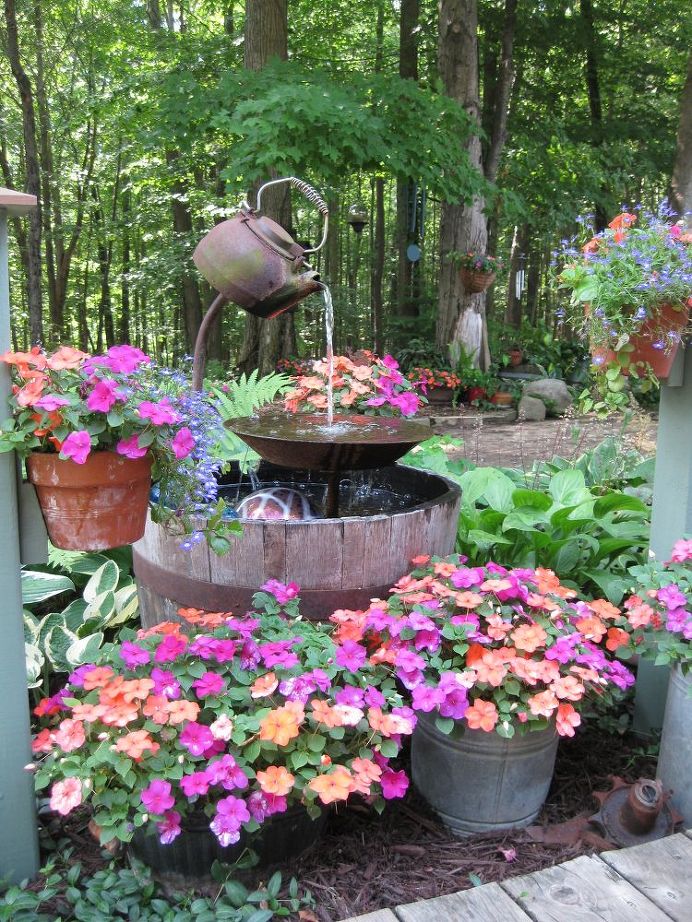
source: hometalk.com
source: safaffect.wordpress.com
source: goodshomedesign.com
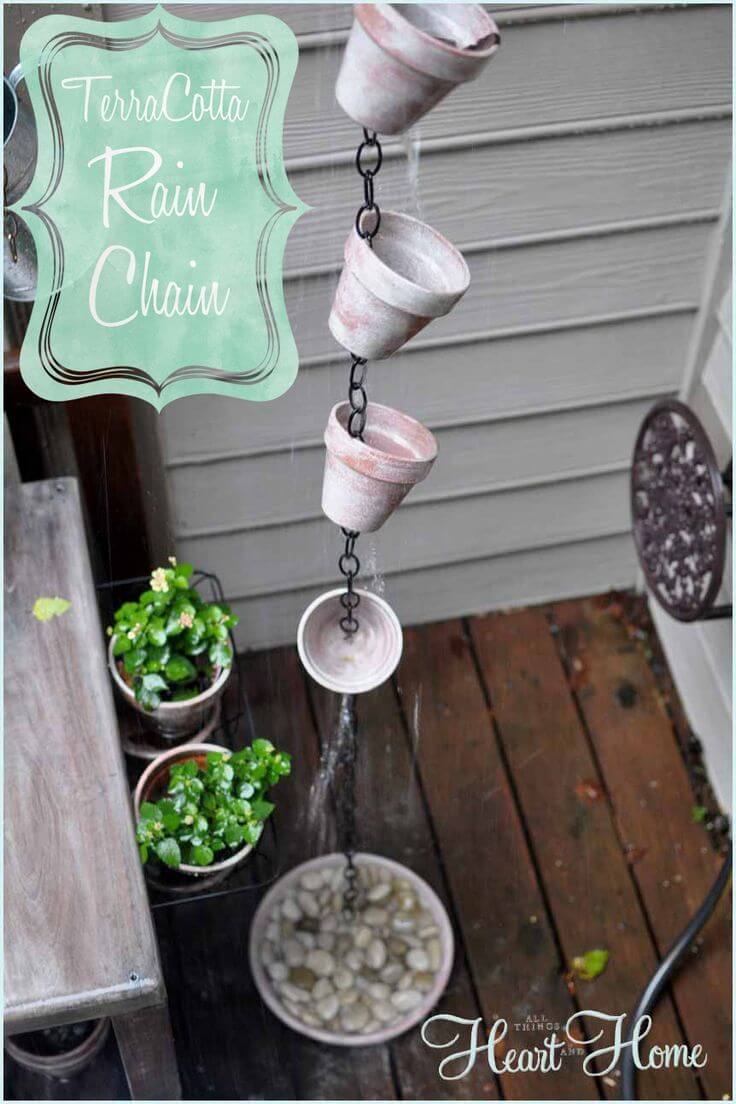
source: allthingsheartandhome.com
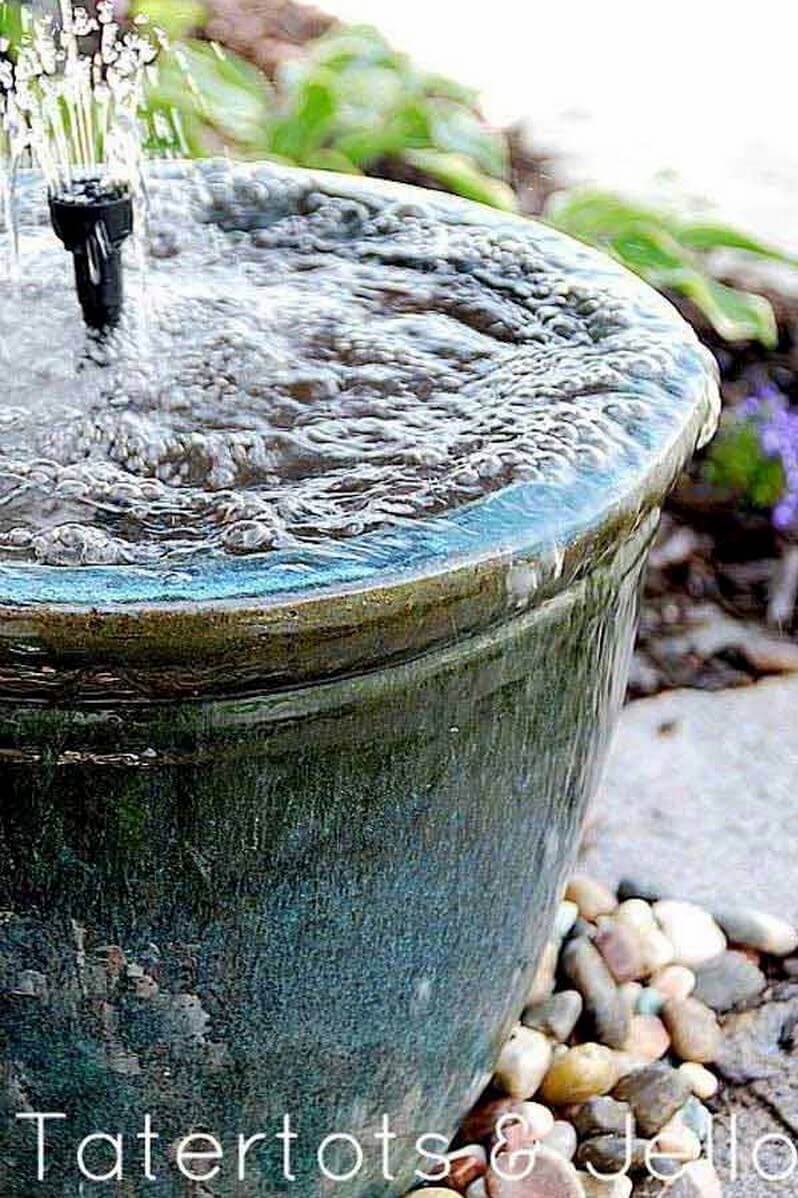
source: tatertotsandjello.com
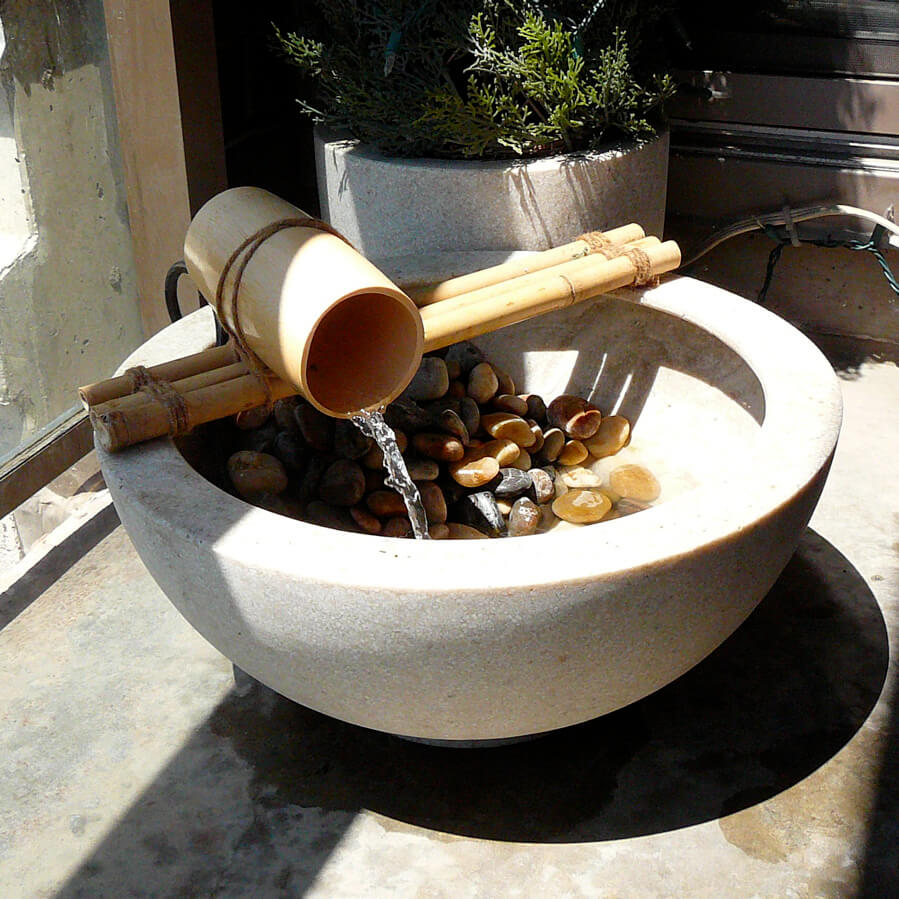
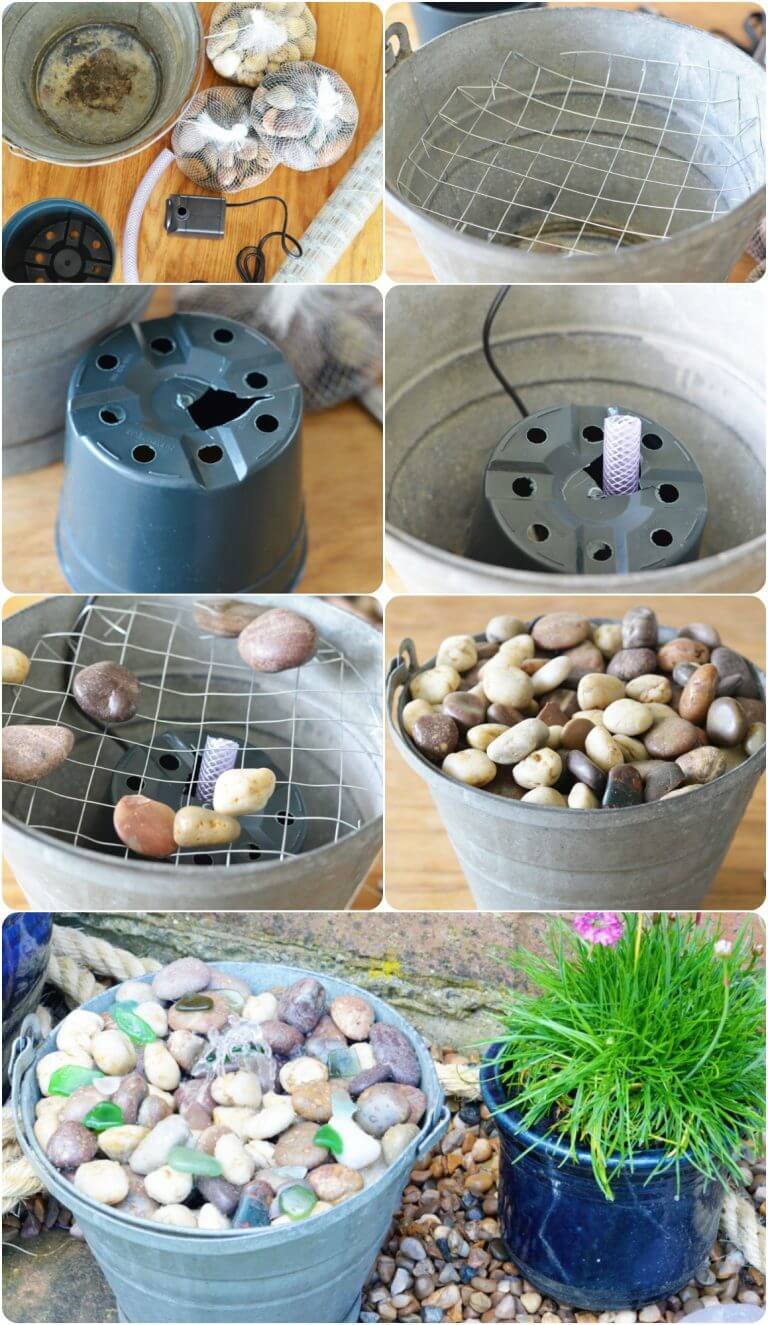
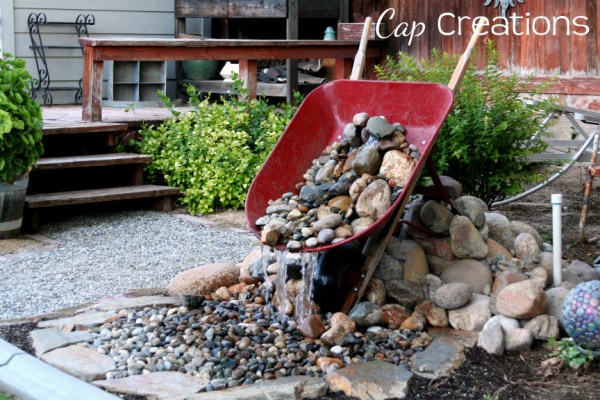
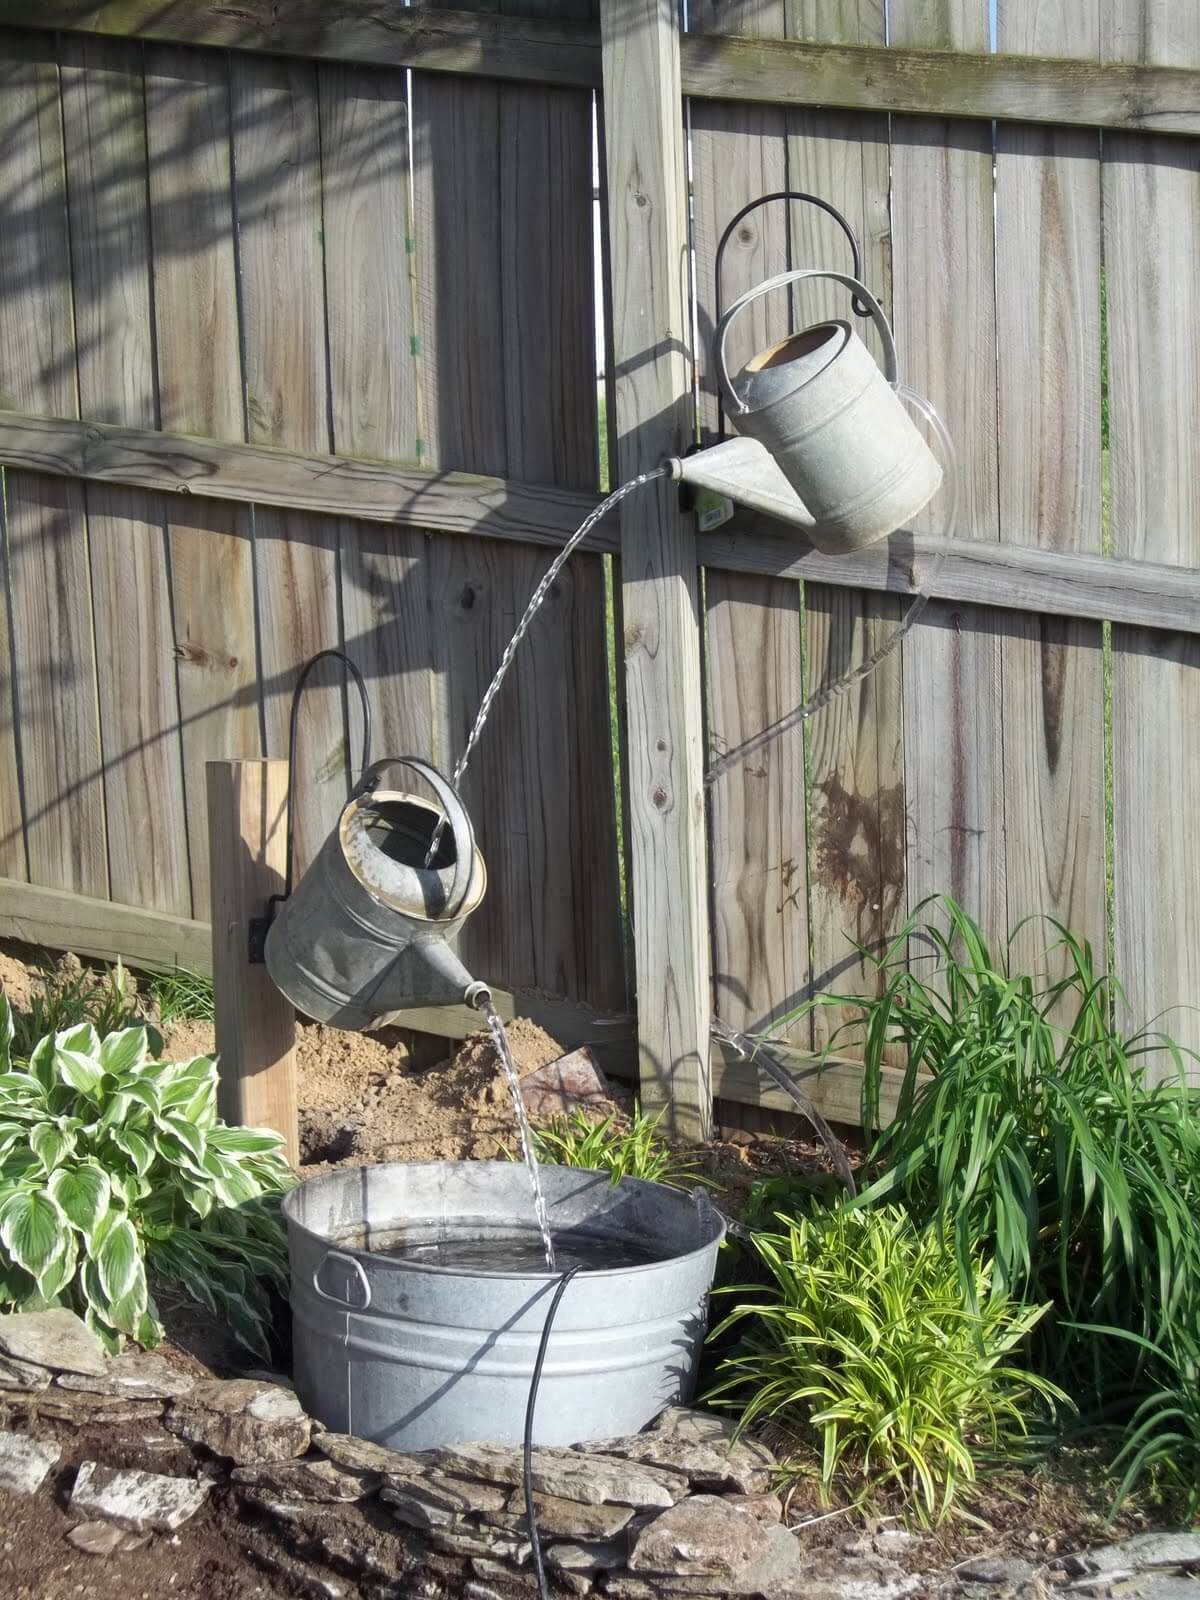
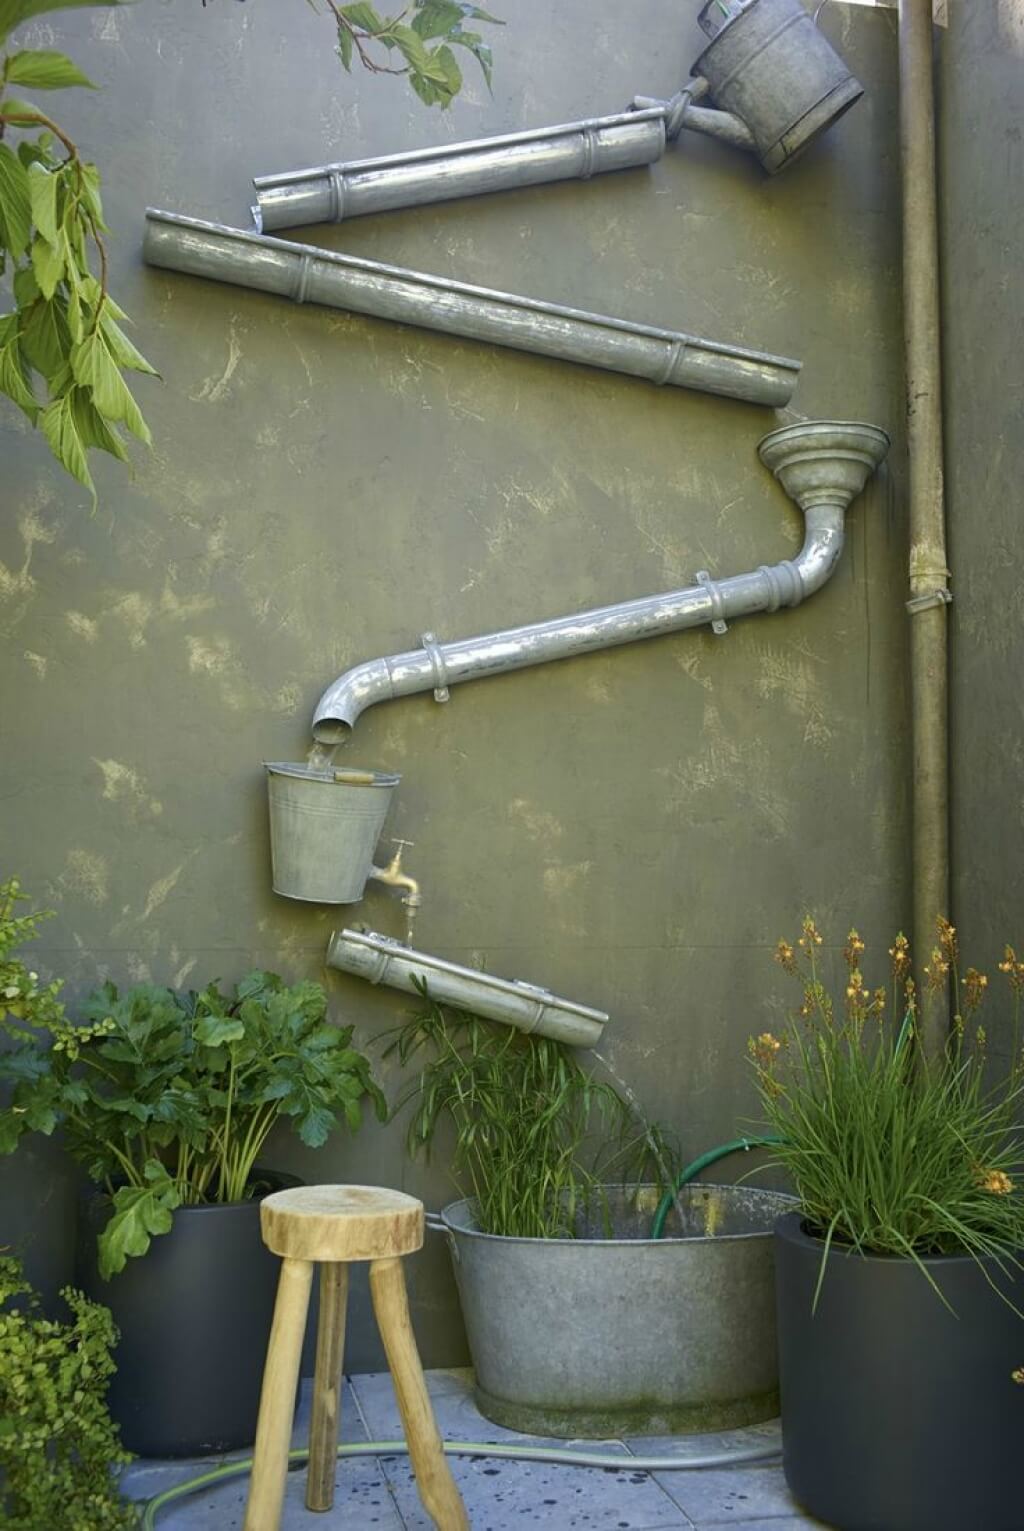
Repurposed-container fountain
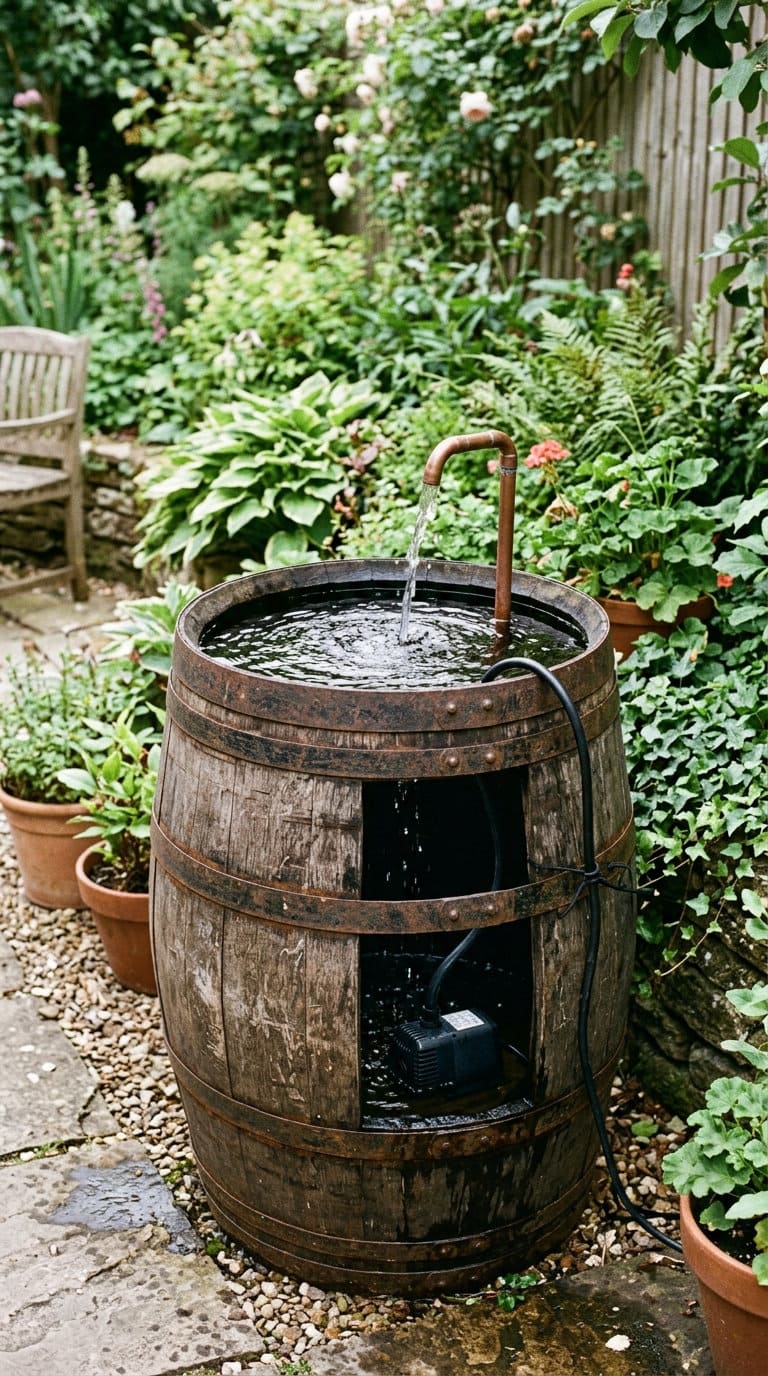
An old washtub, a wine barrel, or a large stone basin plumbed with a simple recirculating pump. The appeal is straightforwardly budget: DIY water features built from materials already sitting in a garage can run well under $200 in parts, mostly just a submersible pump and tubing. The container itself does most of the visual work, so it’s worth choosing one with real character rather than defaulting to whatever’s cheapest.
source: makingforliving.com
source: familyhandyman.com
source: lowes.com
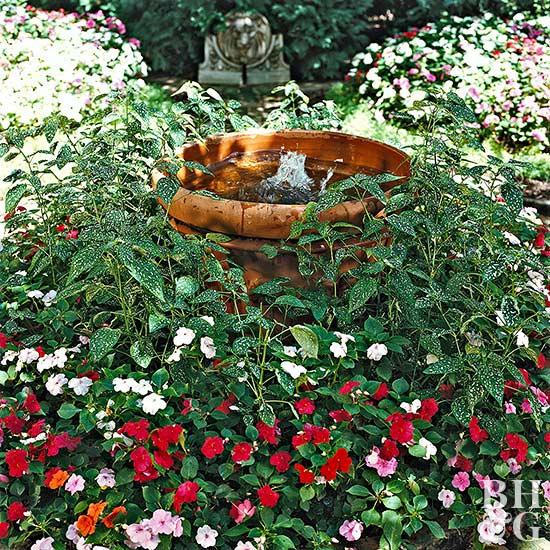
DIY Copper Water Wall
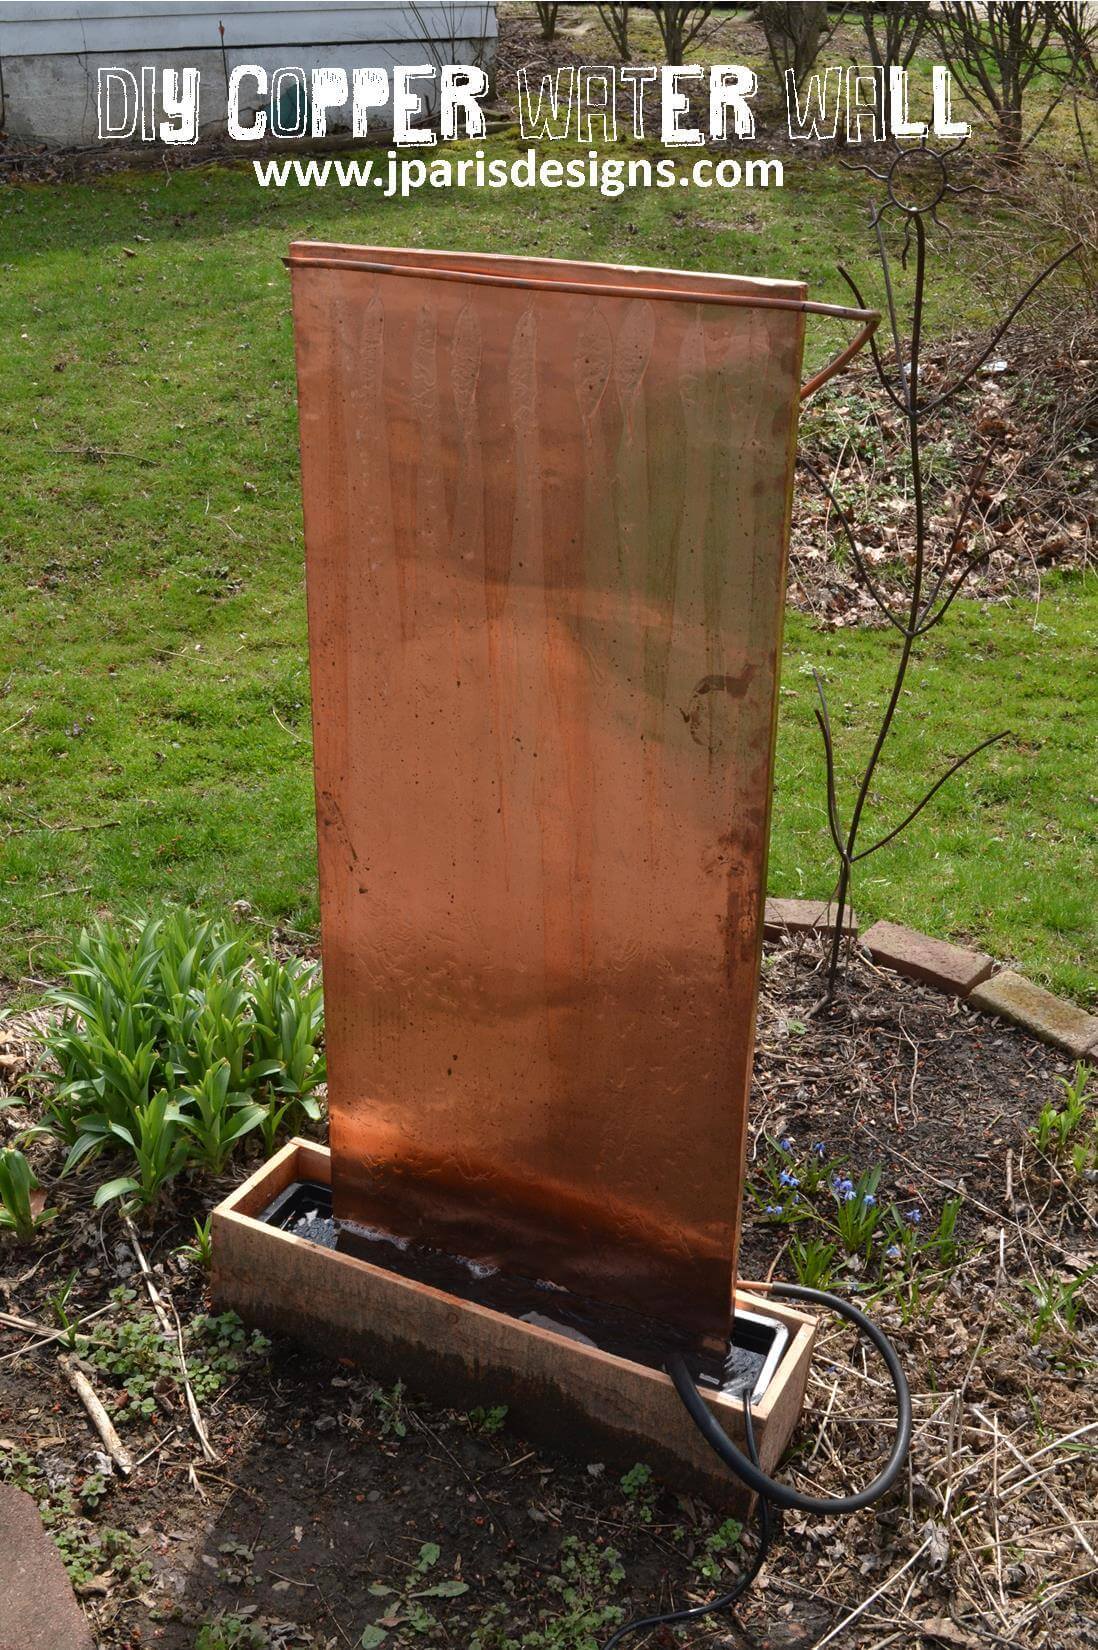
source: jparisdesigns.com
source: blog.capscreations.com
>
source: flyingkitten.wordpress.com

source: instructables.com

source: gardenfuzzgarden.com
source: gardenstew.com
source: bhg.com

source: hgtv.com
source: dawnmarie100.blogspot.com
source: bhg.com
source: hiphousegirl.wordpress.com
source: diyrecyclist.com
source: instructables.com


How to actually keep a DIY water feature clean
This is the part almost every build guide skips, and it’s the actual reason so many DIY water features get neglected or torn out. Larry Carnes, founder and president of Reflections Water Gardens, a Chicago-based pond and water garden designer with more than 30 years in the field, points to properly maintained natural water features as ones that “conserve water, have no need for the use of toxic chemicals, create a safe haven for pollinators and wildlife,” a useful standard to build toward even on a small DIY project, not just a professional installation.
Algae control
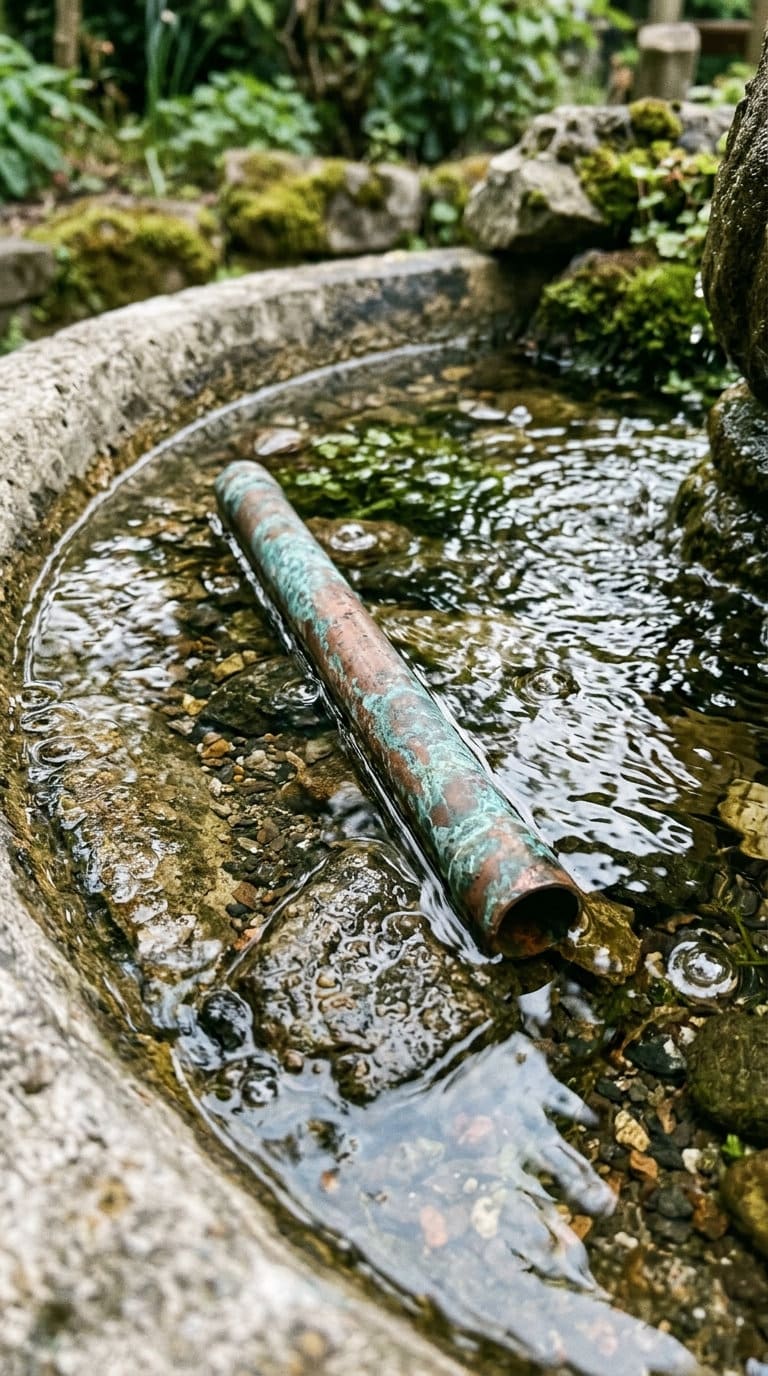
Green water is the single most common complaint about backyard fountains, and there’s a genuinely non-obvious, low-effort fix: copper. A copper pipe, copper tubing, or even a handful of pre-1982 US pennies (which were mostly copper) dropped into the water measurably slows algae growth.
This isn’t folk wisdom, copper ions disrupt algal cell membranes and interfere with the enzymes algae need to grow, a mechanism confirmed in peer-reviewed research on copper’s algicidal effect. It’s not a permanent fix, algae can return once copper concentration drops, but it’s a real, cheap, chemical-free first line of defense worth trying before reaching for a bottled algaecide.
If algae keeps coming back, a UV clarifier is the next step up: water passes through a UV-lit chamber that kills algae cells without adding any chemicals to the water, a genuinely pet- and wildlife-safe option for anyone whose dog drinks from the fountain.
The magic eraser trick
For the algae and mineral film that builds up directly on a fountain’s basin or tiers, a melamine foam “magic eraser” scrubs it off without bleach or commercial cleaners, a real, widely-repeated trick specifically because it’s safe around pets that drink from the water. It won’t prevent algae from returning, but it makes the weekly wipe-down fast enough that it actually gets done.
Mosquito prevention
Mosquitoes need standing, still water to lay eggs and complete their larval stage, which is exactly why an unmaintained birdbath is a bigger mosquito risk than a running fountain.
CDC guidance on mosquito control at home and EPA guidance on stormwater structures and mosquitoes both recommend emptying and changing water in birdbaths, fountains, and similar features at least once a week, and both note that keeping water moving with a working pump substantially reduces mosquito breeding compared to standing water. A pump that’s been switched off for a season, not the fountain itself, is usually the actual problem.
Evaporation isn’t a maintenance plan
“Just keep topping it off” is a common first instinct, and it’s not wrong exactly, but it’s not sufficient on its own. Water that evaporates concentrates whatever minerals were already dissolved in it, which accelerates scale buildup on pumps and tiers over time. A full water change every few weeks, not just topping off the level, keeps mineral concentration from climbing steadily all season.
Winterizing
Before the first hard freeze, drain standing water from pumps, tubing, and any basin that can’t handle ice expansion, and store the pump indoors over winter if the feature won’t run year-round. A cracked basin from a frozen pump is one of the more common reasons a DIY water feature quietly disappears after its first winter.
FAQs
How do I keep my DIY fountain from growing algae?
A copper element, a copper pipe, copper tubing, or pre-1982 copper pennies, slows algae growth by disrupting the cell function algae need to grow, a mechanism backed by peer-reviewed research. For a more permanent, still chemical-free fix, a UV clarifier kills algae cells as water passes through it. For existing buildup on the basin itself, a melamine “magic eraser” scrubs it off safely, including in fountains pets drink from.
Do water features attract mosquitoes?
Standing, unmaintained water does. Moving water doesn’t, at least not nearly as much, since mosquitoes need still water to lay eggs and complete their larval stage. Both CDC and EPA guidance recommend weekly water changes in birdbaths and fountains regardless of whether the pump is running, since even a working pump doesn’t fully eliminate every still pocket in a feature’s basin.
What’s the cheapest way to build a DIY water feature?
A container micro-pond or a repurposed-container fountain, a large planter, half-barrel, or basin with a small submersible or solar-powered pump, commonly runs well under $200 in parts, especially if the container itself is something already sitting in a garage or basement. Koi ponds and full custom installations run into the thousands; a simple bubbling urn or container pond does not.
Conclusion
A DIY water feature is easy to build and, without a real maintenance plan, easy to abandon. Pick a design that matches how much upkeep you’re actually willing to do, a pondless waterfall or container micro-pond if low-maintenance matters most, a koi pond only if the ongoing commitment is genuinely welcome, and build the algae and mosquito prevention habits in from day one rather than reacting once the water’s already green. And if you’re still not sure which build fits your yard, that’s probably a sign to start with the cheapest, smallest option on this list first.


Additional resources
Books:
- “The Water Gardener’s Bible” by Ben Helm and Kelly Billing, a comprehensive guide to creating, planting, and maintaining water gardens.
- “The Complete Guide to Building Backyard Ponds, Fountains, and Waterfalls for Homeowners” by Melissa Samaroo, step-by-step instructions for a range of water features.
Websites and communities:
- The Pond Guy, algae control products and a genuinely useful learning center on fountain and pond maintenance.
- r/DIY on Reddit, an active community for troubleshooting real DIY water feature builds.
Related: