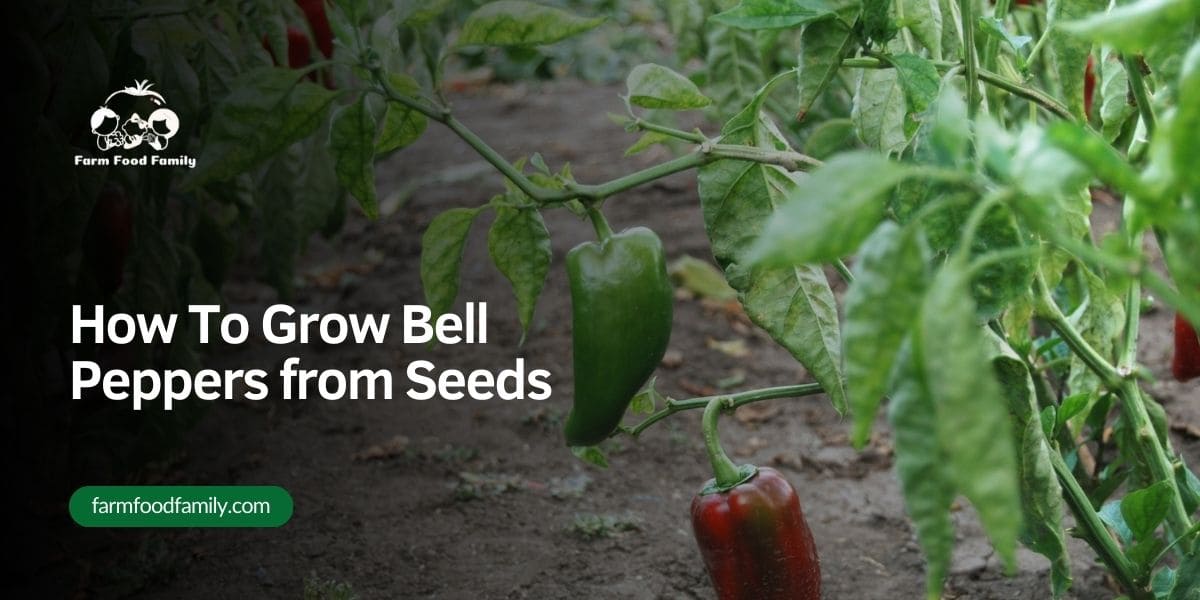
How To Grow Bell Peppers from Seeds – Easy Tips for 2026
Why do some folks get all hyped about Growing Bell Peppers from Seeds? Well, it ain’t just about popping some seeds into the ground and hoping for the best. Bell peppers, those colorful veggies that jazz up your salads and stir-fries, are a bit of a favorite in gardens everywhere. And there’s a solid reason behind that.
When you start with seeds, you’re not just growing a plant; you’re getting a front-row seat to the whole show. From tiny sprout to full-blown pepper, it’s like watching nature’s magic at work. Plus, let’s not forget the satisfaction bit. There’s something about nurturing those seeds with your own two hands that makes the peppers taste all the sweeter. And who can ignore the bragging rights? “Grew ’em myself from seeds!” sounds pretty darn good.
Now, if you’re thinking this is some next-level gardening trick, hold up. It’s not as tricky as it sounds. But why go for seeds when you could just buy the plants? Ah, here’s where it gets interesting. Growing bell peppers from seeds opens up a whole world of varieties you might never find at your local garden center. We’re talking colors that span the rainbow, flavors from sweet to fiery, and shapes that’ll make your garden the talk of the town.
So, how about we ditch the jargon, skip the technical mumbo-jumbo, and get straight to the point? Growing bell peppers from seeds is rewarding, fun, and, dare I say, a bit addictive. Stick around, and you’ll see just how doable it is.
Understanding Bell Peppers
Diving into the world of bell peppers is like opening a box of crayons – you get a bunch of bright, appealing colors that can liven up your garden and your plate. Let’s break it down, easy-peasy.
Types of Bell Peppers
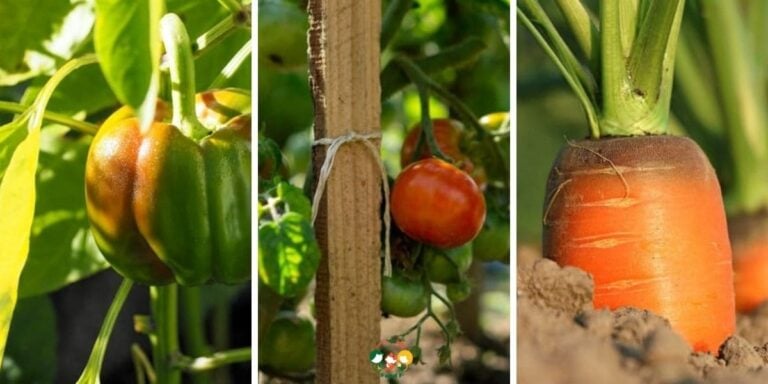
Bell peppers come in a palette of colors, each with its own unique taste and use in the kitchen. You’ve got your classic greens, which are just unripe peppers that pack a bit of a sharper taste.
Reds are sweeter, perfect for adding a pop of color and flavor to dishes. Then, there are the yellows and oranges, milder and ideal for those who prefer a less intense pepper.
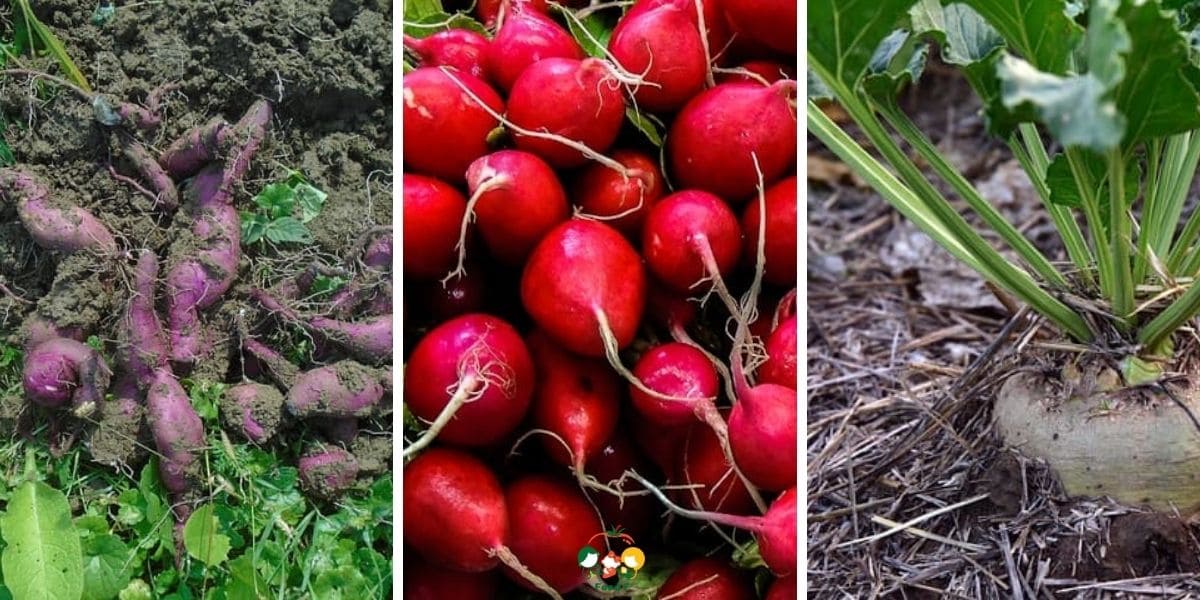
Ever seen purple or chocolate-colored peppers? Yep, those exist too, and they’re not just for show. They bring their own distinct flavors and a bit of mystery to your garden and meals.
Nutritional Benefits of Bell Peppers
Bell peppers aren’t just a feast for the eyes; they’re loaded with vitamins and nutrients. Talk about a power-packed veggie! They’re brimming with Vitamin C – more than your average orange – and they’ve got a good dose of Vitamin A, which is great for your eyes.
Plus, they’re low in calories, making them a perfect snack for anyone looking to munch on something crunchy without packing on the pounds. And let’s not forget the fiber, folks. They keep your digestive system running smoothly, making bell peppers a top-notch choice for your overall health.
Preferred Growing Conditions
Bell peppers are a bit picky about where they set up shop. They crave warmth and don’t take kindly to cold snaps. These veggies thrive in temperatures between 70-85°F (21-29°C). They love a sunny spot – think full sun, with a minimum of 6 to 8 hours of sunlight a day.
When it comes to soil, bell peppers aren’t too fussy, but they do best in well-draining soil that’s rich in organic matter. Think of them as the sun-loving, beach-goers of the vegetable world, soaking up rays and preferring their drinks (well, water) to be free-flowing and not pooled around their feet.
Getting Started with Seeds

Kicking off your bell pepper garden starts with seeds. It’s like the opening scene of your favorite show; things are about to get good. So, let’s cut to the chase and get those seeds ready for the spotlight.
Best Time to Start Bell Pepper Seeds Indoors
Timing is everything when it comes to bell peppers. Start too late, and you might as well be telling your peppers to grow in a snowstorm. Too early? You’re just inviting them to a frosty surprise party they never wanted.
Aim to plant your seeds indoors about 8-10 weeks before the last frost date. This gives them plenty of time to grow strong and hearty, ready to face the big, wide world (or your garden, to be exact).
Choosing the Right Seeds (Heirloom vs. Hybrid)
When picking seeds, you’re faced with the classic dilemma: heirloom vs. hybrid. Heirloom seeds are like your great-grandma’s secret recipes, passed down through generations. They’re all about flavor, tradition, and saving seeds for next year.
Hybrid seeds, on the other hand, are the newcomers on the block, bred for disease resistance, higher yields, and consistency. They’re like the latest smartphone model: flashy and reliable, but you might need a new one each season. Here’s a quick table to break it down:
| Seed Type | Pros | Cons |
|---|---|---|
| Heirloom | Full of flavor, can save seeds | Might be more prone to diseases |
| Hybrid | Disease-resistant, consistent yields | Can’t save seeds for next year |
Preparing Your Seeds for Planting (Soaking, Germination Techniques)
Now, let’s talk about getting those seeds ready for action. You could just stick them in the soil and hope for the best, but let’s be real, we’re aiming for the A-league here.
Soaking your seeds overnight can speed up germination, making them sprout faster than you can say “grow, baby, grow!”
Some folks swear by germination techniques like using damp paper towels or even giving seeds a warm bath (not too hot, you’re not cooking them). It’s all about giving those seeds the VIP treatment to get them sprouting healthy and strong.
Planting Your Seeds
Alright, you’ve got your bell pepper seeds all prepped and ready to roll. Now it’s time to get them into some dirt and kickstart their journey from tiny seeds to your next salad superstar. Here’s the lowdown on how to do it right.
Selecting the Right Soil Mix and Containers
First things first, your seeds need a cozy home to sprout in. And not just any old dirt will do. You’re looking for a soil mix that’s light, drains well, and is as rich as a chocolate cake. Well, maybe not chocolate, but you get the idea. Peat moss, vermiculite, and compost mixed together can make a pretty snazzy pad for your seeds.
And containers? You’ve got options. Reusable pots, seed starting trays, or even recycled yogurt cups (poke some holes in the bottom for drainage). Just make sure whatever you use is clean to avoid any unwanted squatters (we’re talking about pests and diseases here).
Sowing the Seeds: Depth and Spacing Recommendations
Now, let’s talk about planting those seeds. You’re not burying treasure here, so no need to go deep. About a quarter inch (6mm) under the surface is perfect. This isn’t a case of ‘the deeper, the better’. Think of it as tucking them in under a thin blanket of soil.
Spacing is another thing to keep in mind. If you’re using trays, a couple of seeds per cell will do the trick. It’s like giving each seed its personal space to chill out until it’s ready to sprout. Later on, you’ll pick the strongest seedling to continue the journey, but we’ll get to that.
Ideal Conditions for Germination (Light, Temperature, Humidity)
Seeds are a bit like Goldilocks; they need everything just right to sprout. Too cold, and they’ll play dead. Too hot, and they’ll sizzle out. Aim for a cozy 70-85°F (21-29°C), which is pretty much room temperature in many homes.
Light is their next best friend. Once those seeds pop their heads out, they’re gonna be reaching for the sun. If you’re growing indoors, a sunny window or some grow lights will keep them happy. And don’t let them dry out. A spray bottle can help you mist the soil to keep it moist but not soggy. Think damp sponge, not a soaked towel.
Caring for Your Seedlings
Once your bell pepper seeds sprout, it’s like they’ve entered the toddler stage: full of potential but needing plenty of care and attention. Here’s how to make sure your seedlings grow up strong and healthy.
Watering Requirements
When it comes to watering, think of your seedlings like tiny Goldilocks: you want the moisture level to be just right. Too much water, and their roots might rot. Too little, and they’ll dry out faster than a puddle in the desert.
Aim for soil that’s moist, not soggy. A good rule of thumb is to water when the top inch of soil feels dry to the touch. And when you do water, do it gently. A harsh stream of water can be like a tsunami to those little guys. Use a spray bottle or a watering can with a gentle pour.
Thinning Out Seedlings
Thinning might sound harsh—like you’re picking favorites among your green babies. But it’s all for the greater good. If you planted multiple seeds per pot, they’re going to start competing for space, light, and nutrients pretty quickly.
Once your seedlings have a couple of true leaves (those are the second set of leaves to appear, not the first little round ones), it’s time to thin them out.
Choose the strongest-looking seedling in each pot and snip the others at the soil level. It might tug at your heartstrings, but your chosen seedling will thank you for the extra room to grow.
Transplanting Seedlings to Larger Pots
As your seedlings grow, they’ll start to feel cramped in their first homes. When they’ve got 2-3 true leaves, they’re ready for a bit more space. This is when you move them to larger pots. Be gentle during this process.
Handle your seedlings by the leaves, not the stems. Their stems are like their lifelines, delicate and crucial. Transplanting gives them more room to spread their roots and access more nutrients, setting them up for stronger growth.
Hardening Off Process Before Moving Outdoors
Before your seedlings can move outside, they need to get used to the wild world. This process is called hardening off, and it’s like boot camp for plants. Start about a week before you plan to plant them outside.
Each day, take your seedlings outdoors to a shaded, protected spot for a few hours, gradually increasing their time outside and their exposure to sunlight. This gets them used to the elements—wind, sun, and temperature fluctuations—so they won’t go into shock when they’re planted in the garden. Think of it as prepping them for a big adventure.
Taking care of your seedlings involves more than just watching them grow. It’s about providing the right amount of water, giving them space, moving them to bigger homes when they’re ready, and preparing them for the outside world. It’s a bit of work, but watching your bell peppers flourish because of your care is as rewarding as it gets.
Transplanting to the Garden
Alright, your bell pepper plants have graduated from their indoor nursery and are ready to make the big move outdoors. This step is like moving day for your plants, so let’s make sure it’s a smooth transition.
Choosing the Right Time and Location for Transplanting
Timing is crucial when moving your plants outside. Wait until the threat of frost is as gone as last year’s snow. Bell peppers are sun worshippers, so pick a spot in your garden that gets plenty of sunlight—around 6 to 8 hours a day. They’re not fans of shade, so don’t tuck them under a tree or next to a tall fence.
Now, location, location, location. Bell peppers like it hot, but not too hot. Choose a spot that’s warm but not blazing. And wind? Not their friend. A little breeze is fine, but a wind tunnel? No, thank you. If your garden gets gusty, think about a spot that’s a bit shielded to keep your peppers happy.
Soil Preparation and Amendments
Before your plants hit the dirt, make sure their new home is top-notch. Bell peppers are a bit picky about their soil. They like it rich, well-draining, and as fluffy as a cloud. Work in some compost or well-rotted manure to give them a nutrient boost. A pH between 6.2 and 7.0 is just right, so if your soil is too acidic or alkaline, consider adjusting it.
Adding some organic matter not only feeds your plants but also improves soil structure, meaning better drainage and aeration. Think of it as making a comfy bed for your plants to snuggle into.
Planting Distance and Depth for Bell Pepper Plants
When it’s time to plant, don’t just shove them in the ground and call it a day. Bell peppers need their personal space. Plant them about 18-24 inches apart to give them room to spread out. As for depth, plant them at the same level they were growing in their containers. No deeper, no shallower. This isn’t a treasure hunt; you want those plants to pick up right where they left off.
Supporting Your Bell Pepper Plants (Staking, Caging)
Think of your bell peppers as climbers. They might not be scaling mountains, but they do need some support as they grow. Stakes or cages? Your call. Staking keeps plants upright and can help with air circulation and sun exposure. Just gently tie the plants to stakes with soft ties.
Caging, on the other hand, offers a bit more support all around and is great if you can’t be there to tie them up as they grow. Whichever method you choose, get it in place at planting time to avoid disturbing the roots later on.
Ongoing Care and Maintenance
Now that your bell pepper plants have settled into their new garden digs, it’s all about keeping them happy, healthy, and on the fast track to producing those vibrant peppers. Let’s dive into the essentials of ongoing care and maintenance, ensuring your plants have everything they need.
Watering and Mulching Techniques
Keeping your bell peppers properly hydrated is key to their growth, but it’s a balancing act. Aim for consistent moisture; bell peppers don’t appreciate the rollercoaster of drought followed by a flood. Depending on the weather, you’ll want to give them a good soak at least once a week—more if it’s particularly hot or dry. A slow, deep watering encourages strong root development.
Mulch is your best friend here. A nice, thick layer of organic mulch around your plants does wonders. It helps retain soil moisture, keeps the soil temperature stable, and discourages weeds from crashing the party. Organic mulches like straw, shredded leaves, or grass clippings not only keep the garden tidy but also break down over time, enriching the soil.
Fertilizing Schedule and Recommendations
Bell peppers are not high-maintenance divas when it comes to feeding, but they do appreciate a boost now and then.
Start with a balanced, all-purpose fertilizer when you plant them, then follow up with a light application of a nitrogen-rich formula once they really start to grow. But here’s the kicker—once they start flowering and setting fruit, ease up on the nitrogen.
Too much and you’ll get lush plants with more leaves than peppers. At this stage, switch to a fertilizer lower in nitrogen and higher in phosphorus and potassium to encourage fruiting.
Pest and Disease Management
No garden is a fortress, but there are ways to defend your bell peppers against common pests and diseases. Keep an eye out for usual suspects like aphids, spider mites, and the dreaded hornworm.
A strong blast of water from the hose can dislodge many pests, and insecticidal soaps can handle the stubborn ones. As for diseases, prevention is the name of the game.
Rotate your crops, don’t overcrowd your plants, and avoid watering from above to keep the foliage dry. If you spot diseased plants, remove them promptly to prevent any spread.
Pollination Tips for Higher Yields
Bell peppers are self-pollinating, but sometimes they need a little help, especially if you’re growing them indoors or in a very sheltered location. If you notice flowers but no fruit, you might need to play matchmaker.
Gently tapping or shaking the plants can help spread the pollen from flower to flower. Or, for a more hands-on approach, use a small paintbrush to transfer pollen within the flowers.
Harvesting and Storing
The moment you’ve been waiting for has finally arrived—harvest time! Those bell peppers you’ve been tending with care are ready to make the leap from garden to table. But hold your horses, because there’s a bit of an art to picking and storing these colorful veggies. Let’s dive in.
Signs Your Bell Peppers Are Ready to Harvest
First off, how do you know when it’s go-time? Bell peppers are pretty chill about their harvest time. They’re edible and tasty at any size, but for the full spectrum of sweetness and flavor, let them mature on the plant.
You’ll know they’re ready when they’re firm to the touch and their color is rich and vibrant, whether that’s green, red, yellow, or purple. A mature bell pepper will typically feel heavy for its size and might even start to detach easily from the stem.
How to Harvest Without Damaging the Plant
When it’s time to pick your peppers, a little finesse goes a long way. Don’t just yank them off; you might end up with more than you bargained for, like a branch or the whole plant!
Use a sharp pair of secateurs or garden scissors to cut the pepper from the plant, leaving a short piece of stem attached. This method protects your plant, keeping it healthy for more peppers to come.
Storing Your Bell Peppers for Freshness
After the big pick, keeping your bell peppers fresh is key. If you’re not going to use them right away, pop them in the crisper drawer of your fridge. They like a bit of cool, not cold, so aim for temperatures around 45-50°F (7-10°C).
In the fridge, they can hang out happily for about 1-2 weeks. Got too many? Bell peppers freeze pretty well. Just slice them up, remove the seeds, and freeze them on a tray before transferring to a freezer bag. They won’t be as crisp as fresh ones when thawed, but they’re perfect for cooking.
Saving Seeds for Next Season
Thinking ahead to next year’s garden? Saving seeds from your best performers is a smart move. Choose a fully mature, healthy pepper, and cut it open to scoop out the seeds. Spread them out on a paper towel to dry for about a week in a warm, airy spot.
Once dry, store them in a labeled envelope in a cool, dry place. Come spring, you’ll be ready to start the cycle all over again with seeds from your own garden.
Harvesting and storing your bell peppers the right way ensures you get the most out of your crop, from the freshest, tastiest peppers today to the promise of next year’s garden. It’s the circle of garden life, and you’re right at the heart of it. Enjoy the fruits of your labor, and here’s to many more bountiful harvests!
Conclusion
Wrapping up this green-thumbed journey, it’s clear that the world of growing bell peppers from seeds is filled with rewards that stretch far beyond the kitchen. It’s about connecting with the earth, understanding the cycle of life, and reaping the fruits (or veggies, in this case) of your labor. From the thrill of seeing the first sprouts emerge to the satisfaction of harvesting your very own bell peppers, it’s a process that enriches not just your meals but your spirit too.
But why stop here? The beauty of gardening, especially with something as versatile as bell peppers, is the endless variety. Each type brings its own flavor, color, and challenge to the table. So, I encourage you, fellow garden enthusiast, to experiment with different varieties. Go beyond the familiar green and explore the rainbow of options out there—red, yellow, orange, even purple and chocolate. Each has its unique taste and growth habits, offering new adventures and learning opportunities in your gardening journey.
Growing bell peppers from seeds might start as a small step—a tiny seed in the palm of your hand. But with patience, care, and a dash of curiosity, it blossoms into a journey of discovery and delight. So, here’s to the joy of gardening, the thrill of the harvest, and the endless possibilities that lie in a humble seed. Let your garden be a canvas of color, taste, and experimentation, and may your bell peppers be a testament to the beauty and bounty of nature. Happy gardening!
Additional Resources
As we wrap up our guide to growing bell peppers from seeds, it’s worth pointing out that the learning doesn’t stop here. Whether you’re a seasoned gardener or just starting out, there’s always something new to discover. Let’s dive into some resources that will keep your green thumb well-informed and your garden thriving.
Recommended Reading and Websites for Further Learning
Books to Leaf Through: If you’re keen on sinking your teeth into more detailed guides, there’s a bushel of books waiting for you. Titles like “The Vegetable Gardener’s Bible” by Edward C. Smith and “Epic Tomatoes” by Craig LeHoullier offer wisdom not just on peppers but on a range of homegrown veggies. They’re packed with tips that range from basic to advanced, making them perfect companions in your gardening journey.
Websites to Wander: The internet is like a sprawling garden itself, lush with websites dedicated to gardening. For starters, check out the Old Farmer’s Almanac online or the National Gardening Association’s website.
They’re gold mines for planting calendars, growing tips, and forums where you can chat with fellow garden enthusiasts. Also, don’t shy away from YouTube channels like “Garden Answer” or “Epic Gardening” or “Farm Food Family.” They bring the know-how right to your screen, with practical, easy-to-follow advice.
Seed Suppliers and Gardening Communities
Seed Suppliers to Sow With: When it’s time to stock up on seeds, look beyond your local garden center. Online suppliers like Burpee, Baker Creek Heirloom Seeds, and Johnny’s Selected Seeds offer a vast array of bell pepper seeds, including rare and exotic varieties you might not find elsewhere. Plus, their websites are treasure troves of growing tips and customer reviews.
Gardening Communities to Grow With: Gardening is more fun when shared. Joining a community, either locally or online, can sprout new friendships and knowledge. Facebook groups, Reddit’s r/gardening, and the GardenWeb forums are just a few places where you can swap stories, seeds, and solutions with gardeners around the globe. Local gardening clubs and community gardens also offer a space to learn hands-on and get your hands dirty alongside fellow plant lovers.