9 Smart DIY Sprinkler System Ideas, From Hose Timers to In-Ground Zones
A DIY sprinkler system can save you hundreds in labor and a lot of water, as long as you test your flow, protect the water supply and match the build to your skill level.

Never miss an update — choose FarmFoodFamily as your preferred source on Google.
How it works: Tap the button below to open Google's settings page, then check the box next to FarmFoodFamily.
Tap the checkbox to turn it blue — that's how you know it's set.
A DIY sprinkler system can save you hundreds in labor and a lot of water, as long as you test your flow, protect the water supply and match the build to your skill level.
Products We Recommend
This post contains affiliate links. We may earn a commission on qualifying purchases at no extra cost to you.

Orbit Programmable Digital Hose Watering Timer
A battery hose timer for the tuned hose sprinkler and drip builds.
Shop Now
Rain Bird PRF07530S Pressure-Regulating Drip Filter, 3/4 Inch
A filter and pressure regulator for drip lines, installed upstream of the valves.
Shop Now
0-100 PSI Water Pressure Gauge, 3/4 Inch Hose Thread
Screws onto an outdoor spigot so you can read your pressure before choosing heads.
Shop NowMost sprinkler guides jump straight to digging trenches. That’s the wrong place to start.
The better path is a ladder. You begin with a hose timer, move up to drip lines and only dig a full system when you’ve measured what your water supply can actually do.
Here are nine builds in that order, with the numbers, the code traps and the mistakes that cause most failures.
Answer 4 quick questions and get matched to the exact fix for your yard — drainage, budget, layout, or something else entirely.
Take the Free QuizQuick Answer
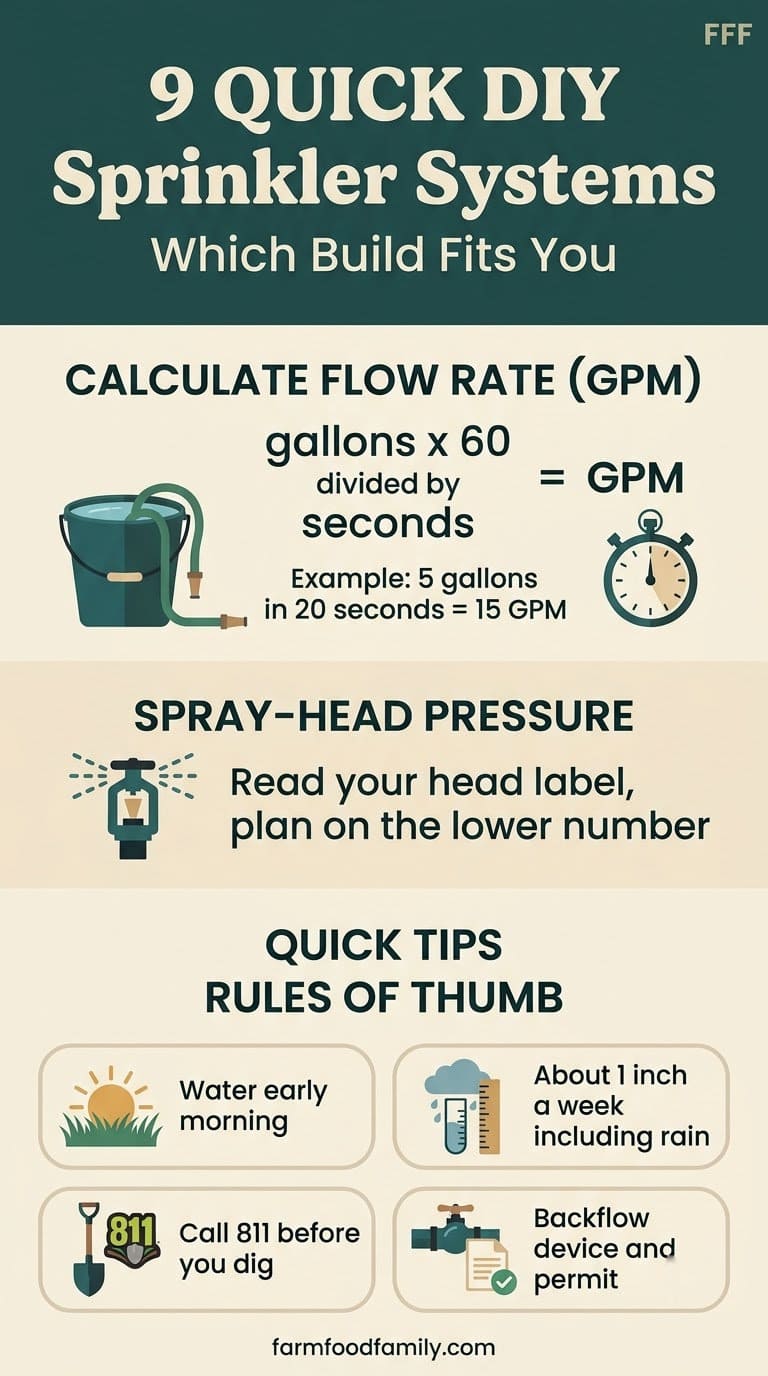
Start by measuring your water, not by buying parts. Fill a 5-gallon bucket at the spigot and time it. Multiply 5 by 60, then divide by the seconds it took, and that’s your flow in gallons per minute.
Match the build to that number. A hose timer or drip kit works on almost any supply. An in-ground system needs enough flow to split into zones, and each zone must stay under your total GPM.
Protect the house water. Any permanent system needs a backflow device, and many cities require a permit and testing.
Call 811 before you dig, even for a shallow trench.


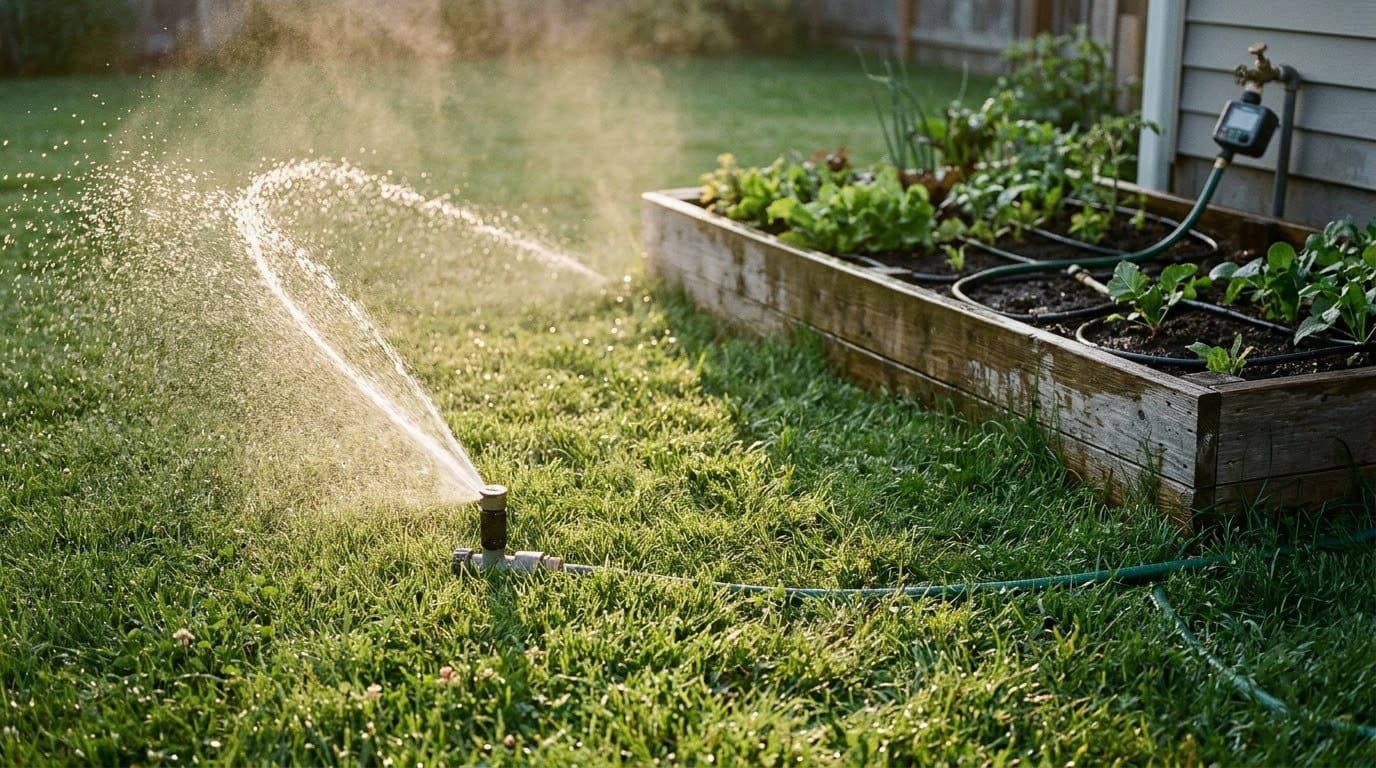
But once the system runs, the habits matter most. Water early in the morning, aim for about one inch a week including rain, and adjust from there. Check the system monthly for leaks and clogged heads.
Most yard problems trace back to one specific, fixable cause. Find yours in 4 quick questions.
Take the Free QuizWhich Build Fits You?
Choose by effort and risk. Dig-free builds are fast and forgiving, while in-ground systems reward planning.
| Build | Time | Skill | Budget tier | Dig or permit? |
|---|---|---|---|---|
| 1. Tuned hose sprinkler | 1 hour | None | Lowest | No |
| 2. Hose timer | 15 minutes | None | Low | No |
| 3. Drip line for beds | One afternoon | Beginner | Low | No digging |
| 4. Rain barrel drip | One afternoon | Beginner | Low to mid | No digging |
| 5. Kids’ PVC or noodle sprinkler | One hour | Beginner | Lowest | No |
| 6. Zone plan with flow test | One evening | Beginner | Free | No |
| 7. In-ground rotor and spray layout | One to two weekends | Intermediate | Mid to high | Yes, 811 |
| 8. Backflow preventer | Half a day | Intermediate | Mid | Often a permit |
| 9. Smart controller and winterizing | One afternoon | Intermediate | Mid | Electrical care |
Before You Build: Three Rules
These apply to every project below. They take ten minutes and prevent the most expensive failures.
Rule 1: Measure your flow
Use the bucket test. Open an outdoor spigot fully, fill a 5-gallon bucket and time it. Gallons times 60, divided by seconds, equals GPM.
For example, 5 gallons in 20 seconds gives 15 GPM. Run the test with nothing else using water in the house.
Rule 2: Check your pressure
Screw a pressure gauge onto the spigot, again with other water use off. Sources disagree on the ideal range for spray heads.
| What you read | Typical guidance |
|---|---|
| Spray heads | Roughly 30 to 40 psi in one guide, 40 to 60 in another, up to 80 in a third |
| Drip systems | About 25 psi after a regulator |
Read the label on your heads and plan around the lower number. Too much pressure causes fine mist that blows away, and too little shortens the throw.
Rule 3: Call 811 before any digging
The District of Columbia Public Service Commission says to call 811 at least two working days before any digging project. It adds that the call applies to every project, however small.
A battery hose timer for the tuned hose sprinkler and drip builds.
Shop NowThis post contains affiliate links. We may earn a commission on qualifying purchases at no extra cost to you.
Mark your sprinkler line route with white paint or flags. The utility marks its own lines only, so you’re responsible for your private lines.
The 9 Best DIY Sprinkler System Ideas
1. A Tuned Hose-End Sprinkler
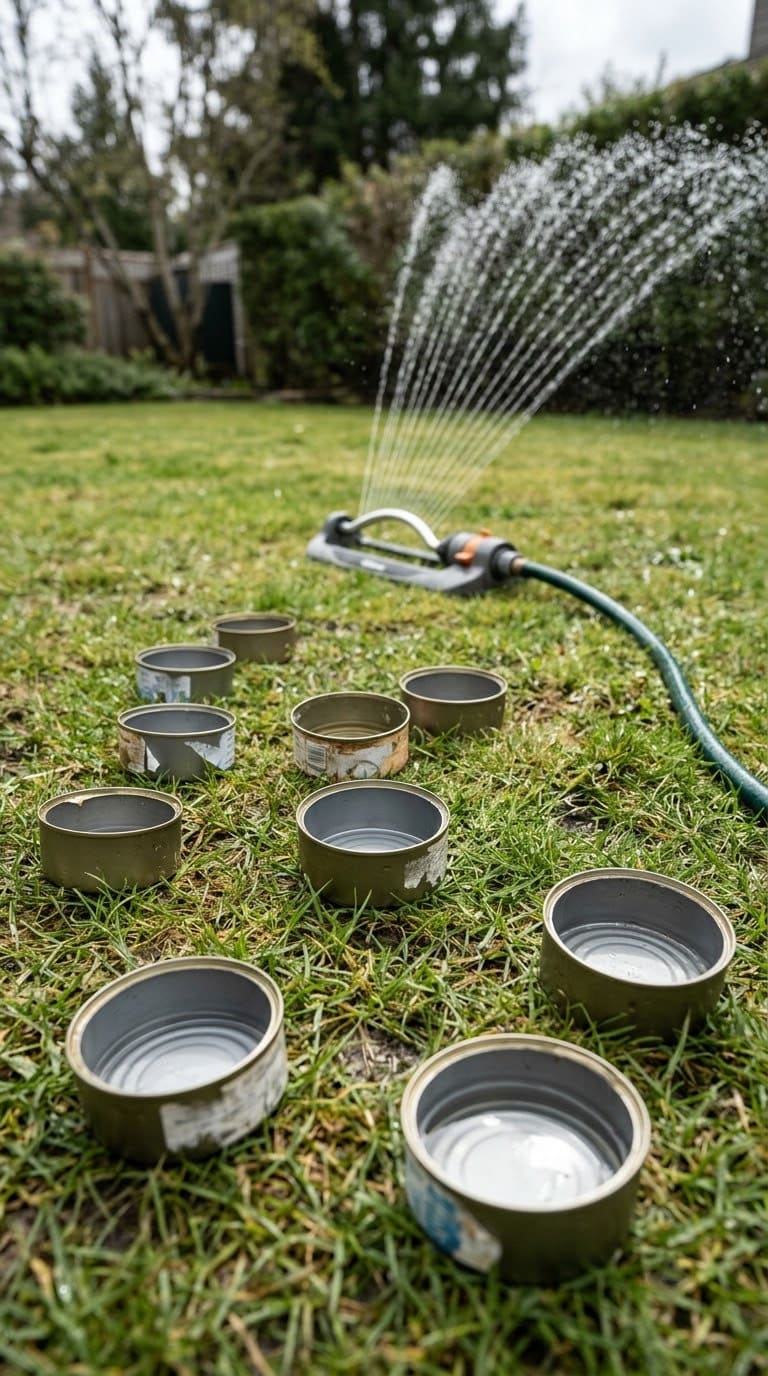
The cheapest upgrade is learning how long to run what you already own. The EPA’s WaterSense program gives a simple method. Place a few empty tuna cans around the lawn and time how long the sprinkler takes to fill them to half an inch.
The average homeowner spends $616/year on yard fixes that don't address the real problem. Find out what yours actually is — before you spend another dollar.
Take the Free QuizTry that run time twice a week, then adjust based on how the lawn looks. The same page says to plan on about one inch of water per week, including rainfall, and to avoid midday watering.
Aim the spray so it doesn’t hit the sidewalk or driveway. That alone cuts waste.
Quick tip: move the sprinkler a few feet each cycle so you don’t soak one strip and miss another. Run the tuna-can test again after each move, because the pattern changes with the position of the hose and the water pressure at the time.
2. A Hose Timer on the Spigot
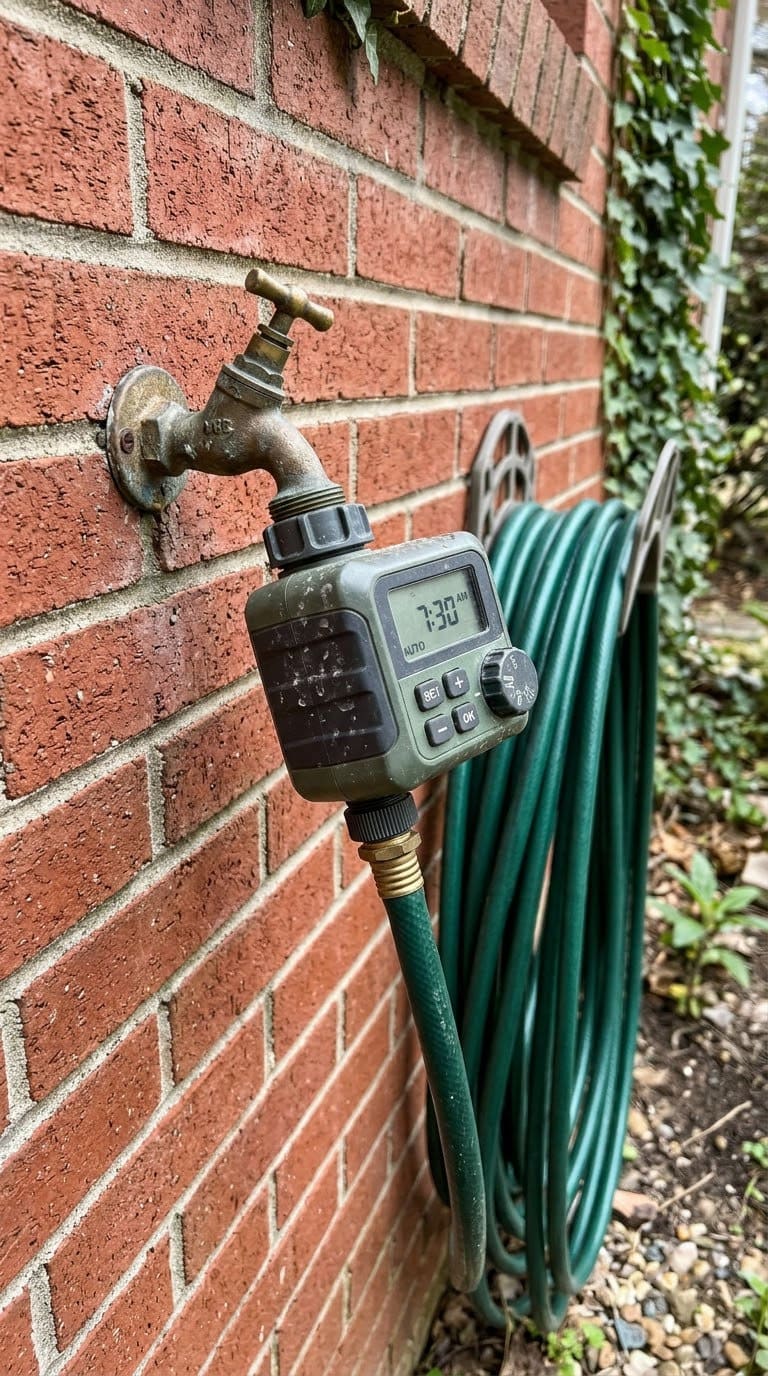
A battery hose timer turns on a simple sprinkler or soaker hose at the same time every day. It takes no tools.
Screw it onto the spigot and set the start time and run time from your tuna-can test. Early morning is best, since less water evaporates.
Check the batteries each season. A dead timer means a dead lawn in July.



Quick tip: write the install date on the timer with a marker. When the batteries die, you’ll know whether it was one season or three, and you can stock spares in the garage.
3. A Drip Line for Garden Beds
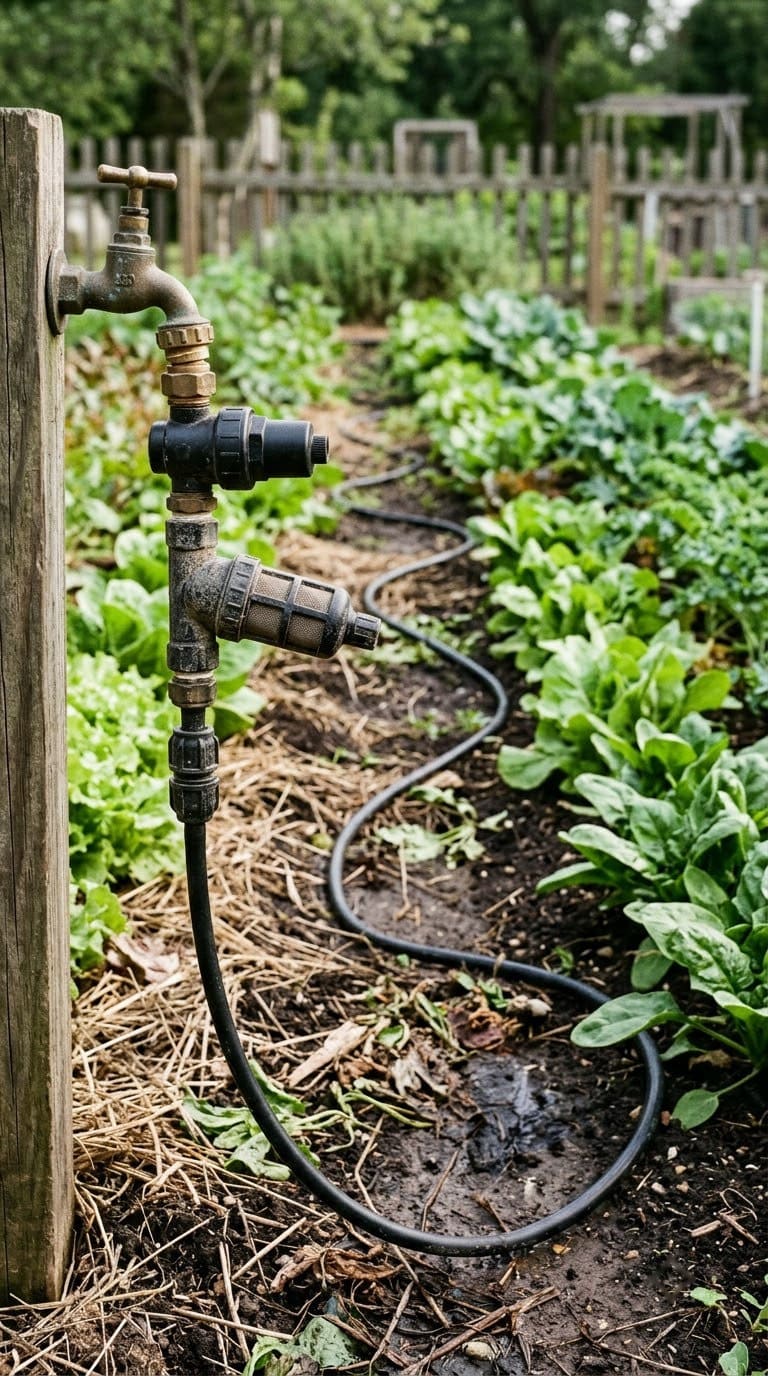
Drip irrigation puts water at the roots instead of on the leaves. It also uses a lot less water than overhead spray.
The key part is the filter and regulator. DIG says the cause of most drip failures is high pressure or clogged emitters. Its combined unit drops pressure to a preset 25 psi, uses a 150-mesh stainless screen and handles up to 6 GPM.
Install it upstream of the control valves and put a ball or gate valve ahead of it as a shutoff. Rinse the screen now and then. For a bigger plan, read about the benefits of drip irrigation.
4. A Rain Barrel Drip System
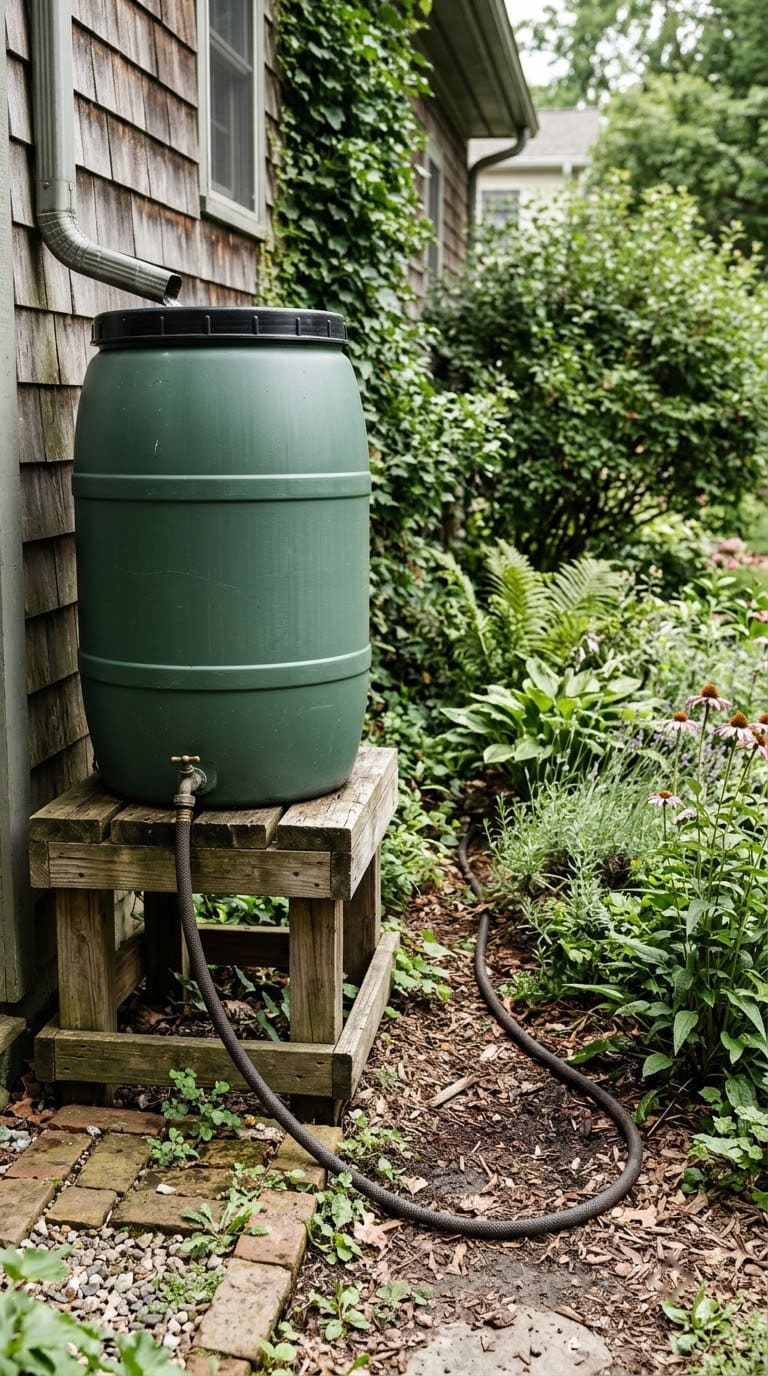
A rain barrel gives you free water and a low-pressure drip feed. It works best for a small bed near a downspout.
Raise the barrel on blocks so gravity can push water through the line. Gravity gives much lower pressure than the tap, so use wide emitters and short runs. Keep the lid on and a screen over the inlet.
The site’s guide to the benefits of rain barrels covers placement and mosquito control.
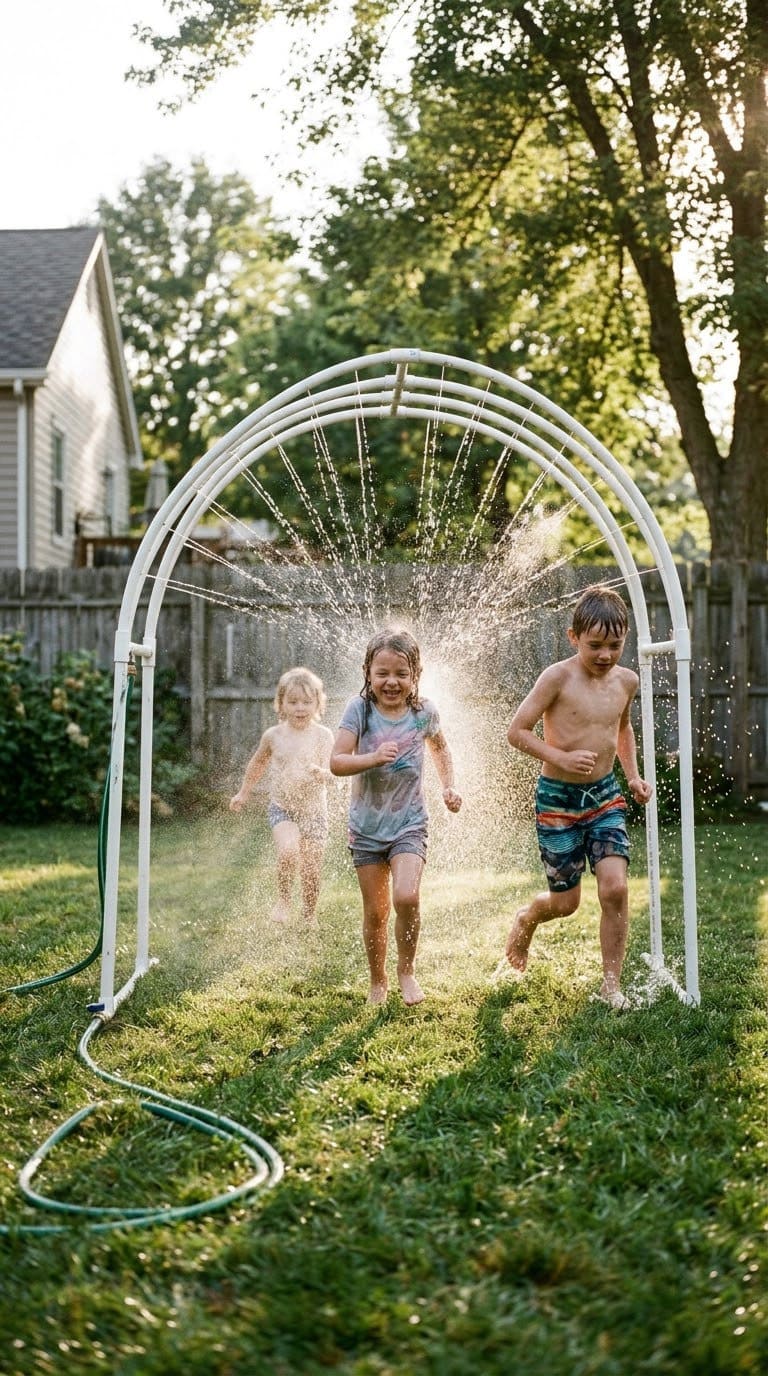
5. A Kids’ PVC or Pool Noodle Sprinkler
This is the fun one. Drill small holes along a capped PVC pipe or a pool noodle, connect it to a hose and let kids run through it.
Keep the pressure low and sand any cut edges. Never use PVC under pressure that could burst. Supervise little kids, and drain the pipe after use so stagnant water doesn’t sit in it.
This is a play toy, not a lawn watering tool, since the coverage is uneven.
Quick tip: tape over the cut ends of the pipe and cap both ends so no sharp edges face the kids. Check the joints before every use, since a loose fitting under pressure can pop off.
6. A Zone Plan With a Flow Test
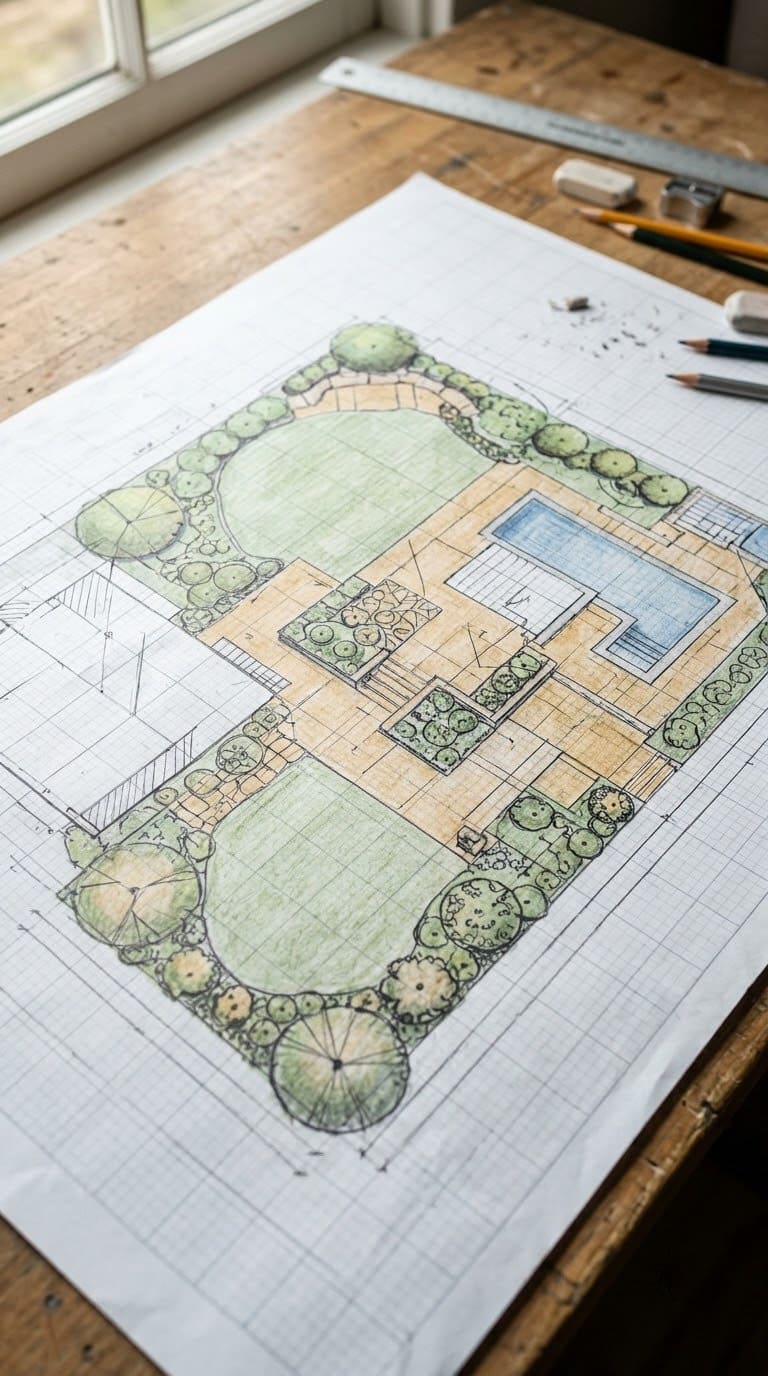
Before you buy a single head, draw the yard to scale. A common scale is one inch to ten feet. Mark the house, beds, walks and trees.
Then divide the yard into zones by sun, soil and plant type, which the EPA calls hydrozones. Lawn and flower beds should never share a zone.
Quick tip: number each zone on the plan and label each valve with the same number. When a head breaks in July, you’ll know which valve to shut off in seconds instead of hunting through the box.
Now do the math. Each zone’s total head flow must stay under your measured GPM. If your supply gives 12 GPM and your rotors use 3 GPM each, a zone holds four rotors.
Check the numbers on your heads’ labels.
7. An In-Ground Rotor and Spray Layout
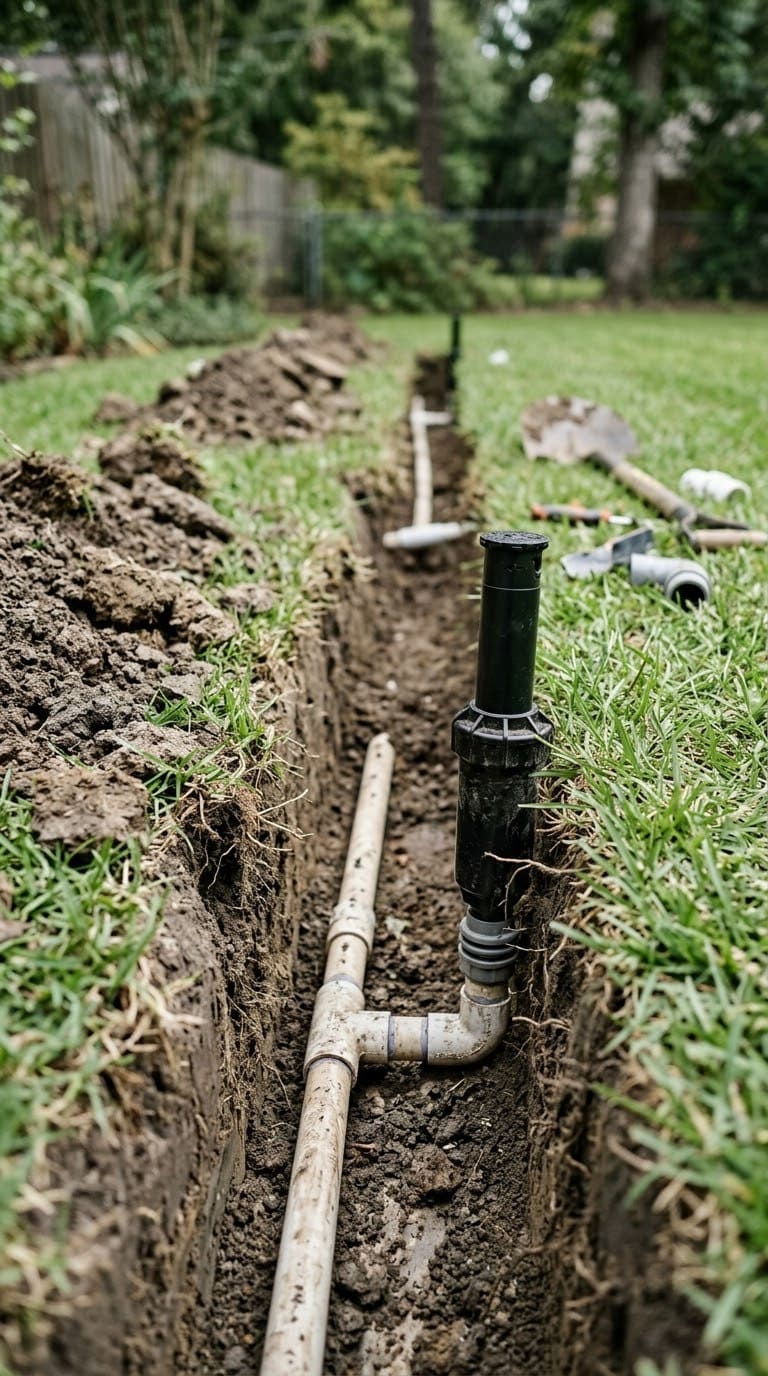
This is the big build. Use rotors for open lawn and spray heads for small, narrow areas.
Place heads so the spray from each one reaches the next head. Designers call this head-to-head coverage, and it’s a common rule of thumb rather than a number from a single source. Flush every line before you attach heads, so dirt doesn’t clog nozzles.
Set heads flush with the ground so mowers miss them.
Compare head options in the site’s guide to types of sprinkler heads, and see what a pro install costs in sprinkler system cost.
8. A Backflow Preventer
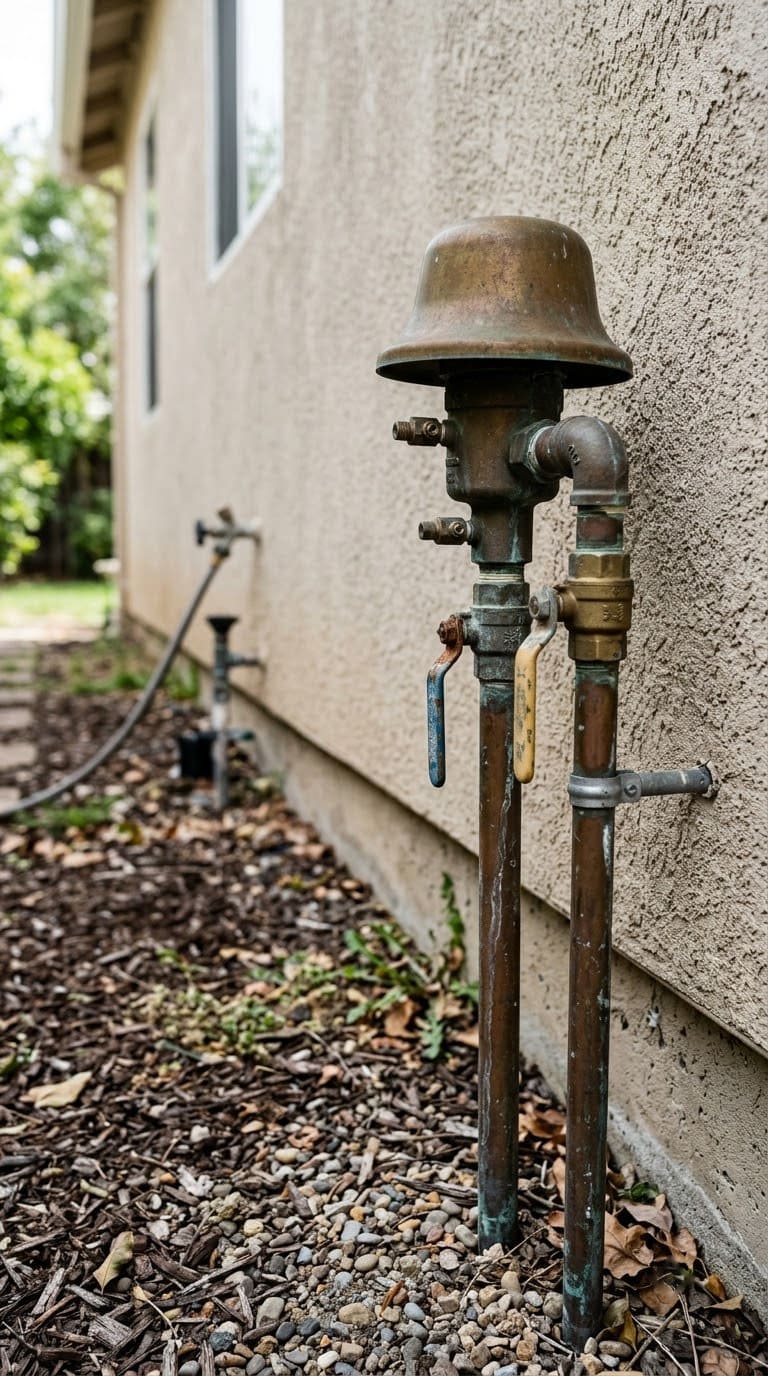
This part protects your drinking water from garden chemicals and stagnant irrigation water. It’s the piece most DIYers skip.
Rules differ by city. Many Minnesota cities require a permit for the plumbing to the backflow device, accept a pressure vacuum breaker or reduced pressure device and require testing at installation and yearly after. One pressure vacuum breaker rule asks for it to sit at least 12 inches above the highest sprinkler outlet.
Some cities say a garden hose connection is not a legal supply for an in-ground system. Others let homeowners do the install, while some require a licensed plumber.
Call your building department first.
9. A Smart Controller and Winter Shutdown
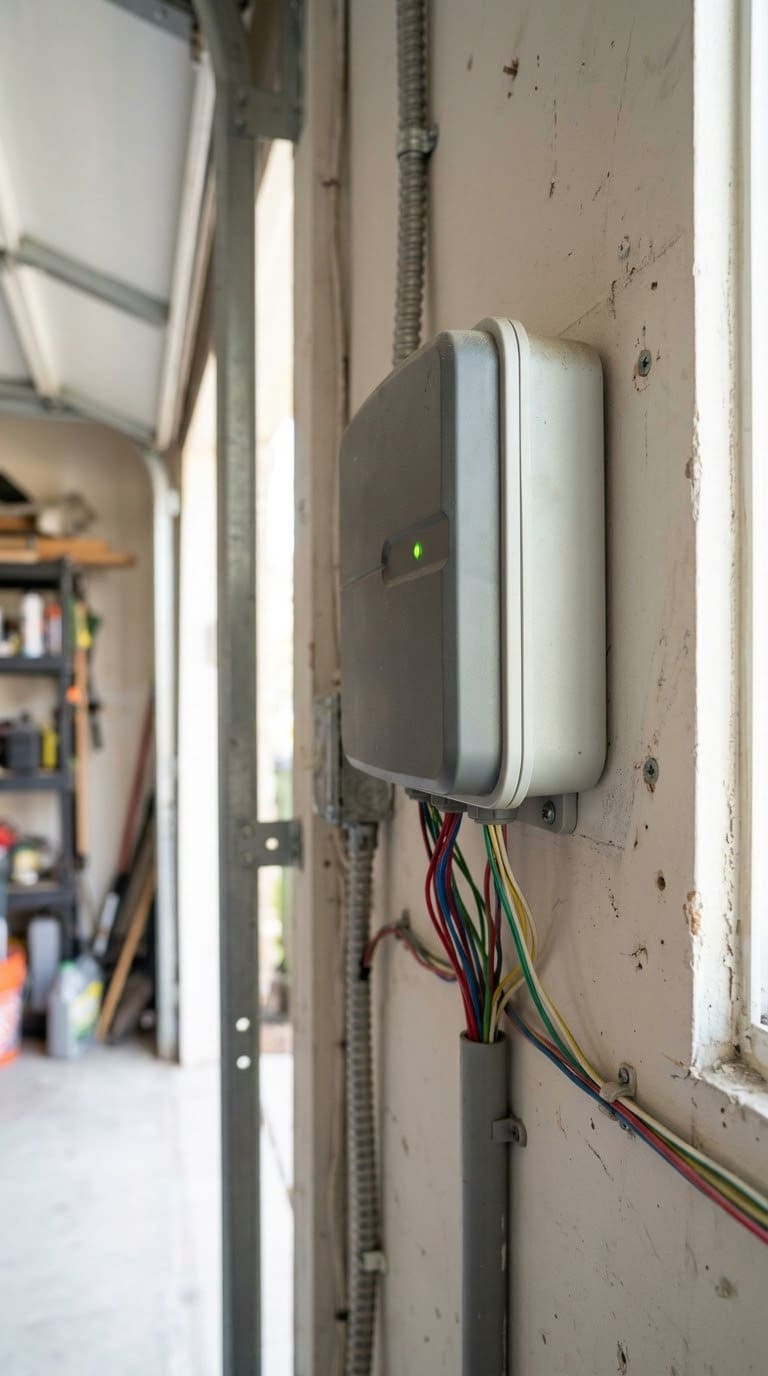
A smart controller adjusts watering to local weather. The EPA says to replace a standard clock timer with a WaterSense-labeled weather-based controller, which adjusts watering using local weather data.
Update the schedule each season. Inspect the system monthly for leaks and broken or clogged heads.
In cold climates, drain or blow out the lines before the first hard freeze. Water left in pipes can crack them.
Write down the date you winterize so you remember to reverse the steps in spring. Use low air pressure and wear eye protection, and consider hiring a pro for the blow-out.
A Worked Example: Sizing Zones for a Real Yard
Say your bucket test gives 15 GPM and your yard has a front lawn, a back lawn and two beds. Here’s how the math plays out.
Suppose your rotor heads are rated at 3 GPM each. A zone can hold up to five of them at 15 GPM, but leave some cushion. Four rotors at 12 GPM is a safer load, because pressure drops when the zone runs flat out.
Spray heads use less water each, often 1 to 3 GPM, so a zone holds more of them.
Check your own labels for the exact numbers.
Beds need their own zone. They drink less often and slower than lawn, so mixing them wastes water.
A Weekend Build Order
Follow this sequence for an in-ground system. It keeps you from digging twice.
Evening before: Call 811, run the flow and pressure tests and sketch the plan.
Day 1: Mark the layout with flags, dig trenches, lay pipe and flush the lines before attaching any heads.
Day 2: Set heads flush with the ground, wire the valves and run each zone by hand. Fix leaks before you backfill.
Plan the backflow permit and inspection before Day 1. Inspectors may want to see the device before you cover anything.
Troubleshooting: What the Symptom Usually Means
Most problems point back to pressure, flow or a blockage. Use this table before you tear anything out.
| Symptom | Likely cause | First fix |
|---|---|---|
| Fine mist that blows away | Pressure too high | Use heads with built-in pressure regulation or add a regulator |
| Short throw, weak spray | Pressure too low or too many heads on the zone | Move heads to another zone or check for a closed valve |
| Dry spots between heads | Clogged nozzle or poor overlap | Clean the nozzle, then check head spacing |
| Drip emitters not dripping | Clogged emitters or filter | Rinse the filter screen and flush the line |
| Puddles near one head | Broken head or leak | Turn off the zone and replace the head |
| Spray hitting the street | Wrong angle or arc | Adjust the arc and redirect the nozzle |
The EPA suggests walking the system monthly. Look for leaks, broken or clogged heads and obstructions that block the spray.
Seasonal Checklist
A system that works in June can fail by October without a few small checks.
Spring: Run each zone by hand and look for broken heads before you trust the timer.
Summer: Recheck the schedule after a heat wave or a rainy stretch. Update the controller for the season, as the EPA advises.
Fall: Cut back the run times as temperatures drop. Clean the drip filter screen and rinse the lines.
Winter: In cold climates, drain or blow out the lines before the first hard freeze.
Which Part to Upgrade First?
If your budget is tight, upgrade in this order. The first items cost little and fix the most waste.
First, run the tuna-can test and set the right run time. Second, add a hose timer so you stop forgetting. Third, put drip lines on beds and vegetables.
Only after that should you plan an in-ground system. By then you’ll know your flow, your pressure and which areas need the most water. And you’ll avoid buying more heads than your supply can run.
Common Mistakes to Avoid
Most failures come from skipped planning, not bad parts.
Guessing at flow. Too many heads on one zone leaves each one starved. The bucket test fixes this.
Watering midday. The EPA notes heat evaporates much of the water before it soaks in.
Skipping the filter on drip. DIG calls clogged emitters a main cause of drip failure.
Ignoring the backflow rule. A permit and a test are cheap compared with contaminated water.
Overspray on pavement. The EPA says to set sprinklers to water the landscape, not sidewalks or streets.
Cost Tiers at a Glance
Costs vary by region and supplier, so think in tiers.
| Tier | Builds |
|---|---|
| Free to very low | Tuned hose sprinkler, flow test, kids’ sprinkler |
| Low | Hose timer, drip line, rain barrel drip |
| Mid | Backflow device, smart controller |
| Mid to high | Full in-ground rotor and spray system |
FAQ
How much water does a lawn need per week?
The EPA’s WaterSense page says to plan on about one inch a week including rainfall. Local weather and plant types can change that, so adjust to how your lawn responds.
What’s the best time to water?
Early morning, when less water is lost to evaporation. Avoid the middle of the day.
Do I need a permit for a DIY sprinkler system?
Often yes for the backflow device and the plumbing connected to it. Rules vary by city, so call your building department.
How do I measure my water flow?
Time how long a 5-gallon bucket takes to fill, multiply 5 by 60, then divide by the seconds. The result is gallons per minute.
Is drip better than sprinklers?
For beds and vegetables, drip puts water at the roots and wastes less. For open lawn, rotors or sprays cover more ground.
Related Posts
- Tips for Water-Saving Vegetable Irrigation
- Best Garden Hose Reels
- Considerations When Hiring an Irrigation Company
Never miss an update — choose FarmFoodFamily as your preferred source on Google.
How it works: Tap the button below to open Google's settings page, then check the box next to FarmFoodFamily.
Tap the checkbox to turn it blue — that's how you know it's set.