5 Genius Ways to Fix an Awkward Kitchen Layout (Any Budget)
A truly awkward kitchen layout can be fixed in stages, from a $30 rolling cart to a full remodel, as long as you diagnose the real problem (traffic, prep space, or a floating appliance) before you spend a dime.

Never miss an update — choose FarmFoodFamily as your preferred source on Google.
How it works: Tap the button below to open Google’s settings page, then check the box next to FarmFoodFamily.
Tap the checkbox to turn it blue — that’s how you know it’s set.
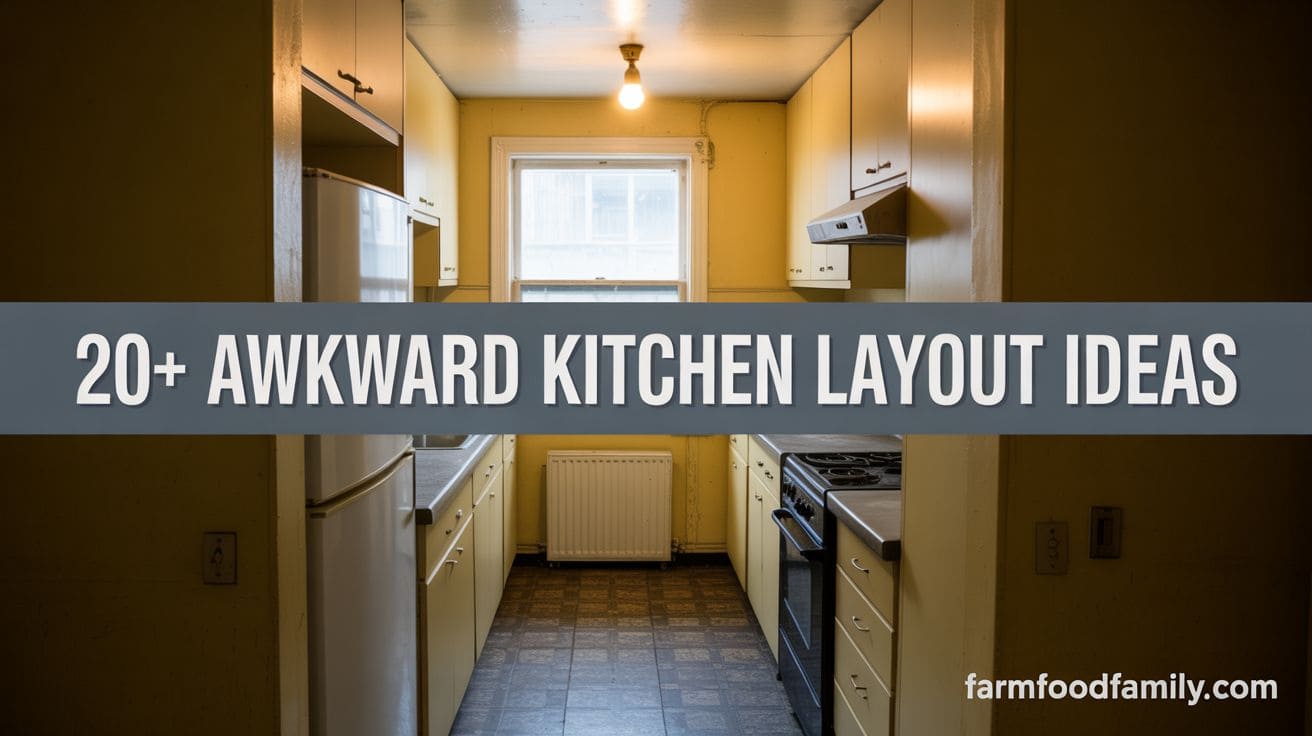
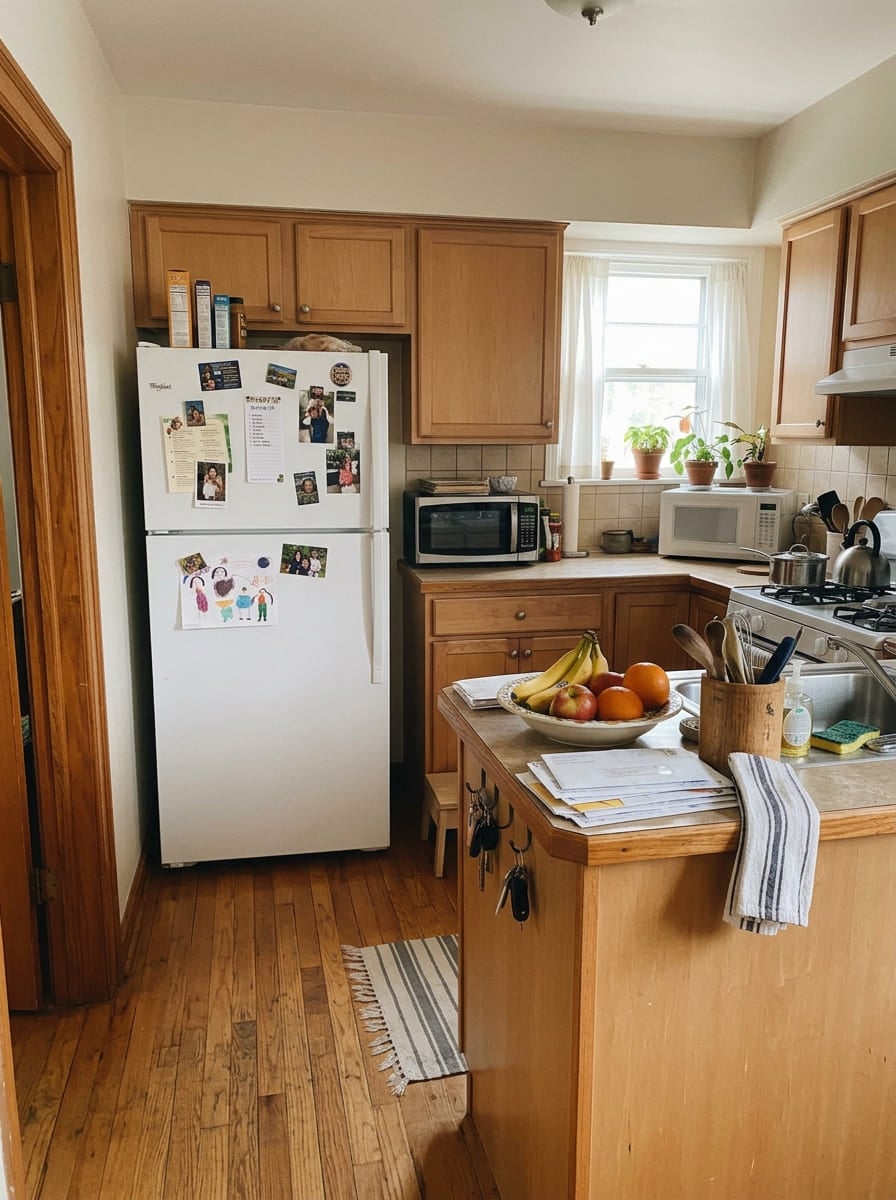
Your kitchen doubles as the hallway to every other room in the house. You already know that. So does the fridge that somehow ended up ten feet from the stove. So does the twenty inches of counter space you’re apparently supposed to prep dinner on.
None of that is a flaw you have to live with forever. It’s also not fixed by picking a prettier backsplash, which is what most kitchen content actually offers.
We got tired of guides that jump straight to solutions without ever naming the problem, so this one’s organized differently: by budget. Start with the stuff you can try this weekend for under $100.
Work up through moderate fixes that involve a little demo. End at full remodels, if that’s where you’re headed. Pick whichever tier fits your actual situation right now, not the one that photographs best.
Quick Answer
Fix an awkward kitchen layout in budget stages, and diagnose the real problem before you spend anything. Most awkward kitchens suffer from one of three issues: foot traffic cutting through the cooking zone, a floating fridge or range that breaks the work triangle, or too little prep counter.

The NKBA calls for at least 36 inches of continuous counter next to the sink and a range hood rated 150 CFM or more. Low-budget fixes come first: a rolling cart with locking wheels, a slide-out cabinet for the gap beside the range, or a stainless worktable.
Moderate fixes add wall-mounted storage, corner-sink shelving, or shortening a peninsula into an L-shape. Full remodels, moving the kitchen or closing a doorway, come last. Test any island or peninsula with a cardboard mock-up first, since clearance problems rarely show up on paper.
Diagnose Before You Fix
Before you buy a single shelf or call a contractor, figure out which of these three problems you actually have. Most awkward kitchens are dealing with at least one.
Foot traffic. If everyone in the house has to cut through your cooking zone to get from the front door to the living room, or from the stairs to the backyard, that traffic is fighting your workflow every single time you cook. It’s a recurring theme in kitchen renovation threads on Reddit’s r/kitchenremodel and r/homeimprovementideas, where it shows up more often than any other single complaint. Generic layout guides barely mention it, probably because the fix usually means rethinking where people walk, not buying furniture.
Then there’s the floating appliance problem. A fridge or range that sits away from the main counter run, with nothing useful connecting it back to the rest of the kitchen, breaks the classic cook-sink-fridge triangle and turns basic tasks into extra steps you didn’t sign up for.
And prep space. A lot of kitchens run on 24 inches (about 60cm) of counter for actual food prep, which is tight enough to notice every time you’re trying to chop something.
The NKBA’s official kitchen planning guidelines call for at least 36 inches (roughly 90cm) of continuous counter next to the sink. Get as close to that number as your layout allows, especially near the stove.
A quick note on the “kitchen triangle”: not everyone agrees it’s the right way to think about layout anymore. The traditional rule says your sink, stove, and fridge should form a tight triangle to minimize walking. It’s an idea that dates back further than most people realize.
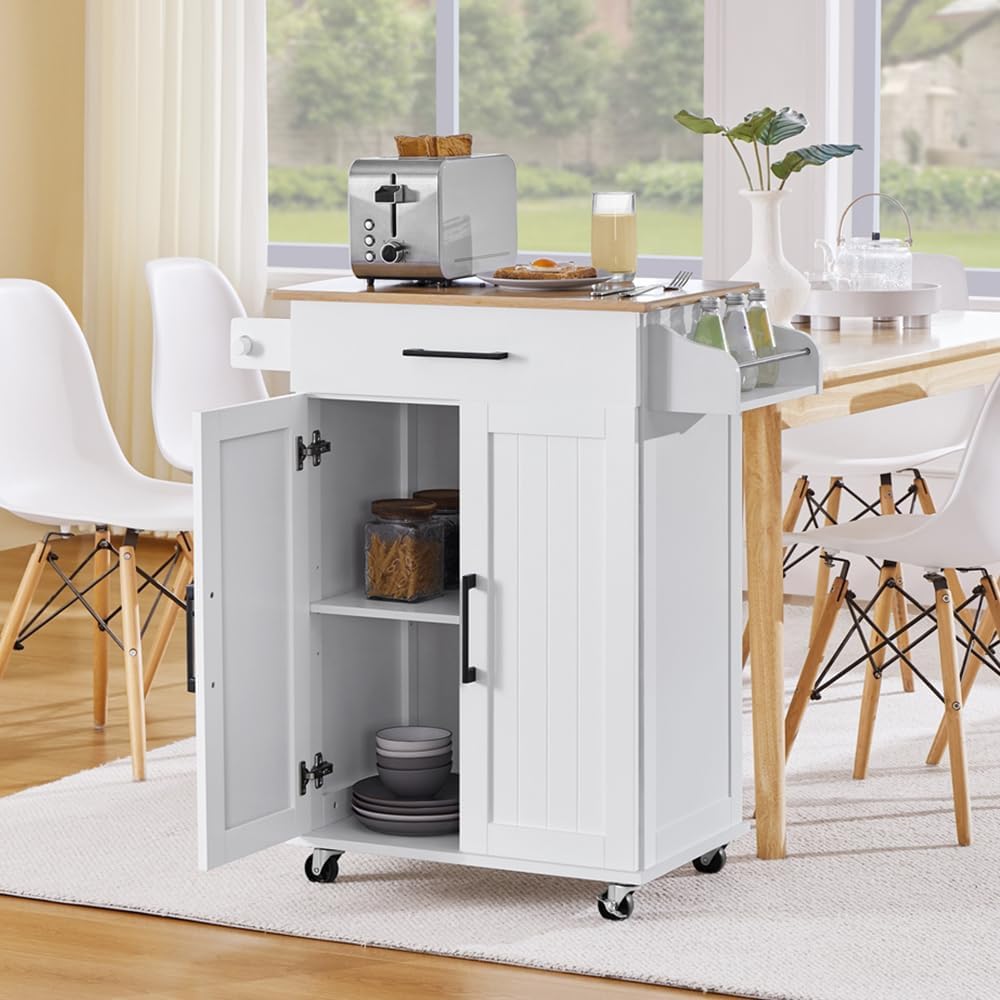
32-inch rolling cart with a drawer, adjustable shelf, spice rack, and detachable towel bar, two of the four wheels lock in place. 4.6 stars from 1,851 ratings, the exact low-cost fix described in the "Fast, No-Demo Fixes" section above.
Shop NowThis post contains affiliate links. We may earn a commission on qualifying purchases at no extra cost to you.
Gareth Davies, Design Director at Classic Interiors, explained to Country Living that “the kitchen triangle was developed in the 1940s, primarily for small, functional kitchens where space was limited and efficiency was paramount,” and that for today’s larger, multi-use kitchens, “the rigid triangle layout often feels outdated and restrictive.” His take: “flexibility and functionality should always be prioritized over rigid design rules.” That said, he also notes the triangle still earns its keep in genuinely tight kitchens, where it “can help streamline workflow.”
Some designers push the idea further and argue the fridge shouldn’t be part of the triangle at all, since ingredients should already be sitting at your prep surface before you start cooking, not fetched mid-task. There’s no single right answer here. Worth knowing both views exist before you plan around either one.
Fast, No-Demo Fixes on a Low Budget
If you’re not ready for a renovation, or you’re renting and can’t be, these fixes skip the contractor, the permit, and the weekend of dust entirely.
Start with a rolling cart or a mobile shelving unit. Across dozens of kitchen renovation threads on r/femalelivingspace and r/kitchen, this comes up more than any other fix for oddly shaped gaps, and there’s a reason: it’s the only thing on this list you can return if it doesn’t work out.
Get one with locking wheels. It fills dead space, adds counter or storage, and rolls out of the way the second you need to clean behind it.
Got a 6 to 12 inch gap between the fridge and the range? That’s exactly what a narrow slide-out cabinet is for, spices, oils, baking sheets, whatever’s currently cluttering your real cabinets.
Here’s one most kitchen content skips entirely: a stainless steel worktable from a restaurant supply store. It’s a genuinely underused fix. A commercial-grade steel table gives you durable extra workspace for a fraction of what custom cabinetry runs.
If part of your kitchen is dead space because of a radiator or heat register, don’t write it off. An open-bottom counter placed over it, with a small fan underneath for airflow, reclaims the space without blocking heat circulation.


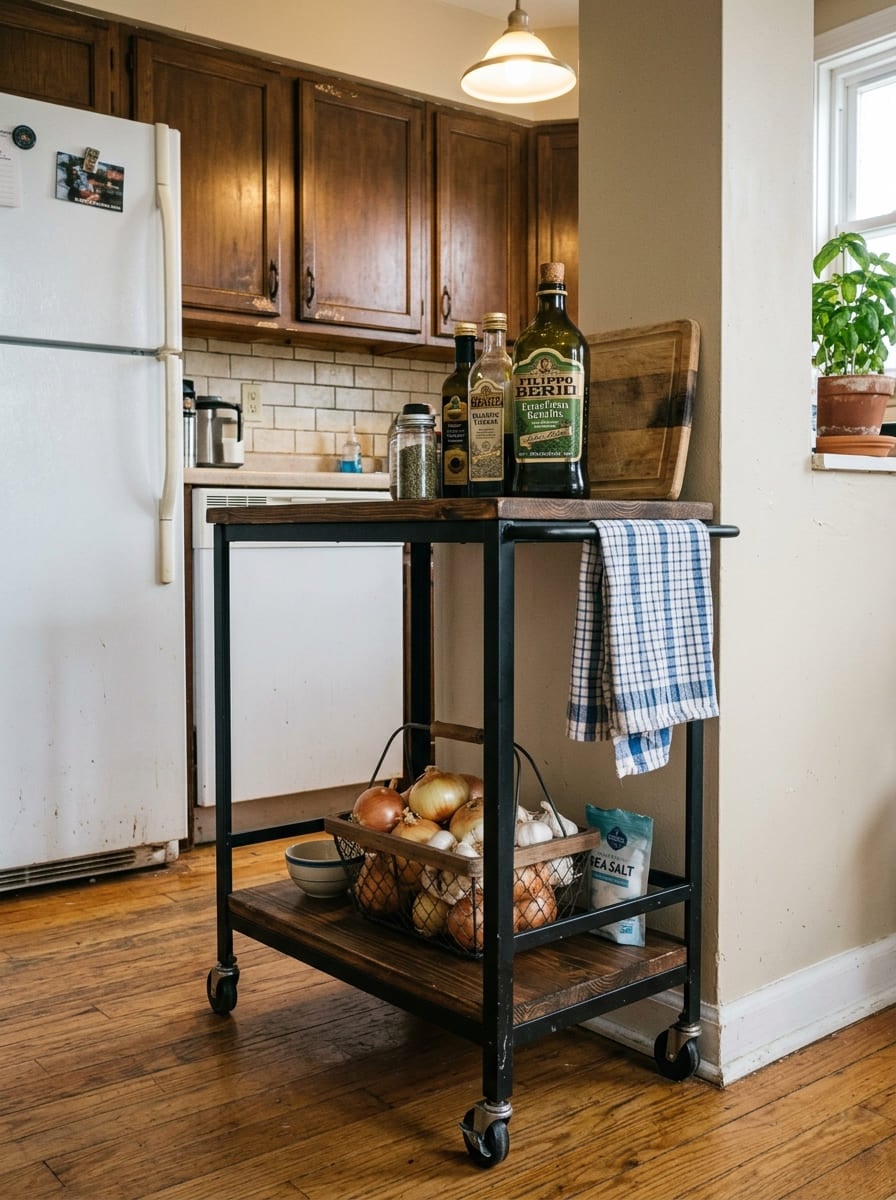
Before you buy anything: measure the gap twice. It sounds obvious, but ordering a cart or slim cabinet that’s a half inch too wide is a common and avoidable mistake.
As Katelyn Irizarry, founding partner and design director at PRD Custom Homes, put it after solving one reader’s cramped counter problem with a $9 wall-mounted paper towel holder: “efficiency, creativity, and organization are going to be your best tools for making the most out of your space.” Small, cheap fixes solve more awkward layouts than people expect.
Moderate Remodels: Some Structural Work, Real Impact
These fixes involve more than furniture, think minor demo, new shelving installation, or reconfiguring a section of cabinetry, but they don’t require a full gut renovation.
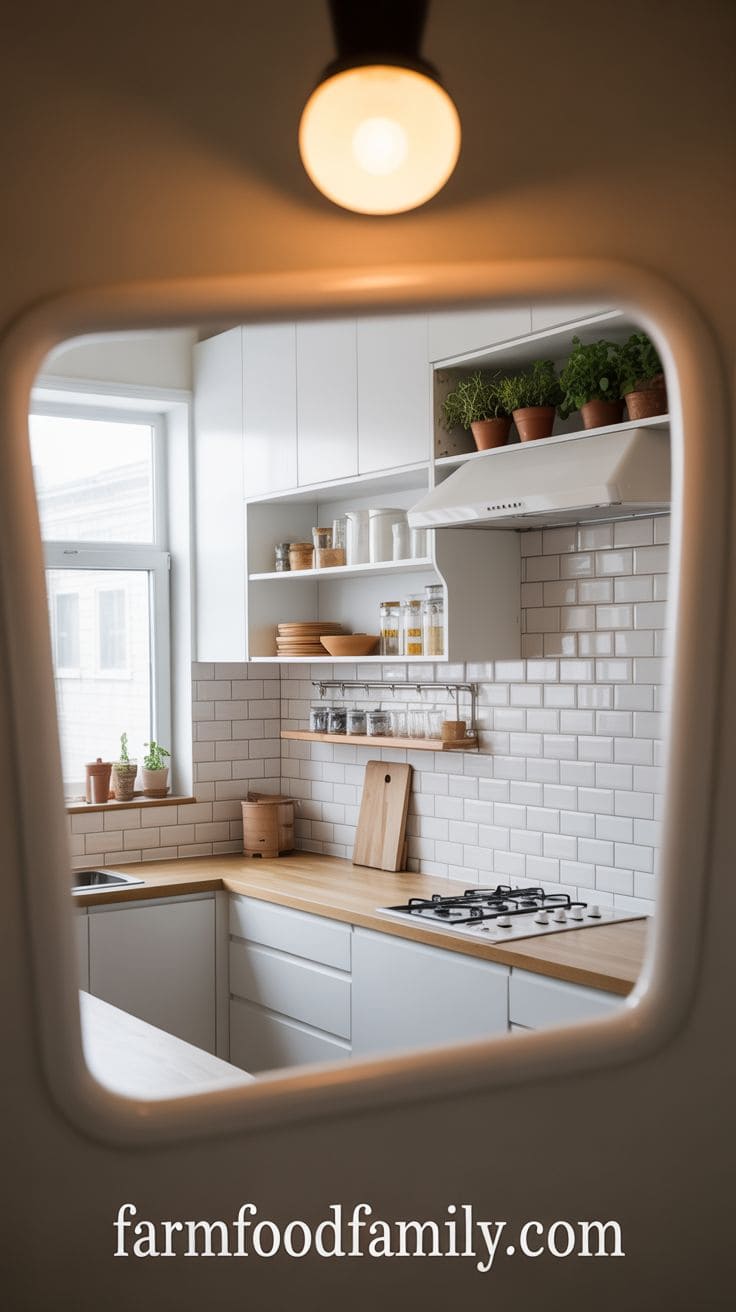
1. Corner Sink with Surrounding Shelving
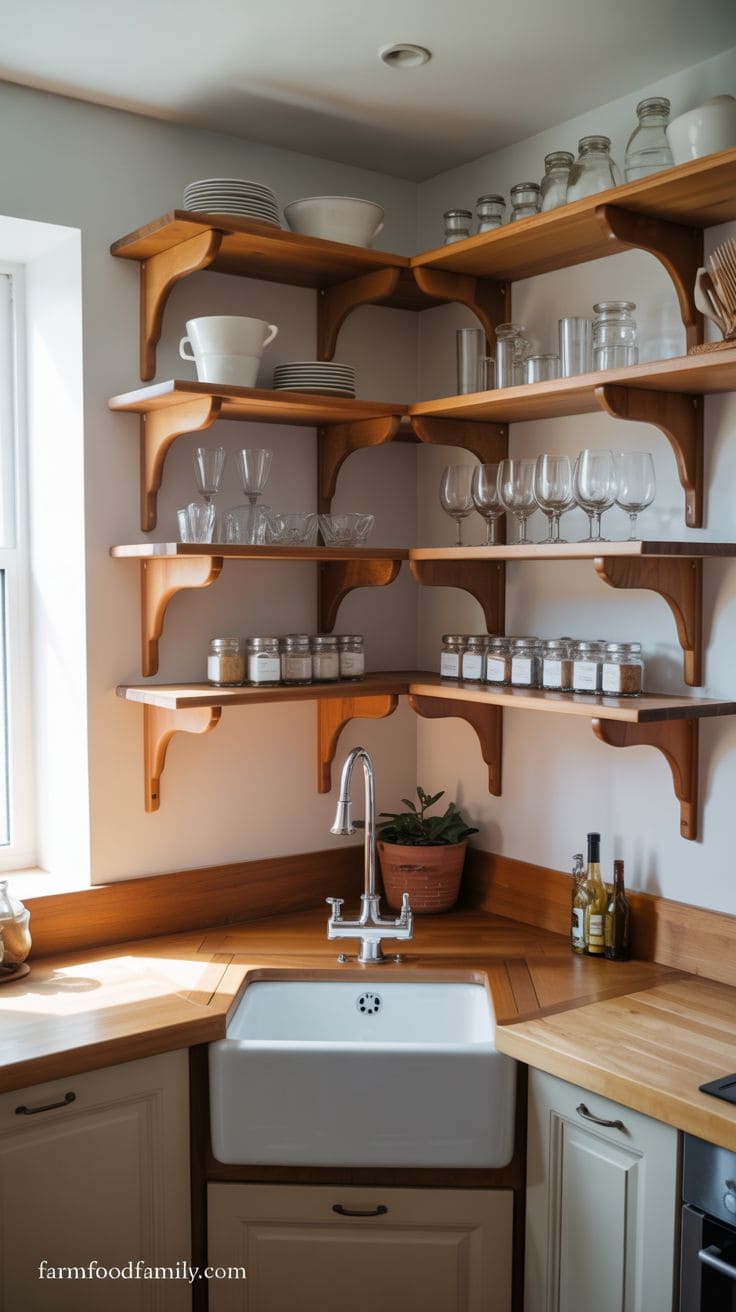
If your sink got pushed into a corner because of a window or a tight wall, that placement can actually work in your favor. Install open shelving that wraps around the corner above the sink, mounted at an angle that follows the wall line.
Use it for everyday dishes, spice jars, or glassware, and keep the containers visually consistent so the corner doesn’t look cluttered. A pendant light or a small sconce over the sink brightens what’s usually the darkest spot in a corner layout.
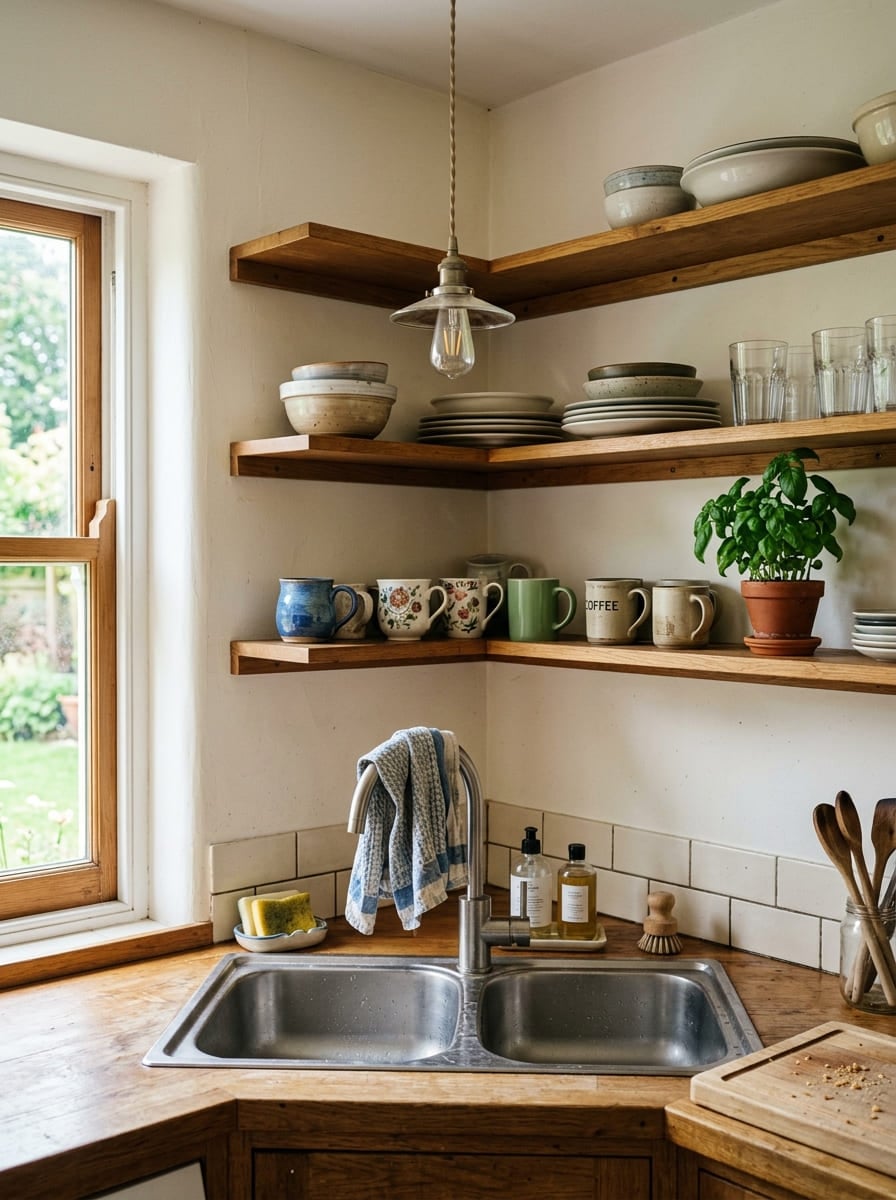
One thing that trips people up on a first attempt: open shelving loaded with everyday dishes is heavier than it looks, a stack of dinner plates alone can run 15-20 pounds.
Use brackets rated for at least 50 pounds per shelf, not the light-duty hardware that ships with most floating-shelf kits, and anchor into a stud or use rated drywall anchors if the corner framing doesn’t line up. Sagging shelves six months in are almost always an under-rated-bracket problem, not a wood-quality one.
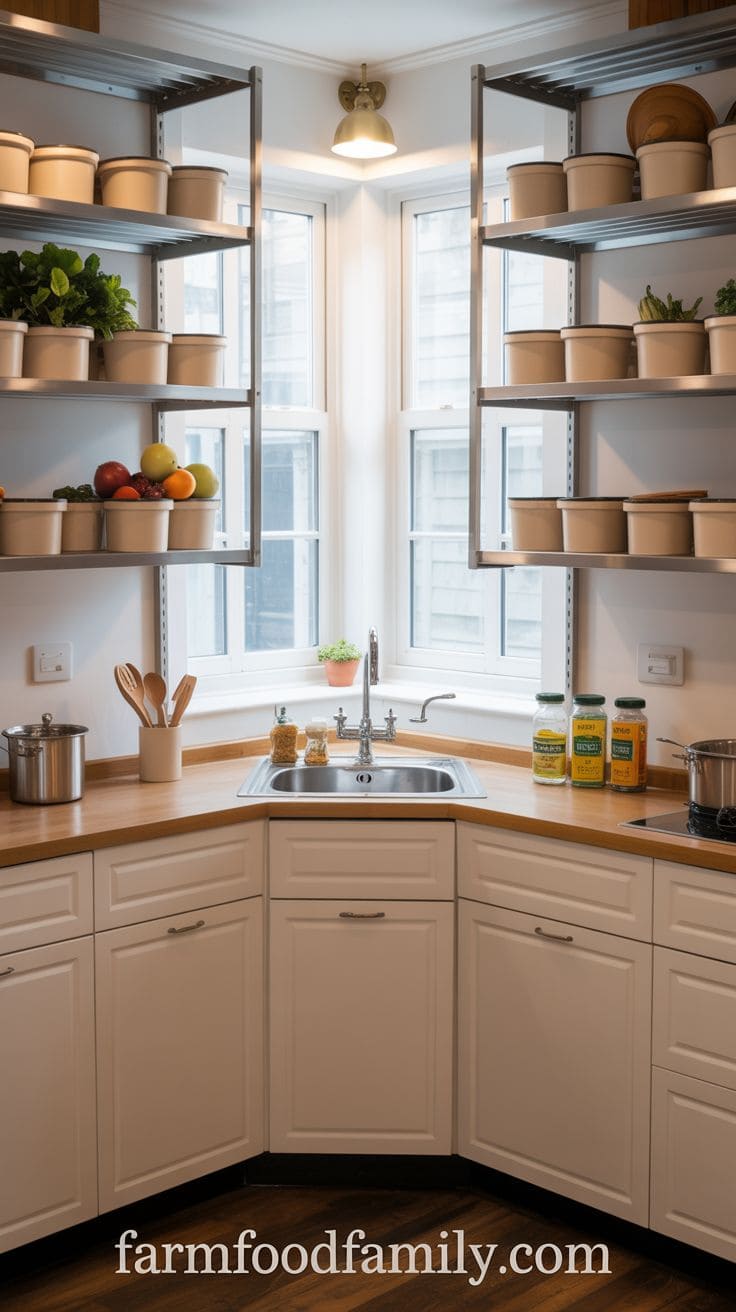
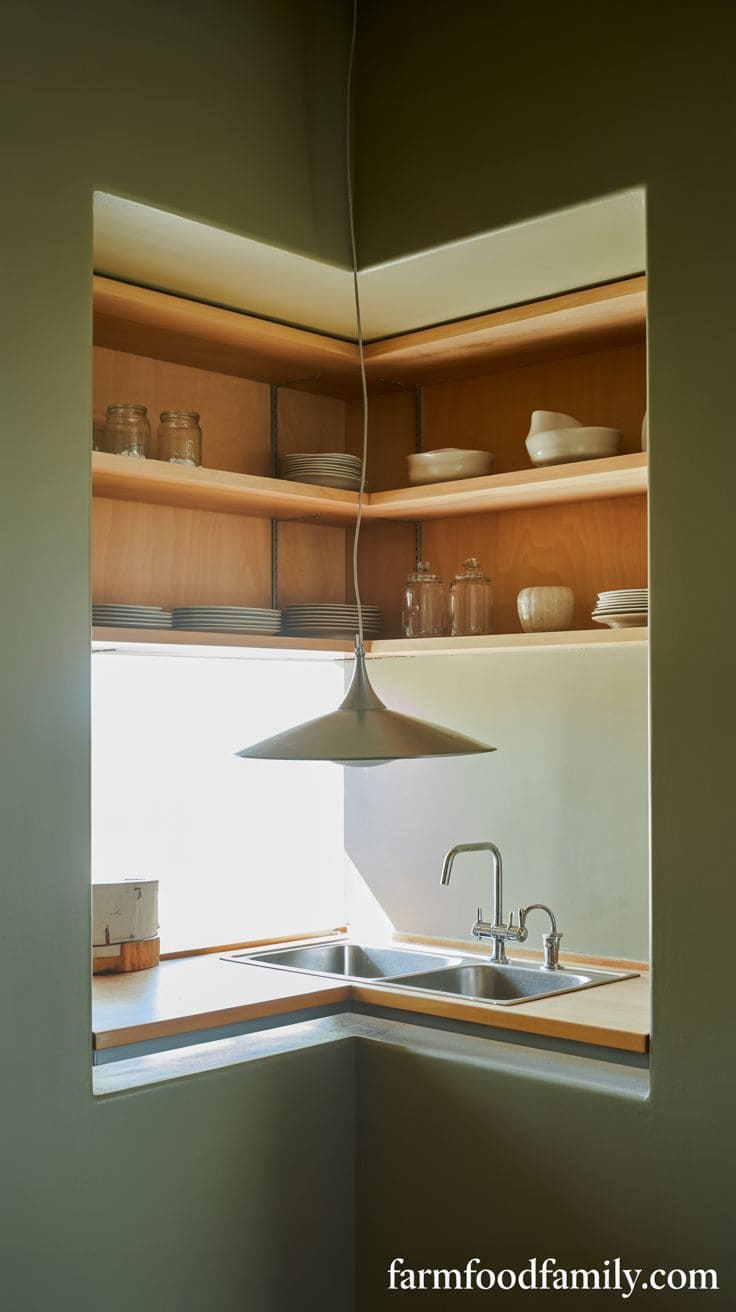
Open shelving next to a corner sink only looks good if what’s on it is worth looking at.
Stack the everyday dishes and glassware here, sure, but skip anything mismatched or chipped, that’s what the cabinet’s still for.
And leave a couple inches of breathing room on each shelf, packed-tight shelves read as storage overflow, not design.
2. Narrow Galley with Wall-Mounted Storage and Slim Appliances
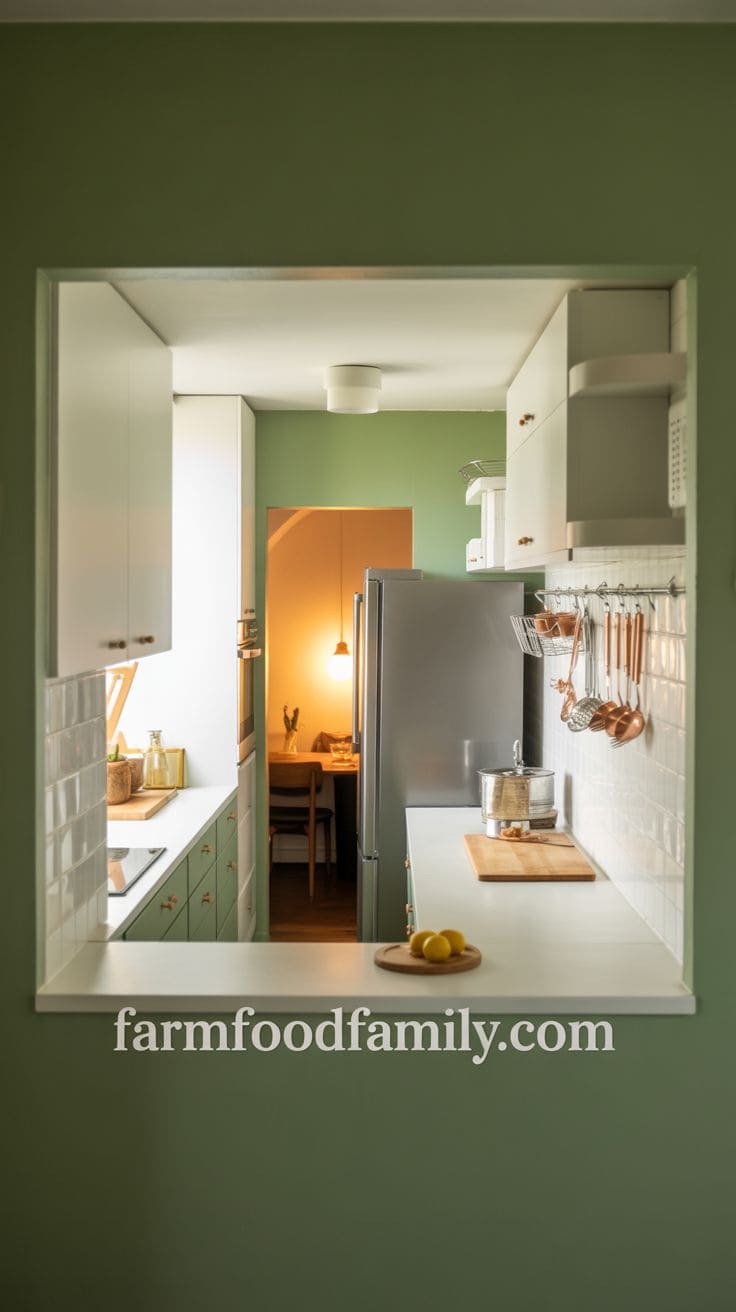
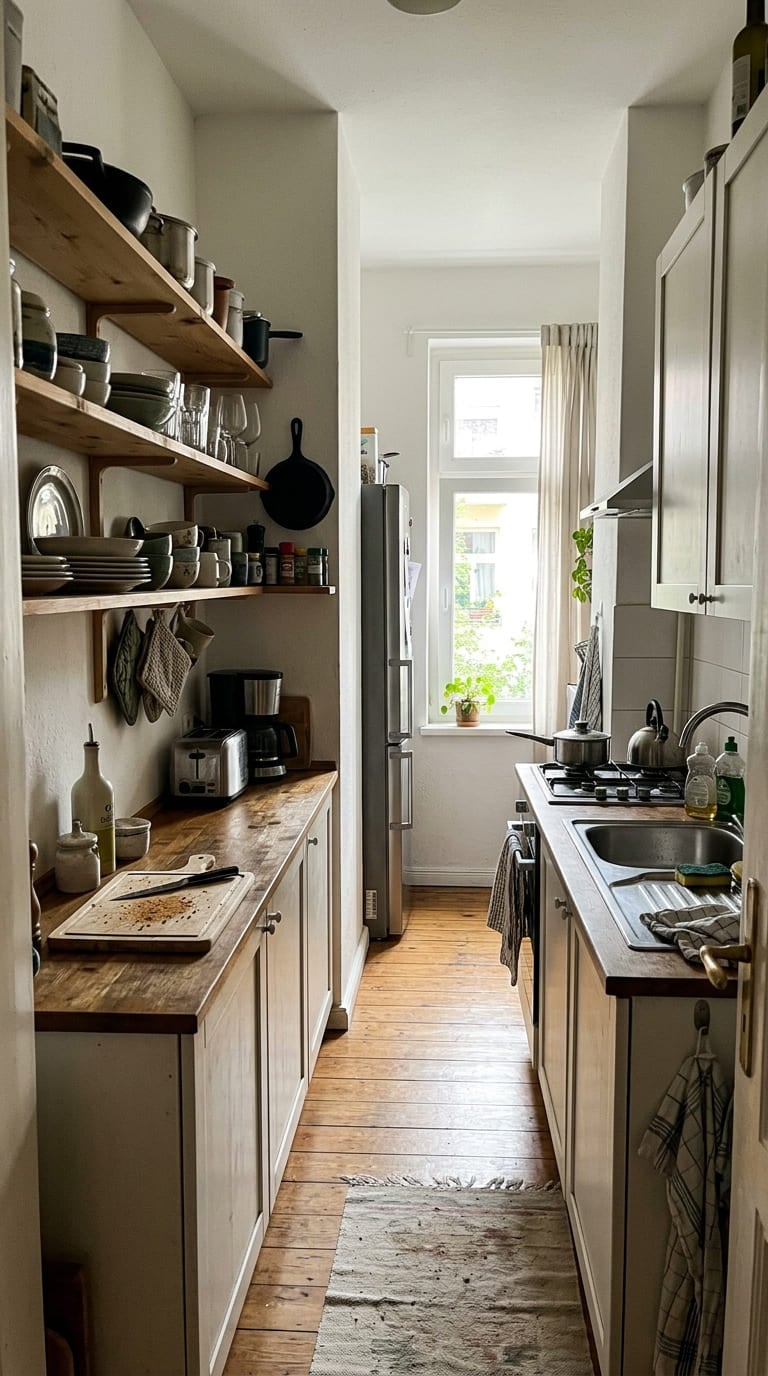
Galley kitchens (two parallel counters with a walkway between them) are one of the most space-efficient layouts that exist, but a narrow one can feel like a hallway if storage isn’t planned carefully.
If this is your layout specifically, our galley kitchen ideas guide has more storage and color tricks worth stealing.
Wall-mounted shelving and slim appliances (18-inch dishwashers, narrow-depth fridges) free up floor clearance without sacrificing function.
This layout is popular in older homes in the Midwest and Northeast, where kitchens were often built narrow to begin with, and it remains one of the most cost-effective renovation paths because you’re rarely moving plumbing or gas lines.
Before you commit to slim appliances and wall shelving, measure the actual aisle width between your two counters.
The NKBA’s planning guidelines call for at least 42 inches of clearance in a galley with one cook, 48 inches if two people regularly cook together.
Anything narrower and even slim 18-inch appliances won’t fix the real problem, which is two people trying to pass each other mid-prep.
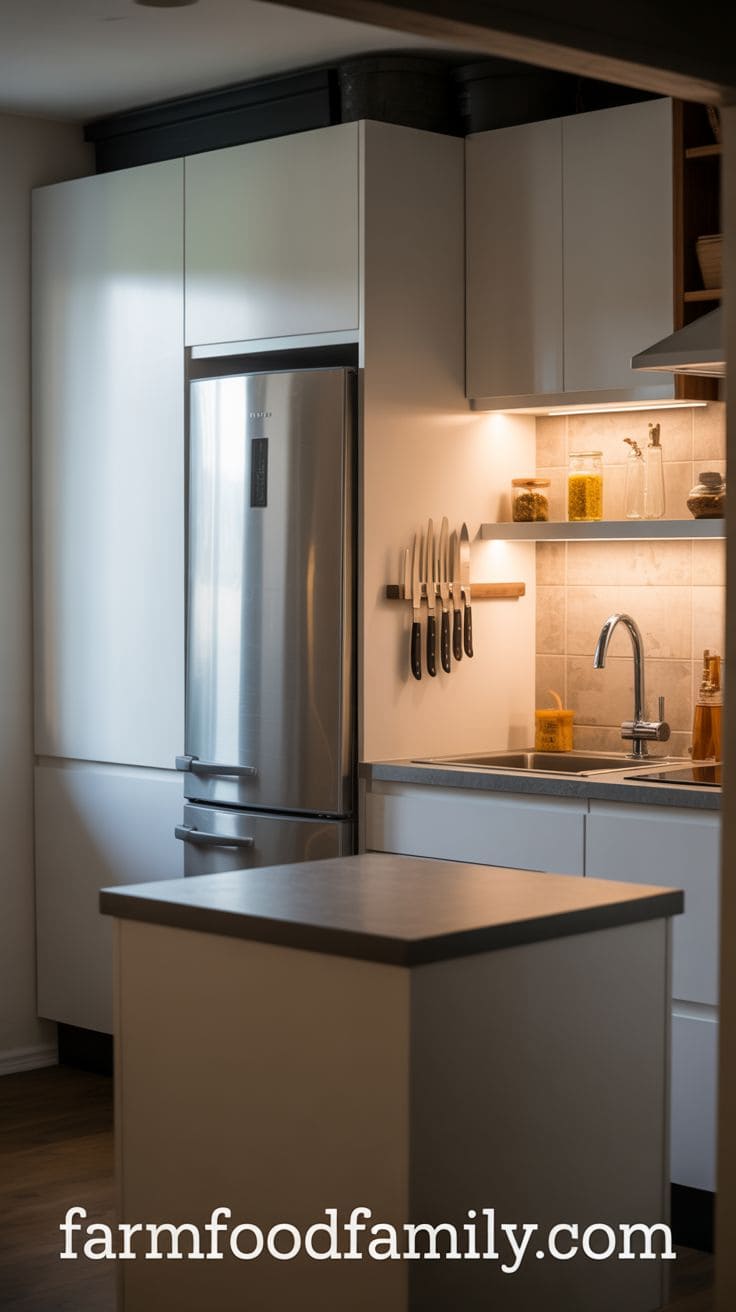
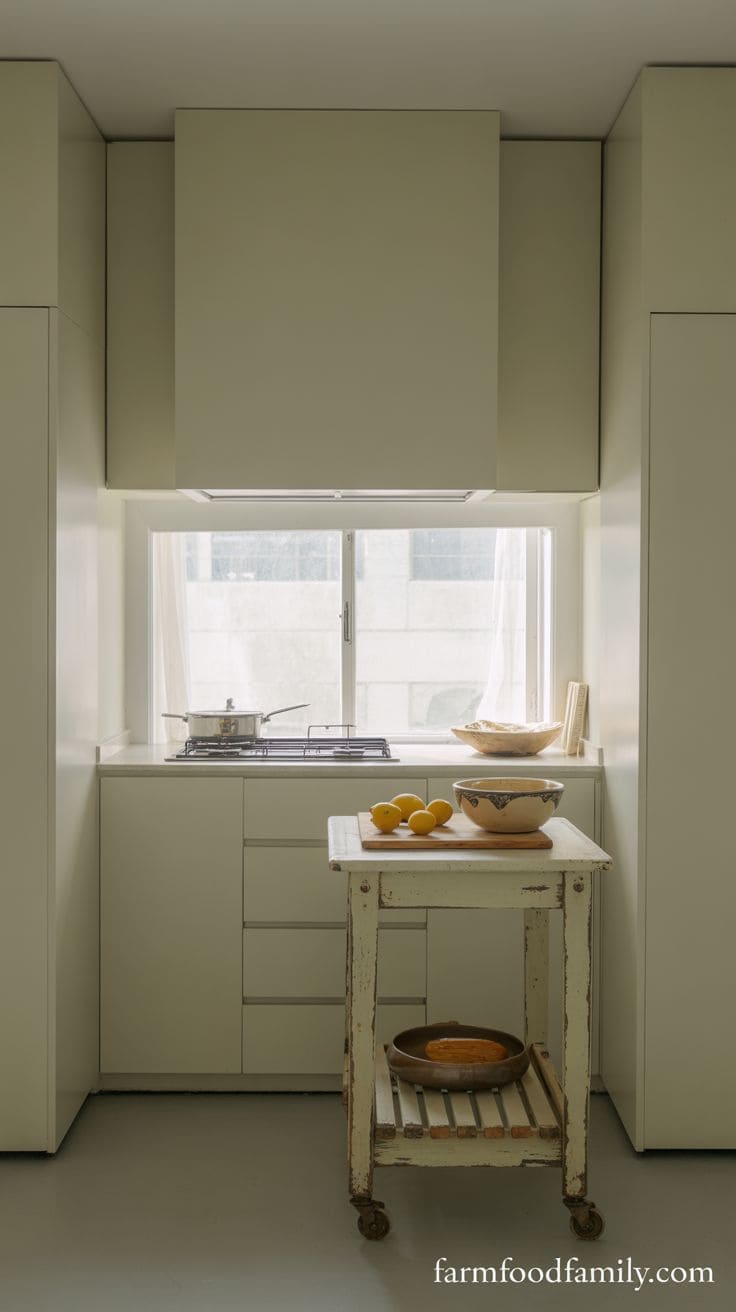
An 18-inch dishwasher frees up close to a foot of counter in a galley run, which honestly sounds small until you’re the one squeezing past someone at the stove.
Wall-mounted shelving does the same trick vertically, it clears the floor path without asking you to give up storage. Just don’t mount anything below elbow height on the walkway side, people will hit their head on it eventually.
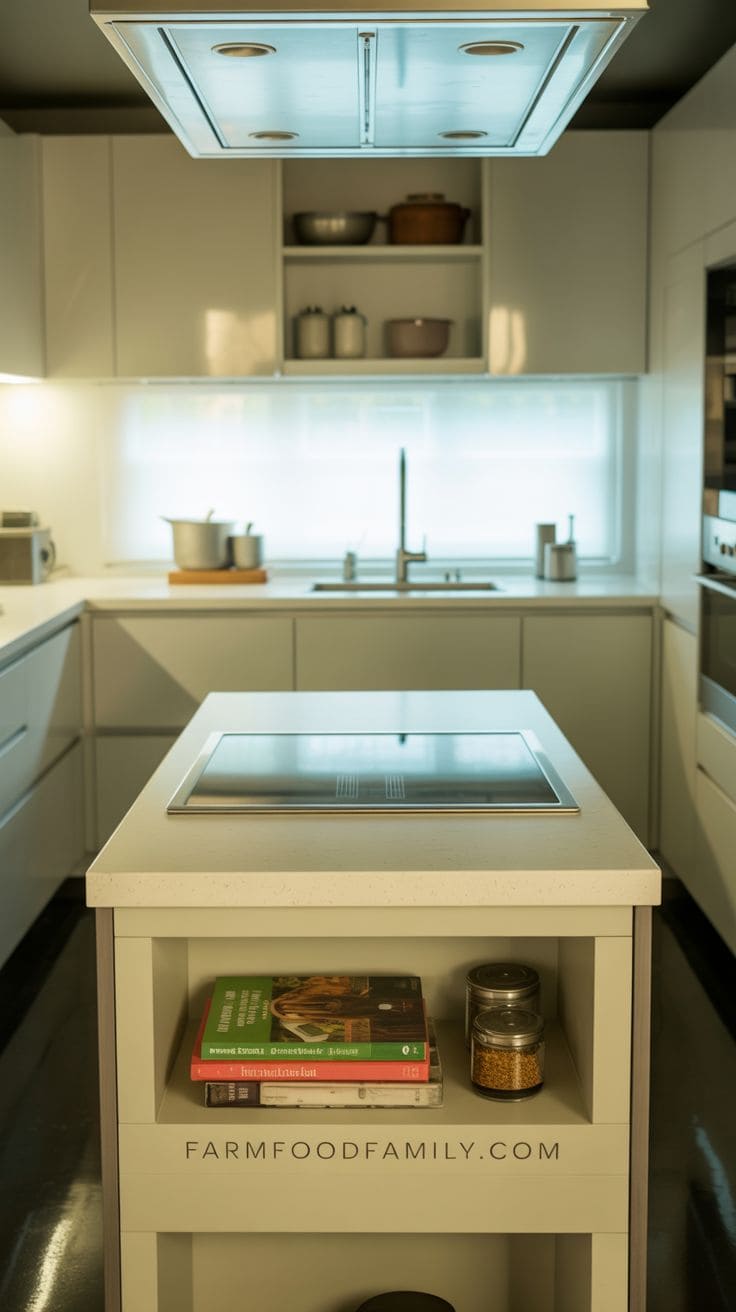
3. Kitchen Peninsula in a Tight U-Shape Layout
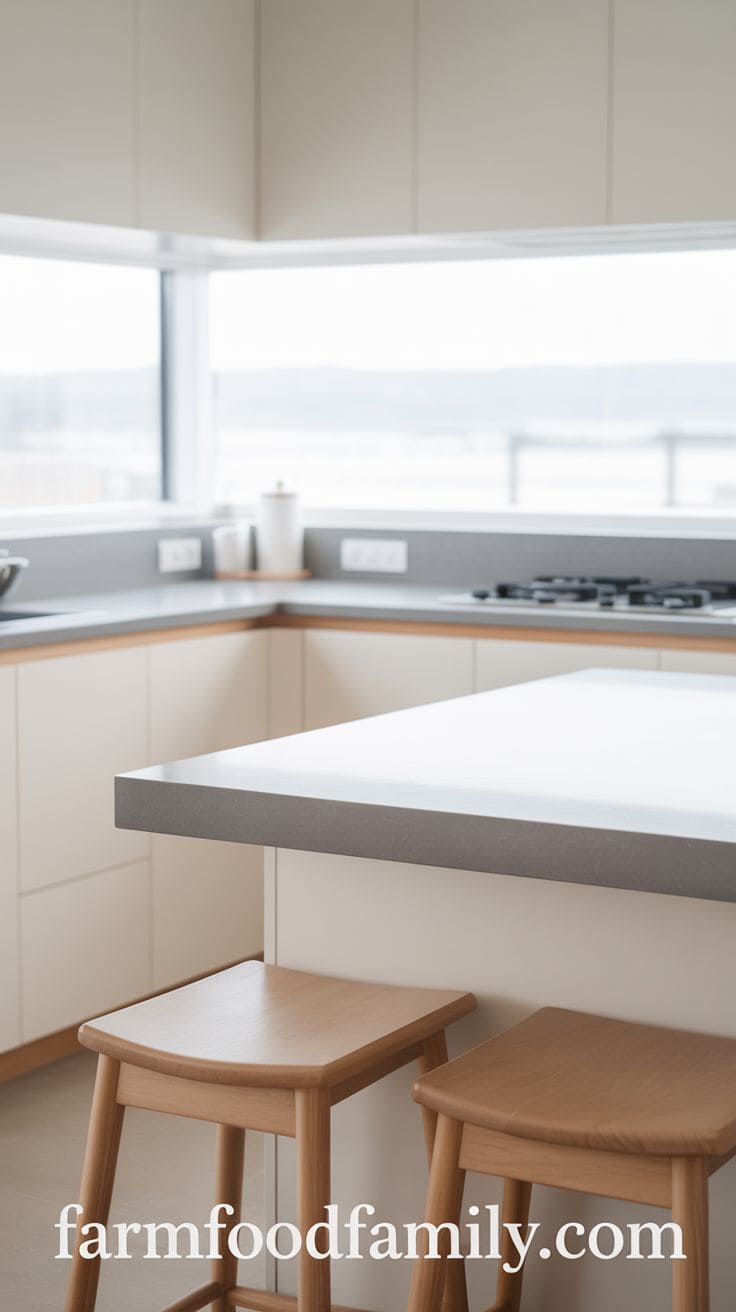
A peninsula can make a U-shaped kitchen feel boxed in, especially in smaller rooms.
If you don’t have the budget for a full island, cutting the peninsula shorter converts the layout from a U-shape to an L-shape, opening up the floor plan for a modest cost.
If your budget allows for more, replacing the shortened peninsula with a small island gives you the open feel of an L-shape plus extra workspace.
In U-shaped kitchens where one end feels too tight or the “mouth” of the U is narrow, adding a peninsula instead of a full island can increase function while without limiting movement.
Not sure if you should keep the peninsula at all? Our kitchen peninsula ideas piece walks through when it earns its keep and when it’s just in the way.
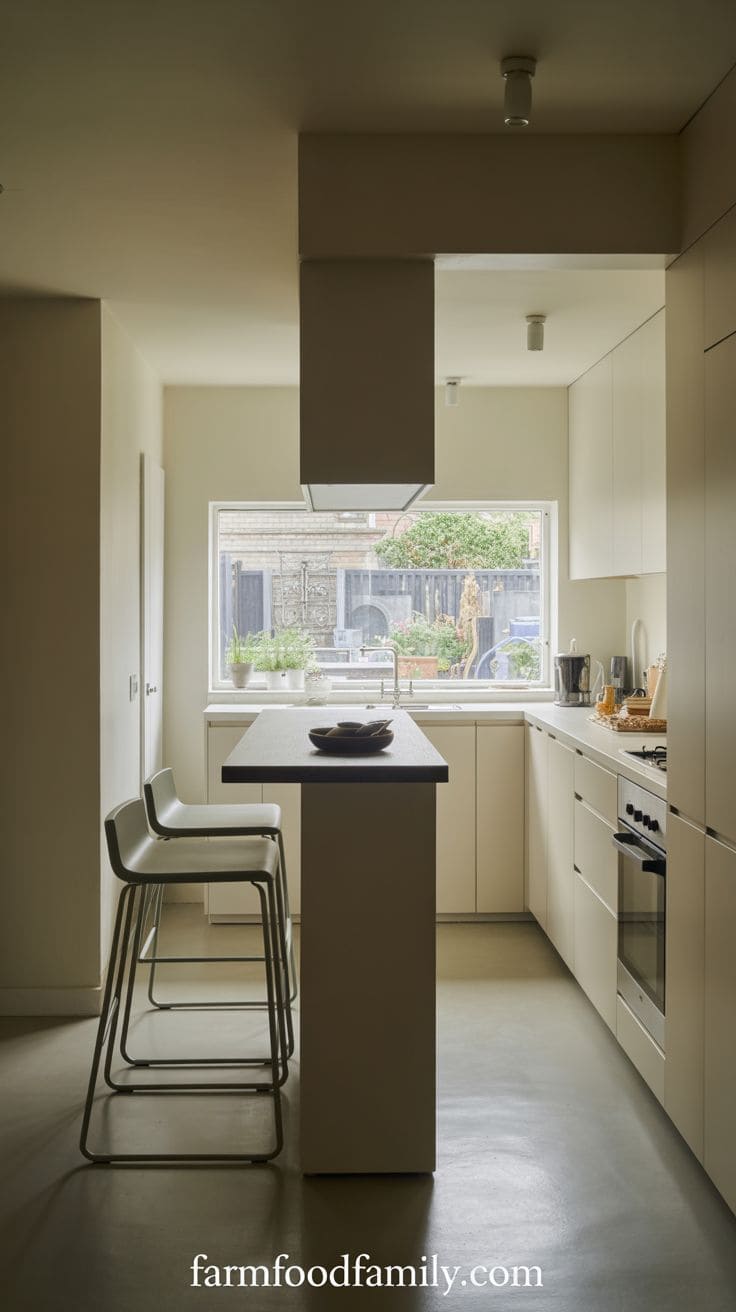
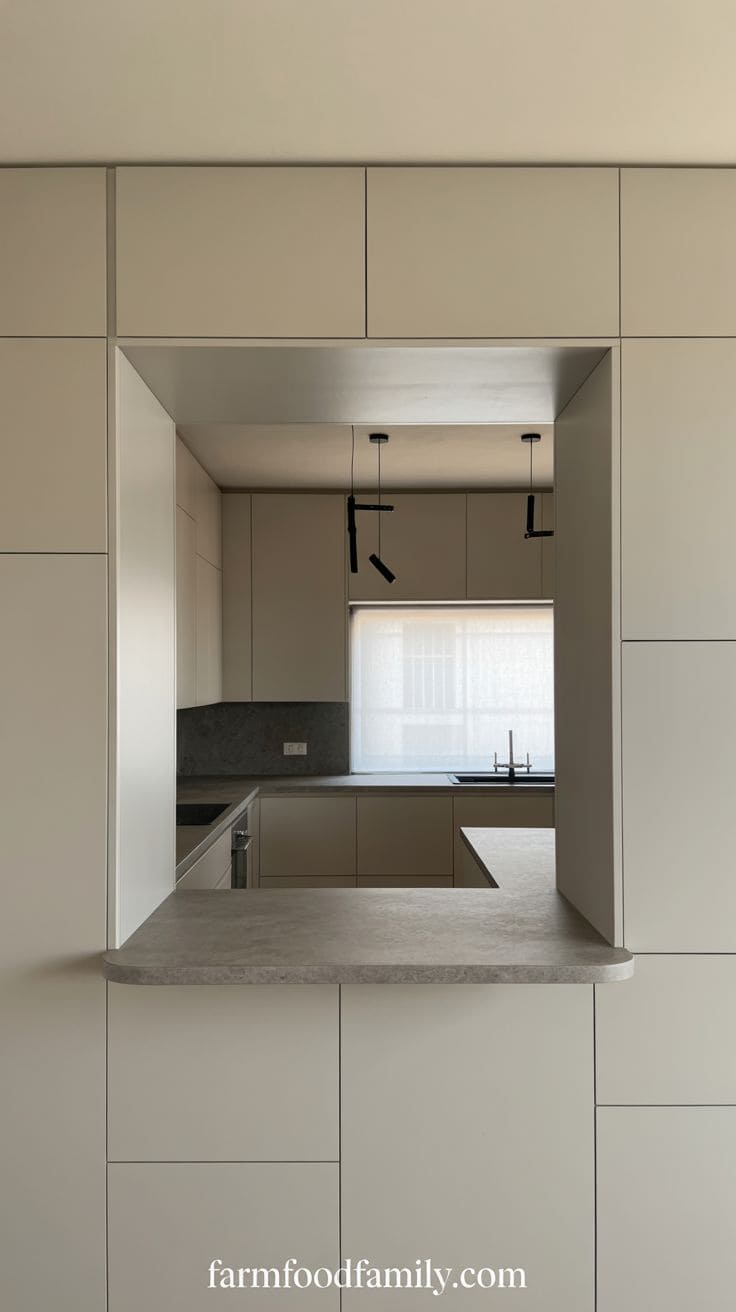
A peninsula only earns its keep if the overhang actually fits a stool. Aim for at least 12 inches of counter overhang for knee room, less than that and nobody sits there more than once.
And keep the walkway around the open end at least 36 inches wide, tighter than that and it stops feeling like a peninsula and starts feeling like a wall you added by accident.
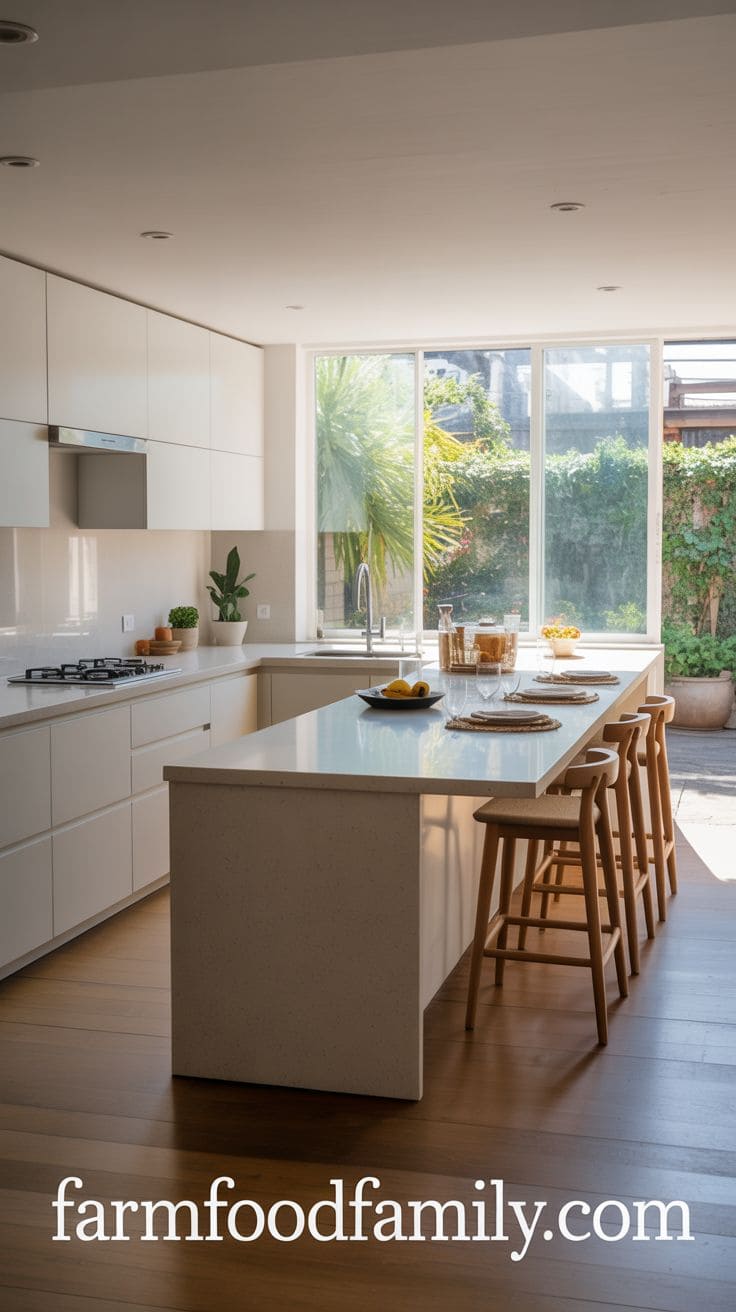
4. Off-Center Range with Accent Backsplash
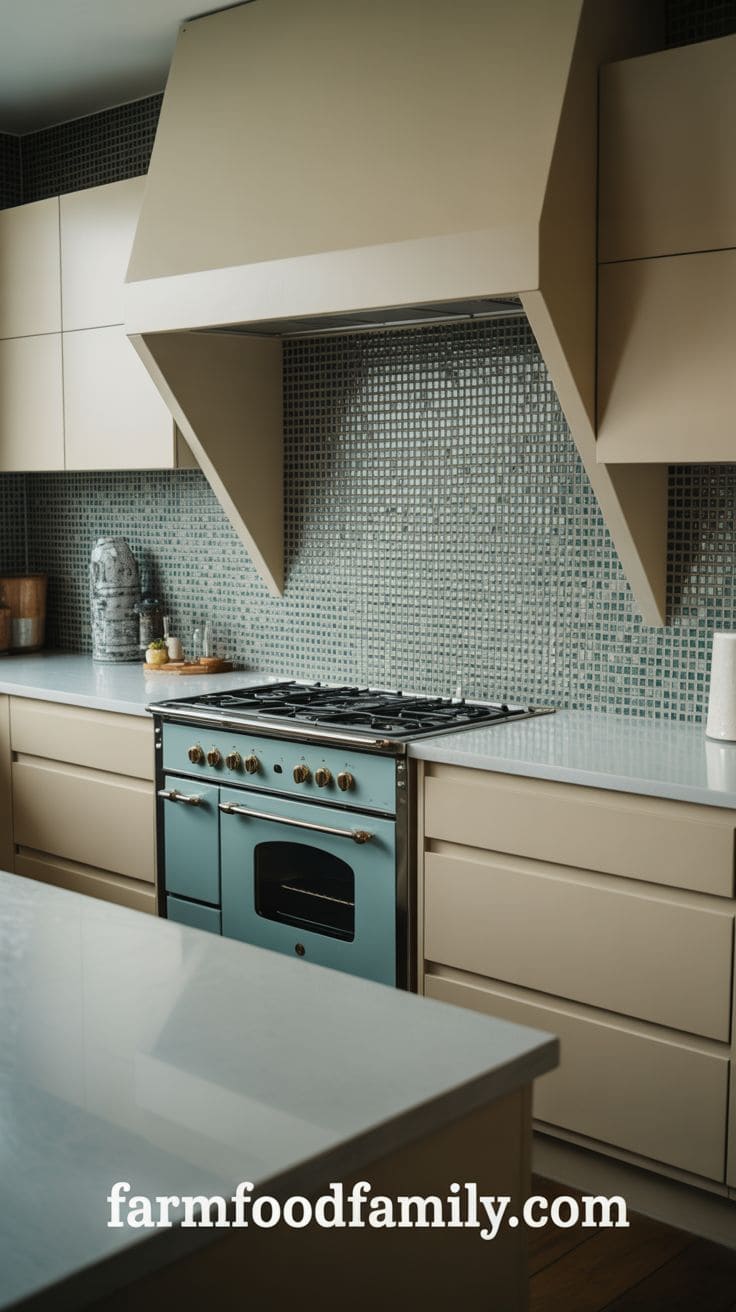
Not every range sits centered on its wall. Trying to force symmetry where there isn’t any almost always looks worse than just embracing the offset.
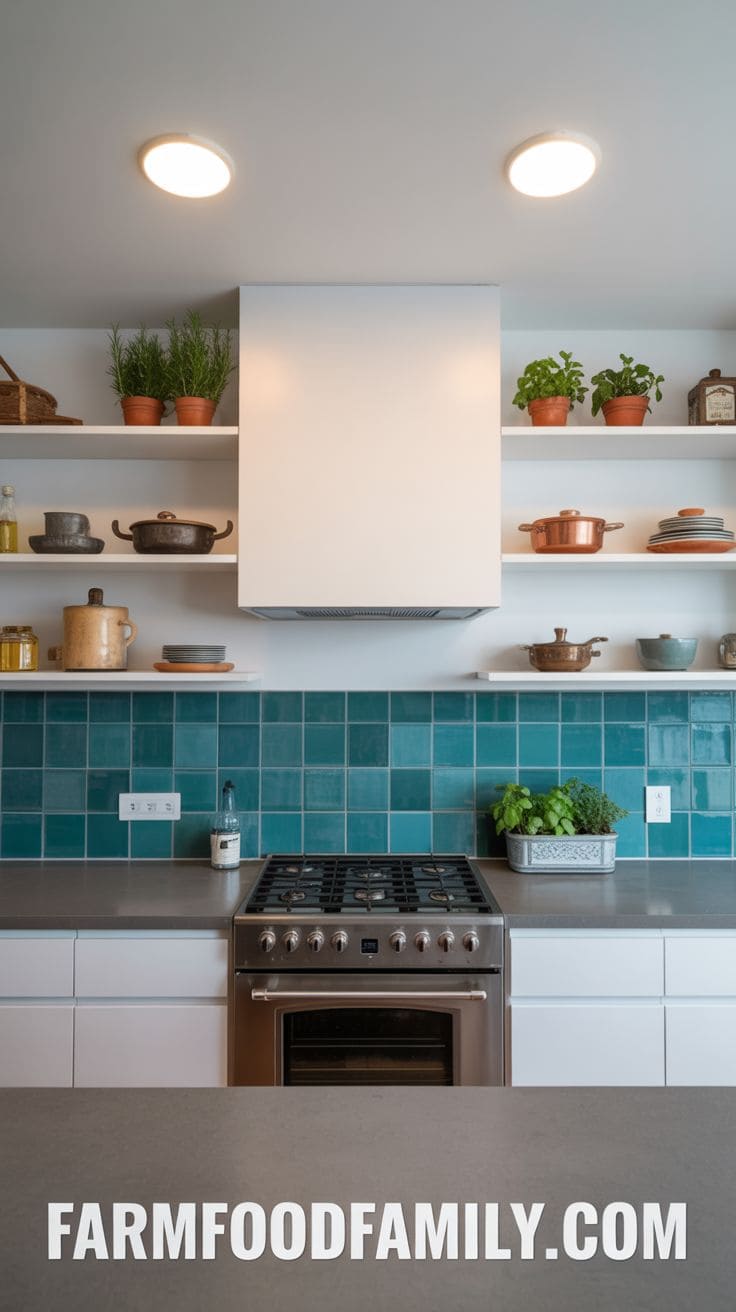
Add an accent backsplash, a bold tile pattern works, so does a contrasting material, and suddenly the range reads as an intentional focal point instead of something that got stuck in the wrong spot.
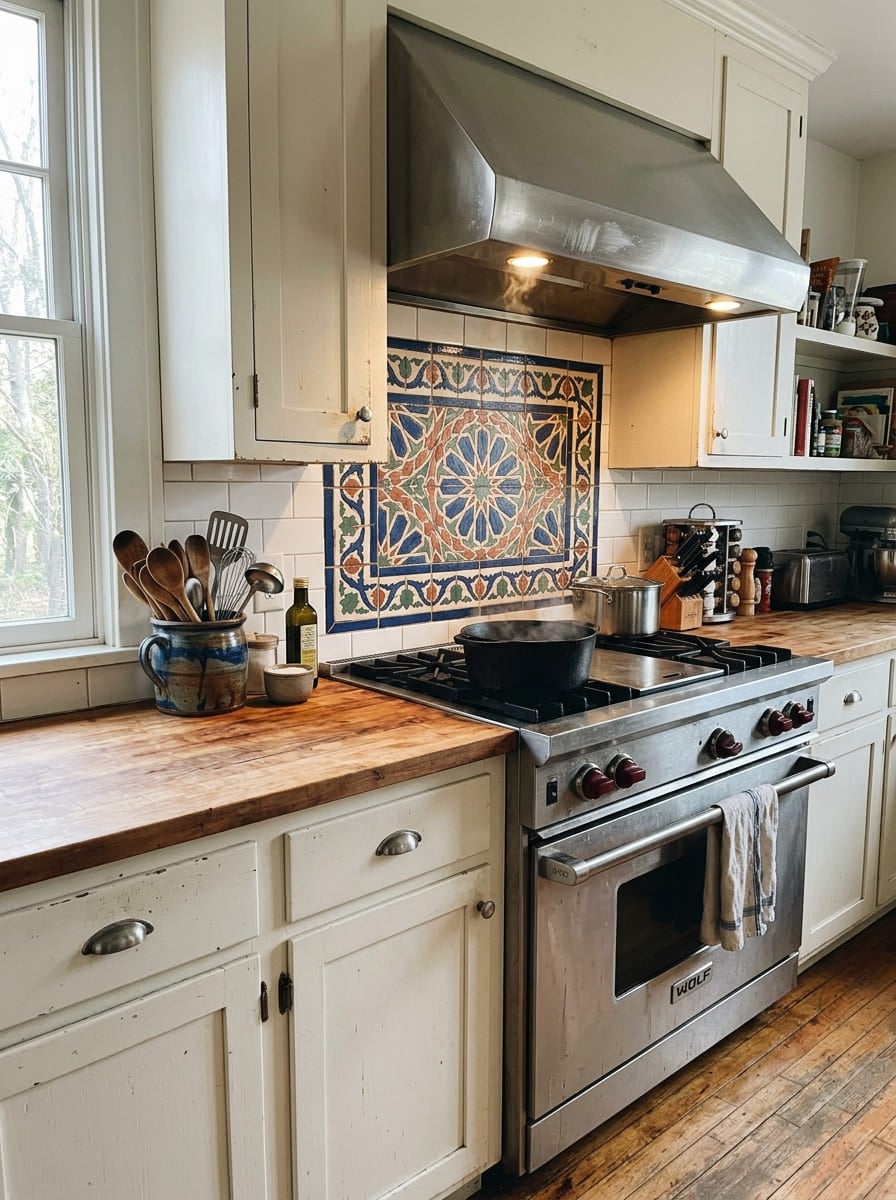
The detail that makes or breaks this fix: run the accent tile at least 6 inches past each edge of the range and hood combo.
Stop the tile exactly at the range’s width and it reads like the installer ran out of material, not like a deliberate choice. Going wide is what turns an off-center range from “that’s in the wrong spot” into “that’s clearly the focal point.”
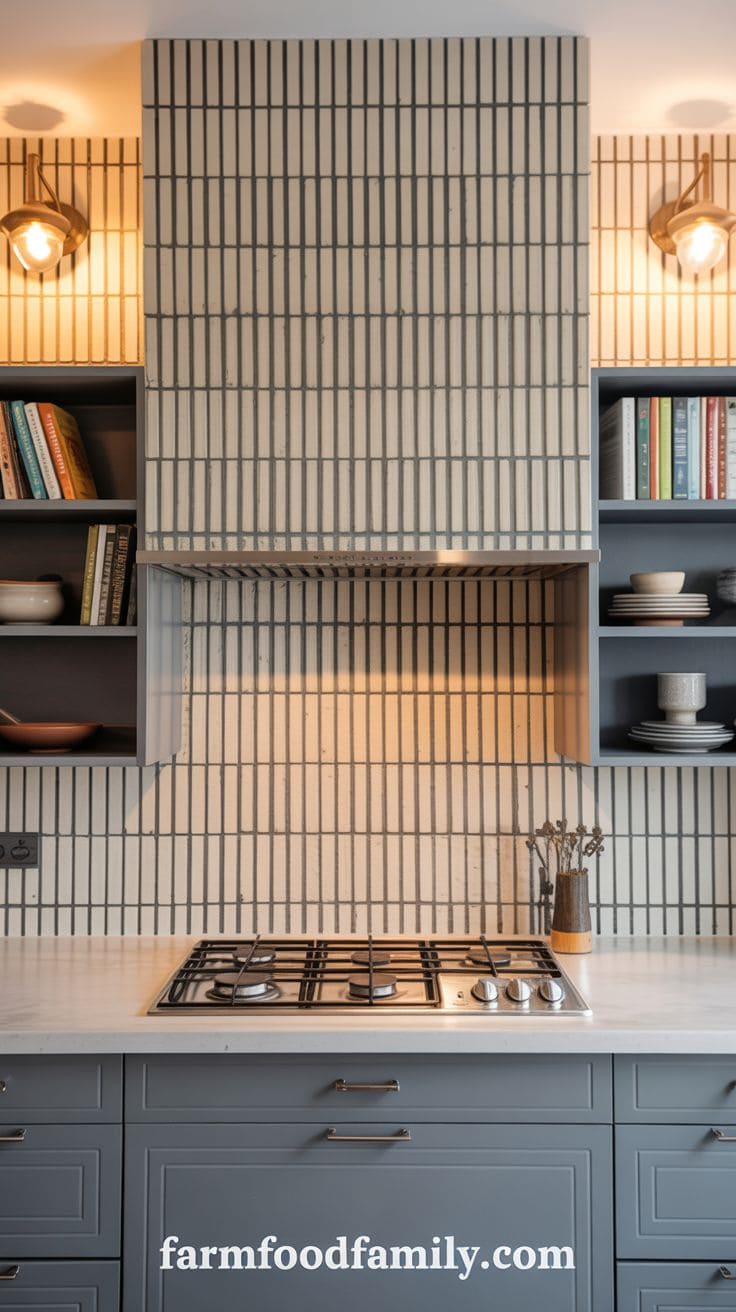
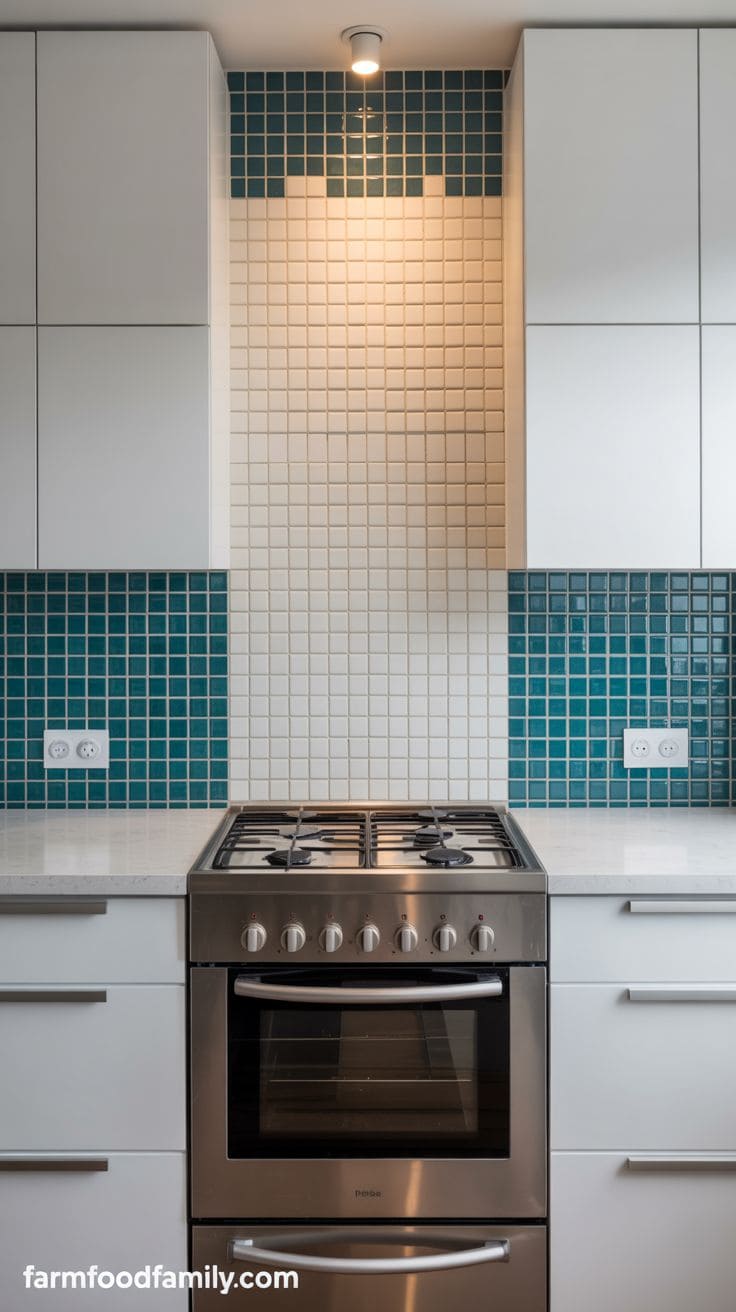
Bold tile behind an off-center range works because it stops your eye from hunting for the “middle” of the wall that isn’t there.
Pick a pattern that reads clearly from across the room, small mosaic tends to blur into a gray smudge from six feet away. And make sure whatever hood you’ve got actually clears the tile width, not just the range itself.
5. Island with Built-in Storage for Asymmetrical Rooms
If there’s a walk-in closet or storage nook backing onto your kitchen, especially one attached to a nearby dining room, it might be your best source of extra space.
Cutting a door through to connect it turns unused storage into a butler’s pantry, which both expands your kitchen’s functional footprint and shortens the traffic path that cuts through your cooking zone.
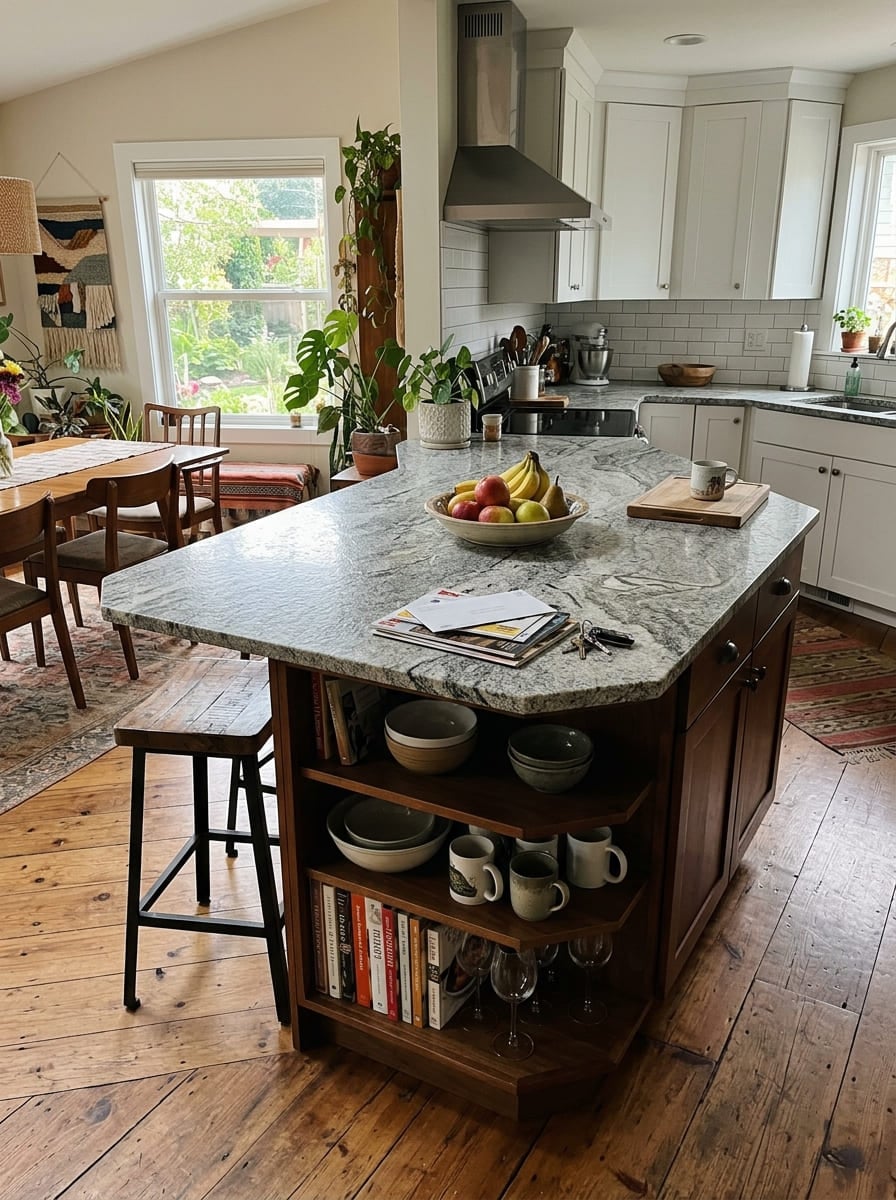
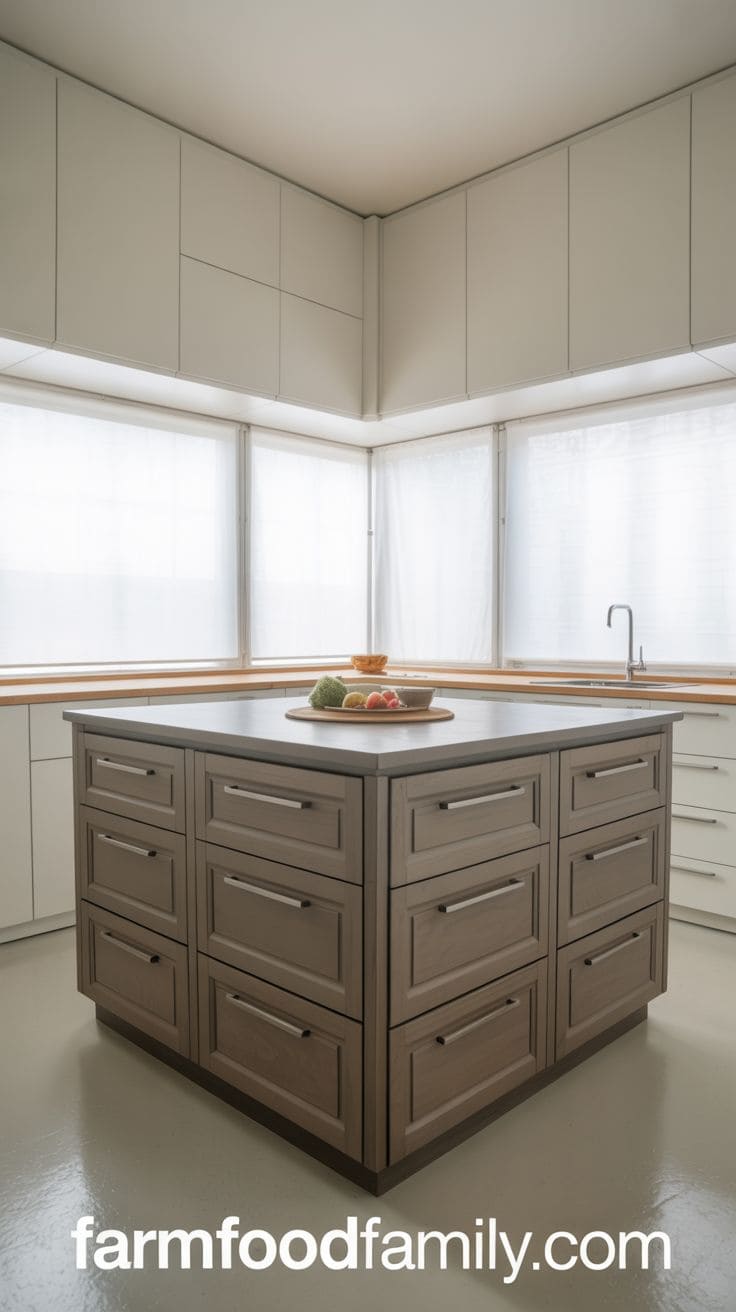
Keep the same NKBA clearance numbers in mind here too: at least 42 inches of walkway on every side of the island for one cook, 48 inches if the kitchen sees two cooks at once.
An angled island edge makes this easy to misjudge by eye, since the tightest point is usually the corner, not the straight run, so measure at the narrowest angle, not the average.
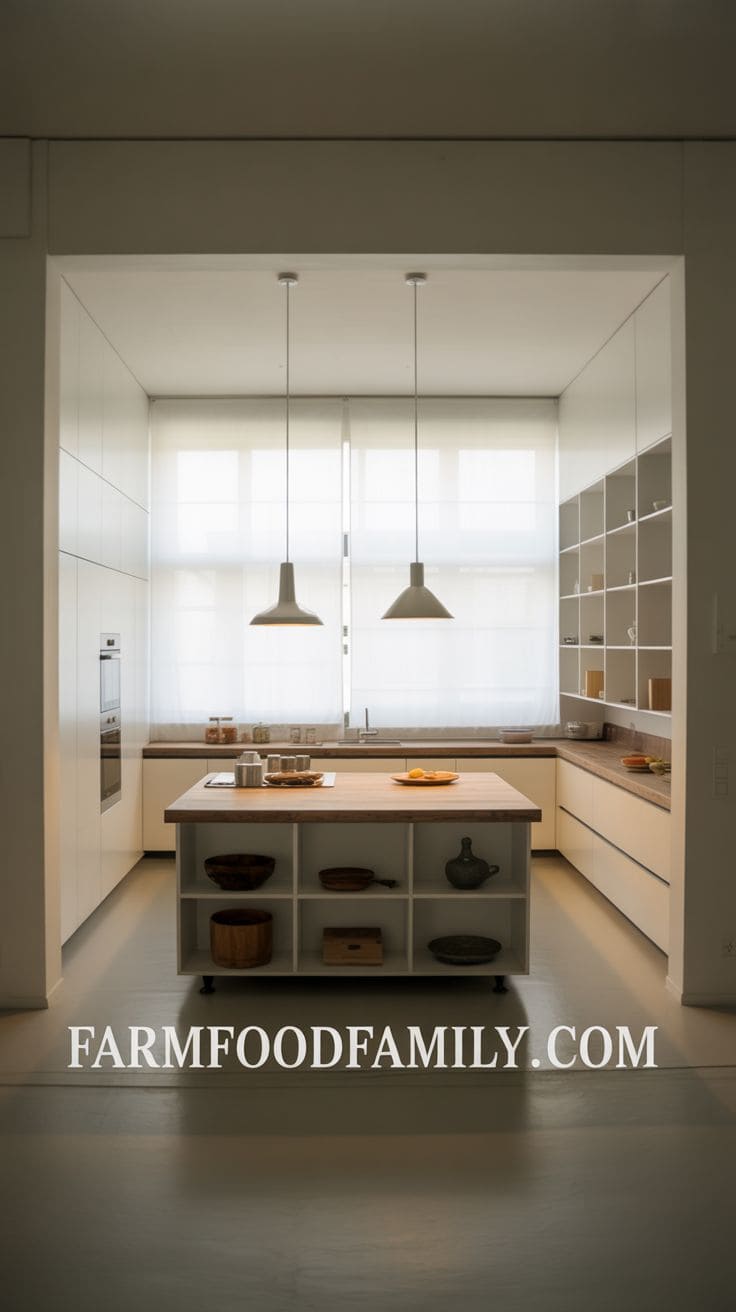
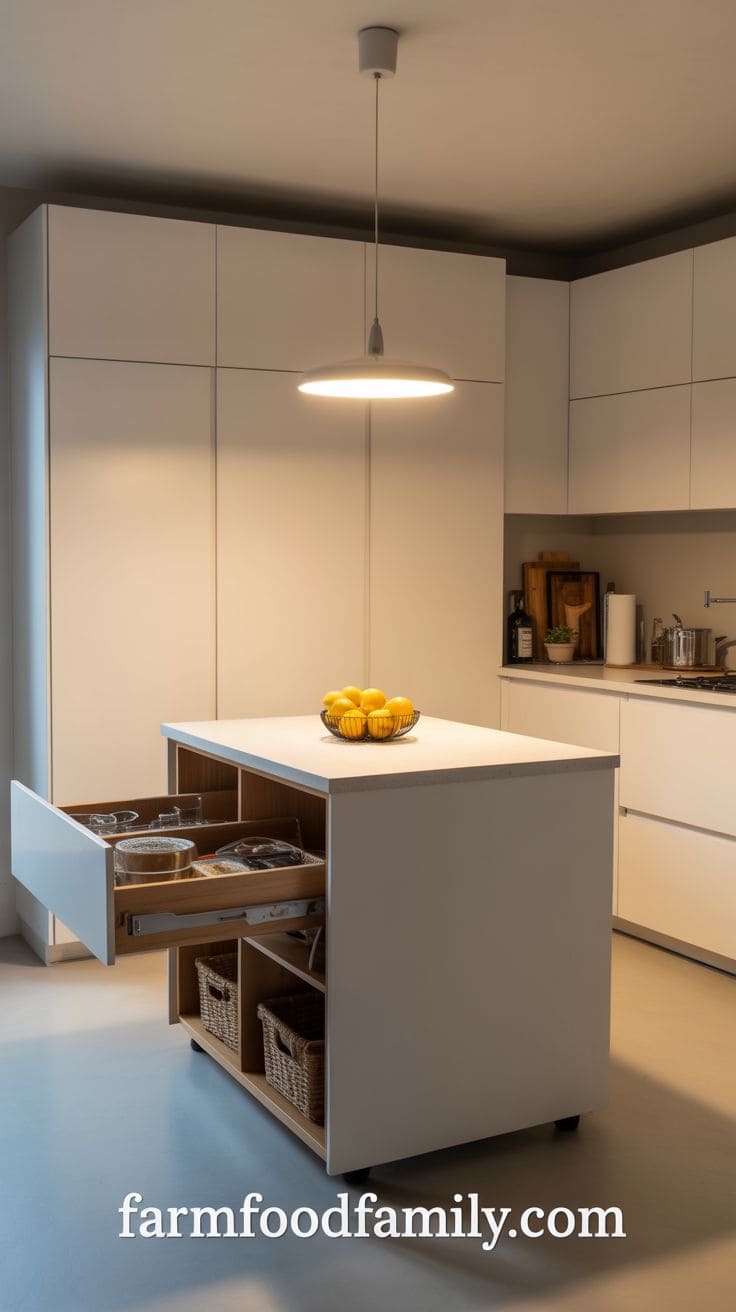
An irregular island shape sounds risky until you realize it’s usually just following a wall angle that was already there.
The trick is keeping the storage side (drawers, pull-outs) on the straight edge and letting the angled side be the one that just holds up the counter.
Try that split, and honestly, most asymmetrical rooms stop feeling asymmetrical once the island commits to the room’s actual shape instead of fighting it.
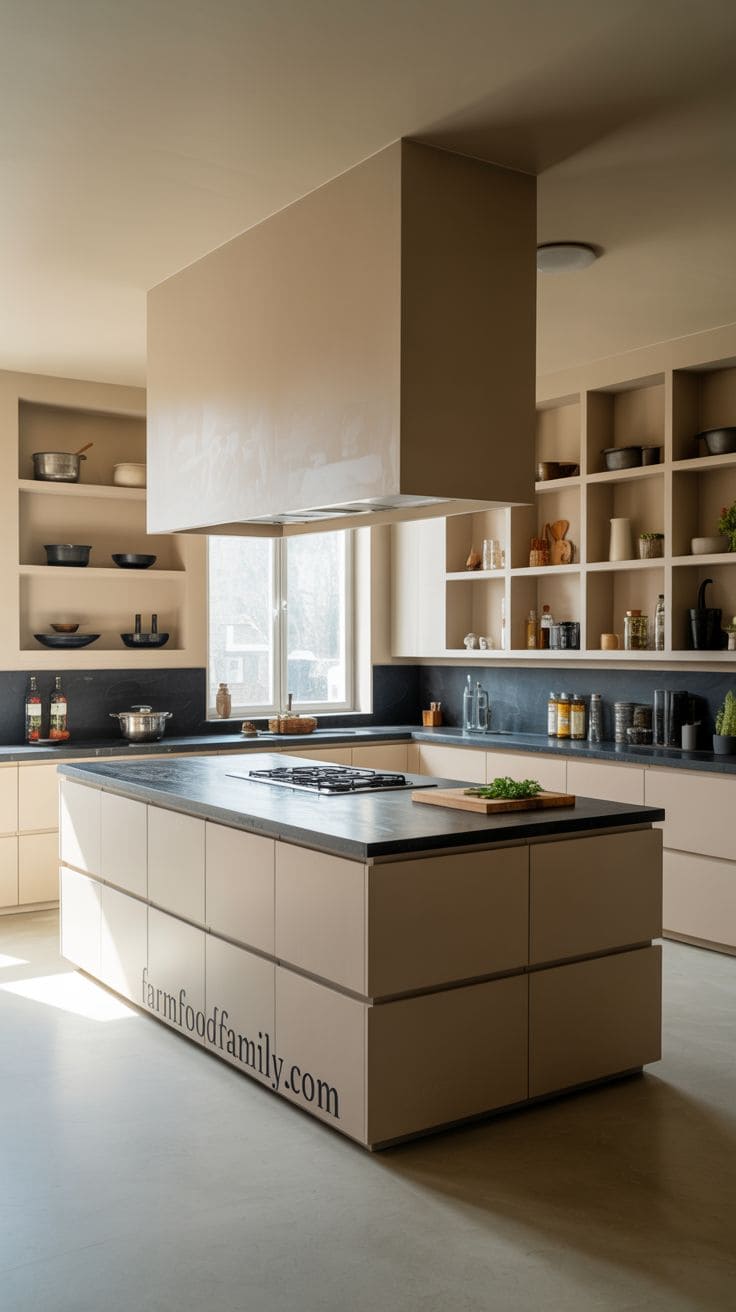
6. Reclaim an Adjoining Closet or Storage Nook
If there’s a walk-in closet or storage nook backing onto your kitchen, especially one attached to a nearby dining room, it might be your best source of extra space.
Cutting a door through to connect it turns unused storage into a butler’s pantry, which both expands your kitchen’s functional footprint and shortens the traffic path that cuts through your cooking zone.
7. Swap a Blind Corner Cabinet for a Diagonal Unit or Pull-Out
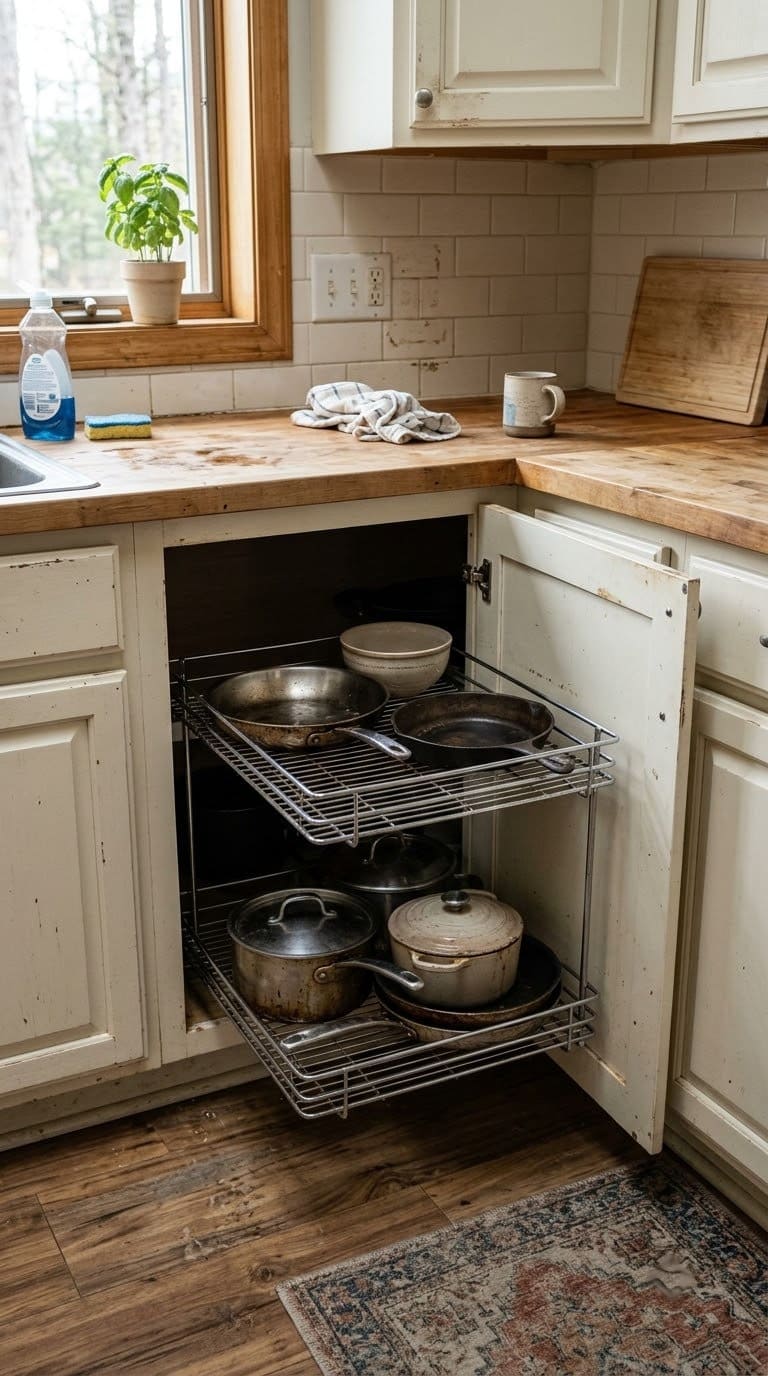
A blind corner cabinet, the kind where one door opens into a deep cavity that runs behind the neighboring cabinet, wastes close to 40 percent of its own volume on space you physically can’t reach. It’s dead storage in the exact spot an awkward kitchen can least afford it.
Three fixes, cheapest first. A lazy Susan drops into the existing box and brings the back corner within reach. A “magic corner” or swing-out pull-out costs more but delivers every item to the cabinet mouth.
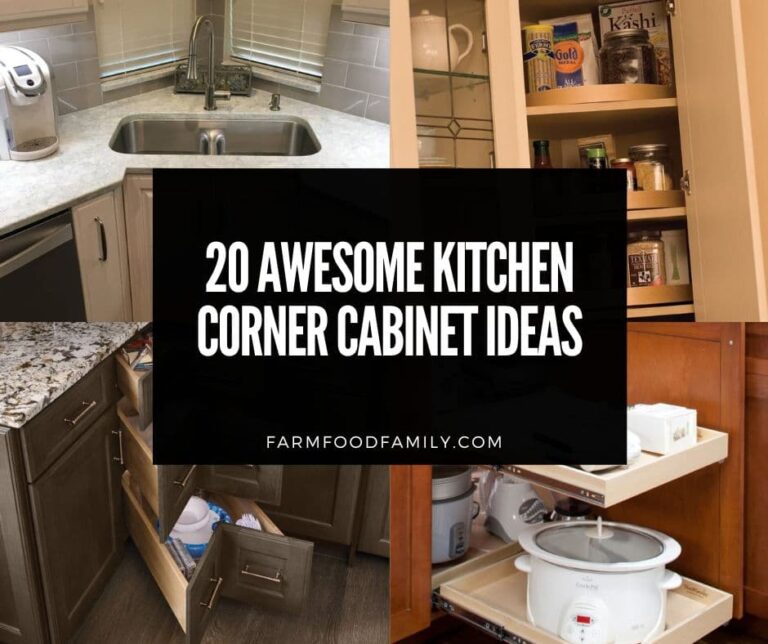
A full replacement with a 45-degree diagonal corner cabinet needs about 36 inches of wall on each side. It’s the cleanest look if you’re already reconfiguring that run. Our corner cabinet ideas guide has more ways to claw back the dead zone.
8. Turn the Toe-Kick Into Drawers
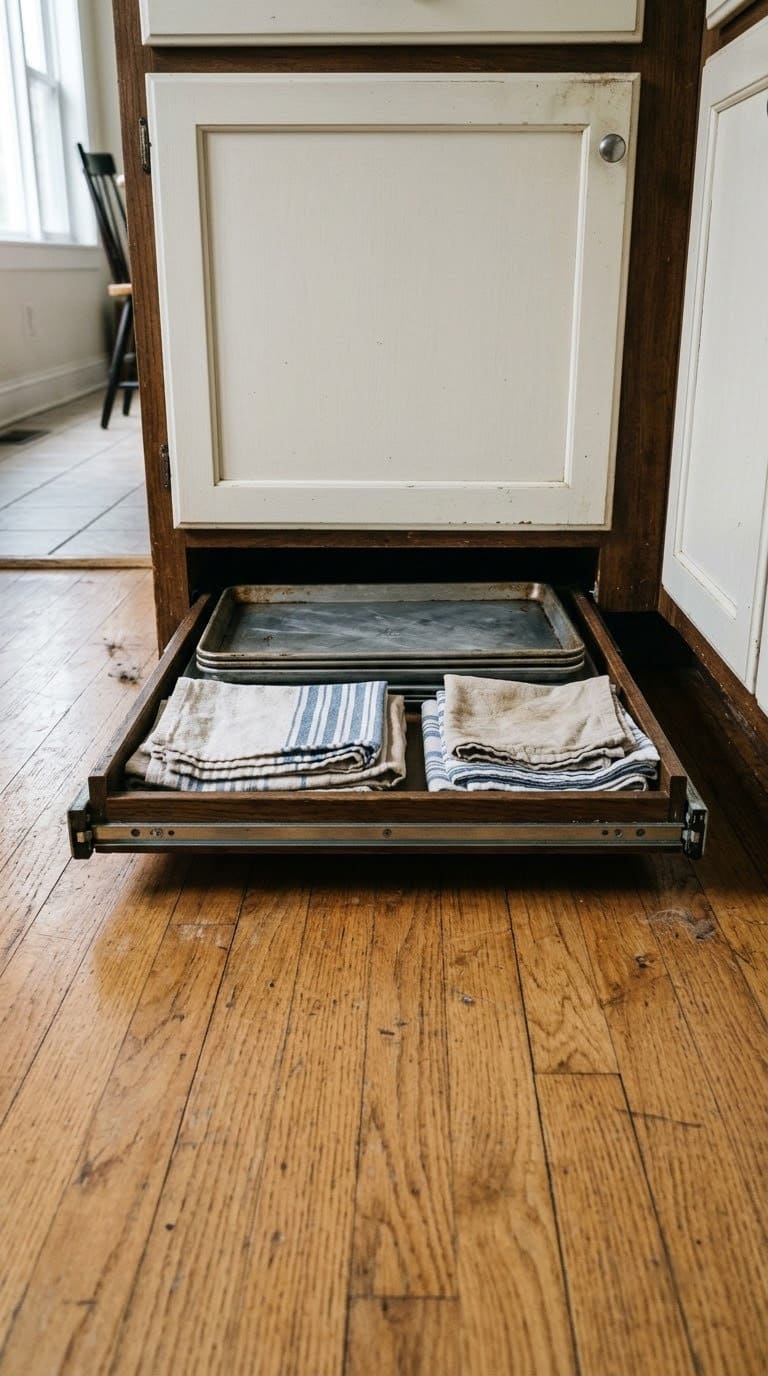
The recess under your base cabinets, usually 3.5 to 4.5 inches tall and about 3 inches deep, is one of the last unused pockets in most kitchens. Retrofit toe-kick drawer kits, or shop-built drawers on a full-extension slide, turn that strip into shallow storage the depth of the cabinet above it.
It’s the right home for the flat stuff that never fits anywhere well: baking sheets, cooling racks, cutting boards, serving platters, table linens. In a kitchen short on cabinet runs, reclaiming the toe-kick across a 10-foot base run adds roughly 4 to 5 square feet of usable storage without touching the footprint.
9. Deal With the Soffit or Bulkhead Above the Cabinets
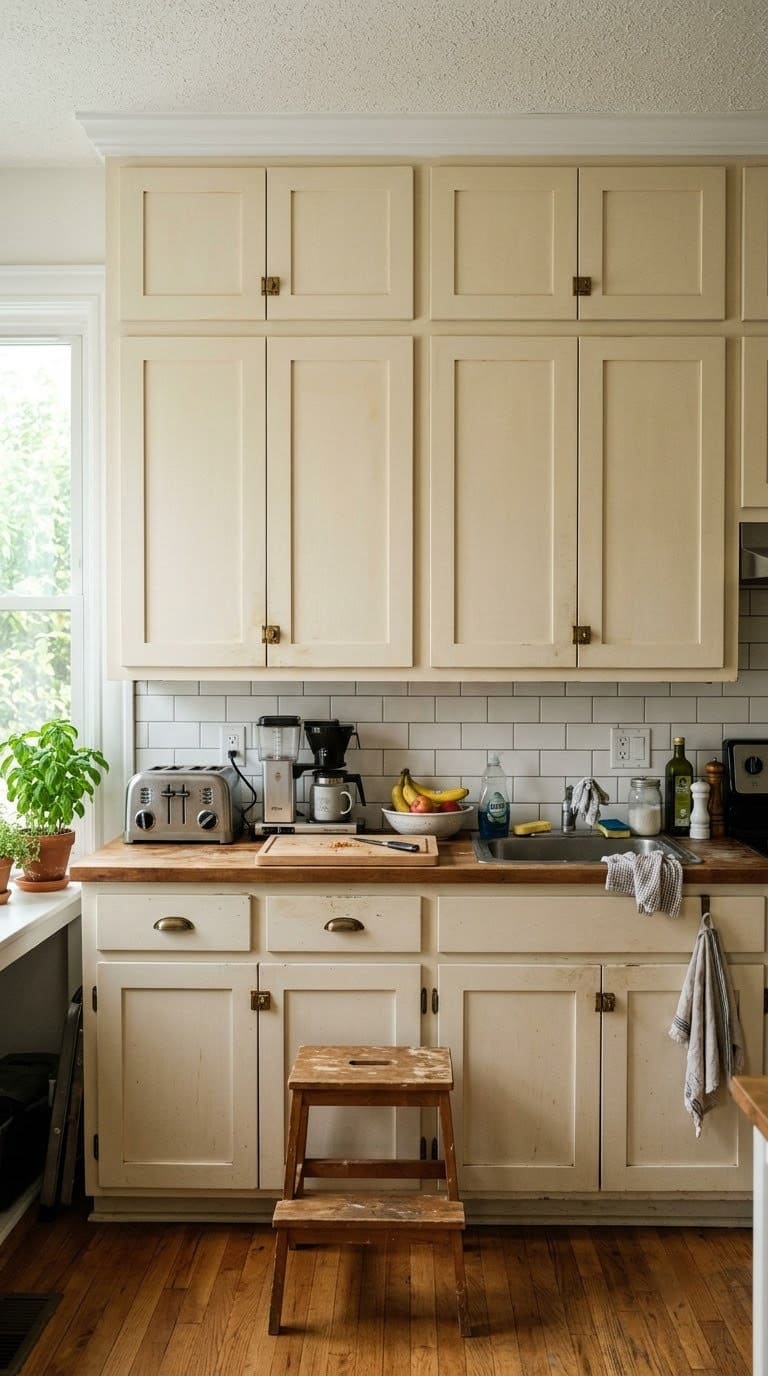
That boxed-in section between your upper cabinets and the ceiling is either hiding ductwork and wiring or it’s framed dead air. Which one you have changes the fix entirely, so check before you plan. Tap it for a hollow sound, look for it from the attic above, or drill one small hole in an inconspicuous corner and probe with a bent wire.
If it’s empty, removing it lets you run cabinets to the ceiling, roughly 96 inches, which adds a full extra shelf of storage per cabinet and stops the dust ledge on top. If it carries ducts, wrap it to match the cabinetry and turn it into a feature: mount a shallow display ledge, run LED tape along the underside for indirect light, or use its front face for a pot rail.
10. Build a Banquette Into a Dead Corner Instead of a Table and Chairs
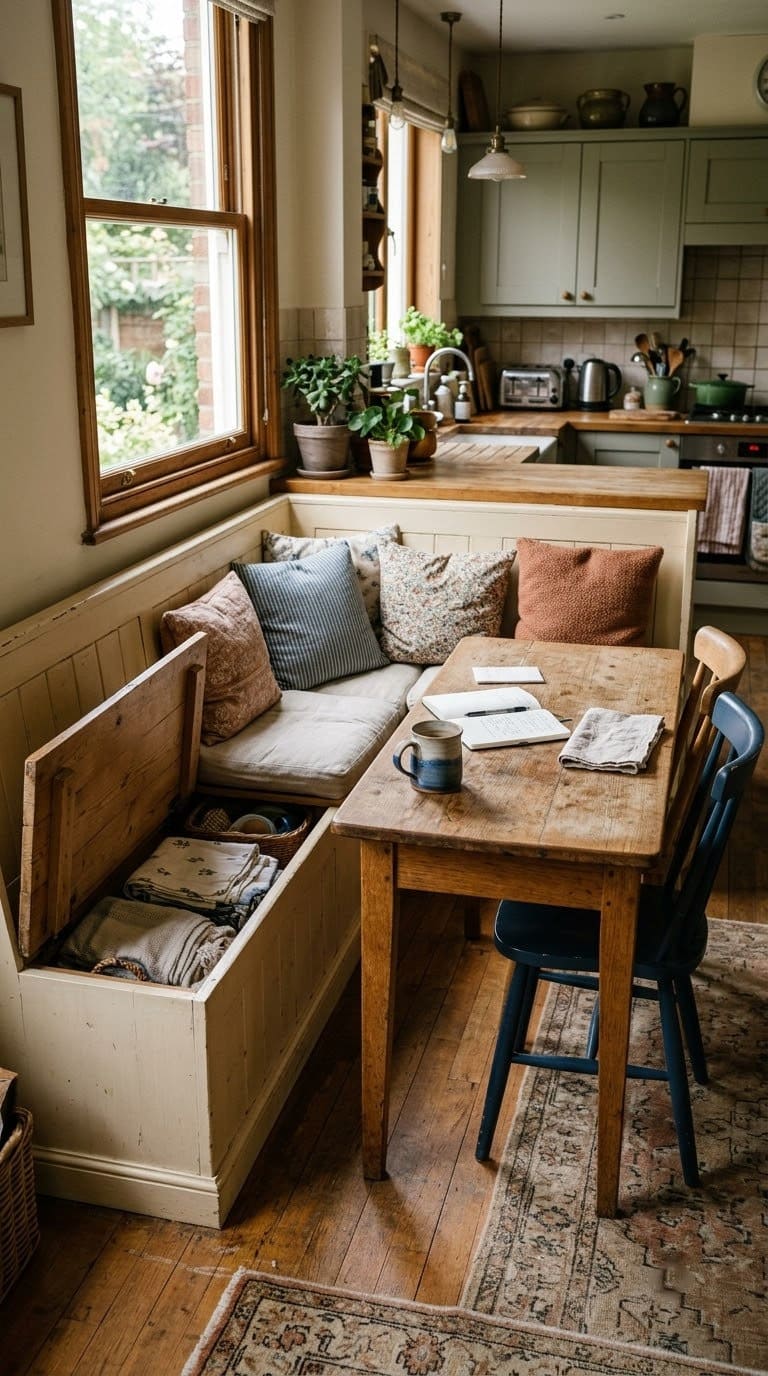
Pull-out chairs need 24 to 36 inches of clearance behind them to sit down and stand up. A built-in bench along one or two walls needs none of that, so a banquette can fit an eating area into a corner or a bay window that would never hold a normal table setup.
Build the seat 18 inches high and 16 to 18 inches deep, leave 12 inches between the seat edge and the table, and plan about 24 inches of table length per person. The seat base becomes storage: a hinged lid for flat items, or drawers facing out if you’ll be reaching in often. Our breakfast nook ideas piece covers cushions, lighting, and table shapes for the seating itself.
11. Replace an Awkward Gap or Stub Wall With a Full-Height Pantry Cabinet
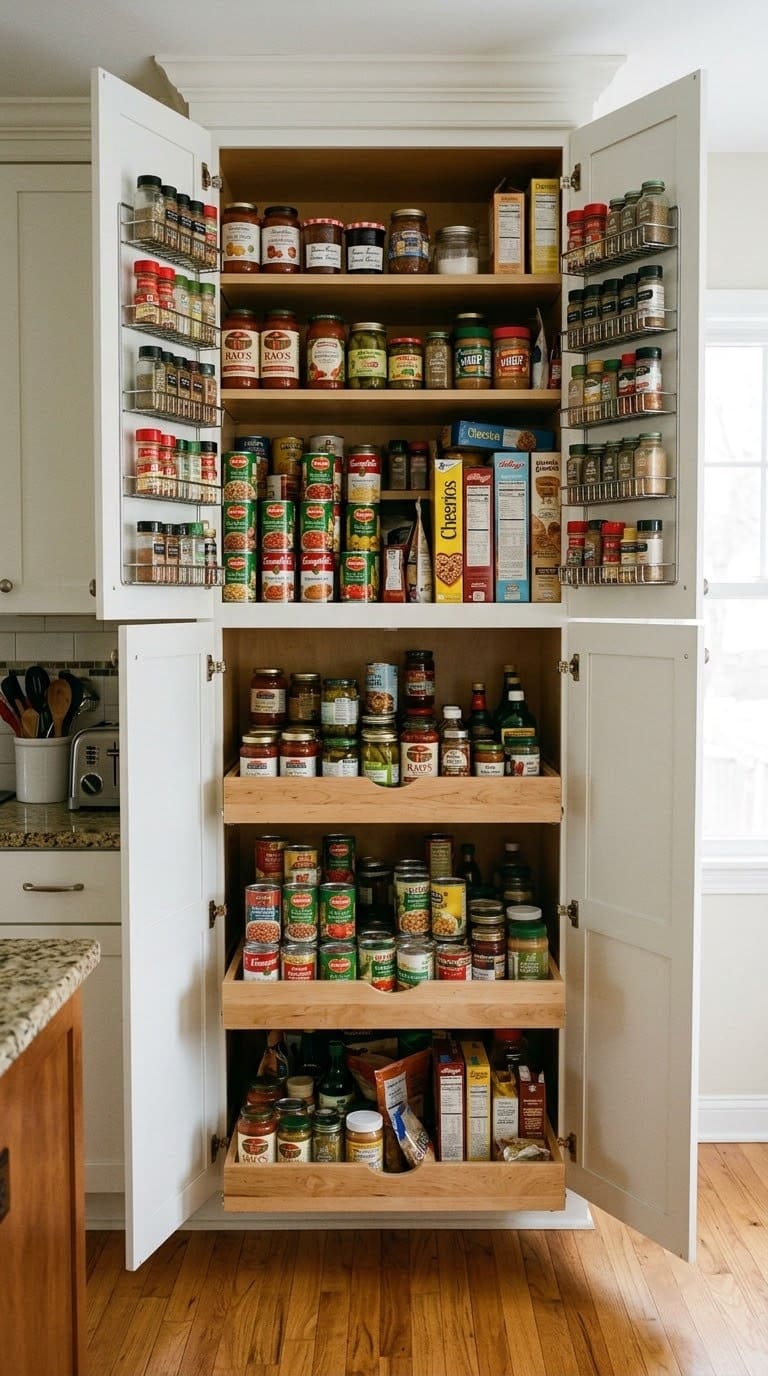
When a section of your kitchen has upper and lower cabinets that don’t quite work, or a short stub wall doing nothing, a single tall pantry cabinet often does more with the same footprint.
A full-depth version runs 24 inches deep and 84 to 96 inches tall. A shallow reach-in version at 12 to 16 inches deep fits an end wall or a narrow return and keeps everything visible instead of lost at the back.
Pull-out shelves or door-mounted racks inside make the depth usable rather than a place cans go to disappear. If your gap is genuinely narrow, our narrow pantry ideas guide has layouts built for 8 to 16 inch spaces specifically.
Larger Remodels: When Budget and Structure Allow
Worth considering once you’re already planning a full renovation, since these typically mean moving plumbing, electrical, or walls.
Sometimes the real fix isn’t rearranging what’s already there. It’s moving the entire kitchen to a different wall, or into an adjoining room. Bigger project, obviously, but for a kitchen with a genuinely bad footprint, no amount of clever shelving fixes a layout that’s fundamentally wrong to begin with.
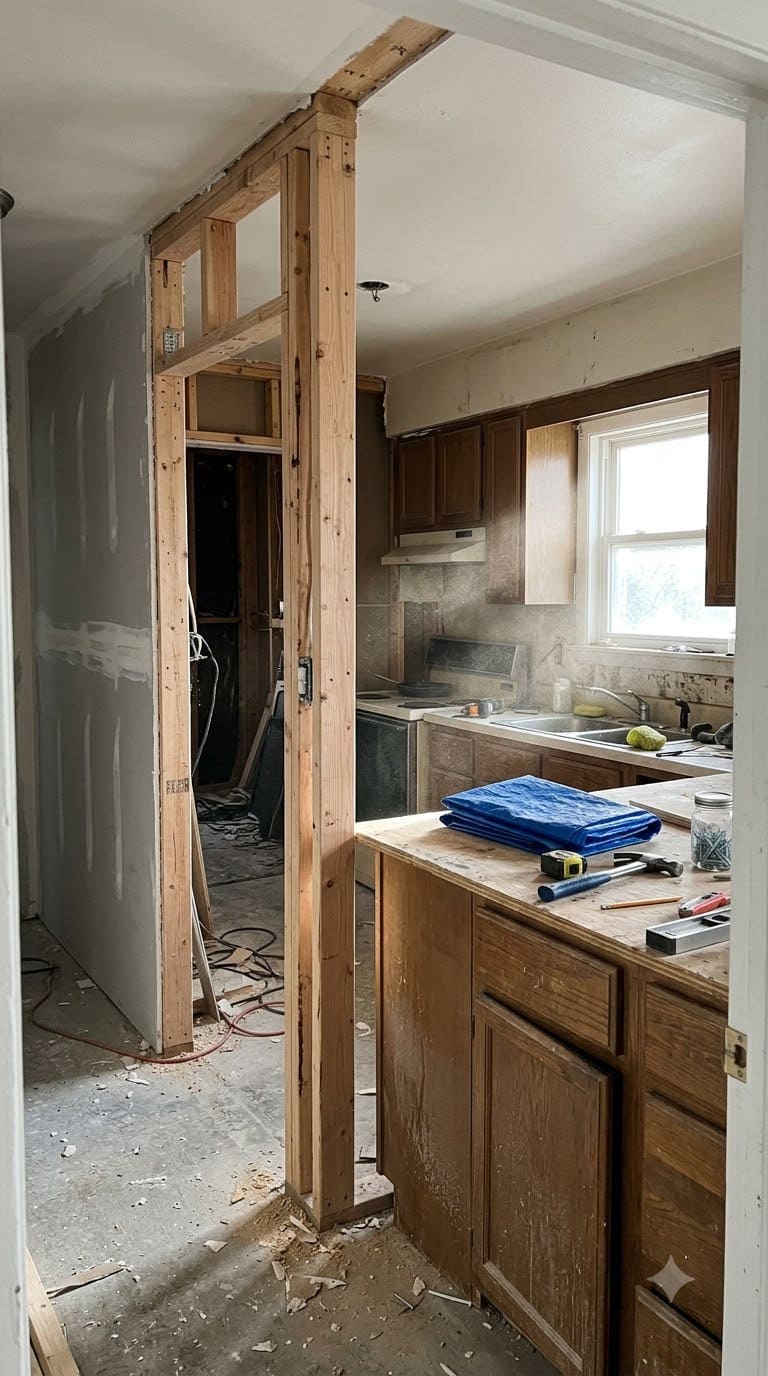
If foot traffic through your kitchen turned out to be the root problem back in the diagnosis section, closing off one entry point, or moving it to a different wall, can be the single change that makes everything else click into place. Sometimes that means giving up a doorway between the kitchen and a hallway or bathroom in exchange for a full run of cabinets. Worth it, most of the time.
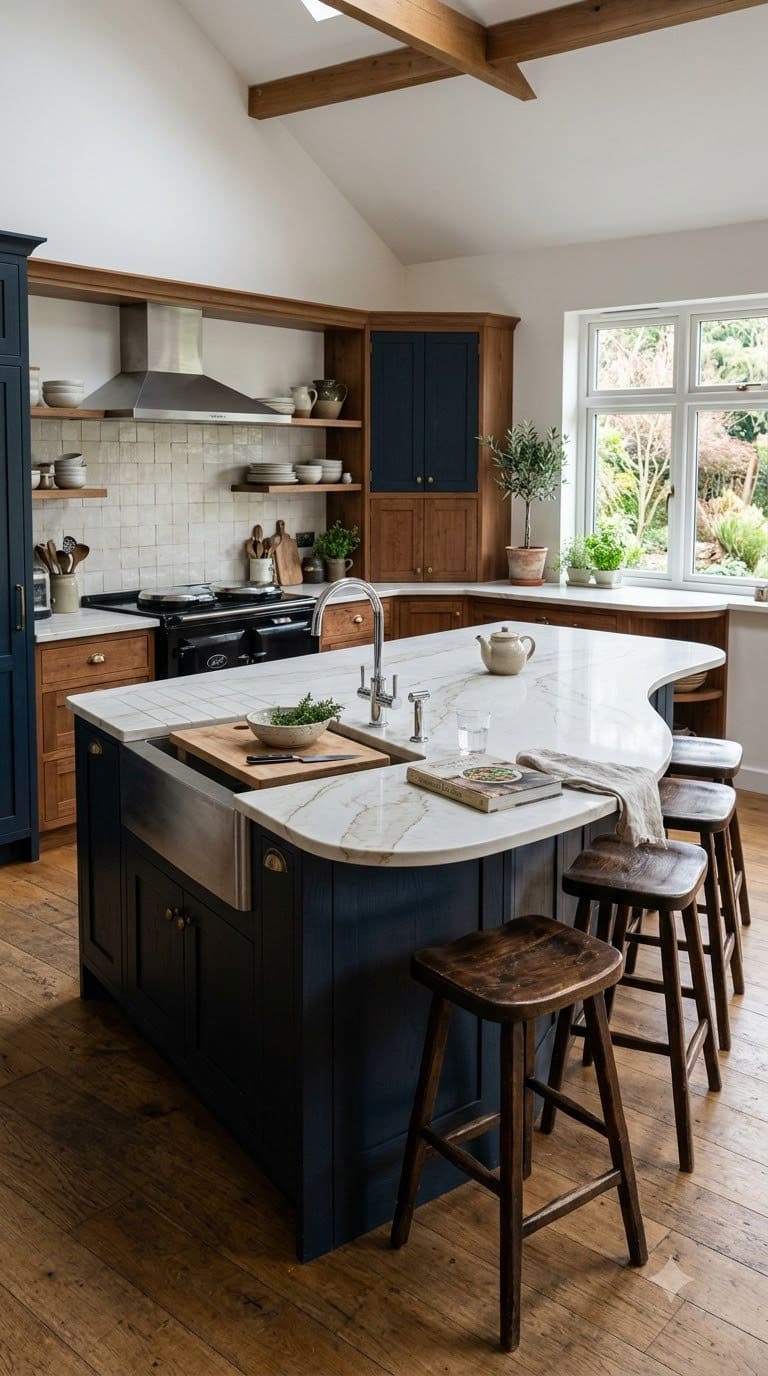
For an irregular footprint, a custom island can be shaped to fit the room’s actual dimensions instead of forcing a standard rectangle into a space that was never going to hold one. Drawers facing the main work zone, open shelving facing the dining side, built-in storage that makes the odd shape feel intentional rather than like a compromise.
Design Details Most Guides Skip
Layout gets most of the attention. A handful of smaller details get left out of the planning entirely, and they’re usually the thing people regret most once the renovation’s done and the dust has settled.
Overhead lighting alone rarely covers a kitchen that has to do both food prep and dining. Put separate switches, or a dimmer, on the sink and stove area versus a dining nook or island, so you’re not stuck choosing between “too dark to see” and “too bright to eat by.”
The range hood is the one most people get wrong. It’s a spec most kitchen content never even mentions, and it matters more than almost any layout fix on this list. The National Kitchen & Bath Association’s official planning guidelines call for a minimum of 150 CFM on a ducted hood, 100 CFM if that’s the most your ductwork can handle.
Underpowered hoods don’t clear cooking odors or airborne grease, and both of those end up settling into your cabinets, your fabric, eventually your lungs if the ventilation stays inadequate long enough. If you’ve got a lingering odor problem you’ve been trying to solve with a wall or a room divider, check the CFM rating first. Heavy oil or high-heat cooking needs more than the bare minimum anyway.
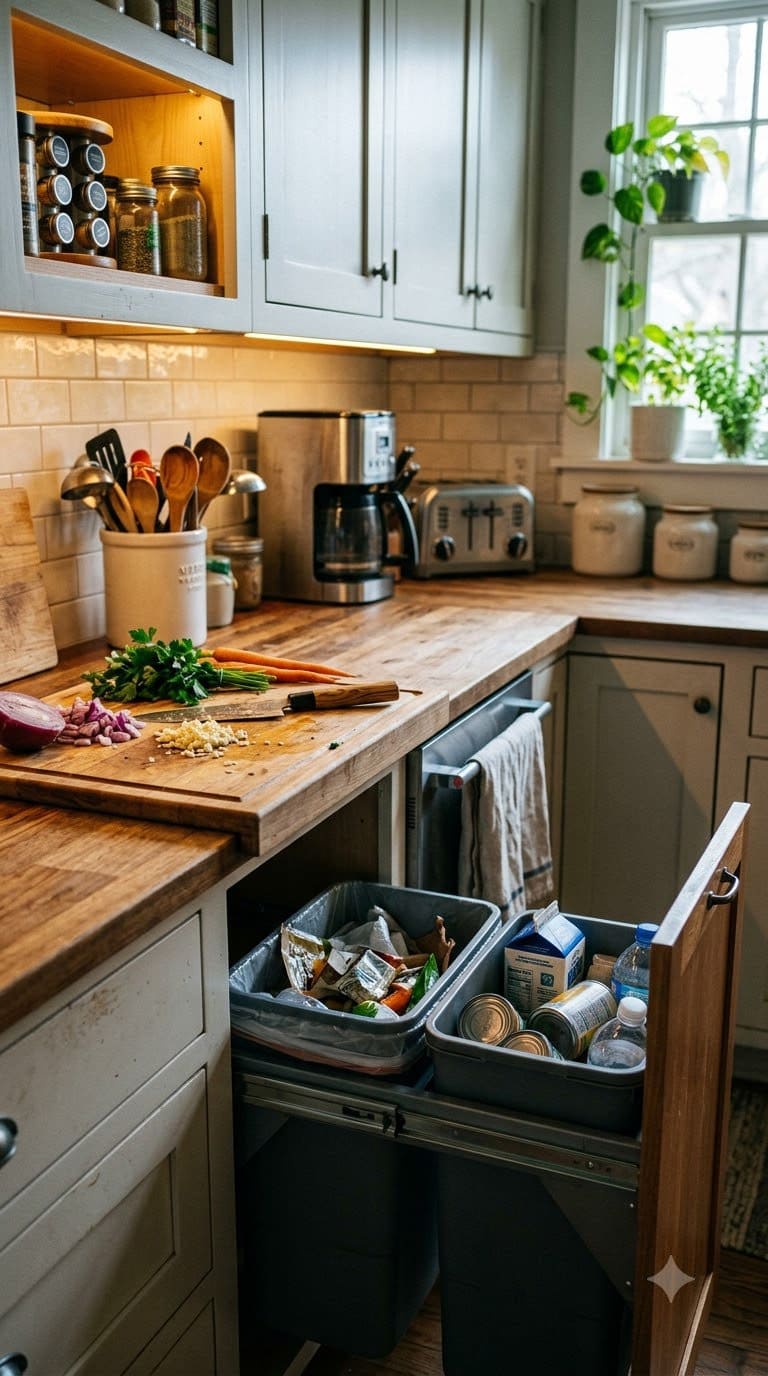
Garbage and recycling placement gets skipped almost every time. It’s easy to plan a kitchen around the big appliances and forget where the trash actually goes. A pull-out bin near the prep zone, not across the room, saves more daily steps than most of the bigger fixes on this entire list.
And before you finalize cabinet layout, take an honest inventory of what you actually own. Stand mixer, air fryer, the stockpot collection nobody talks about, whatever’s eating up real space. Designing storage around your actual tools, instead of copying a generic cabinet template, is what prevents the awkward gap-filling that generic layouts always seem to need later.
Before You Start
Before committing to anything in the moderate or large tier, tape together a rough cardboard version of your planned island, peninsula, or cabinet run and just live with it in the space for a few days. Costs nothing. Catches clearance problems and workflow issues that never show up on paper, or in a 3D planner, no matter how good the software is.
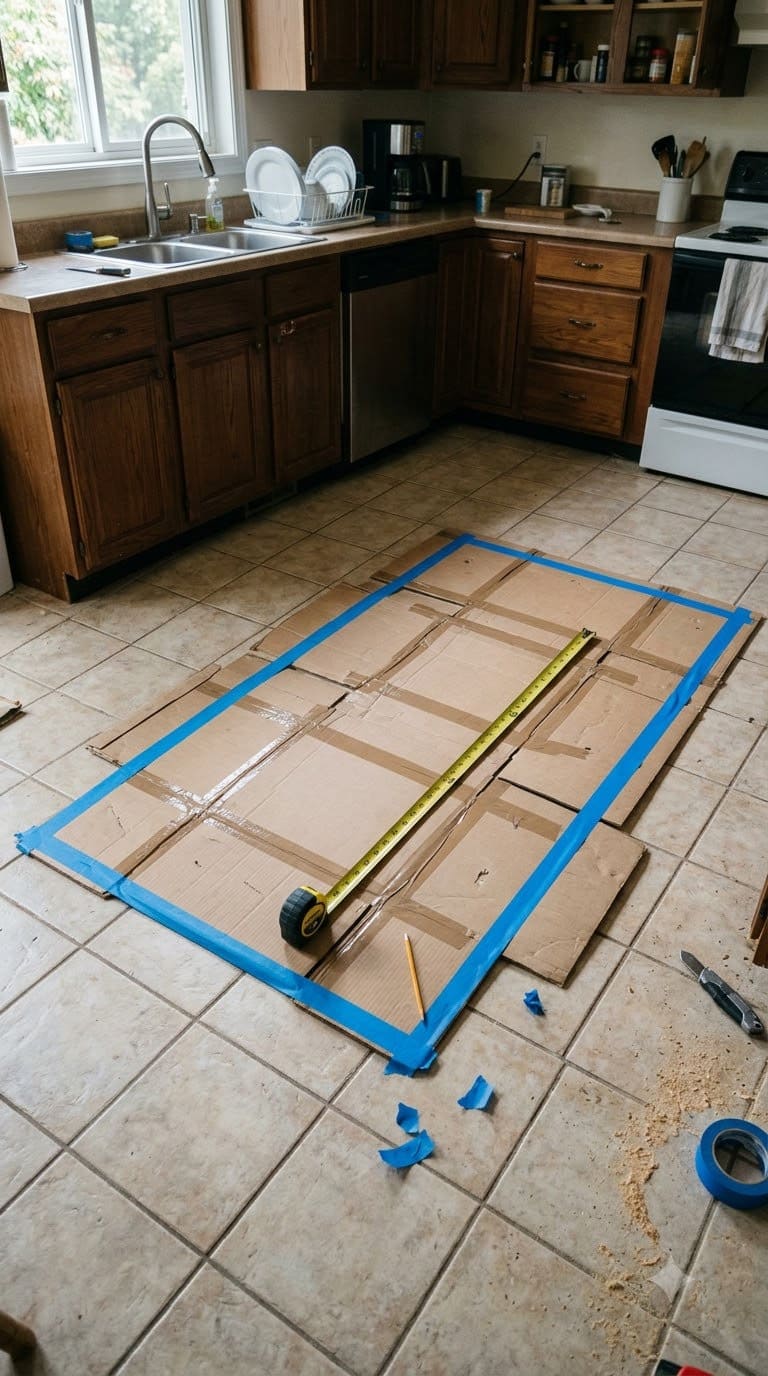
And if you’re relocating a range or adding cabinets above one, check the manufacturer’s installation manual for minimum clearance from the cooking surface first. Easy to overlook, especially when a range is moving to a brand new wall during a larger remodel, and expensive to fix after the fact.
Frequently Asked Questions
People keep walking through my kitchen. How do I fix that without knocking down walls?
Start by mapping where the traffic goes. Often a rolling cart, a repositioned island, or a rearranged furniture layout in the adjoining room can redirect the path without any construction. If that’s not enough, closing off one entry point is usually more effective than any amount of rearranging.
How many CFM do I need for a range hood in a small kitchen?
The NKBA’s official minimum is 150 CFM for a ducted hood, or 100 CFM if that’s the most your ductwork can handle. If you cook with high heat or oil frequently, go higher than the bare minimum. Undersized hoods are one of the most common overlooked issues in kitchen renovations.
Does the fridge actually need to be part of the kitchen work triangle?
It depends who you ask. The classic rule includes it, but plenty of experienced cooks and some designers argue your prep surface, not the fridge, should be the real center of your workflow. Both approaches work depending on how you actually cook.
Can I fix an awkward layout without moving plumbing or gas lines?
Yes, in most cases. Everything in the “Fast, No-Demo Fixes” and “Moderate Remodels” sections above avoids touching plumbing or gas. Only the “Larger Remodels” section typically requires it.
What’s the cheapest way to test a layout change before committing?
A cardboard mock-up. It costs almost nothing and it’s the fastest way to find out if a planned island or peninsula actually leaves enough clearance to walk around comfortably.
None of this requires picking every fix at once. Start with whichever tier matches your budget this month, live with it for a few weeks, and only move up to the next tier if the problem is still bothering you. Most awkward kitchens get fixed one weekend at a time, not in a single renovation.
If you’re starting with the low-cost fixes above, our storage ideas hub has more ways to reclaim awkward space without a single wall coming down.
Related Posts
- 30 Smart Open Kitchen Living Room Ideas to Boost Functionality
- 35+ Best DIY Kitchen Island Ideas and Designs On A Budget
- 40+ Brilliant Space-Saving Tricks for Super Small Kitchens
Products We Recommend
This post contains affiliate links. We may earn a commission on qualifying purchases at no extra cost to you.
Yaheetech Kitchen Cart with Bamboo Tabletop
32-inch rolling cart with a drawer, adjustable shelf, spice rack, and detachable towel bar, two of the four wheels lock in place. 4.6 stars from 1,851 ratings, the exact low-cost fix described in the "Fast, No-Demo Fixes" section above.
Shop Now
Mango Steam Wall-Mounted Steel Shelving Unit
36" x 24" x 6" steel shelf with three tiers, an Amazon's Choice pick at 4.4 stars from 410 ratings. Fits the wall-mounted storage approach recommended for narrow galley kitchens above.
Shop Now
REALINN Under Sink Organizer, L-Shaped 2-Tier
Slide-out metal organizer built to work around pipes and a garbage disposal, rated for 50 lbs. Amazon's Choice, 4.4 stars from over 15,000 ratings. A practical companion to the corner sink idea above, since corner cabinets waste the most usable space in a kitchen.
Shop NowNever miss an update — choose FarmFoodFamily as your preferred source on Google.
How it works: Tap the button below to open Google's settings page, then check the box next to FarmFoodFamily.
Tap the checkbox to turn it blue — that's how you know it's set.