How to Grow Tomatoes: The Complete Guide From Seed to Harvest (No Guesswork)
Most tomato problems trace back to two habits gardeners never think twice about, planting too shallow and watering on no schedule at all.

Never miss an update — choose FarmFoodFamily as your preferred source on Google.
How it works: Tap the button below to open Google’s settings page, then check the box next to FarmFoodFamily.
Tap the checkbox to turn it blue — that’s how you know it’s set.
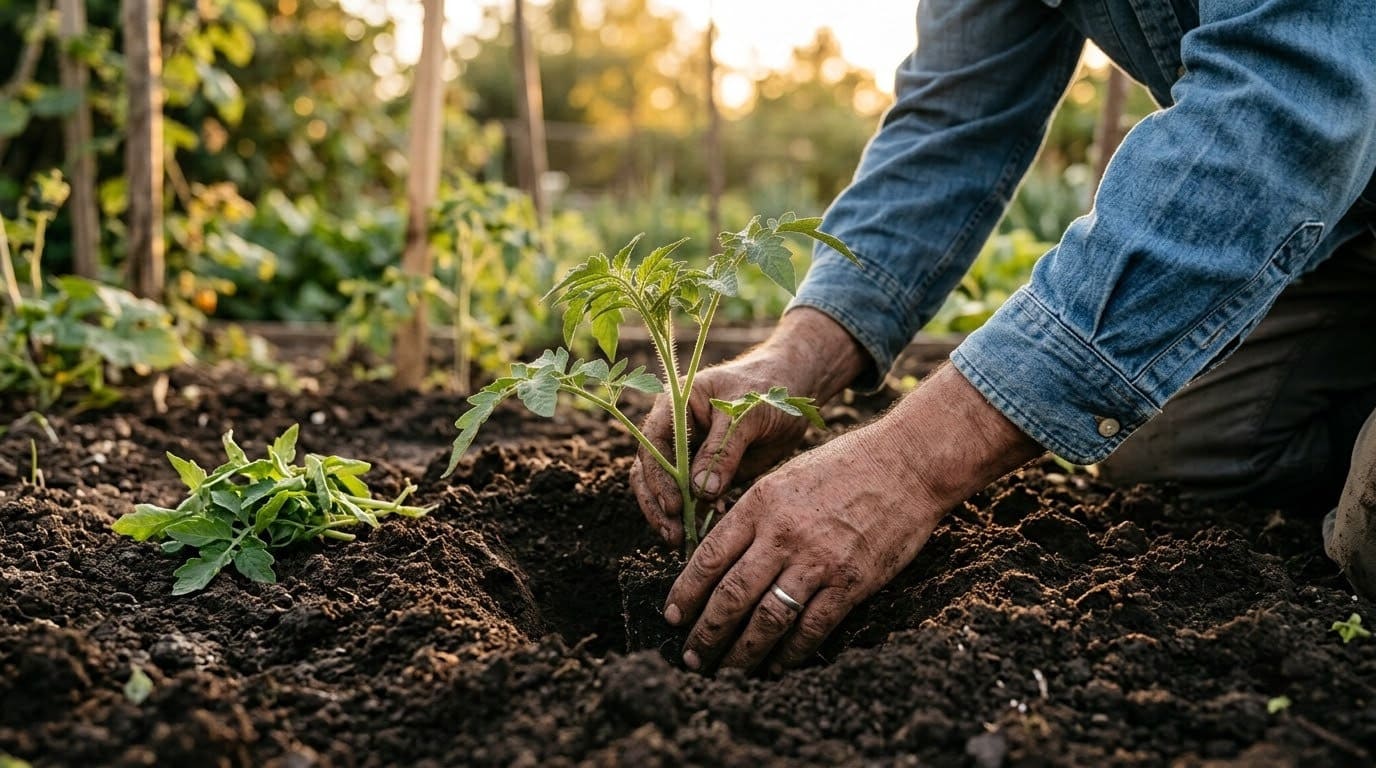
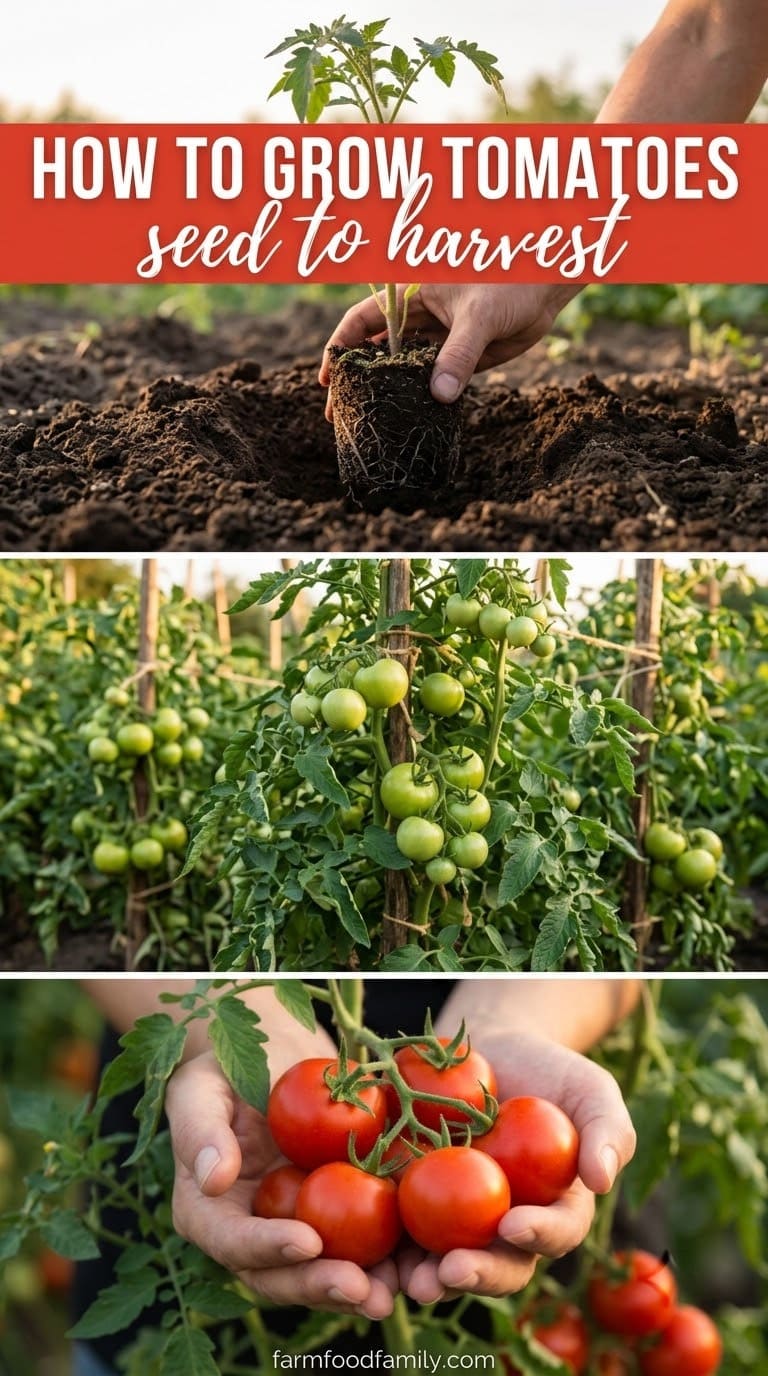
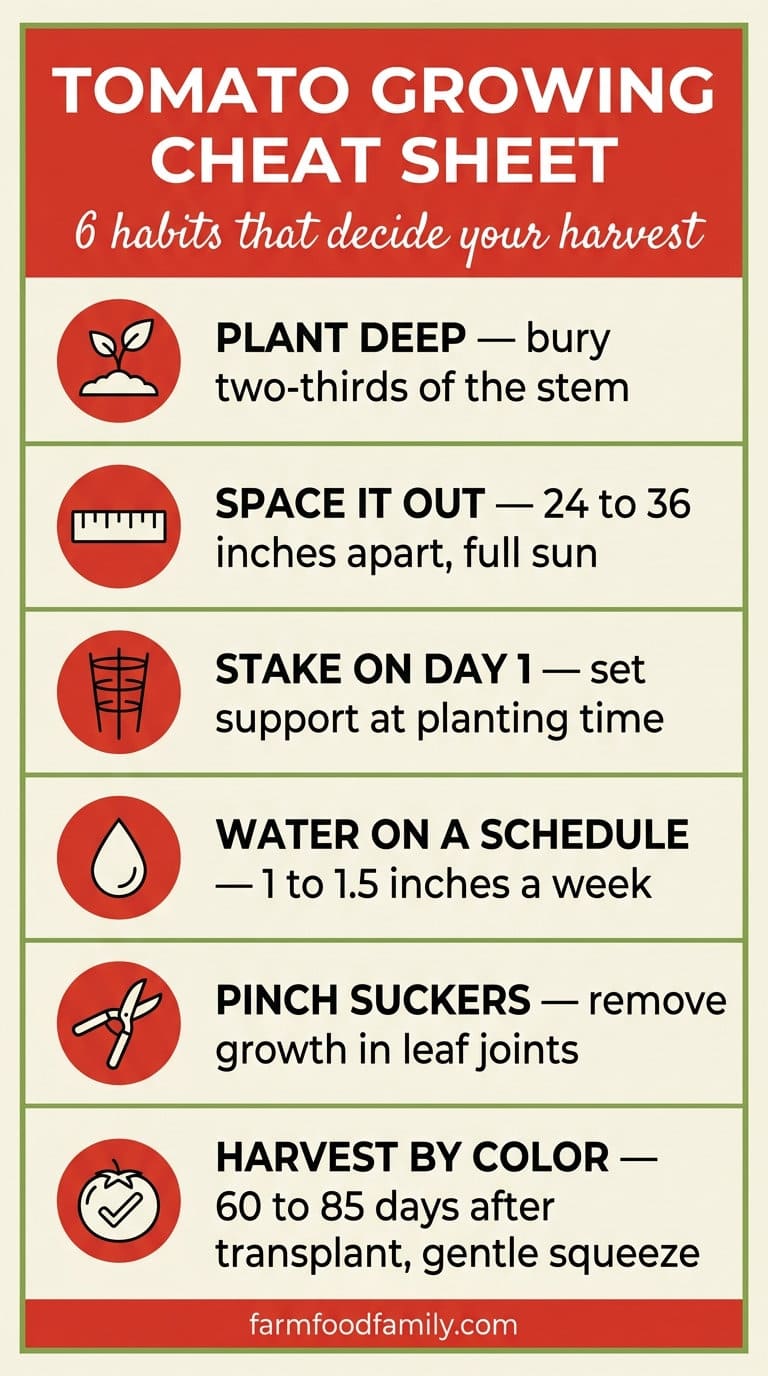
Start seeds indoors 6 to 8 weeks before your last frost. Transplant outside once nights stay above 50°F. Bury two-thirds of the stem at planting. Roots grow along the buried part and build a stronger plant.
Space plants 24 to 36 inches apart in full sun. Leave 4 to 5 feet between rows. Feed with a low-nitrogen, higher-phosphorus fertilizer at planting. Side-dress once the first fruits reach about 2 inches wide.
Water 1 to 1.5 inches per week. Water deeply, on a fixed schedule, not in little sips. Uneven watering is the main cause of blossom end rot, not a lack of calcium in the soil.
Stake or cage indeterminate varieties at planting time. Prune suckers weekly once the plant is established. Most varieties are ready to pick 60 to 85 days after transplanting. The exact number depends on the cultivar.
A first-season mistake worth learning from
My first tomato bed looked perfect on paper. I bought six healthy seedlings, dug six holes the exact depth of the nursery pots, and watered whenever the soil looked dry to me.
By late July, half the plants were leggy and thin-stemmed, and almost every fruit had a sunken brown-black patch on the bottom. I assumed disease and nearly pulled the whole bed.
Answer 4 quick questions and get matched to the exact fix for your yard — drainage, budget, layout, or something else entirely.
Take the Free QuizIt wasn’t disease. It was one habit repeating itself. I watered heavy after a hot, dry week, then let the bed dry out completely before the next round. That swing starves fruit of calcium, even when the soil has plenty.
The fix took one season to prove. Bury the stem deeper. Mulch to hold moisture. Water on a fixed schedule instead of “when it looks thirsty.” The next year’s harvest came in heavier, cleaner, and about three weeks earlier.
Choosing a tomato variety that matches your space
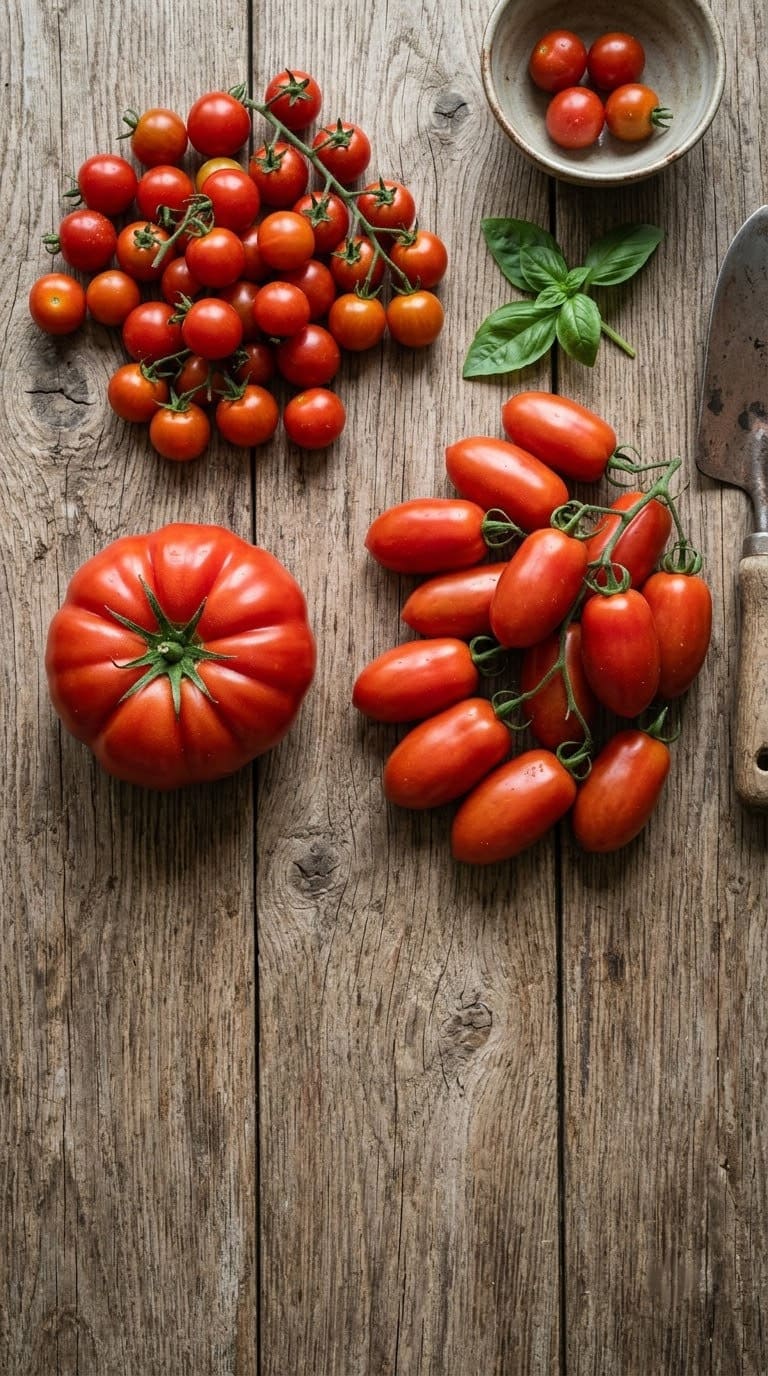
Before anything else, decide two things. How do you plan to eat the harvest? How much room will the plant actually get? These two choices shape everything that follows.
By how you’ll use them:
- Cherry and grape tomatoes (Sun Gold, Sweet 100) for snacking and salads, and the most forgiving choice for beginners.
- Slicing tomatoes (Better Boy, Beefsteak) for sandwiches, largest fruit, longer to mature.
- Paste tomatoes (Roma, San Marzano) for sauce and canning, meatier flesh, fewer seeds.
By growth habit:
- Determinate varieties stop growing at a set height. Most fruit ripens within a few weeks. They need only a stake or a short cage. Good for containers and small beds.
- Indeterminate varieties keep growing and producing until frost. They need a tall cage or trellis, plus regular sucker pruning to stay manageable.
If space is tight, choose a determinate or dwarf variety for a container. It will out-produce an indeterminate plant that outgrows its support. If you want a steady supply all season, indeterminate is worth the extra staking work.
Light, soil, and site requirements
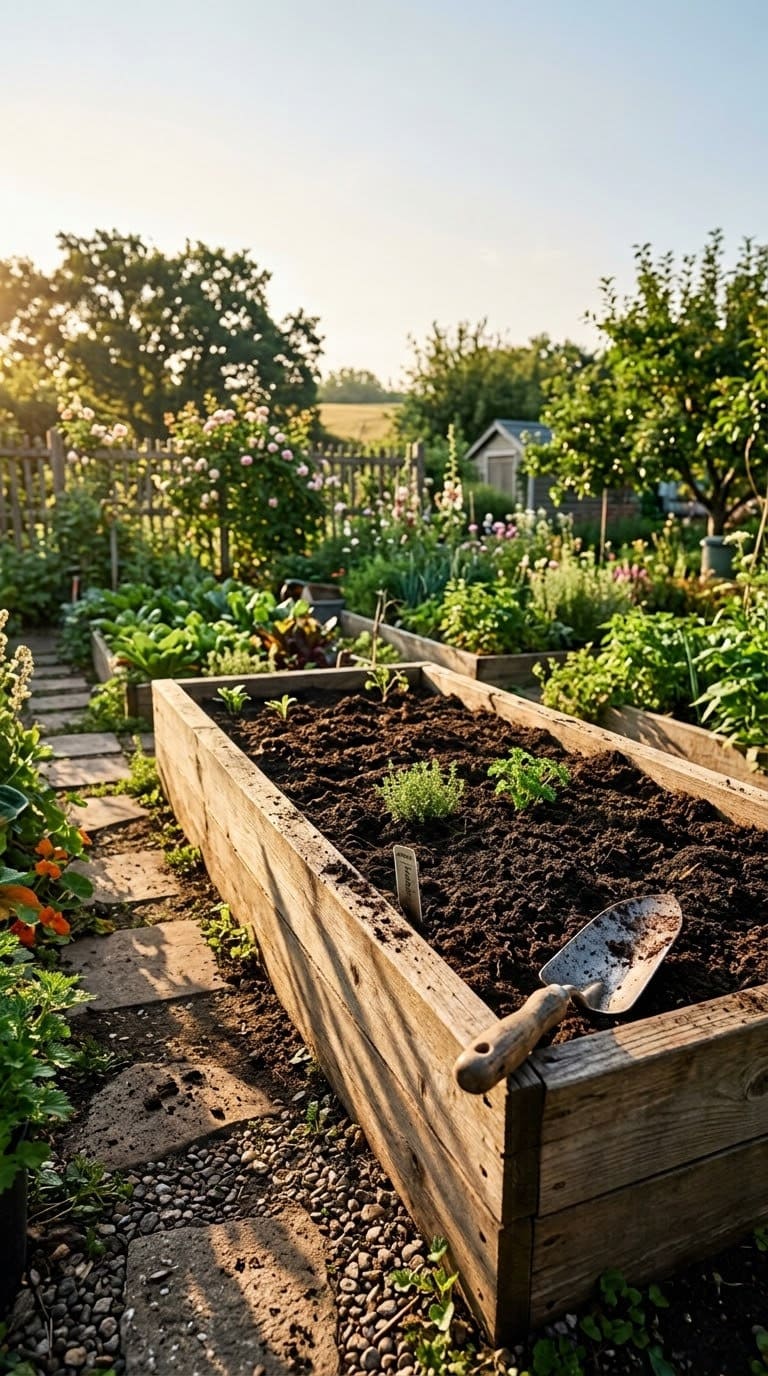
Tomatoes need 6 to 8 hours of direct sun a day at minimum. Less than that produces a tall, thin plant with few flowers.
Most yard problems trace back to one specific, fixable cause. Find yours in 4 quick questions.
Take the Free Quiz
Heavy-duty square cages sized for indeterminate varieties that need a tall, sturdy support in place at transplanting, matching this guide's staking step.
Shop NowThis post contains affiliate links. We may earn a commission on qualifying purchases at no extra cost to you.
Soil should drain well and hold a pH between 6.2 and 6.8. Heavy, soggy clay is the top cause of root disease in a home tomato bed. If drainage is a concern, work in 2 to 3 inches of compost before planting.
Rotate the bed. Don’t plant tomatoes where tomatoes, peppers, eggplant, or potatoes grew in the last three to four years. All four share the same soil-borne diseases, including verticillium and early blight.
Starting from seed vs. buying seedlings
Starting from seed opens up far more varieties than a garden center carries, and it costs a fraction of buying six-packs. Start indoors 6 to 8 weeks before your last frost date. It also demands a sunny window or grow lights, plus 6 to 8 weeks of patience.
Buying seedlings is faster and more forgiving for a first-time grower. Choose stocky, dark-green plants under 10 inches tall over tall, pale ones. A shorter, thicker seedling transplants with far less shock.
Either way, don’t plant outside until nighttime temperatures stay reliably above 50°F. A late cold snap can stunt a tomato plant for weeks even if it survives.
Planting depth and spacing
This is the step most home gardeners skip. It’s also the one with the biggest payoff. Bury two-thirds of the stem, not just the root ball, when transplanting.
Tomato stems grow roots anywhere they touch soil. A deeply buried stem builds a much larger, more stable root system than a shallow-planted one.
Strip off the lower leaves before planting. Nothing buried should be left to rot underground.
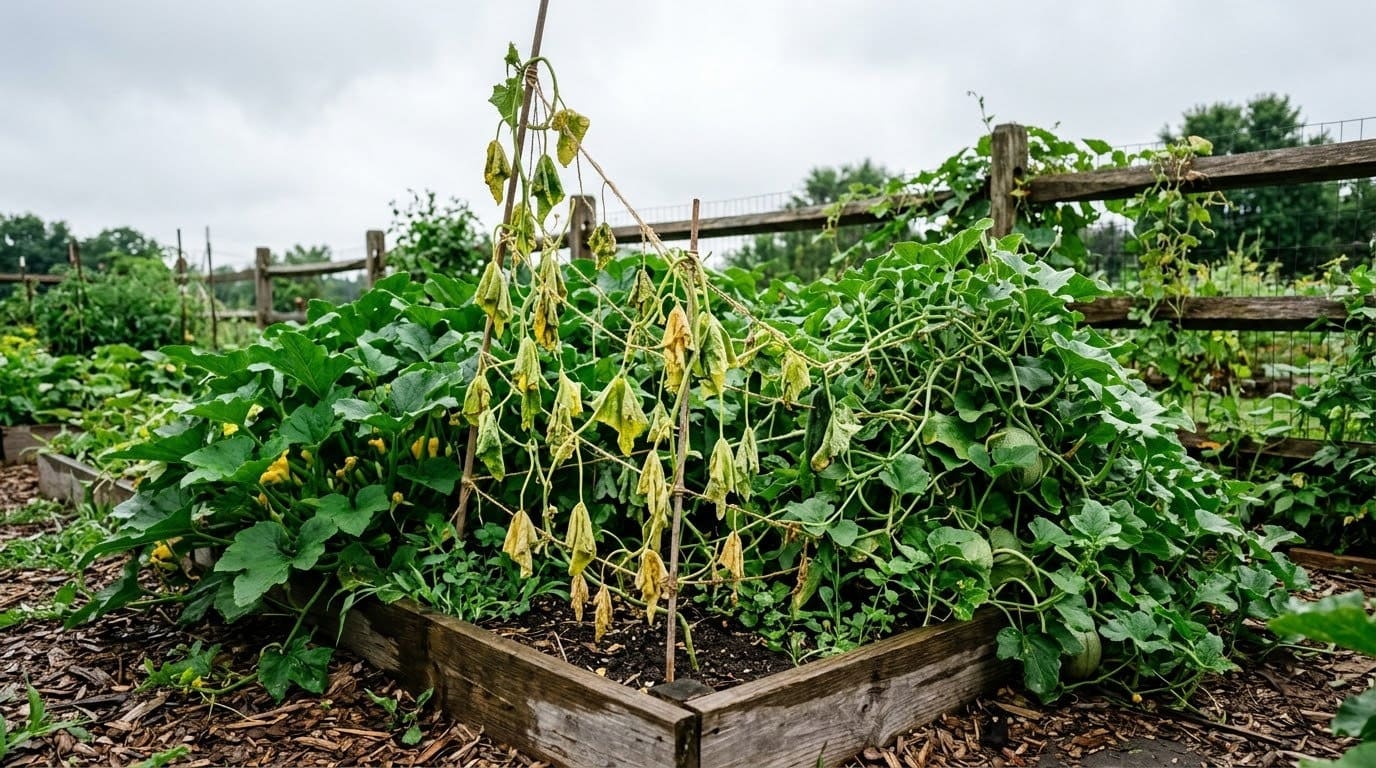
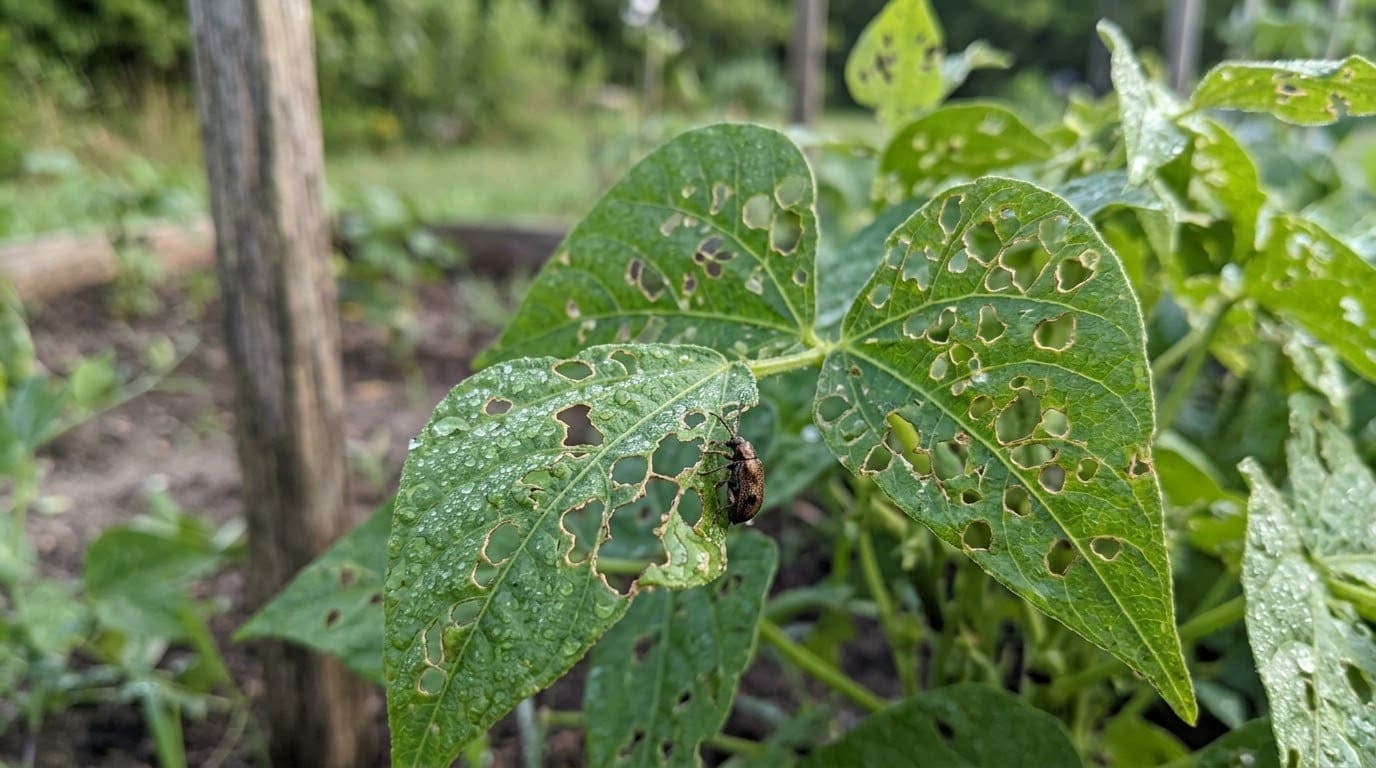
Space plants 24 to 36 inches apart, with 4 to 5 feet between rows. Crowding plants closer than 24 inches cuts air circulation. That’s one of the most common triggers for fungal disease in a home garden.
The average homeowner spends $616/year on yard fixes that don't address the real problem. Find out what yours actually is — before you spend another dollar.
Take the Free QuizWatering: the habit that decides most outcomes
Give tomatoes 1 to 1.5 inches of water per week. Water deeply, on a fixed schedule, with a drip line, soaker hose, or hand watering at the base. Avoid overhead sprinklers. Wet foliage is what most fungal diseases need to spread.
Mulch with 2 to 3 inches of straw, shredded leaves, or bark around the base. Mulch holds soil moisture between waterings. It’s one of the simplest ways to prevent the wet-dry swings that cause blossom end rot.
Fertilizing on a schedule, not a guess
Use a starter fertilizer at transplanting that’s low in nitrogen and higher in phosphorus and potassium. Too much nitrogen grows lush leaves at the expense of fruit. Ratios like 8-32-16 or 6-24-24 are commonly recommended for tomatoes.
Side-dress with a water-soluble fertilizer once the first fruits reach about 2 inches across, then repeat every 2 to 3 weeks through the season. Stop heavy feeding once the plant is loaded with ripening fruit.
Staking, caging, and pruning
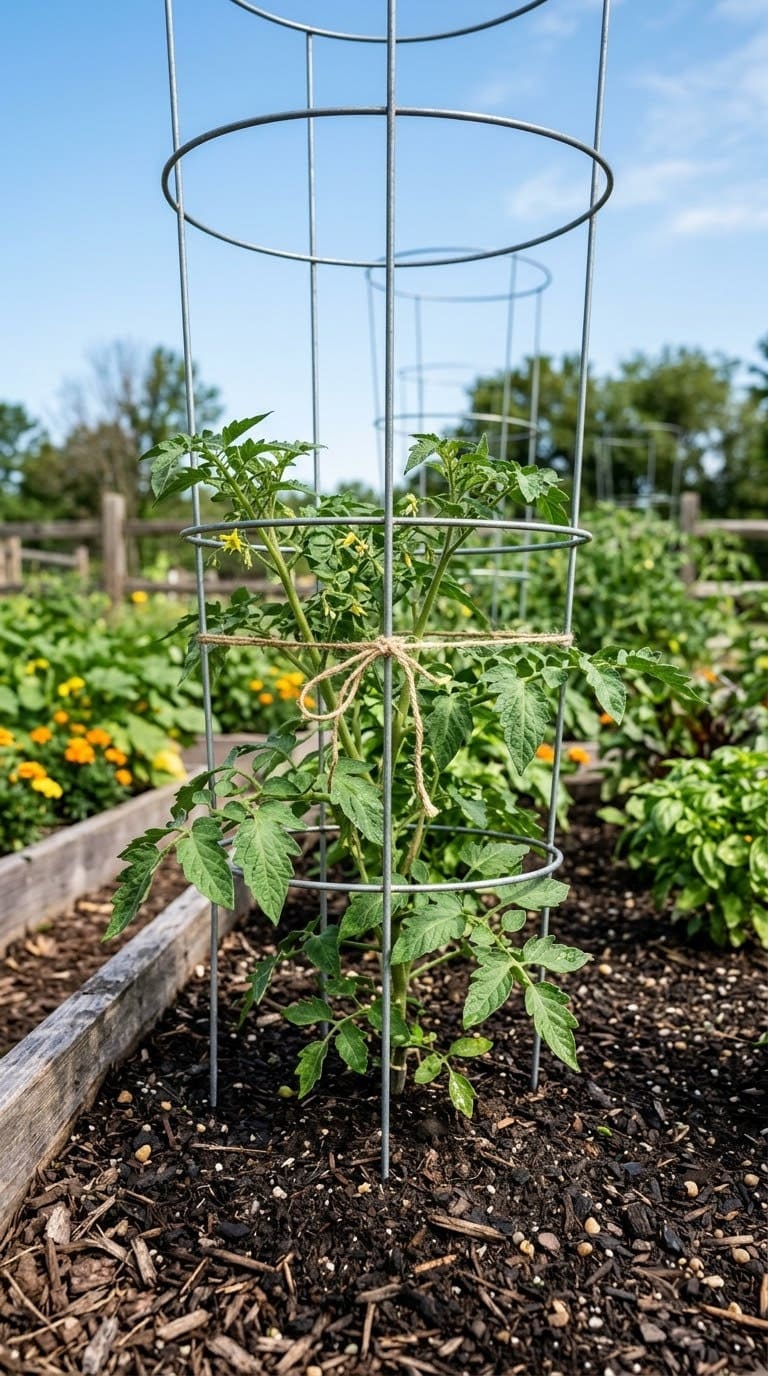
Set a stake or cage at planting time, not later, so you never have to force roots around a support after the fact.
- Determinate varieties: a single stake or a standard tomato cage is enough.
- Indeterminate varieties: use a tall cage (5 to 6 feet) or a trellis, since these plants keep growing all season.
Suckers are the small shoots that form in the V-shaped joint between the main stem and a branch. On indeterminate varieties, pinch these off weekly once they’re a few inches long.
Removing suckers sends the plant’s energy into ripening fruit instead of growing more stems. It also opens up airflow, which helps foliage dry faster and resist fungal disease.
Leave determinate varieties mostly unpruned. Removing suckers on these can cut your total harvest.
Common problems and real fixes
| Problem | What causes it | The fix |
|---|---|---|
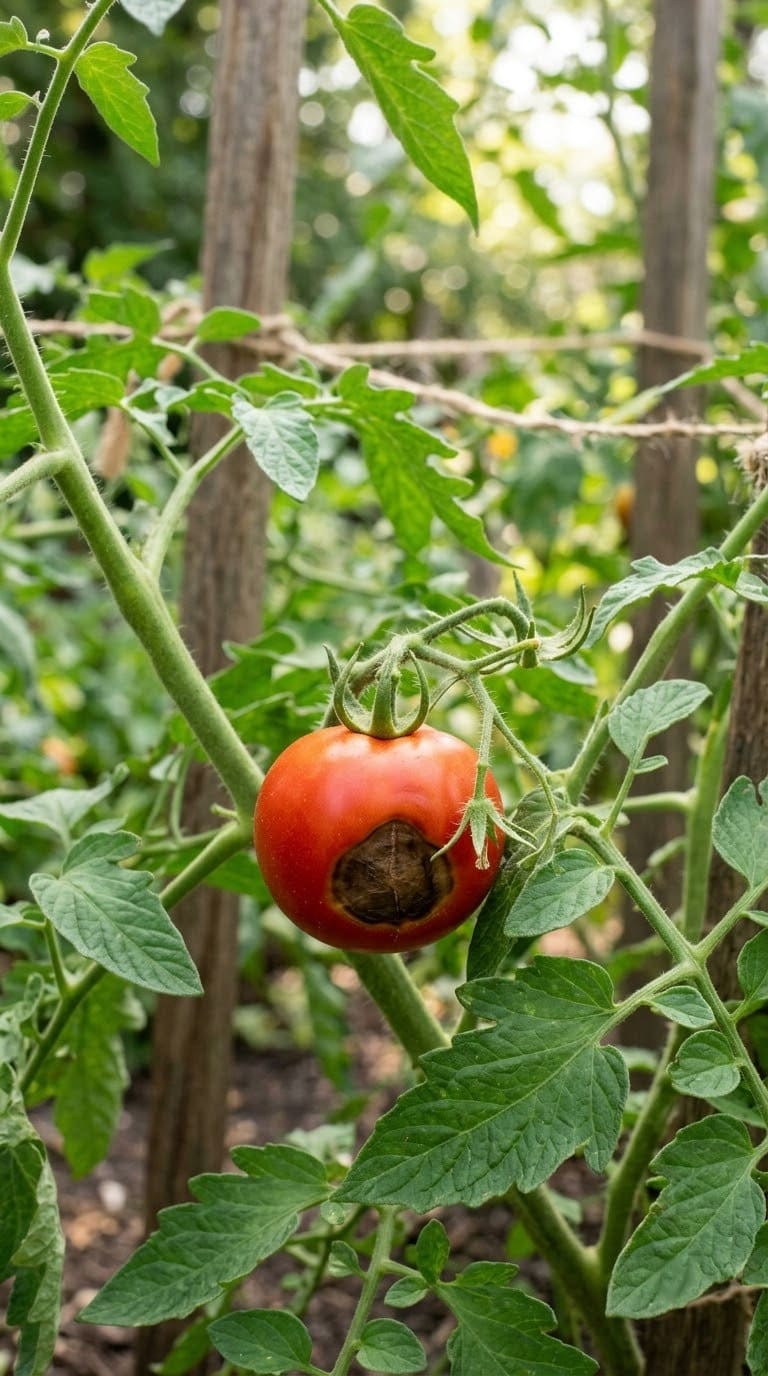
| Blossom end rot (sunken black spot on fruit bottom) | Inconsistent watering interrupts calcium delivery to the fruit, more often than a true calcium shortage in the soil | Water on a fixed schedule, mulch to hold moisture, remove affected fruit so the plant redirects energy |
| Leggy, pale seedlings | Not enough light before transplanting | Move to a sunnier window or add a grow light 2 to 4 inches above the seedlings |
| Cracked fruit | A heavy rain or watering after a dry spell, causing fruit to expand faster than the skin can stretch | Keep watering consistent, pick fruit just before a predicted heavy rain |
| Yellowing lower leaves with brown spots (early blight) | Fungal spores splashed up from soil, worse with overhead watering | Mulch, water at the base, remove and discard infected lower leaves |
| No fruit despite flowers | Extreme heat above 90°F or below 55°F stalls pollen viability | Wait out the heat wave, or gently shake flower clusters to help pollination |
| Hornworms (large green caterpillars stripping leaves) | Adult moths laying eggs on the undersides of leaves | Handpick in the early morning, or treat with Bt (Bacillus thuringiensis) if the infestation is heavy |
When and how to harvest
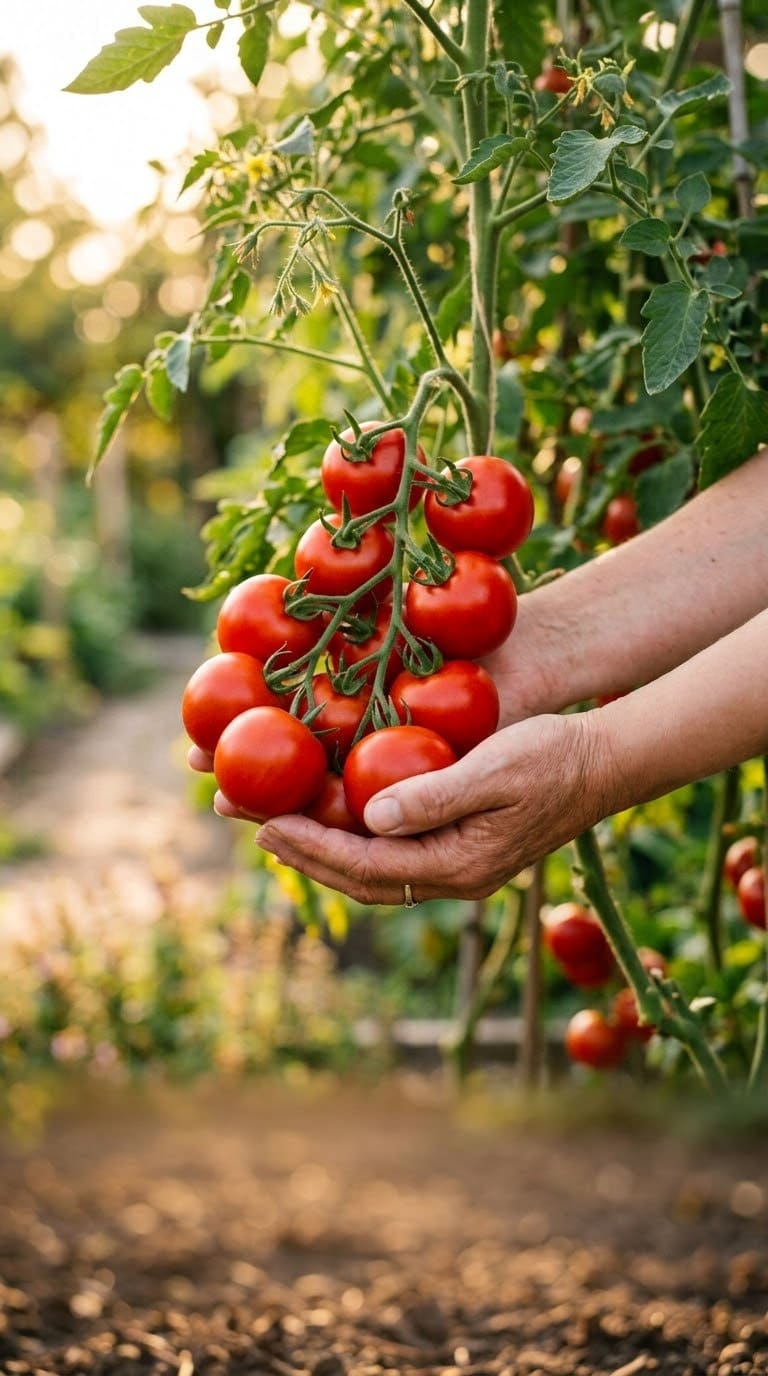
Most tomato varieties are ready 60 to 85 days after transplanting. Check your seed packet or plant tag for the exact number for your variety.
Pick when fruit has fully colored and gives slightly to gentle pressure. Fruit picked at the “breaker” stage, just starting to blush, will finish ripening safely on a counter. That’s a useful trick right before a frost or a heavy rain.
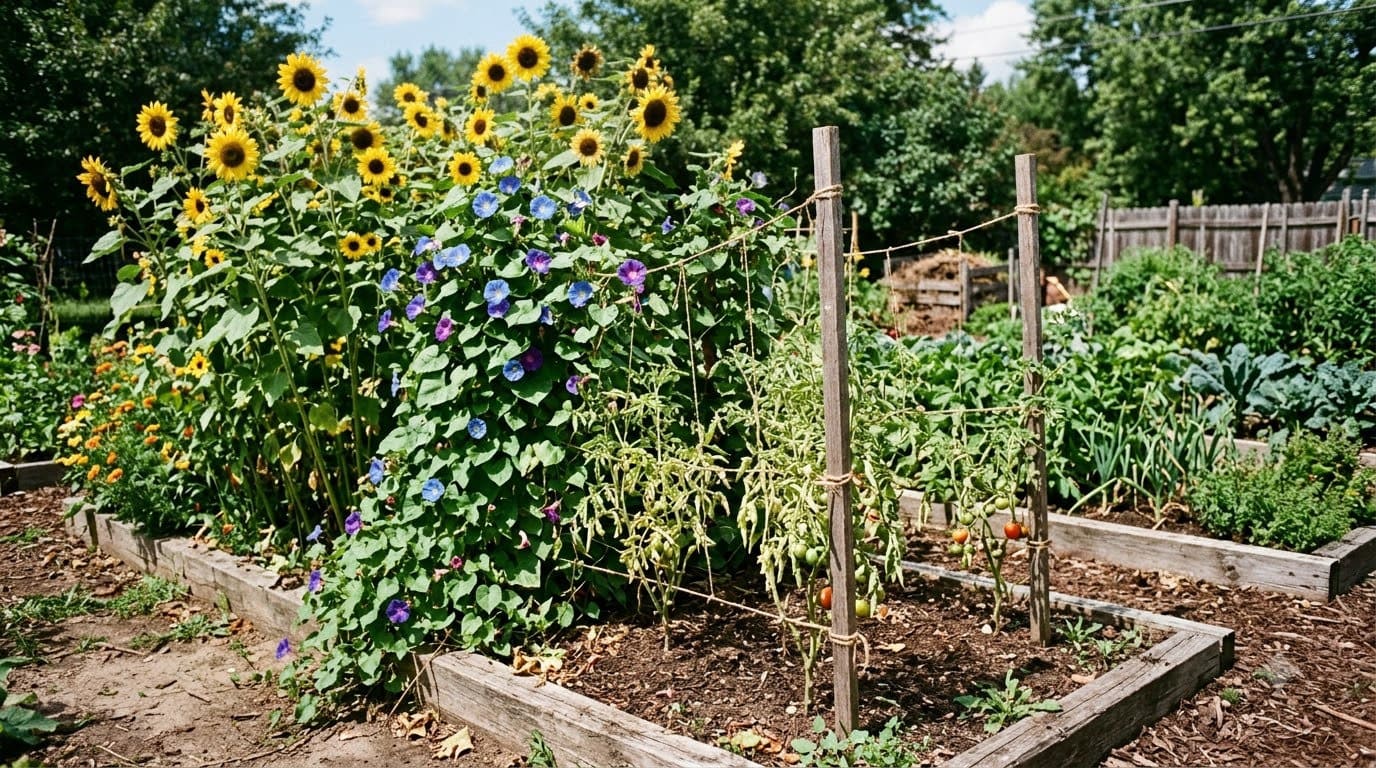
Companion planting worth trying
Basil is the classic tomato companion. It earns the spot for a practical reason, not folklore. Both plants want the same sun, water, and warm soil, so they thrive side by side.
Marigolds planted around the bed edge can help with whitefly pressure in some cases. The effect is modest. It works best paired with row covers or handpicking, not as a stand-alone fix.
Avoid planting tomatoes near corn. Both share a pest, the corn earworm, which is the same insect as the tomato fruitworm under a different name. Keep dill nearby only while it’s young. Once dill flowers and sets seed, it can slow tomato growth instead of helping it.
A simple week-by-week rhythm for a healthy bed
Breaking the season into a routine makes tomatoes far less overwhelming for a first-time grower.
Weeks 1 to 2 after transplant: water every 2 to 3 days while roots settle in. Check that the stake or cage is in place before the plant gets bushy.
Weeks 3 to 6: shift to a deep watering every 4 to 5 days. Mulch if you haven’t already. Start pinching suckers weekly on indeterminate varieties.
Weeks 6 to 10 (fruiting): side-dress with fertilizer once fruit reaches 2 inches wide. Keep watering consistent to avoid blossom end rot. Watch the lower leaves for early blight.
Weeks 10 onward: harvest as fruit colors up. Pick green fruit ahead of the first frost, and let it finish ripening indoors.
Frequently asked questions
How often should I water tomato plants? Give 1 to 1.5 inches of water a week, in one or two deep sessions rather than daily light sprinkling. Consistency matters more than the exact schedule.
Why are my tomato leaves curling? Leaf curl is usually a stress response to heat, uneven watering, or hard pruning. It’s rarely disease on its own. Check your watering first before you blame a pest or virus.
Can I grow tomatoes in containers? Yes. Choose a determinate or dwarf variety. Use a container at least 18 to 24 inches wide. Expect to water more often, since containers dry out faster than garden beds.
Do I need to remove all the suckers? Only on indeterminate varieties, and only if you want fewer, larger fruit and easier staking. Some gardeners leave a few suckers on purpose, for a bigger total yield at the cost of fruit size.
Why do my tomatoes split or crack? Cracking follows a sudden rain or heavy watering after a dry period. Keep soil moisture consistent and pick fruit ahead of predicted heavy rain.
What’s the difference between determinate and indeterminate tomatoes? Determinate varieties stop growing at a set height and ripen most fruit within a few weeks. Indeterminate varieties keep growing and producing until frost and need taller support.
Related Posts
- 9 Clever Companion Plants That Repel Tomato Pests
- 13 Plants That Shouldn’t Grow Next to Tomatoes
- What Tomato Plants Need in August
Related reading
- Growing basil, a companion plant that shares tomatoes’ sun and water needs
- Herbs to control vegetable garden pests
- The ultimate guide to summer fertilizer
- How to fertilize soil for a vegetable garden
- Dos and don’ts of fertilizing your garden
- DIY hacks using tomato cages
- Why use mulch in your garden
Sources: University of Missouri Extension, Growing Home Garden Tomatoes UConn Home & Garden Education Center, Put an End to Blossom-End Rot Iowa State University Extension, Pruning Tomatoes in the Home Garden Gardeners.com, Prevent Blossom-End Rot
Products We Recommend
This post contains affiliate links. We may earn a commission on qualifying purchases at no extra cost to you.
3 Pack 58" Square Tomato Cages
Heavy-duty square cages sized for indeterminate varieties that need a tall, sturdy support in place at transplanting, matching this guide's staking step.
Shop Now
4-in-1 Soil Moisture, Light, Nutrient & pH Meter
A no-battery probe for checking the 6.2 to 6.8 pH range and moisture level this guide recommends before assuming a wet-dry swing is behind blossom end rot.
Shop Now
Dr. Earth Organic Tomato, Vegetable & Herb Fertilizer
A tomato-specific organic blend for the low-nitrogen, higher-phosphorus feeding this guide calls for at planting and side-dressing.
Shop NowNever miss an update — choose FarmFoodFamily as your preferred source on Google.
How it works: Tap the button below to open Google's settings page, then check the box next to FarmFoodFamily.
Tap the checkbox to turn it blue — that's how you know it's set.