
Creating a beautiful garden doesn’t have to mean spending a fortune. With a little creativity, reuse of materials, and smart planning, you can design an outdoor space that feels lush and welcoming without putting a dent in your wallet.
Cheap gardening often focuses on resourcefulness like using what you already have, growing from seed, or building your own raised beds from scrap wood.
Whether you have a big yard or a small patio, these cheap gardening ideas help bring life and charm to any part of your garden.
Related: 25+ Waist High Raised Garden Bed Plans
Budget-Friendly Gardening Ideas

1. Utilize Repurposed Objects for Planters

You don’t need beautiful pots to begin your garden. Take a look around your house and you’ll probably find some unwanted objects that can double as lovely containers.
With a little drainage, old buckets, drawers, crates, teapots, or even shoes can become planters.
These eccentric pots offer a sense of individuality and storytelling to your landscape at no additional cost.
You may put them together for a rustic, collected look, or paint them to create a unified, bright arrangement.
Not only does this method decrease waste, but it also provides your garden a distinct creative flair that appears more curated than expensive.


2. Plant Propagation from Cuttings

Instead of purchasing new plants, increase the ones you currently have or borrow a snip from a friend’s garden.
Many herbs, succulents, and even houseplants (such as pothos, mint, and basil) root easily in water.
Once they have grown, you may transfer them into soil and continue growing your garden for free.
This strategy is very effective for trailing plants and filler foliage in mixed borders.
Over time, propagating can be a rewarding way to grow your garden and experiment with alternative settings.
It’s sustainable, low-effort, and rewarding—especially when you see your cuttings grow in their new environment.


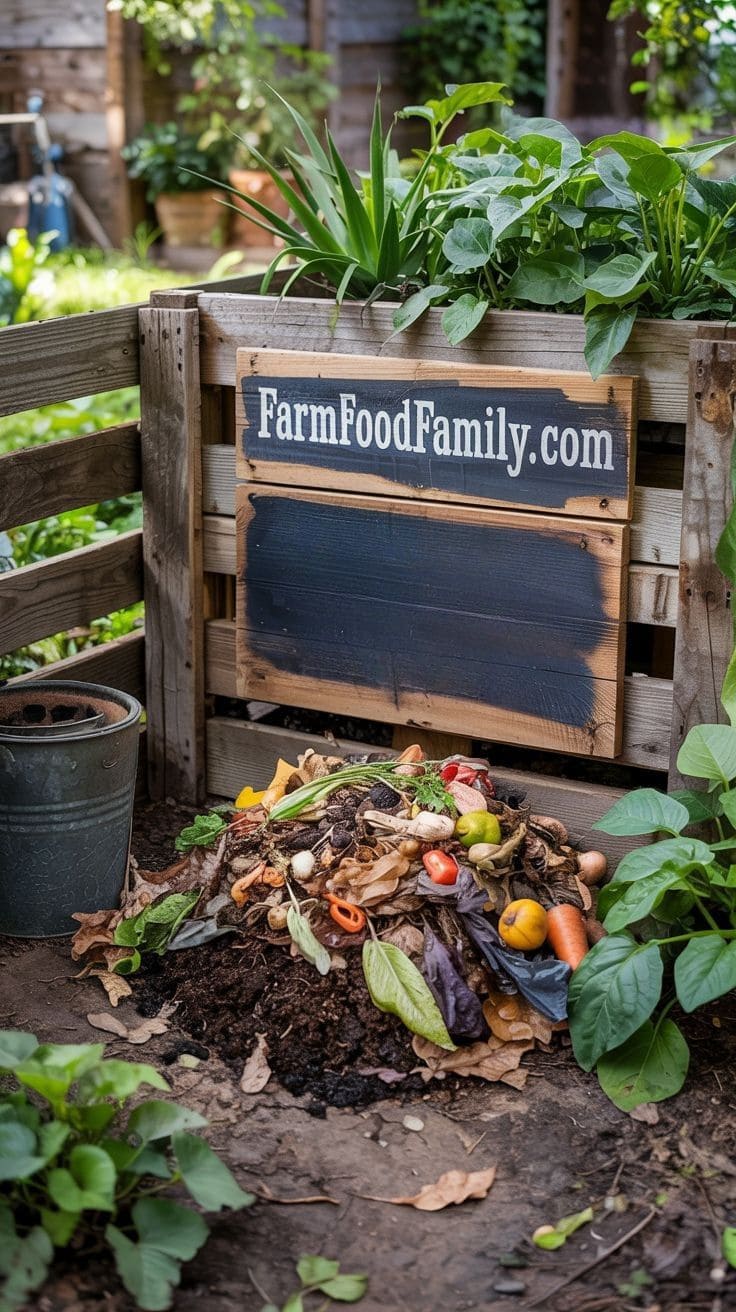
3. Create Your Own Compost for Free Fertilizer

Instead of purchasing compost bags or chemical fertilizers, start your own compost pile with kitchen scraps and yard trash.
Banana peels, coffee grinds, eggshells, vegetable trimmings, and grass clippings all compost into nutrient-rich soil.
Compost bins can be fashioned from old pallets or an unused trash can with holes put in for ventilation.
It may take a few weeks or months to develop into usable material, but the wait is definitely worth it.
This natural fertilizer promotes soil health and plant growth, saving you money and making your garden more environmentally friendly.


4. Build Raised Beds from Scrap Wood

If you have excess wood from pallets, crates, or old furniture, you may make raised beds without purchasing new materials.
These beds are ideal for maintaining soil quality and drainage while keeping your garden organized and elevated.
Raised beds can be tailored to accommodate small or irregularly shaped spaces, making them both practical and adaptable.
With a hammer, nails, and a little effort, you can turn a corner of your yard into an ordered and profitable planting zone.
This idea is great since you won’t have to take the time and energy to plan a trip to the lumberyard.
Additionally, the rustic appearance of the wood adds a classic flair to the beds.


5. DIY Trellises from Bamboo or Twigs

Instead of purchasing pricey plant supports or trellises, create your own from bamboo poles, tree branches, or even tough twigs bound together with twine.
These structures are ideal for climbing plants such as beans, peas, and morning glories.
Set them up in teepee shapes, simple grids, or archways to add height and visual interest to your landscape.
This not only saves money, but it also allows you to create supports that are exactly suited to your specific location.
Homemade trellises merge well into natural gardens, adding a delightful, handcrafted touch that is sure to add some vertical appeal to your garden.


Crushed eggshells can protect your plants from pests and be a good fertilizer as well

Source: gardenseason.com
Test old seeds on a wet paper to make sure they are still worth planting

Get more succulents from leaves and cuttings

Tutorial: succulentsandsunshine.com
Before sowing, soaking your seeds in warm water for 24 hours is a free way to help get plants ready to take root

Source: instagram.com
Sweeten your tomato plants by adding baking soda to the soil

Tutorial: thegardeningcook.com
How to harvest onions when your onions finish developing

Source: bloglovin.com
Use PVC pipes to build vertical planter

Grow 100 lbs. Of Potatoes In 4 Square Feet

Tutorial: tipnut.com
Use newspaper and water to stop weeds from growing in your garden bed

Tutorial: stockpilingmoms.com
Source: lavozdelmuro.net
Dig a hole and fill it with an empty plastic pot, so that you can easily replace your seasonal potted plants

Grow Mushrooms in a Laundry Basket

Tutorial: velacreations.com
Source: milkwood.net
Repurpose a shoe organizer as a planter

Tutorial: instructables.com
Source: branchhabitat.blogspot.com
Nursery trays are a clever way to keep pets and animals from destroying your seedlings

Grow tomatoes in a bag of soil and add a cage as trellis

Growing tomatoes upside down can greatly increase the amount of tomatoes in a limited space

Tutorial: 1001gardens.org & gardeningknowhow.com
Use an old photo album to create a clever seed packet organizer

Source: onehundreddollarsamonth.com
Use plastic water bottles and intravenous needles to give plants a slow recharge

Staple garden cloth on the backside of the pallet fill with dirt and start growing

Use cool vegetable cooking water to fertilize your garden or potted plants

Easily build your garden table with wooden pallets

Use Muffin Tin to Create Perfectly Spaced Holes for Seeds

Source: onehundreddollarsamonth.com
A clever way to water your plants by setting up a PVC pipes drip irrigation system

Make plant markers out of broken pots

Source: titantinasideen.blogspot.com & hardlyhousewives.com
Spruce your nest

Vertical flower bed

Crochet in garden

Toilet Roll Seed-Starter

31. Protect your cuttings with plastic bottles

Source: blomsterverkstad, itsnowalkinthepark
32. Regrow vegetables from scraps

Source: dontwastethecrumbs.com, simplebites.net
33. Start your seeds in K-cups

Conclusion
Gardening doesn’t have to be expensive to be fulfilling, beautiful, or impactful.
With a little ingenuity and a mindset geared toward reuse and creativity, you can build a thriving garden space on any budget.
These ideas focused on maximizing what you already have and minimizing waste. The joy of gardening is in the resourceful journey of nurturing life and creating something special with your own hands.
Leave a comment and share the list with friends if any of the ideas have helped!


