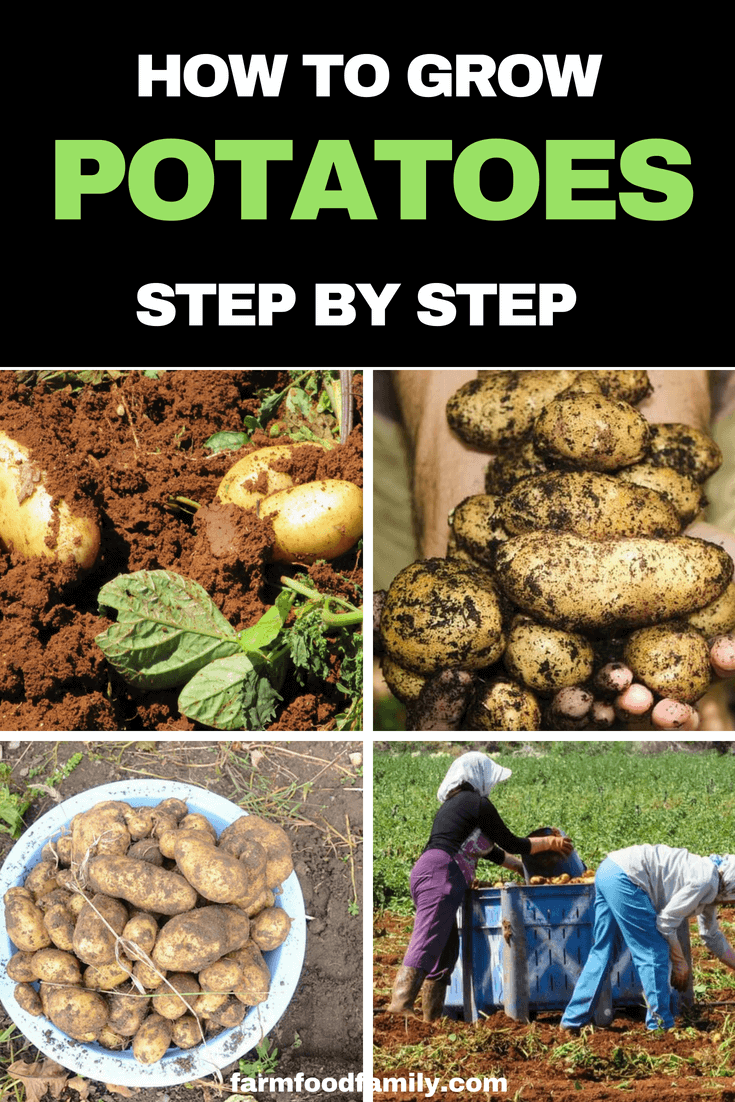
How To Grow Potatoes Successfully (Planting, Growing, Harvest, Storage)
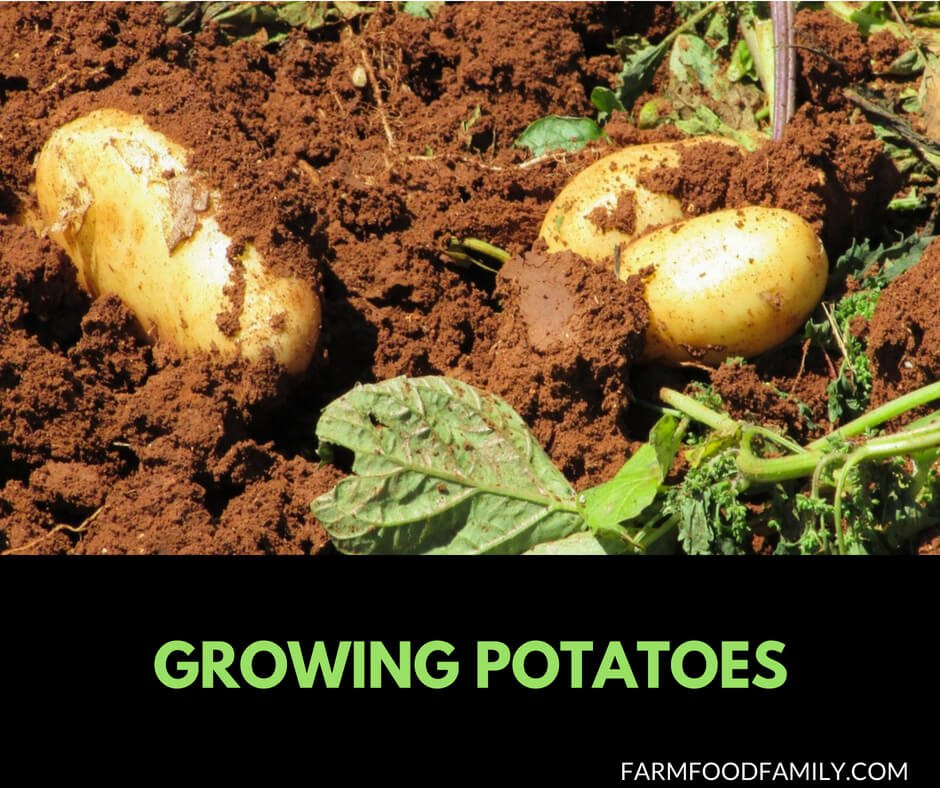
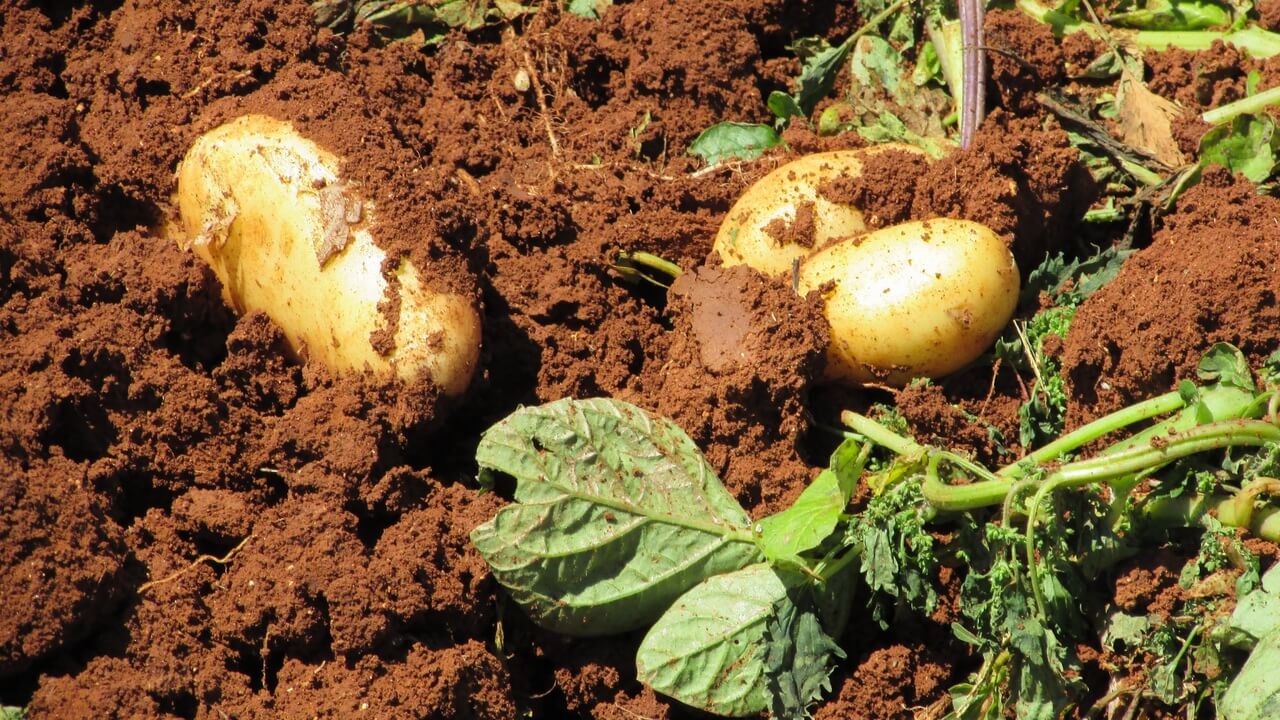
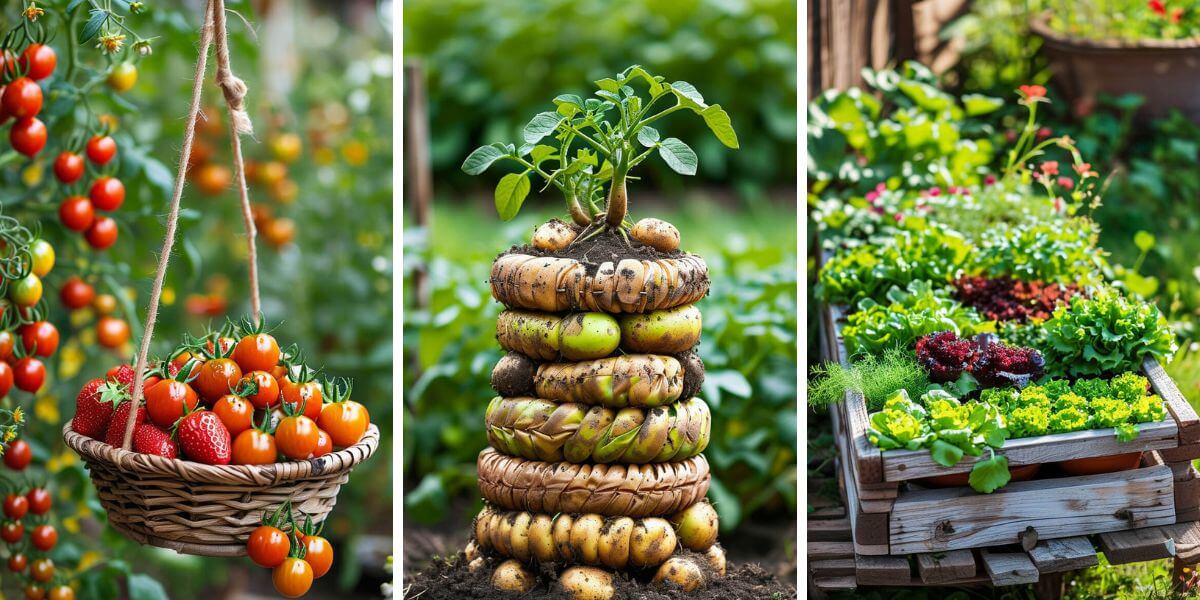
One of the most satisfying times in the veggie garden is taking a garden fork and gently pushing it under a clump of potato plants. Lift up the fork and, as the soil falls away, you’ll discover a mass of potatoes. It is a moment to savor.
Some will be large, others small, but for flavor there’s nothing as delicious as boiled, mashed or baked homegrown potatoes. Those planted now may be ready to harvest for Christmas dinner.
The potato is a long-growing crop that takes four to five months to produce a full-sized harvest. Potatoes are usually planted in August but hold off in very cold and frosty areas.
Frost can burn the leafy tops of potato plants, but plants generally recover if the frost is light.
In a warm climate, a second crop is grown in summer for an autumn harvest. Grow potatoes as a dry-season crop in tropical areas. In many frost-free regions, potatoes grow all year round so there’s always some spuds on hand for a meal.
Potato Facts
Common name: Potato
Botanical name: Solanum tuberosum
Family: Solanaceae
Aspect and soil: Sun; deep well-drained soil
Best climate: Cool to tropical
Habit: Tuberous vegetable
Propagation: Tubers (called “seed” potatoes)
Difficulty: Moderate
PLANTING & CARE
Planting that first crop of potatoes can be very confusing for beginner gardeners. This is because potatoes are grown from something that’s called a “seed” but is in fact a small tuber called a “seed” potato.

If you’ve ever had a potato start to sprout indoors before you’ve had a chance to cook it, you are well on the way to growing potatoes. Seed potatoes are sold by mail order in garden centers and at hardware stores and are guaranteed virus free, which means better success in the garden.
Seed potatoes may just be planted and allowed to grow, but they can be helped along if the tubers are sprouted beforehand.
This is a process called “chitting”, done by placing the small tubers on a rack or even sitting them in a cardboard egg carton and placing them in a warm spot. It gives them a head start in a cold climate.
Plant sprouted tubers into trenches dug about 15cm deep. Space the rows 75cm apart and allow at least 30–40cm between each plant. Incorporate fertilizer into the base of the planting trench.
This depth and spacing is vital to manage the crop. Part of the growing method is to mound earth around the growing plant (but don’t bury it completely).
This growing method is called “earthing up” and is an important part of producing a large crop as it encourages lots of roots to form below ground that in turn produce lots of spuds.
A good layer of soil around the base of the plant also protects the developing potatoes from direct sunlight. Exposure to light leads to a condition called greening of potatoes.
The green parts of potatoes are toxic and should not be eaten.
Continue to earth up around the potatoes as the crop grows. Remove weeds regularly. Apply plentiful water so the crop doesn’t wilt. Well-watered potatoes tend to be larger and tastier than those that are drought stressed.
TROUBLESHOOTING
Several pests and diseases affect potatoes. Rats and mice burrow into the bed and gnaw on the potatoes before harvest. Potatoes also suffer from various blights including potato blight, which in the 1840s led to the Great Hunger in Ireland, also simply called the Potato Famine. Dry conditions also lead to potato scab.
To manage these diseases in an organic garden it’s important to have excellent growing conditions, regular watering and well-drained soil. Crop rotation is also vital. One of the ways that diseases spread is by growing potatoes in the same garden bed year after year.
While it’s easy to move the potato bed around, the sneaky nature of potatoes often foils the gardener. Even the smallest piece of potato that’s left behind at harvest can sprout and grow. Potatoes can regrow themselves in their original bed or turn up in areas where they’ve been spread in compost.
It was this persistence of potatoes that exacerbated the spread of blight, which led to the Great Hunger. Many families depended on growing their own potatoes.
As they had very small holdings, these potatoes were simply grown year after year in the same soil and were all the same variety. Once conditions arrived in the soil that favored the disease, the Irish potatoes had no resistance and the population lost their staple food source.
HARVEST & STORAGE
Flowers indicate that the tubers are nearly ready to harvest. At this stage, carefully dig under the plant (known colloquially as bandicooting) to harvest small new potatoes. This early harvest is one of the rewards of growing potatoes.
Leave the plants growing until the flowers have finished and the stems are dying back so that the rest of the crop can grow into big tubers.
Lift each clump with a fork, taking care not to damage any tubers as these will not store (set them aside to eat first). Remove all the tiny tubers and completely remove the old plant and its roots. Bits left behind will regrow and can spread disease.
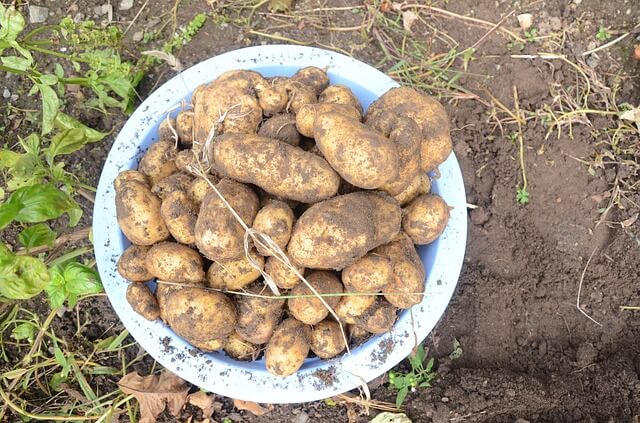
Shake the spuds free of soil and store undamaged, disease-free potatoes in a cool dark place (not in the refrigerator).
Any damaged potatoes and small spuds should be eaten immediately.
Check stored potatoes regularly and remove any that show signs of decay. Rotten potatoes have a very unpleasant rotten smell that alerts you to a problem.
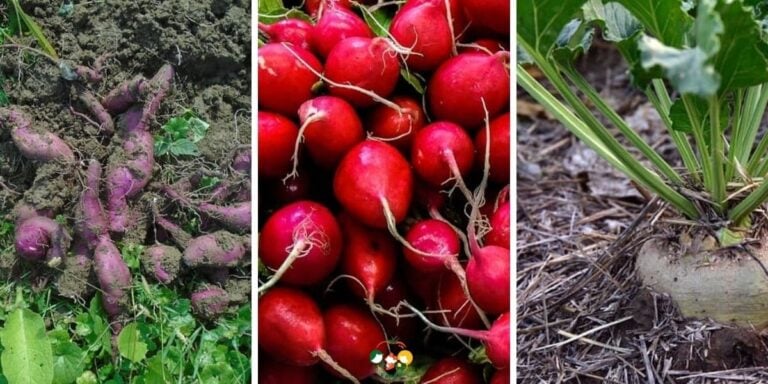
SPUDS OF MANY COLORS
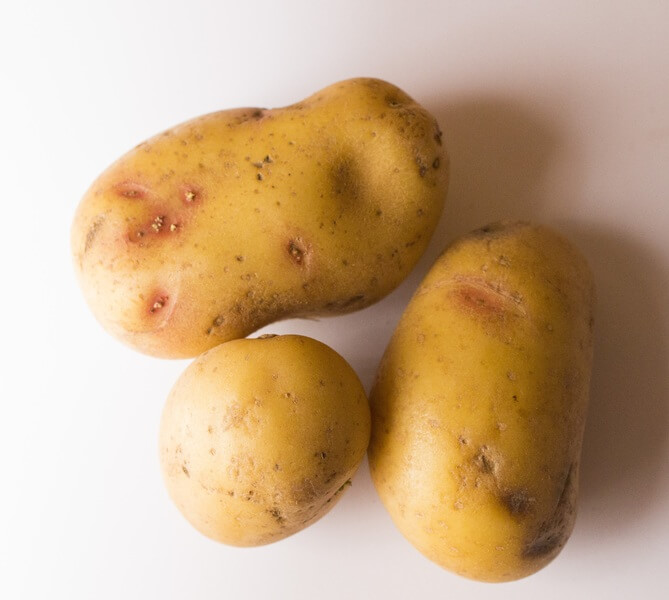
There are lots of potato varieties; many have different-colored skins and some have colorful flesh. Popular white-skinned varieties include ‘Desiree’, ‘Dutch Cream’, ‘Kennebec’, ‘Kipfler’ and ‘Nicola’, all with white flesh.
Red-skinned varieties include ‘Redskin’ and ‘Pink Eye’. For something a little different, plant a blue-skinned potato such as ‘Toolangi Delight’.