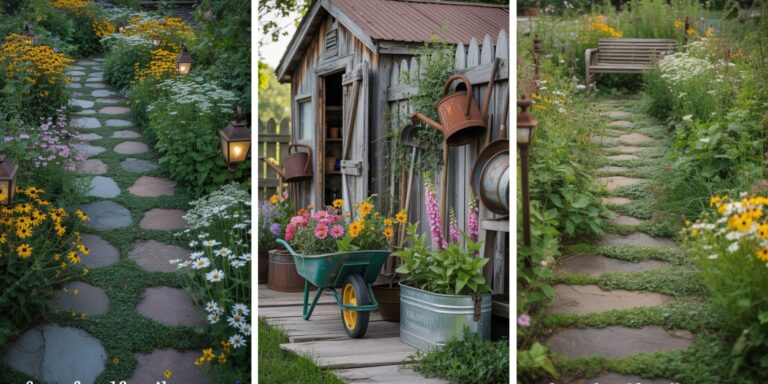
24 Best Stone Walkway Ideas That Won’t Sink, Shift, or Wash Out
A stone walkway looks finished the day you lay it down, but the ones that actually survive five winters come down to what’s buried under the stone, not the stone itself.

Never miss an update — choose FarmFoodFamily as your preferred source on Google.
How it works: Tap the button below to open Google’s settings page, then check the box next to FarmFoodFamily.
Tap the checkbox to turn it blue — that’s how you know it’s set.
Most stone walkway roundups are just a parade of pretty materials. I get it, the photos are the fun part.
But I’ve watched enough “finished!” walkway posts on garden forums turn into “so this happened” posts eighteen months later to know the real story isn’t the stone. It’s what’s under the stone.
Here’s the pattern almost every failed walkway shares: someone digs a shallow trench, maybe 2 or 3 inches, sets the stone or paver straight onto the dirt or a thin skim of sand, and calls it done. Come spring thaw, the ground underneath has heaved, shifted, or washed out a little at a time, and the walkway looks like it’s been through an earthquake.
The Interlocking Concrete Pavement Institute (ICPI), the trade body that writes the actual construction specs contractors follow, requires base aggregate compacted to at least 98% Proctor density for pedestrian areas, with a bedding sand layer around 1 inch thick on top, never gravel used as bedding sand. That’s not a suggestion, it’s the difference between a walkway that lasts 20 years and one that needs redoing in 3.
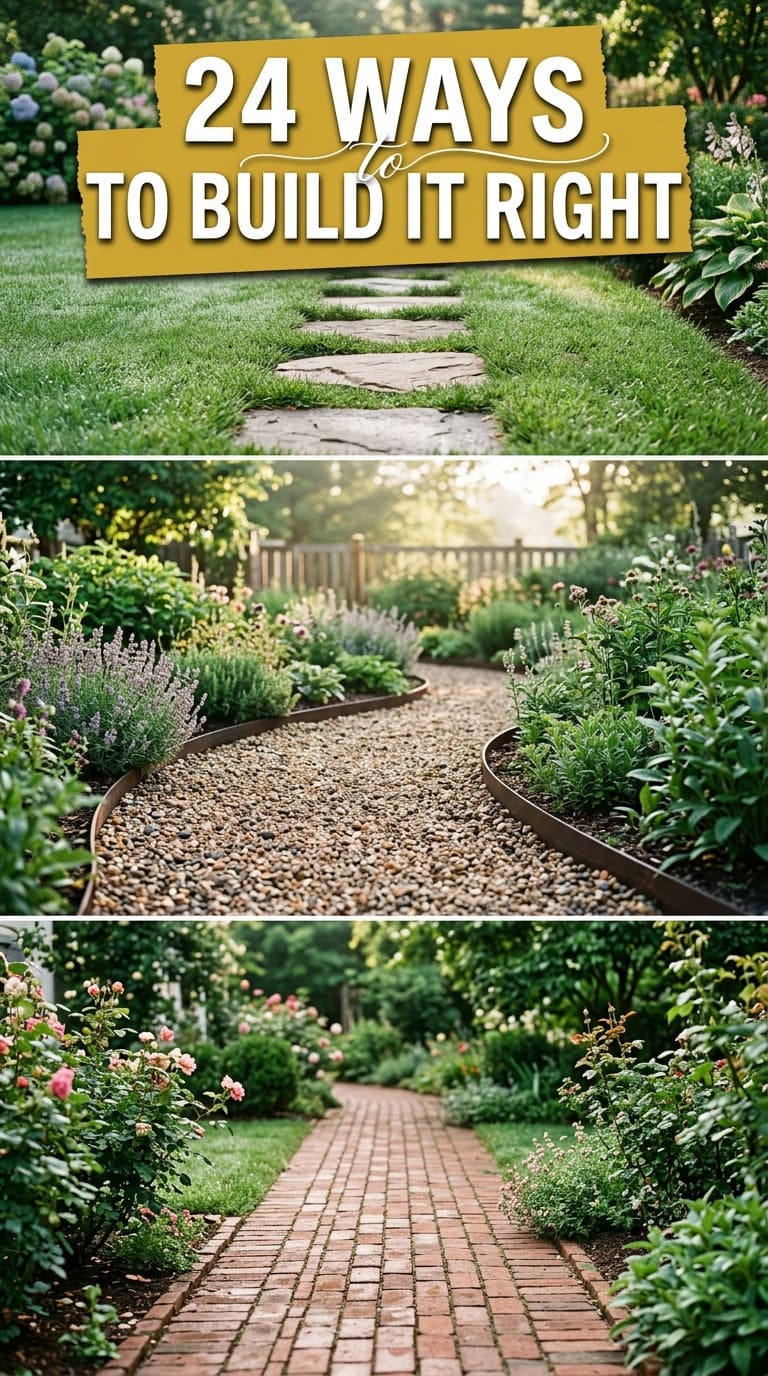
Below are all 24 ways to actually build one, each with real materials, real dimensions, and the specific failure mode to avoid. Budgets run the full range here, from a $2-per-square-foot bark mulch path you can lay in an afternoon to a $25-plus-per-square-foot flagstone install that needs a rented plate compactor and a weekend you didn’t plan on losing.
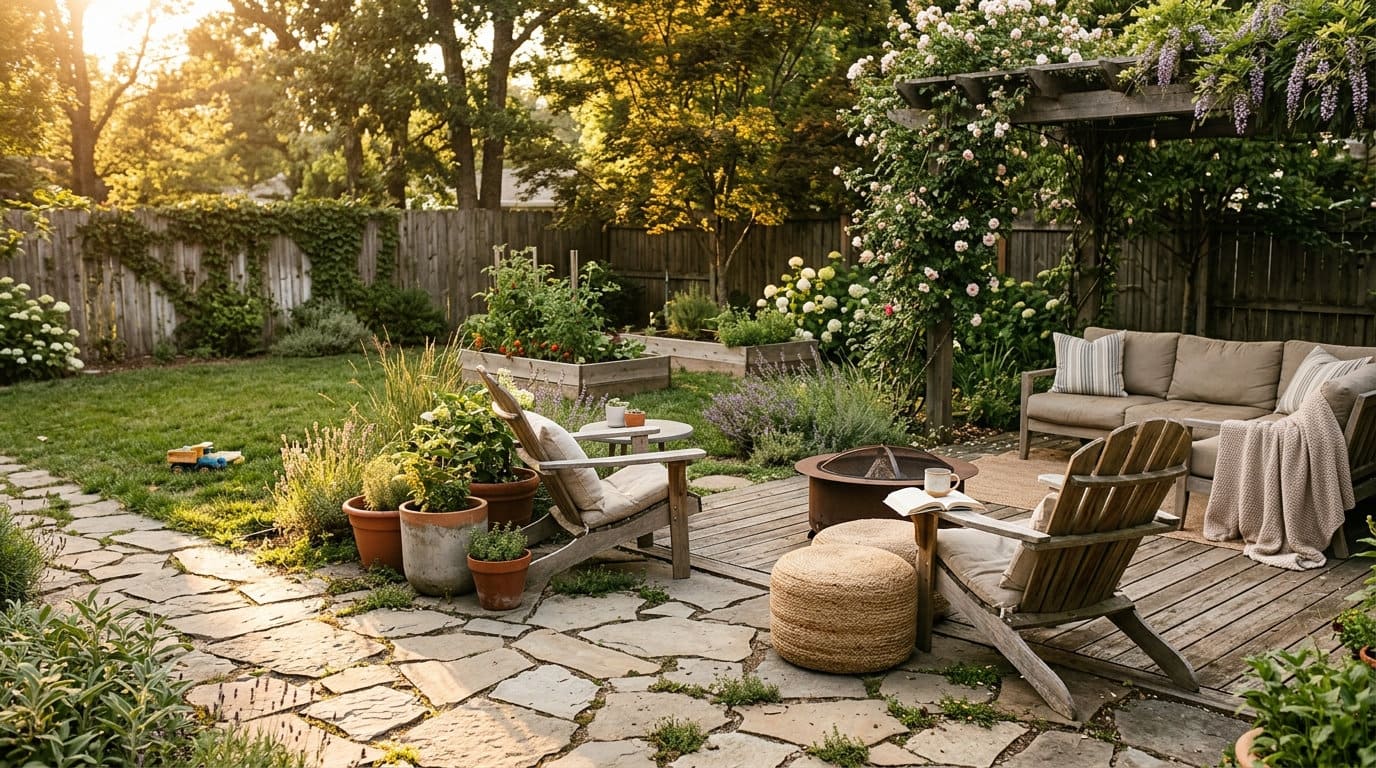

Quick Answer
A stone walkway that actually lasts needs three layers, not one: 4 to 6 inches of compacted gravel base, roughly 1 to 2 inches of bedding sand on top, then the stone itself, with joints filled and edges restrained so the whole system can’t spread sideways. Skipping any one layer, especially the compacted gravel, is why walkways sink, shift, or heave within a couple of freeze-thaw cycles.
Answer 4 quick questions and get matched to the exact fix for your yard — drainage, budget, layout, or something else entirely.
Take the Free QuizBudget-wise, loose materials like pea gravel and mulch run $2 to $8 per square foot and need re-topping every 1 to 2 years, while set materials like flagstone and pavers run $20 to $28 per square foot installed but need almost no upkeep once they’re in. If you’re hiring it out, expect a general contractor’s overhead and markup to add another 13% to 22% on top of materials and labor.
Material Comparison: Which Walkway Material Actually Fits Your Yard
| Material | Cost per sq ft (installed) | Durability | DIY Difficulty |
|---|---|---|---|
| Bark mulch / wood chip | $2-5 | Low (re-top yearly) | Easy |
| Pea gravel | $3-8 | Medium (needs edging + refresh) | Easy |
| Concrete (poured or stamped) | $8-18 | High | Hard (needs forms + cure time) |
| Brick | $10-20 | High | Moderate |
| Paver (concrete interlocking) | $12-22 | High | Moderate |
| Wood (slice or pallet) | $5-15 | Low-Medium (rot-prone) | Easy-Moderate |
| Natural stone / flagstone | $20-28 | Very High | Hard (heavy, uneven shapes) |
Why Most Stone Walkways Fail Within 5 Years
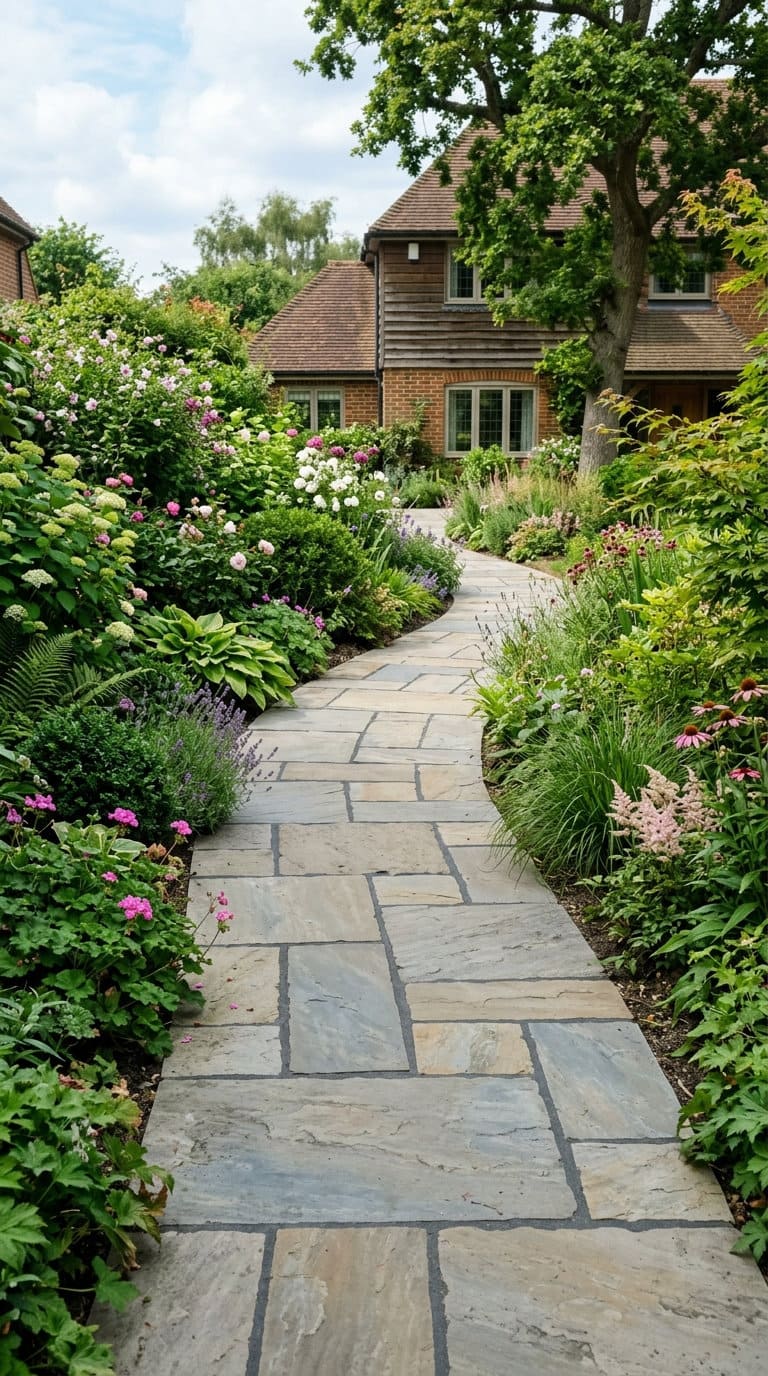
Here’s the pattern, and it shows up constantly in DIY landscaping discussions: someone lays stone directly on dirt or a thin layer of sand, it looks great for a season, and then it starts sinking, shifting, or growing a crop of weeds through every joint.
One person building a flagstone path admitted flat out they “didn’t bother with any kind of stone substrate or border” on their first attempt. Another builder posting their finished path got an immediate, blunt reply: “I predict they will sink in and it will be a depressed path within 5 years. Soil subgrade is usually too weak.” That second comment turned out to be a fair prediction more often than not.
The fix isn’t complicated, it’s just usually skipped. Iowa State University Extension and Outreach recommends preparing a proper compacted base before any pavers or stones go down, not laying them straight onto native soil. The Interlocking Concrete Pavement Institute, the industry body that actually writes the technical specs contractors use, calls for a minimum 4-inch compacted gravel base for pedestrian walkways over well-drained soil, topped with about an inch of bedding sand, with the base surface kept within roughly 3/8 inch of level over any 10-foot stretch. Skip that layer and you’re really just balancing stone on dirt, and dirt moves.
None of the ideas below skip this step. Where base prep especially matters for a given idea, I’ve said so directly, rather than assuming you’ll figure it out.
One quick legal note before the fun part: a walkway on your own property generally doesn’t need a permit, but if it connects to, alters, or sits within a few feet of an existing structure, driveway, or property line easement, it’s worth a two-minute call to your local building department first. Cheap insurance, same logic as checking before you dig near a shoreline.
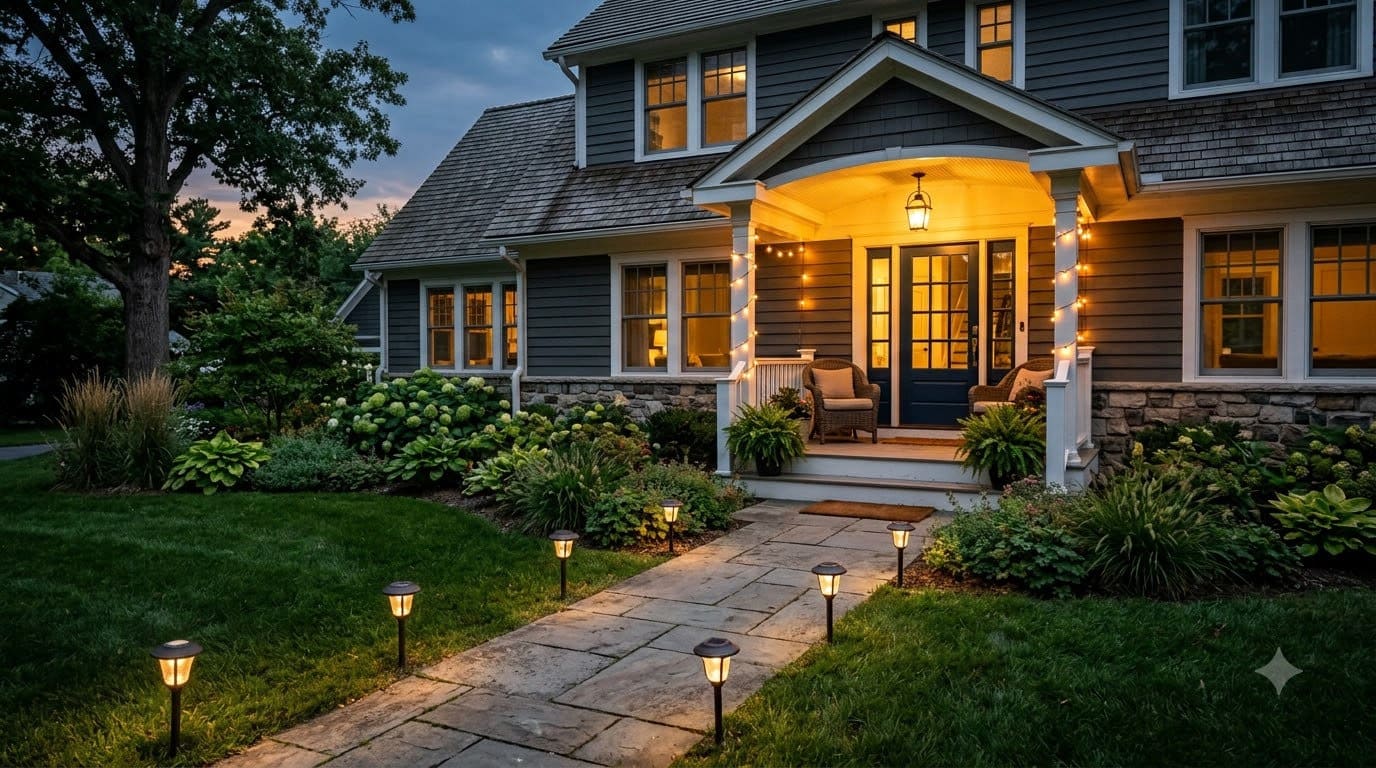
1. Solar Path Lighting Add-On
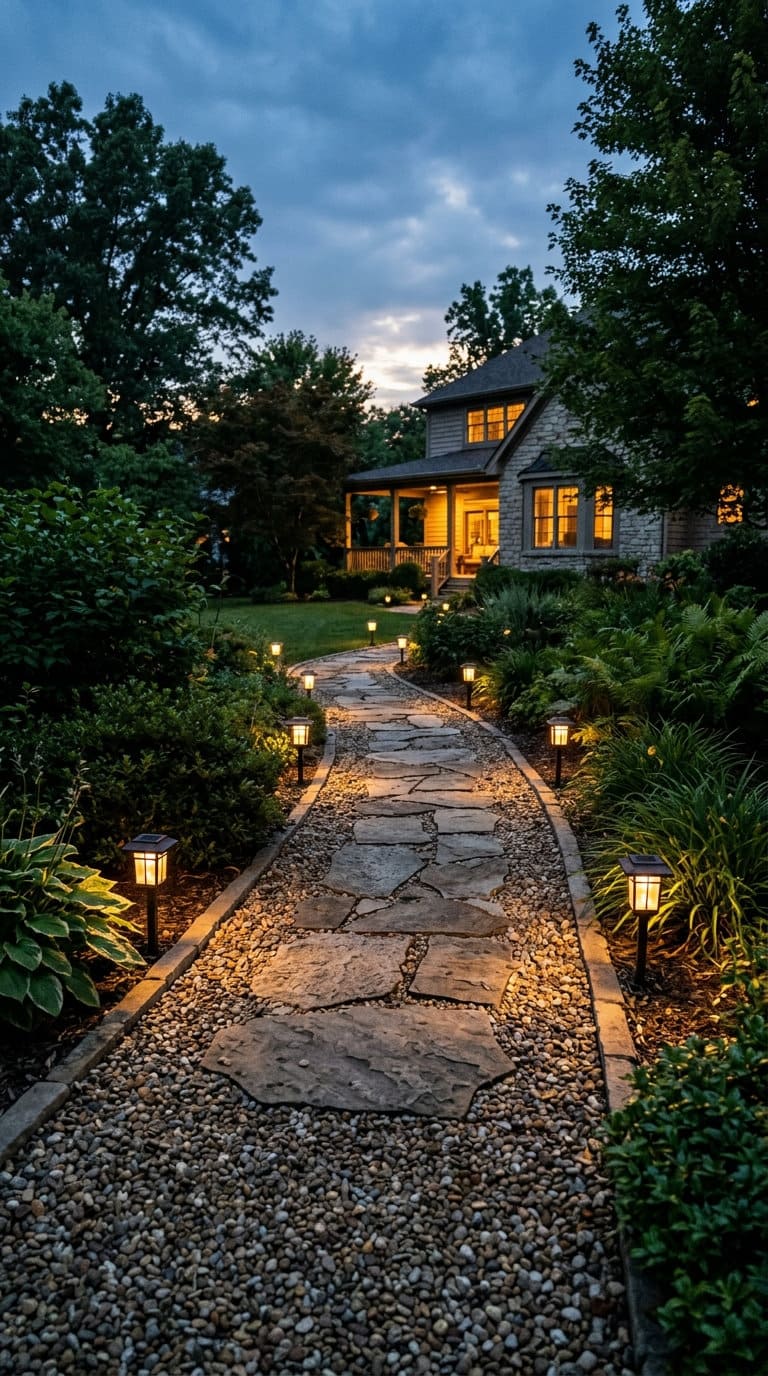
This isn’t a walkway material on its own, it’s the add-on that makes any of the other 23 actually usable after dark. Stake-mounted solar lights (budget tier: $15-25 for a 6-pack) push into soil every 4 to 6 feet along the edge, no wiring required. Skip pushing stakes directly into gravel base material, they won’t hold.
Most yard problems trace back to one specific, fixable cause. Find yours in 4 quick questions.
Take the Free Quiz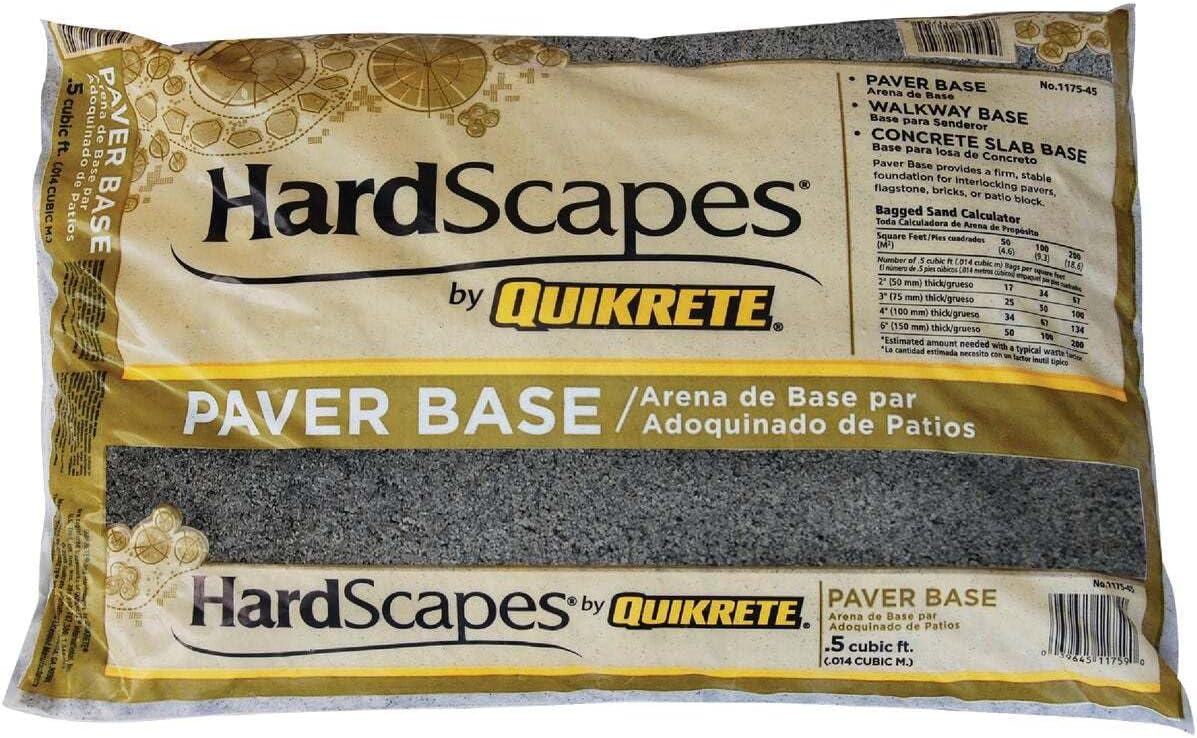
Every idea in this article depends on the compacted gravel base + bedding sand described in the "Why Most Stone Walkways Fail" section; this is the single most load-bearing purchase for a DIY walkway. ~$32, 4.2★ (14 ratings).
Shop NowThis post contains affiliate links. We may earn a commission on qualifying purchases at no extra cost to you.
Place them in the soil just outside the compacted base edge instead. Pair with a flagstone (#21) or paver (#9) walkway for the cleanest look, since the light housing sits flush against a defined edge rather than disappearing into loose gravel or mulch.
2. Stepping Stone Walkway, Spaced for a Real Stride
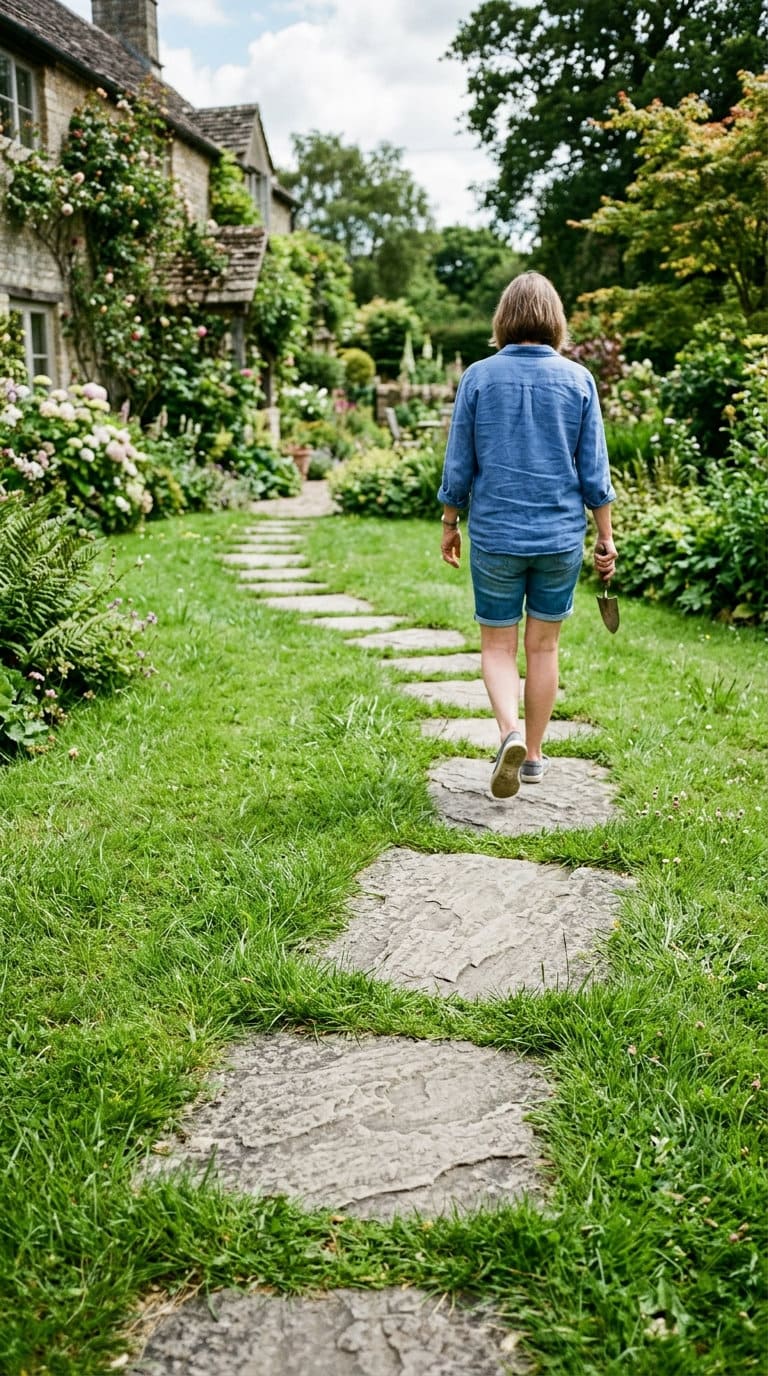
Stepping stones are the classic starting point, and most people get the spacing wrong by guessing. Walter Reeves, a longtime Georgia gardening columnist and former University of Georgia Cooperative Extension agent, publishes a specific method instead of a generic rule: lay out a few stones and actually walk your normal stride across them, marking where your foot naturally lands, rather than spacing every stone exactly 24 inches apart and hoping it feels right.
Set each stone on a few inches of compacted sand or fine gravel rather than bare soil, even for a casual stepping-stone path, this is the smallest-scale version of the base-prep rule above and it still matters.
Budget-wise, this is one of the cheapest, most beginner-friendly ideas on the list, a weekend project with a shovel, a level, and a bag of paver base.
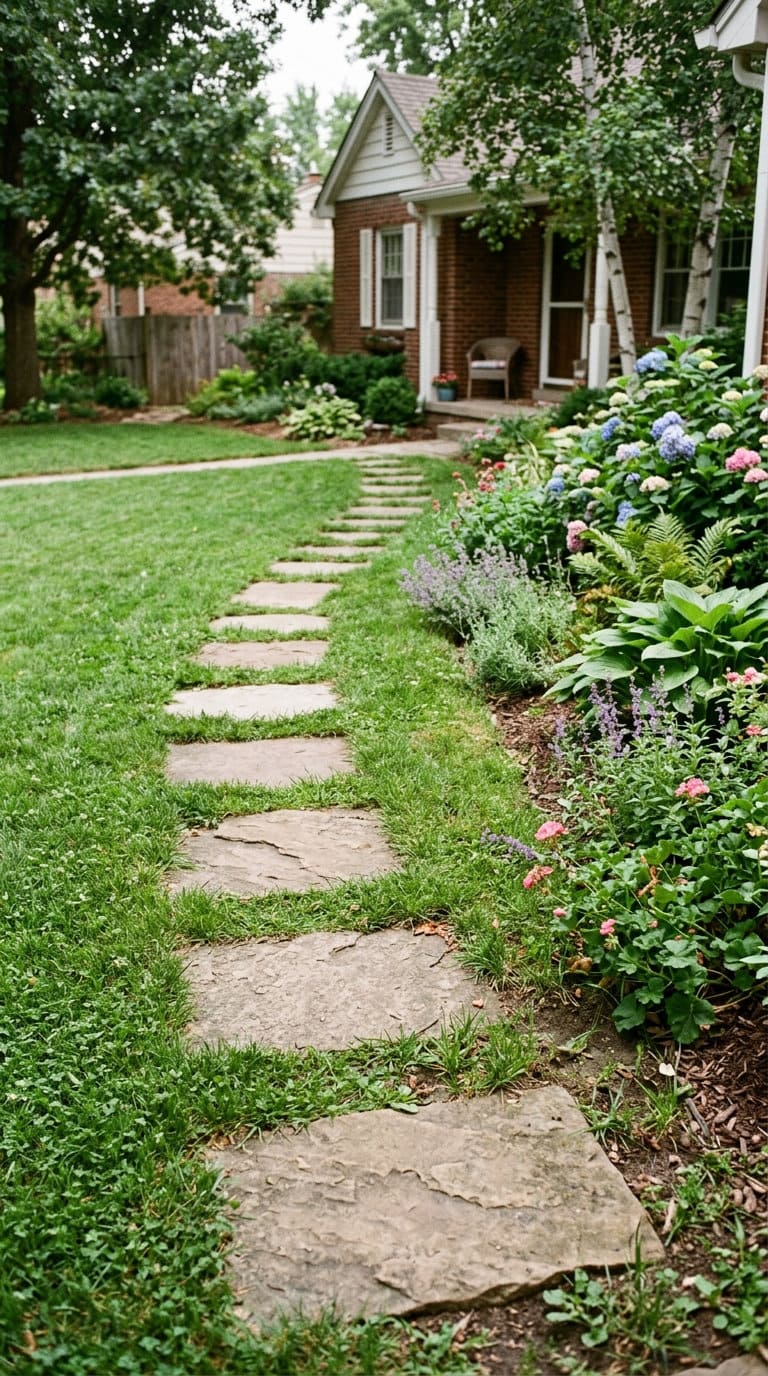
Use stone slabs at least 18 by 24 inches so an adult foot lands fully on the stone, not half off the edge. Space them 4 to 6 inches apart center-to-center, matched to an actual walking stride (measure your own before you dig, everyone’s is different). Each stone still needs its own excavated pocket, roughly 4 inches of compacted gravel and 1 inch of sand underneath, not just pressed into turf.
Skip the base here and you get the classic wobble, one edge sinks under weight, the stone rocks, and eventually cracks. Budget tier: $8-15 per stone installed DIY. Ties directly to the base-prep problem above, this is the idea people most often shortcut.
3. White Brick Walkway
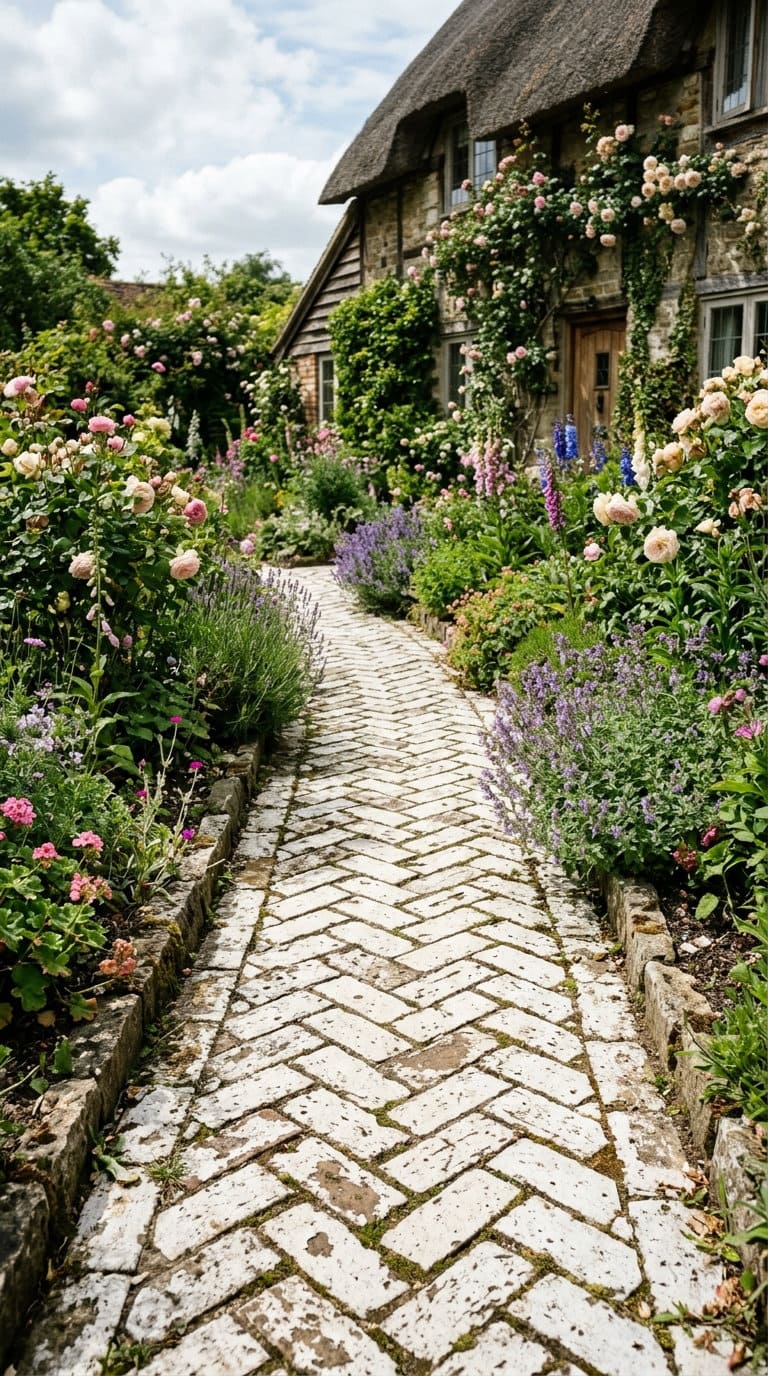

This White brick walkway is very fitting for suburban homes, as it creates a very relaxing and chill feeling to the garden. It might also be very nice for summer houses as it won’t absorb as much sun as a darker color and it won’t reflect that much warm air.
The average homeowner spends $616/year on yard fixes that don't address the real problem. Find out what yours actually is — before you spend another dollar.
Take the Free QuizReclaimed or new white-washed brick set in a herringbone or running-bond pattern reads bright and cottage-y, especially against dark mulch beds. Brick needs the same 4-6 inch gravel base as anything else, plus a rigid edge restraint (steel or PVC edging) on both sides since brick’s small unit size means it wants to spread outward without something holding the line.
White brick shows dirt and moss faster than red brick, so factor in an annual pressure-wash if you go this route. Cost tier: $10-20 per square foot installed.
4. LimeStone Walkway
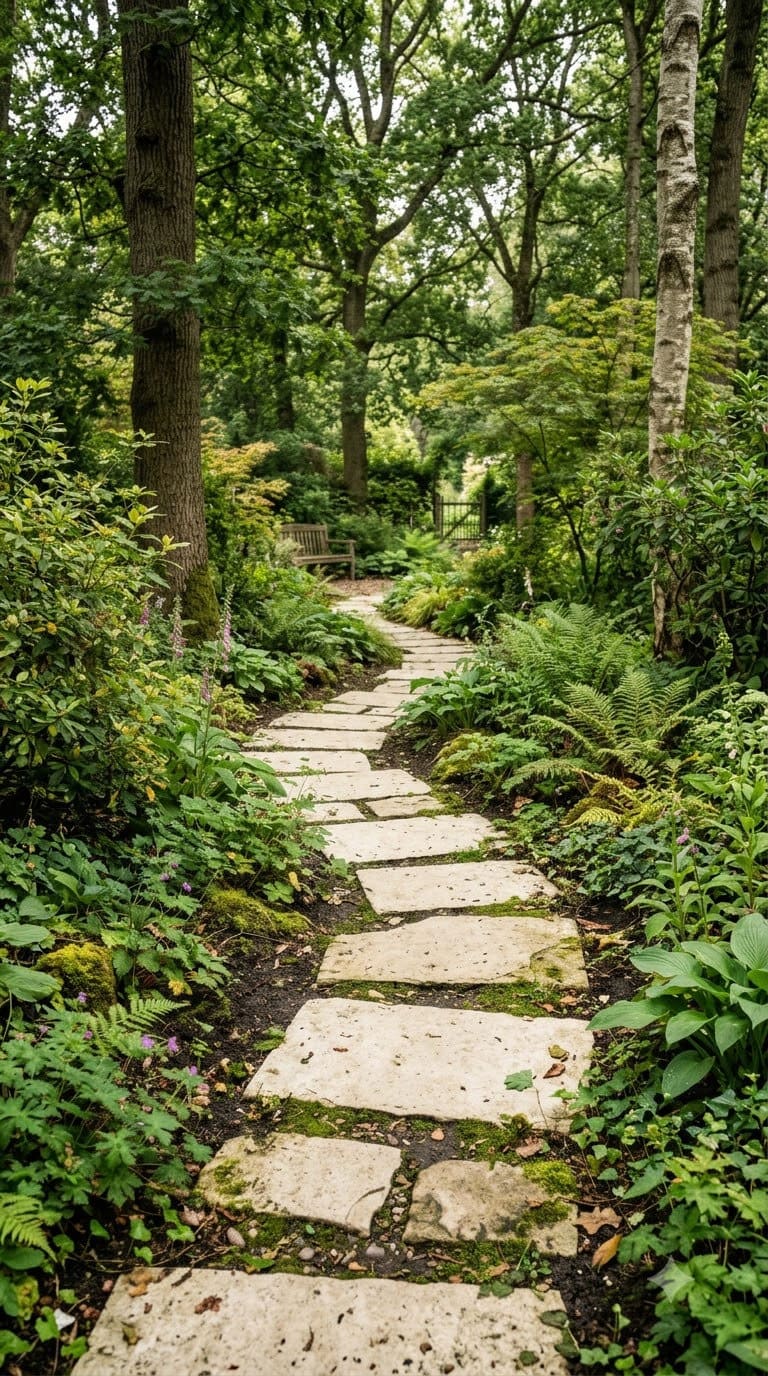
Yellowish colors will add a warm and home-like feeling to anywhere you add. Therefore stone walkways such as limestone can fit nicely to your garden as it will look both inviting and stylish!
Limestone slabs are naturally pale gray to cream, which brightens a shaded path better than darker bluestone or granite would. It’s a softer stone than granite, so it can pit and etch slightly from acidic rain over years, mostly cosmetic, not structural.
Set slabs on the standard 4-inch gravel plus 1-inch sand base, and fill joints with polymeric sand rather than loose sand so weeds don’t colonize the gaps. Cost tier: $18-25 per square foot, similar to flagstone since it’s cut and delivered the same way.
5. Natural Stone Steps
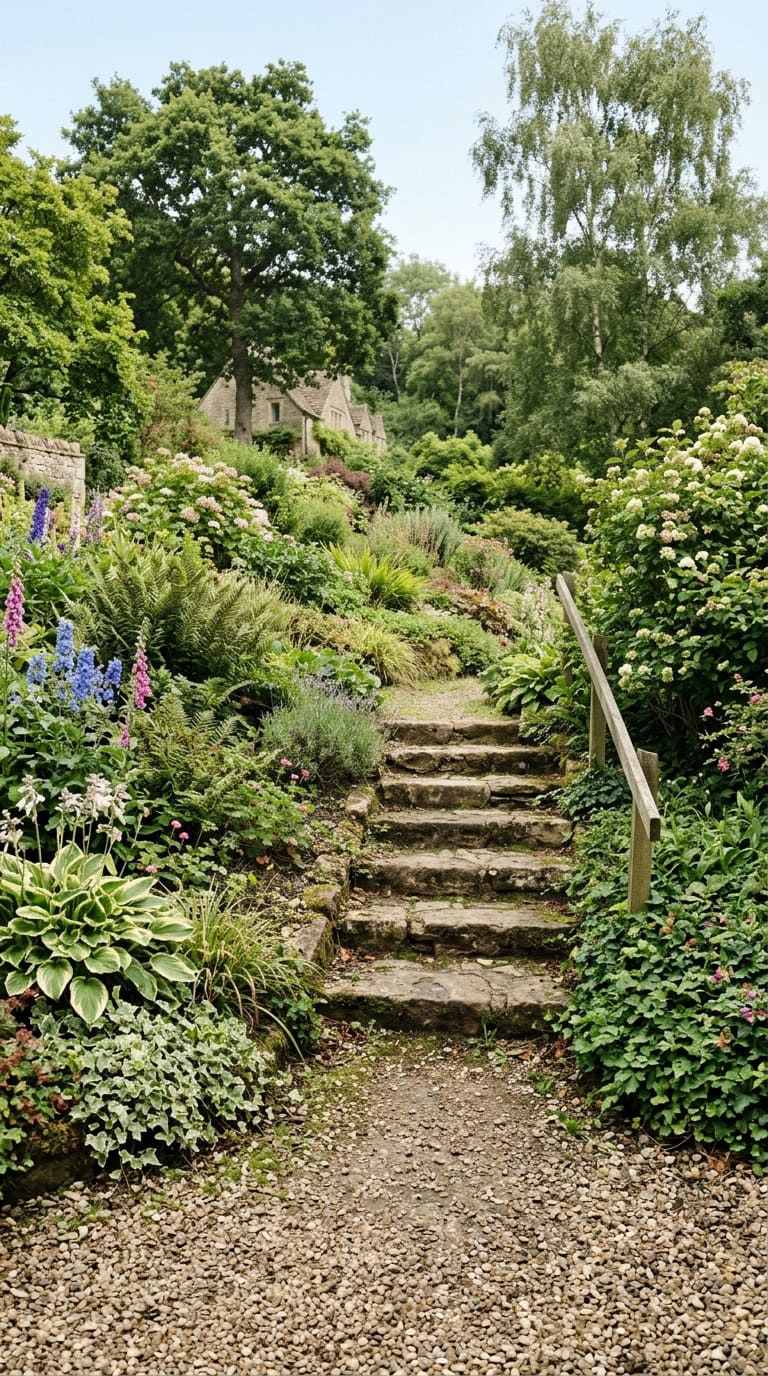
For any walkway with more than about a 10% grade change, steps beat a straight slope, both for footing safety and for stopping erosion from water running straight down an uninterrupted path.
Each step slab needs its own compacted gravel footing (treat it like a mini-walkway segment) and should have a slight backward pitch, roughly 1/4 inch per foot, so water sheds off the front rather than pooling and refreezing on the tread.
Budget tier: $200-400 per step installed if hiring a hardscape contractor, given the excavation and leveling work involved.
6. Rocky Path
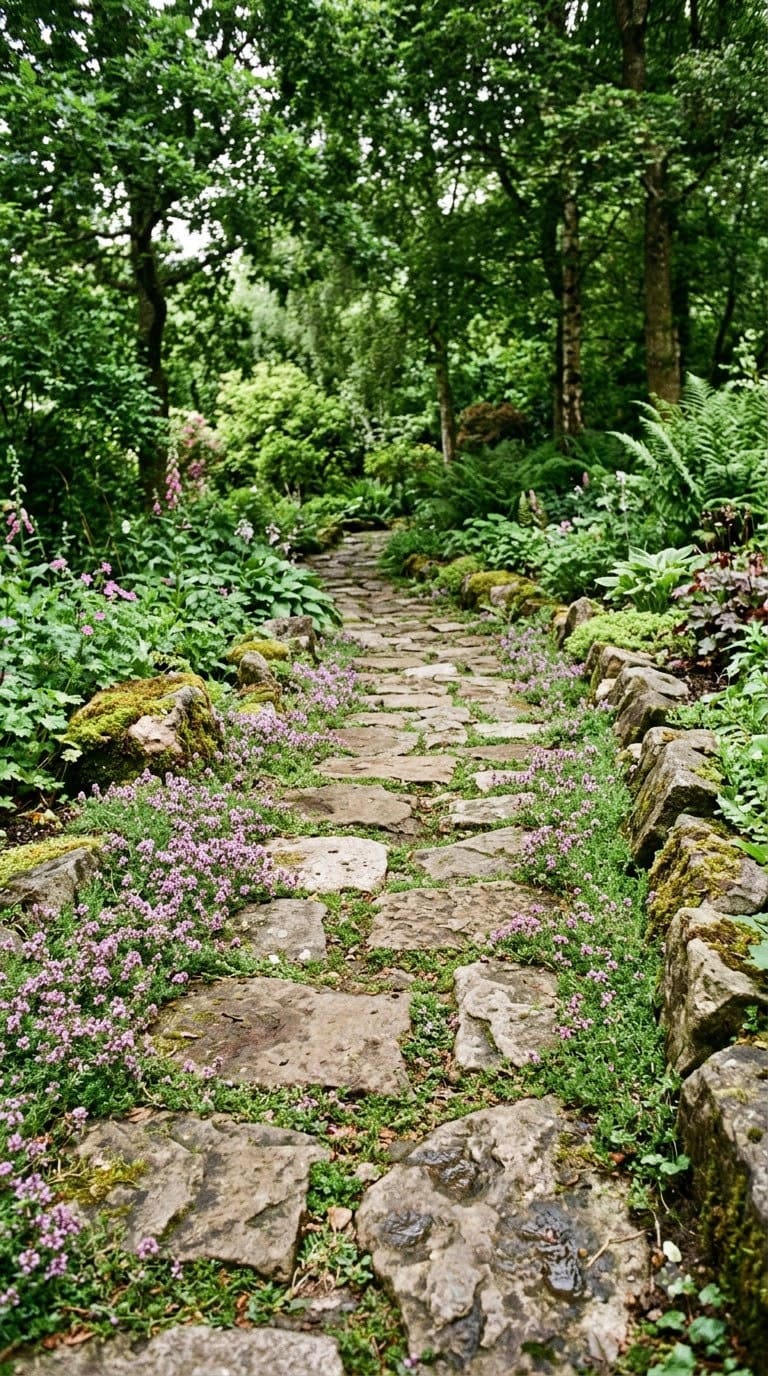
This is the loosest, most naturalistic option: irregular fieldstones of varying size set with wide, informal joints and low-growing groundcover (creeping thyme, Irish moss) filling the gaps. It reads well in a cottage or woodland-style yard but is genuinely harder to keep level than uniform pavers, since every stone is a different thickness.
Still needs the compacted gravel base underneath each stone, just accept that a rocky path takes longer to set correctly than a uniform-paver path of the same length. Cost tier: $10-18 per square foot, depending on stone sourcing.
7. Classic Stone Walkway
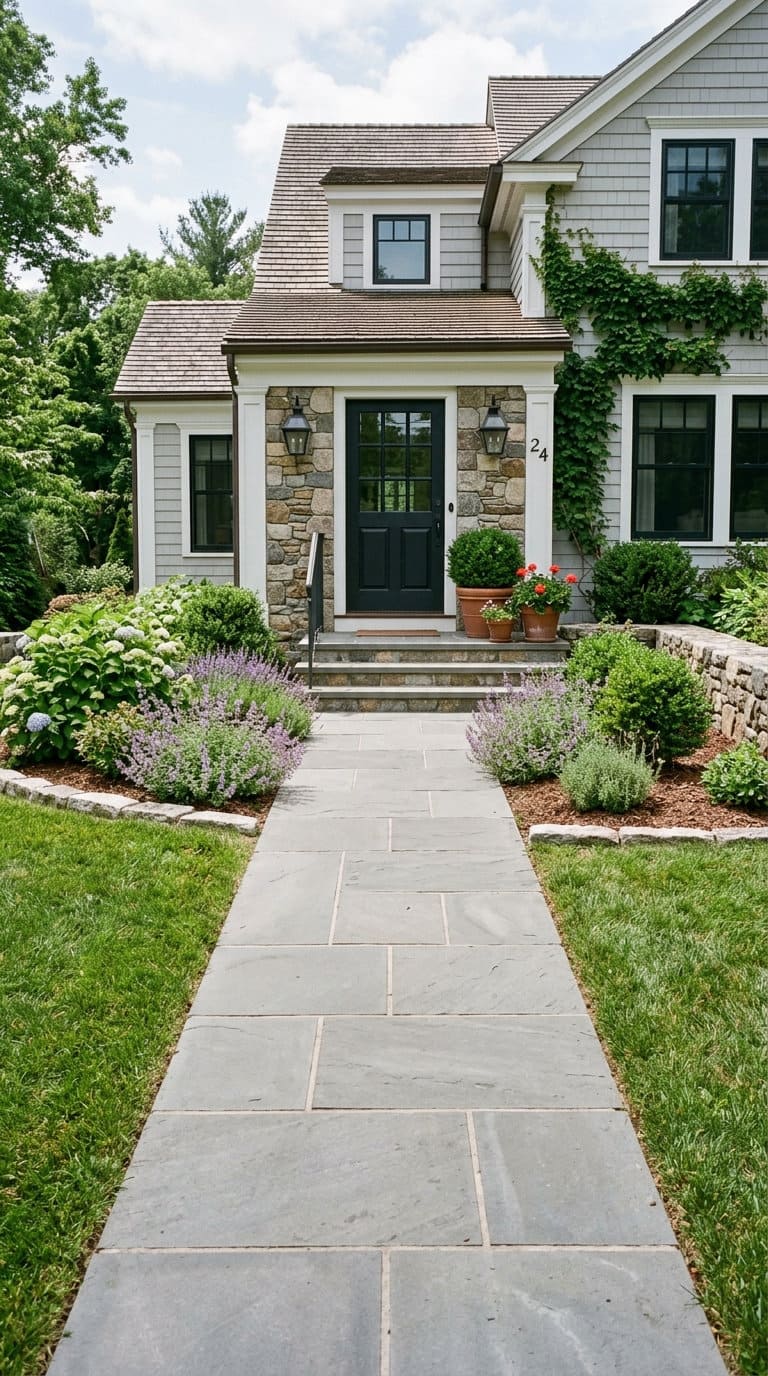
Uniform-cut stone (often bluestone or granite, cut to consistent rectangular modules) is the safest “will this still look good in 10 years” choice for a front-entry walkway, since the clean lines read as intentional rather than rustic.
Standard 4-6 inch gravel base, 1-2 inch sand bed, and mortared or polymeric-sand joints depending on whether you want a formal (mortared) or slightly more forgiving (polymeric sand) finish. Cost tier: $22-28 per square foot installed.
8. Mixed Stone Walkway
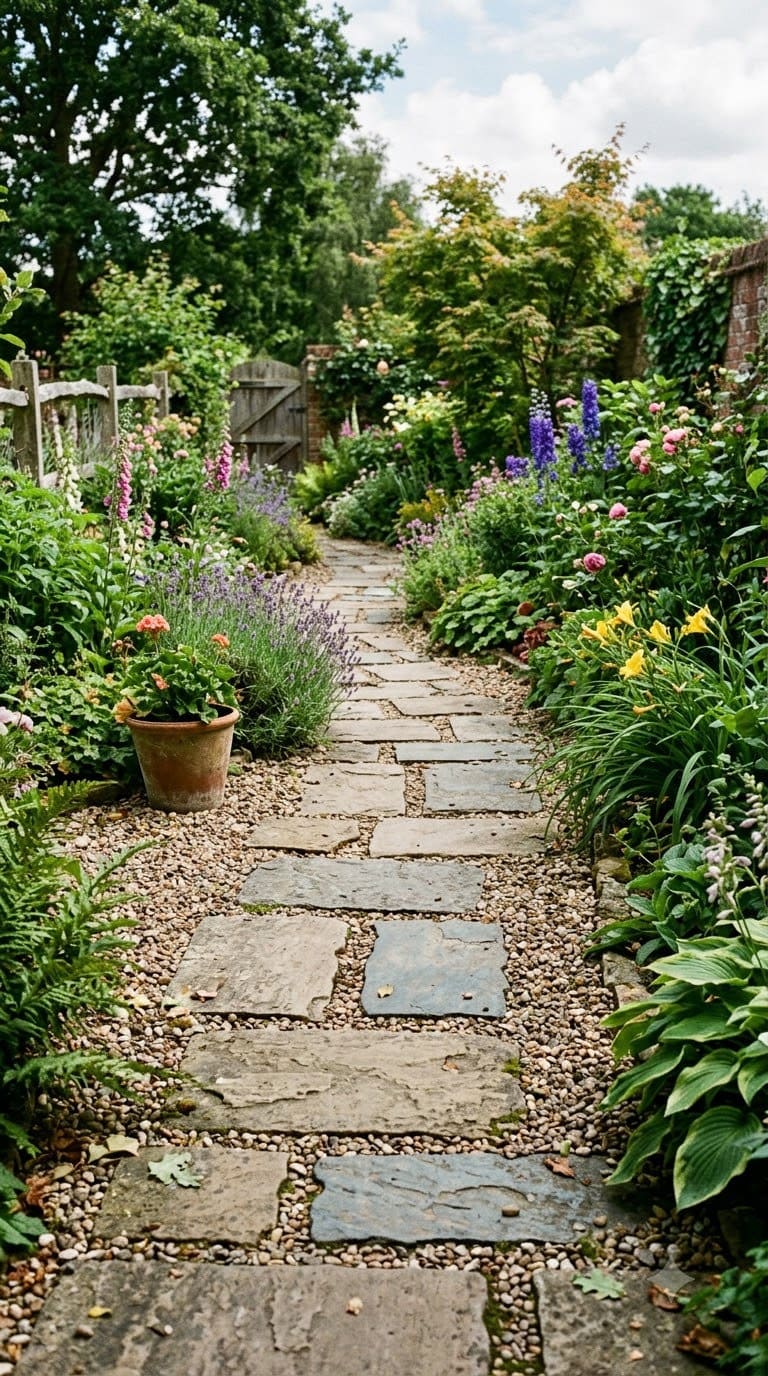
If you’ve got leftover stone from another project, or you just like the look of varied shapes and colors working together, a mixed stone path lets you make those calls yourself rather than following a uniform pattern. Combine different sizes and tones, keep the overall joint spacing and base consistent even though the individual stones aren’t, and let the irregularity read as intentional rather than mismatched.
This is one of the more forgiving ideas here if you’re using reclaimed or leftover material, and honestly, some of the best-looking versions of this I’ve seen were built entirely from stone somebody already had sitting around the yard.
Budget is genuinely flexible, from nearly free if you’re using material you already own, to moderate if you’re buying a curated mix.
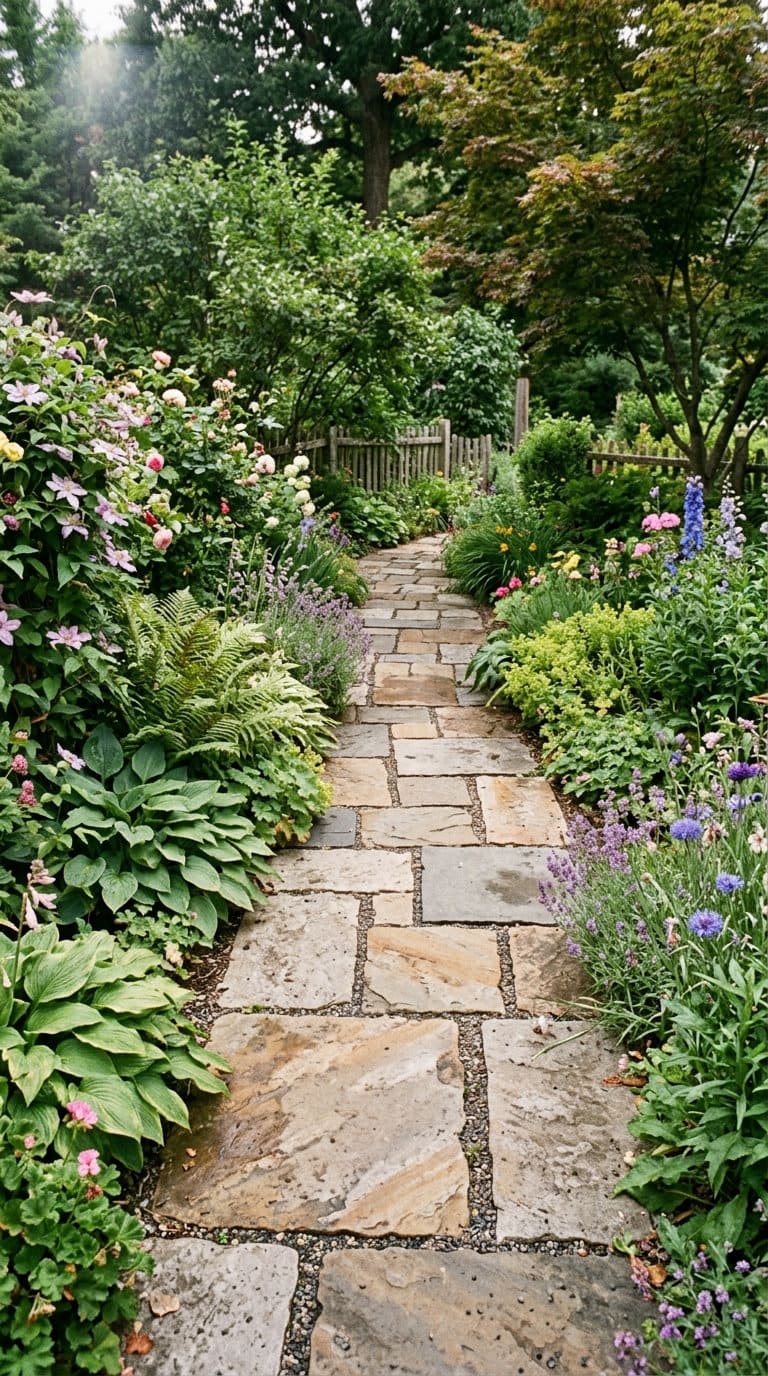
Combine a primary stone (flagstone or bluestone) with a secondary filler material (pea gravel or crushed granite) in the joints instead of mortar or sand alone. It cuts material cost versus an all-flagstone path since you’re buying less dressed stone per square foot, and the gravel joints improve drainage.
The tradeoff: gravel joints need occasional top-off and won’t stay perfectly weed-free without a pre-emergent or landscape fabric under the joint gravel specifically. Cost tier: $15-22 per square foot, a genuine middle ground between full flagstone and full gravel.
9. Paver Walkway
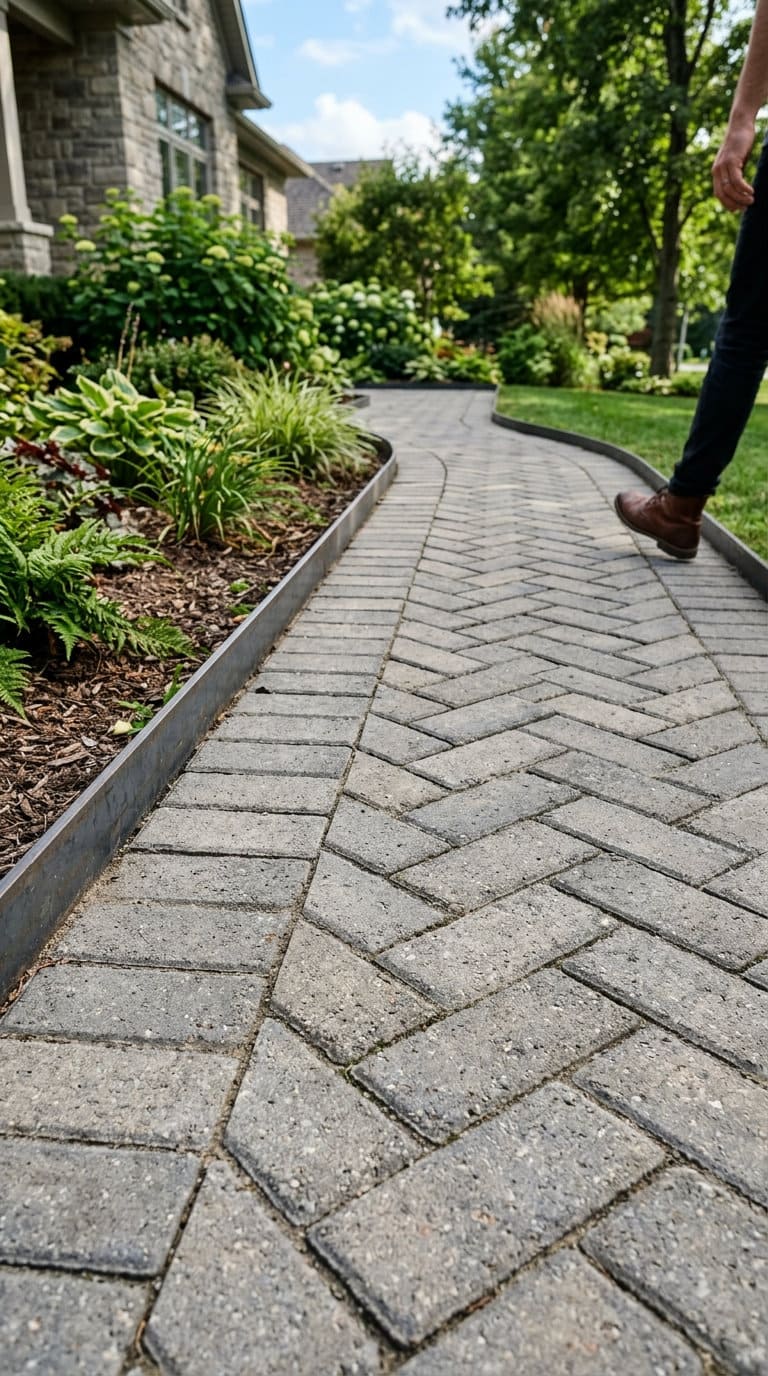
Concrete interlocking pavers are the most standardized option here, manufactured to a consistent thickness, which makes the base-and-sand-bed math straightforward compared to irregular natural stone. ICPI’s spec for pedestrian applications recommends pavers around 2-3/8 inches thick, set on that same 1-inch bedding sand over compacted aggregate.
Edge restraints are non-negotiable with pavers specifically, since the interlocking pattern only works structurally if the outer row can’t creep outward. Cost tier: $12-22 per square foot.
10. Gravel Path Over a Proper Base
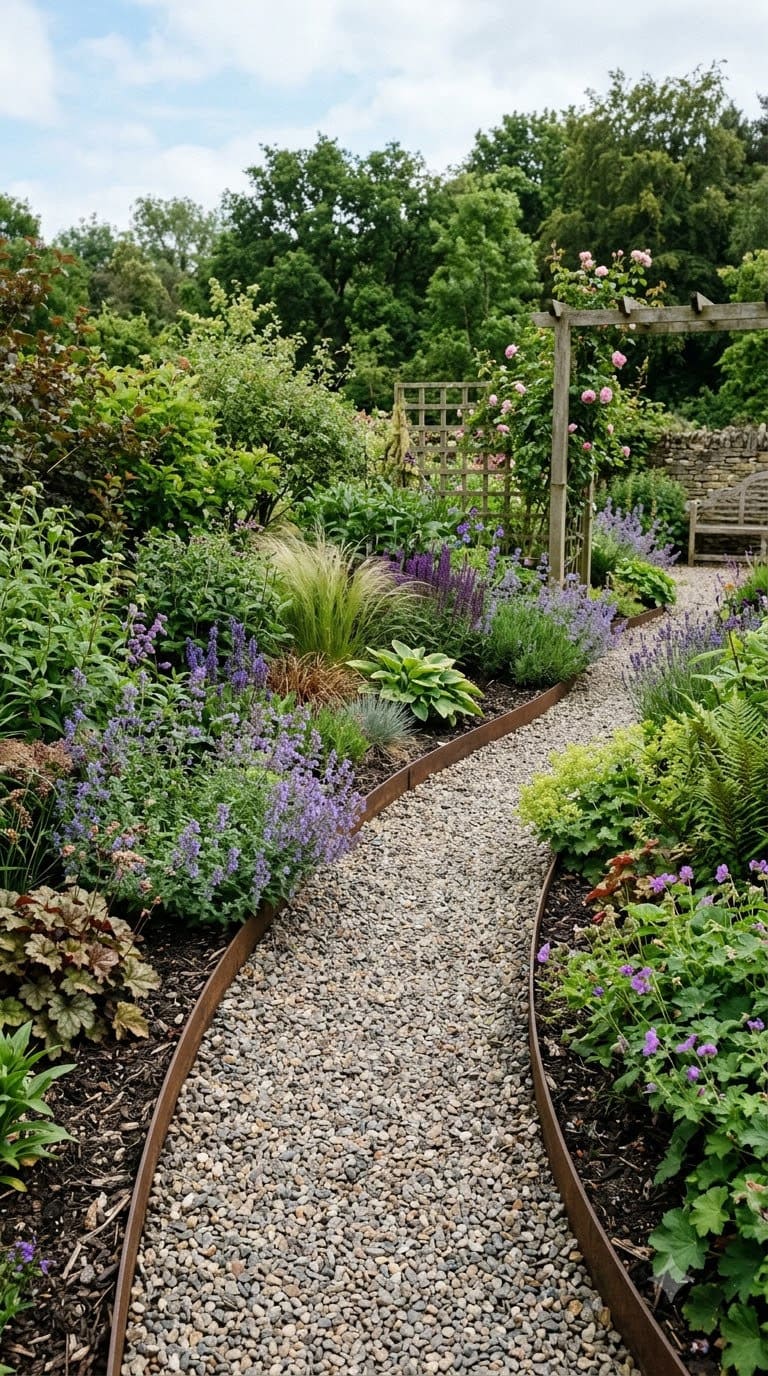
Loose gravel (crushed granite or pea gravel) is the cheapest true walkway material, but “proper base” is doing a lot of work in that heading. Skip landscape fabric under the gravel and within a season or two, soil migrates up and gravel migrates down, and you end up with a muddy, weedy strip instead of a clean path.
Steel or aluminum edging keeps gravel from migrating into adjacent beds or lawn. Budget tier: $3-8 per square foot, the cheapest real option on this list, but plan to rake and top off every 1-2 years.
11. Brick Walkway
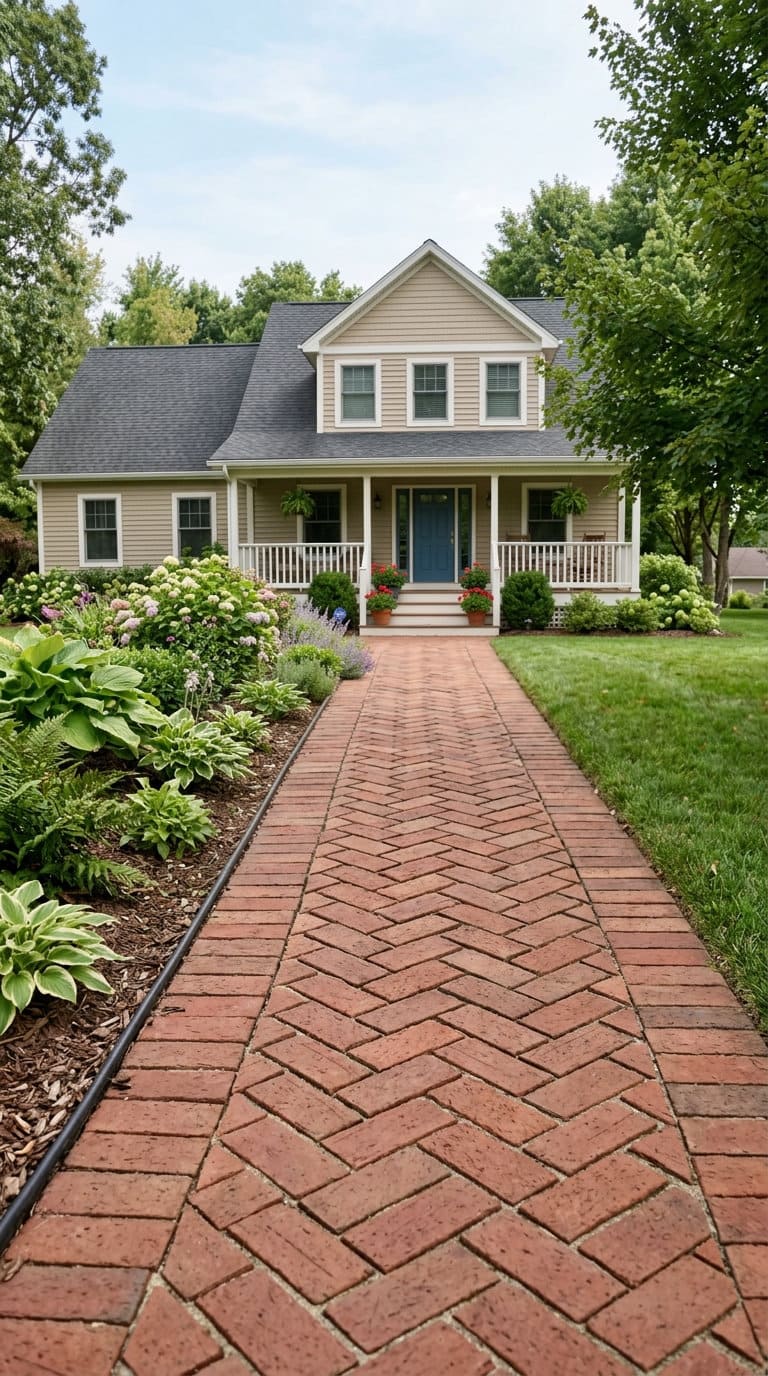
Brick reads as classic for a reason, it fits almost any house style and it’s a genuinely durable, well-understood material. The install logic is the same brick-edging approach used for garden borders: dig a trench deep enough for a sand or gravel base plus the brick thickness, and keep drainage in mind so water isn’t pooling under the bricks over winter.
If you’re pairing a brick walkway with brick edging elsewhere in the yard, it’s worth reading up on the edging installation specifics too, since the base-prep principles carry over directly.
Budget sits in the moderate range, brick costs more than gravel but less than natural stone, and it’s a project a confident DIYer can tackle over a weekend or two.
12. Pallet Wood Walkway
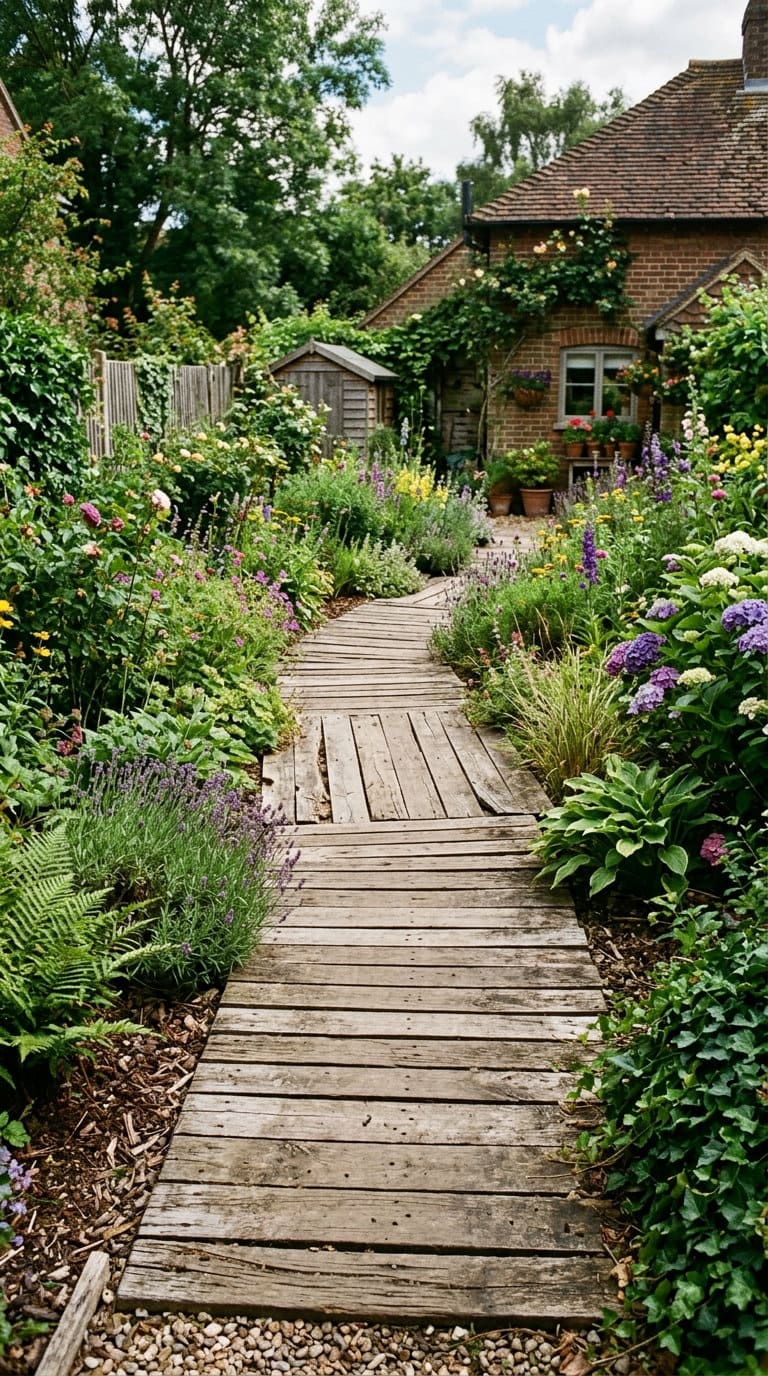
Reclaimed pallet wood, cut into short sections and laid as a boardwalk-style path, is the cheapest DIY option on this list if you can source pallets free or nearly free. Elevate the wood slightly off grade on gravel or brick “feet” so it’s not sitting in standing water, which is what rots pallet wood fastest.
Expect a 2-4 year lifespan untreated, longer with a proper exterior wood sealant reapplied yearly. Budget tier: $5-10 per square foot including hardware, mostly labor.
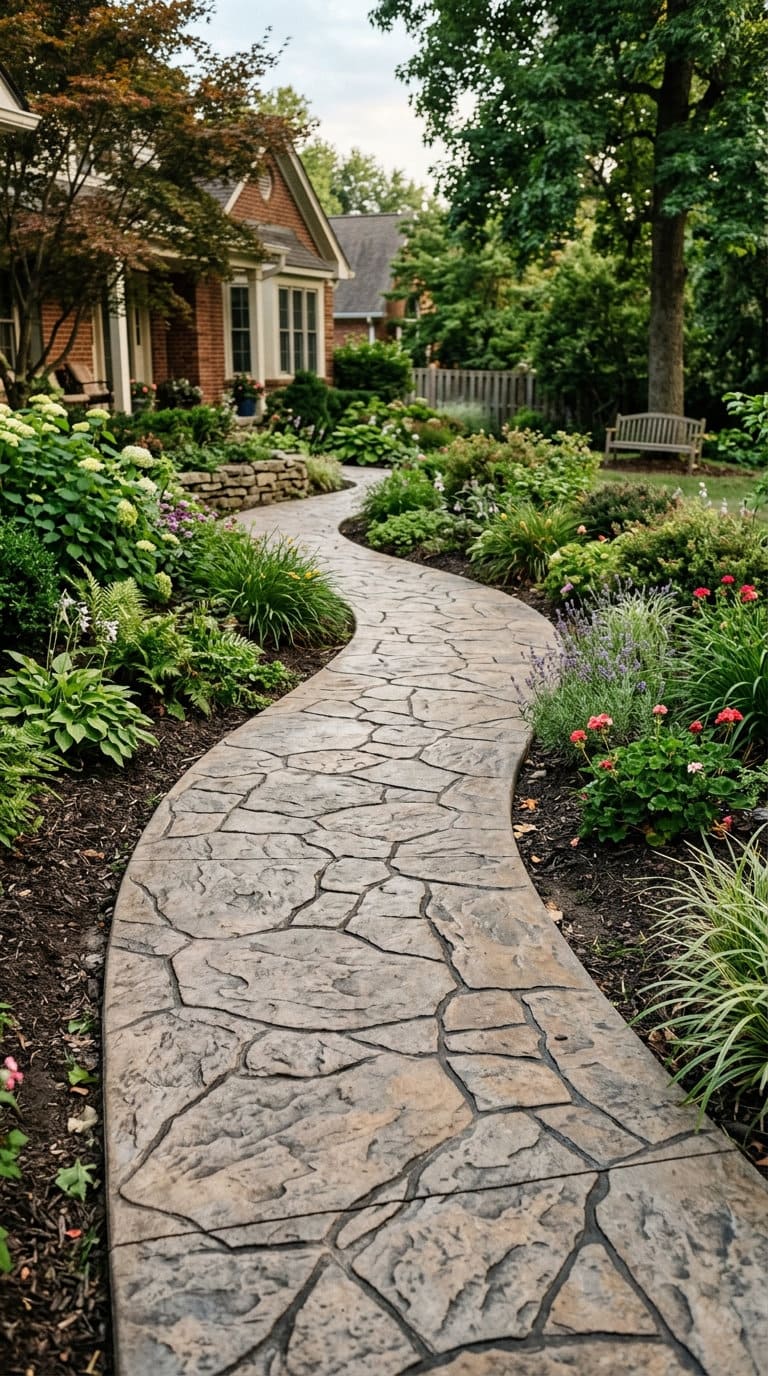
13. Stamped Concrete Walkway
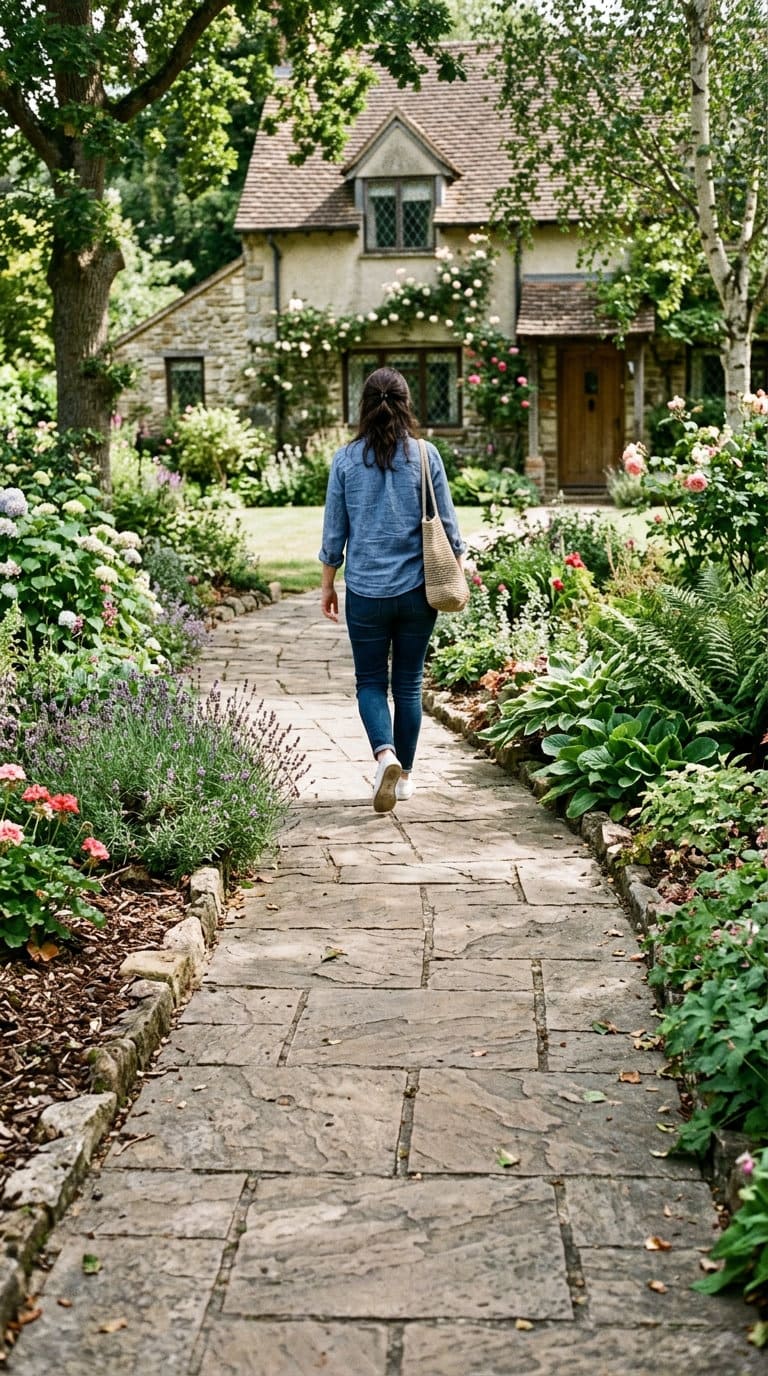
Worth being upfront about this one: stamped concrete isn’t real stone, it’s poured concrete textured and colored to look like stone, brick, or slate. That’s not a knock, it’s a legitimate, durable option that costs less than natural stone while giving you a lot of pattern and color flexibility, but it’s worth knowing exactly what you’re buying before a contractor quotes it.
Because it’s a single poured surface rather than individual units, the sinking problem above is less of a risk here, if the base under the slab is prepped correctly. That “if” still matters, a poured slab over an unprepared or poorly drained subgrade can crack.
Budget is moderate, generally less than natural stone, more than a basic gravel or stepping-stone path, and this one really does need a professional concrete contractor rather than a DIY weekend.
14. Bark Mulch or Wood Chip Path
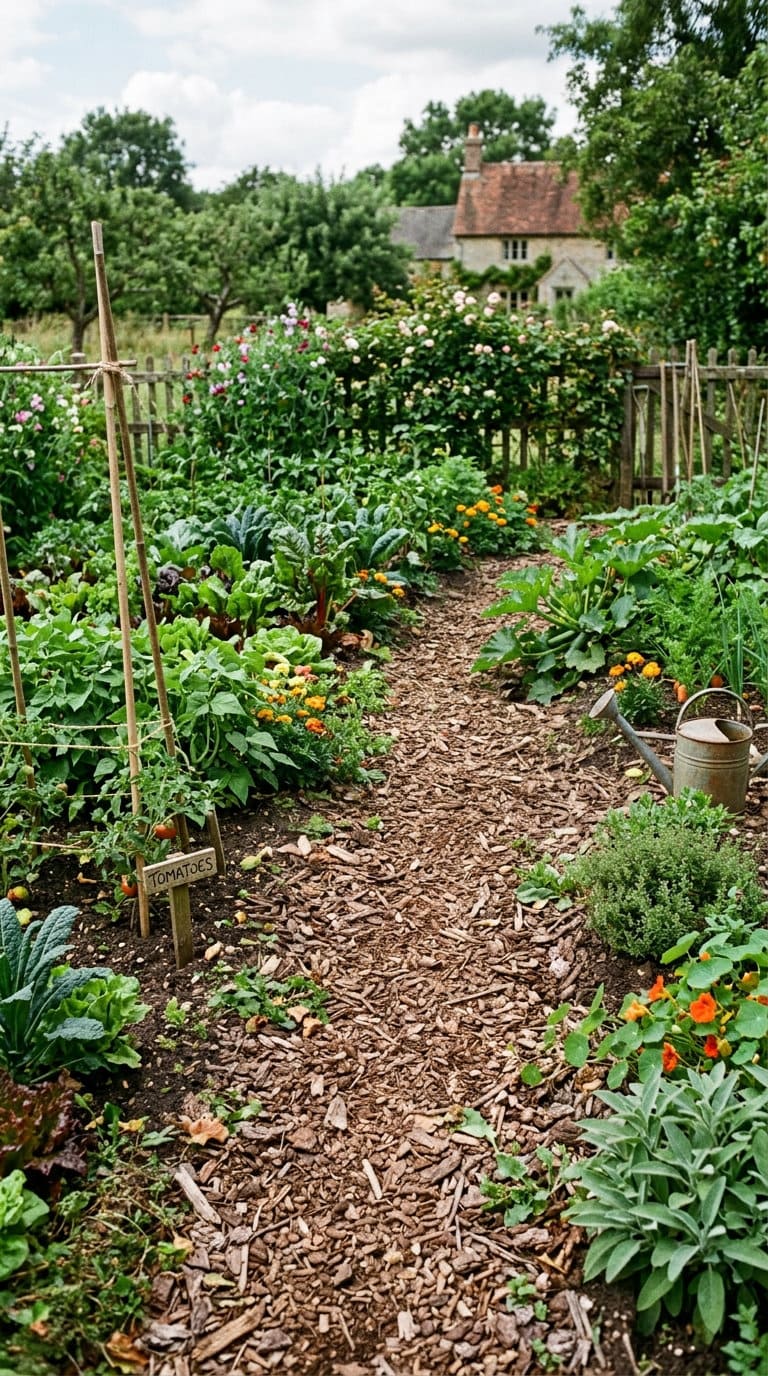
The cheapest, lowest-commitment idea on this list, and the most honest about not being permanent. A bark mulch path works well for a vegetable garden, a temporary route while you’re still deciding on something bigger, or anywhere you want a soft, quiet walking surface fast.
The tradeoff is upkeep, mulch breaks down, compacts, and needs topping off every year or two, it’s not a “set it and forget it” surface the way stone is. That’s a fair trade if your budget or timeline just doesn’t support a hardscape project right now.
Budget is the lowest on this entire list, and it’s the easiest to change your mind about later since there’s no base investment to walk away from.
15. Wood Slice Walkway
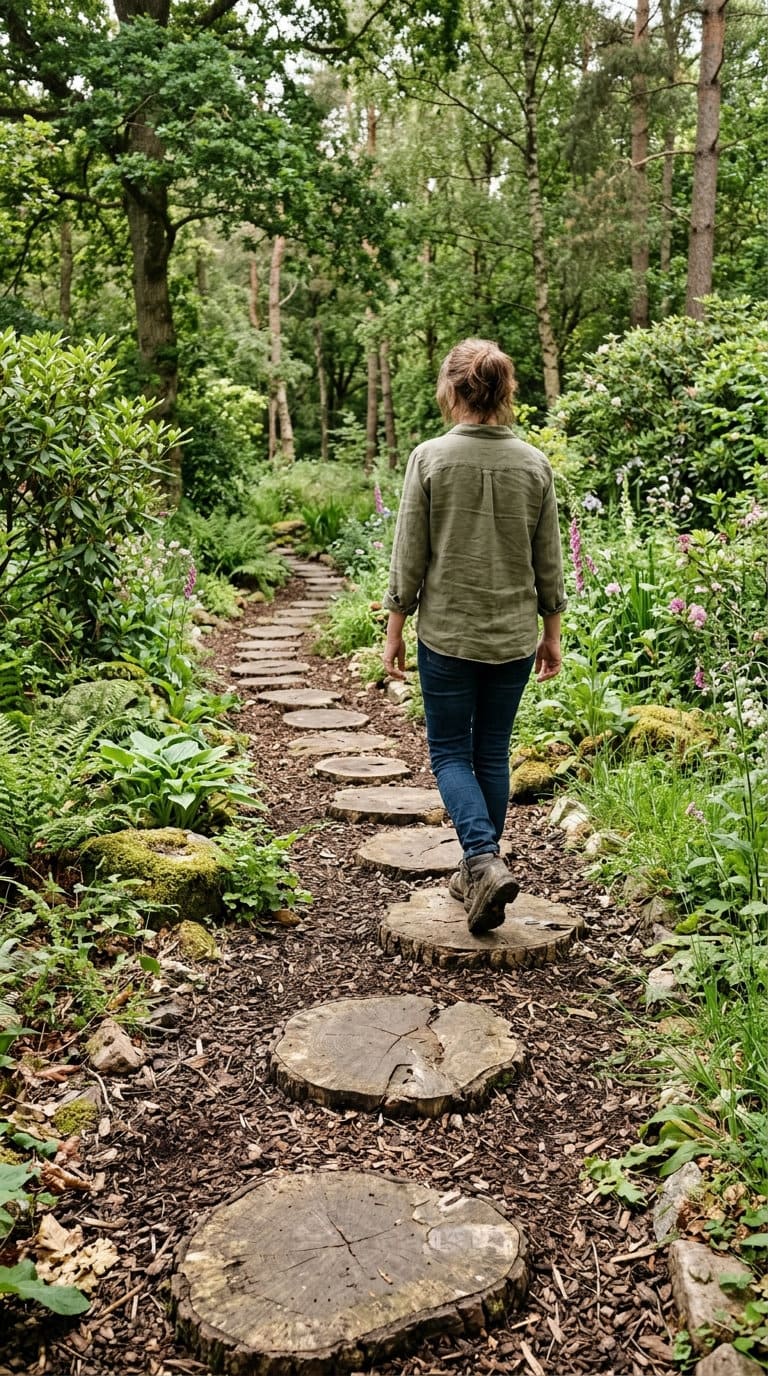
Cross-cut rounds from a felled tree trunk, set as stepping “stones” through mulch or gravel, read rustic in a way manufactured pavers can’t fake. Real weakness: untreated wood rounds rot from the bottom up within 2-3 years in contact with damp soil, even faster in a shaded yard.
Seal all cut faces (not just the top) with an exterior wood preservative before installing, and set each round on a small gravel pad rather than bare dirt so water drains away instead of pooling underneath. Budget tier: $0-5 per square foot if you’re milling your own rounds.
16. Mosaic Pebble
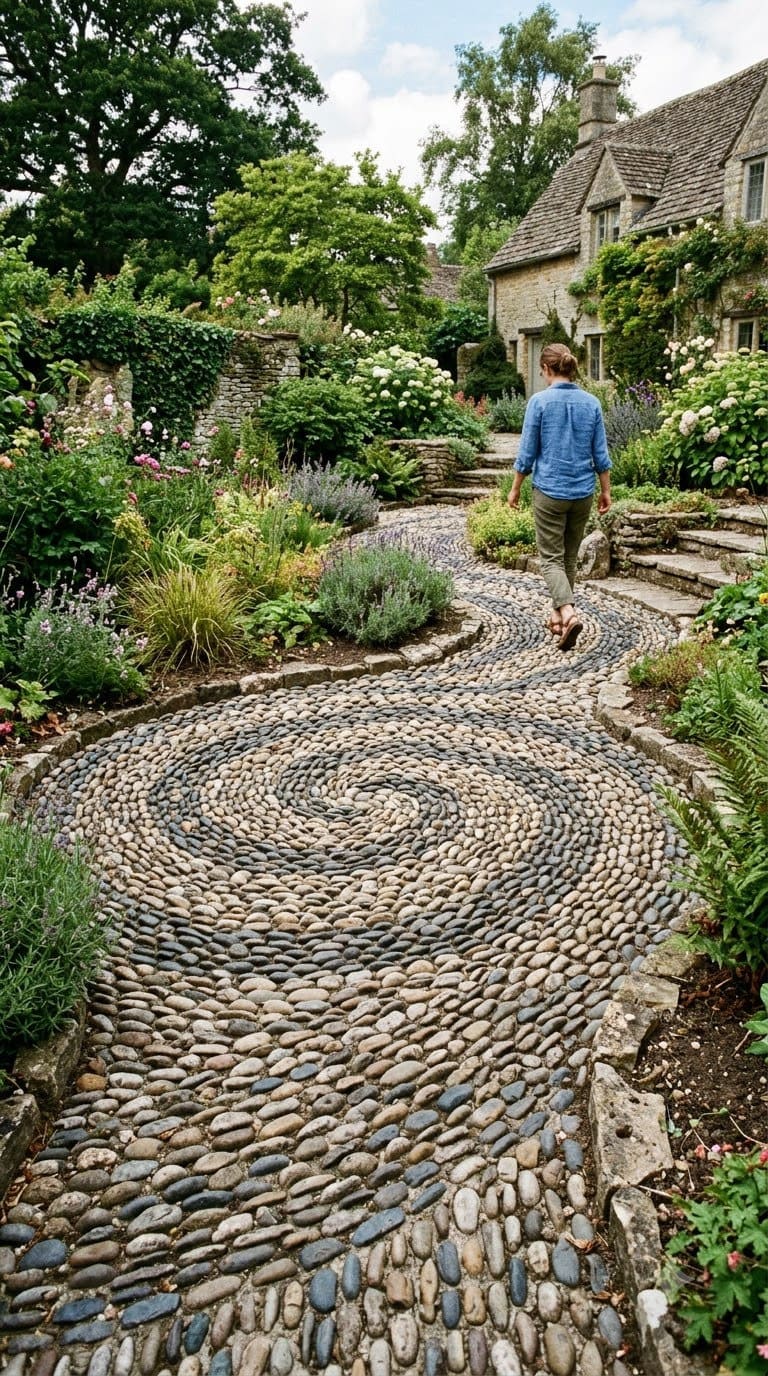
Hand-set river pebbles arranged in a pattern (fans, spirals, or a repeating motif) is the most labor-intensive, highest-skill option here, and it shows in the price: this is a premium, hire-a-specialist tier project in most markets, since setting hundreds of individual pebbles into a mortar bed by hand takes real time.
It’s also the most durable decorative option, a well-set mosaic can outlast the house. Cost tier: $30-50+ per square foot for a professionally set mosaic, well above every other material on this list.
17. Bamboo Walkway
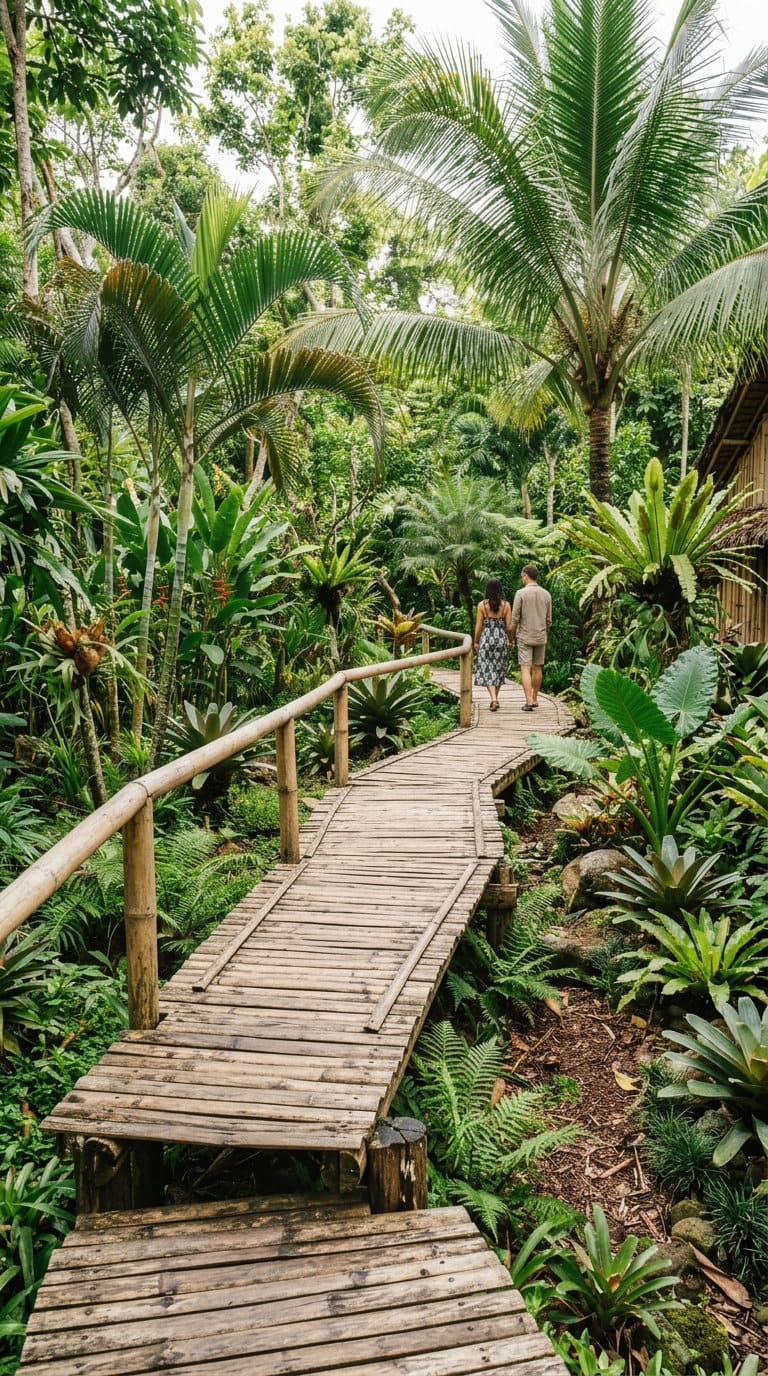
Bamboo decking (not raw bamboo poles, which don’t hold up outdoors) set as a raised boardwalk-style path works well in a tropical or Asian-garden-style yard. It needs the same rot-avoidance logic as the pallet and wood-slice options: raised slightly off grade, sealed, and inspected yearly for soft spots.
Bamboo decking runs a bit pricier than reclaimed wood since it’s a manufactured product, not scrap. Cost tier: $10-18 per square foot.
18. Tumbled Glass Walkway
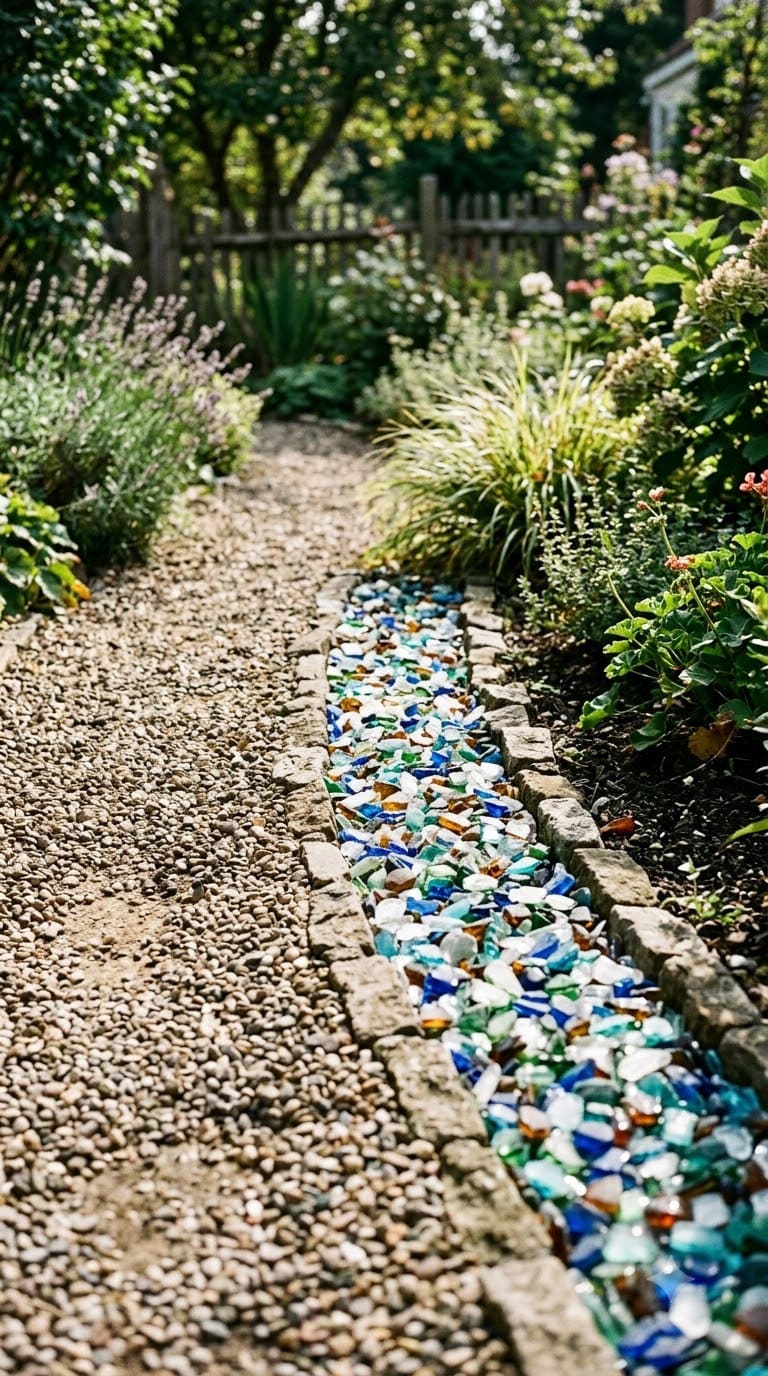
Tumbled recycled glass (smooth, rounded, no sharp edges once properly tumbled) used as a decorative topping over a gravel base gives you color and light-catching sparkle that no natural stone provides. It’s genuinely a topping material, not a structural one, so it still sits over the same compacted gravel base as pea gravel would, just at a higher material cost.
Best used as an accent strip or border rather than the entire walkway surface, given the cost. Cost tier: $15-30 per square foot depending on glass color and sourcing.
19. Thyme
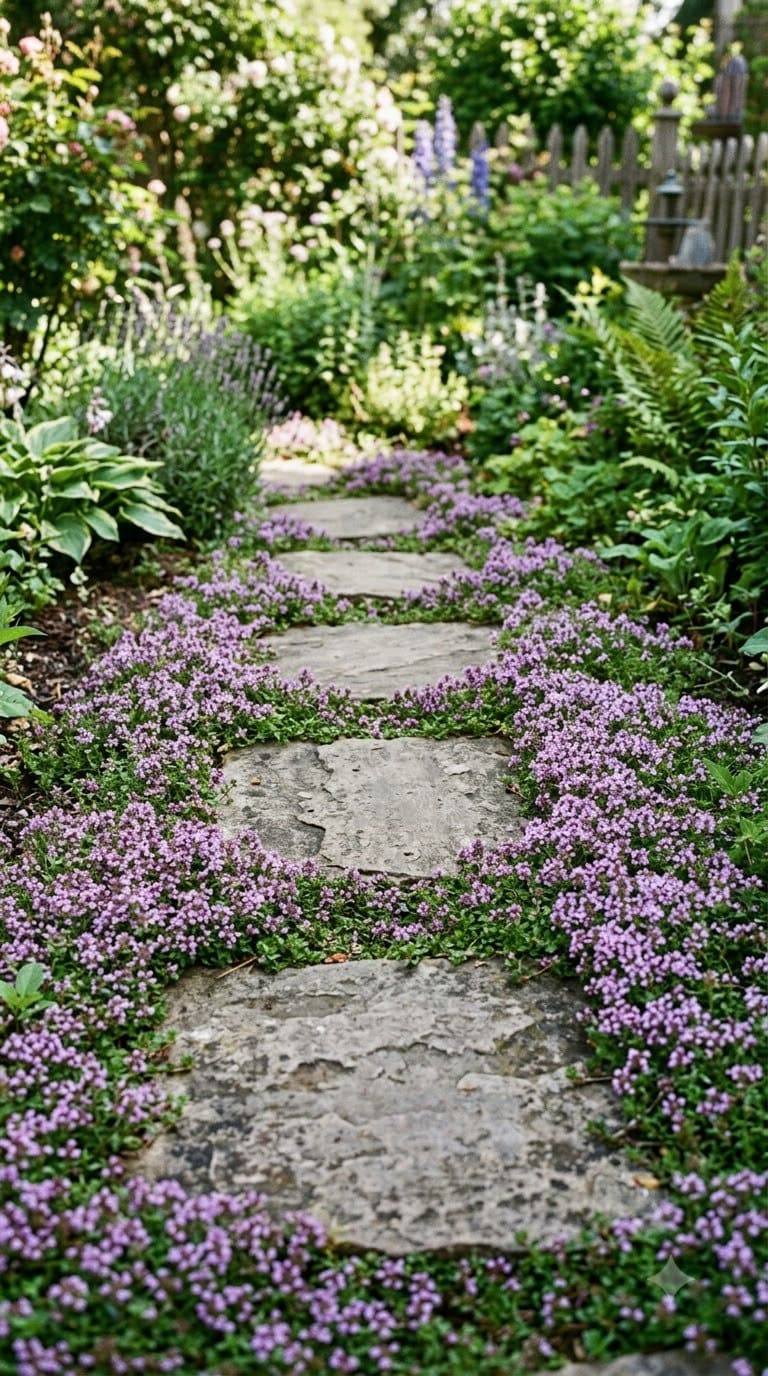
Creeping thyme planted in the joints between stepping stones (see #2 and #6) releases scent when stepped on and tolerates foot traffic better than most groundcovers. It’s not a standalone walkway material, it’s the living joint-filler that upgrades a plain stepping-stone path.
Needs full sun and well-drained soil to establish, and won’t survive being walked on daily until it’s had a full season to root in. Budget tier: $5-10 per plug, spaced every 8-12 inches along joint lines.
20. Stenciled Concrete Walkway
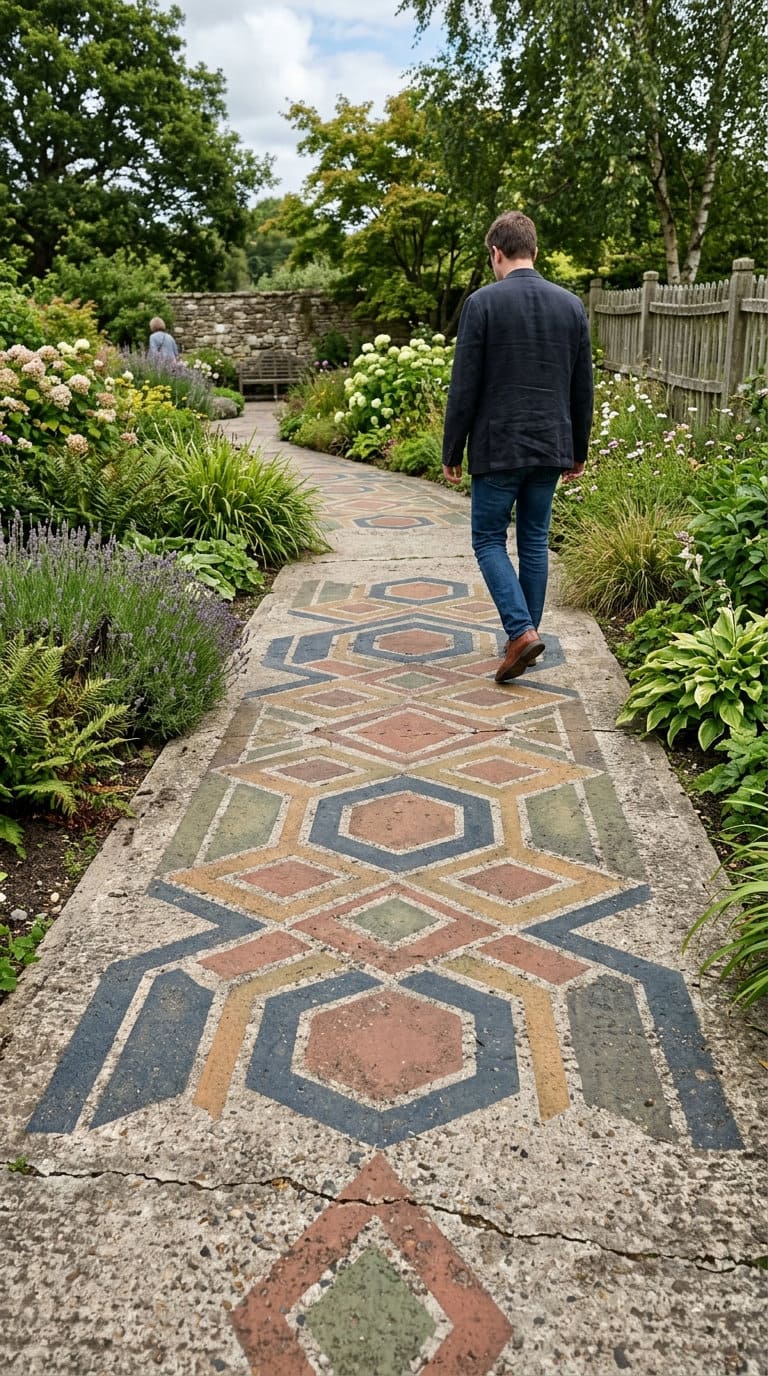
A poured concrete slab with a decorative pattern stenciled and stained into the surface before it fully cures, cheaper than stamped concrete since it skips the physical stamp mats, but the pattern reads flatter, more like a painted design than a textured one.
Same sub-base requirement as any poured slab: compacted gravel underneath, control joints cut in to manage cracking as the concrete cures and shifts seasonally. Cost tier: $8-14 per square foot.
21. Flagstone Walkway Set the Right Way
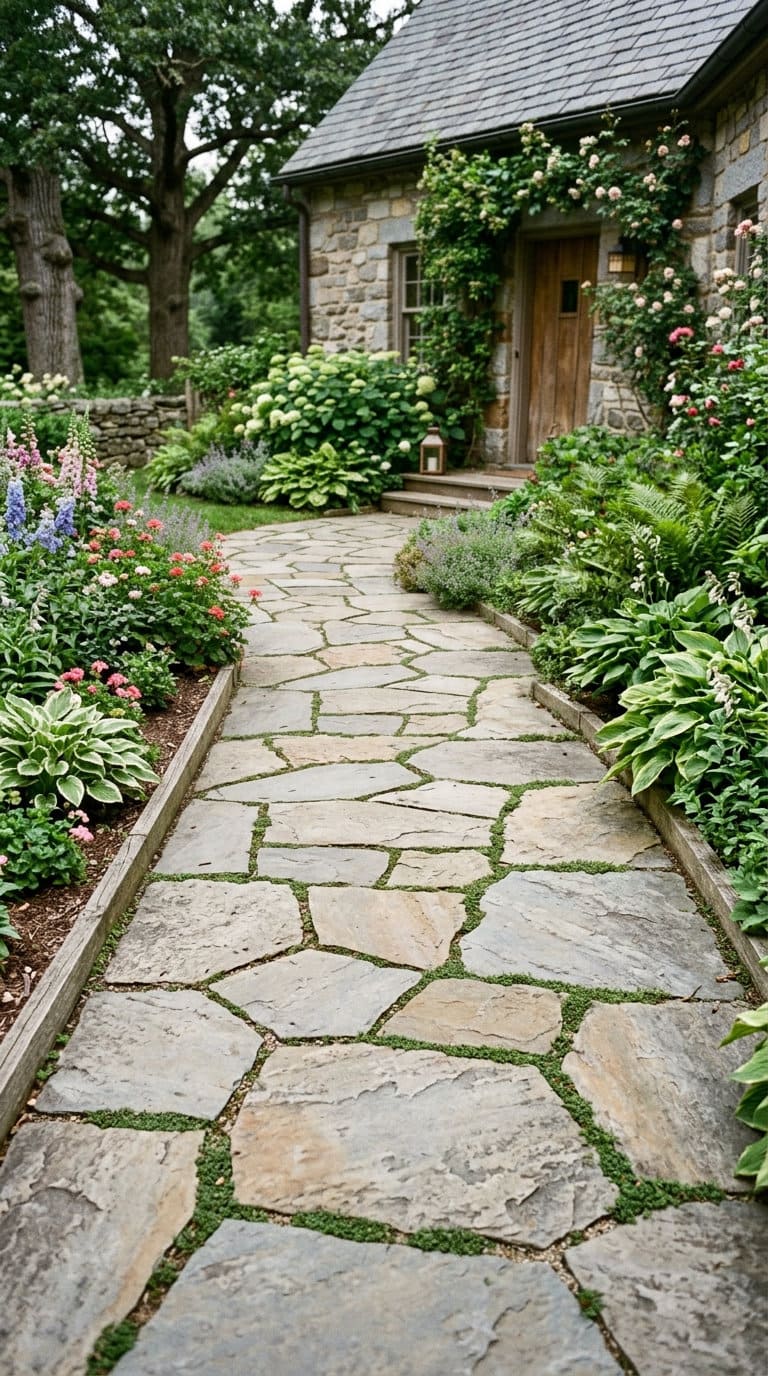
This is the idea directly answering the Reddit example above, the one where the builder skipped the substrate. Flagstone specifically tempts people to skip base prep because the stones are big, heavy, and feel stable on their own. They aren’t, not long-term.
Excavate deep enough for stone thickness plus a sand layer plus a compacted gravel base, roughly 6 to 9 inches total depending on your soil and climate, colder regions with real freeze-thaw cycles need the deeper end of that range to resist frost heave.
Lay the flagstones with consistent joint spacing, and fill the joints with polymeric sand or a low, tough groundcover like creeping thyme rather than leaving bare gaps that just invite weeds.
Budget is medium to high, this is a bigger investment than a stepping-stone path, and it’s worth hiring a pro if your yard has real drainage issues or a noticeable slope.
22. Accessible Walkway for Aging-in-Place
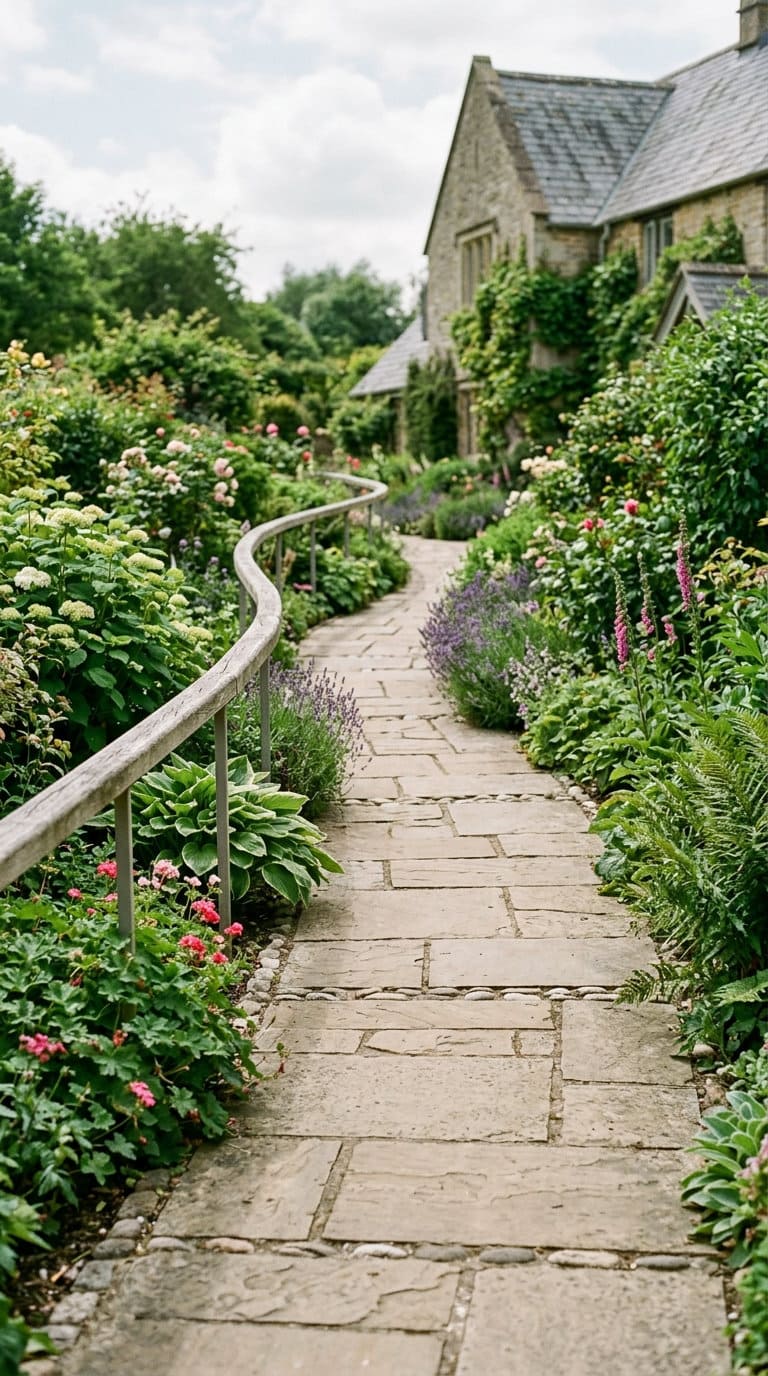
This is the idea missing from pretty much every stone walkway article I found researching this piece, and it matters more than a purely decorative idea for anyone planning to stay in their home long-term or with an aging parent visiting regularly. The U.S. Access Board‘s ADA guidelines specify a running slope of no more than 5 percent, a cross slope of 2 percent or less, and a minimum clear width of 36 inches for an accessible route, with any vertical surface change kept under a quarter inch unless it’s beveled.
You don’t need a wheelchair in the house to benefit from building to these numbers. A path that meets them is also just easier on anyone pushing a stroller, carrying groceries, or recovering from a knee surgery.
Budget runs moderate to high, mainly because a gentle enough slope over a real elevation change sometimes means more material and more grading than a steeper, narrower path would.
23. Pea Gravel and Stepping Stone Combo
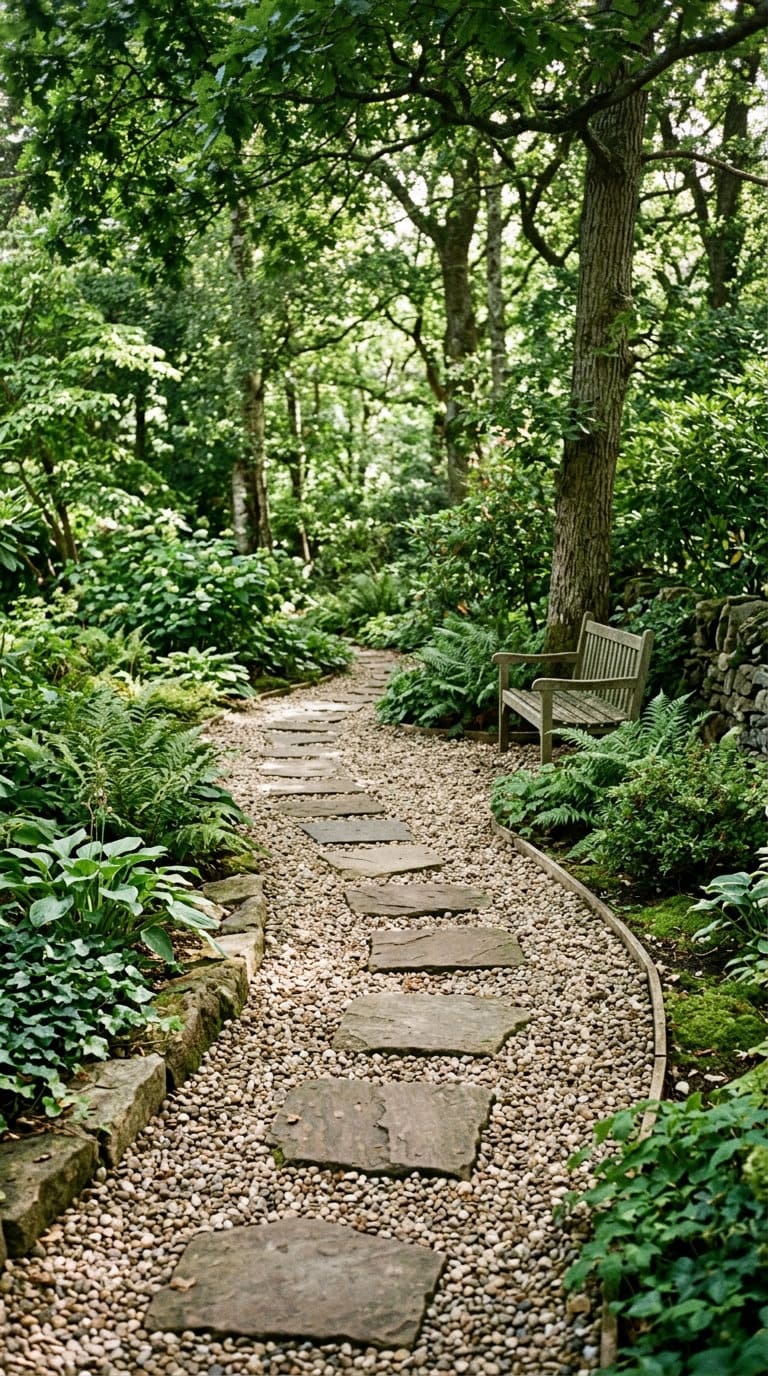
Pairing pea gravel with stepping stones gets you the walkability of stone with the soft, informal look of gravel filling the gaps. It also drains noticeably better than a solid paved surface, which matters under mature trees where roots and shade keep the ground damp.
Same base rule applies here, don’t just scatter pea gravel over bare dirt, it’ll compact unevenly and migrate everywhere. A shallow excavated bed with a fabric liner keeps both the stones and the gravel where you put them.
Budget is low to moderate, and it’s genuinely one of the more forgiving combos to adjust later if you don’t love the first layout.
24. Curved or Zigzag Layout for a Small Yard
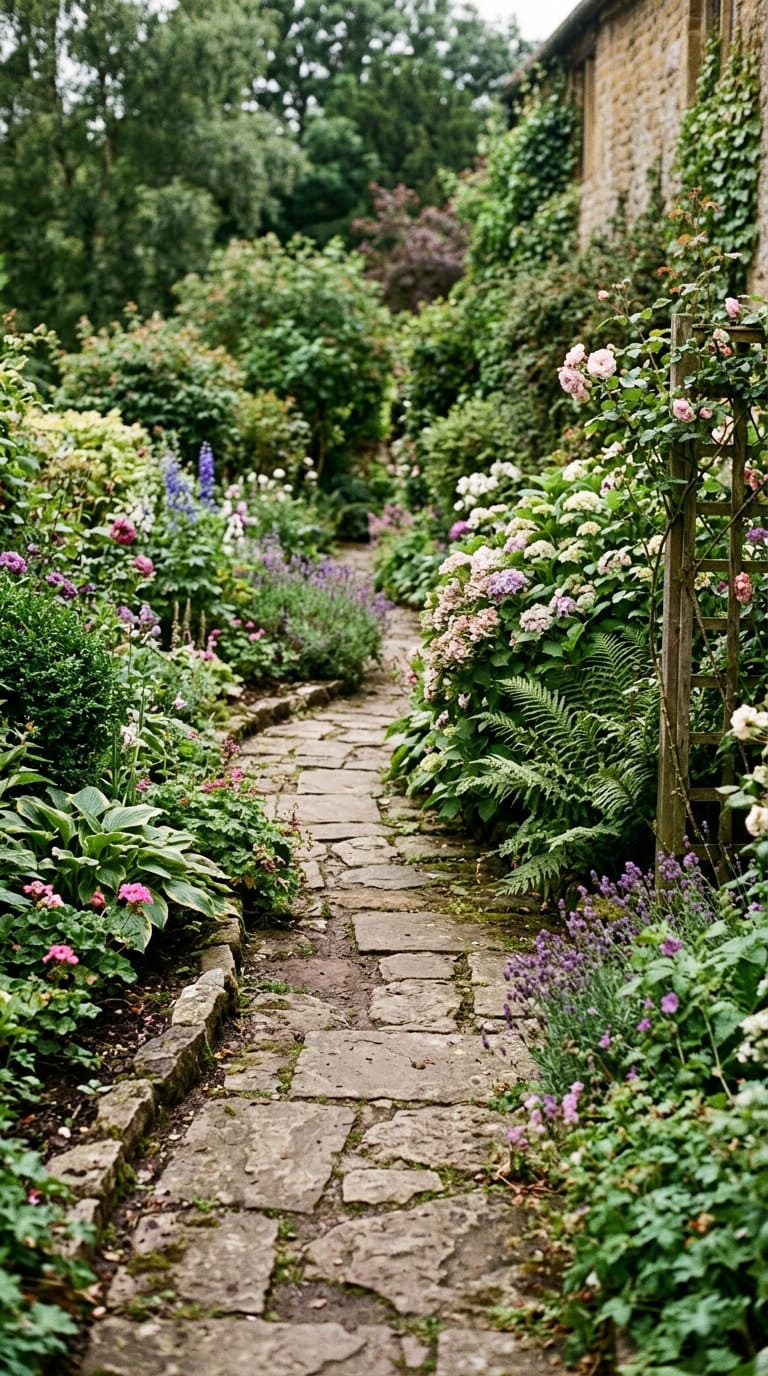
This one isn’t about material at all, it’s about layout, and it’s one of the more common suggestions I found across professional garden-design sources: a curved or gently zigzagging path makes a small yard feel bigger than a straight line does, because it hides the full length of the path from any single viewpoint and slows the eye down.
You can apply this layout decision to almost any material above, stepping stones, gravel, flagstone, it’s a design choice layered on top of whichever surface you pick, not a separate material category.
Budget impact is minimal, a curved path doesn’t inherently cost more than a straight one of the same length, it’s mostly a planning decision made before you excavate.
Bonus: 2 DIY Techniques to Make Your Own Stepping Stones
These two aren’t separate walkway styles, they’re both ways to cast your own stepping stones instead of buying manufactured ones, which is why they sit outside the main 24-idea count above.
Heart Stepping Stones
Cast concrete or quikrete into a heart-shaped mold (silicone cake molds work fine for smaller stones) for a personal touch along a garden path, common for a kids’ garden or a memorial planting. Reinforce with a layer of wire mesh partway through the pour for stones larger than about 12 inches across, plain concrete that thin cracks under foot traffic within a season or two without it.
DIY Custom Stepping Stones
Mix your own concrete stepping stones using found molds (old tires, salad bowls, wood forms) and press in decorative elements (mosaic tile, glass beads, handprints) before the concrete sets. Seal with a concrete sealer once fully cured (about 28 days) to protect the decorative inlay from weathering and foot-traffic wear.
What Actually Happens When You Skip the Base
I’ve dug a lot more walkway trenches than I expected to when I first got into this. And every single time I’ve been tempted to skip a step, dig a little shallower than the plan called for, skip the fabric because the roll was in the garage and it was hot out, it’s bitten me later.
Nobody tells you this part until you’ve done it wrong once: dig deeper than feels necessary. Every time.
If the spec says 9 inches and your shoulders are already tired at 7, keep going. That extra 2 inches is the difference between a walkway that’s still flat in three years and one you’re re-leveling.
The other failure mode I see constantly, on Reddit threads, in neighbor’s yards, is someone laying stone directly on dirt because “it’s just a garden path, it doesn’t need to be a driveway.” It does need a base. Foot traffic alone, combined with normal seasonal soil movement, is enough to sink an unsupported stone within a year or two.
And the gravel-without-fabric mistake is sneaky because it looks fine at first. The path looks great for a season. Then soil starts working its way up between the gravel particles from below, and what was a clean gravel path turns into a weedy, muddy mess that’s genuinely harder to fix than it would have been to prevent.
Putting It Together
Pick your material first based on budget and how much traffic the path actually needs to handle, then build the base like it’s the expensive part, because structurally, it is. A $3-per-square-foot gravel path with a proper compacted base will outlast a $25-per-square-foot flagstone path that skipped it.
If you’re not sure which material fits your yard, start with the gravel path over a proper base or a stepping stone layout and upgrade later. Both are forgiving to redo in sections if you get the spacing wrong the first time, which flagstone and poured concrete are not.
For a front-entry specifically, the front walkway ideas collection has more curb-appeal-focused layouts. If your yard has any real grade change, check sloped backyard walkway ideas before you commit to a straight run. And if you want something with more personality than a straight path, the whimsical pathway ideas roundup and garden path ideas are worth a look for layout inspiration beyond what’s covered here.
FAQs
Why do stone walkways sink or shift over time?
Almost always because the stone was set directly on native soil or a thin sand layer instead of a properly compacted gravel base. Soil shifts with moisture and freeze-thaw cycles, and stone laid on top of it moves right along with it. A compacted base of at least 4 inches, per Interlocking Concrete Pavement Institute guidance, gives the stone something stable to sit on instead.
How deep should I dig for a stone walkway?
It depends on your stone thickness and climate, but a common starting formula is stone thickness plus a 1-inch sand layer plus a 4- to 6-inch compacted gravel base, so roughly 6 to 9 inches total. Cold climates with real freeze-thaw cycles should lean toward the deeper end to resist frost heave.
How far apart should stepping stones be?
Rather than a fixed number, lay a few stones out and walk your own natural stride across them, marking where your foot actually lands, the method Walter Reeves, a longtime Georgia Extension-affiliated gardening columnist, recommends. Most people land somewhere in the 18- to 24-inch range, but your actual stride is the more reliable guide than a generic rule.
Do I need a permit to build a walkway on my property?
Usually not for a simple garden path. It’s worth a quick call to your local building department if the walkway connects to, alters, or sits close to an existing structure, driveway, or a property line easement, since those situations occasionally do trigger a permit requirement.
What’s the cheapest stone walkway idea that still holds up?
A basic stepping stone path set into a few inches of compacted sand or gravel is both the cheapest and one of the most durable options here, since the base is small enough to prepare properly even on a tight budget, unlike a full flagstone or brick installation.
Products We Recommend
This post contains affiliate links. We may earn a commission on qualifying purchases at no extra cost to you.
Quikrete HardScapes Paver Base Sand, 0.5 cu ft
Every idea in this article depends on the compacted gravel base + bedding sand described in the "Why Most Stone Walkways Fail" section; this is the single most load-bearing purchase for a DIY walkway. ~$32, 4.2★ (14 ratings).
Shop Now
Anleolife Galvanized Steel Landscape Edging, 60 ft x 8"
The edge restraint that stops paver, gravel, mulch, or brick walkway material from spreading sideways (ideas #3, #9, #10, #11, #14). ~$69/roll, 4.4★ (44 ratings).
Shop Now
BlumeTrec 8"x8" Steel Hand Tamper, 48" Handle
Needed to hit the compaction standard referenced from ICPI for any set-stone or paver idea; a full plate compactor is usually a rental, but this hand tamper is a reasonable DIY-scale purchase. ~$40, 4.5★ (369 ratings), Amazon's Choice.
Shop NowNever miss an update — choose FarmFoodFamily as your preferred source on Google.
How it works: Tap the button below to open Google's settings page, then check the box next to FarmFoodFamily.
Tap the checkbox to turn it blue — that's how you know it's set.