18+ Best Concrete Slab Designs & Ideas
Concrete slab foundations, a popular choice for all types of construction projects, are strong and durable. Building them right saves costly problems later.
A. Concrete Slab Foundations: Tips for On Grade Foundation Layout and Concrete Formwork
While more costly and labor intensive than concrete pier foundations, slab foundations (sometimes called slab on grade foundations) remain a popular choice for commercial and residential construction.
They are also regularly used for smaller construction projects as well. Slab foundations require a good deal of excavation, concrete formwork and finishing, yet the techniques are within the abilities of most weekend home construction do-it-yourselfers.
Many of the techniques that go into concrete slab foundation building are also applicable to other poured concrete projects like patio construction, sidewalks and driveways.
1. Concrete Slab Foundation Construction Preparation
Laying out a squared foundation using batter boards and Mason’s string is the first step in concrete slab foundation building. For those unfamiliar with foundation building or who just need a refresher, a foundation construction guide article is available as a ready resource.
Once the foundation outline has been verified as square, footings excavation can then commence. The footings perimeter trench should extend about 6 inches beyond the Mason’s string foundation layout to provide room for concrete formwork later.
The footing trench should be about 8 inches in width and depth. Once the footing trench has been dug, excavate the interior portion of the foundation to a depth of about 4 inches. Spread and rake level 4 inches of compacted gravel over the entire foundation site.
2. Slab Foundation Concrete Formwork
Sheets of 3/4 plywood and 2 x 3 dimensional lumber for stakes is a good option for building slab foundation forms. Depending on the size of the foundation, cut a sufficient number of plywood sheets into strips of equal length. Each sheet should provide six strips. Use a table saw or a straight edge with a circular saw to ensure saw cuts are straight.


Install the plywood strips in the trench around the perimeter to assemble the forms, attaching them together with screws and using joining plates made of scrap plywood plates where necessary.
Cut 18 inch stakes from 2 x 3 inch dimensional lumber, sharpening one end to a point on each stake to facilitate driving them into the earth. As an alternative, pre-fabricated stakes can be obtained at most home improvement stores. Plan to use one stack for each linear foot plus an extra stake for each corner.
Drive the stakes into the earth behind the plywood strips each linear foot and strengthen the corners by driving the extra stakes behind plywood strips where the corners meet.
Once the stakes are in place, attach them to the plywood strips with screws. When the concrete formwork is completed, the inner dimensions of the form should equal the outer dimensions of the proposed finished slab foundation.
3. Add Slab Foundation Metal Reinforcement
Once the forms are in place the next step is adding metal reinforcement. 6 x 6 inch welded wire can be used unless local codes require the installation of rebar.
When the welded wire option is used, it should be cut to fit the interior of the foundation so that the wire edges end 1-1/2 to 2 inches away from the insides of the forms.
The wire mesh should then be suspended just below the centerline of the finished slab using bricks or commercial metal bolsters. Once the metal reinforcement is in place, it will be time to pour and finish the concrete.
B. Concrete Slab Ideas
#1. Concrete paver driveway

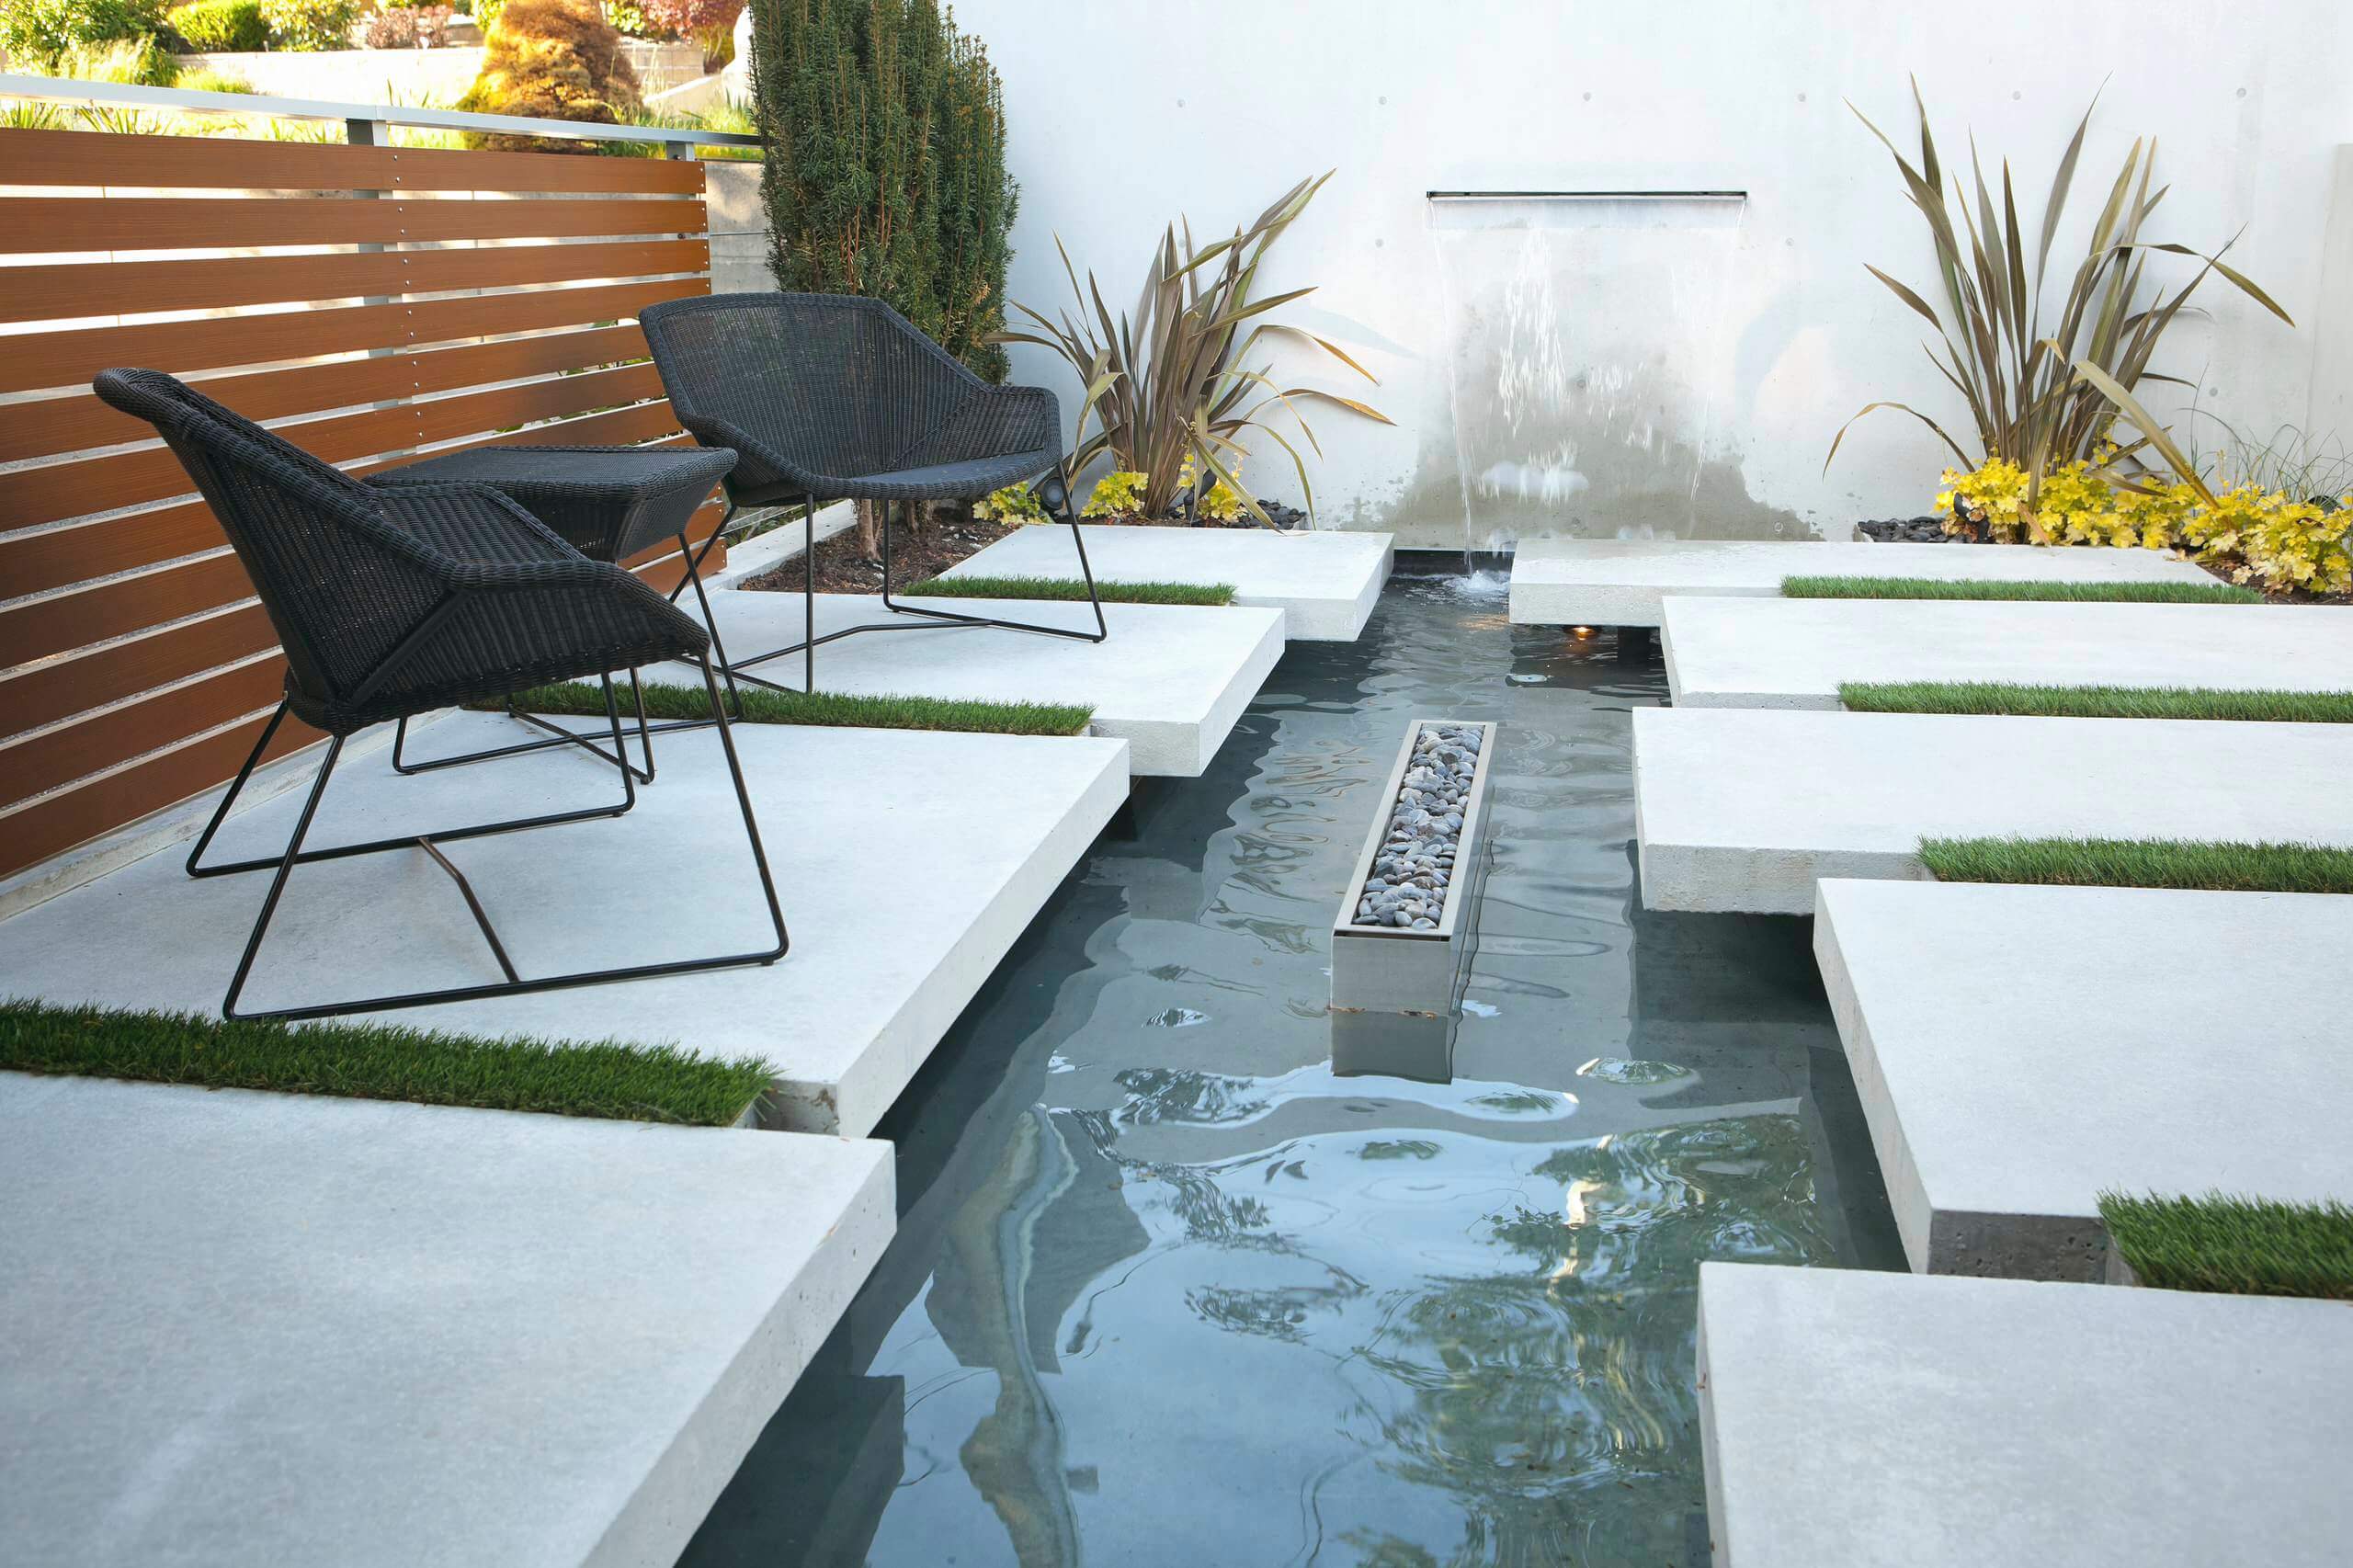
#2. Contemporary patio fountain remodel

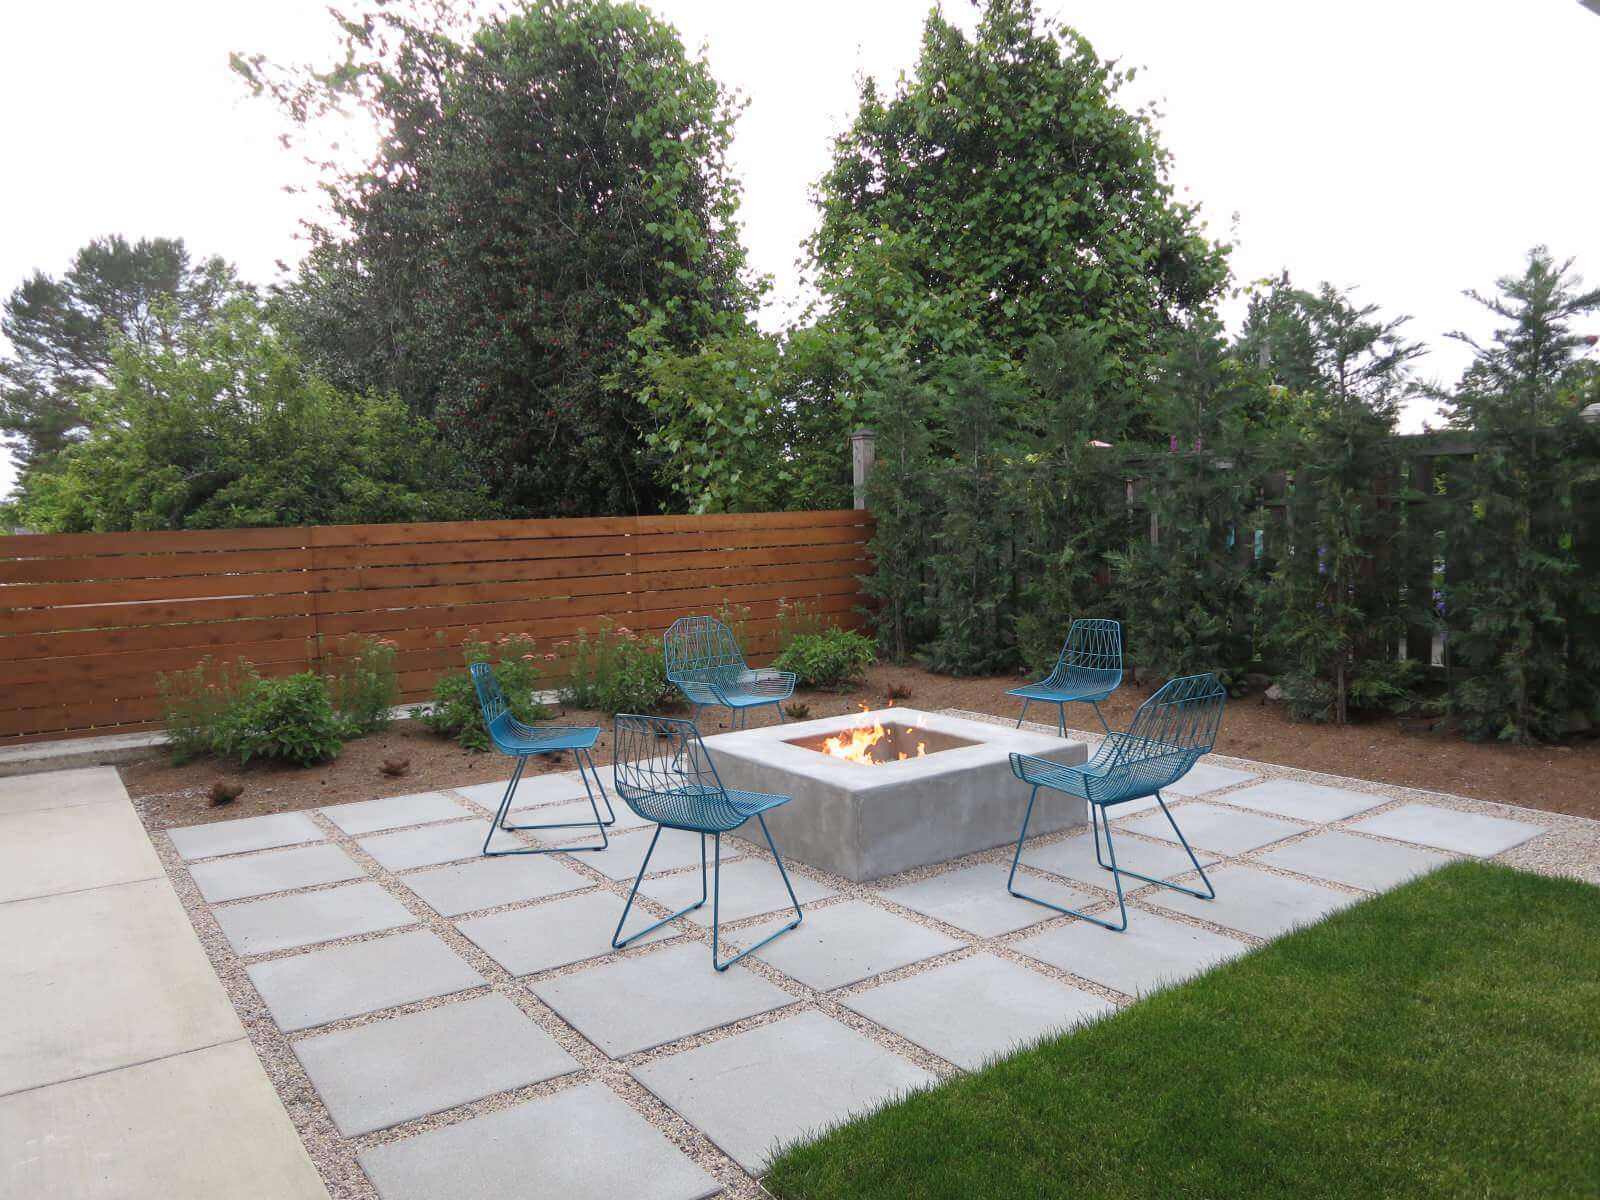
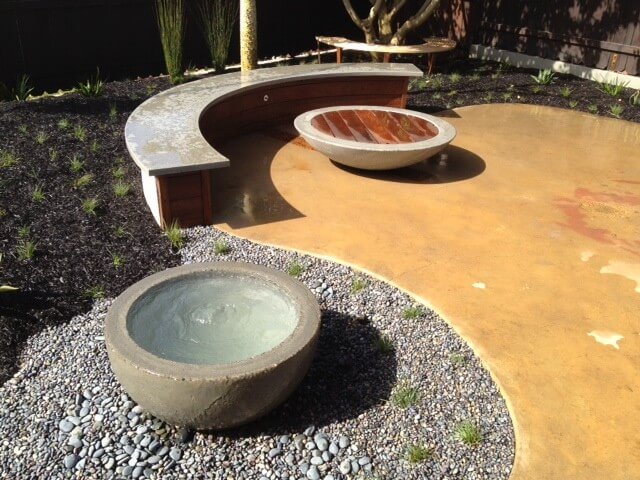
#3. Patio – contemporary backyard concrete paver patio idea with a fire pit
#4. Trendy courtyard concrete patio

#5. Patio – mid-sized contemporary backyard concrete patio idea with no cover


#6. Contemporary shade backyard brick landscaping
#7. Contemporary concrete patio remodel with a fire pit and a roof extension

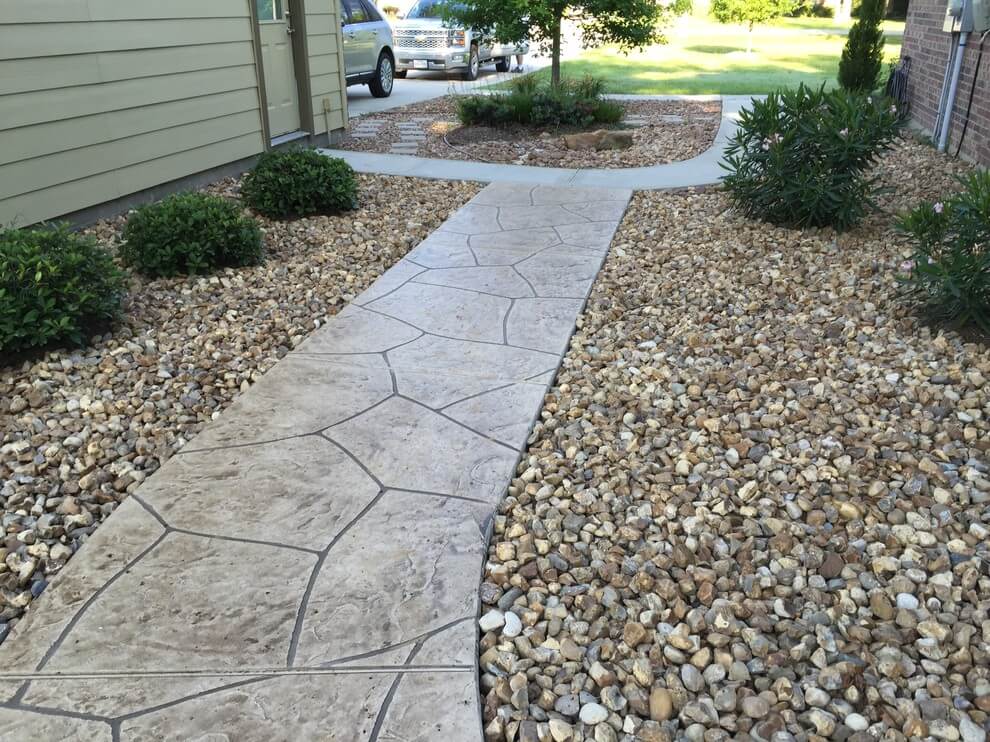
#8. Concrete paver garden path
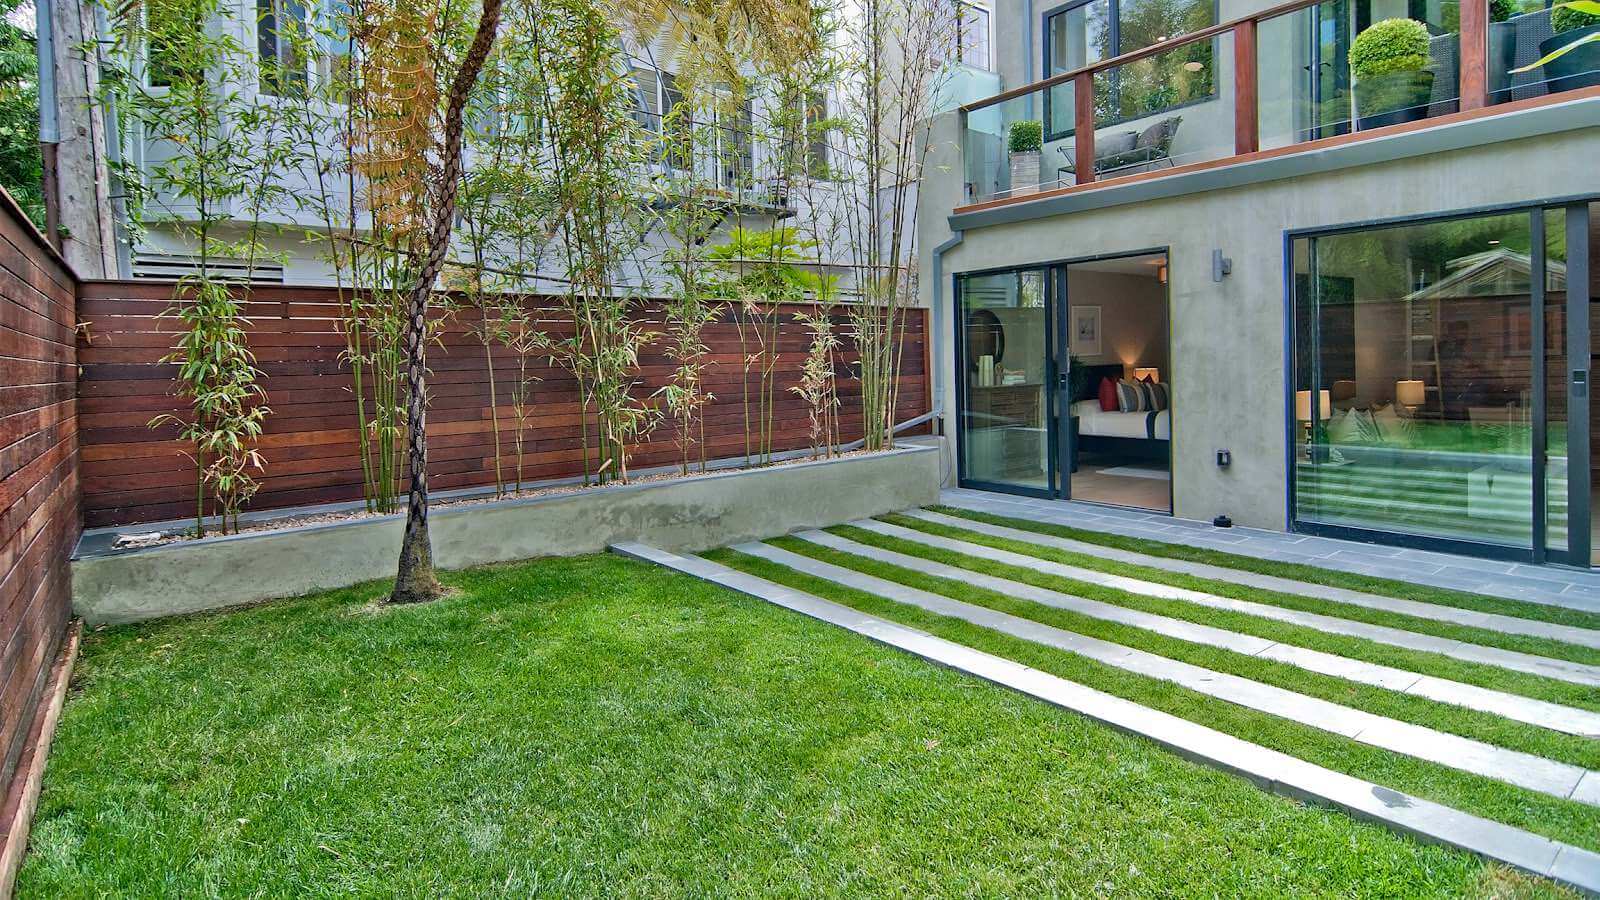
#9. Contemporary backyard
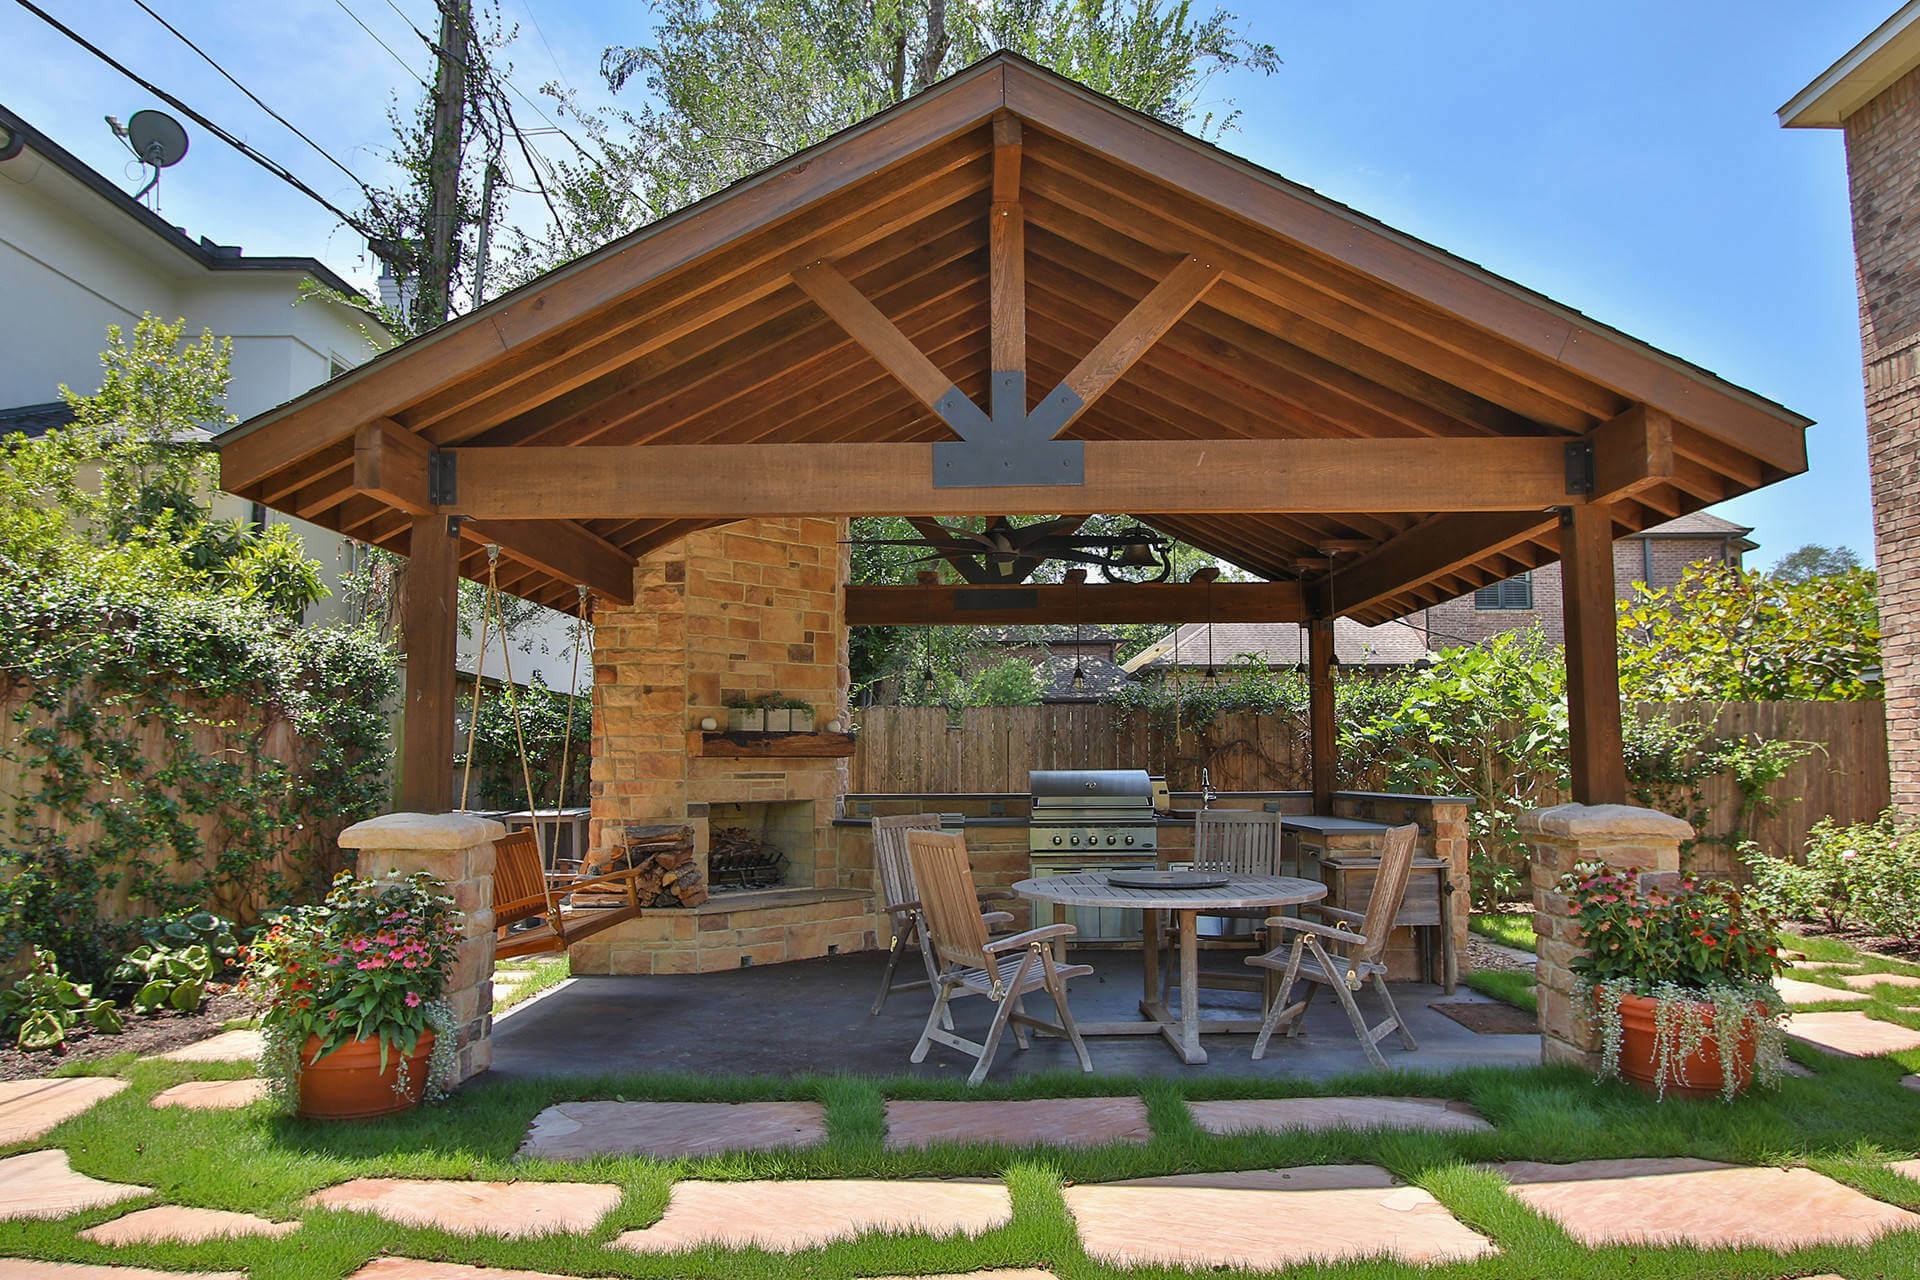
#10. Large mountain style backyard concrete patio kitchen with a gazebo
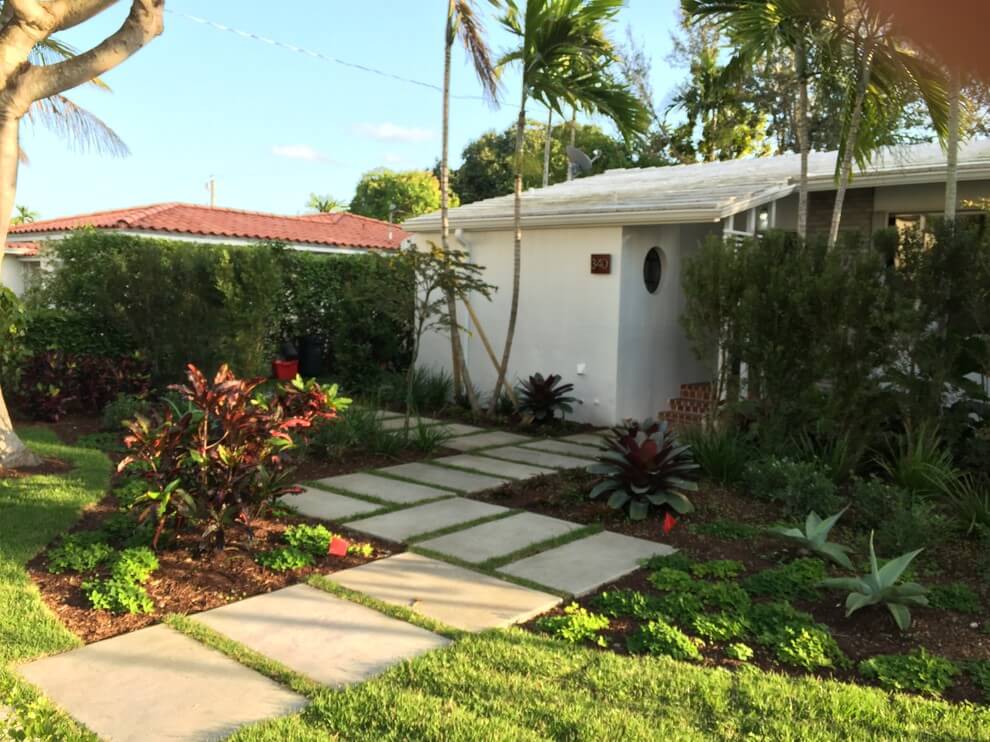
#11. A mid-sized modern partial sun front yard concrete paver landscaping
#12. Transitional concrete patio idea with no cover

#13. Modern courtyard landscaping with a fire pit
#14. Mid-sized trendy courtyard concrete patio design with no cover

#15. Mid-sized minimalist backyard concrete patio fountain with no cover
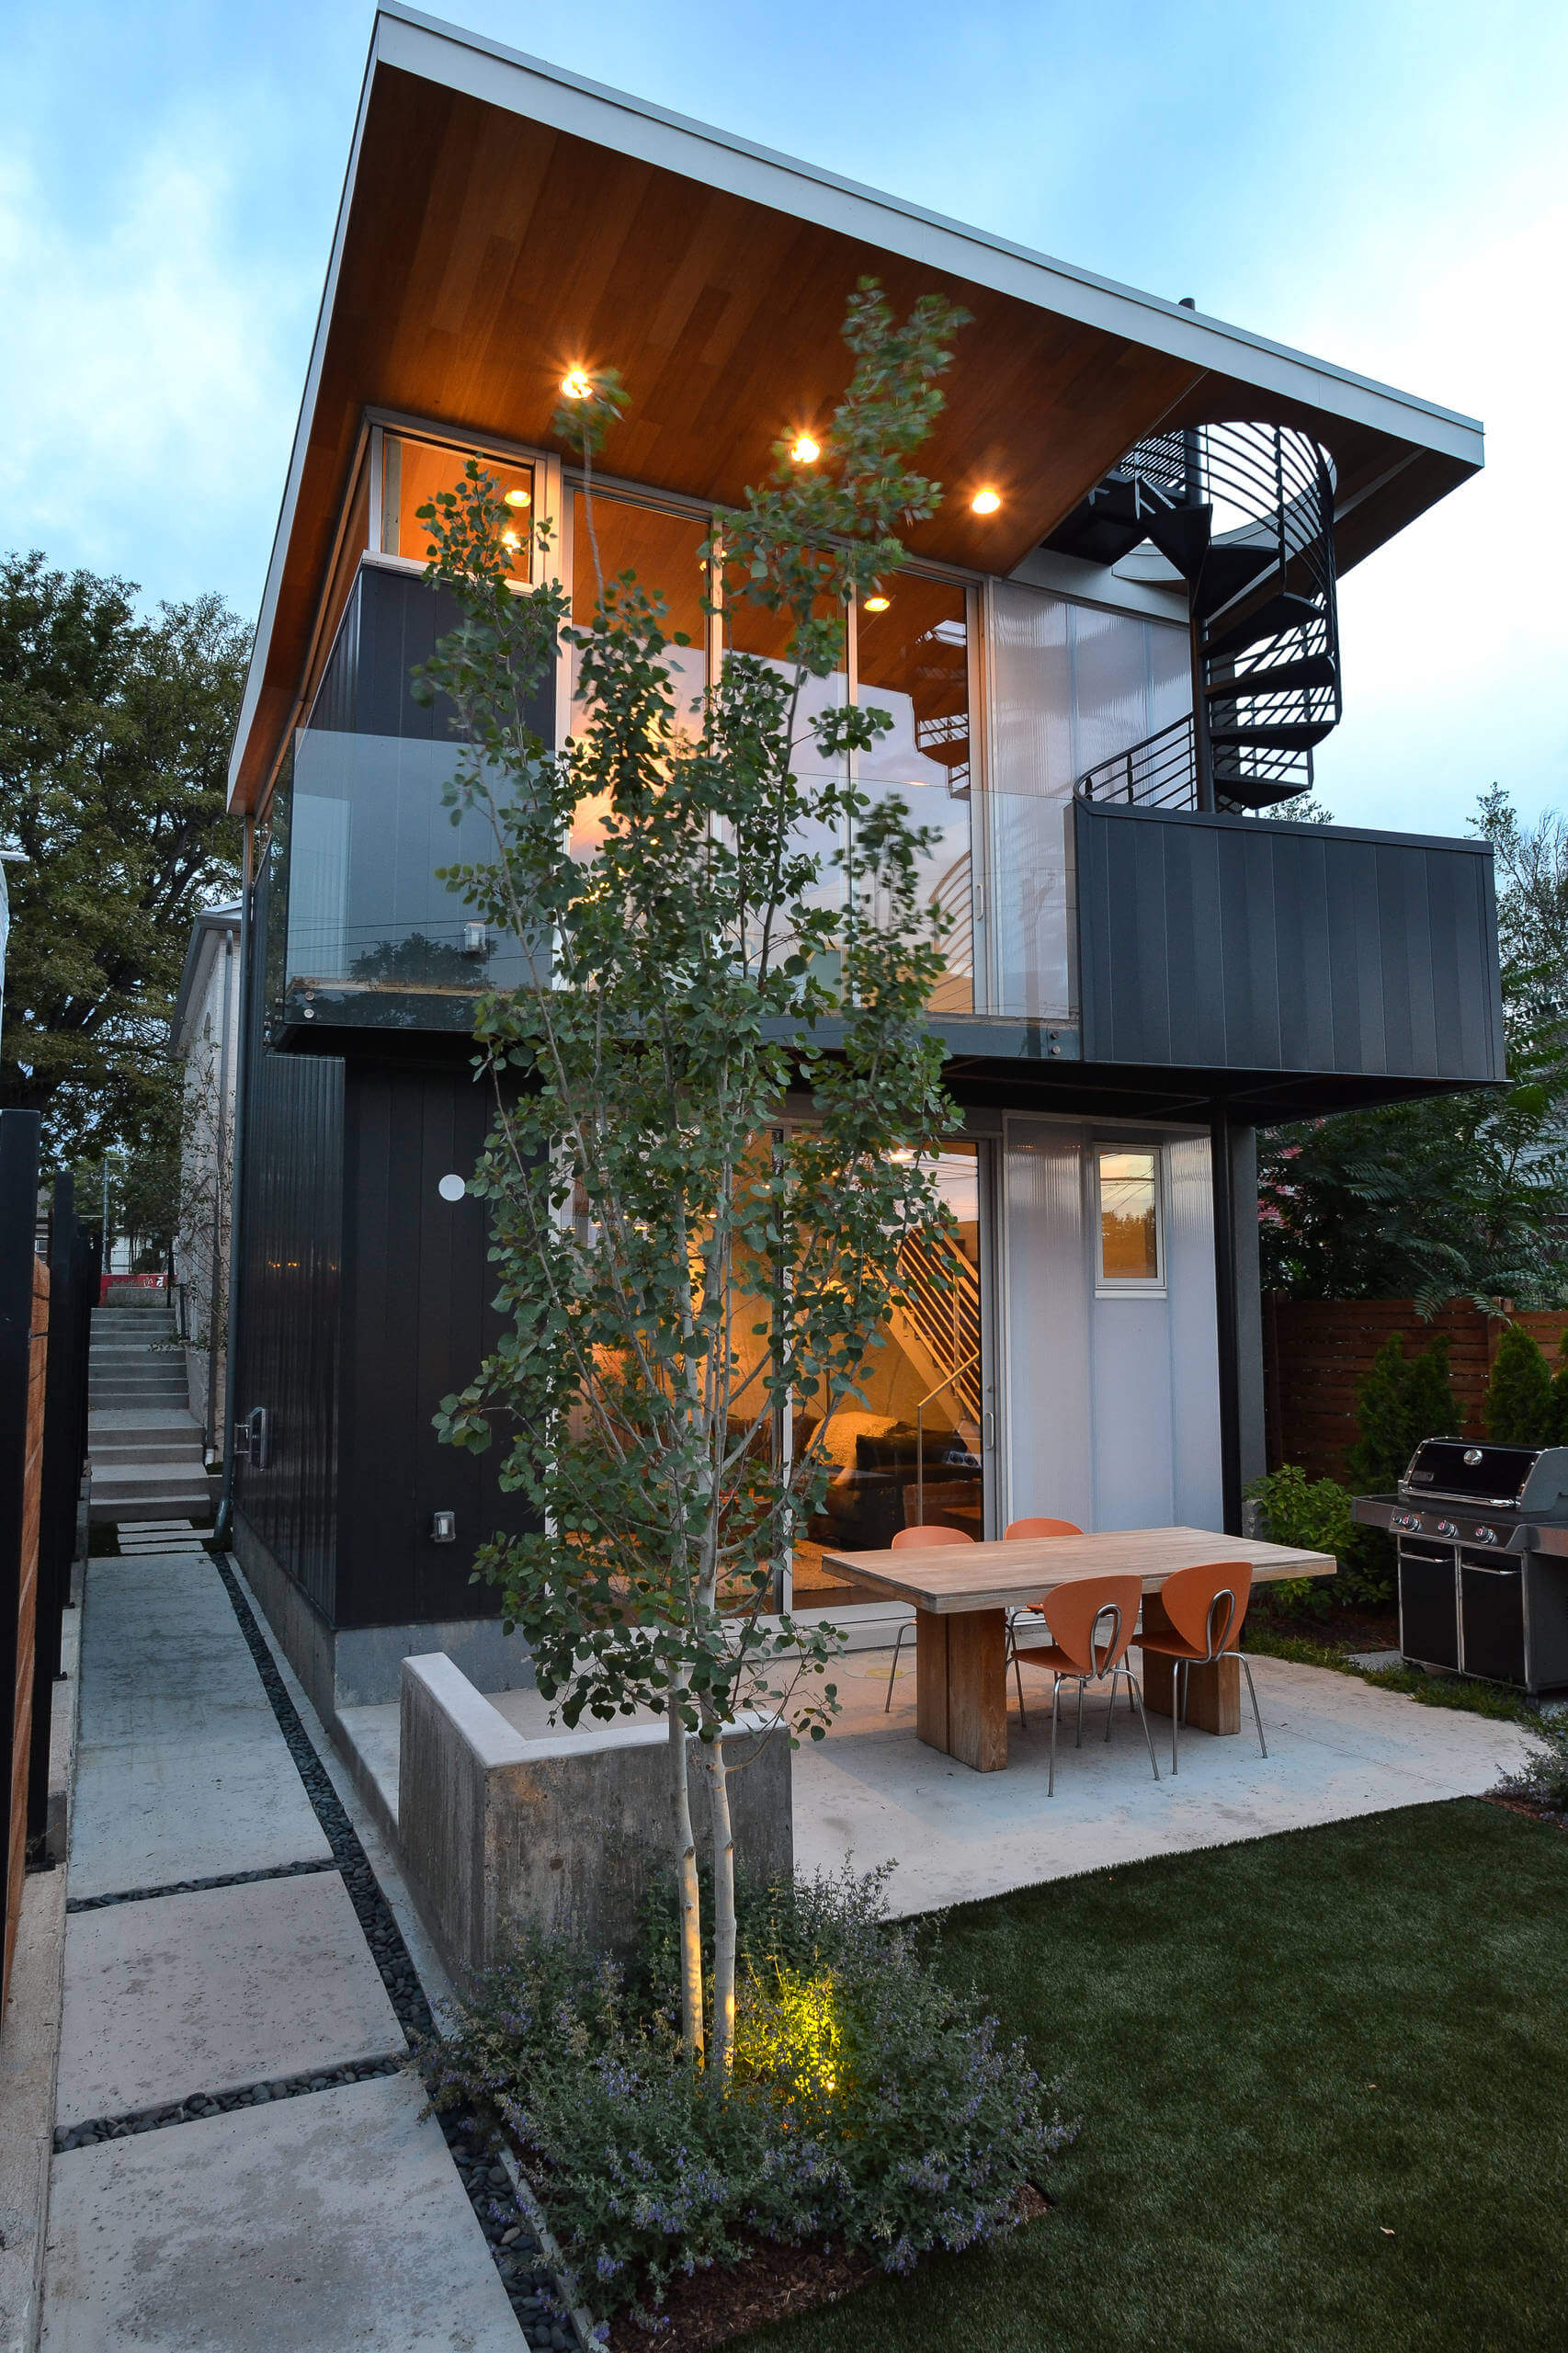
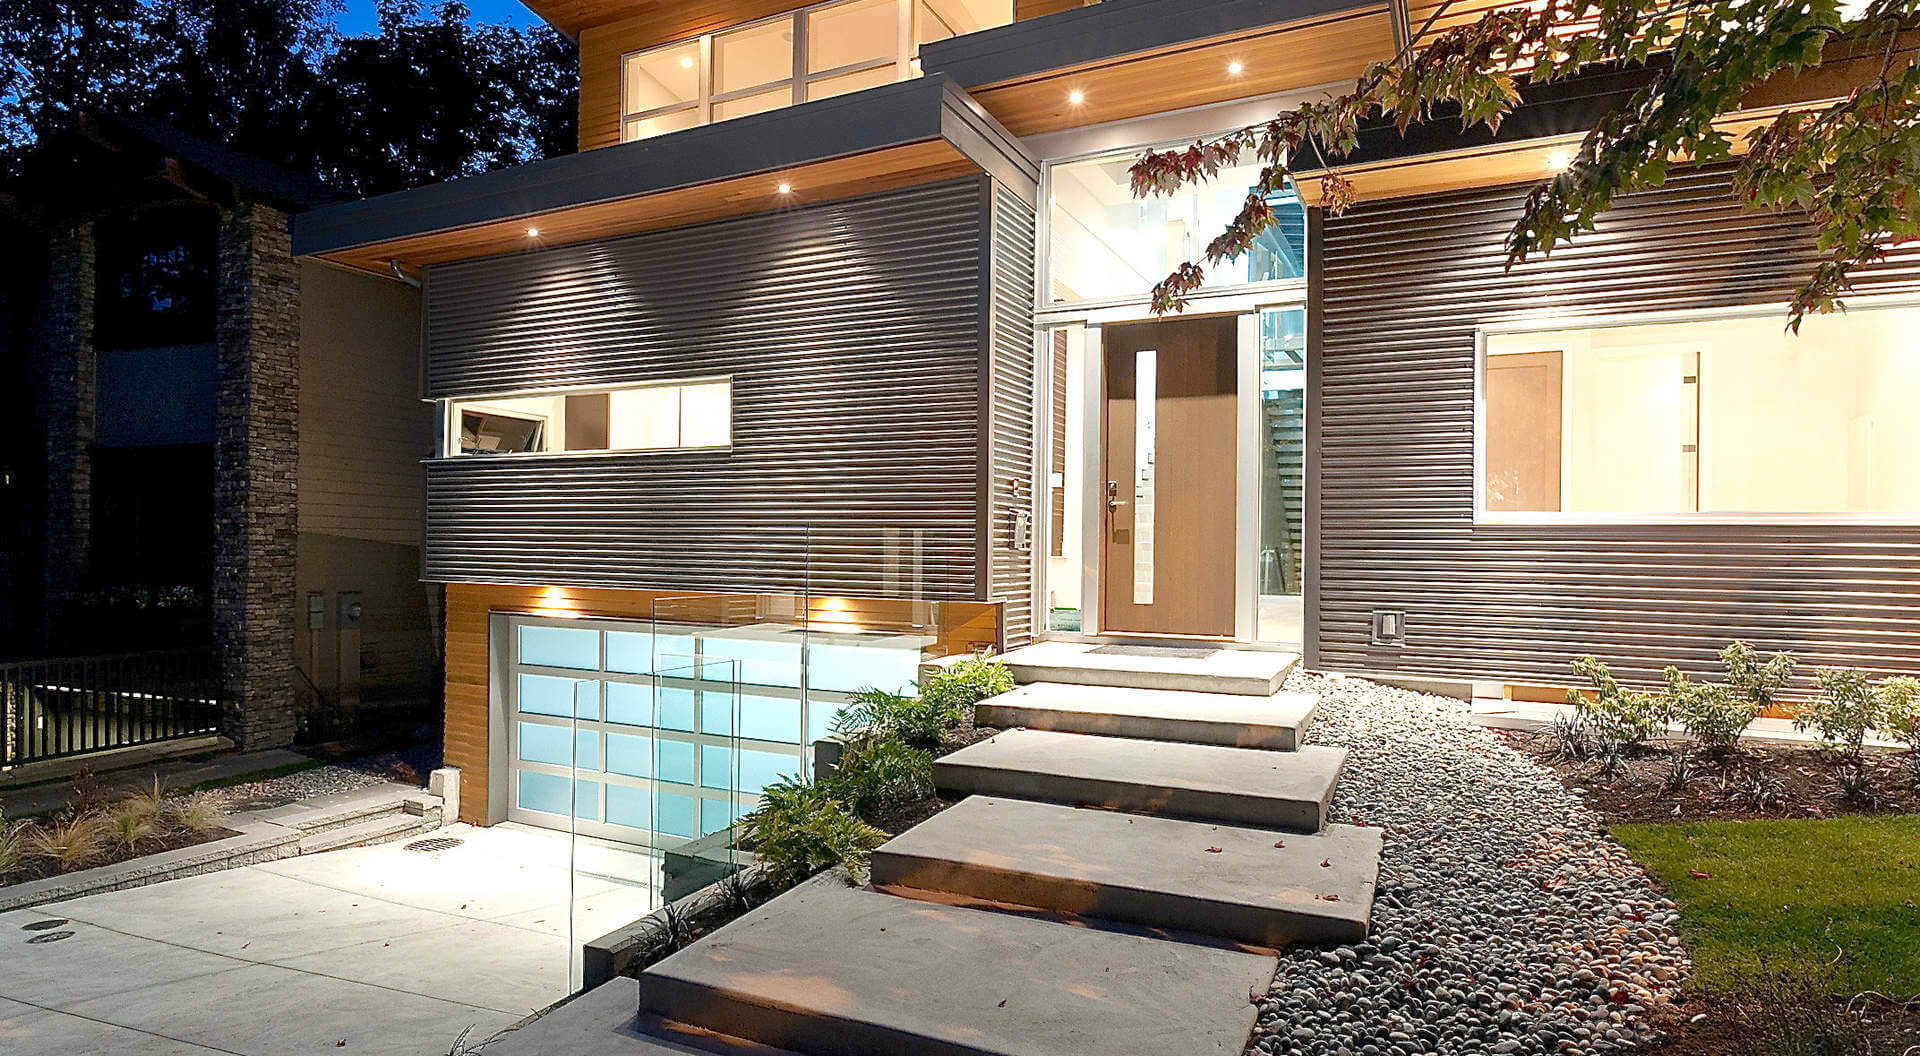
#16. Modern metal exterior home remodel
#17. Mid-sized traditional backyard concrete patio
#18. Trendy patio design with no cover

C. Techniques for Pouring a Slab and Concrete Finishing
Concrete slab foundations must be poured and finished properly to achieve maximum strength and durability. Using the right techniques avoid costly repairs later.
While a popular choice for many commercial and residential construction projects, the fact remains that slab foundations are more labor intensive than alternatives like concrete pier foundations.
To protect the significant investment of time and money required for slab foundation layout, excavation and concrete formwork, the right techniques should be used during concrete pouring and concrete finishing.
1. Pouring the Concrete
While it is possible to site mix the concrete for a slab foundation using a portable power mixer available from equipment rental centers, the simplest option is ordering ready-mix from a concrete company and having it delivered to the site ready to pour.
To calculate the estimated amount of concrete needed for the slab, multiple (in feet) the width, length and depth of the foundation. Multiply that result by 1.5 to allow for footing edge and waste and then divide by 27 to convert the final figure to cubic feet, the measurement used for ordering concrete.
Example for a 12′ x 20′ Slab, 4″ Thick
12 x 20 x .33 (4 inches) = 79.20
79.20 x 1.5 = 118.80
118.80 ÷ 27 = 4.4 cubic yards
While waiting for the concrete to be delivered to the site, mark on the top edges of the forms the layout of the J-bolts that will be used to secure the building foundation to the slab. J-bolts should be installed within 6 inches of each corner and about every 36 inches around the perimeter.
When the ready-mix truck arrives, start pouring the concrete by filing the forms at one end and working towards the opposite end. A shovel should be used to distribute the wet concrete, to eliminate air pockets and to fill in around the wire reinforcements and edges of the forms.
As the forms are being filled it is helpful to have a couple of assistants to screed the concrete using a straight length of 2 x 4 or 2 x 6 lumber long enough to span the forms.
The intent is to work the screed back and forth to make the surface of the concrete level and uniform. The sides of the forms can be lightly tapped with a hammer to help settle the concrete and smooth the edges of the foundation once the concrete has set.
3. Finishing the Slab Foundation
Immediately after the concrete surface has been smoothed and leveled with the screed, make a single pass over the surface with a bull float to apply the final finish to the foundation surface.
Then install galvanized J-bolts at the pre-determined and marked locations about 1–3/4 inches out from the forms. The bolts should be plumb and threads should extend at least 2-1/2 inches above the slab surface.
Once the concrete has cured to the point where stepping on it causes a shoe print of 1/4 inch or less in depth, further concrete finishing can be applied to the surface if desired using a hand-held float or trowel. Allow the concrete to cure for a full 24 hours and then the forms may be removed. Wait at least an additional 24 hours before starting to build on the slab.
D. Concrete Slab Foundation Repair Methods
The best concrete slab failure solution is prevention. When a home foundation cracks or sinks, damage spreads, cracking drywall, and shifting doors, windows, and roofs.
Why do slabs fail? The primary culprit is water, usually not enough, or an unequal distribution. The higher the clay content in the soil, the more susceptible the home is to expensive foundation repair, as well as extensive repair in other parts of the home, including repairs for roof leaks.
These problems can also occur in homes that have pier and beam construction, although the repair in this case are usually much less expensive than on shallow slab-on-grade foundations.
1. Heed the Warning Signs of Foundation Failure
It’s important to spot any sign of failure early and be proactive. Like an abscess that causes a toothache, the longer the patient waits, the worse the pain gets! To add insult to injury, in many situations, homeowners insurance has limited coverage for this type of home damage.
Warning signs include drywall cracks, doors dragging on the finish floor (or more commonly on the door jamb), and windows and kitchen cabinet doors not closing properly.
Homes with a brick veneer for siding may show cracks in the mortar joints. The problem may not immediately manifest itself inside the home. Often, problems can be identified by standing out in the street and spotting a dip in the home’s roof ridge line.
Repair is not a DIY project. Once a problem is identified it’s critical to select a reputable contractor. Be careful; many will try to oversell the job. Always look for an established company offering a transferable warranty.
2. Foundation Repair by Slabjacking or Mudjacking
Slabjacking is the most appropriate repair method for smaller concrete on-grade slabs such as patios, driveways, and sidewalks. This is a good way to re-level a sunken foundation.
The process involves pumping a concrete slurry mixture under the low spots in the foundation. This added volume lifts the structure to the desired height. As a bonus, it also tends to displace water that accumulates and pools and causes damage, although this is no substitute for vapor or moisture barriers, which many building codes call for in the first place.
3. The Piling and Piers Method of Foundation Repair
Piers and piles are a better solution for larger re-leveling projects. Rather than just relying on introducing a volume just under the structure, piers or piles work by driving supports much deeper into the soil, deep enough until a stable layer is encountered.
This process is more expensive than slabjacking, simply because it’s more involved, more invasive, and involves more labor, mechanical tools, and materials.
4. Preventing Failures of Slab and Pier and Beam Homes
Since water is the problem, it’s no great leap of logic to conclude that moist, evenly-wet soil is the best condition. During dry times, the thirsty soil will visibly draw away from the concrete. It needs to be watered evenly.
One popular solution is to lay soaker hoses around the perimeter and run the water each day as required. How much is enough? The answer depends on a number of variables: soil composition, depth of foundation, and how long it’s been since a long drenching rain. Find what works in the area and keep up with it.
As Benjamin Franklin told us, “An ounce of prevention is worth a pound of cure.”