50+ Stunning Cottage Style Garden Ideas to Create the Perfect Getaway Spot
A cottage garden looks effortless in photos, but staying that way past the first bloom takes actual planning, not just a bigger plant order.

Never miss an update — choose FarmFoodFamily as your preferred source on Google.
How it works: Tap the button below to open Google’s settings page, then check the box next to FarmFoodFamily.
Tap the checkbox to turn it blue — that’s how you know it’s set.
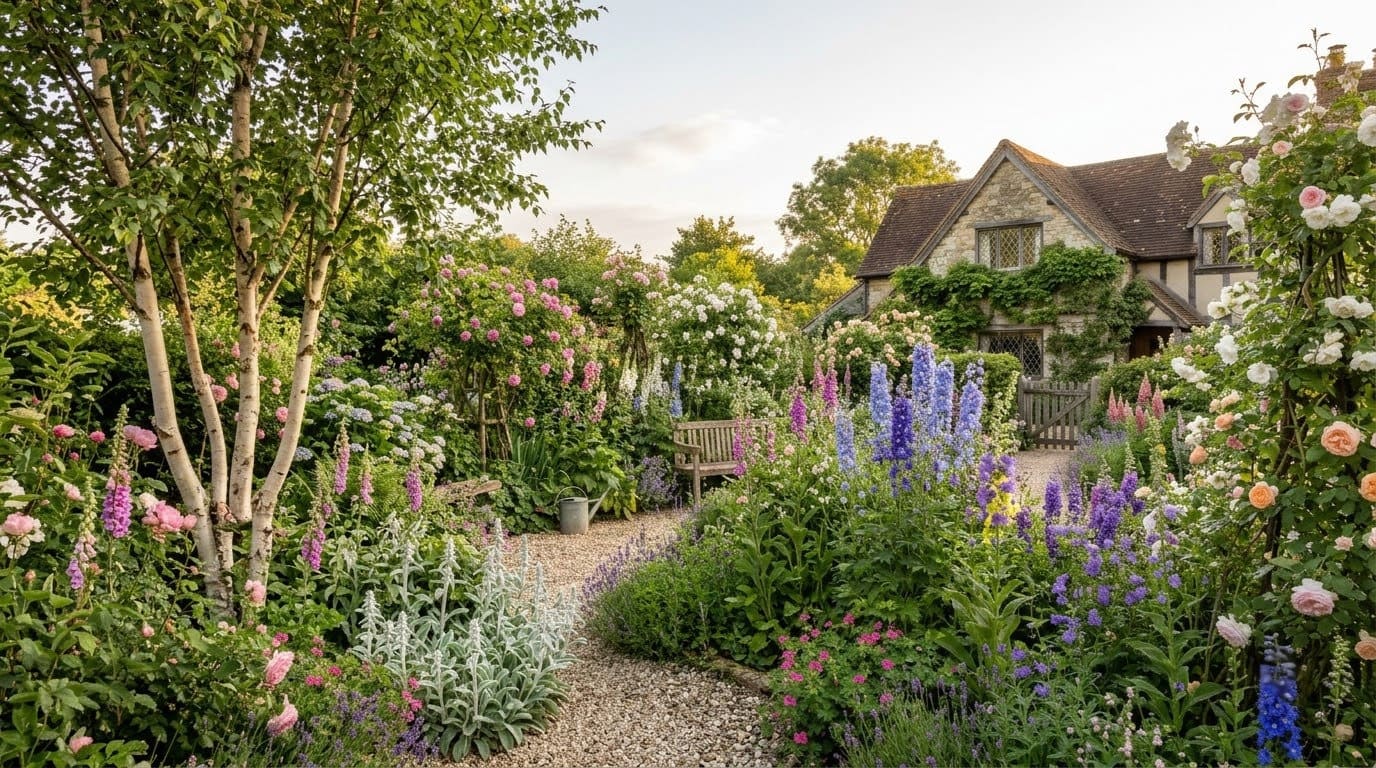
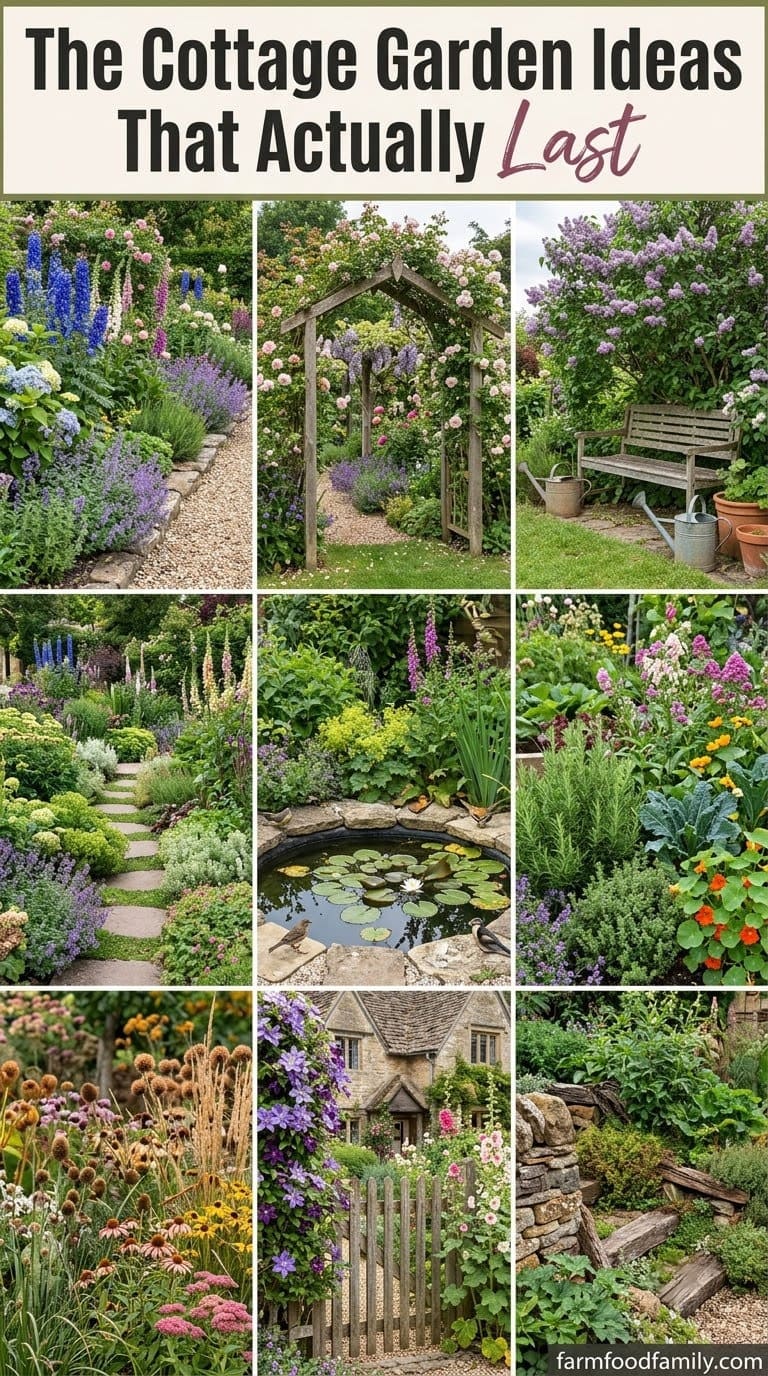
A cottage garden that holds up has structure you don’t see in the photo, not just more flowers crammed in. Start with permanent “bones,” a few shrubs and one small tree, before any flowers go in. Layer beds by height instead of by plant type, and choose bloom times that overlap so something is always flowering.
Plant tighter than the tag suggests, but leave narrow access lanes for airflow and weeding. Curve every path and bed edge. Let a few self-seeding annuals like cosmos and nigella fill gaps for free.
Keep evergreen shrubs and standing seed heads for winter structure. In a narrow or small yard, grow up instead of out with climbing roses or clematis on a trellis. And if you’re renting, a soil test and a quick check of local tree-planting rules save money before you dig anything in.
Understanding Cottage Garden Style
Cottage gardens have a rich history, tracing back to the cottage dwellings of rural England. These gardens were not designed for beauty alone but were practical spaces where vegetables, fruits, and flowers grew together.
This blend of practicality and natural beauty defines the Cottage Garden Style. Unlike formal gardens that follow strict designs, cottage gardens are celebrated for their informality, abundance, and diversity.


Definition and History
Cottage gardens reflect the essence of rural life, evolving from the needs of cottage dwellers to cultivate plants for both food and pleasure.
Answer 4 quick questions and get matched to the exact fix for your yard — drainage, budget, layout, or something else entirely.
Take the Free QuizThis gardening style is a testament to the resourcefulness of past generations, showcasing a seamless blend of utility and aesthetics. It’s a garden type that grew without a planned design but flourished into something incredibly beautiful and functional.
Key Features
The charm of a cottage garden comes from its lack of pretension. It’s a garden that’s allowed to grow freely, with plants mingling together in a happy chaos.
This informality is paired with an abundance of plants, filling every nook and cranny with color and life. Diversity is another hallmark, with a mix of plant types creating a varied tapestry that appeals to the senses.
| Feature | Description | Impact |
|---|---|---|
| Informality | No strict design rules; plants grow freely. | Creates a relaxed, welcoming atmosphere. |
| Abundance | Dense plantings, no bare spots. | Ensures a lush, vibrant garden throughout the year. |
| Diversity | A mix of flowers, herbs, and vegetables. | Offers visual interest and attracts wildlife. |
The Role of Color, Texture, and Fragrance
In a cottage garden, color, texture, and fragrance play pivotal roles. The goal is to create a garden that delights not just the eye but also the sense of touch and smell.
The interplay of different hues, the contrast of leaf textures, and the heady mix of scents contribute to the garden’s allure.
Plants are chosen not only for their appearance but for their ability to add depth and dimension through their foliage, flowers, and aroma.
- Color: Bright and bold colors are often favored, creating a tapestry that changes with the seasons.
- Texture: Varied plant forms and leaf types add contrast and interest, making the garden visually engaging.
- Fragrance: Scented flowers and herbs enrich the garden air, providing a multi-sensory experience.
Cottage gardens invite you to lose yourself in their beauty and bounty. They are spaces where nature takes the lead, offering surprises at every turn. This style is perfect for gardeners who appreciate a garden that feels both lived-in and loved, where the beauty of the garden is matched by its usefulness.
Most yard problems trace back to one specific, fixable cause. Find yours in 4 quick questions.
Take the Free Quiz
Tests soil pH and NPK nutrient levels at home before you plant, the exact first step idea 9 recommends.
Shop NowThis post contains affiliate links. We may earn a commission on qualifying purchases at no extra cost to you.

The Problem With Most Cottage Garden Inspiration
Open any cottage garden photo and you’re looking at one good week, not a whole year. That’s the gap people run into. A Reddit thread in r/gardening asking how to recreate the look drew over 130 replies.
The most upvoted answers all said some version of the same thing. The picture is a snapshot, not a maintained state. A week after that photo, the blooms shown might already be fading.
That doesn’t mean the look is fake. It means it’s built, not accidental. The gardeners who pull it off aren’t planting more, they’re sequencing better.
Permanent structure goes in first. A rotation of blooms, timed to overlap, comes next. The wild-looking filler goes in last.
These 9 ideas break down exactly how. They also cover two constraints, overcrowding and legal limits for renters, that most cottage garden roundups skip entirely.
At a Glance: Which Technique Solves Which Problem
| Technique | Cost/Effort | Problem It Actually Solves |
|---|---|---|
| Build the bones first | Medium (1-2 shrubs, 1 tree) | Garden goes bare between bloom cycles |
| Layer by height | Low (just placement) | Flat, one-note beds |
| Plan bloom succession | Low-medium (research + a few plants) | The “one good week” photo problem |
| Plant tight, leave air lanes | Low | Overcrowding disease vs. the wild look |
| Self-seeding annuals | Very low | Cost of refilling gaps every year |
| Curve paths and edges | Medium (materials + labor) | Rigid, “designed” feeling that fights the style |
| Winter bones | Low-medium | Bare, dead-looking yard November-March |
| Go vertical in tight spaces | Low-medium (trellis, wire) | No ground space for a full cottage bed |
| Soil test + local rules first | Very low | Wasted money and rental/legal problems |
1. Build the Bones First
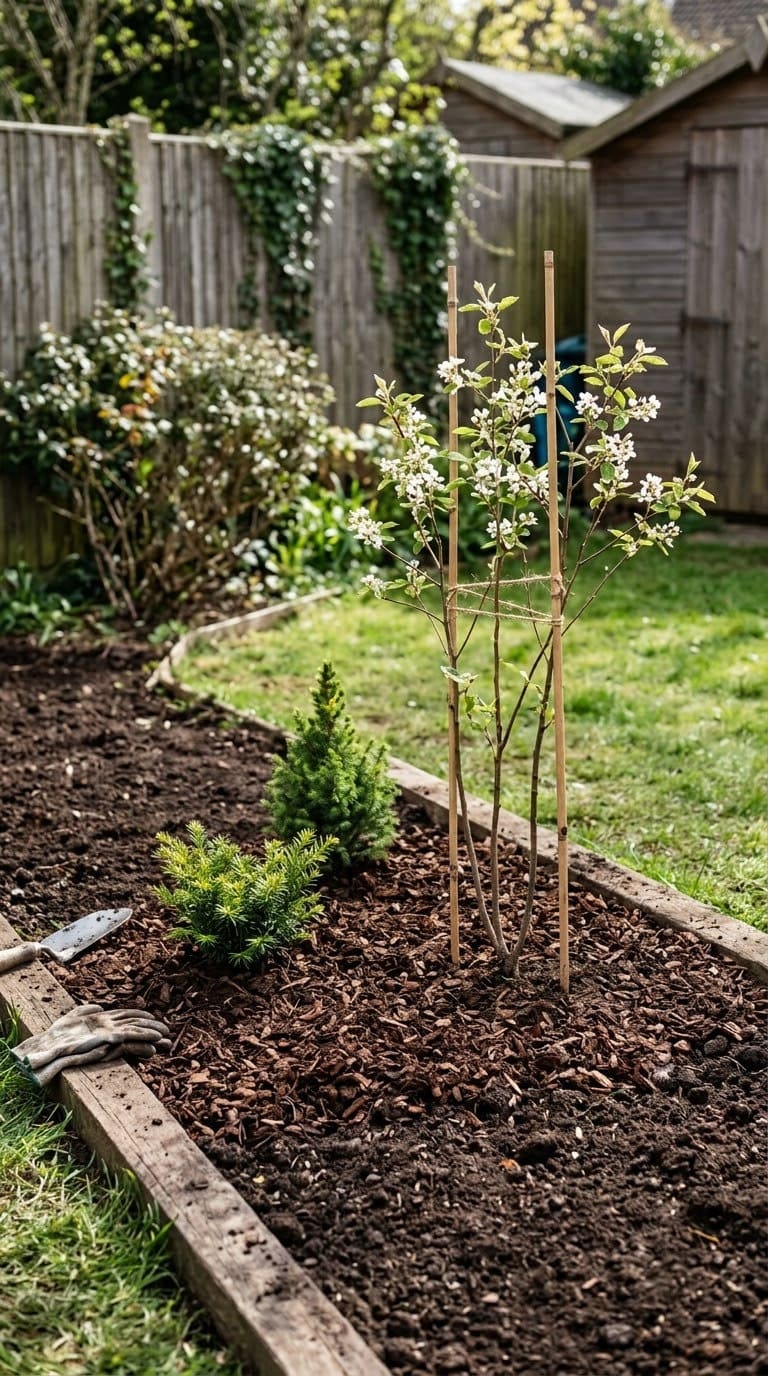
Before a single flower goes in, put in the permanent structure. That means one or two shrubs and a small tree. This is the part every cottage garden photo has that most people skip when they start planting, because shrubs and trees look boring next to flowers at the nursery.
But they’re doing the structural work. Flowers come and go. A shrub or small tree holds the space year-round and gives your eye something to land on when nothing’s in bloom.
Good small-tree options for this role include a multi-stem serviceberry, a crabapple, or a redbud. All three stay under 20-25 feet and work in a typical residential yard, and there are several more compact flowering trees sized for smaller lots worth comparing before you pick one.
The average homeowner spends $616/year on yard fixes that don't address the real problem. Find out what yours actually is — before you spend another dollar.
Take the Free QuizQuick tip: Check the mature width on the plant tag before you decide where it goes. Landscape designer Katherine Aul Cervoni, founder of Staghorn NYC and The Cultivation by Kat, points to this as one of the most common early mistakes homeowners make: planting a shrub or tree too close to the house when it’s small, then dealing with it crowding a wall or window once it matures.
Her rule of thumb is simple. If a tree will reach 15 feet wide, plant it at least 10 feet from your house.
2. Layer Every Bed by Height, Not by Plant Type
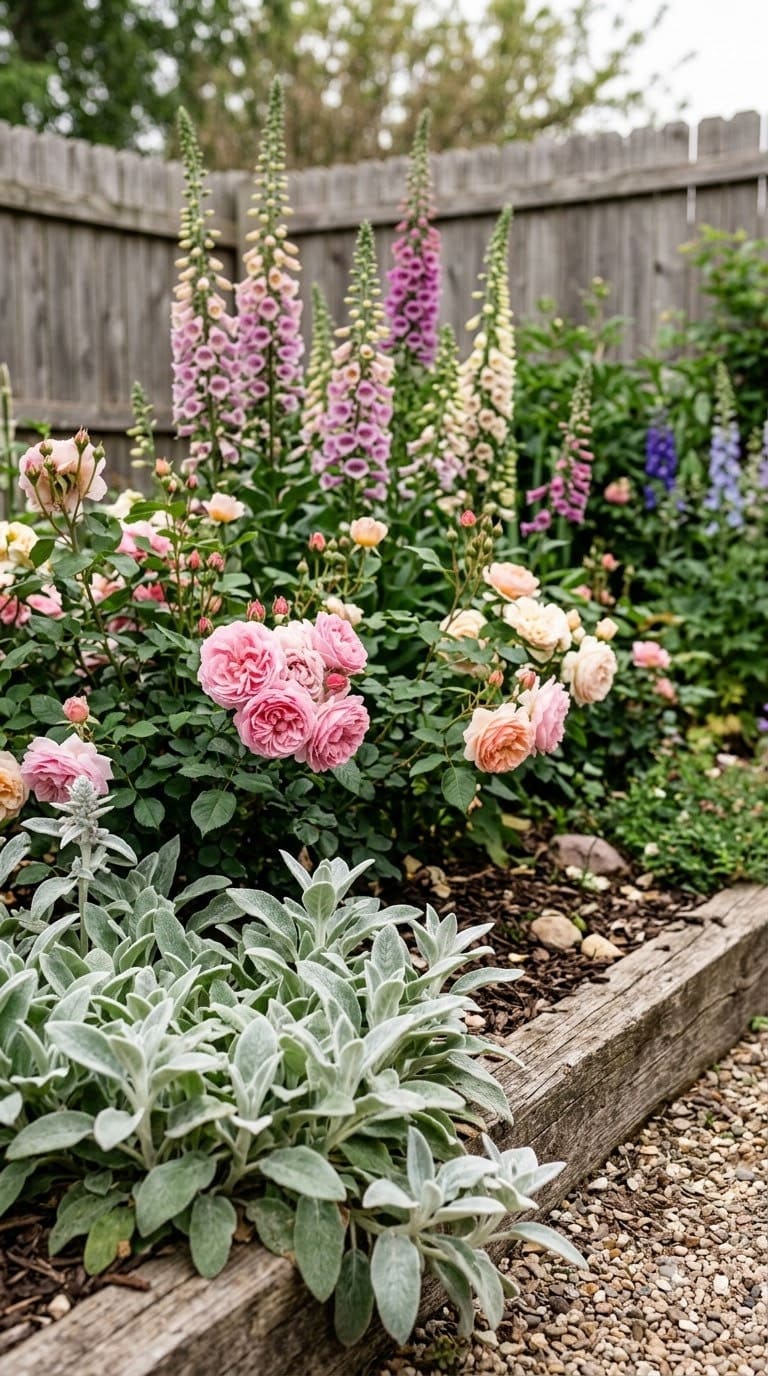
A flat bed, all the same height, reads as a border. A layered one reads as a cottage garden. Group your plants into three rough tiers instead.
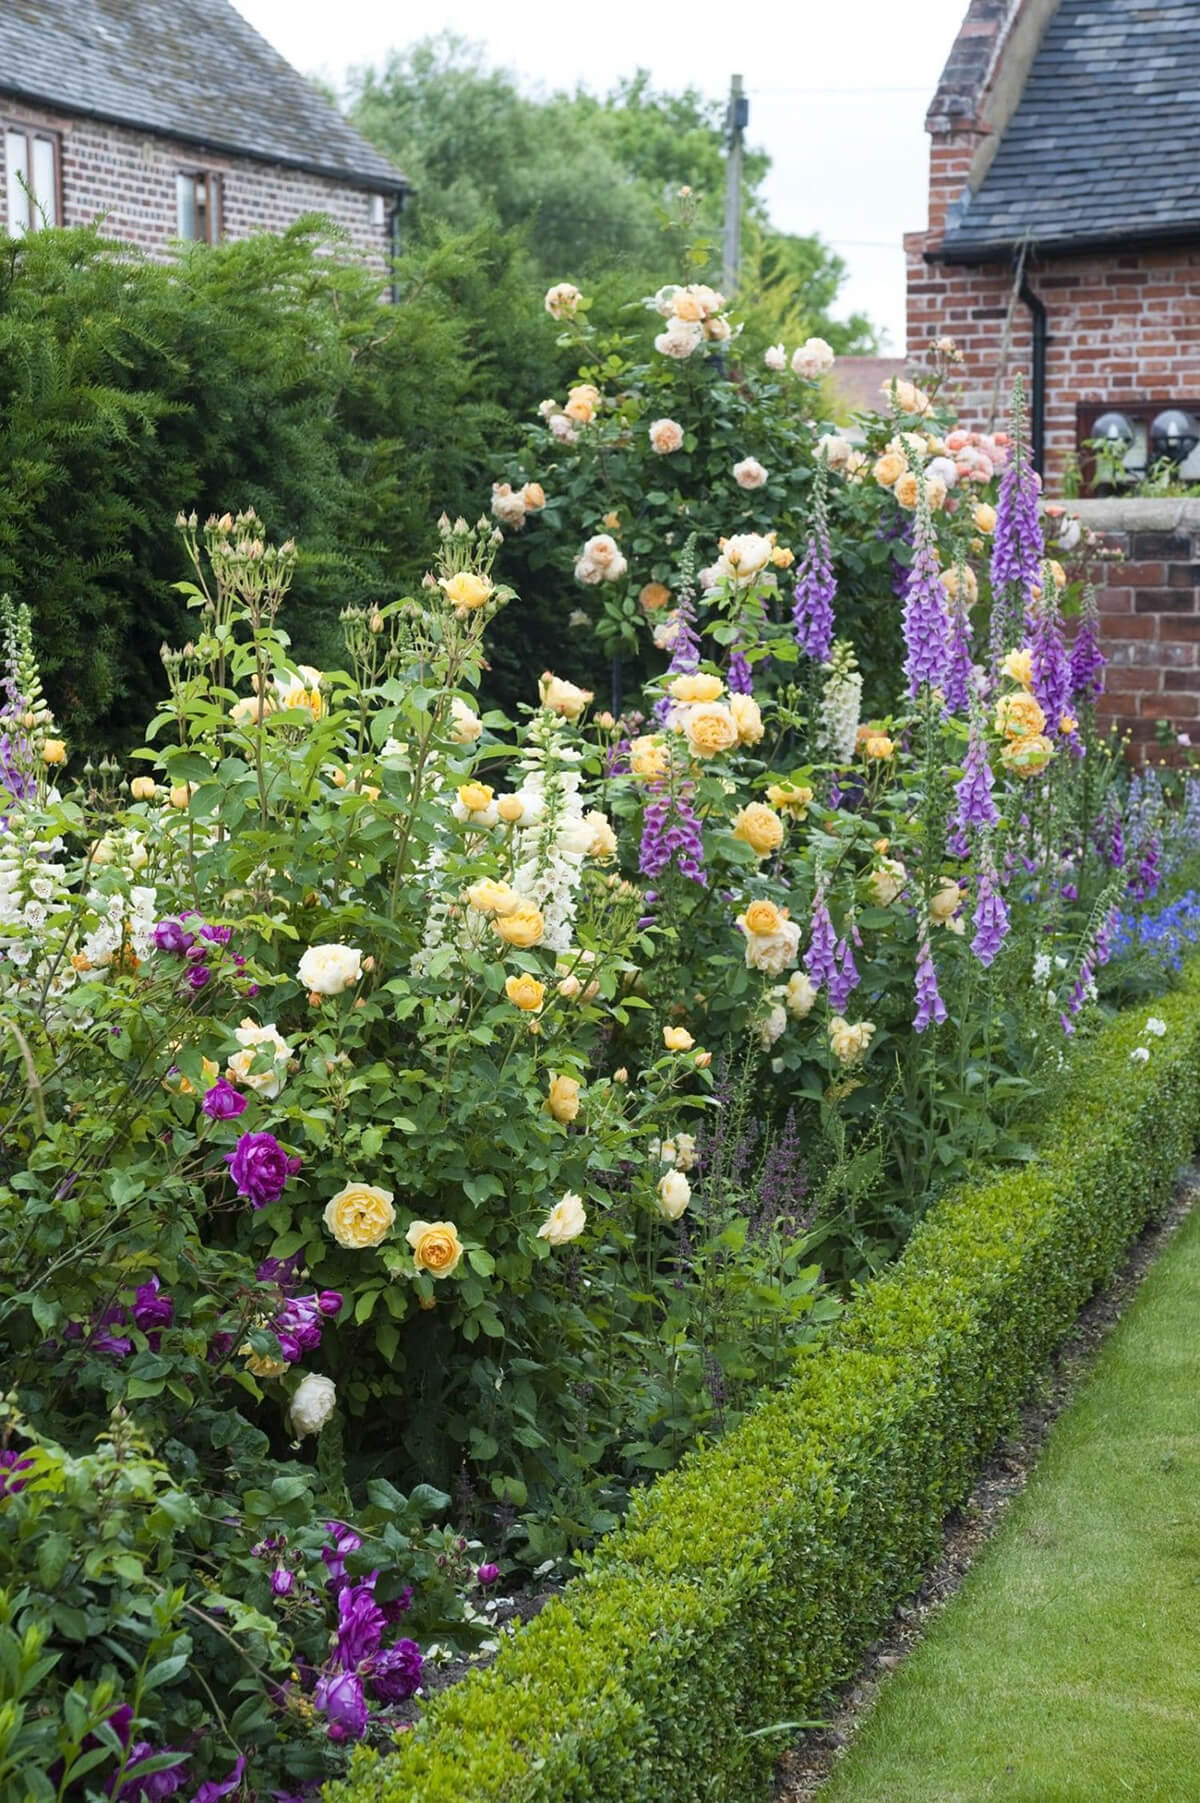
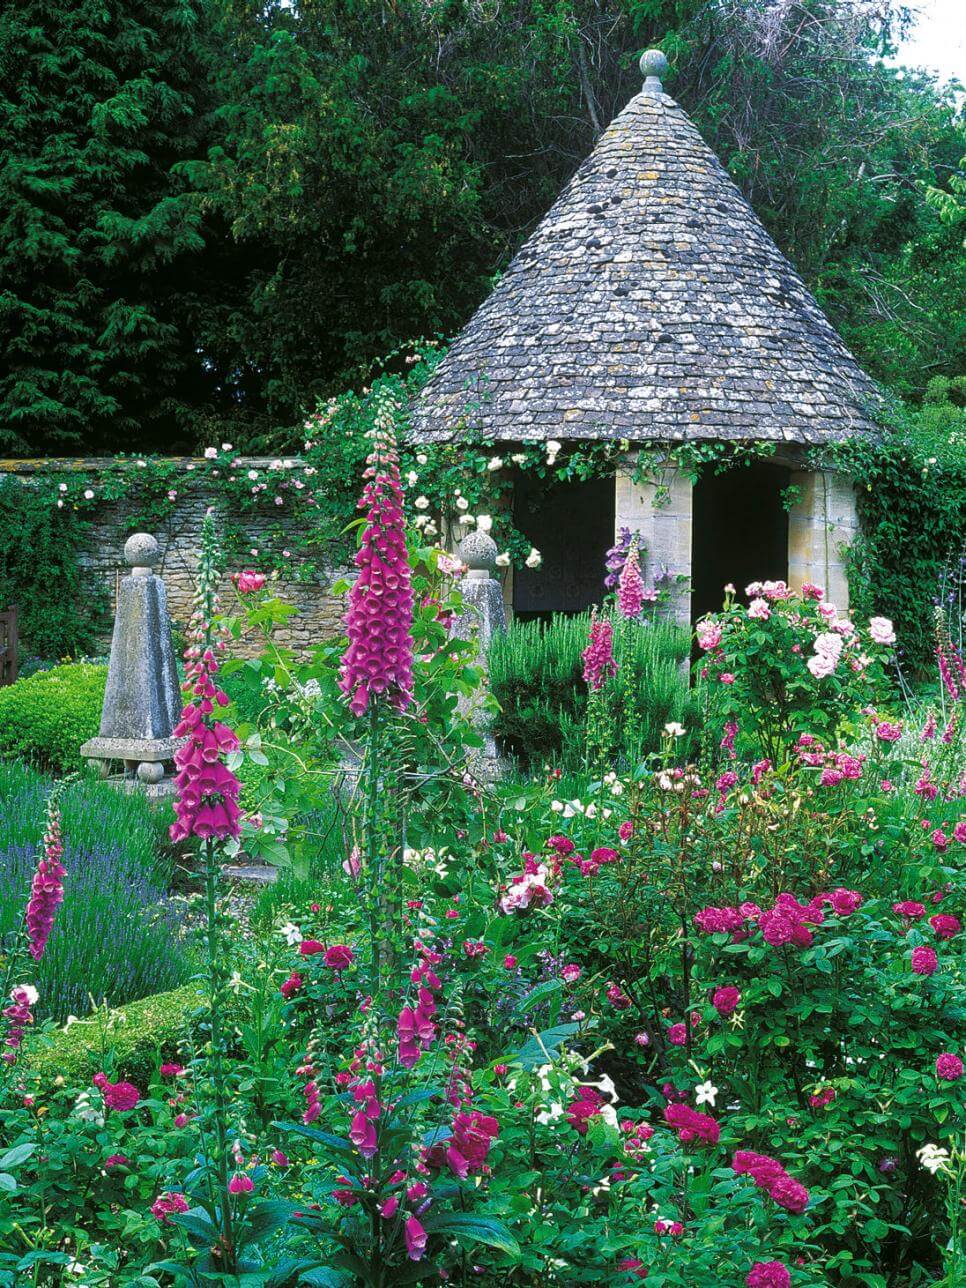
Tall spikes go at the back or center: foxglove, hollyhock, delphinium, 4-6 feet. Mid-height fillers come next: peonies, roses, phlox, 2-3 feet. Low, spilling plants go at the front edge: lamb’s ear, creeping thyme, sweet alyssum, under a foot.
This is also where the “wild but not messy” balance comes from. Real cottage gardens aren’t randomly planted. They’re planted in loose height tiers that just don’t look like straight rows.
Quick tip: Repeat at least one plant from each tier in two or three different spots in the same bed. It reads as an intentional rhythm instead of a random collection, and it’s the single easiest way to make a new bed look established faster.
3. Plan Bloom Succession So the Garden Doesn’t Peak Once and Fade
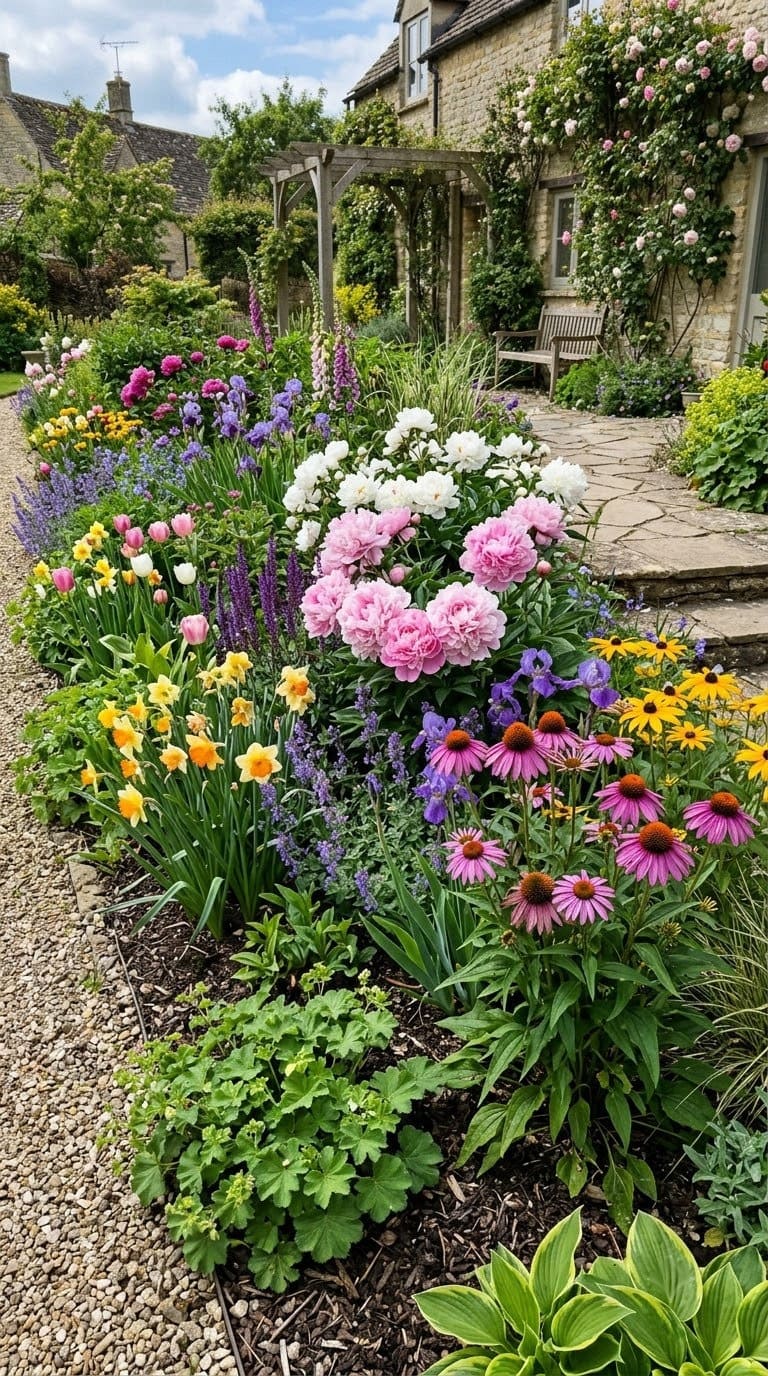
This directly answers the “one good week” problem from the Reddit thread. Pick plants across the full bloom calendar instead of loading up on whatever’s flowering at the nursery in May.
Spring bulbs like crocus and daffodil start the season. Late-spring perennials like peony and iris carry it forward.
Summer bloomers like coneflower, black-eyed Susan, and phlox hold the middle. Fall perennials like aster and sedum close it out.
University of Maryland Extension’s guidance on perennial gardens backs this up directly. Selecting plants with staggered bloom periods is what produces a steady succession of color, instead of one big flush followed by a gap. This rundown of perennials that keep flowering across every season is a good starting shortlist to pull from.
Quick tip: Buy an early, a mid-season, and a late variety of the same flower. Many daffodils and daylilies come in staggered-bloom cultivars. Plant all three together in one clump and you get 4-6 weeks of that one flower instead of two.
4. Plant Tighter Than the Tag Says, But Leave Air Lanes
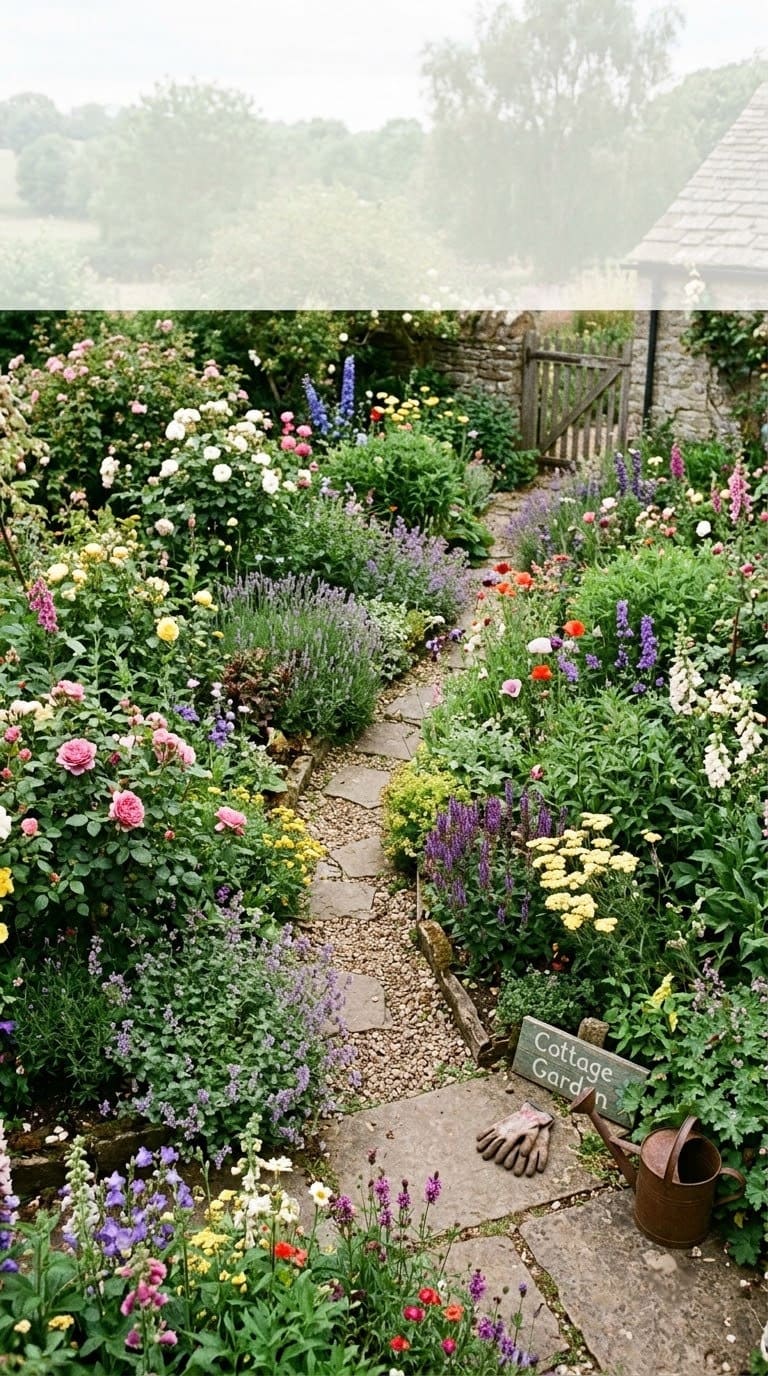
The “overgrown” cottage look is genuinely planted closer than a typical spacing chart recommends. That part of the Reddit thread’s advice checks out. But there’s an overlooked tradeoff nobody mentions.
Plant too tight with zero airflow and you get fungal disease and weak, leggy growth instead of lush fullness. The fix both designers and home gardeners converge on is planting at roughly 75-80% of the tag’s recommended spacing. Then deliberately leave a foot-wide access lane every few feet so you can actually reach in to deadhead and weed without stepping on anything.
Quick tip: Do this air-lane planning before you plant, not after. Once a bed fills in, there’s no clean way to retrofit access without disturbing roots you don’t want to disturb.
5. Let Self-Seeding Annuals Do the Wild Work for You
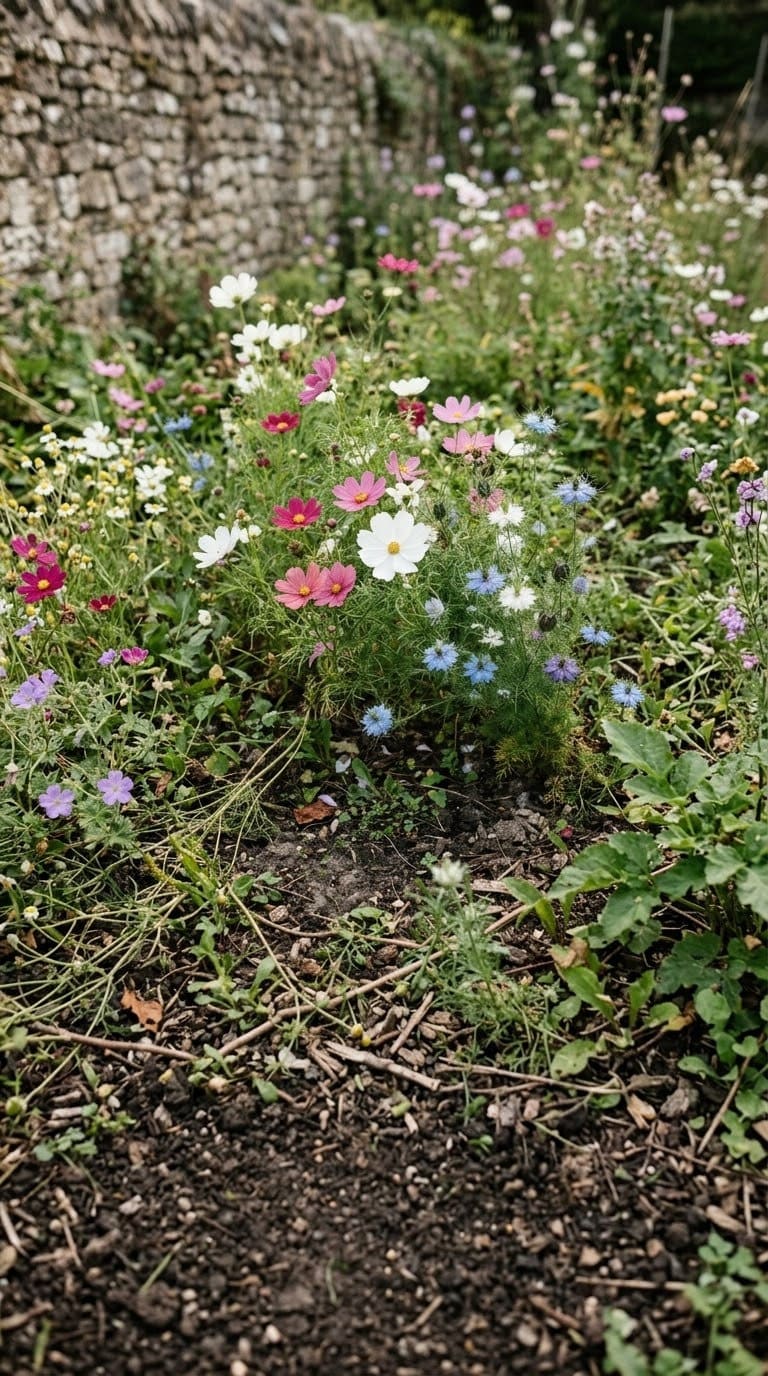
Cosmos, larkspur, poppies, nigella, and forget-me-not all reseed themselves if you leave some spent flower heads standing instead of deadheading everything in fall. That fills gaps in your beds for free, year after year.
It’s exactly the mechanism behind that slightly chaotic, “it just happened this way” look cottage gardens have. If you’d rather build most of the bed this way from the start, starting a cottage garden from seed instead of nursery starts walks through the full process.
Quick tip: Let self-seeders go to seed in one dedicated corner first, rather than the whole bed. Watch how aggressively that particular species spreads before you let it loose everywhere.
Some self-seeders are polite. Others will take over a bed in two seasons if you let them.
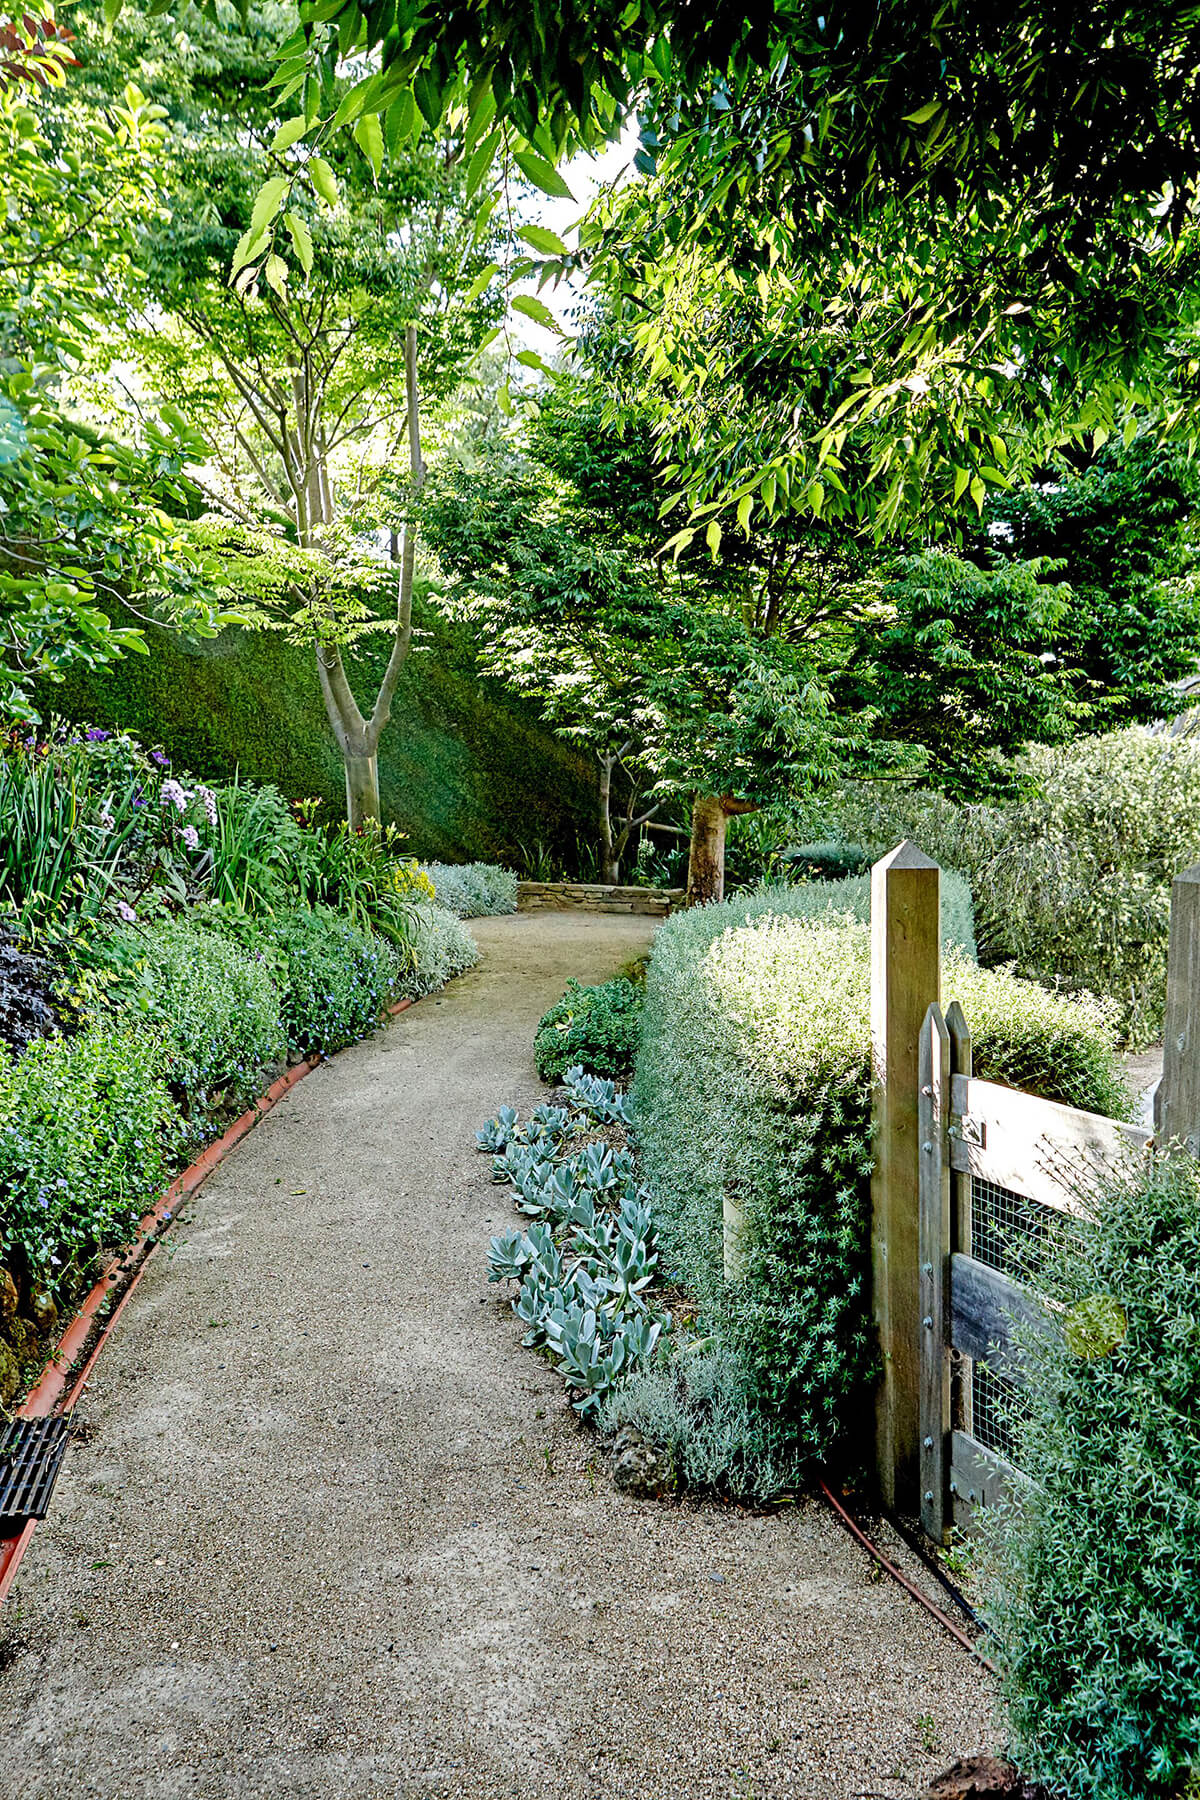
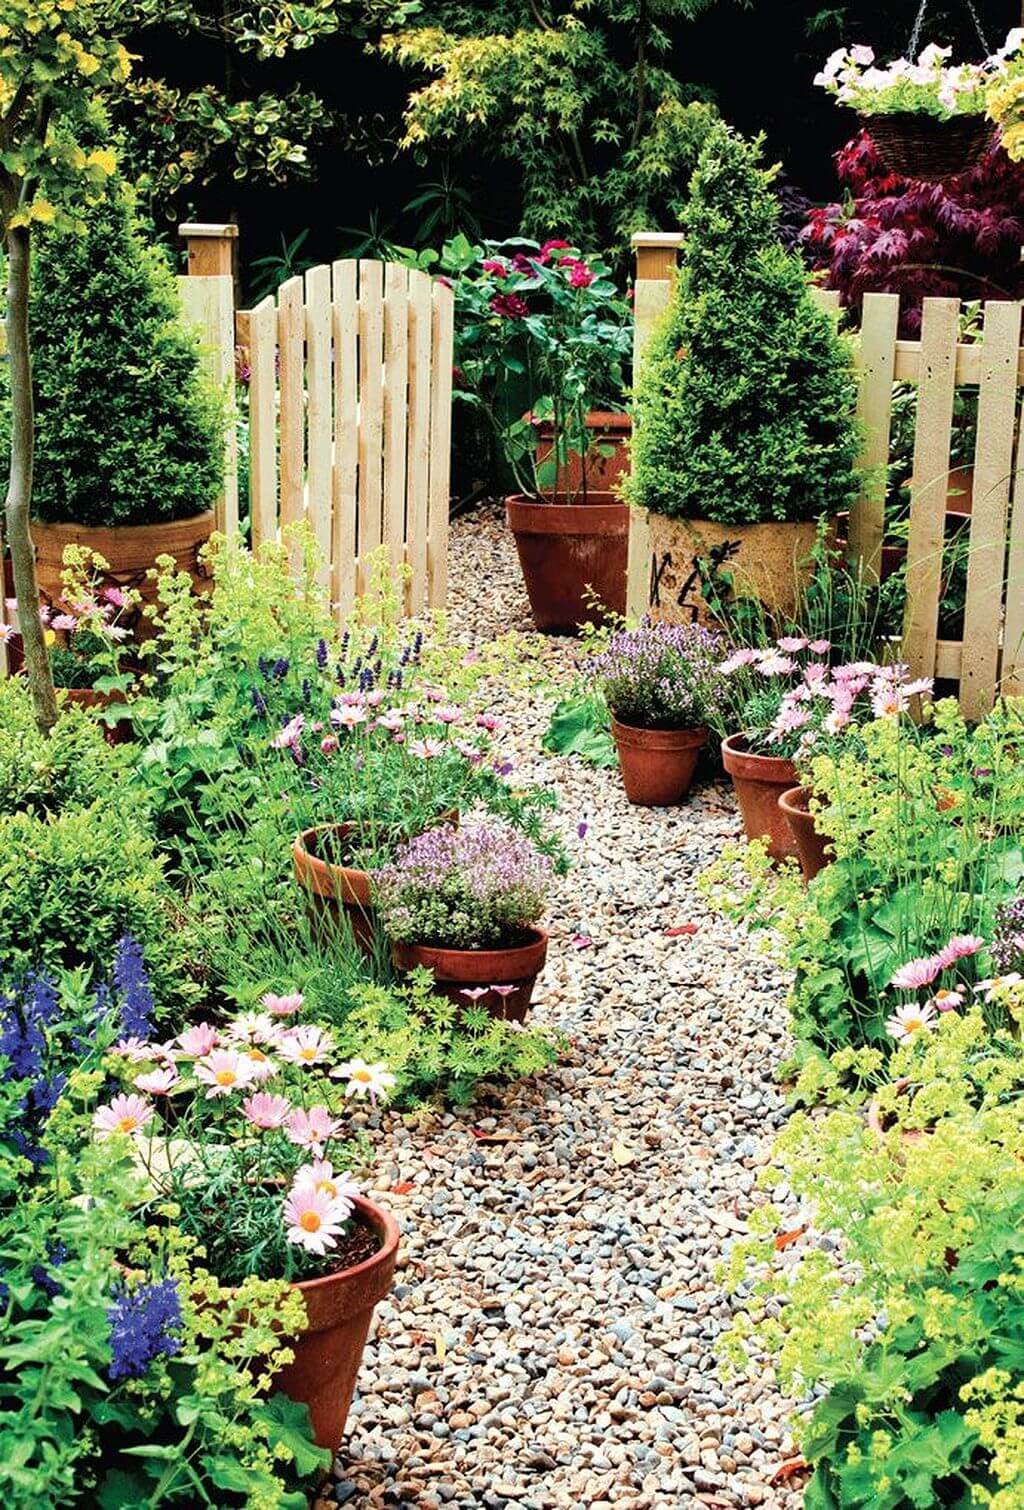
6. Curve Every Path and Bed Edge, Never a Straight Line
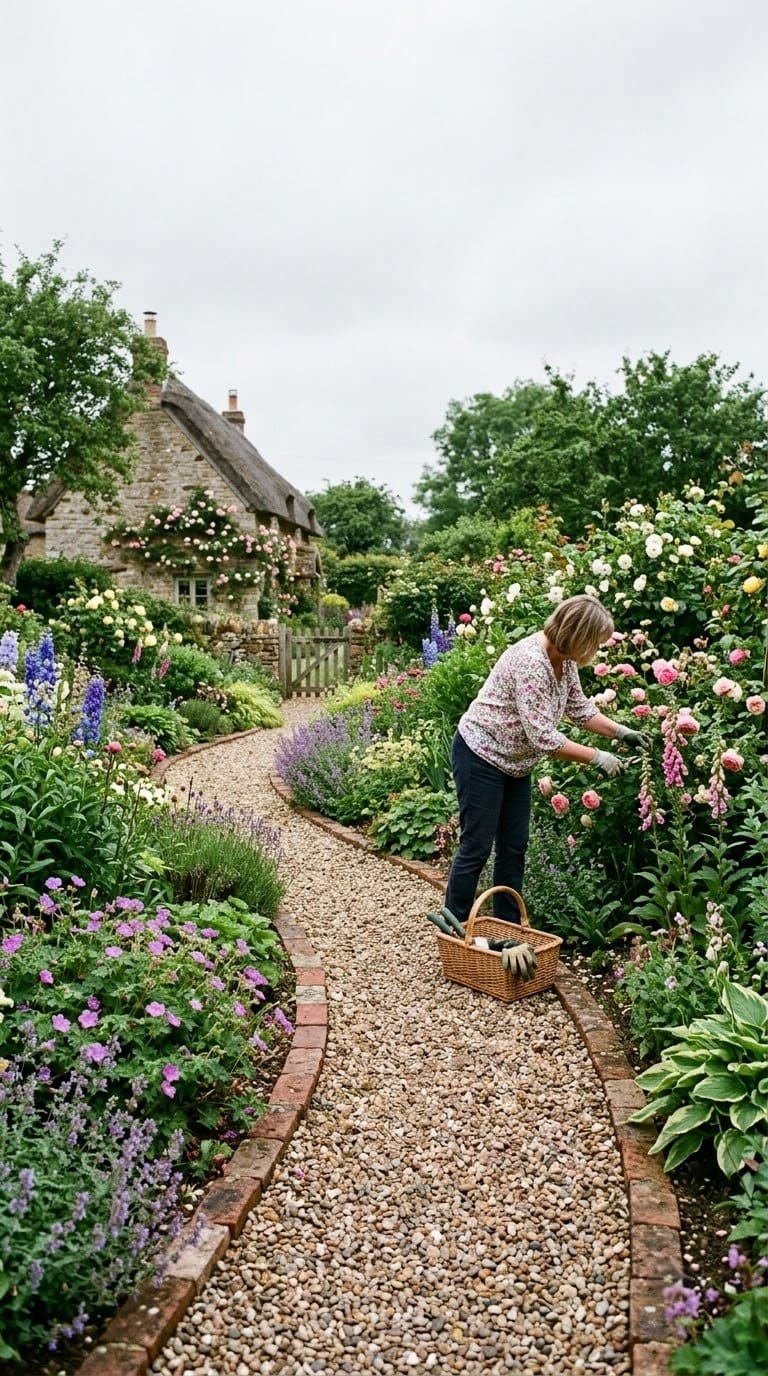
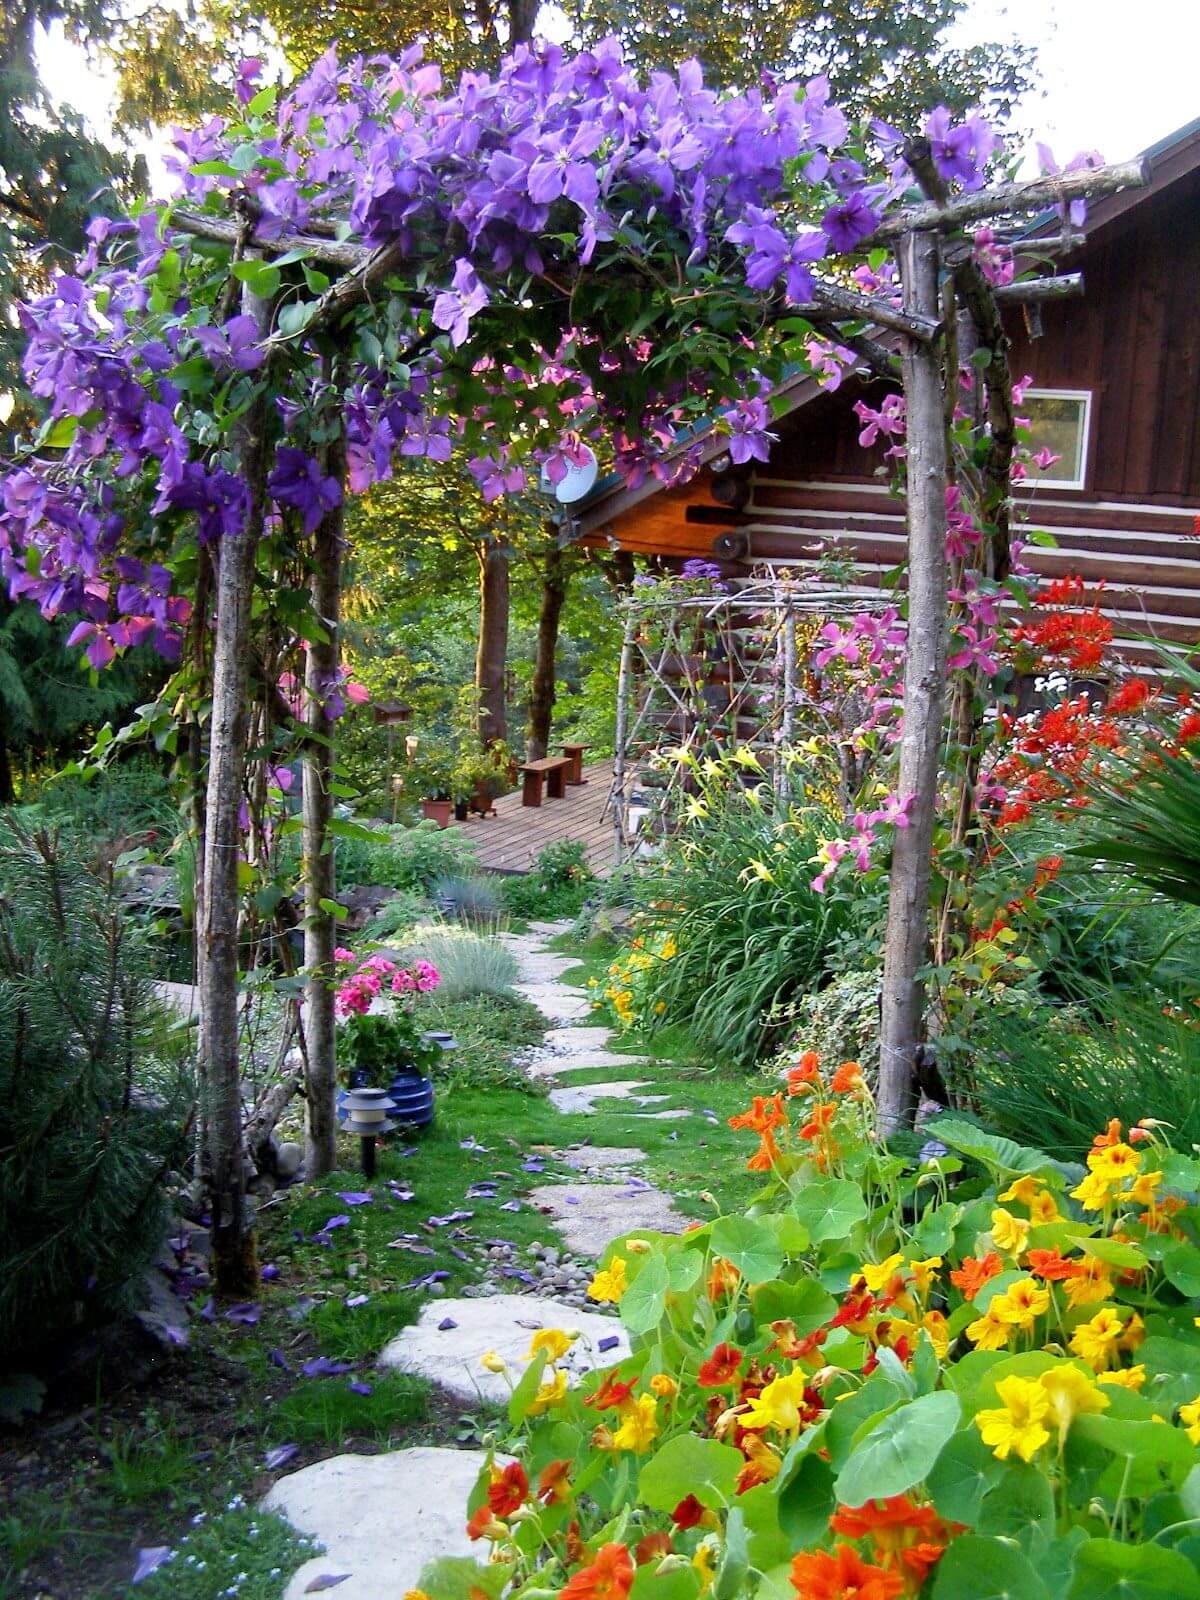
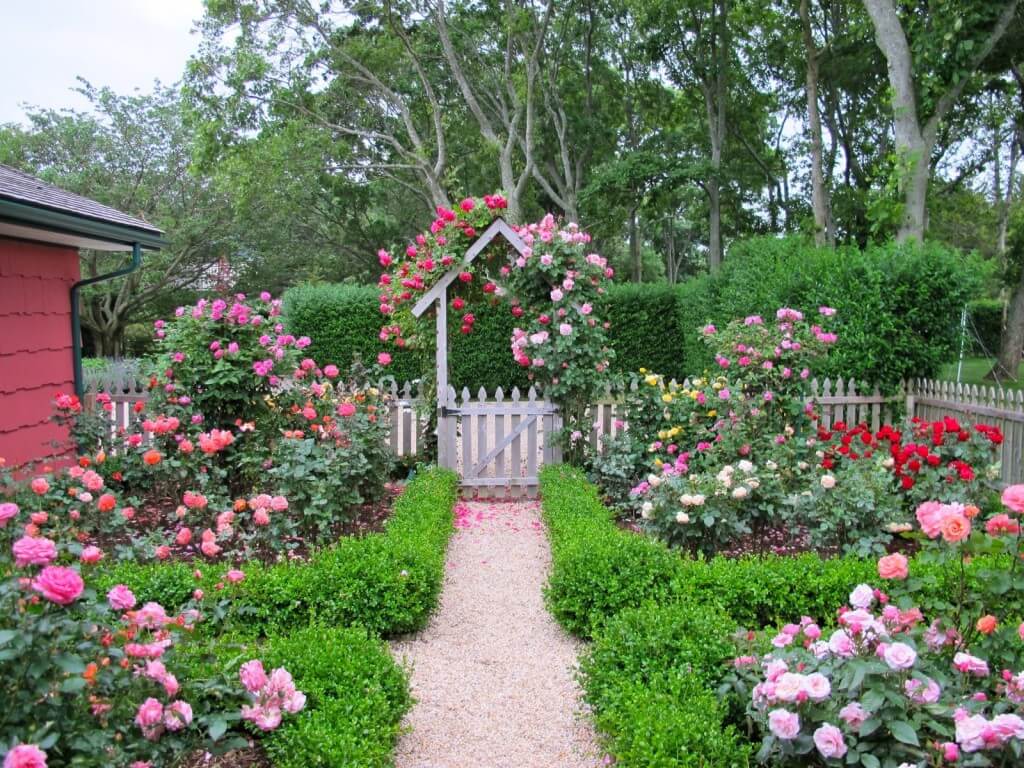
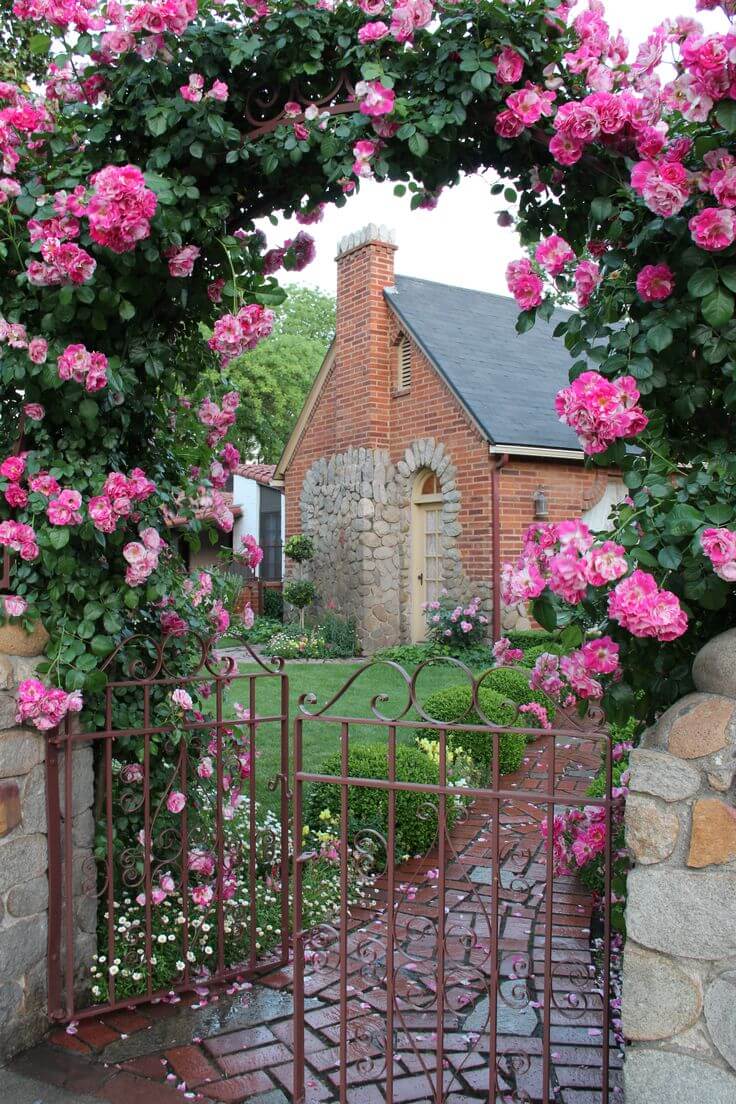
A straight path or a ruler-edged bed reads as formal, and formal is the opposite of the cottage look. Landscape designer Jan Johnsen, writing for GardenDesign.com, describes the winding, soft-edged path as one of the defining structural elements of the style. She points to materials like bluestone, brick, wood chips, or gravel, always installed with an edge to keep loose material contained.
Quick tip: Lay a garden hose on the ground to trace your curve before you dig or order material. It’s the fastest way to test a curve at full scale, and you can reshape it a dozen times for free before committing to pavers or edging.
7. Give It Winter Bones So It Isn’t Bare From November to March
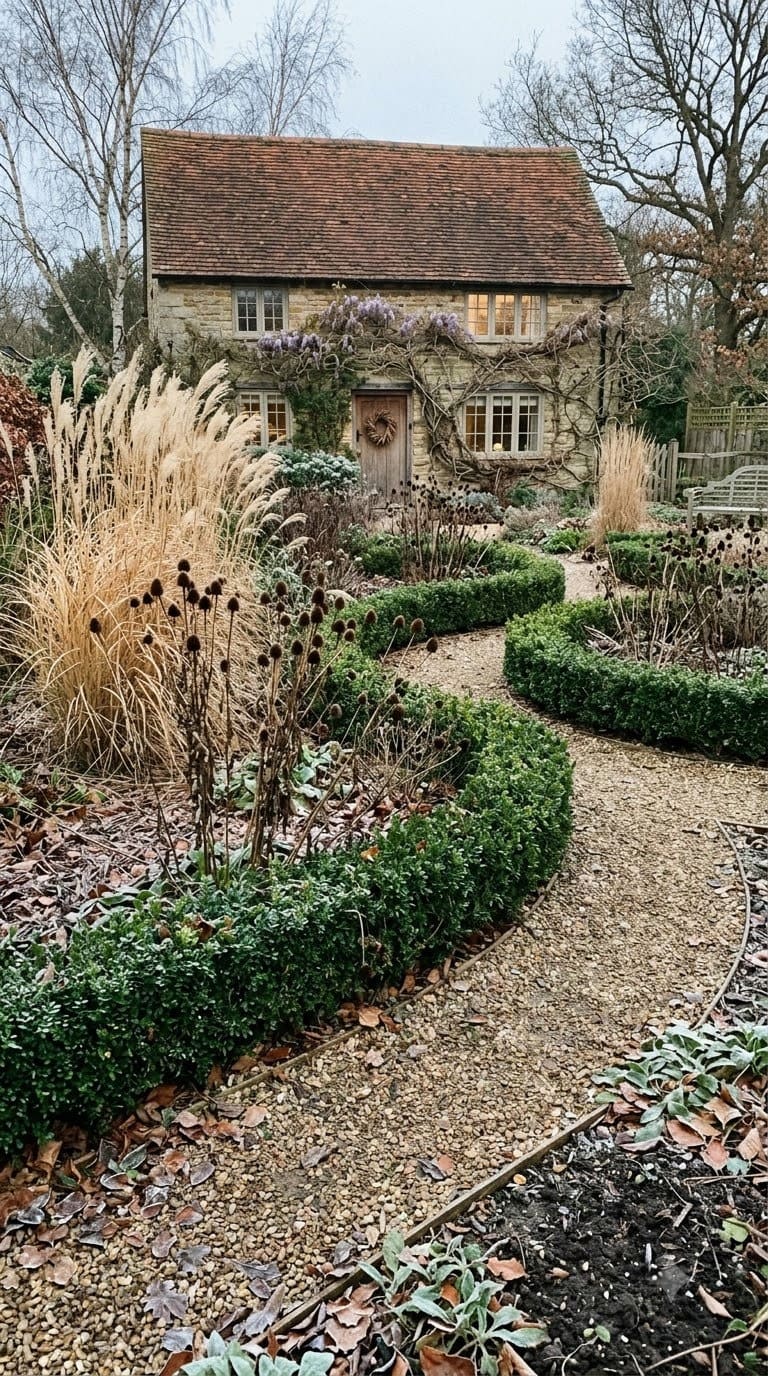
Winter bareness came up again and again in gardener discussions online as a specific, named worry, not a vague concern. The fix is the same evergreen structure from idea 1, plus leaving ornamental grasses and perennial seed heads like coneflower and sedum standing through winter instead of cutting everything back in fall.
Boxwood, holly, and dwarf conifers hold shape and color all winter, and this list of evergreen shrubs built for winter gardens covers more options for that role. Camellias go further and actually bloom in the cold months in many US zones, along with a handful of other plants that flower through the coldest stretch, giving you flower color instead of just green structure.
Quick tip: Standing seed heads aren’t just for looks. They feed birds through winter, so leaving them up doubles as a small decision that also supports pollinator-friendly plantings elsewhere in the yard, not just an aesthetic one.
8. Go Vertical if the Yard Is Narrow or Small
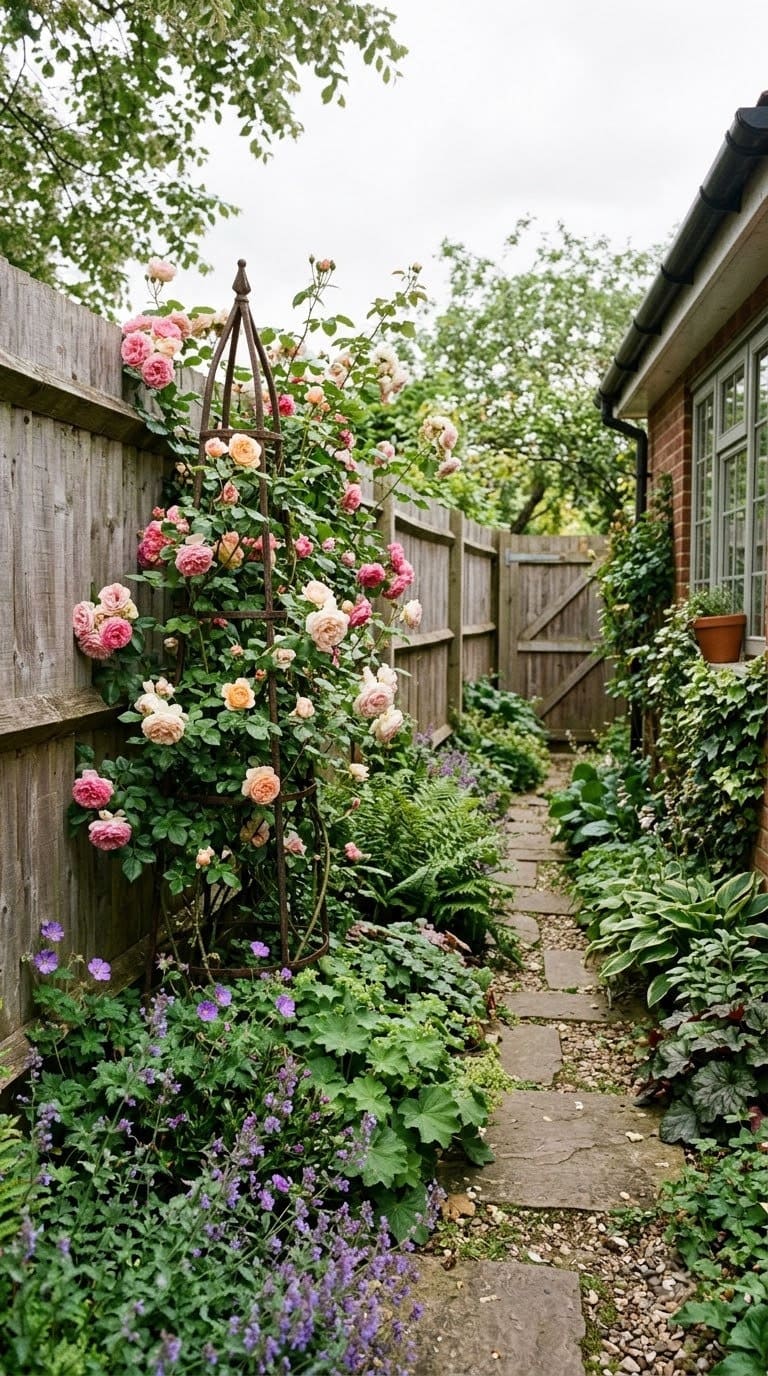
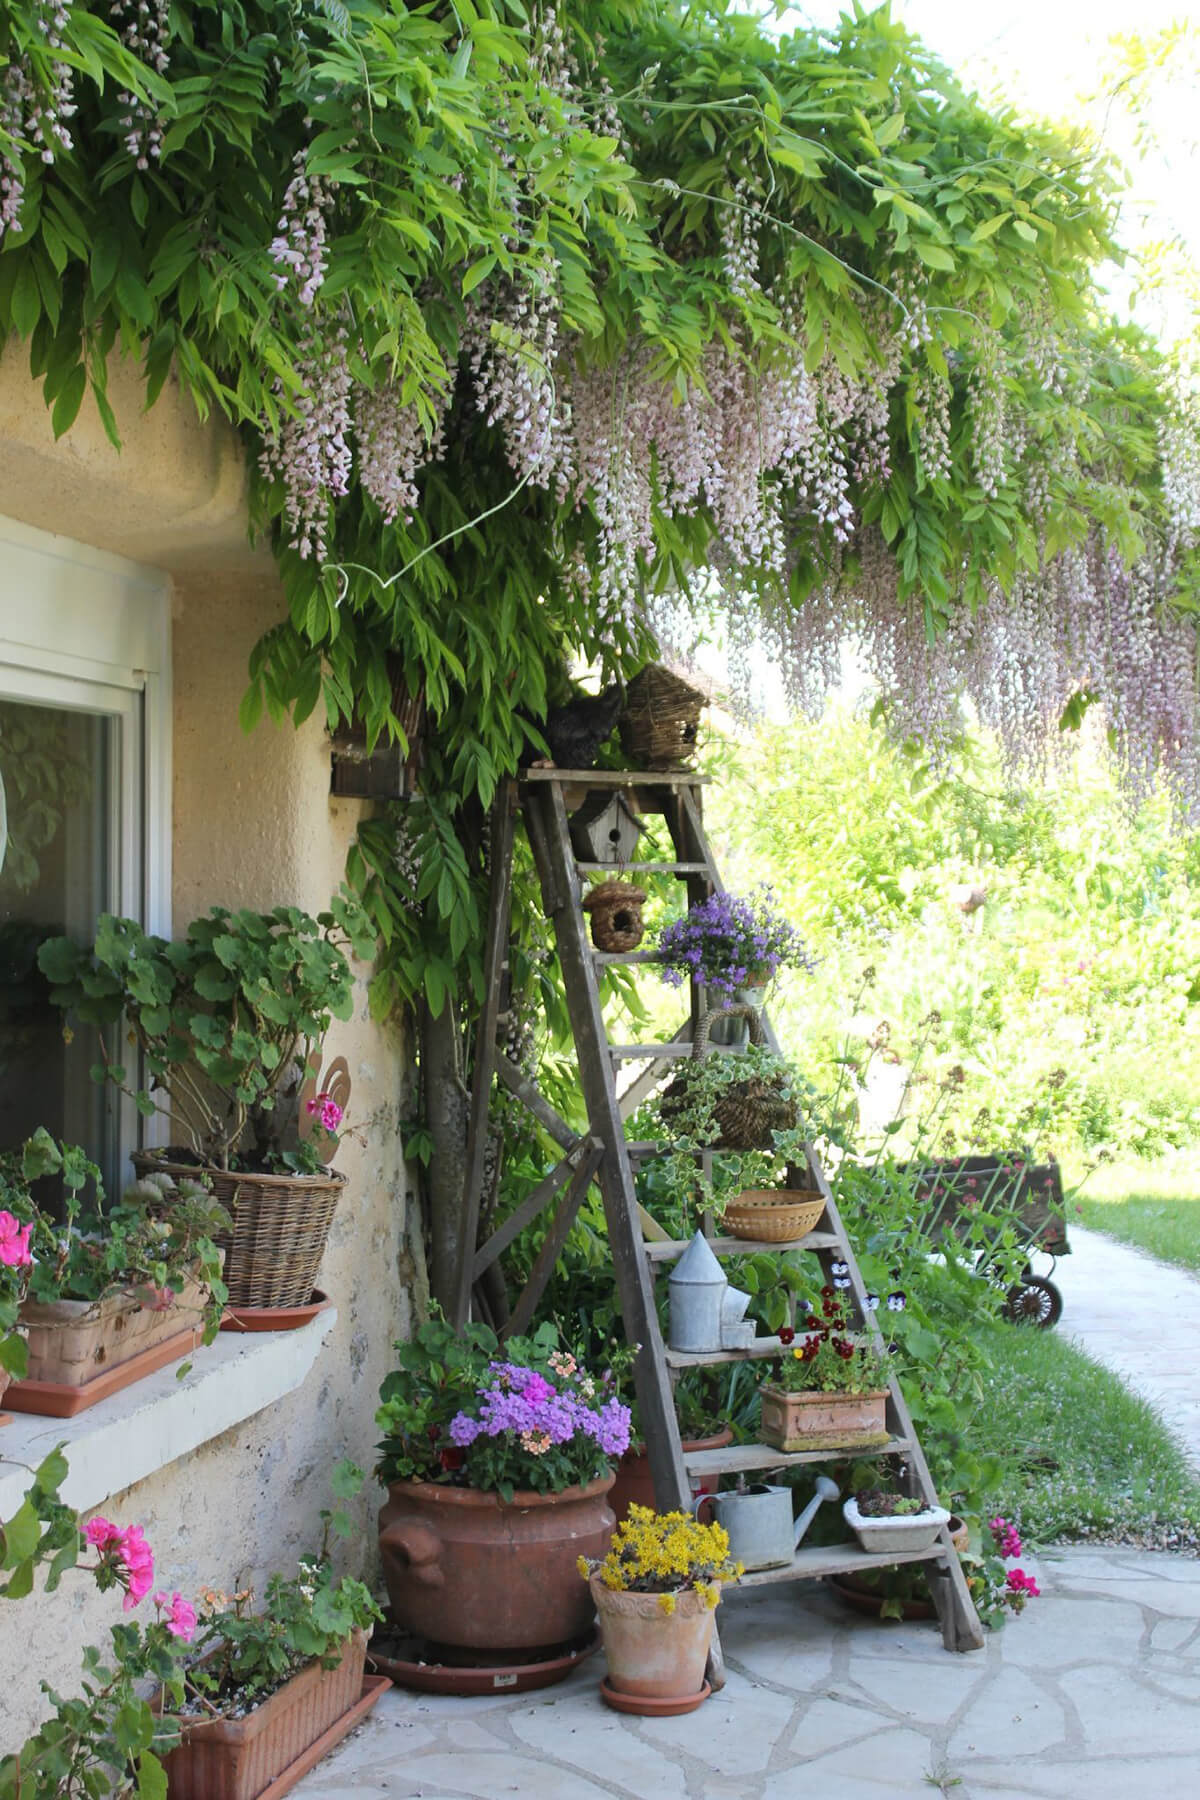
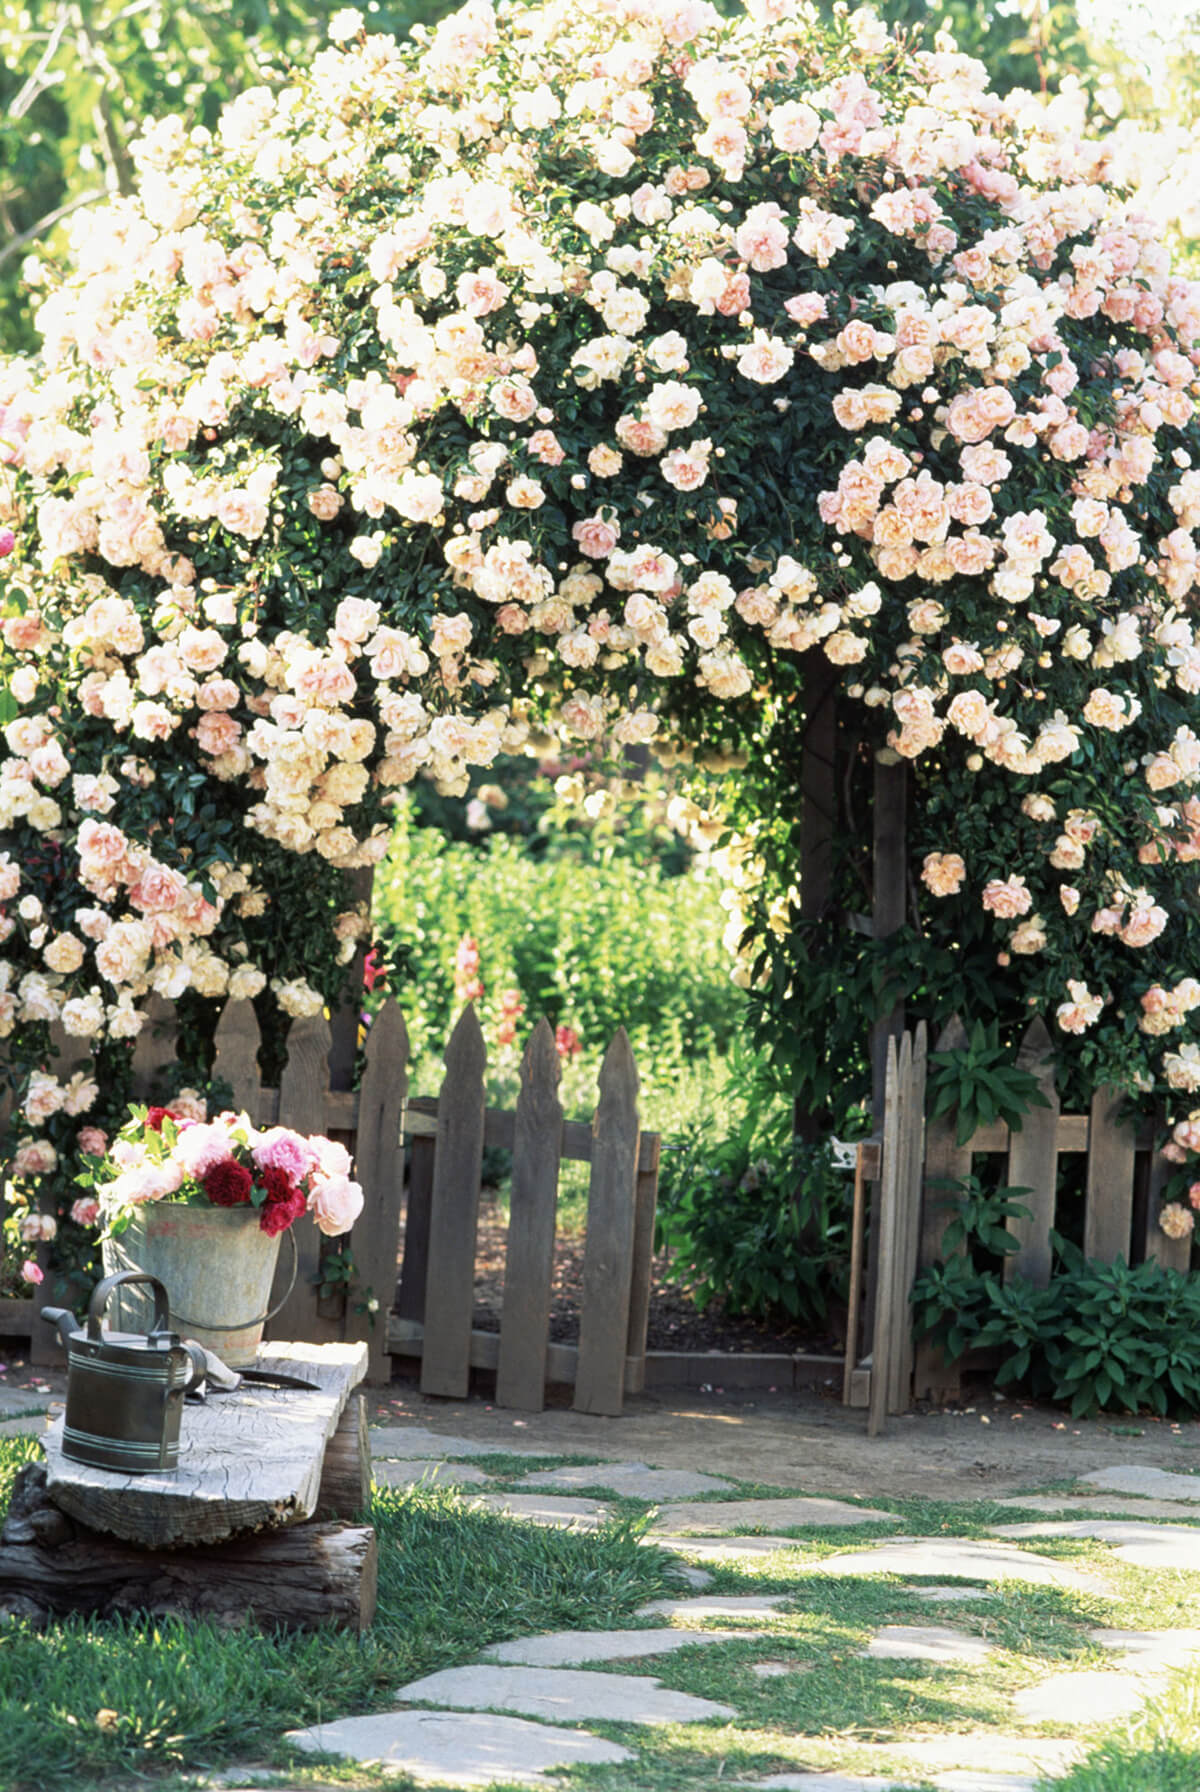
A narrow side yard or a small backyard can’t fit the wide, deep beds most cottage garden photos show. The fix gardeners in tight spaces actually use is to grow up instead of out. Climbing roses, clematis, or honeysuckle on a trellis or obelisk work well, and so does an espaliered fruit tree trained flat against a fence or wall.
This solves two problems at once in a small space. It adds the height a cottage garden needs (see idea 2) without eating ground you don’t have, and it gives you a green, flowering backdrop instead of a bare fence. The same shape-first thinking behind making a yard that’s longer than it is wide feel less like a hallway applies directly here.
Quick tip: Clematis and climbing roses both want their roots in shade and their top growth in sun. Plant them a foot or so out from the wall’s base with a low plant in front to shade the root zone, rather than jammed right against the hottest part of the fence.
9. Renting or Starting From Scratch? Get the Soil Test and the Local Rules First
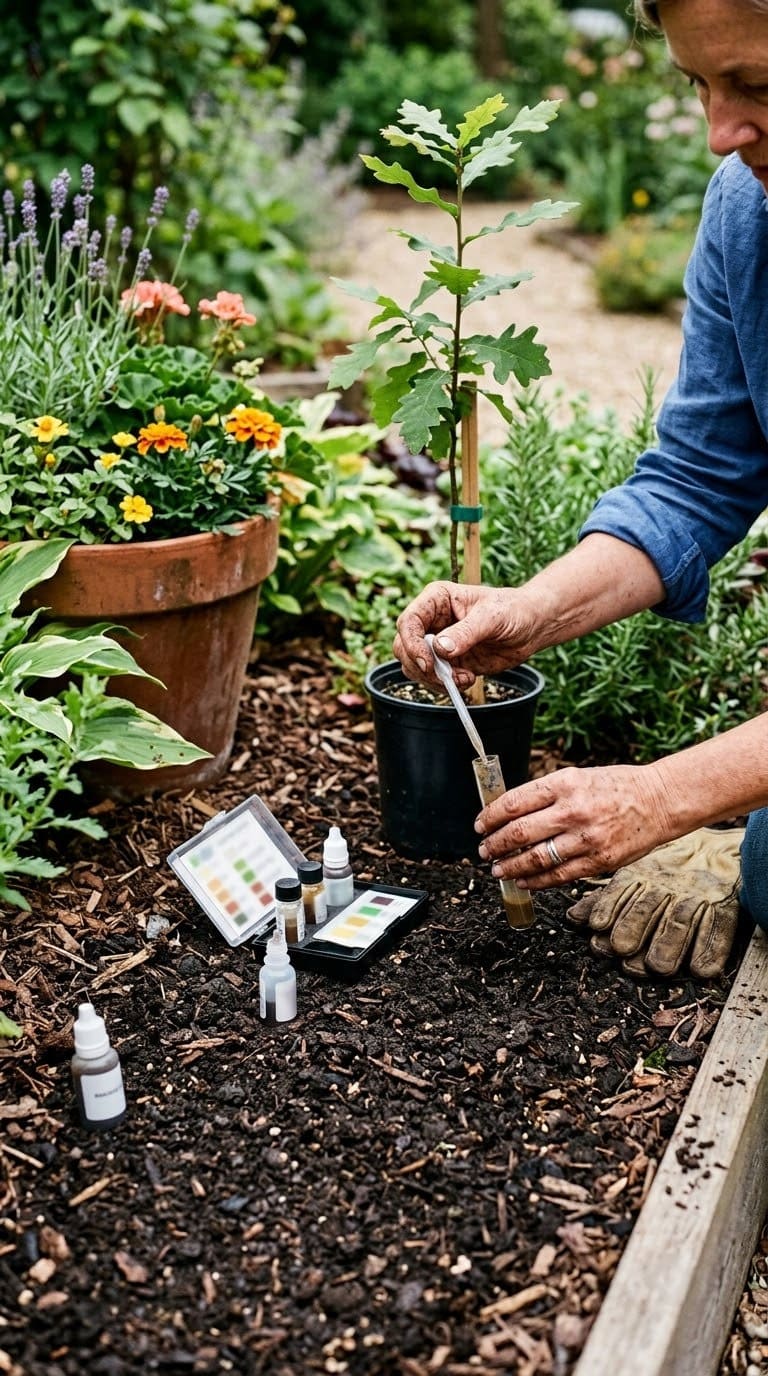
Two things get skipped in almost every cottage garden guide, and both cost money and hassle if you skip them. First, a basic soil pH and nutrient test tells you what you’re actually working with before you buy plants that might hate your soil.
Second, if you’re renting, check your local rules on planting trees or shrubs near property boundaries before you commit to anything permanent. Some municipalities and lease agreements restrict this specifically.
There’s a third trap worth naming directly: ivy. It looks like an easy, cheap way to soften a wall or fence, but it’s genuinely difficult to remove once established, and it can damage brick, siding, and mortar joints over time.
If you’re renting, or just don’t want a multi-year removal project later, skip it. An annual vine like morning glory or a well-behaved perennial climber does the same softening job without the risk.
Quick tip: If you’re renting and can’t plant in the ground at all, large containers (15+ gallons) can carry the same layered, self-seeding cottage look and move with you when you leave.
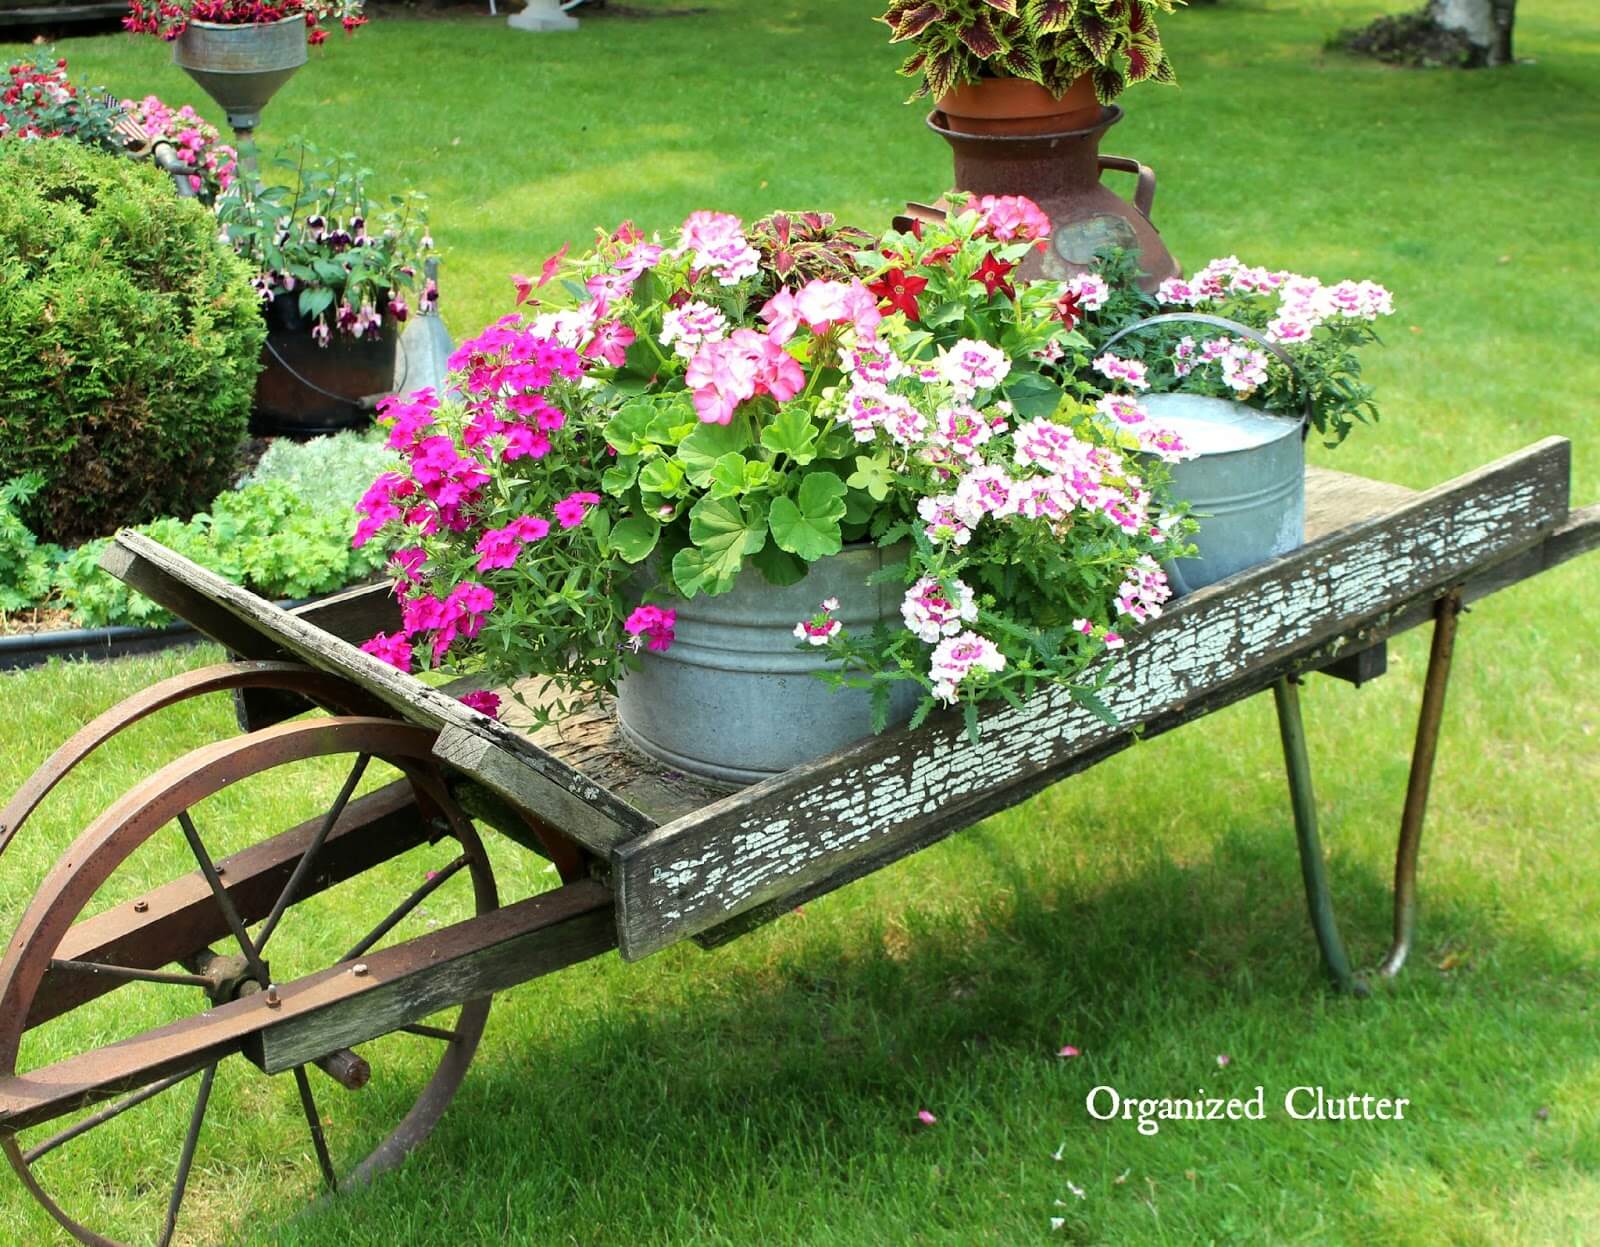
Source: organizedclutter.net
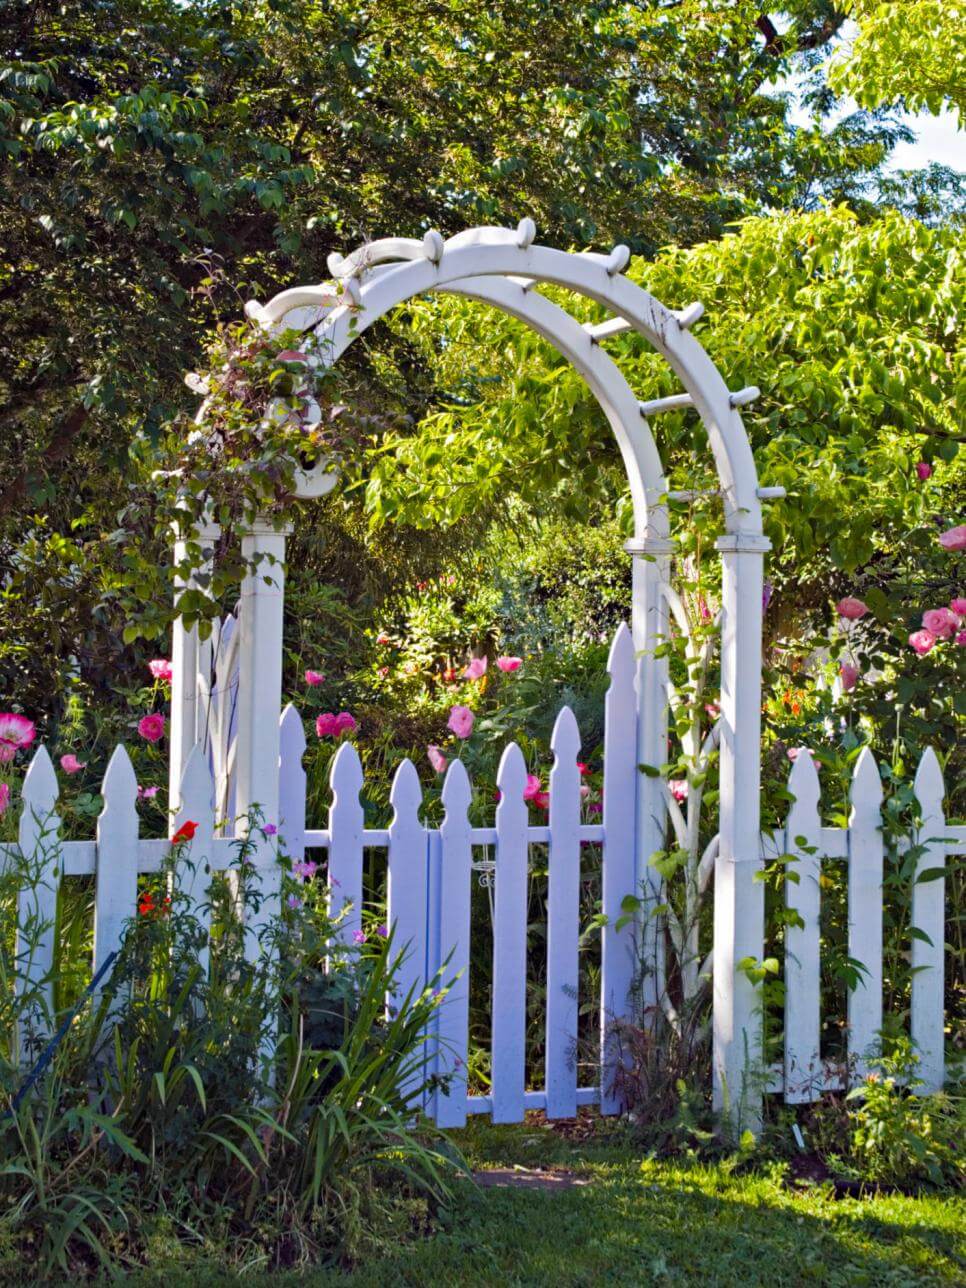
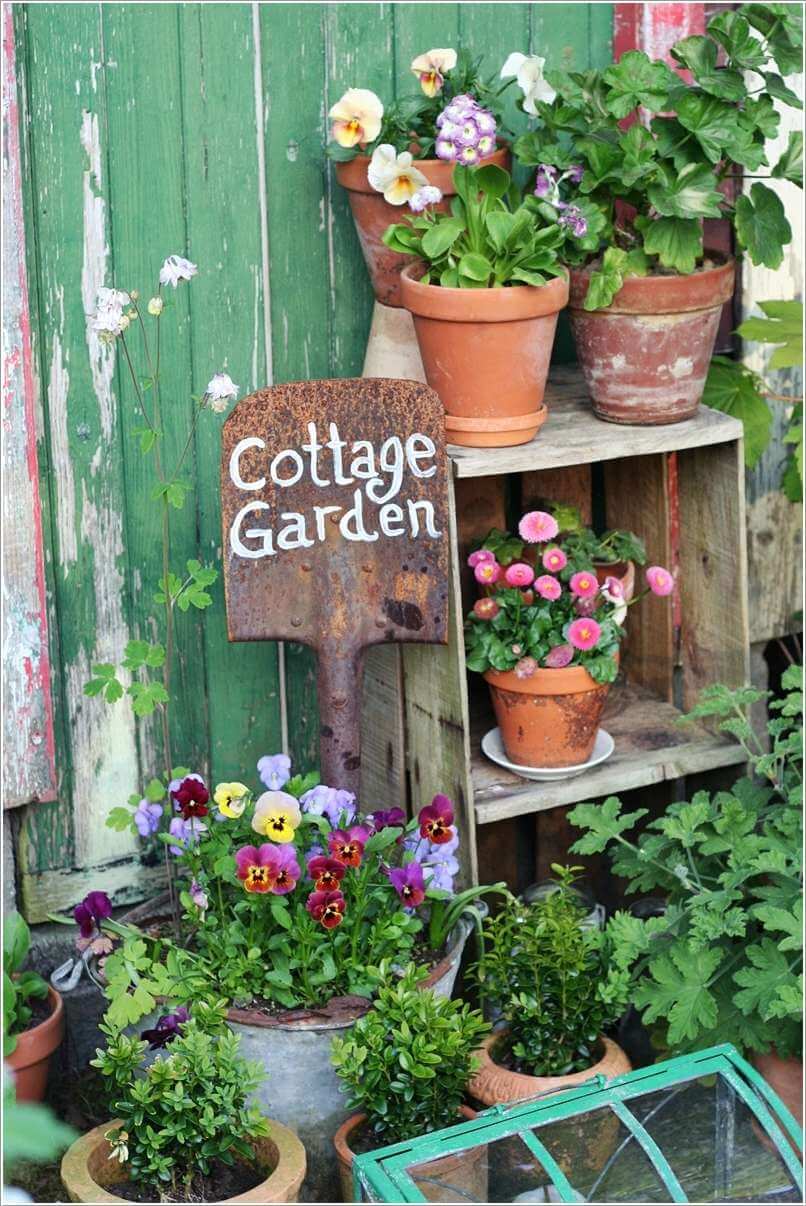

Source: hgtv.com
Source: blessmyweeds.com
Source: lavanda-artdizayn.az


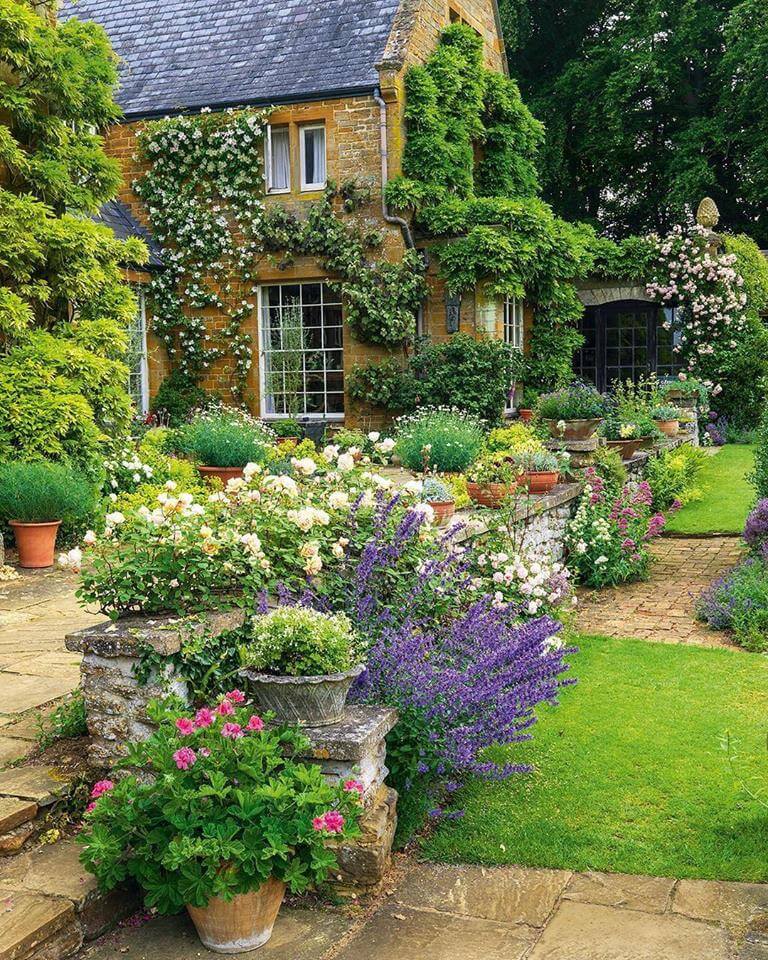
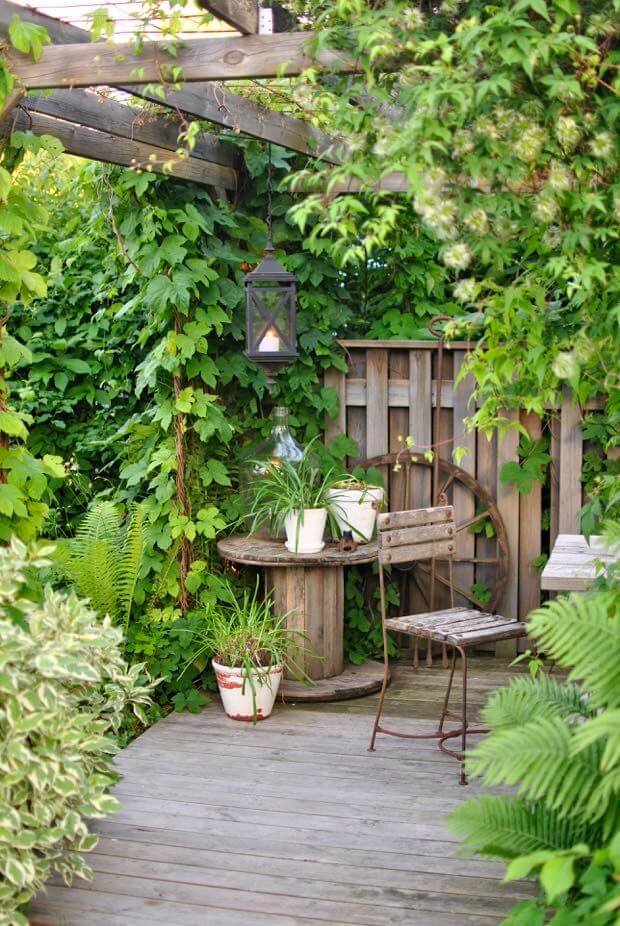

Source: blog.styleestate.com
Source: junkchiccottage.blogspot.com
Source: loveofwhite.blogspot.com
Source: wilsonrosegarden.com
Source: onechitecture.com
Source: bhg.com
Source: homedecor17.com
Source: hannashantverk.blogspot.com
Source: davidaustinroses.co.uk
Source: extension.msstate.edu
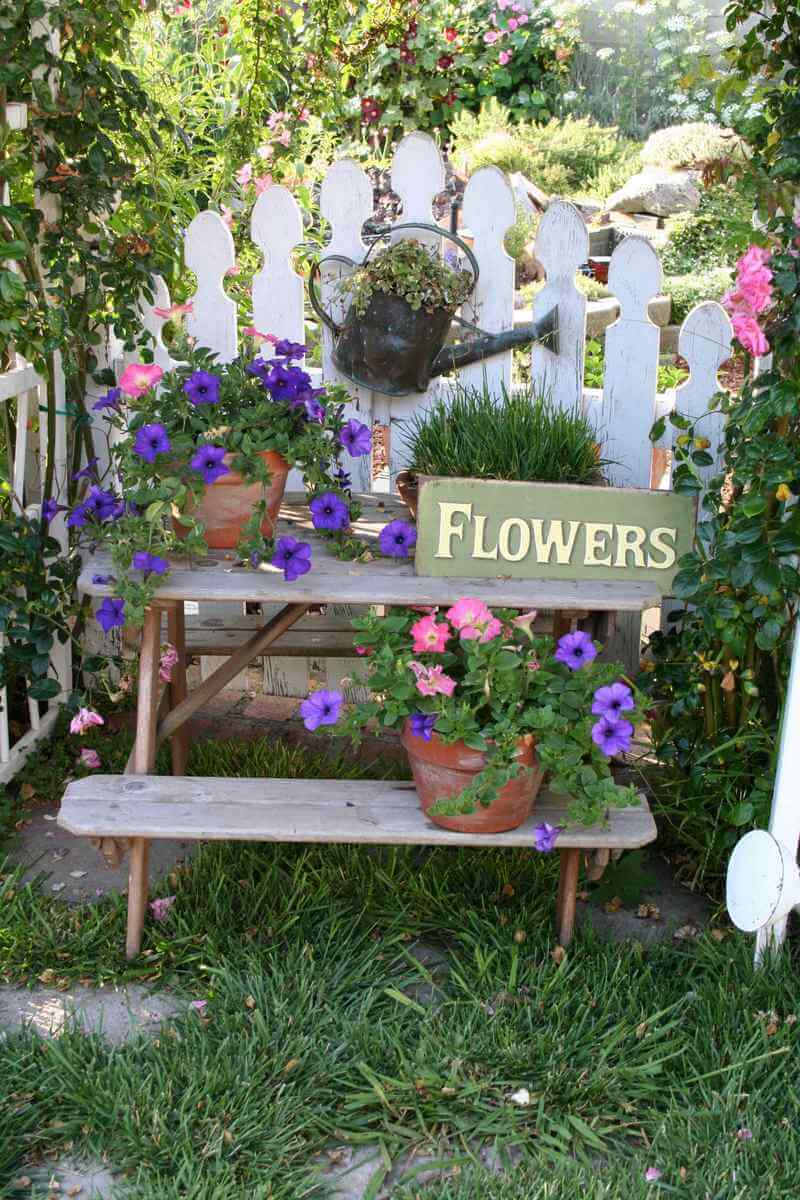
Tiered Potted Roses in Planters
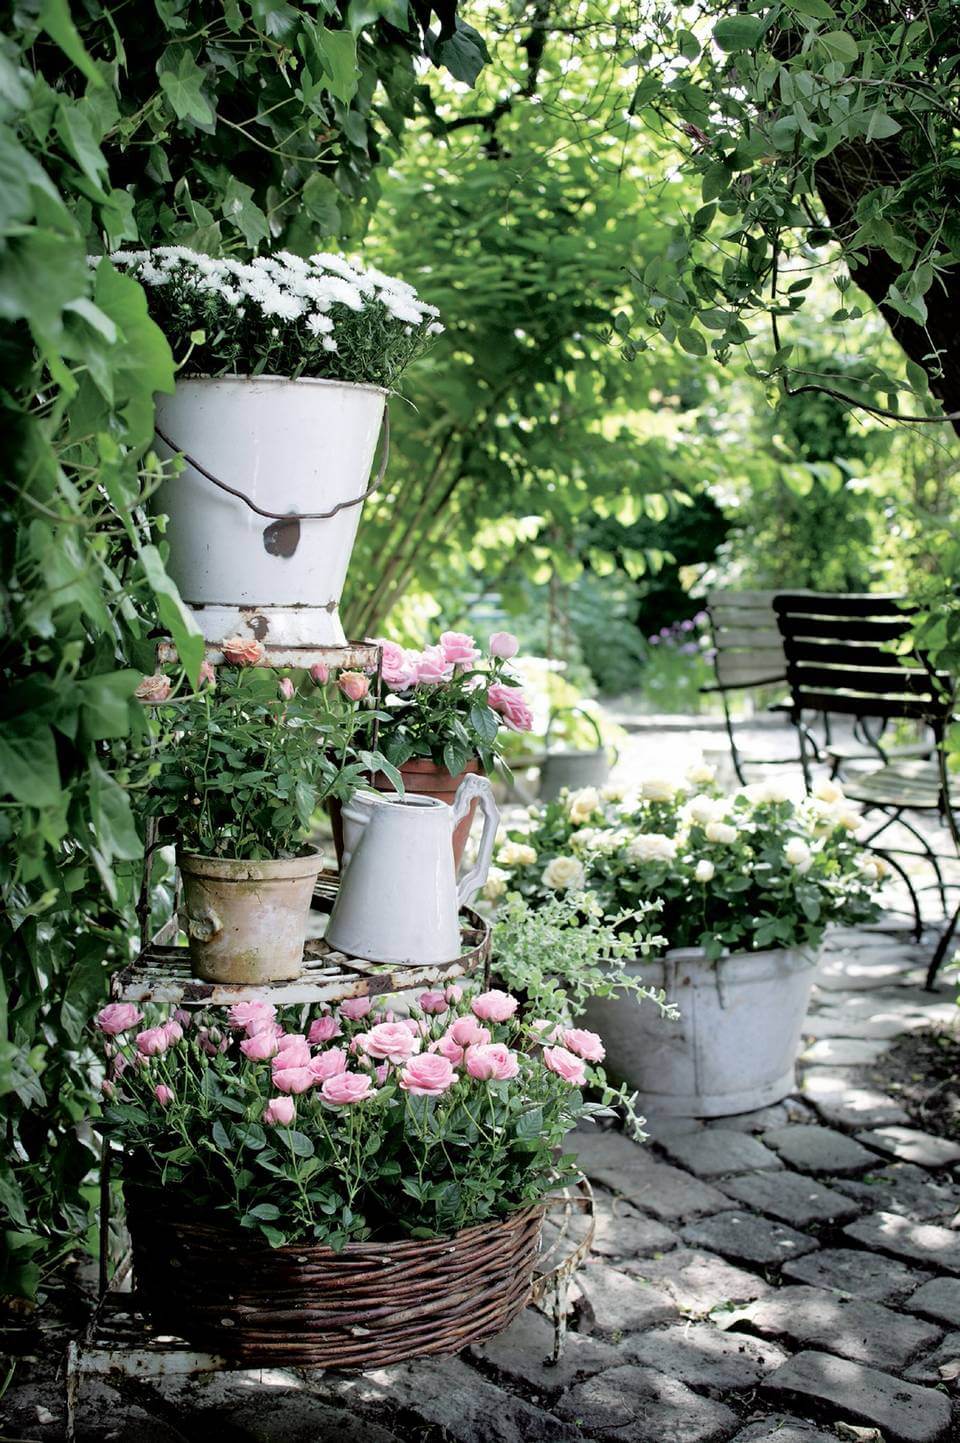
Source: gardenstyleliving.tumblr.com
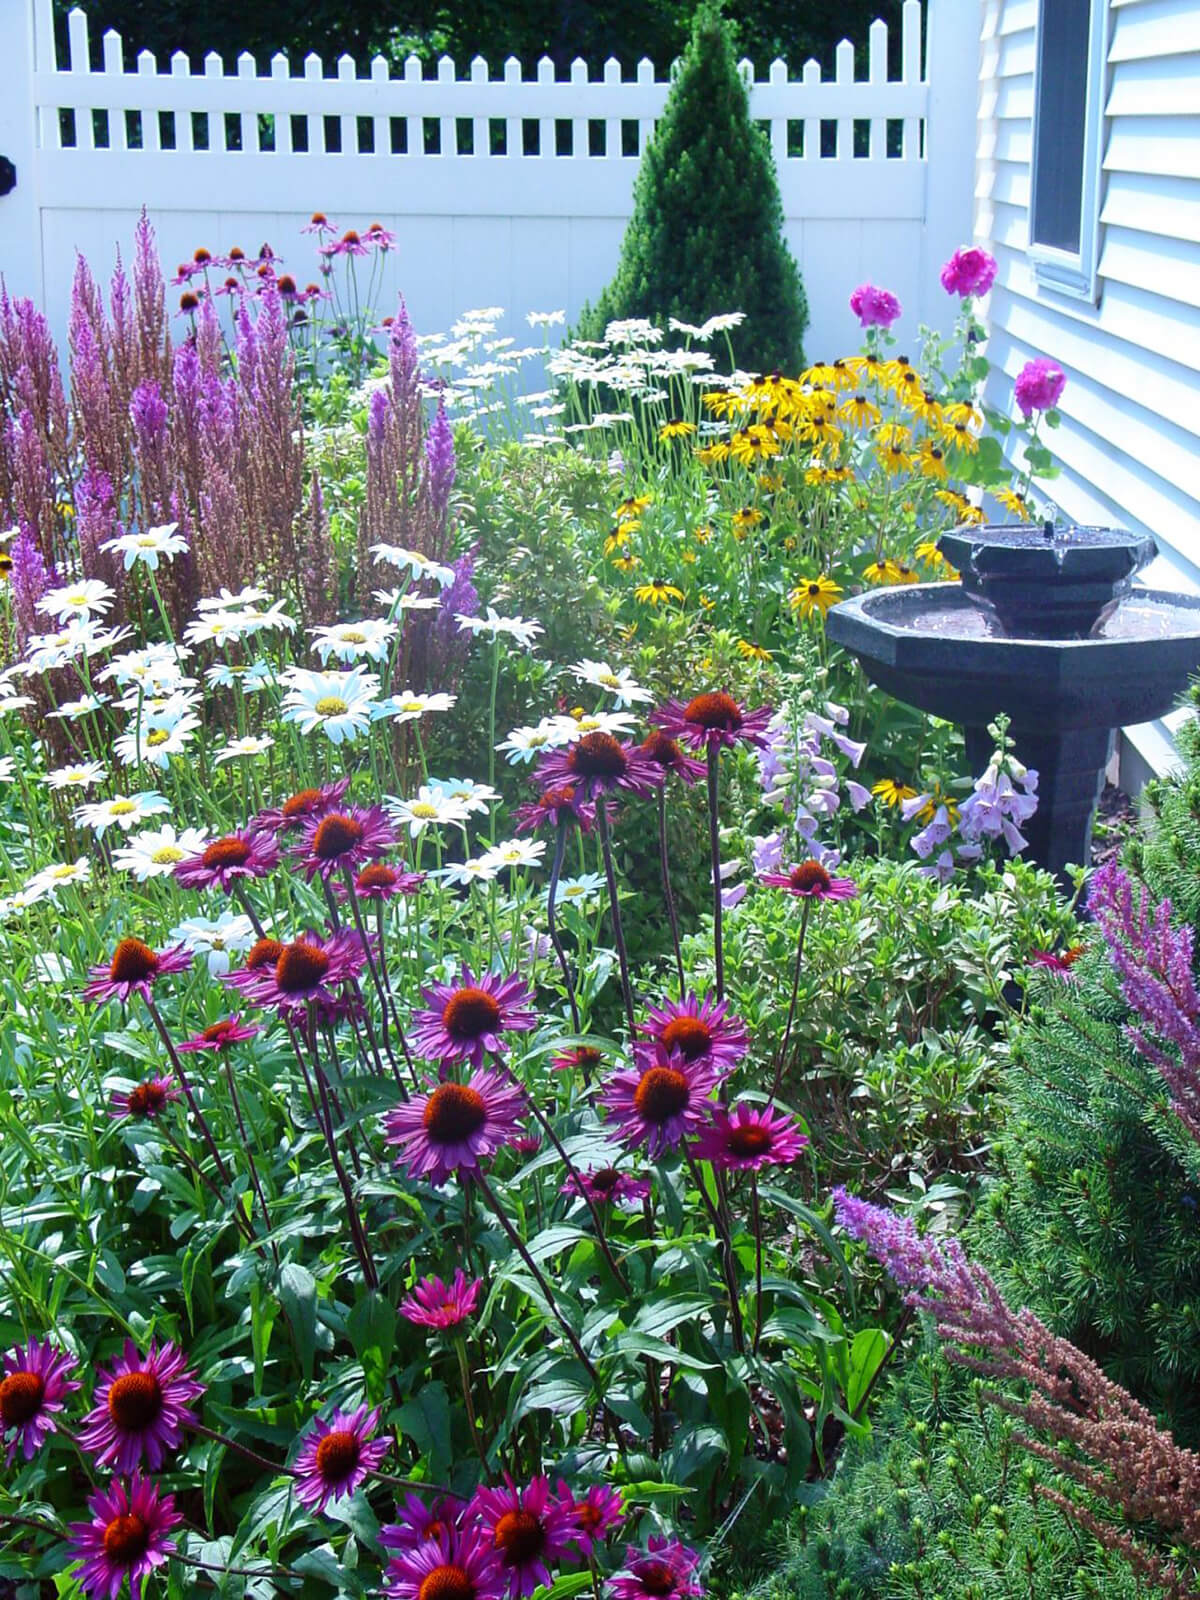
Serene Fountain Corner with a Bench

Source: hookedonhouses.net
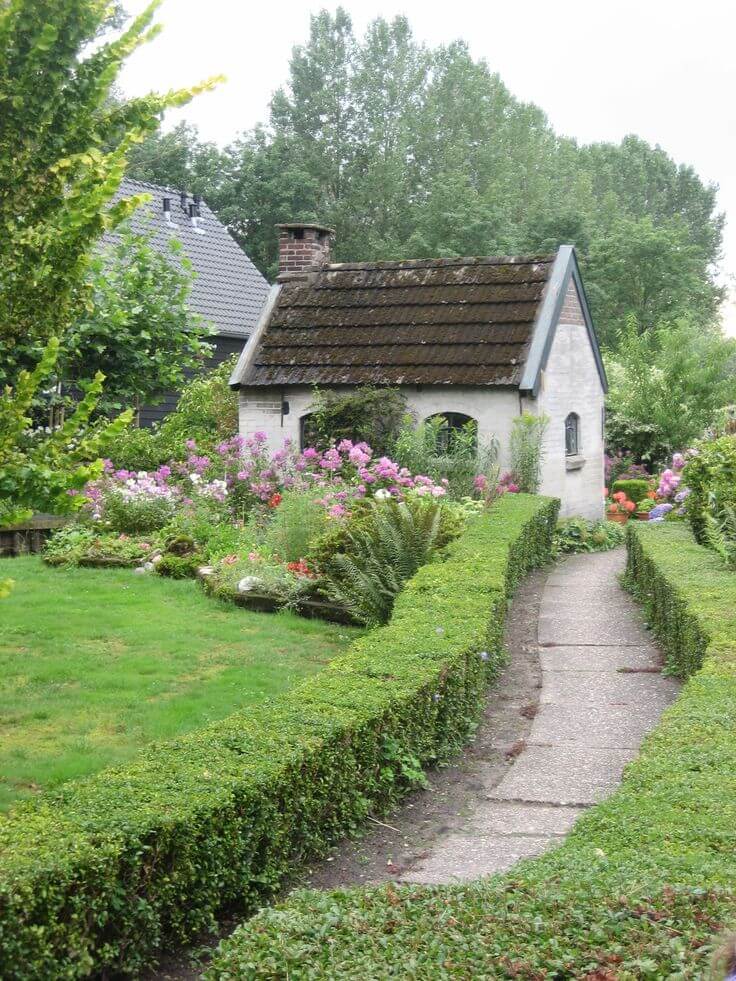
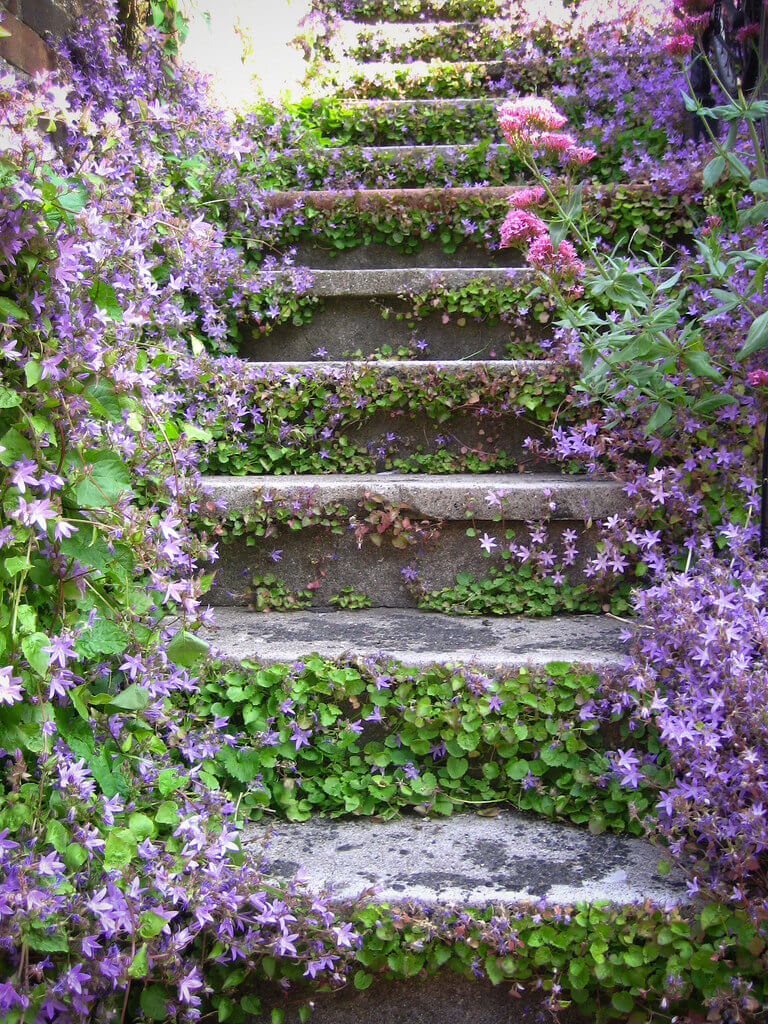
Paths in Cottage Style Garden Ideas











What We Learned Growing a Cottage Garden From Scratch
The plant-spacing question is the one that trips up nearly everyone starting out, and it tripped us up too. Every tag says to space things out for airflow, but the whole look depends on plants touching and spilling into each other.
The honest answer, after a few seasons of trial and error, is that both things are true at once. Plant tighter than the tag, and still leave yourself room to reach in and weed. Skip the air lanes and you’ll find out the hard way, usually as powdery mildew on a crowded phlox clump in a humid August.
The bigger surprise wasn’t the planting, though. It was the weeding. Once a bed is a year or two old and fully layered, it mostly takes care of itself.
But that first season, while shrubs and perennials are still small and spaced apart, the open ground between them is exactly where every weed seed in the yard wants to land. Mulching heavily and immediately, right after each new plant goes in, made a bigger difference to how much time we spent weeding that first year than any other single decision.
And the thing nobody warns you about until winter actually arrives: a cottage garden planned around summer flowers alone looks genuinely sad from November through March. Adding two or three evergreen anchors in year one, even small ones, is a lot cheaper than regretting a bare yard every winter for the next five years.
Frequently Asked Questions
How do I keep a cottage garden from looking messy instead of intentional?
Layer by height (idea 2) and repeat a few key plants across the bed. Randomness without repetition reads as neglected. Randomness with a few repeated anchor plants reads as a deliberate, relaxed style.
Is a cottage garden hard to maintain?
The first one to two years take genuine effort while plants establish and fill in, mostly weeding and watering. Once beds are layered and full, dense planting shades out most weeds on its own and maintenance drops significantly.
Can I have a cottage garden in a small or narrow yard?
Yes. Go vertical with climbers on a trellis or obelisk (idea 8), and prioritize plants with a long individual bloom window over a huge variety of species, since a small space can’t fit as many different plants as a large one.
What plants keep a cottage garden blooming from spring through fall?
Layer spring bulbs, late-spring perennials like peony and iris, summer bloomers like coneflower and phlox, and fall performers like aster and sedum, per idea 3’s bloom-succession approach. No single plant does this alone.
Related Posts
- Questions to Ask Before Designing a Small Garden
- Small Garden Around a Fence Ideas
- Fast-Growing Perennials
Products We Recommend
This post contains affiliate links. We may earn a commission on qualifying purchases at no extra cost to you.
Luster Leaf Rapitest Soil Test Kit
Tests soil pH and NPK nutrient levels at home before you plant, the exact first step idea 9 recommends.
Shop Now
LAVEVE Corrugated Metal Garden Edging, 6" x 40ft
Flexible galvanized steel edging that holds a curved bed line (idea 6) while containing gravel or mulch.
Shop Now
Metal Garden Obelisk Trellis, 6.3 ft
Rustproof steel tower for climbing roses, clematis, or vines in a narrow or small-yard cottage garden (idea 8).
Shop NowNever miss an update — choose FarmFoodFamily as your preferred source on Google.
How it works: Tap the button below to open Google's settings page, then check the box next to FarmFoodFamily.
Tap the checkbox to turn it blue — that's how you know it's set.