
I’ve always believed that woodworking is one of the most fulfilling hobbies a person can undertake.
Not only does it teach valuable skills and instill a sense of pride, but it also provides a tangible product that can be enjoyed and cherished. For children, delving into woodworking can be both an entertaining and educational experience.
If you’re on the lookout for some fun wood projects that are kid-friendly, you’ve come to the right place. Here are several engaging ideas to consider.
1. Birdhouse
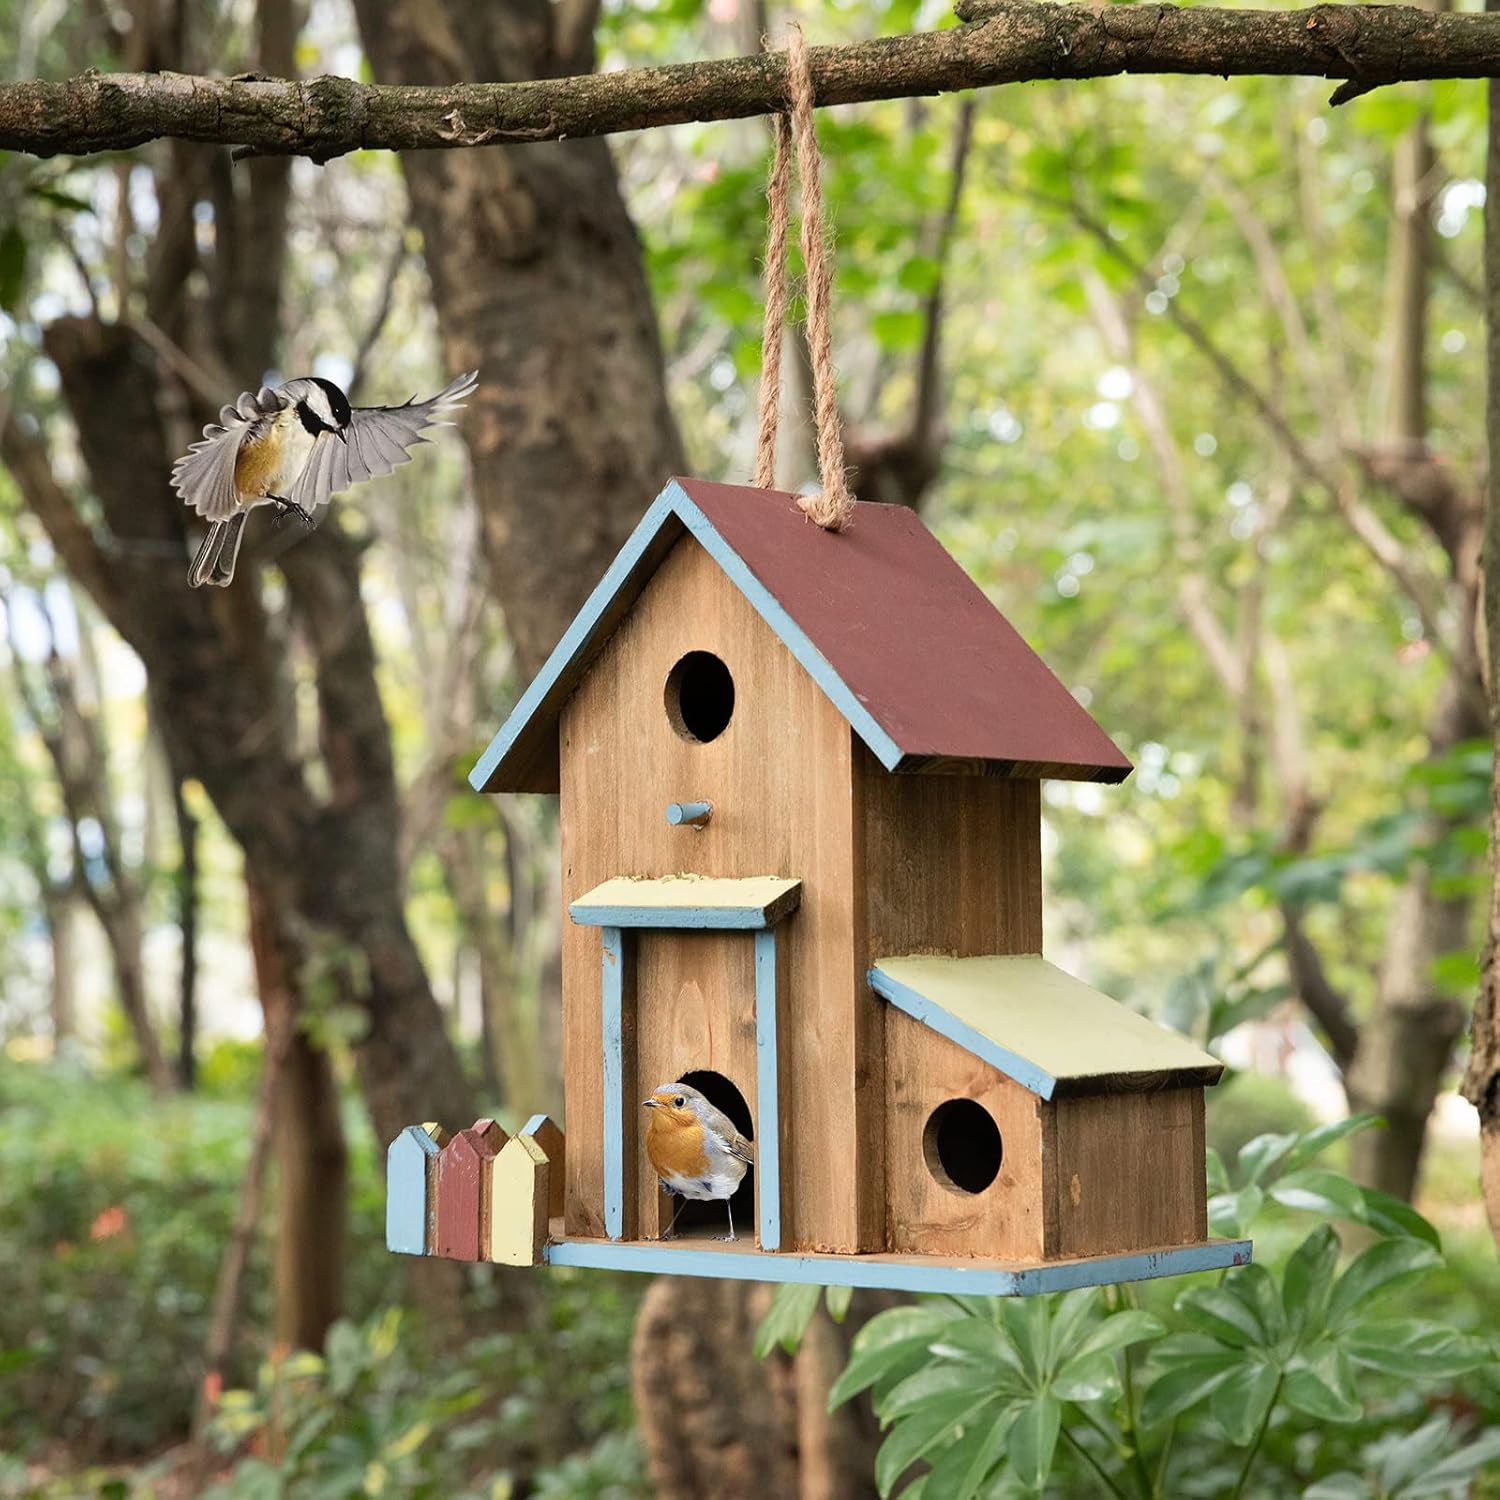
Why Build a Birdhouse?
There’s something magical about watching birds flit about in our backyards. Building a birdhouse can provide a nesting place for our feathered friends and a sense of accomplishment for the young builder.
Steps:
- Gather Materials: Get some untreated wood (like cedar), wood glue, nails, and a hammer.
- Design the House: Keep it simple. A rectangular box with a slanted roof is easy and effective.
- Assemble: Cut out the wood pieces and assemble using nails and glue.
- Decorate: Let your child paint or decorate the birdhouse.
2. Picture Frames
Why Picture Frames?
A custom-made picture frame can be a beautiful keepsake. It’s a great way for kids to showcase their favorite memories or artworks.
Steps:
- Materials Needed: Thin, flat wooden planks, wood glue, paint or markers.
- Design the Frame: Decide on a size and cut four pieces to make a rectangle or square.
- Assemble: Glue the pieces together at the corners.
- Decorate: Paint, draw, or even glue on additional embellishments.
3. Wooden Puzzles
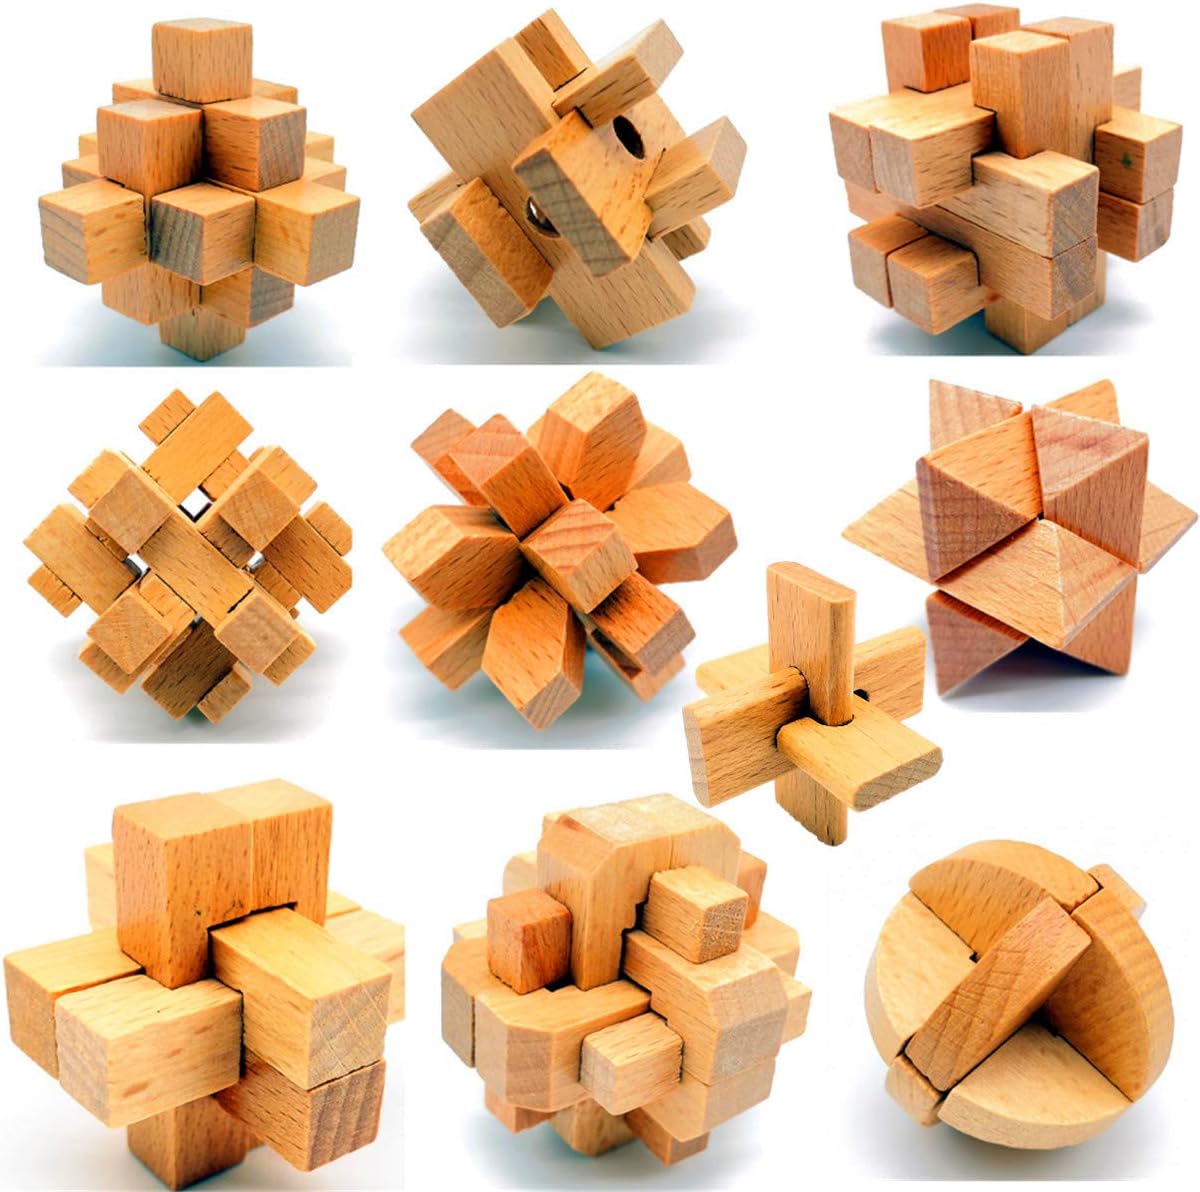
Creating Personal Puzzles
Wooden puzzles can keep kids entertained for hours. Plus, making one can be just as fun as solving it!
Steps:
- Materials: A thin piece of wood, a jigsaw, pencil, and paint.
- Sketch a Design: Draw a simple shape or figure on the wood.
- Cut Out: Use the jigsaw (with adult supervision) to cut out puzzle pieces.
- Finish: Sand the edges smooth and paint if desired.
4. Coasters
Functional and Fun
Not only are coasters a practical project, but they’re also fantastic gifts!
Steps:
- Materials Needed: Small wood squares, sandpaper, paint or markers.
- Prep the Wood: Sand the wood squares until smooth.
- Get Creative: Paint or draw designs onto the coasters.
- Protect: Finish with a clear varnish or sealant.
5. Toy Boats
Set Sail with Imagination
A wooden toy boat can offer hours of bathtub or poolside entertainment making it one of the best wood projects for kids.
Steps:
- Materials: A block of wood, sandpaper, paint, and a small dowel for the mast (if you want to add a sail).
- Shape the Boat: Carve and sand the wood into a boat shape.
- Decorate: Paint your boat. If adding a sail, attach a piece of cloth to the dowel and fix it onto the boat.
- Seal: Apply a waterproof sealant to ensure your boat remains buoyant.
6. Keychains
Personalized Accessories
A great beginner project, keychains are quick, easy, and useful!
Steps:
- Materials Needed: Small pieces of wood, key rings, paint or markers.
- Shape: Cut the wood into desired shapes (e.g., heart, star).
- Decorate: Let the creativity flow with paints and markers.
- Attach: Drill a small hole and attach the key ring.
7. Bookends

Organize with Style
Kids can design unique bookends for their favorite reads.
Steps:
- Materials Needed: Two blocks of wood, paint, or markers.
- Decorate: Encourage various designs – animals, symbols, or abstract art.
- Finish: Seal with a clear varnish.
8. Plant Markers
Garden Companions
Perfect for kids with a green thumb or a family garden.
Steps:
- Materials: Wooden popsicle sticks or small planks.
- Write & Decorate: Write plant names and paint little images of the plants or veggies.
9. Wooden Wind Chimes
Musical Melodies
Create a soothing presence in the garden or on the porch.
Steps:
- Materials: Various wooden shapes, strings, and a horizontal piece for support.
- Assemble: Attach the shapes to the strings and tie them to the support piece.
10. Jewelry Box
Personal Treasure Chest
Great for storing all little trinkets and jewelry.
Steps:
- Materials: Small wooden box, paint, felt or velvet lining.
- Decorate: Paint and line the box interior for a polished look.
11. Wooden Nameplate
Claim Your Space
Ideal for bedroom doors or desks.
Steps:
- Materials: Thin wood plank, paint, or markers.
- Create: Write the child’s name and decorate with patterns or favorite symbols.
12. Whirligigs
Garden Fun
Spinning toys that move with the wind.
Steps:
- Materials: Thin wood pieces, a dowel, paint.
- Craft: Design the wood to spin when attached to a dowel and placed in the wind.
13. Napkin Rings
Dining in Style
Elevate any family meal with personalized napkin holders.
Steps:
- Materials: Thin wooden rings, paint, or markers.
- Design: Paint or decorate the rings to match a dining theme.
14. Memory Game Tiles
Brain Boosting Fun
A classic game made even more special.
Steps:
- Materials: Small wooden tiles, paint or markers.
- Develop: Paint pairs of matching images on the tiles for the memory game.
15. Wooden Ornaments
Festive Decor
Perfect for any holiday season or celebration.
Steps:
- Materials: Thin wooden shapes, paint, string.
- Craft: Decorate the shapes and attach a string to hang.
16. Wooden Robot Friend
Fantasy Meets Reality
Create a cute, movable buddy.
Steps:
- Materials: Small blocks of wood, screws, paint or markers.
- Assemble: Attach blocks using screws to create movable limbs.
- Decorate: Paint to give the robot a face, clothes, or other features.
17. Magic Wands
Spellbinding Fun
For the young wizards and witches.
Steps:
- Materials: Thin wooden dowels or sticks, paint, glitters.
- Shape: Sand the dowel to a point.
- Decorate: Paint and add magical symbols or glitter.
18. Tic-Tac-Toe Board
Classic Game Time
An all-time favorite.
Steps:
- Materials: Flat wooden board, paint, small wooden pieces for Xs and Os.
- Design: Paint the tic-tac-toe grid on the board and decorate the Xs and Os.
19. Mini Slingshots
Outdoor Adventures
Perfect for harmless fun with paper balls.
Steps:
- Materials: Y-shaped branches, rubber bands, leather or cloth.
- Assemble: Attach the rubber band to the Y-branch and attach the leather pouch in the middle.
20. Wooden Stamps
Arts and Crafts Boost
For all the little artists.
Steps:
- Materials: Small blocks of wood, foam sheets or rubber pads.
- Craft: Cut out designs from the foam or rubber and attach to one side of the wood block.