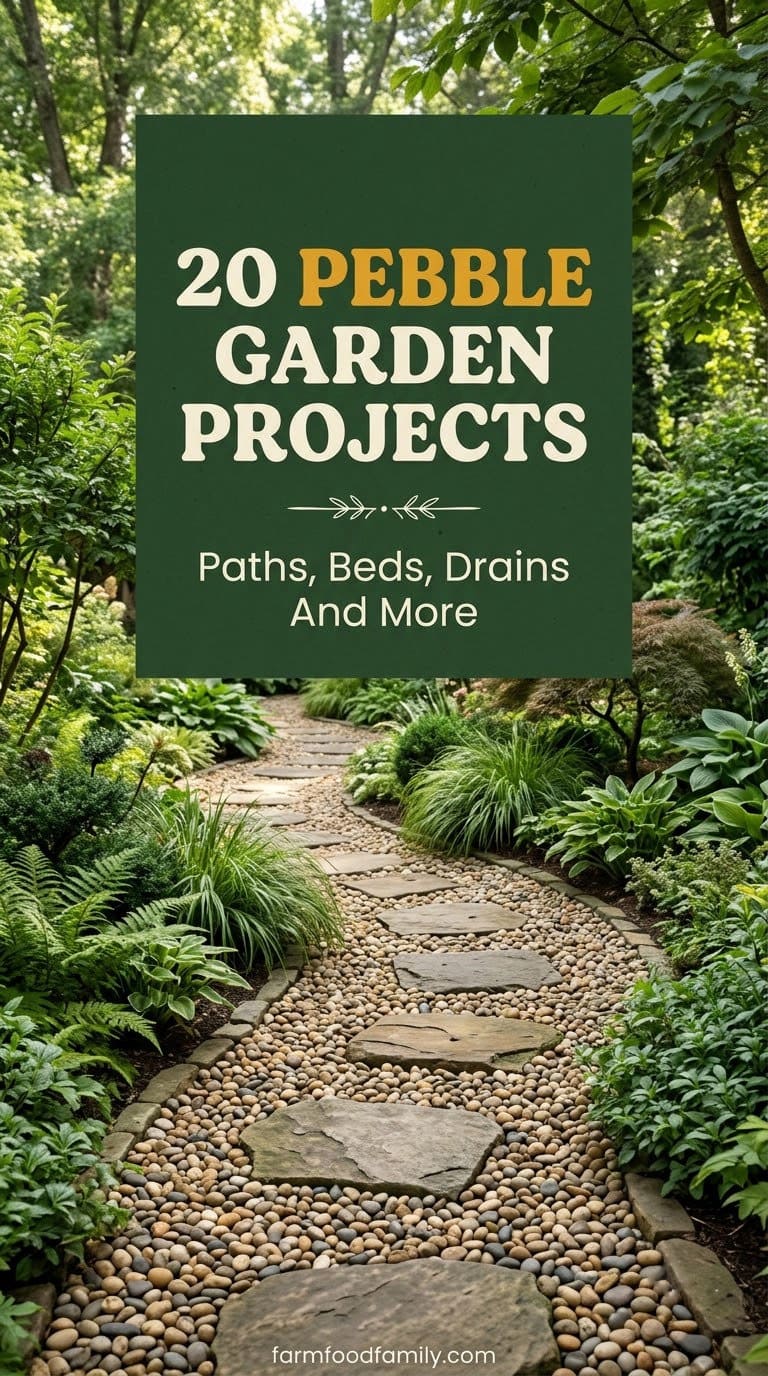
20 Practical Pebble Garden Projects for Paths, Beds, Drains and More
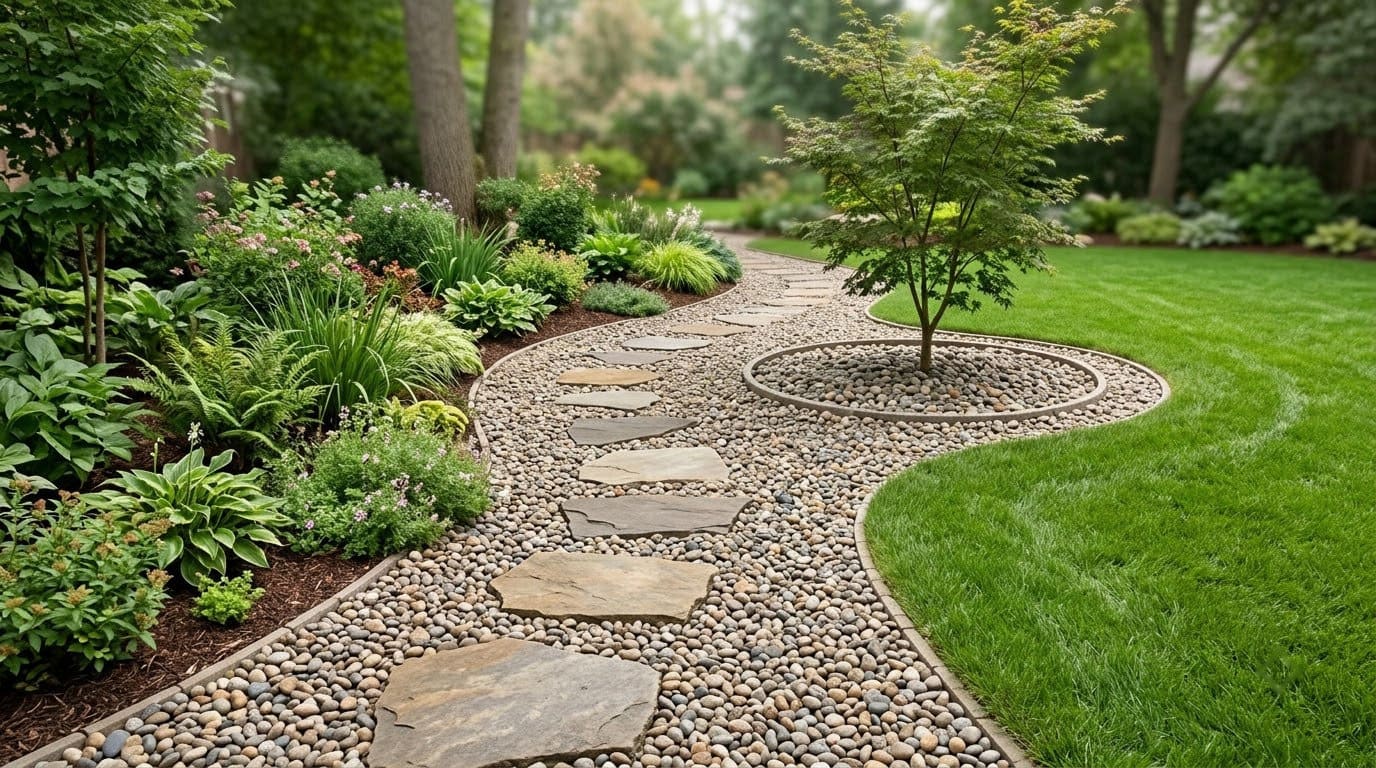
Small pebbles can solve real yard problems, from a muddy path to a bare tree base, and the smart way is to prep the ground, pick the right depth and know how much to buy.

Never miss an update — choose FarmFoodFamily as your preferred source on Google.
How it works: Tap the button below to open Google's settings page, then check the box next to FarmFoodFamily.
Tap the checkbox to turn it blue — that's how you know it's set.
Small pebbles can solve real yard problems, from a muddy path to a bare tree base, and the smart way is to prep the ground, pick the right depth and know how much to buy.
Products We Recommend
This post contains affiliate links. We may earn a commission on qualifying purchases at no extra cost to you.

10lb Natural Decorative Polished Mixed Pebbles, 0.5-1.2 inch
Small smooth pebbles for pot top dressing, mosaics, bird dishes and fountain mounds. For large areas, buy bulk stone by the yard.
Shop Now
WORTH Garden 33 ft Metal Landscape Edging
Steel edging that holds pebbles in for borders, paths and tree rings. Set it firmly and keep the top just above the stone.
Shop Now
LAVEVE Heavy Duty Weed Barrier Landscape Fabric, 3 ft x 50 ft
Woven fabric for paths, patios and pads. Skip it in planted beds, where it blocks water and roots.
Shop NowPebbles are more than a pretty top layer. They can drain a wet spot, make a path, hide bare dirt and edge a bed.
This guide gives you 20 projects, sorted by where they go in your yard. Each one is written for you to build. You will see what you need, how much to buy, the steps and the traps to skip.
We stay with small, rounded stones. If you want big boulders or styled rock gardens, see our rock garden ideas.
Answer 4 quick questions and get matched to the exact fix for your yard — drainage, budget, layout, or something else entirely.
Take the Free Quiz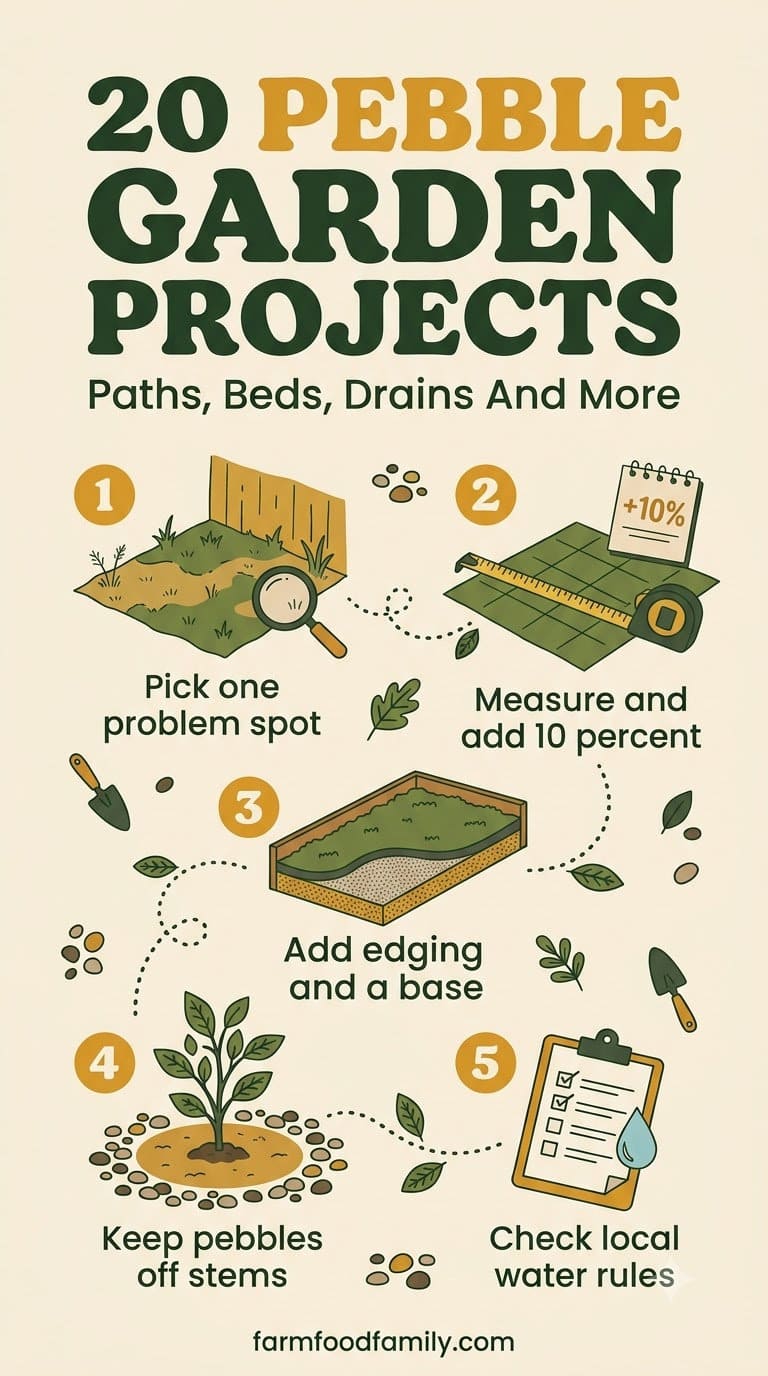
Quick Answer
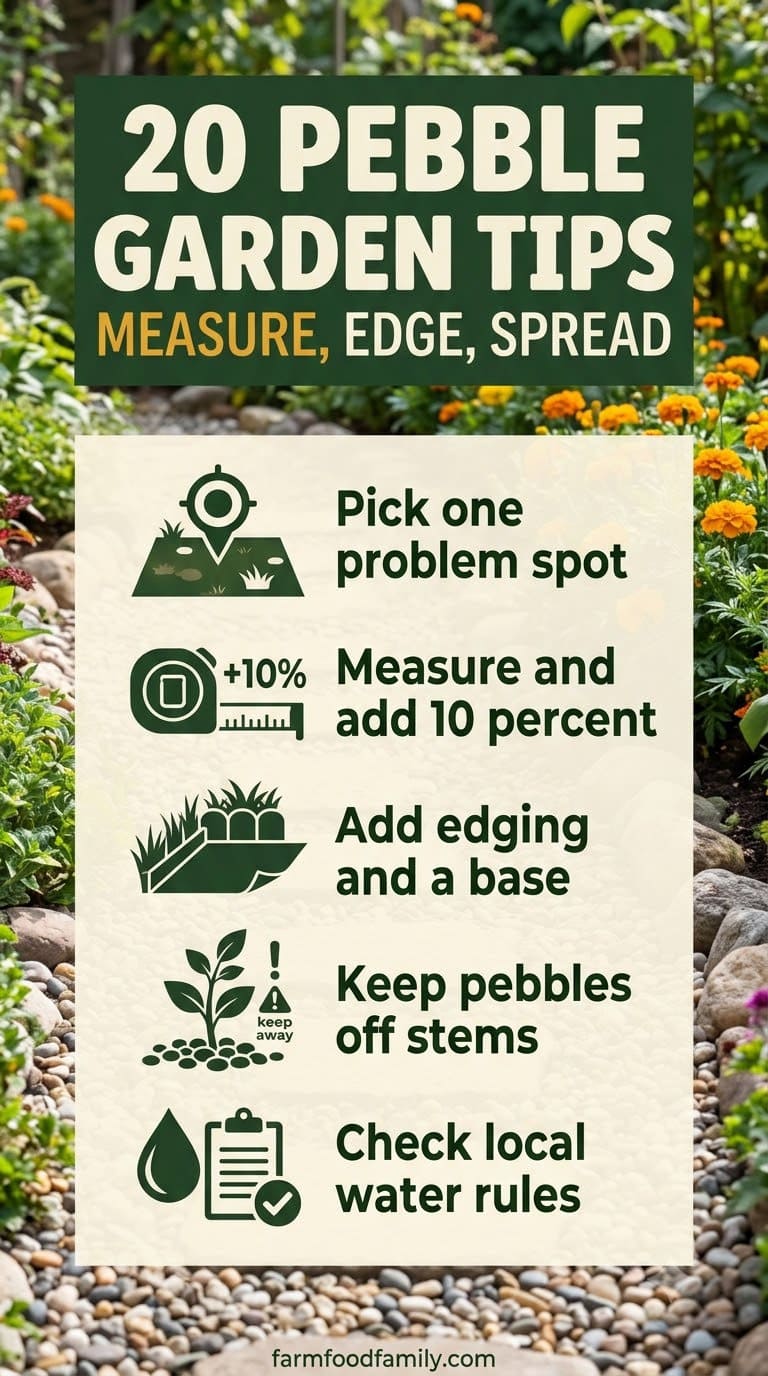
Pick one problem spot, like a muddy path, a wet patch or a bare tree base. Dig out a few inches, level the ground, add a base and spread the pebbles on top.
Order by volume. Multiply length by width by depth in feet, then divide by 27 to get cubic yards.
Remember that rock does not break down. UC IPM says it adds no organic matter to the soil and that rock usually has to be bought.
Rock also holds heat, so keep large areas small and keep pebbles away from stems.

Most projects take a weekend or less. You can do them with a shovel, a rake and a wheelbarrow, and you can build them one at a time.
Most yard problems trace back to one specific, fixable cause. Find yours in 4 quick questions.
Take the Free QuizBut start small. A single path or tree ring teaches you the whole method, and the second project goes much faster.
How Much Pebble Do You Need to Buy?
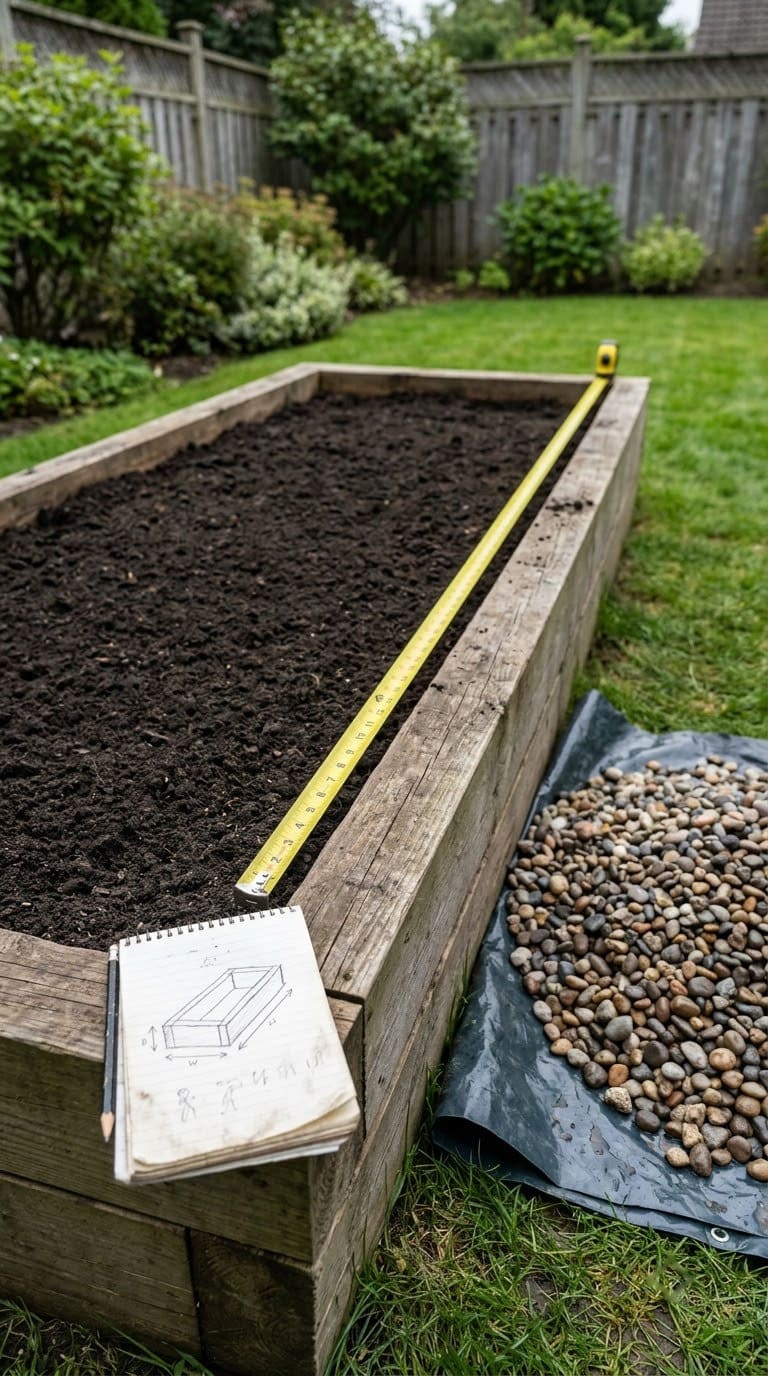
Buying too little is the most common mistake. Do the math before you order.
- Step 1: Measure the length and width of the area in feet.
- Step 2: Pick a depth in inches. Divide the inches by 12 to get feet.
- Step 3: Multiply length by width by depth. Divide the result by 27. That gives cubic yards.
- Step 4: Add about 10 percent for settling and mistakes.
For a path 20 feet long and 3 feet wide with a 2-inch top layer, that is 20 x 3 x 0.17 = 10 cubic feet. Divide by 27 and you get about 0.4 cubic yards, so order half a yard.
Our take: ask your supplier to show you a sample. Colors look different wet and dry.
What Size and Type of Pebble Should You Choose?
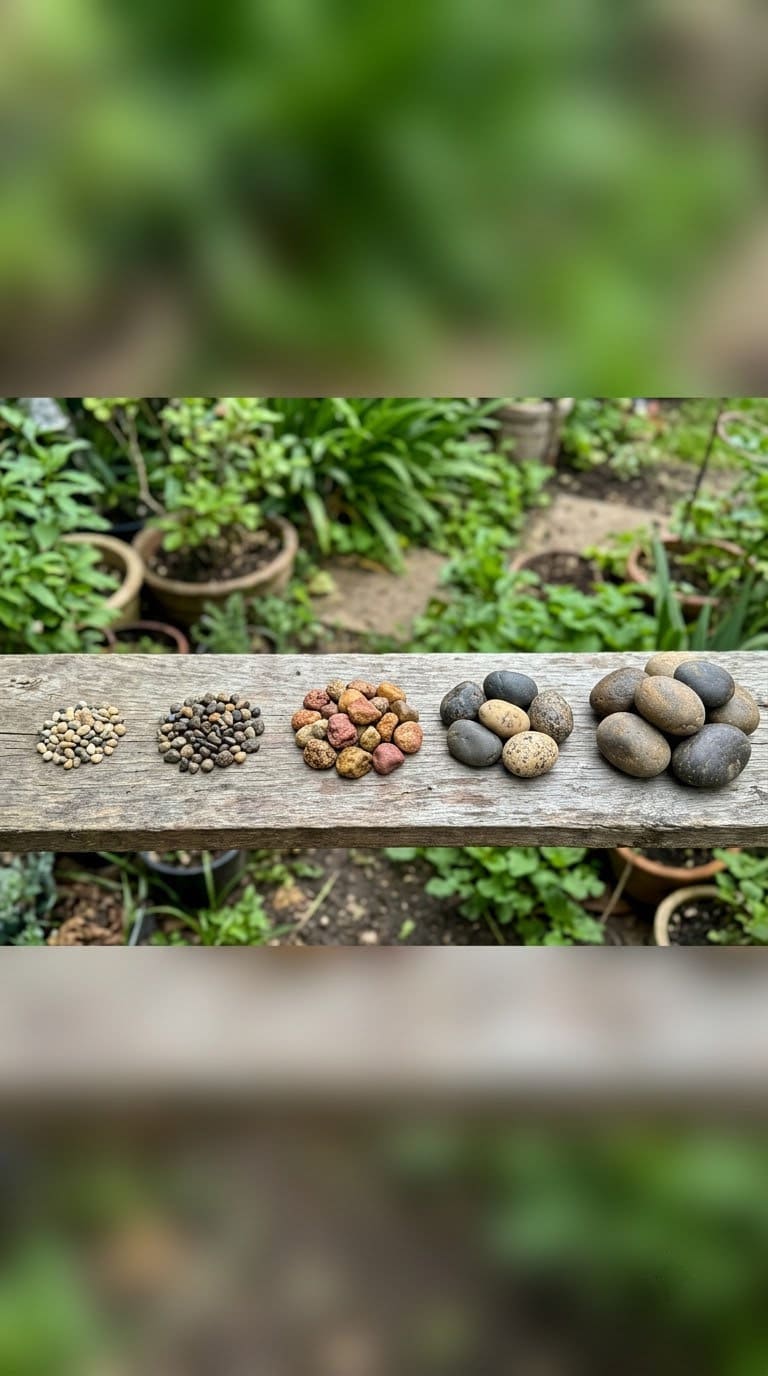
Size changes how a pebble feels underfoot and how well it stays put. Match it to the job.
| Job | Pebble size | Why |
|---|---|---|
| Paths and patios | Small, about pea size | Packs down and feels firm underfoot |
| Garden beds and tree rings | Medium, about thumb size | Stays in place and looks neat |
| Dry streams and drains | Medium to large, mixed | Looks natural and moves water |
| Mosaics and pots | Small, smooth, sorted by color | Easy to press and arrange |
| Pet and play areas | Smooth and rounded | Gentler on paws and hands |
Our take: avoid sharp, crushed stone where people walk barefoot. Smooth, rounded pebbles are kinder to feet and paws.
For more on stone types, see our guide to the types of gravel.
Small smooth pebbles for pot top dressing, mosaics, bird dishes and fountain mounds. For large areas, buy bulk stone by the yard.
Shop NowThis post contains affiliate links. We may earn a commission on qualifying purchases at no extra cost to you.
Should You Use Landscape Fabric Under Pebbles?
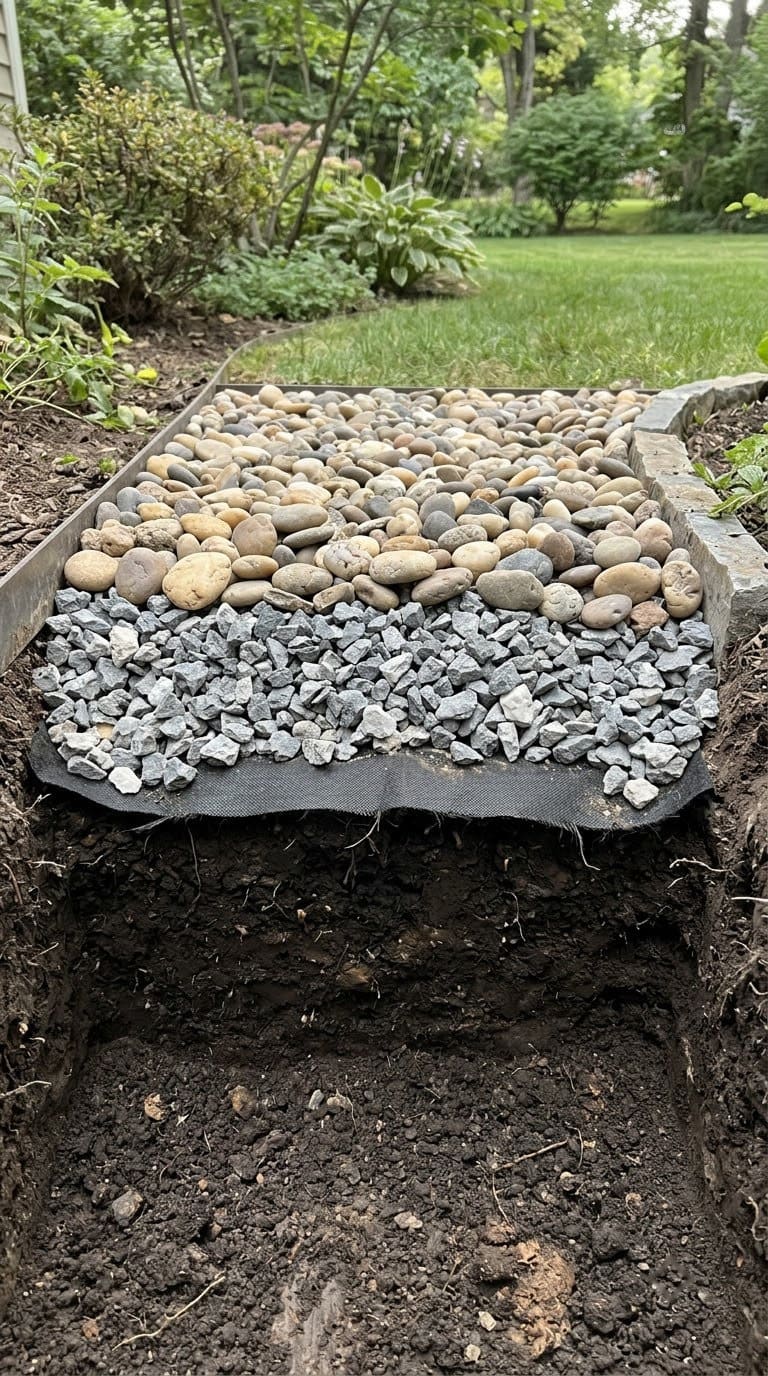
Experts disagree. That is the honest answer.
UC IPM says to place landscape fabric beneath rock mulch, so soil and stone don’t mix. Mixing them favors weeds. Colorado State University Extension in Pueblo County says it typically does not recommend fabric, since weeds still grow under it and through the rock from wind-blown seed.
The average homeowner spends $616/year on yard fixes that don't address the real problem. Find out what yours actually is — before you spend another dollar.
Take the Free QuizHere is how we handle it. Use fabric on paths and patios, where you want a clean split between soil and stone. Skip it in planted beds, where it blocks water and roots.
- Path or patio: Fabric plus a stone base keeps the pebbles from sinking.
- Planted bed: Skip fabric. Pull weeds early and top up the pebbles.
- Either way: Pull seedlings when they are small. Roots are easy to lift from loose stone.
Our take: weeds will come either way. A quick pass every few weeks beats a big job once a year.
Does Pebble Make the Yard Hotter?
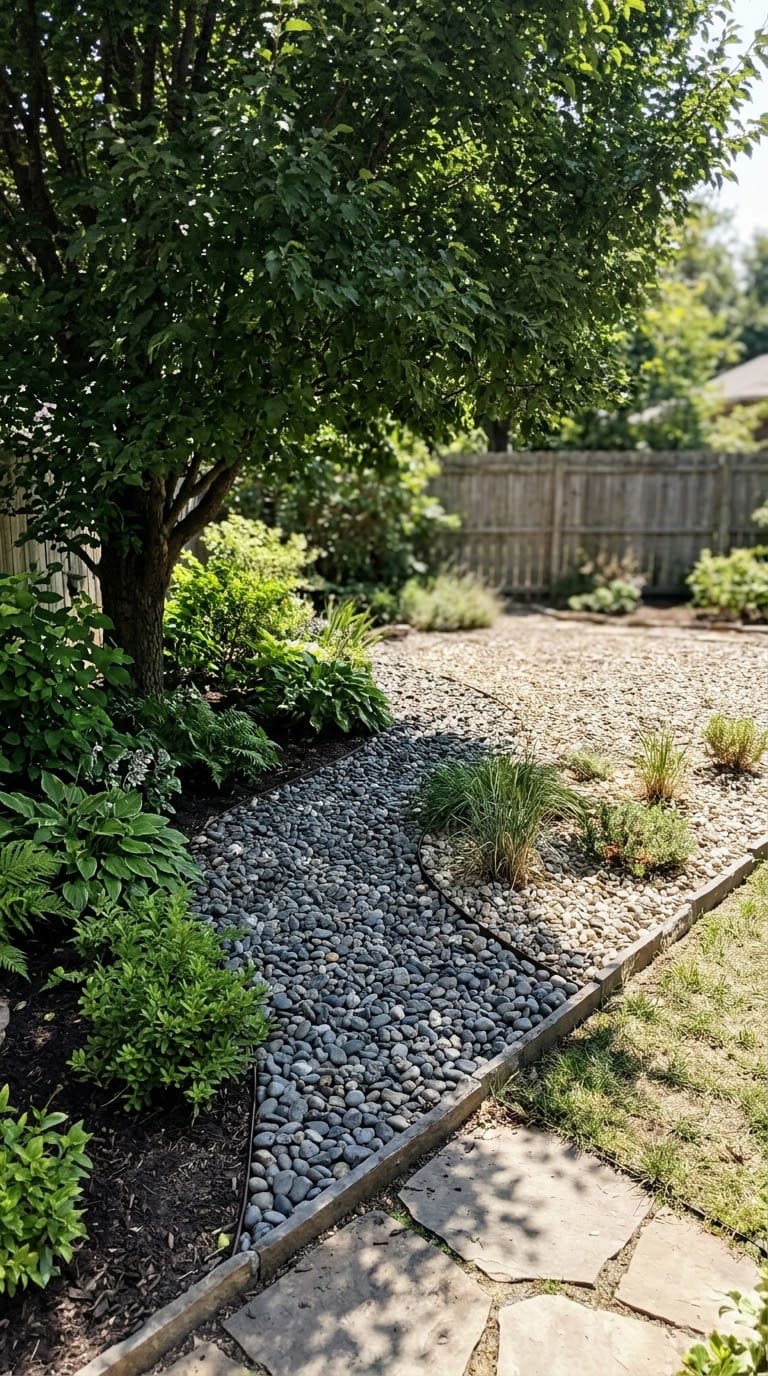
Yes, in full sun. Colorado State University Extension says rock absorbs and reflects heat, and midsummer rock surfaces can reach 140 to 170 degrees.
It also says plants lower the air temperature around them by up to 4 degrees. So mix pebbles with plants and place large areas on the north and east side of the house.
- Use light-colored stone where people walk. It stays a little cooler.
- Keep pebbles away from stems. Leave a gap of bare soil or a ring of mulch around plant bases.
- Add shade. A tree, pergola or tall plants cool the spot.
Our take: skip big pebble fields on the west side of a house. They bake all afternoon.
20 Practical Pebble Garden Projects
1. Pebble Path With Stepping Stones
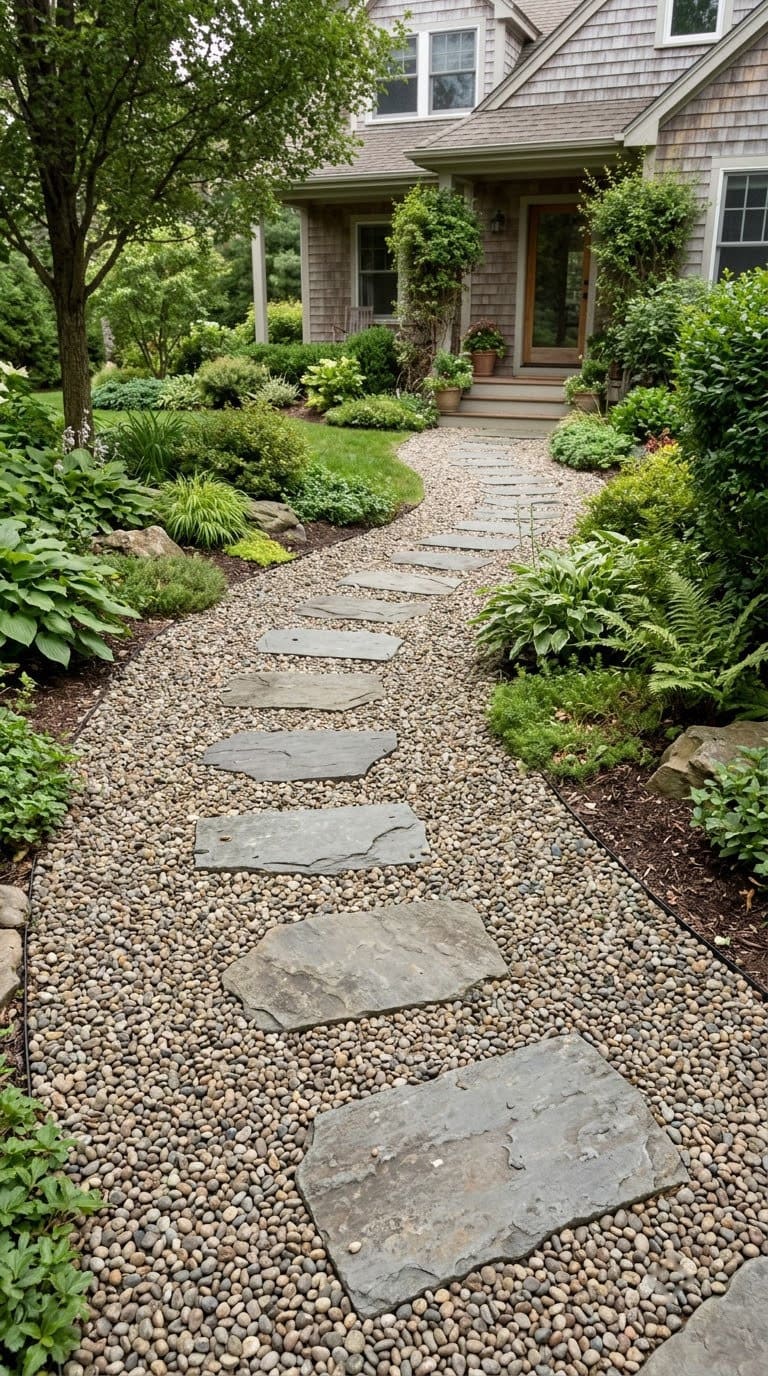
Stepping stones in pebbles give you a clean path that does not sink or get muddy.

- Where it goes: Front walk, side yard or garden aisle.
- Skill and time: Medium, a weekend.
- What you need: Flat stepping stones, small pebbles, edging, a shovel, a rake, landscape fabric and a hand tamper.
- How much: 2 to 3 inches of pebbles over a firm base.
- Step 1: Mark the path with a hose or string. Make it at least 3 feet wide.
- Step 2: Dig down about 4 inches. Level and tamp the soil.
- Step 3: Lay fabric, add edging and set the stepping stones. Space them one stride apart.
- Step 4: Fill around the stones with pebbles and rake smooth.
- Make it last: Rake leaves with a plastic rake, so you don’t scoop up the stone.
- Watch: Wobbly stones. Bed them in a layer of sand and step on each one before you finish.
Our take: lay the stones out on the lawn first and walk them. Your stride tells you the right spacing.
For more path styles, see our garden path ideas.
2. Pebble Ring Around a Tree
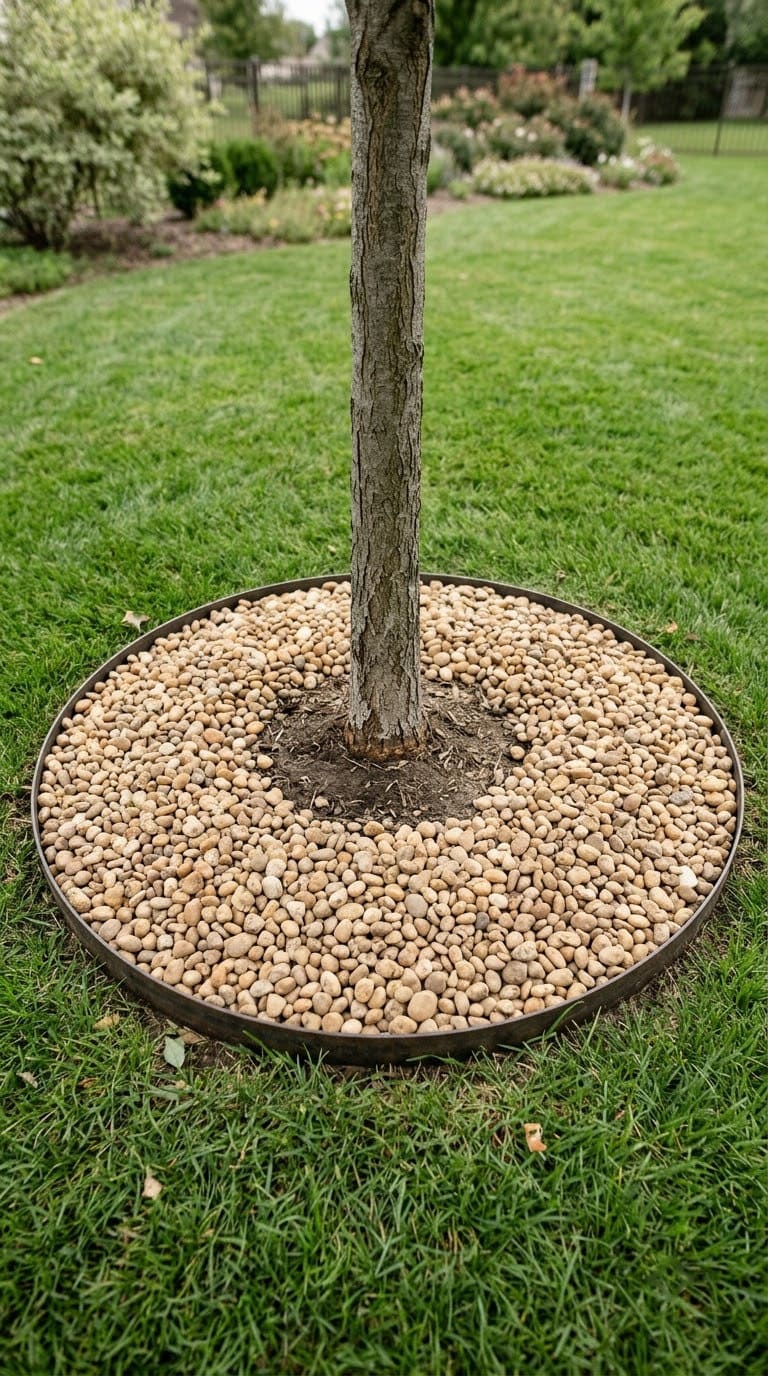
A pebble ring keeps the mower away from the trunk and cuts down on weeds.
- Where it goes: Around a young or mature tree.
- Skill and time: Easy, about two hours.
- What you need: Medium pebbles, edging, a spade and a rake.
- How much: 2 to 3 inches deep.
- Step 1: Cut the grass short and mark a circle at least 3 feet wide.
- Step 2: Remove the sod and loosen the soil.
- Step 3: Set the edging in a ring.
- Step 4: Spread the pebbles, but keep them a few inches away from the trunk.
- Make it last: Top up thin spots each spring.
- Watch: Piled pebbles against bark. Keep a gap so the trunk can breathe and dry.
Our take: skip fabric under trees. Roots need air and water, and a ring of loose stone is easy to weed.
3. Pebble Drip Strip Along the House
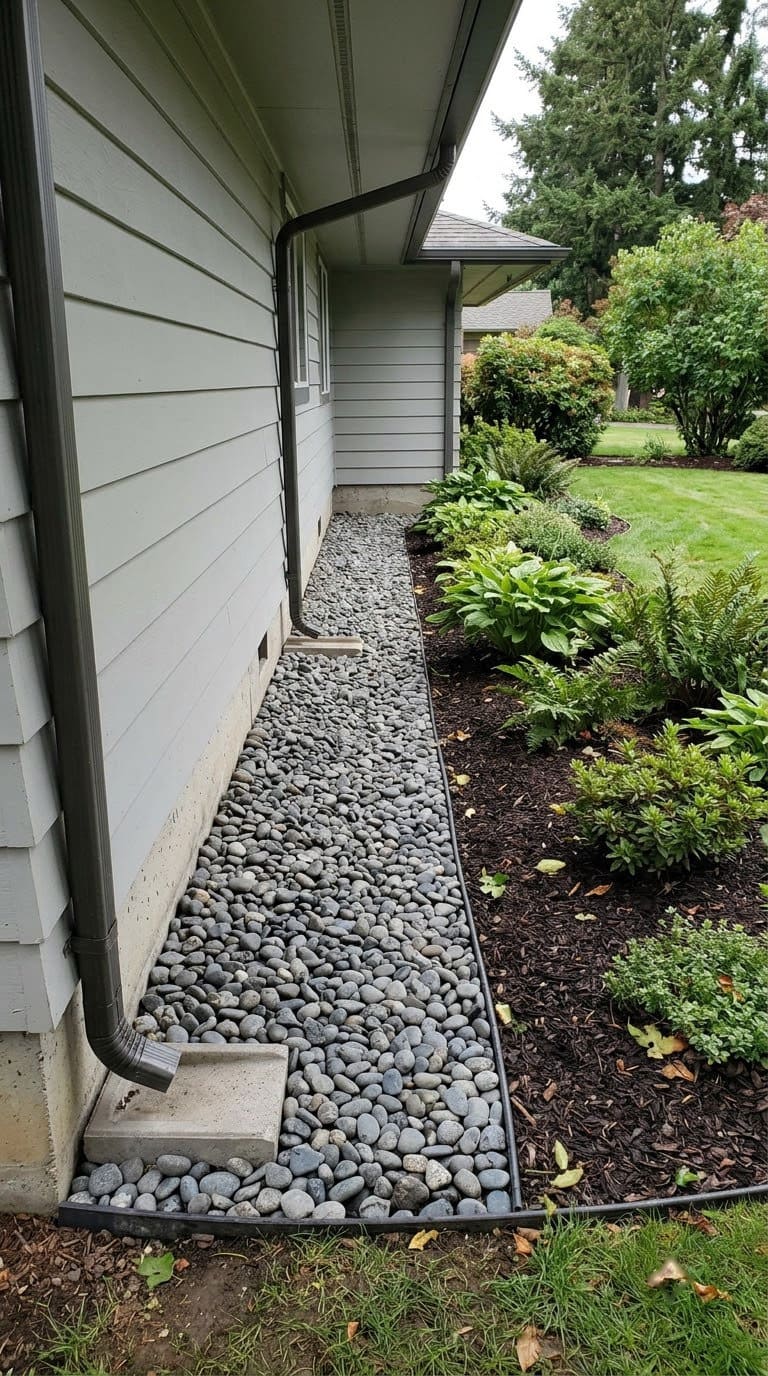
A pebble strip under the roof edge keeps splashing water off siding and stops mud.
- Where it goes: Along the foundation, under the eaves.
- Skill and time: Easy, a weekend.
- What you need: Medium pebbles, edging, a shovel, a level and fabric.
- How much: 2 to 3 inches over fabric, 12 to 18 inches wide.
- Step 1: Clear mulch and plants from a strip 12 to 18 inches wide.
- Step 2: Slope the soil gently away from the house.
- Step 3: Lay fabric and edging.
- Step 4: Spread pebbles and rake smooth.
- Make it last: Keep the strip free of leaves, so water can drain through.
- Watch: Soil that slopes toward the house. Water must always run away.
Our take: this is the easiest project on the list, and it protects your siding right away.
4. Dry Creek Bed for Downspout Runoff
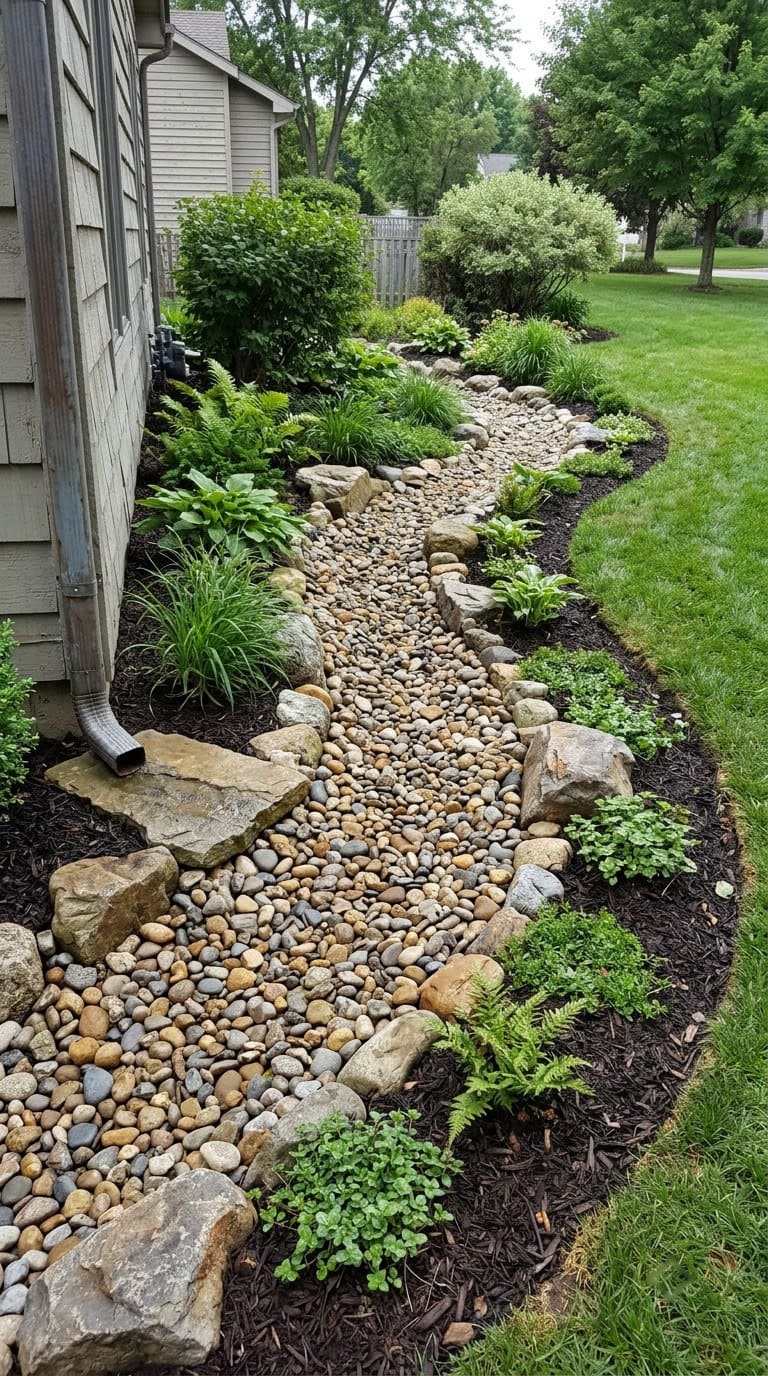
A dry creek bed carries roof water away from the house. It also looks like a natural stream.
- Where it goes: From a downspout or a low, wet spot across the yard.
- Skill and time: Hard, one to two weekends.
- What you need: Mixed pebbles and river rock, a few larger stones, fabric, pins, a shovel, a hose or string.
- How much: Use a width to depth ratio of about 2 to 1. The Clark County Master Gardeners say a 4 foot wide bed should be about 2 feet deep.
- Step 1: Mark a curving path with paint or a hose. Follow the natural slope.
- Step 2: Dig the channel, line it with fabric and pin the fabric down.
- Step 3: Fill the center with small and medium stones. Place larger stones at the bends and edges.
- Step 4: Spread fine gravel at the lower end and plant the banks.
- Make it last: Clear leaves and silt after storms.
- Watch: Public stormwater rules. The Clark County Master Gardeners say to check with local authorities before you redirect water to the public system. If the bed carries water often, they say to mortar the rocks at least 2 inches deep.
Our take: keep the curves gentle. Sharp bends look fake and slow the water.
For design details, see our dry creek bed landscaping ideas.
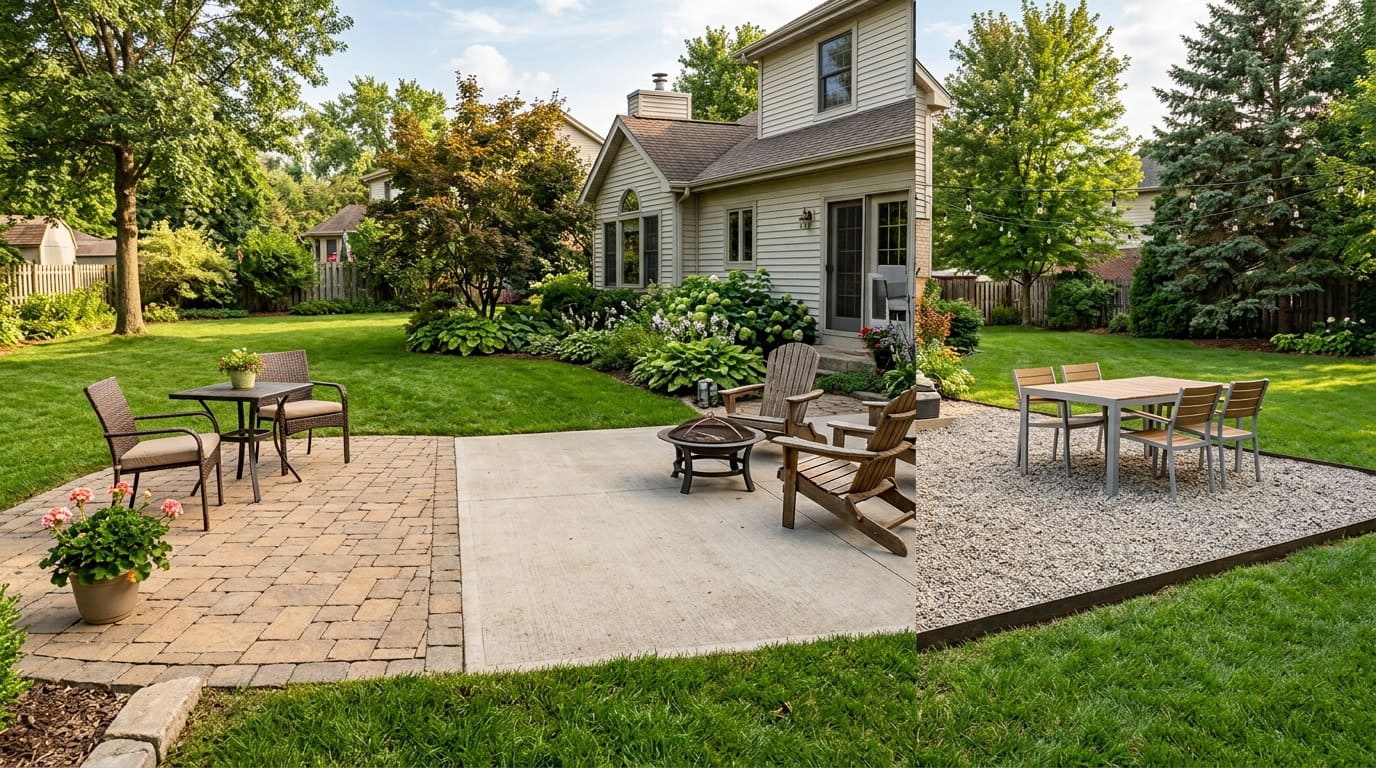
5. Pebble Patio With Paver Inserts
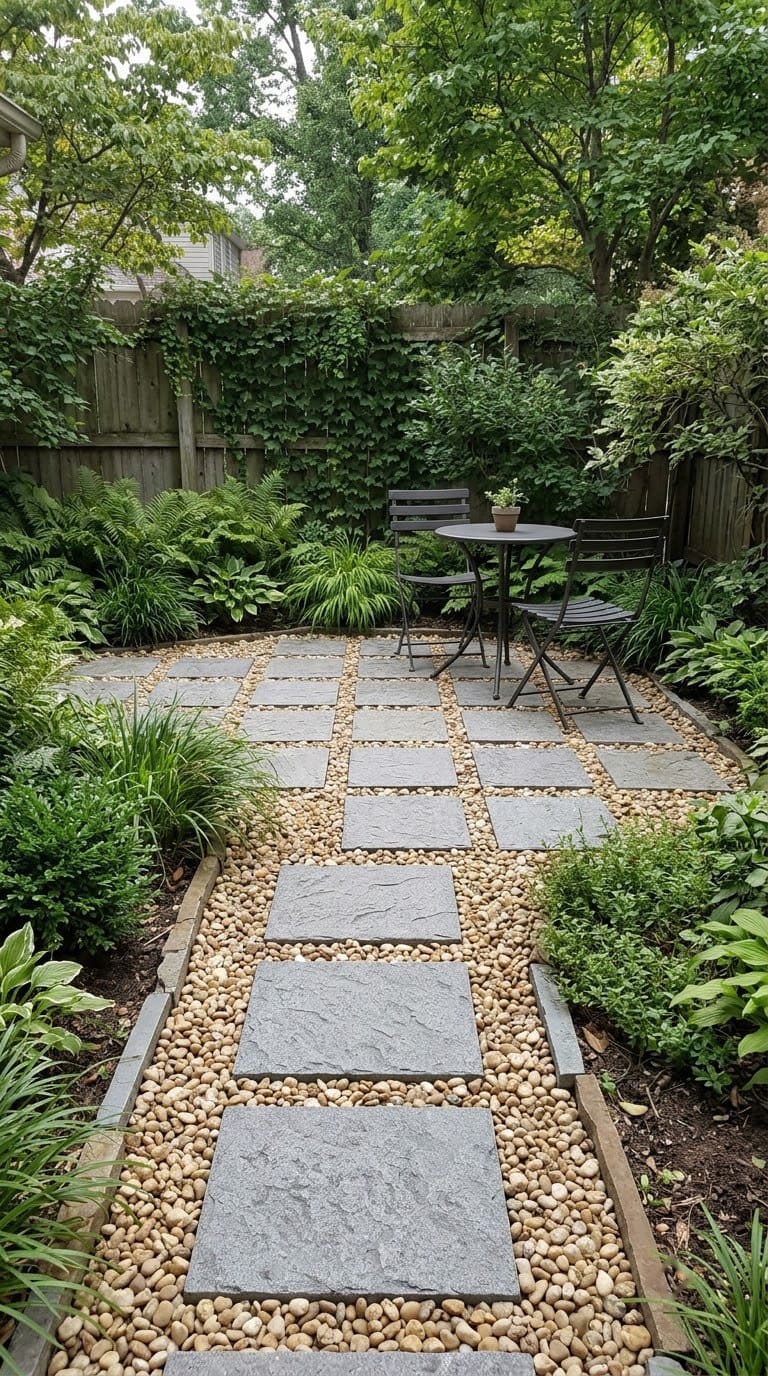
Pavers give you a stable spot for chairs, and pebbles fill the gaps for a soft look.
- Where it goes: A small seating nook or a corner of the yard.
- Skill and time: Medium, a weekend.
- What you need: Square pavers, small pebbles, base stone, sand, edging and fabric.
- How much: 4 inches of base, 1 inch of sand under the pavers and 2 inches of pebbles.
- Step 1: Mark and dig the area about 6 inches deep.
- Step 2: Add base stone and tamp it firm.
- Step 3: Set pavers in a grid on a sand layer, with gaps of about 4 inches.
- Step 4: Fill the gaps with pebbles and rake smooth.
- Make it last: Re-level any paver that tips.
- Watch: Chair legs sinking in loose stone. Place seating on the pavers.
Our take: make the gaps small. A table on loose stones wobbles.
For bigger layouts, see our gravel patio ideas.
6. Pebble Mosaic Stepping Stone
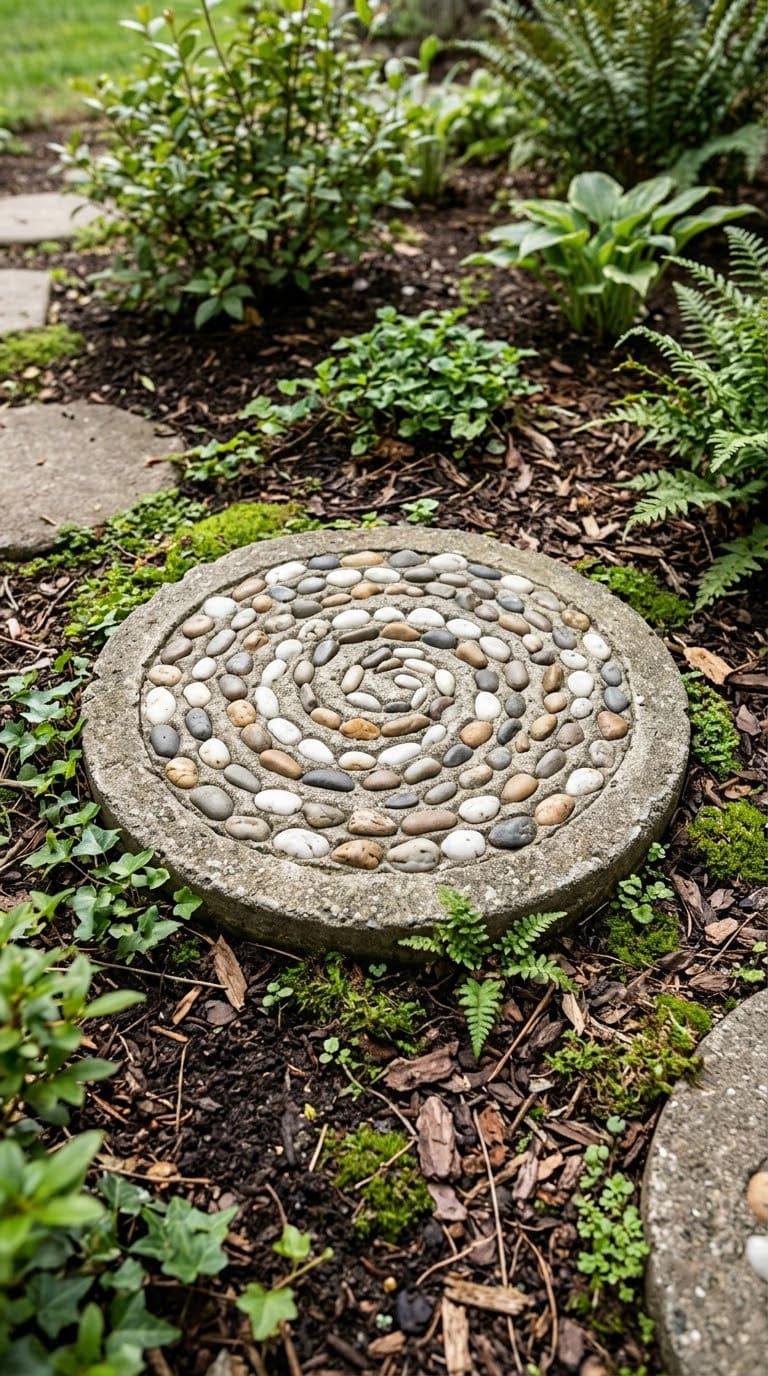
A mosaic stone is a fun weekend project. You can make a few and use them anywhere.
- Where it goes: A garden bed, a path or a gift.
- Skill and time: Easy, one afternoon plus a few days of curing.
- What you need: A round mold or cake pan, quick-set concrete mix, small smooth pebbles, a trowel, gloves and a dust mask.
- Step 1: Sort the pebbles by color.
- Step 2: Mix the concrete as the bag says and fill the mold about 2 inches deep.
- Step 3: Press the pebbles in on their sides, in a pattern. Push them halfway.
- Step 4: Let it cure, then lift the stone out and wipe the surface with a damp sponge.
- Make it last: Set the stone on a flat bed of sand.
- Watch: Dust. Wear a mask and gloves when you mix concrete.
Our take: plan the pattern on paper first. It is hard to move a pebble once it sets.
7. Pebble Top Dressing for Pots
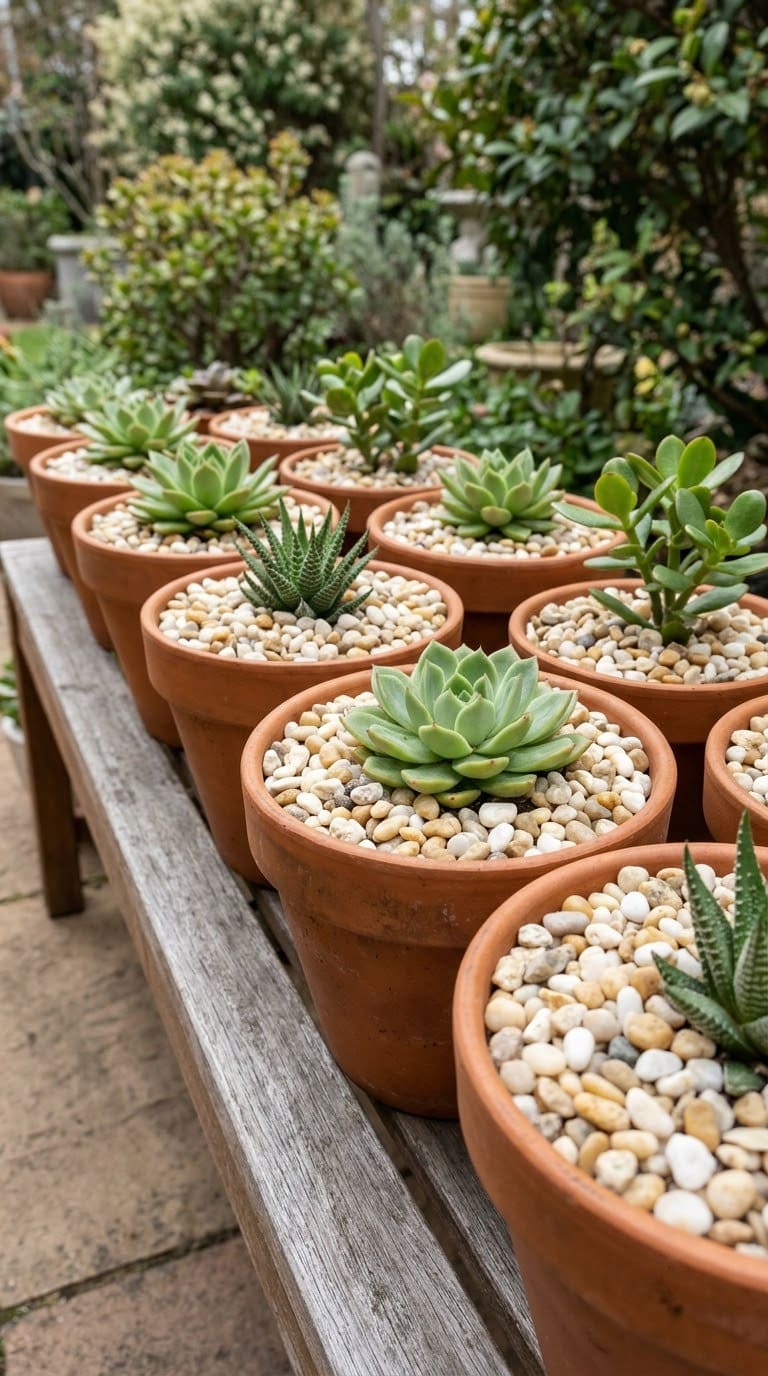
A pebble layer on top of potting mix keeps soil from splashing and gives pots a finished look.
- Where it goes: Containers on a patio, porch or steps.
- Skill and time: Easy, 20 minutes.
- What you need: Small pebbles and a scoop.
- How much: A layer about 1 inch deep.
- Step 1: Water the pot first and let it drain.
- Step 2: Spread pebbles around the plant, leaving the stem bare.
- Step 3: Press them gently so they sit flat.
- Step 4: Check the soil under the stones before each watering.
- Make it last: Lift the layer and check for pests once in a while.
- Watch: Soggy soil. Stones slow drying, so water less often.
Our take: this works best for succulents and herbs that like a dry surface.
8. Pebble Border Between Lawn and Bed
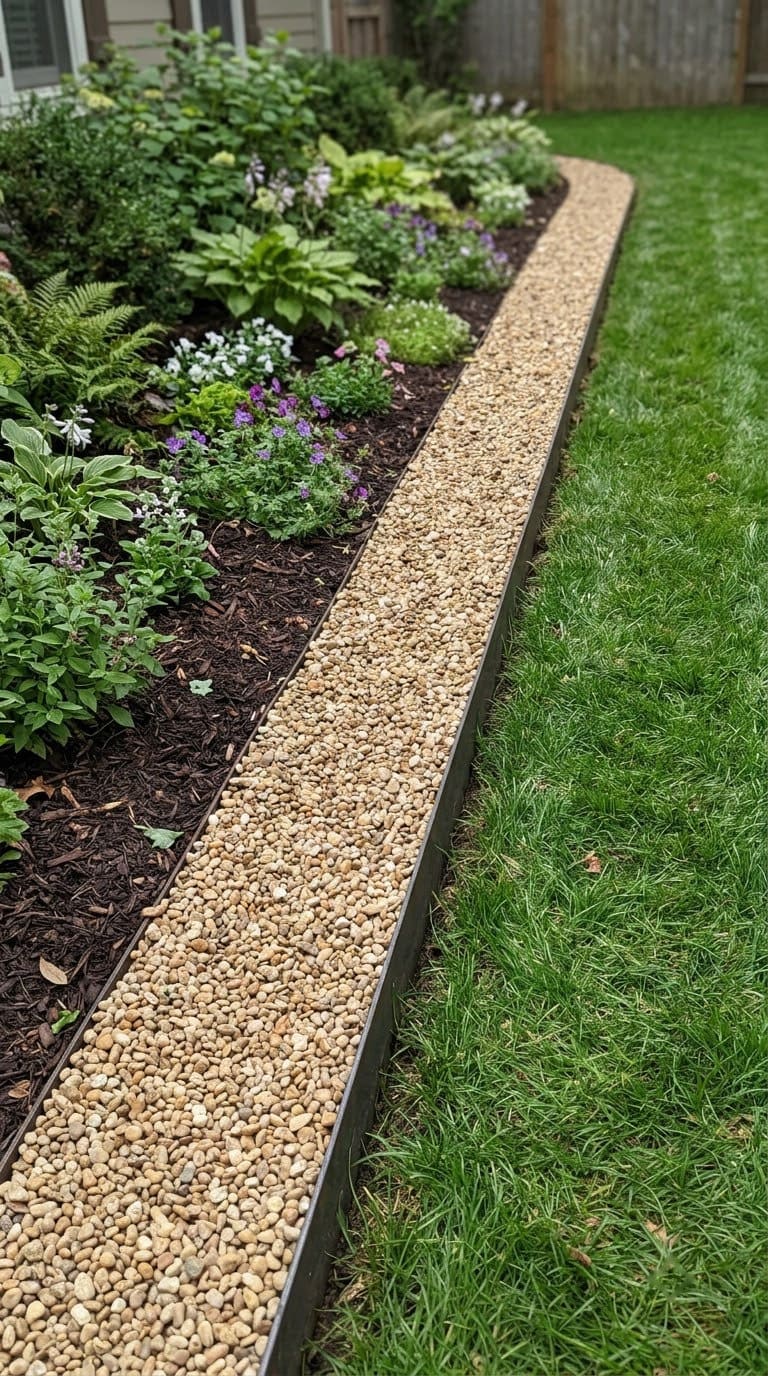
A pebble border makes mowing easy and keeps grass out of the bed.
- Where it goes: The line where lawn meets bed.
- Skill and time: Easy, a weekend.
- What you need: Small pebbles, edging, a spade and a rake.
- How much: A strip 8 to 12 inches wide, 2 inches deep.
- Step 1: Cut a trench along the edge with a spade.
- Step 2: Set edging on the lawn side.
- Step 3: Fill the strip with pebbles.
- Step 4: Rake level with the lawn so the mower wheels can run over it.
- Make it last: Keep the edge tight to stop pebbles from creeping.
- Watch: Pebbles above lawn height. Mowers throw stones.
Our take: set the strip a hair below the grass. The mower glides over it.
For more edge styles, see our river rock edging ideas.
9. Pebble Pad Under the Rain Barrel
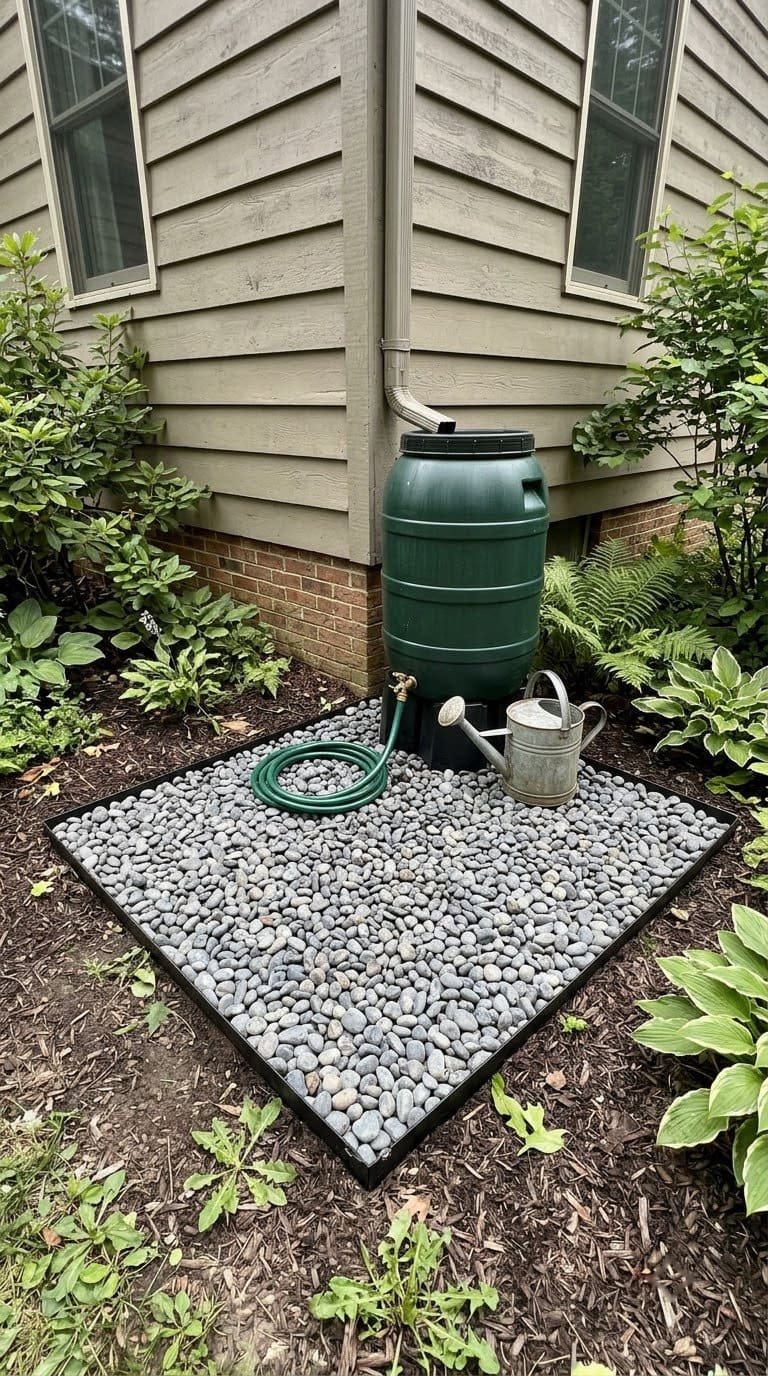
A pebble pad stops mud under the barrel and drains splash water.
- Where it goes: Under a rain barrel, hose reel or garbage cans.
- Skill and time: Easy, about two hours.
- What you need: Pebbles, base stone, fabric and a level.
- How much: 3 inches of base and 2 inches of pebbles.
- Step 1: Mark a square a foot larger than the barrel.
- Step 2: Dig 5 inches and tamp.
- Step 3: Add the base stone and level it.
- Step 4: Add fabric and pebbles.
- Make it last: Check the pad is still level each spring. A full barrel is heavy.
- Watch: Uneven ground. A tilted barrel can fall.
Our take: a firm, level base matters more than the top layer.
10. Pebble Succulent and Cactus Bed
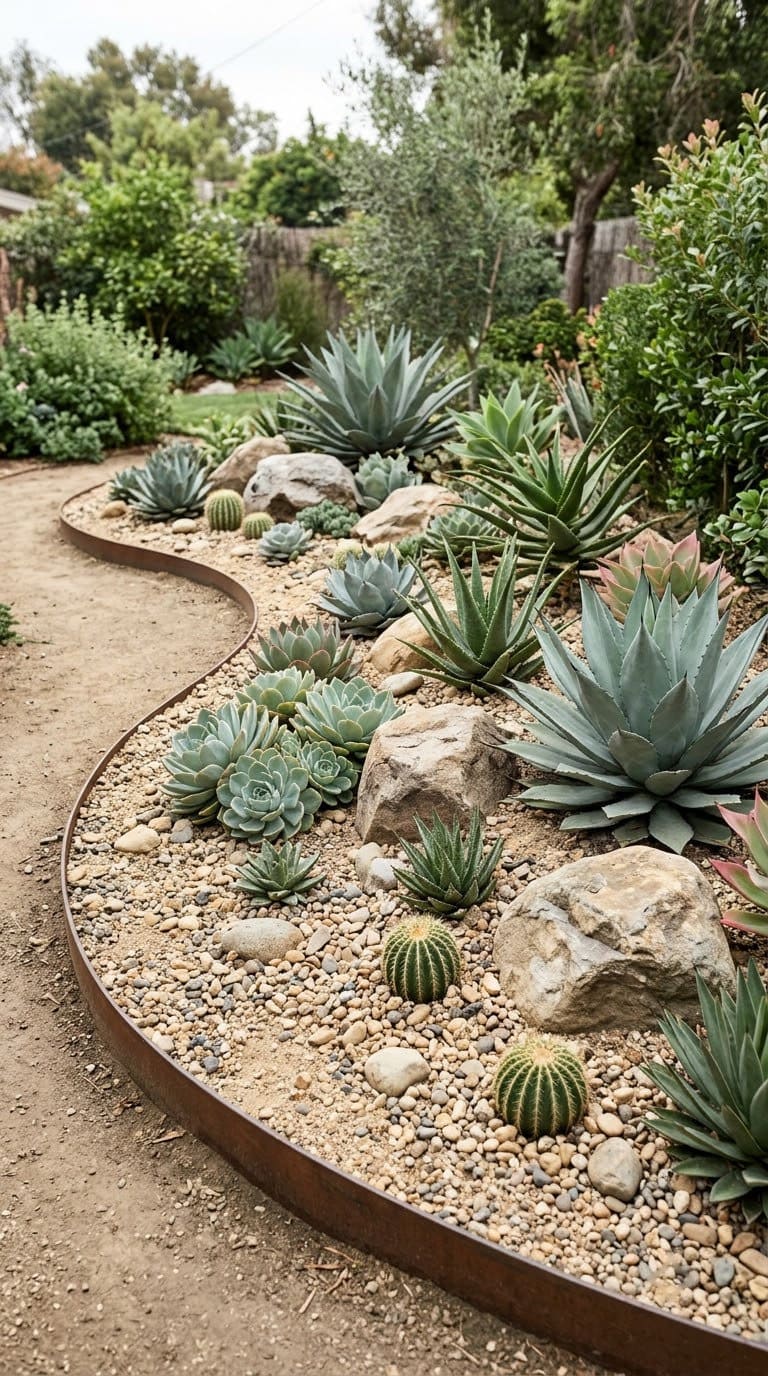
A dry bed with pebbles suits plants that like sharp drainage.
- Where it goes: A sunny, well-drained corner.
- Skill and time: Medium, a weekend.
- What you need: Gritty soil mix, sand, pebbles, plants for dry sites and a few larger stones.
- How much: 1 to 2 inches of pebbles on top.
- Step 1: Loosen the soil and mix in sand or grit.
- Step 2: Mound the soil slightly so water drains away.
- Step 3: Set the plants and cover bare soil with pebbles.
- Step 4: Add larger stones for height.
- Make it last: Water deeply but not often.
- Watch: Winter wet. Pick plants that handle your climate.
Our take: group plants by water needs. A thirsty plant in a dry bed will struggle.
11. Pebble Dog Run or Pet Path
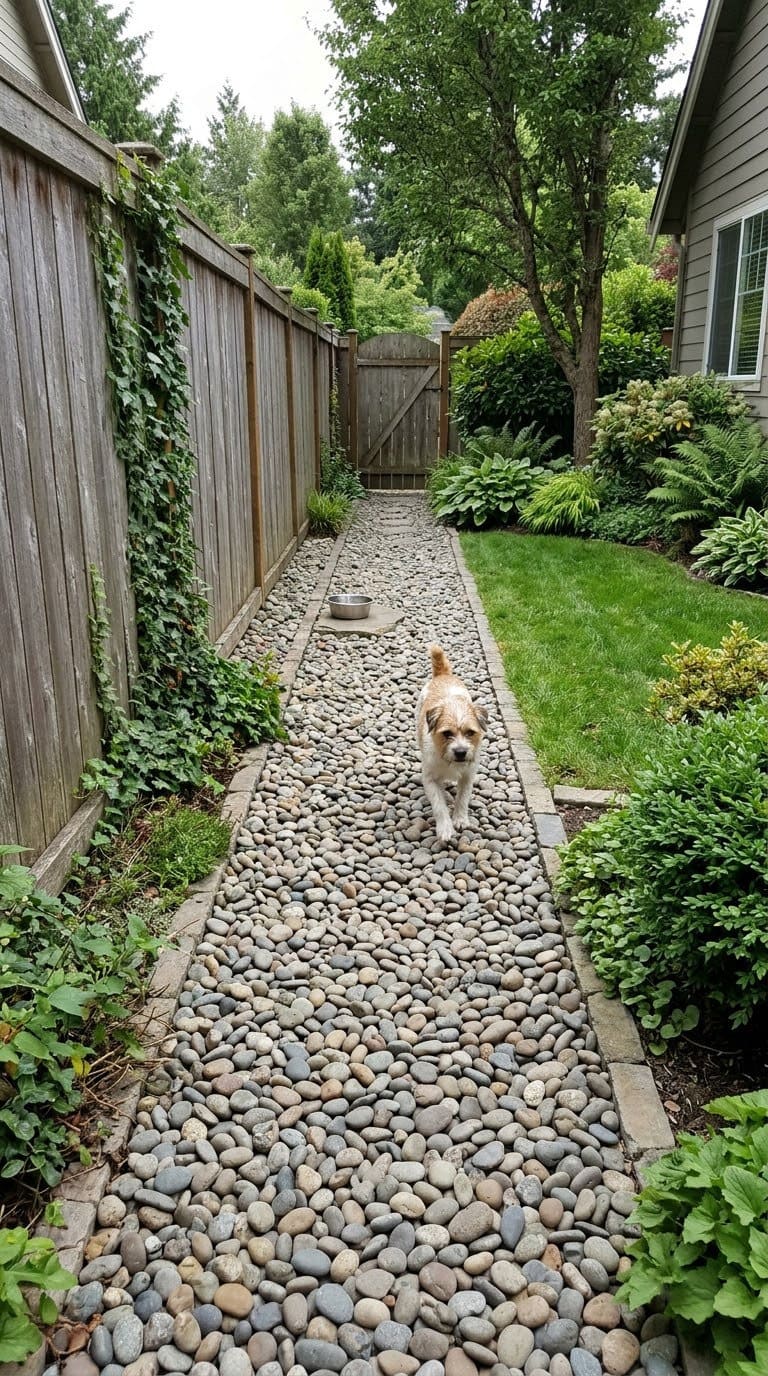
A smooth pebble path gives pets a clean run and keeps paws out of mud.
- Where it goes: A side yard or fence line.
- Skill and time: Medium, a weekend.
- What you need: Smooth, rounded pebbles, base stone, edging, fabric and a rake.
- How much: 2 inches of pebbles over 3 inches of base.
- Step 1: Mark the path and dig 5 inches.
- Step 2: Tamp the soil, then add fabric and base stone.
- Step 3: Set edging on both sides.
- Step 4: Add pebbles and rake smooth.
- Make it last: Hose the path often and scoop waste daily.
- Watch: Heat. Test the stone with your hand on a hot day before your dog runs on it.
Our take: choose a shaded side of the house. Dog paws feel heat quickly.
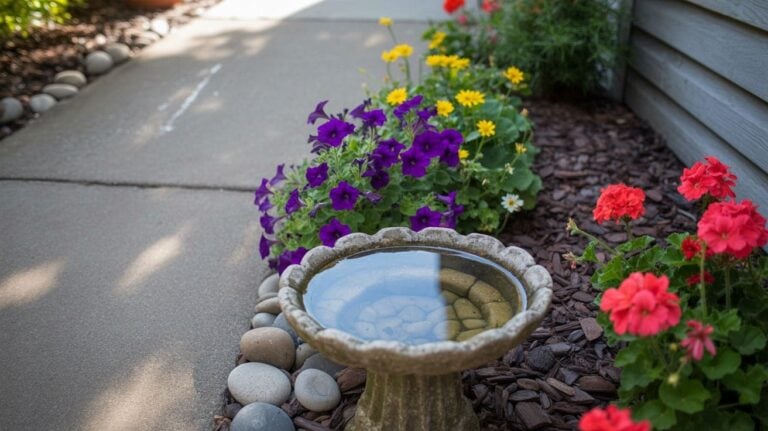
12. Pebble Bird Drinking Spot
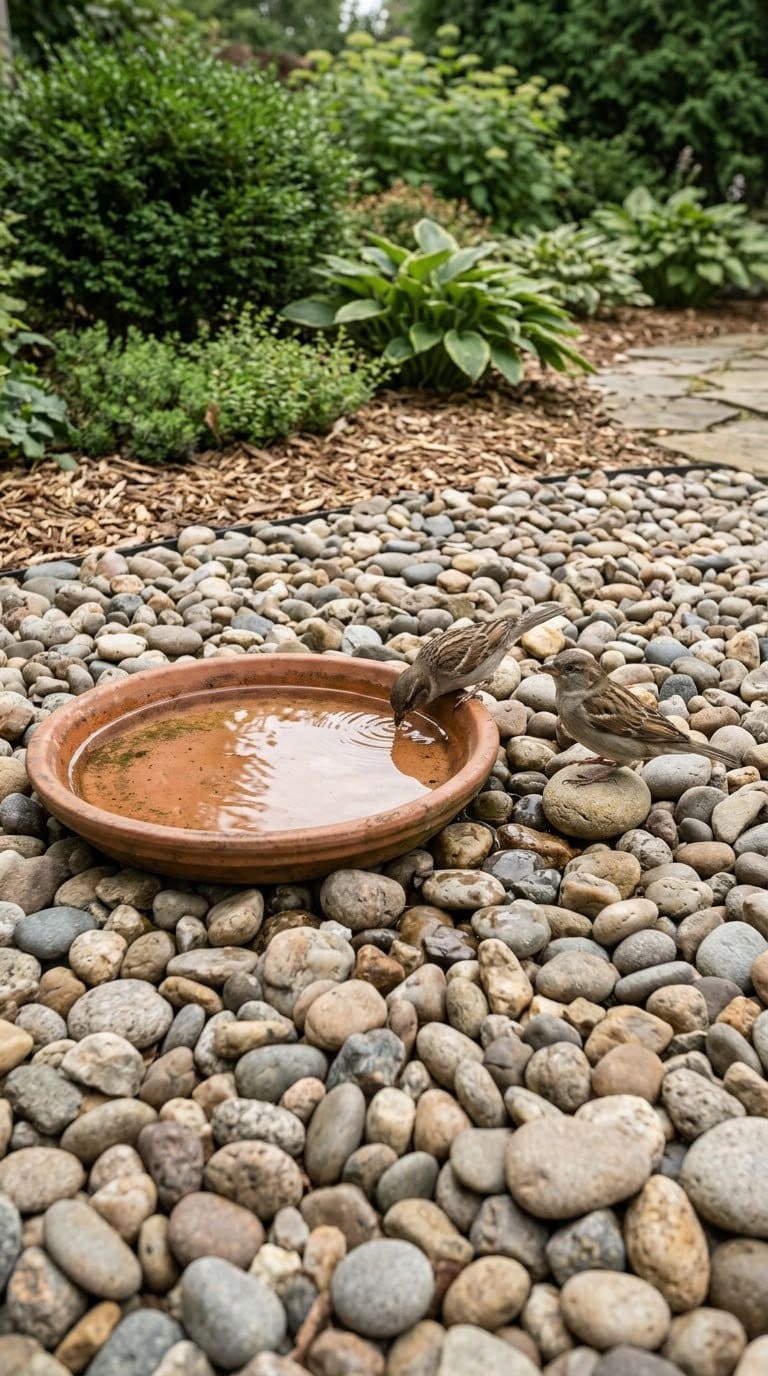
A few pebbles in a shallow dish give small birds a safe place to stand and drink.
- Where it goes: A quiet corner near shrubs.
- Skill and time: Easy, 20 minutes.
- What you need: A shallow dish or saucer, smooth pebbles and a hose.
- Step 1: Place the dish on a flat, stable spot.
- Step 2: Add pebbles so some stand above the water.
- Step 3: Fill with about an inch of clean water.
- Step 4: Scrub and refill the dish often.
- Make it last: Wash the dish and pebbles every few days.
- Watch: Standing water. Mosquitoes breed in it, so refresh it often.
Our take: put it near cover. Birds feel safer with a bush to dart into.
For bigger bird water projects, see our DIY bird bath ideas.
13. Pondless Pebble Fountain
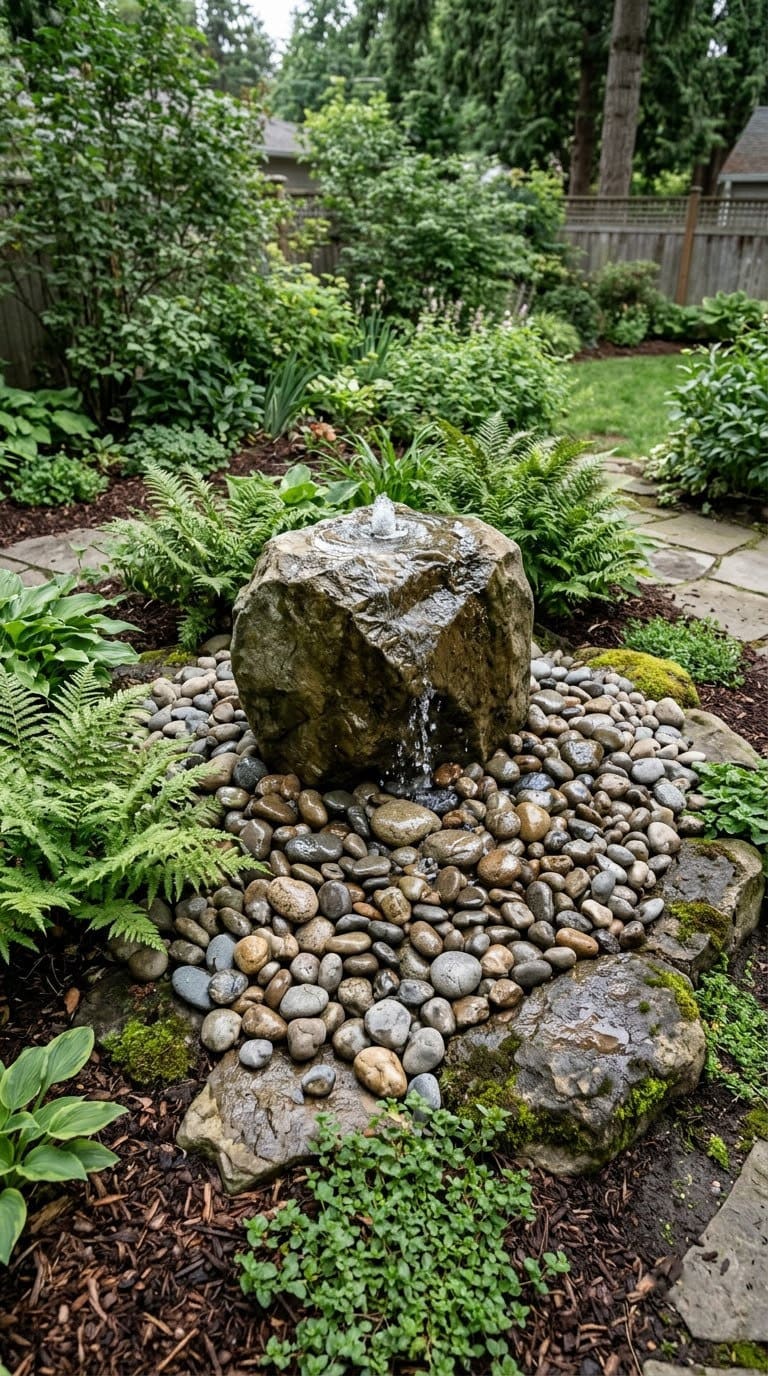
A pondless fountain gives you the sound of water with no open pool to maintain.
- Where it goes: A patio corner or garden bed.
- Skill and time: Medium, a weekend.
- What you need: A pump kit with a basin, a fountain head, a grate, pebbles and a shovel.
- Step 1: Dig a hole for the basin and set it level.
- Step 2: Place the pump and run the cord to a safe, covered outdoor outlet.
- Step 3: Cover the basin with the grate and pile pebbles on top.
- Step 4: Fill the basin with water and test the flow.
- Make it last: Top up the water often, since it evaporates.
- Watch: Electric safety. Follow the pump’s instructions and use an outdoor outlet with a ground-fault breaker.
Our take: a low, gentle trickle sounds better than a loud splash.
14. Pebble Aisles Between Raised Beds
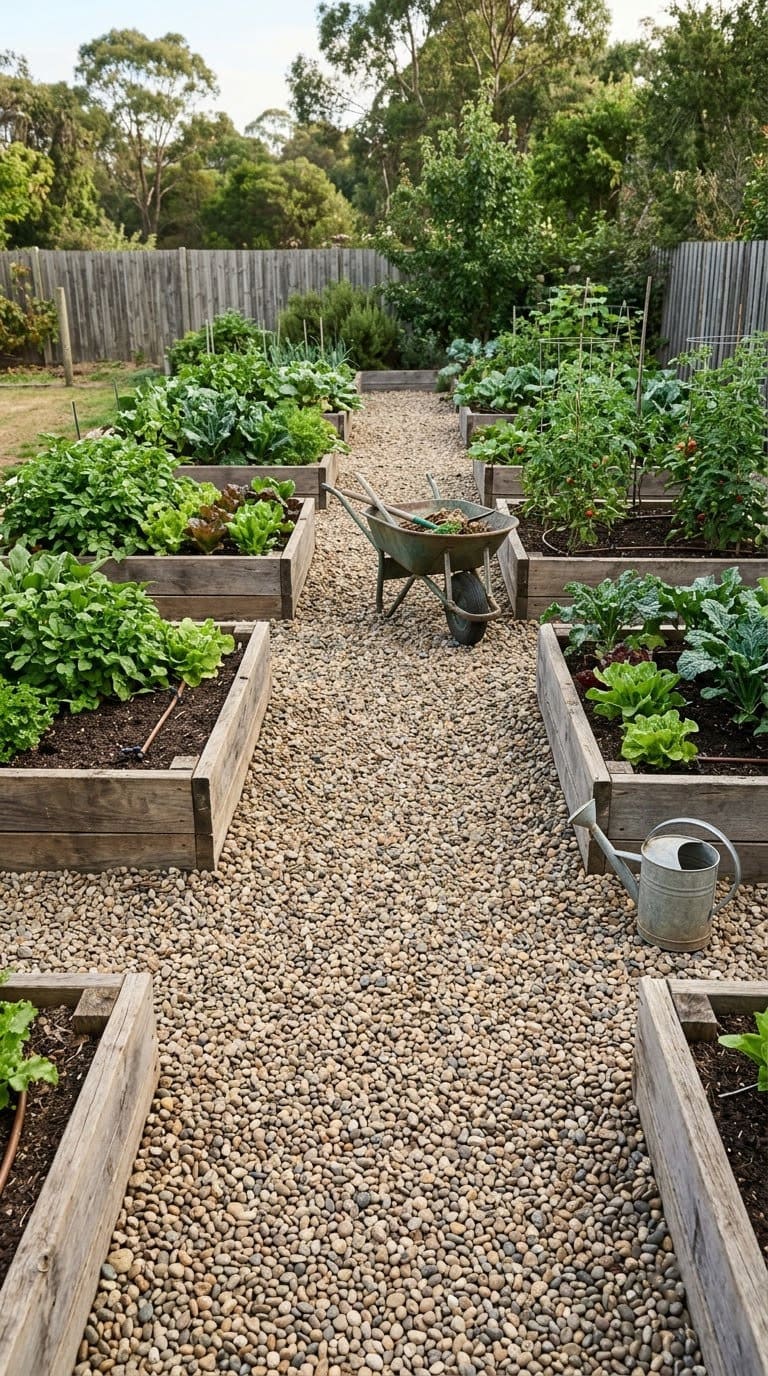
Pebble aisles stay dry, keep your shoes clean and reduce weeds between beds.
- Where it goes: Between vegetable or flower beds.
- Skill and time: Easy, a weekend.
- What you need: Small pebbles, fabric, a rake and a shovel.
- How much: 2 to 3 inches over fabric.
- Step 1: Clear the aisle and level the soil.
- Step 2: Lay fabric and tuck it under the bed frames.
- Step 3: Spread the pebbles.
- Step 4: Rake level.
- Make it last: Sweep soil off the pebbles after you work the beds.
- Watch: Soil washing in. Keep bed edges tidy.
Our take: make aisles wide enough for a wheelbarrow, about 3 feet.
15. Pebble River Through the Lawn
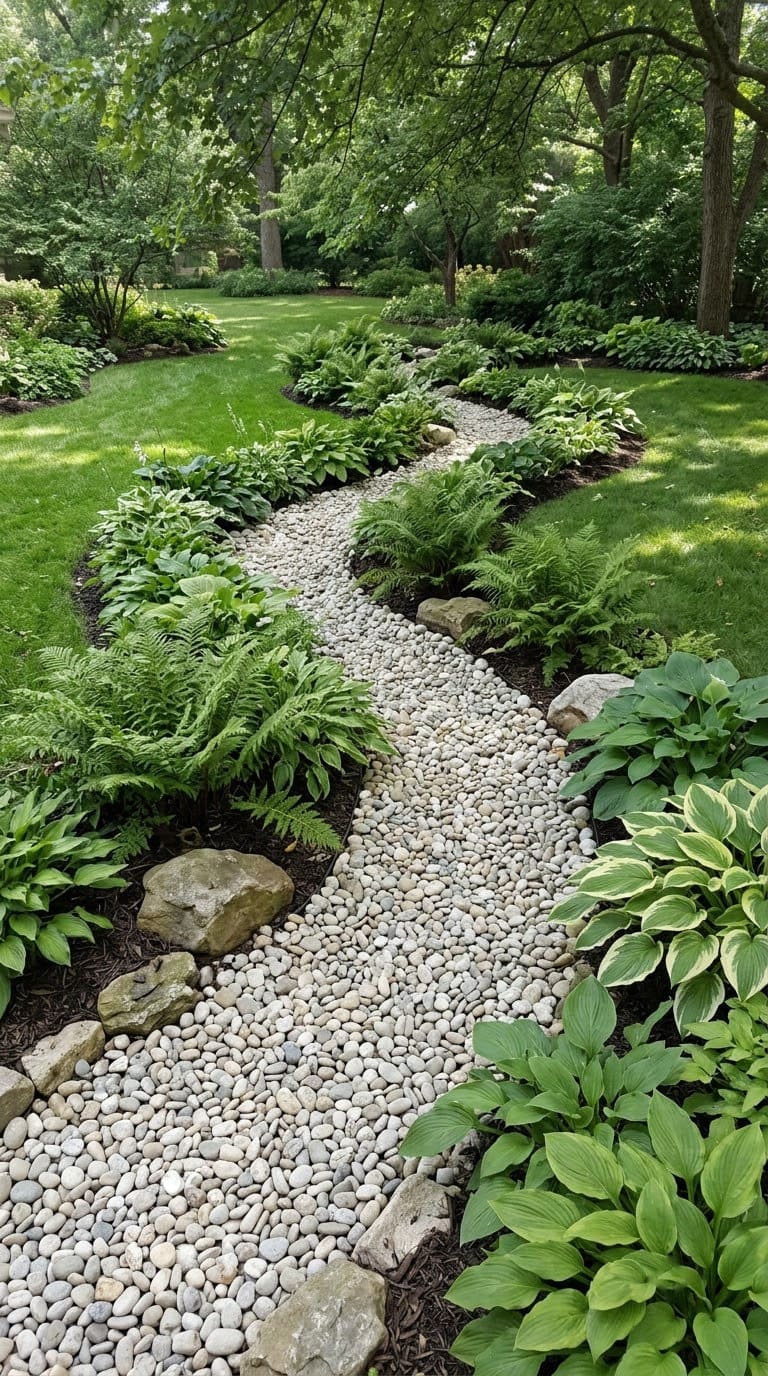
A river of pebbles replaces grass where it will not grow, like a deep shade strip.
- Where it goes: Shady spots where lawn is thin.
- Skill and time: Medium, a weekend.
- What you need: Pebbles, edging, fabric, a shovel, hose and a few plants.
- How much: 2 inches over fabric.
- Step 1: Lay a hose in a curve. Adjust until it looks natural.
- Step 2: Cut the sod and dig 3 inches.
- Step 3: Add edging, fabric and pebbles.
- Step 4: Plant shade lovers on each bank.
- Make it last: Pull weeds early and top up pebbles.
- Watch: Leaves. A leaf blower set low works well.
Our take: widen the river in places and narrow it in others. A natural stream is never the same width.
16. Pebble Joints Between Pavers
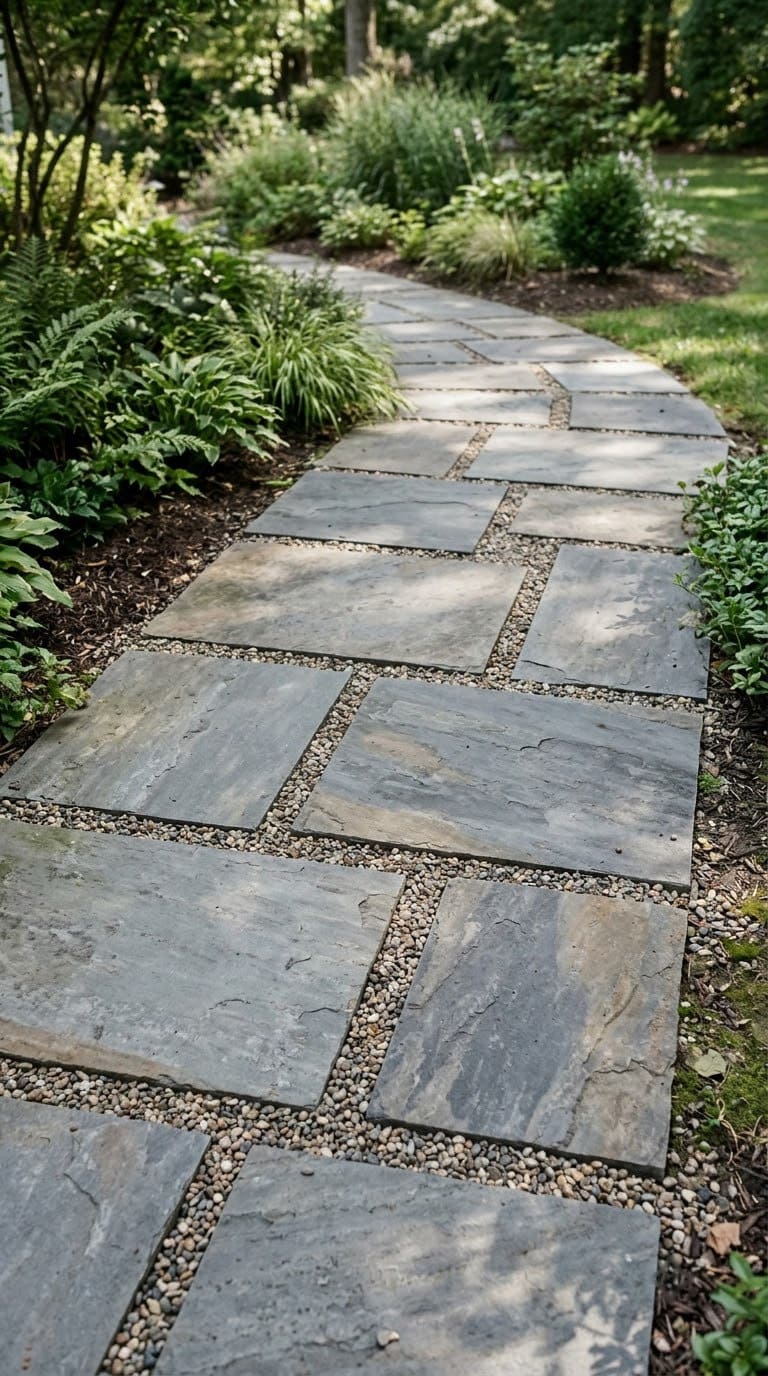
Pebbles in paver gaps let rain soak in and look tidy.
- Where it goes: Walkways and patios made of large pavers.
- Skill and time: Easy, a weekend.
- What you need: Small pebbles or fine gravel, a broom and a hand tamper.
- Step 1: Clear dirt and weeds from the gaps.
- Step 2: Pour pebbles over the surface.
- Step 3: Sweep them into the gaps.
- Step 4: Tamp lightly and sweep off the extra.
- Make it last: Top up after heavy rain.
- Watch: Gaps too narrow. Pebbles need at least a finger-width to sit.
Our take: use a pebble that is half the gap width. It locks in place.
17. Pebble Pattern Side Yard
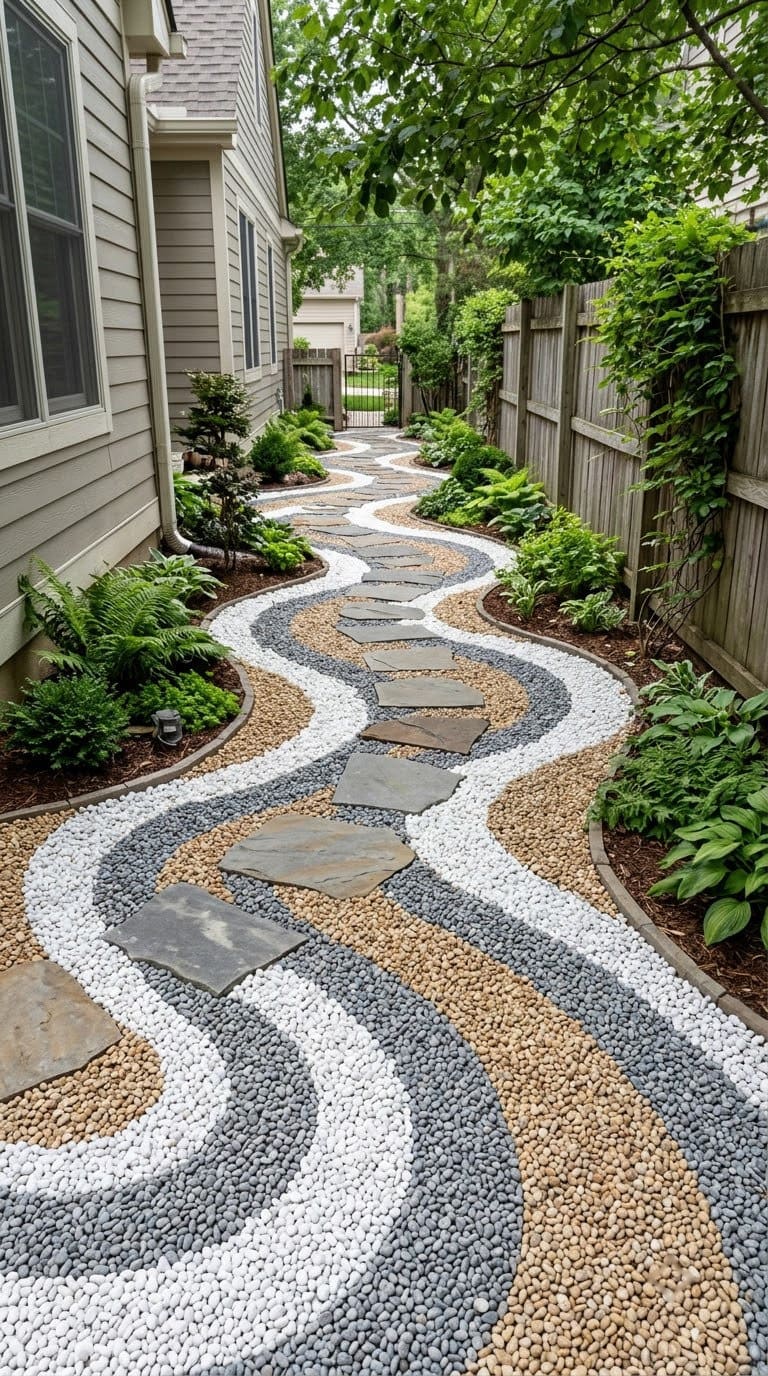
A pattern turns a dull strip into a design. Bands of color do the work.
- Where it goes: A side yard, narrow bed or courtyard.
- Skill and time: Medium, a weekend.
- What you need: Two or three pebble colors, thin edging strips, fabric and a rake.
- Step 1: Draw the pattern on the ground with chalk.
- Step 2: Lay fabric and set thin edging along the lines.
- Step 3: Fill each section with a different color.
- Step 4: Rake each band smooth.
- Make it last: Keep sections tidy and top up as needed.
- Watch: Mixed colors. Use dividers so they stay separate.
Our take: stick to two or three colors. More makes the space busy.
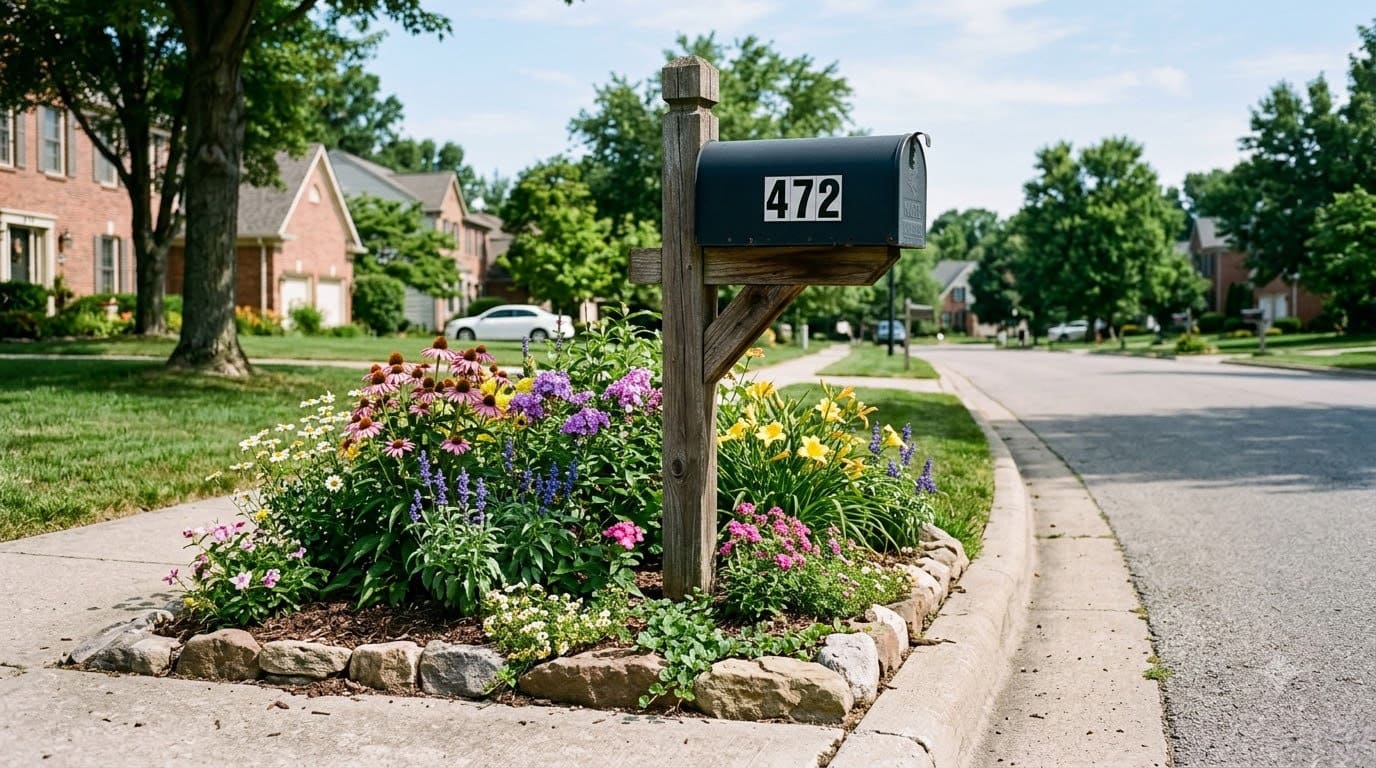
18. Pebble Mailbox or Post Bed
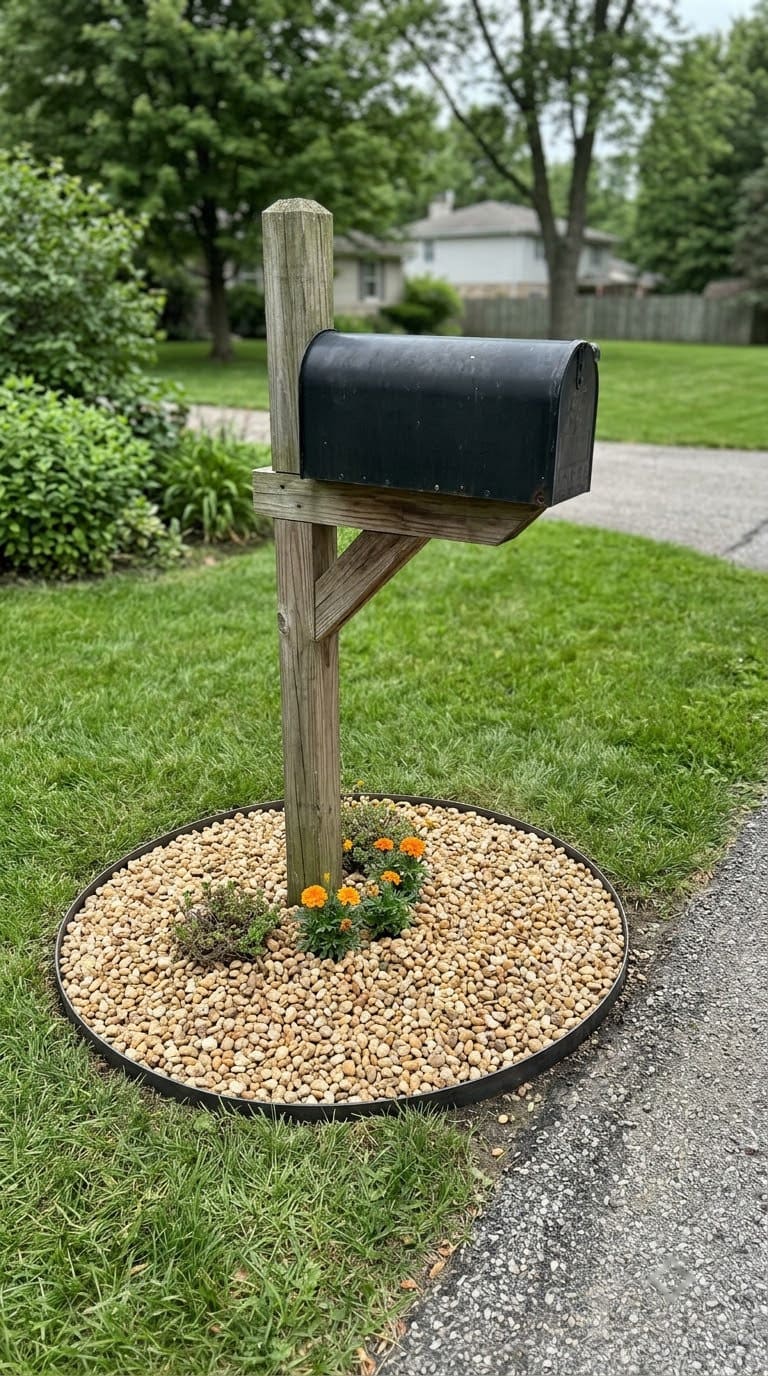
A small pebble bed around a post stops grass trimming and looks neat.
- Where it goes: Around a mailbox, lamp post or sign.
- Skill and time: Easy, 90 minutes.
- What you need: Pebbles, edging, fabric and a spade.
- How much: 2 inches over fabric, a 2 to 3 foot circle.
- Step 1: Mark and cut the circle.
- Step 2: Remove sod and loosen the soil.
- Step 3: Lay fabric, cut an X for the post and set edging.
- Step 4: Add pebbles and a few low flowers in pots.
- Make it last: Wipe the post and rake stones as needed.
- Watch: Utility lines. Call 811 before you dig near a post or lamp.
Our take: pots of flowers add color with no weeding.
19. Pebble Pad for the AC Unit
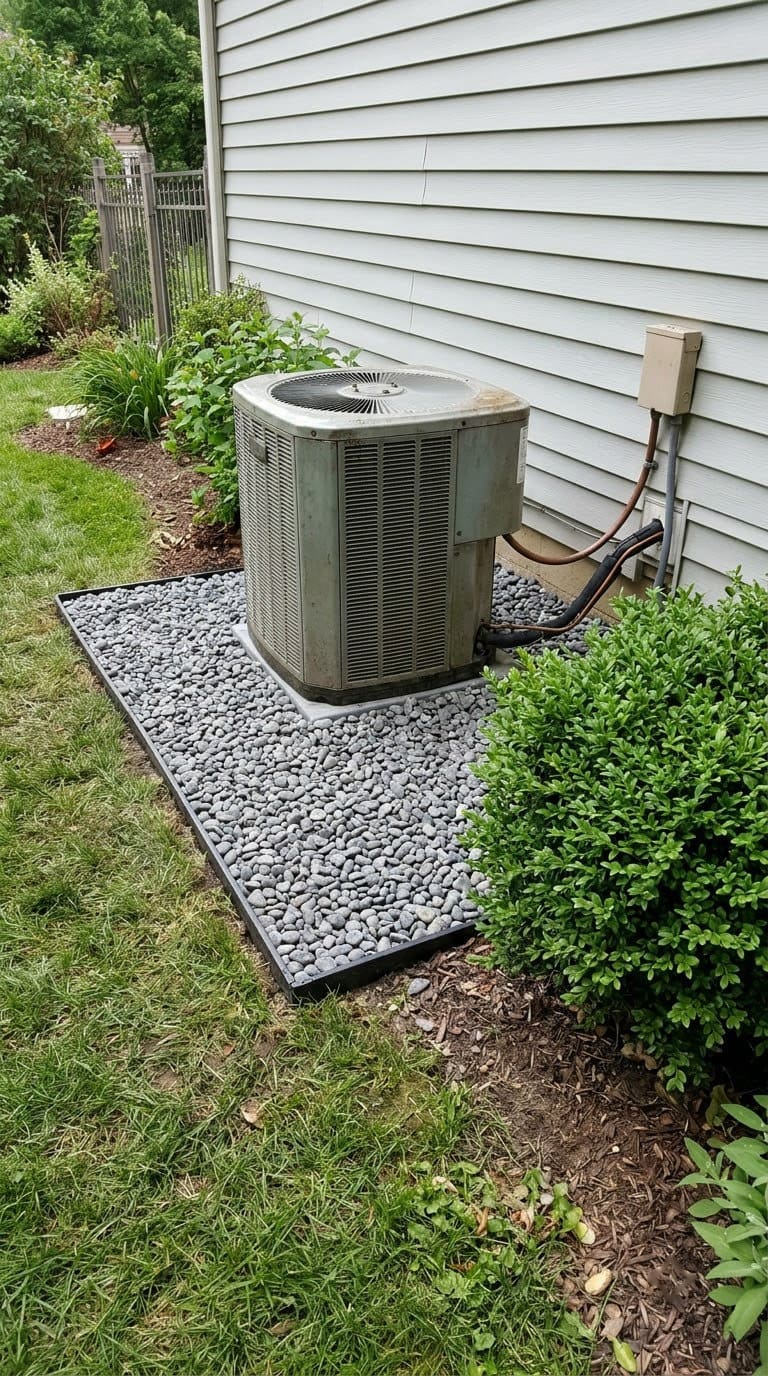
A pebble pad keeps the unit level and stops weeds and mud around it.
- Where it goes: Around an AC unit or heat pump.
- Skill and time: Easy, about two hours.
- What you need: Pebbles, fabric and edging.
- How much: 2 inches over fabric.
- Step 1: Clear a space around the pad, leaving room to work.
- Step 2: Lay fabric.
- Step 3: Spread pebbles around, not under, the unit.
- Step 4: Keep the pebbles below the unit’s base.
- Make it last: Keep leaves and debris out.
- Watch: Airflow. Leave clear space around the unit as the manual says.
Our take: check the manual before you plant near it. Most units need open space on all sides.
20. Pebble Overflow for a Rain Garden or Drain
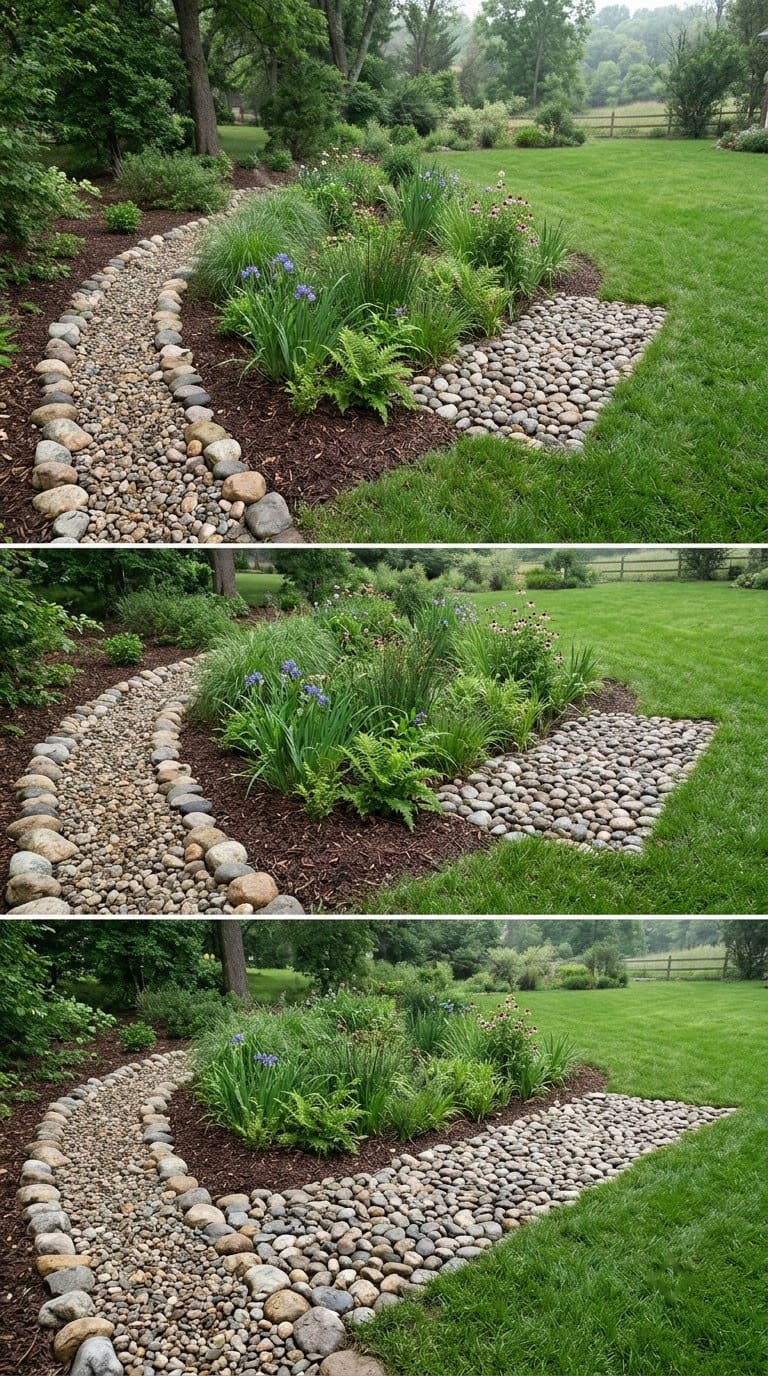
A pebble apron spreads fast water so it doesn’t scour the soil.
- Where it goes: Where a pipe, downspout or channel empties.
- Skill and time: Medium, a weekend.
- What you need: Medium pebbles, fabric, a shovel and a level.
- How much: 3 to 4 inches over fabric, in a fan shape.
- Step 1: Mark a fan 3 to 4 feet wide where the water exits.
- Step 2: Dig 4 inches and slope gently away from the pipe.
- Step 3: Lay fabric and pebbles.
- Step 4: Watch a rainstorm and adjust if water pools.
- Make it last: Clear silt after storms.
- Watch: Public drains and neighbors. Check local rules before you redirect water.
Our take: do a water test with a hose before you finish. It shows you where water wants to go.
How Do You Keep a Pebble Garden Tidy?
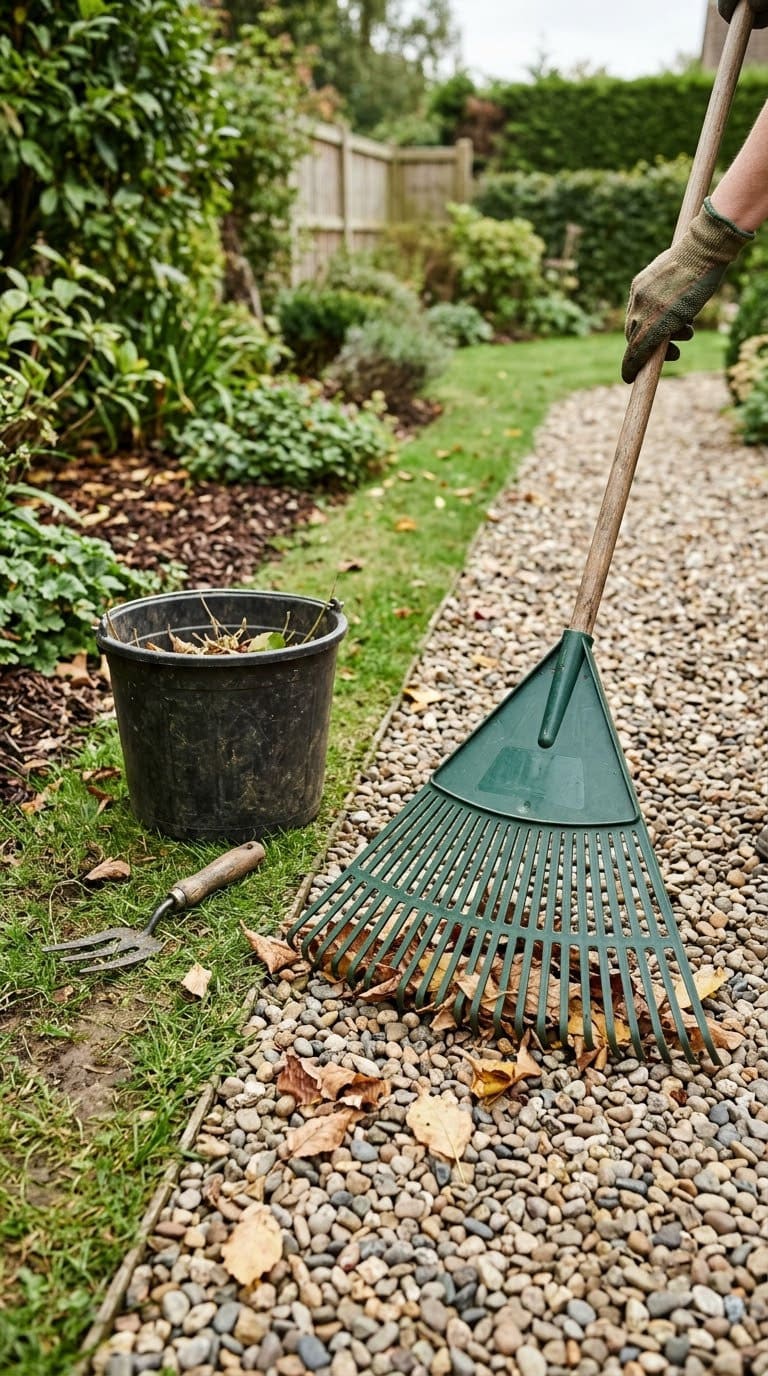
Pebbles are low-care, not no-care. A short routine keeps them looking good.
- Every week: Pick up leaves and twigs with a plastic rake or a leaf blower on low.
- Every month: Pull small weeds and loosen packed spots with a rake.
- Every spring: Top up thin areas and reset the edging.
- Every year: Rinse stained pebbles with a hose and brush.
Our take: tackle weeds right after rain. Roots slip out easily when the ground is soft.
For path tips, see our guide on controlling weeds in a crushed stone pathway.
What Mistakes Should You Avoid?
Most pebble problems start under the stones.
- No edging. Pebbles creep into lawns.
- Too thin a layer. Fabric and soil show in weeks.
- No base on paths. Stones sink into mud.
- Bad slope. Water pools or runs toward the house.
- Big heat zones. Wide sunny pebble fields bake plants.
- Piled against stems. Keep a gap around trunks.
Frequently Asked Questions
How deep should pebbles be in a garden?
A common range is 2 to 3 inches. Paths and patios need a firm base under that layer. Sources vary, so check local advice.
Do I need landscape fabric under pebbles?
It depends. UC IPM says to use it under rock, and Colorado State University Extension says to skip it. We use it on paths and patios and skip it in planted beds.
What size pebbles are best for paths?
Small ones, about pea size. They pack down and feel firm underfoot. Smooth, rounded stone is kinder on bare feet.
Do pebbles keep weeds away?
They slow weeds but do not stop them. Seeds blow in and sprout in the stone, so pull seedlings early.
See our white gravel ideas for a clean-look option.
Your Pebble Project Plan
- Day 1: Pick one problem spot and measure it.
- Day 2: Do the math, choose the pebble size and order with 10 percent extra.
- Weekend: Prep the ground, add edging and spread the stone.
- Next week: Rake, top up thin spots and watch how water moves in a rain.
- Every month: Pull small weeds and clear leaves.
Start with one small project and learn how your yard drains. Then build the next one with confidence.
Never miss an update — choose FarmFoodFamily as your preferred source on Google.
How it works: Tap the button below to open Google's settings page, then check the box next to FarmFoodFamily.
Tap the checkbox to turn it blue — that's how you know it's set.