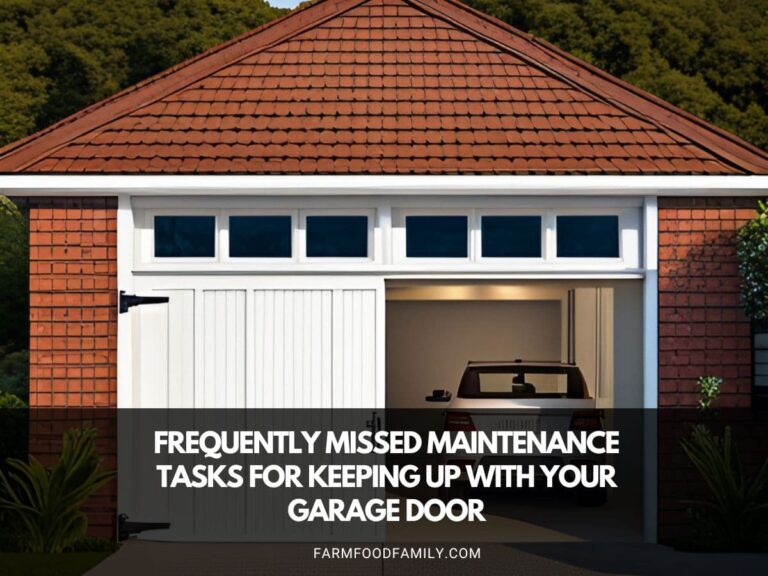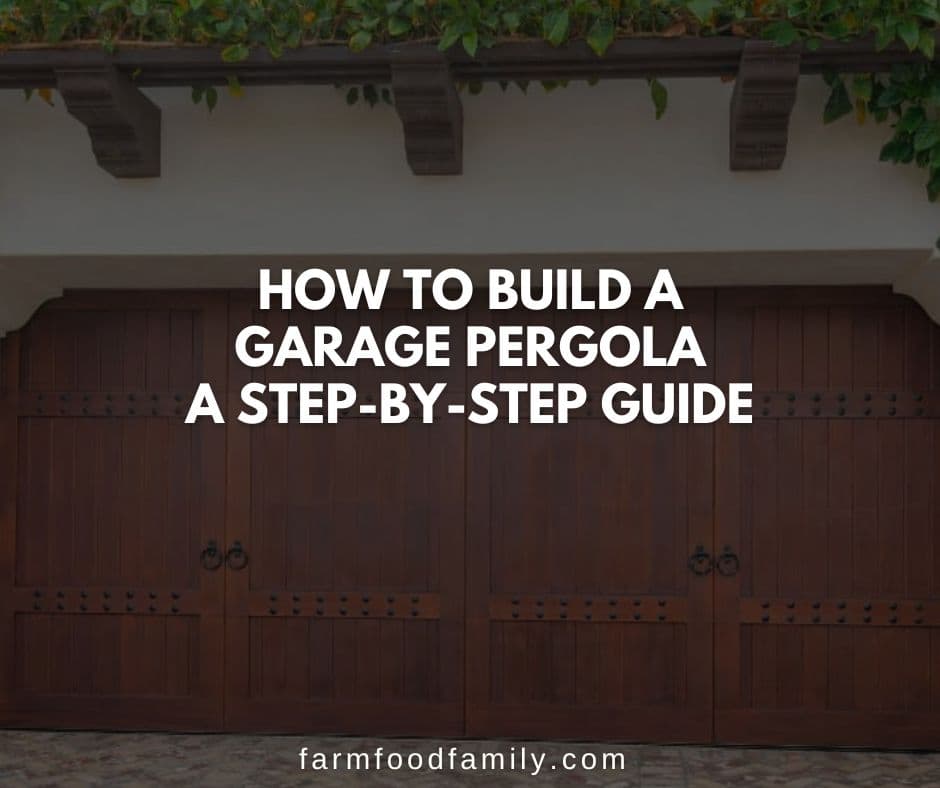
How To Build A Garage Pergola: A Step-by-Step Guide
The first thing most people notice when arriving home is the garage door, so it’s better if it gives a welcoming sight. You can make your garage more aesthetically pleasing by designing a garage pergola. Building one can add architectural dimension to your garage and create an intriguing shadow line at the entry point.
With most people enjoying the outdoor space, building a garage pergola is gradually becoming a norm among homeowners. While they may not be that common yet, a pergola can enhance your home’s outdoor look significantly. Here are tips you’ll need to follow to build the different types of garage pergolas as well as garage trellis.
What Is Garage Pergola?
First thing first, what is a pergola? This structure is equipped with rafters and often doesn’t have a roof. In most cases, a pergola is used for BBQs and gatherings; however, you can still use it for other family activities.
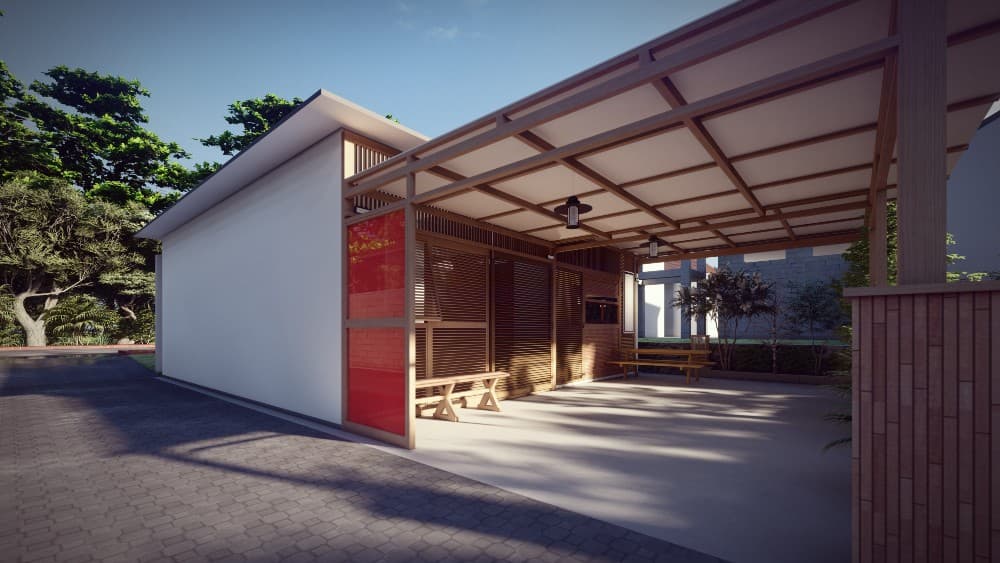
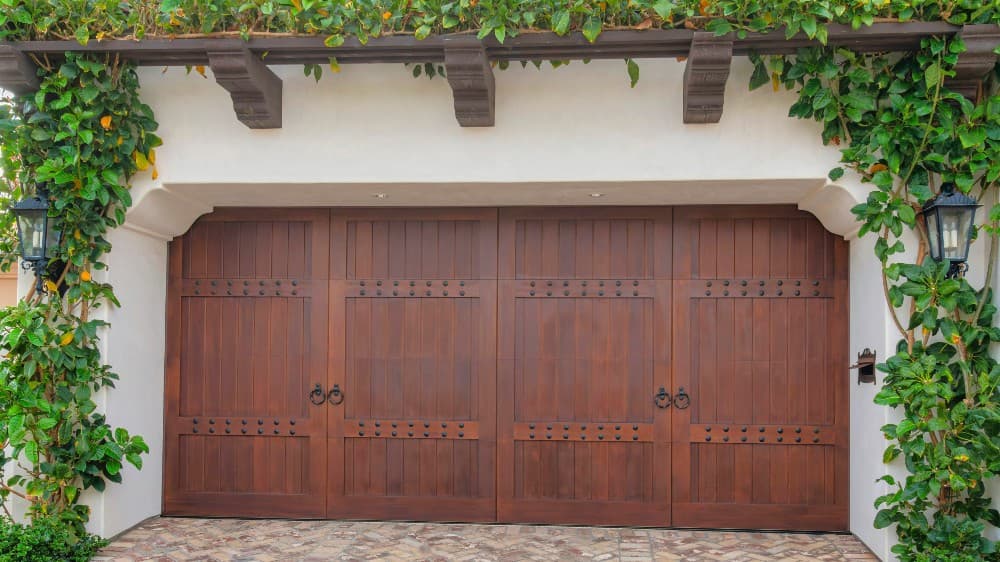
A garage pergola differs from a standard one; the former is attached to your garage exterior. It’s more like a canopy or an overhang that extends a few feet from the garage and offers shade beneath it. A garage pergola has various benefits to your home, such as:
Protection Against Weather Elements
A garage pergola can offer enough protection against elements, making it worth installing. When out in the open, a pergola can offer protection against weather elements. This becomes more effective when you install a canvas or canopy on top of the pergola.
Shade
You may not get a lot of shade from the pergola; still, it offers enough to stand under for a couple of minutes or so. When waiting outside, the pergola offers enough shade when you want a bit of relief. This can be a convenience, especially during summer heat waves.
Protection of Garage Window
One way of protecting your garage window is by installing a pergola. With a pergola, your garage window gets a bit of cover, which somehow enhances its longevity.


Enhancement of Outdoor Decor
A garage pergola offers individuals who want to improve their outdoor decor another aspect to renovate. Actually, many people install garage pergolas primarily for aesthetics. A garage pergola improves your home’s outdoor look; building one is a great and relatively cheap way to attract attention to your home.
Steps To Build A Garage Pergola
If you want to build a garage pergola, here are the steps to follow:
Step 1: Choose Your Construction Materials
After deciding what kind of garage pergola you want, you can start choosing the right construction materials. Timber is the primary construction material for a garage pergola. However, you need to factor in the ideal bracket style and other simple tools. When constructing a garage pergola, you need the following items:
- Jigsaw
- Table saw
- Drill
- Measuring tool
- Level
- Clamp
- Stain or paint
- Pencil
- 2×4 boards
- 2×2 balusters
- Contemporary-style support center
- End brackets
Step 2: Cut The Rafter Design
You don’t have to come up with a sophisticated design for the rafters. You can create a simple design that on your own. You can also opt to replicate any existing design by tracing them. The rafters’ tail typically takes the shape of a fin. This is not a strict rule though, so you can be creative and come up with a design that suits your taste.
When cutting your rafters, ensure they’re uniform and in good shape. Cut the tail off using a jigsaw. Here is where your DIY skills should kick in. When cutting the tail, you can always craft a unique design that can enhance your pergola decor while giving your home an outstanding finish. For inspiration, you can check rafter designs for garage pergolas available online or in stores near you. Modify or copy the design to your needs.
Step 3: Angle Your Purlins
Set your table saw at 45°, and then take the 2×2 balusters and make a half-inch incision on the short side beneath the top edge of your piece. Doing this can give shape to the top of your pergola trellis brackets. You can then give your trellis a unique design. When using your table saw, have the following on hand:
- Safety goggles
- Dust mask
- Ideal footwear
Other things to remember when doing this step are:
- Avoid wearing bracelets or anything on your wrist.
- Avoid positioning your body with the saw blade.
- Don’t move until your blade stops moving
- Your saw blade shouldn’t go 6 mm above your stock.
- Turn off the power before you change the blade or carry out maintenance.
- Release your stock once it has gone past your blade.
- Only cut dry, flat, and seasoned wood.
Step 4: Stain Or Paint
Before assembling individual pieces, you’ll need to stain or paint them for them to look beautiful. Choose a stain or a paint that blends well with your home’s exterior color. With the right color, your garage pergola will stand out while enhancing your home’s exteriors.
Step 5: Drill Holes
Using your drill, create pilot holes in your pergola. Don’t forget the drill bits. As you drill, ensure the holes are perfectly aligned and can be easily moved around to allow the brackets to hang properly. Trellis brackets are the primary foundation of your garage pergola; therefore, you should install them properly.
Step 6: Install Your Brackets
Ensure your brackets are constructed at the right angle for perfect installation. Depending on the material of your choice, installing brackets is the hardest and most challenging part of constructing a garage pergola. For most homeowners, vinyl or wood garages and a few screws are all they need to hang brackets.
However, this process can be a lot more challenging if you are working with concrete or bricks. You need a different drill bit. You can fit a masonry bit into an electric drill. This way, installing the brackets can be less of a hassle despite working with concrete or bricks.
Step 7: Assemble The Top Unit
You can now take your top purlins, lay them on the previously installed brackets, and form a pergola. When doing this, take extra care so that everything is perfectly aligned for the pre-drilled holes to line up.
When all are in place, you can start the final process—fastening everything together. Take your drill and screw all parts into place, and you’ll have a gorgeous pergola above your garage door.
Takeaway
If you want to renovate your home exterior but do not want to spend a lot of money, then you might want to consider building a garage pergola. It is an exciting way of giving your home a unique architectural design while offering weather protection and added shade. Building one doesn’t have to be complicated if you follow the steps detailed above.