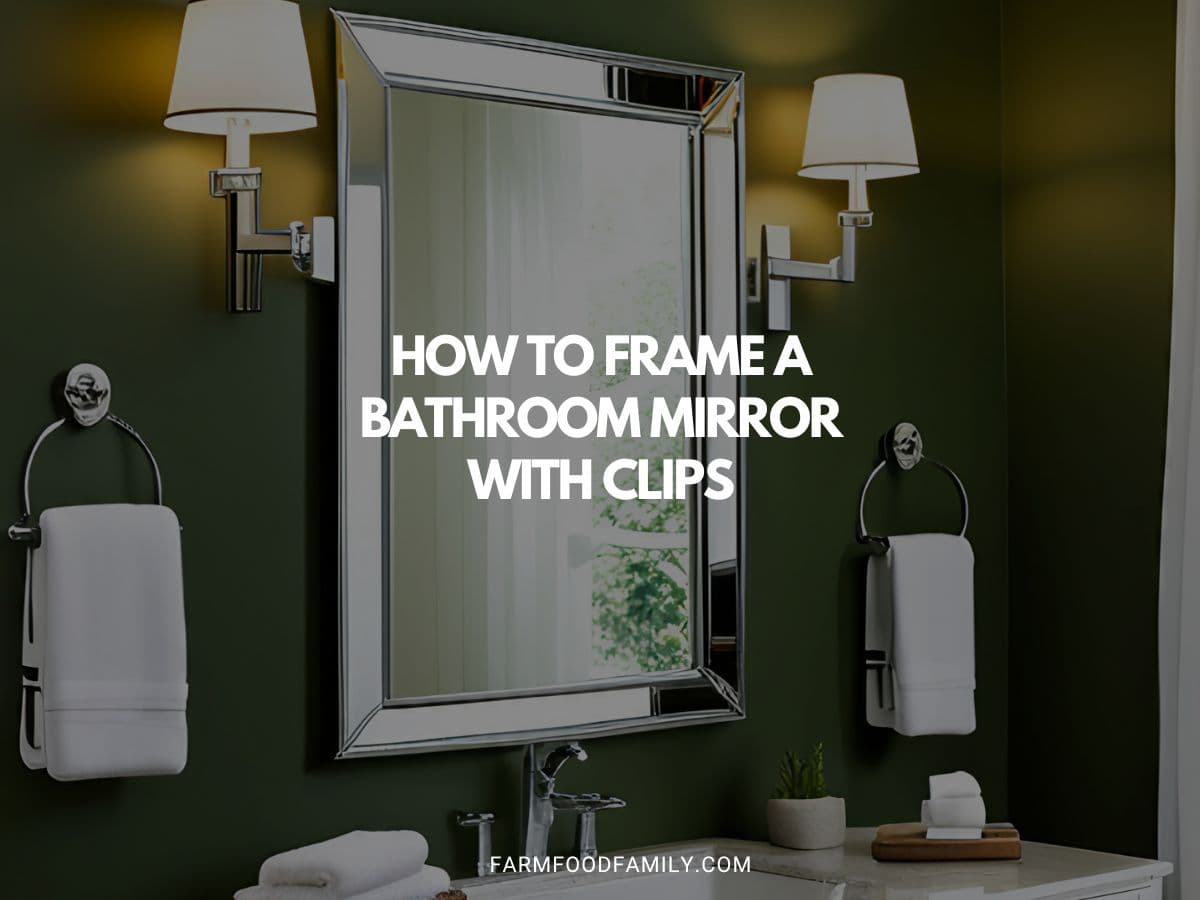
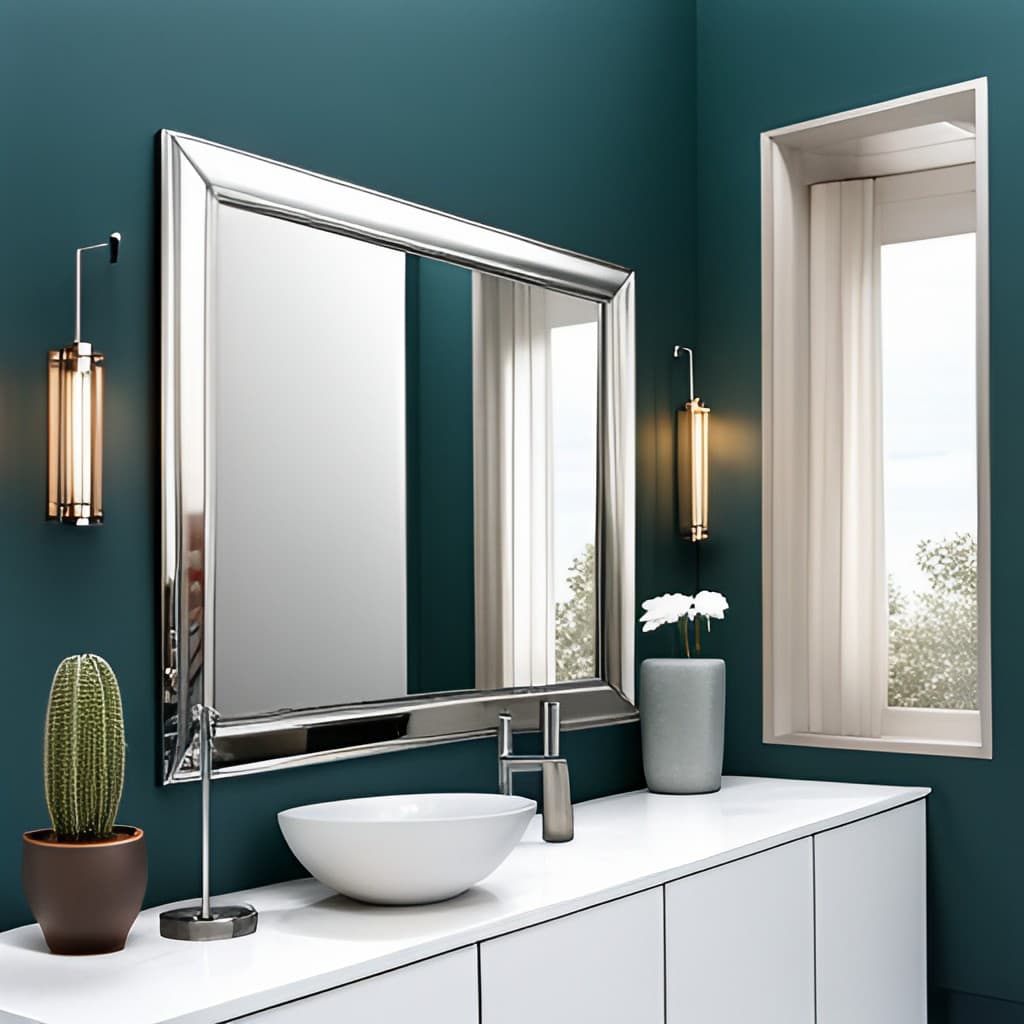
How to Frame a Bathroom Mirror with Clips: A Comprehensive Guide
Welcome to our comprehensive guide on how to frame a bathroom mirror with clips. This project is a simple and cost-effective way to enhance the aesthetic appeal of your bathroom without undergoing a full renovation. Framing your bathroom mirror can add depth, character, and style to your space, transforming a functional item into a beautiful focal point.
The process involves attaching a frame around your existing mirror, while cleverly working around the clips that hold the mirror in place. This do-it-yourself task not only lends a finished look to your mirror but also extends its lifespan by protecting the edges from damage.
So, why should you consider framing your bathroom mirror? First, it’s an excellent way to upgrade your bathroom’s decor and give it a fresh, new look. Second, it adds a touch of personal style and elegance to your space. Lastly, it’s a practical project that helps protect your mirror from wear and tear, ensuring it remains in good condition for years to come.
Stay with us as we walk you through each step of this engaging DIY project, making the process easy and enjoyable for even the most novice do-it-yourselfer.
Materials Needed
To successfully complete this DIY project, here’s a detailed list of all the materials you’ll need:
- Mirror Clips: You’ll need these to securely hold your mirror in place during the framing process.
- Mirror Frame: Choose a frame that fits your personal style and bathroom decor. This could be made of wood, plastic, or metal.
- Measuring Tape: A crucial tool for obtaining accurate measurements of your mirror and ensuring the frame fits perfectly.
- Saw: This will be used to cut your frame to the correct length. A miter saw is ideal for making precise angled cuts.
- Sandpaper: To smooth any rough edges on your cut frame pieces.
- Adhesive: A strong adhesive suitable for your frame material and mirror. This will be used to attach the frame to the mirror.
- Paint or Varnish (optional): If you wish to add color or extra finish to your frame.
- Safety Gear: Safety glasses and gloves to protect yourself during the cutting and attaching process.
Preparation Steps
Before starting the actual framing process, it’s crucial to prepare your workspace and the mirror. Here are the steps you need to follow:
- Cleaning the Mirror: Start by cleaning the mirror and the area around it. Use a good quality glass cleaner and a microfiber cloth to remove any dust, smudges, or stains on the mirror. This step is crucial as any dirt left on the mirror can prevent the frame from adhering properly.
- Removing Items Around the Mirror: Clear the area around the mirror. This includes removing any items on the sink countertop, wall hangings, or light fixtures that might get in the way while you’re working.
- Taking Measurements: Next, use a measuring tape to take precise measurements of your mirror. Measure the length and width of the mirror, including the areas covered by the clips. These measurements will determine the size of the frame you need.
- Note Down the Measurements: Write down the measurements as you go, including each side of the mirror. This will be helpful when you’re cutting your frame pieces.
- Check the Wall Area: Also, check the wall area around the mirror. Ensure there is enough space to accommodate the added width of the frame.
Choosing the Right Frame
Selecting the right frame for your bathroom mirror is a vital step in this project, as it can significantly impact the overall aesthetic of your bathroom. Here’s some guidance on choosing a suitable frame:


- Types of Frames: Frames come in various materials, including wood, plastic, and metal. Wood frames offer a classic and warm look, plastic frames are lightweight and versatile, and metal frames can lend a sleek, modern touch to your bathroom.
- Size of the Frame: The frame’s size should be proportional to the mirror and the overall scale of the bathroom. A large, ornate frame might overwhelm a small mirror or a minimalist bathroom design, while a thin, simple frame might not provide enough impact on a large mirror or in a grand bathroom.
- Color and Finish: Consider the color and finish of the frame. This could range from natural wood finishes and metallic tones to painted colors. Choose a color that complements your bathroom’s color scheme.
- Style Match: The style of the frame should match the overall decor theme of your bathroom. For instance, a rustic wood frame might be perfect for a farmhouse-style bathroom, while a sleek, black frame might suit a modern, minimalist bathroom.
- Consider the Environment: Given that bathrooms often have high humidity levels, choose a frame material that can withstand these conditions without warping or peeling.
- Functionality: If your mirror serves a specific purpose beyond reflection (e.g., a medicine cabinet), ensure the frame doesn’t impede this functionality.
Handling the Clips
Mirror clips play a crucial role in securing your mirror to the wall, especially for larger mirrors. They hold the mirror in place and prevent it from falling or shifting. However, when framing a mirror, these clips can pose a bit of a challenge. Here’s how to navigate this:
- Understanding the Role of Clips: The primary purpose of bathroom mirror clips is to hold the mirror securely against the wall. They are usually made of plastic or metal and are essential for safety.
- Working Around the Clips: When framing your mirror, you’ll need to work around these clips as they cannot be completely removed due to their role in securing the mirror. One method is to notch out a space in the back of the frame where the clips are positioned. This way, the frame can fit flush against the mirror despite the clips.
- Using a Spacer: Another method is to use a spacer (like a small piece of wood or thick cardboard) between the mirror and the frame. The spacer should be as thick as the protruding part of the clip. This allows the frame to sit evenly around the mirror, with the clips hidden behind it.
- Replacing the Clips: If the clips are too bulky or intrusive, consider replacing them with mirror adhesive or low-profile clips that won’t interfere with the frame.
- Safety First: Whatever method you choose, remember that safety is paramount. The mirror must remain securely attached to the wall at all times.
In the next steps, we’ll discuss how to cut and attach the frame, keeping these considerations in mind.
Cutting the Frame
Once you’ve chosen your frame and taken accurate measurements of your mirror, it’s time to cut the frame. Here are the steps to ensure you do this accurately:
- Mark the Measurements: Start by marking the length of each side of the mirror on your frame material using a pencil. Don’t forget to account for any overlap where the corners of the frame meet.
- Check Your Angles: If you’re using a miter saw, set it to cut at a 45-degree angle for each corner of the frame. This will ensure that the corners fit together neatly.
- Sawing the Frame: Using your saw (a miter saw is recommended for precise cuts), carefully cut the frame pieces according to your markings. Always prioritize safety during this step – use protective eyewear and follow all safety guidelines for your tools.
- Smooth the Edges: After cutting, there may be rough edges on your frame pieces. Use sandpaper to smooth these out before proceeding to the next step.
- Dry Fit the Frame: Before attaching anything, do a dry fit of the frame around the mirror to ensure everything fits correctly. This step will allow you to make any necessary adjustments before permanently attaching the frame.
Attaching the Frame to the Mirror
Once your frame pieces are cut and ready, it’s time to attach them to the mirror. Here’s a step-by-step guide on how to do this:
- Prepare Your Adhesive: Start by preparing your adhesive. Depending on what you’re using, this could involve mixing components together or simply opening a tube. Make sure to follow the manufacturer’s instructions.
- Apply the Adhesive: Apply a thin, even layer of adhesive on the back of each frame piece, taking care not to use too much as it can squeeze out onto the mirror. If your mirror has clips, remember to accommodate them in your placement.
- Attach the Frame: Carefully place each piece of the frame onto the mirror, pressing firmly to ensure a good bond with the adhesive. Start with the top piece, followed by the sides, and finish with the bottom piece.
- Secure the Frame: Depending on the type of adhesive used, you may need to hold the frame in place for a few moments to ensure it sticks. You can also use painter’s tape to secure the frame while the adhesive dries.
- Let it Dry: Allow the adhesive to dry completely according to the manufacturer’s instructions. This could take a few hours or possibly overnight.
- Check the Alignment: Once the adhesive is dry, check the alignment of the frame and make any necessary adjustments.
- Clean Up: Clean up any excess adhesive that may have squeezed out onto the mirror during attachment.
Finishing Touches
After attaching the frame to the mirror, you might want to add some finishing touches to give it that extra flair and ensure its longevity. Here are some suggestions:
- Paint or Varnish: If you want to change the color of your frame or give it a glossy finish, consider applying a coat of paint or varnish. Make sure the material of your frame is suitable for painting or varnishing. Always apply in a well-ventilated area and allow ample time for it to dry.
- Decorative Elements: Depending on your bathroom’s decor, you might want to add decorative elements to the frame. This could be anything from stick-on jewels for a glamorous look to rustic metal details for a farmhouse vibe.
- Sealant: If your bathroom tends to be humid, it might be a good idea to apply a sealant to the frame. This will protect it from moisture damage and help it last longer.
Maintaining the New Frame
To keep your newly framed mirror looking its best, regular maintenance is essential:
- Cleaning: Clean the frame regularly with a suitable cleaner. For wooden frames, use a wood cleaner; for metal frames, a damp cloth should do the trick. Avoid using harsh chemicals that could damage the frame’s finish.
- Check for Damage: Regularly check for any signs of damage like peeling, chipping, or warping. If you spot any damage early, it’s usually easier to repair.
- Avoid Excess Moisture: Try to keep the frame as dry as possible. After showers or baths, make sure to ventilate the room well to prevent moisture build-up.
Conclusion
Framing your bathroom mirror is an excellent DIY project that can significantly enhance the look of your space. We’ve walked through the entire process, from preparing your mirror and selecting the right frame to handling the clips, cutting the frame accurately, and attaching it securely to the mirror. Finally, we discussed potential finishing touches and maintenance tips to keep your framed mirror looking its best.
This project requires some patience and attention to detail, but the result is well worth it. Not only will you have a beautiful, custom-framed mirror, but you’ll also gain the satisfaction of having completed the project yourself.
Remember, each step is important, so take your time with each one. And don’t forget to have fun while doing it! DIY projects are not just about the end product – they’re also about enjoying the process. So why not give this project a try? You might surprise yourself with what you can achieve. Happy DIY-ing!
Frequently Asked Questions
1. Can I frame a bathroom mirror that has clips?
Yes, you can frame a bathroom mirror that has clips. You will need to either notch out spaces in the back of the frame for the clips or use spacers to ensure the frame sits evenly on the mirror.
2. What type of adhesive should I use to attach the frame to the mirror?
A strong adhesive that is specifically designed for use with the material of your frame and glass is ideal. Some popular options include mirror mastic or clear construction adhesive. Always follow the manufacturer’s instructions when applying adhesive.
3. How can I make sure the frame fits perfectly around my mirror?
Accurate measurements are key to ensuring a perfect fit. Measure the length and width of your mirror carefully before cutting your frame pieces. Remember to account for any overlap where the corners of the frame meet.
4. What if the frame interferes with the mirror clips?
If the frame interferes with the clips, consider notching out spaces in the frame where the clips are, using spacers, or replacing the clips with a mirror adhesive or low-profile clips.
5. How do I maintain my framed mirror?
To maintain your framed mirror, clean it regularly with a cleaner suitable for the frame material. Avoid excess moisture and check regularly for any signs of damage.