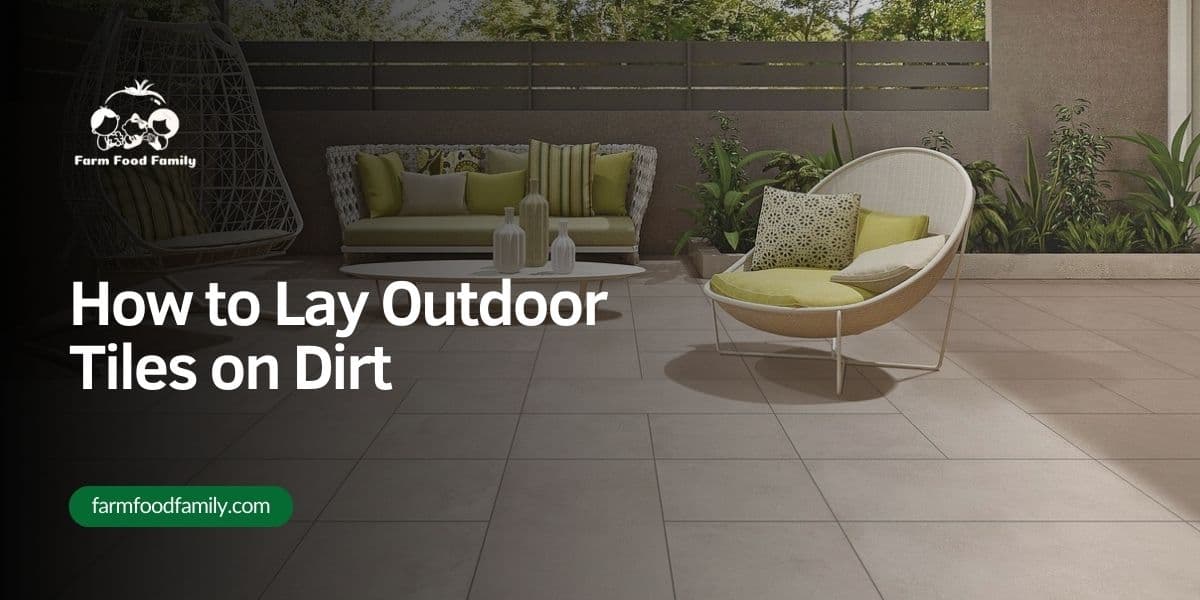
How to Lay Outdoor Tiles on Dirt
Outdoor tiles are a great way to enhance the look and functionality of your outdoor space. They not only add beauty to your patio, deck, or walkway but also provide a durable and slip-resistant surface for various activities. However, the thought of laying tiles on dirt may seem daunting to many. But fear not! With the right tools and techniques, it can be an easy and rewarding DIY project.
In this blog post, we will guide you through the step-by-step process of laying outdoor tiles on dirt, giving you all the necessary information to transform your outdoor space into a stylish oasis. Without further ado, let’s get started.
1. Plan and Prepare
Before starting any project, it is important to have a clear plan in place. This will not only save you time and effort but also ensure that the end result meets your expectations.
When it comes to laying tiles on dirt, this step becomes even more crucial. Take some time to envision how you want your space to look and function after the project is complete.
Consider factors such as the size and shape of the area, the type of tiles you want to use, and any potential obstacles or challenges. This will help you determine the materials and tools needed for the project.
2. Gather Materials
Once you have a plan in place, it’s time to gather all the necessary materials. You will need tiles, gravel, sand, tile adhesive, edging materials, a trowel, a level, and a rubber mallet.
There are different types of outdoor tiles available, including ceramic, porcelain, natural stone, and concrete. Choose the one that best suits your budget, style, and needs.

It is important to choose high-quality materials to ensure the longevity and durability of your outdoor tiles. For instance, use gravel with a thickness of ¾ inch or more to provide a stable base for the tiles. It’s also a good idea to invest in high-quality tile adhesive and edging materials for a professional finish.
3. Measure and Mark the Area
Once you have all the necessary materials, it’s time to measure and mark the area where you will be laying the tiles. Use a measuring tape to determine the dimensions of the space accurately. It is important to account for any irregularities in shape or size, as well as any potential obstacles such as trees or plants.
Marking the area with chalk or spray paint will help you visualize the layout of the tiles and make any necessary adjustments before starting the installation process. This step is crucial to ensure that your tiles are evenly placed and create a cohesive look.
4. Clear and Level the Ground
Before laying any tiles, it is important to clear and level the ground to provide a stable base for them. Remove any debris, rocks, or weeds from the area. Use a shovel, rake, or compactor to make sure the ground is level and compacted.
A stable base is essential for long-term durability and preventing any potential cracking or shifting of tiles. If you have any low spots on the ground, you can use sand to even them out. It’s also a good idea to add a layer of landscaping fabric to prevent weed growth and moisture accumulation.
5. Lay a Base Layer of Gravel
Once the ground is cleared and leveled, it’s time to lay a base layer of gravel. This will provide a solid foundation for your tiles and help with drainage. Spread the gravel evenly in the marked area, making sure it is compacted down.
The thickness of the gravel layer should be at least 2-3 inches. This will not only provide stability but also prevent any potential water accumulation, which can cause damage to your tiles over time. Use a level to ensure that the gravel base is even and flat before moving on to the next step.
6. Place the Tiles
Now it’s time for the exciting part – placing the tiles! Start at one corner of the area and work your way outwards, using a trowel to spread tile adhesive on the back of each tile. Press firmly onto the gravel base, making sure to leave a small gap between each tile for grout.
It’s important to use a rubber mallet to gently tap the tiles into place and ensure they are level. A level can also be used to make any necessary adjustments. Continue this process until all the tiles are in place. Ensure to wipe off any excess adhesive on the surface of the tiles.
7. Cut Tiles as Needed
During the tile placement process, you may encounter areas where full tiles cannot fit. This is where cutting tiles becomes necessary. Use a wet saw or tile cutter to cut the tiles to fit around any obstacles or edges.
It’s important to measure and mark the cuts accurately before making them. It’s also recommended to wear safety gear such as goggles and gloves when using power tools. Once all the tiles are placed and cut, allow the adhesive to dry completely before moving on to the next step.
8. Finish off with Edging
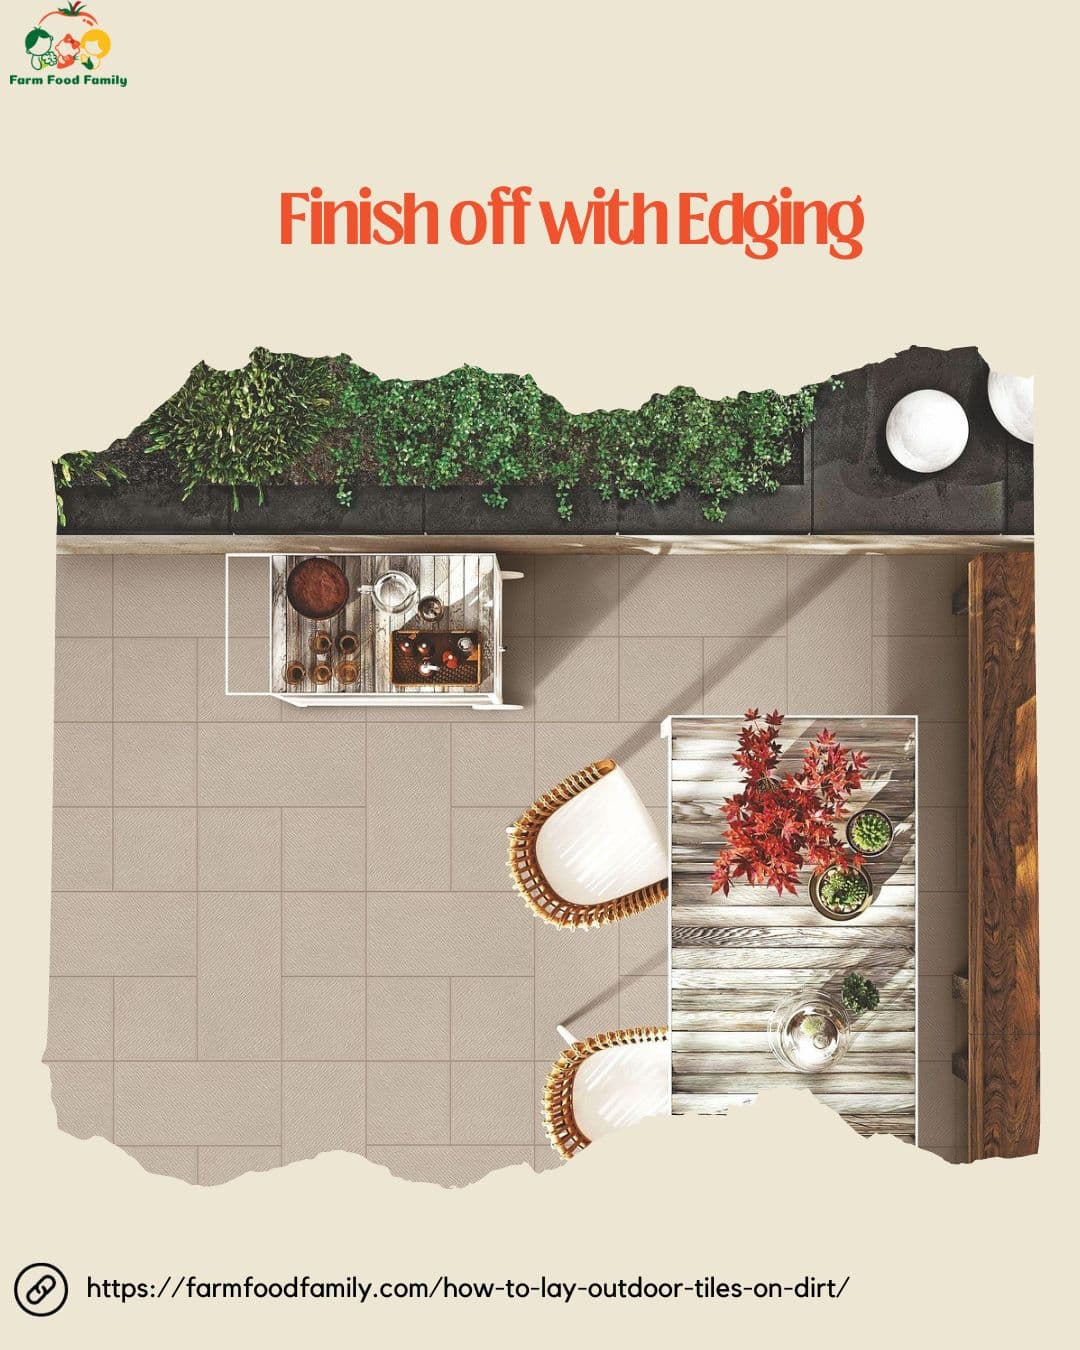
The final step in laying outdoor tiles on dirt is to finish off with edging. This will provide a clean and polished look while also securing the tiles in place. There are various edging options available, such as metal, stone, or plastic, so choose the one that best matches your tiles and aesthetic.
Start by placing the edging along the edges of the tiled area and secure them in place with adhesive or landscape spikes. Make sure the edging is level and flush with the tiles. This will provide a smooth transition between the tiles and surrounding areas.
With the right preparation and materials, laying outdoor tiles on dirt can be a fun and rewarding project. Make sure to plan, gather materials, measure and mark the area, clear and level the ground, lay a base layer of gravel, place the tiles, cut as needed, and finish off with edging for a professional-looking result.
Adding outdoor tiles not only adds beauty and functionality to your outdoor space but also increases the value of your home. So gather your tools and get ready to transform your outdoor oasis!
References:


- Tiles | Temple & Webster. (n.d.). Temple & Webster. https://www.templeandwebster.com.au/Tiles-C1961128.html
- Coulter, L. (2023, January 19). How to get rid of weeds. HGTV. https://www.hgtv.com/outdoors/gardens/planting-and-maintenance/fast-and-easy-weeding-tips
- Personal protective Equipment (PPE) for construction. (n.d.). Office of Environmental Health and Safety. https://ehs.princeton.edu/workplace-construction/construction-safety/personal-protective-equipment-ppe