How to Grow Healthy Garlic At Home: From Planting to Harvest
Fresh garlic from your own backyard tastes nothing like the shrink-wrapped bulbs at the store, and honestly, growing it is easier than most people expect.

Never miss an update — choose FarmFoodFamily as your preferred source on Google.
How it works: Tap the button below to open Google’s settings page, then check the box next to FarmFoodFamily.
Tap the checkbox to turn it blue — that’s how you know it’s set.
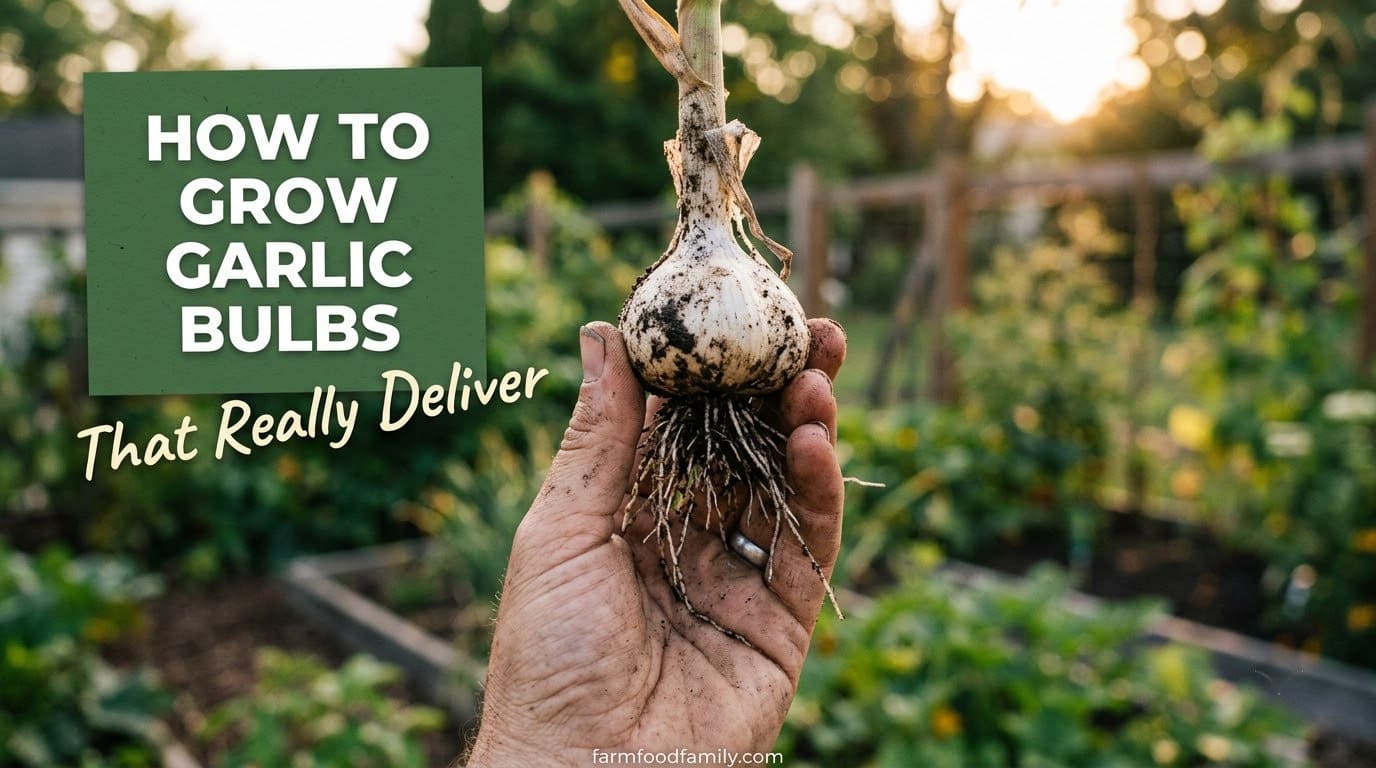
Garlic is one of the easiest crops to grow at home. I planted my first ten cloves in a raised bed on a cold, drizzly October afternoon, mostly on a whim, and by the following July I had bulbs bigger than golf balls. With the right soil, healthy cloves, enough sunlight, and consistent watering, you can get the same result.
Whether you’re working with a backyard plot, a raised bed, or a large container, the steps below cover what actually matters: clove selection, planting depth, watering, and knowing when to pull the bulbs before they split.
It also helps to think about where garlic fits into your overall vegetable garden layout before you plant, since it stays in the ground far longer than most other crops.
Start With Healthy Garlic Cloves
Good garlic starts with good seed stock. Buy seed garlic from a trusted garden center, nursery, or local grower, not the shrink-wrapped bulbs at the grocery store.
Supermarket garlic is often treated with a sprout inhibitor and may carry diseases that aren’t common in your region, according to Utah State University Extension’s growing guide.
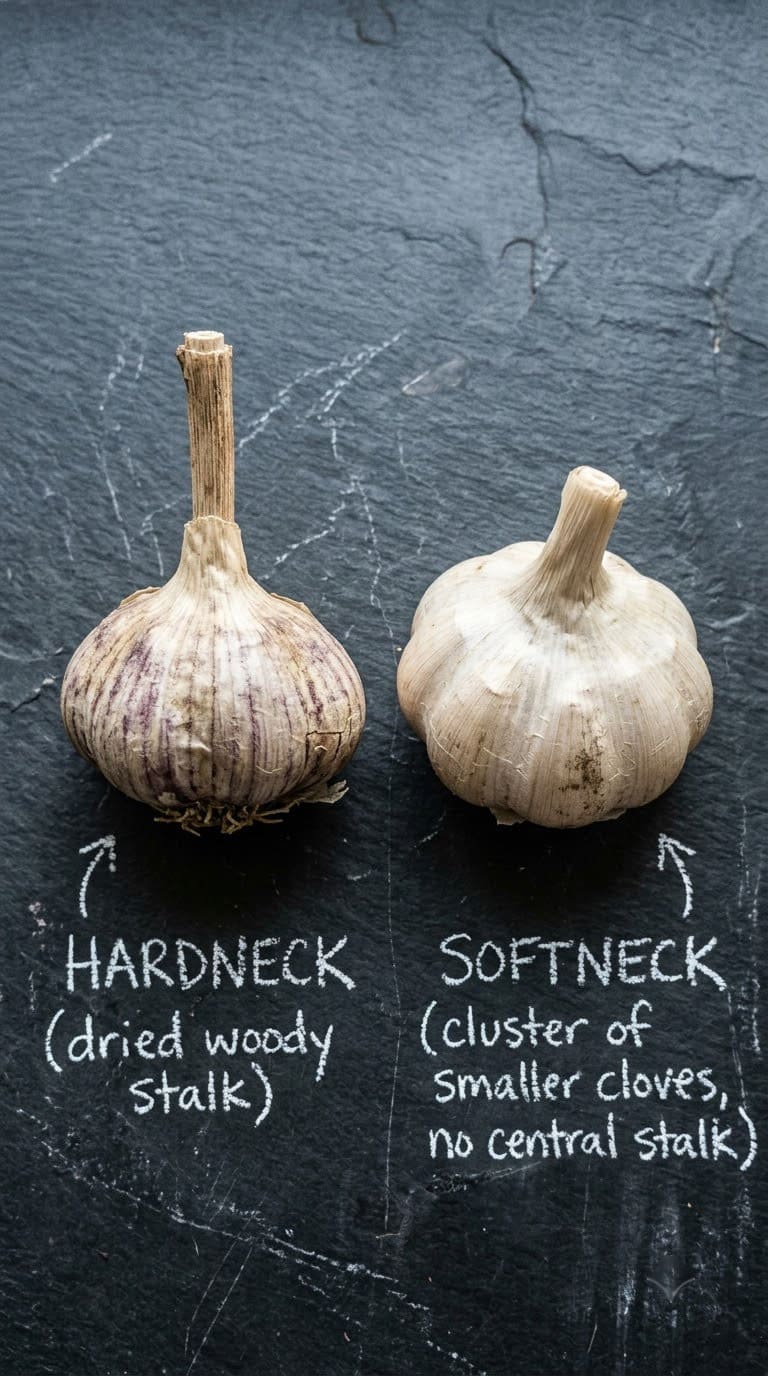
There are two main types, and picking the right one for your climate matters more than most first-time growers realize:
Answer 4 quick questions and get matched to the exact fix for your yard — drainage, budget, layout, or something else entirely.
Take the Free Quiz| Type | Best Climate | Notable Traits |
| Hardneck | Cold winters (zones 3-6) | Large, easy-to-peel cloves; produces edible flower stalks (scapes); shorter storage life, usually 4-6 months |
| Softneck | Mild winters (zones 6-9) | Smaller, more numerous cloves; no scapes; stores 8-12 months or longer, the type usually braided |
Whichever type you choose, check the bulb before planting. It should feel firm and heavy for its size, with no mold, soft spots, or visible damage. A single soft clove can rot underground and take its neighbors down with it.
One number that surprises a lot of new growers: a softneck head typically yields 10 to 40 cloves, while a hardneck head yields only 4 to 12, but noticeably bigger ones. That’s the actual tradeoff between the two types, not just climate preference.
Fall vs. Spring Planting: Which Should You Choose?
Fall is the standard recommendation, and for good reason, but it isn’t the only option if you missed the window.
| Planting Season | Time to Maturity | Bulb Size |
| Fall (4-6 weeks before ground freezes) | About 8-9 months | Largest bulbs; the recommended default for most climates |
| Early spring (as soon as soil is workable) | Roughly 100-120 days | Noticeably smaller bulbs, since cloves miss the cold period (vernalization) that triggers bulb division |
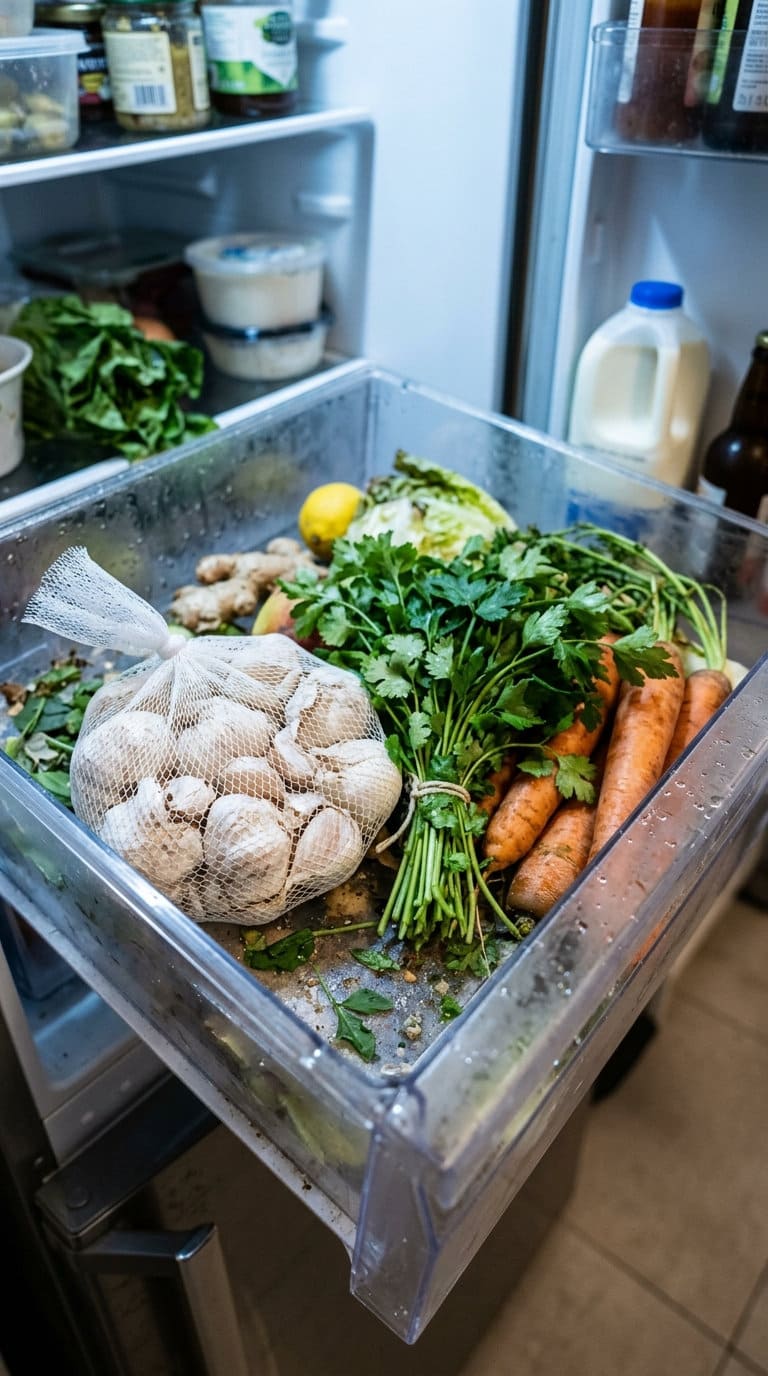
If you’re planting in spring, chill your seed cloves in the refrigerator for 4 to 6 weeks before planting. Garlic needs a cold period to trigger proper bulb formation, and skipping it is the single most common reason spring-planted garlic comes up as one solid clove instead of a divided bulb.
Garlic is a good one to pencil into your broader fall garden checklist, since it’s one of the few crops that actually wants to go in the ground while everything else is winding down.
Choose the Right Planting Location
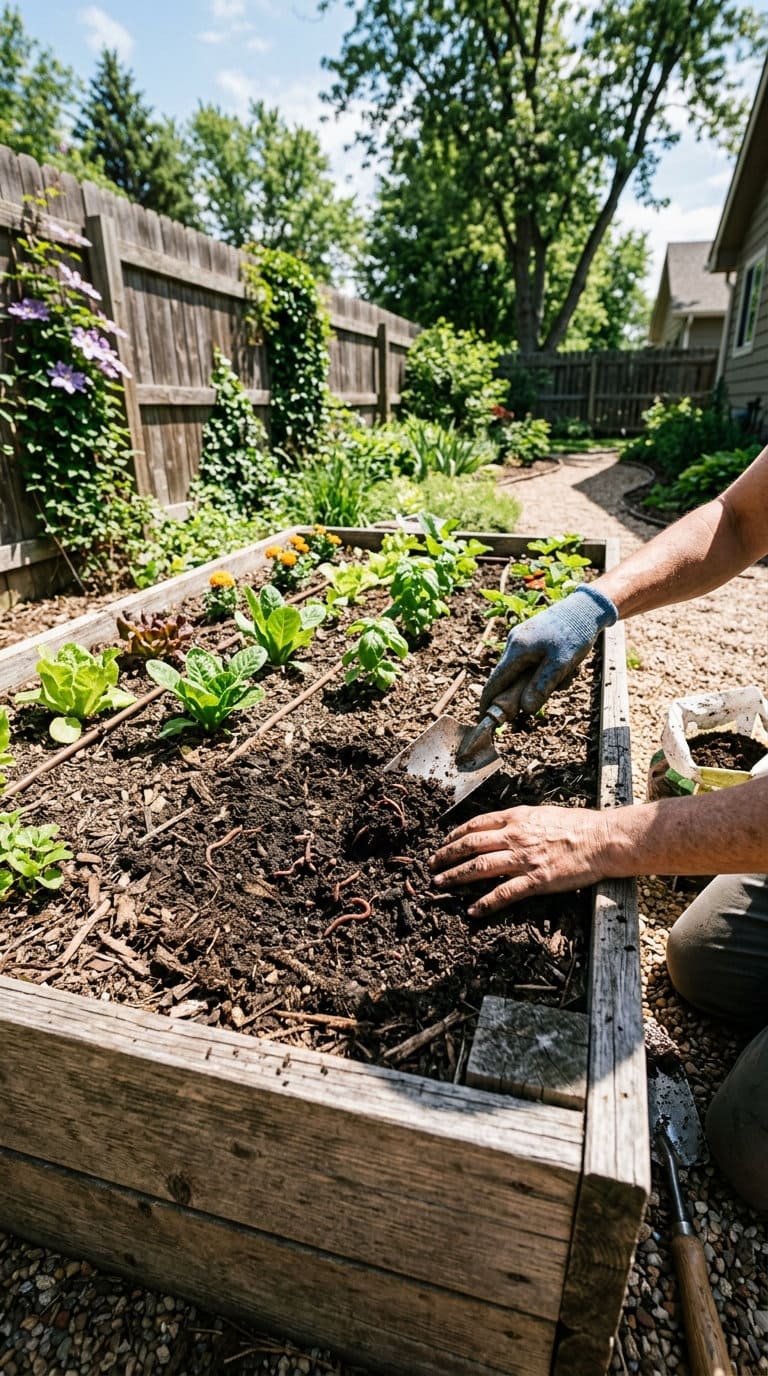
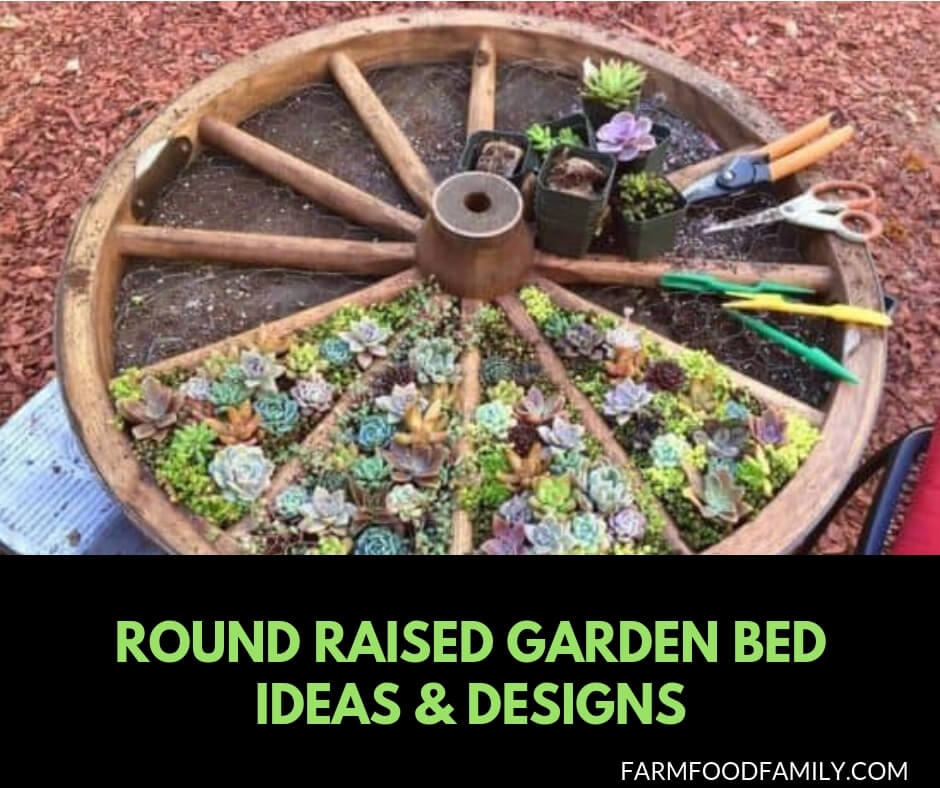
Garlic does well in a raised bed built for vegetables, but a regular in-ground plot works fine too as long as it gets at least six to eight hours of direct sun a day. Less than that and you’ll still get a harvest, just smaller bulbs.
Drainage matters just as much as sunlight. Garlic sitting in waterlogged soil is at real risk of clove and bulb rot, especially over a wet winter. If your yard tends to puddle after rain, that’s a sign to raise the bed rather than fight the soil.
Most yard problems trace back to one specific, fixable cause. Find yours in 4 quick questions.
Take the Free Quiz
Amazon's Choice with 7,500+ ratings at 4.2 stars, a reliable pick for growers in mild-winter climates who want dependable softneck seed stock.
Shop NowThis post contains affiliate links. We may earn a commission on qualifying purchases at no extra cost to you.
A few things that consistently improve results:
• Work compost or well-rotted organic matter into the soil before planting.
• Use raised beds if your native soil is heavy clay or drains poorly.
• Aim for a loose, slightly acidic to neutral soil (roughly pH 6.0-7.0), which Cornell Cooperative Extension lists as the sweet spot for garlic root development.
How to Plant Garlic Properly
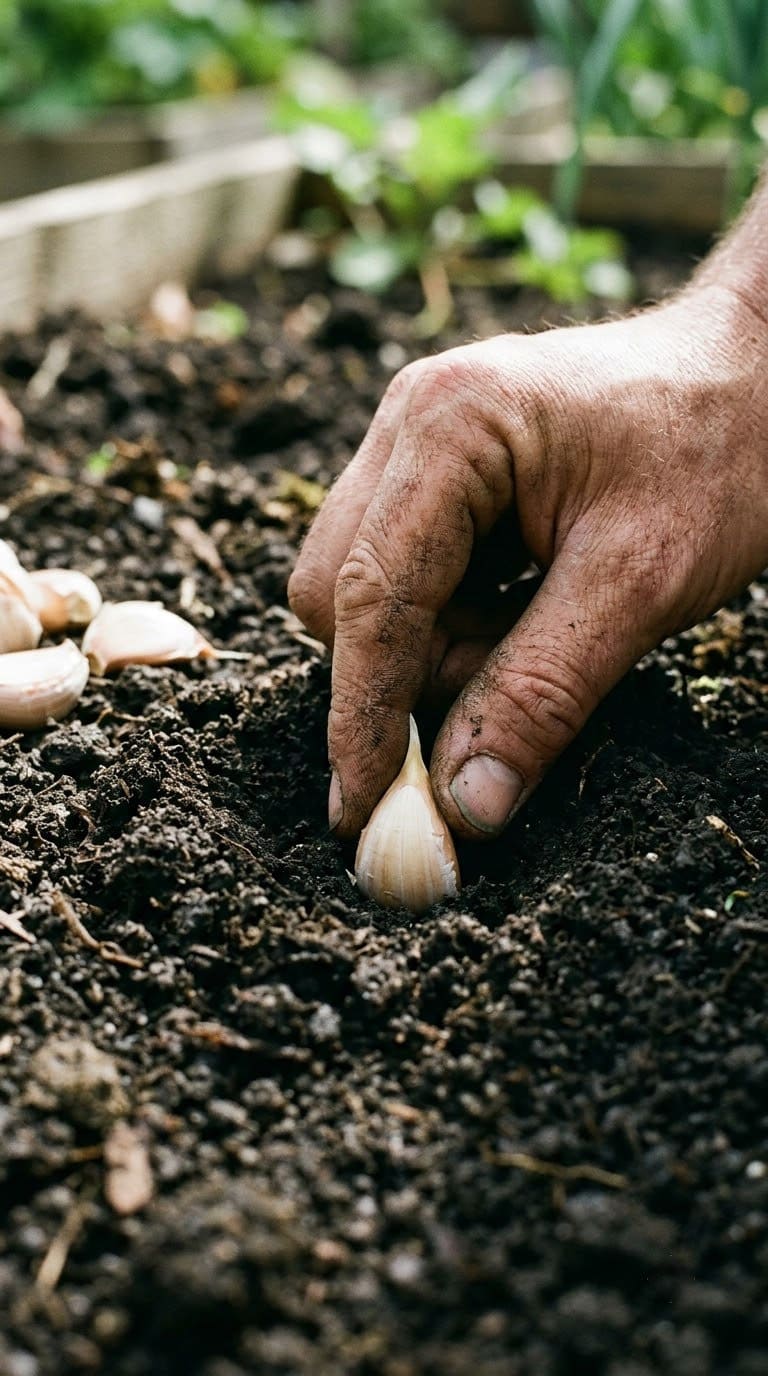
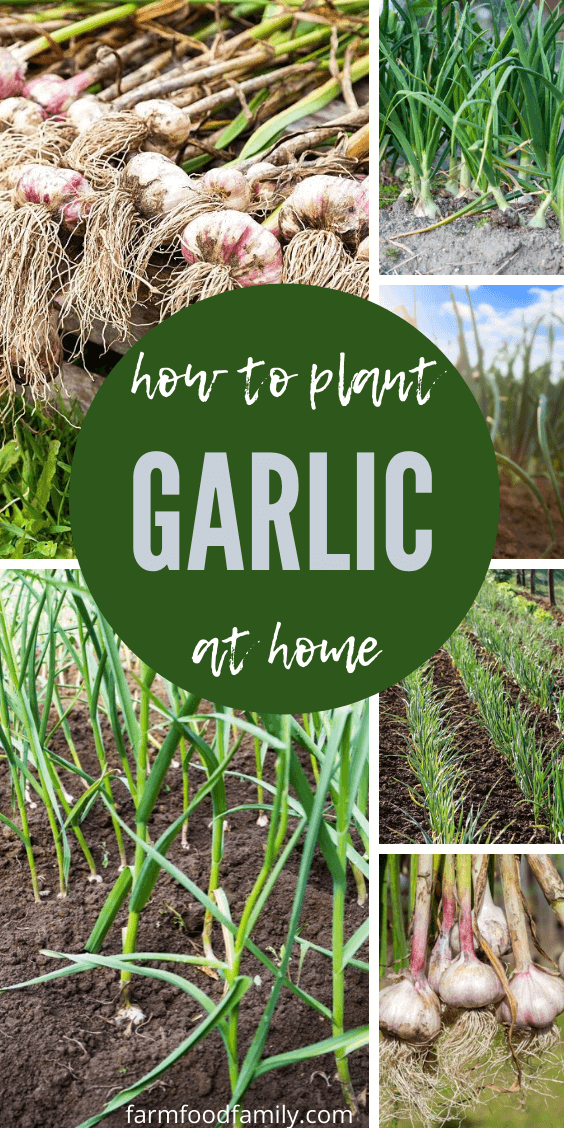
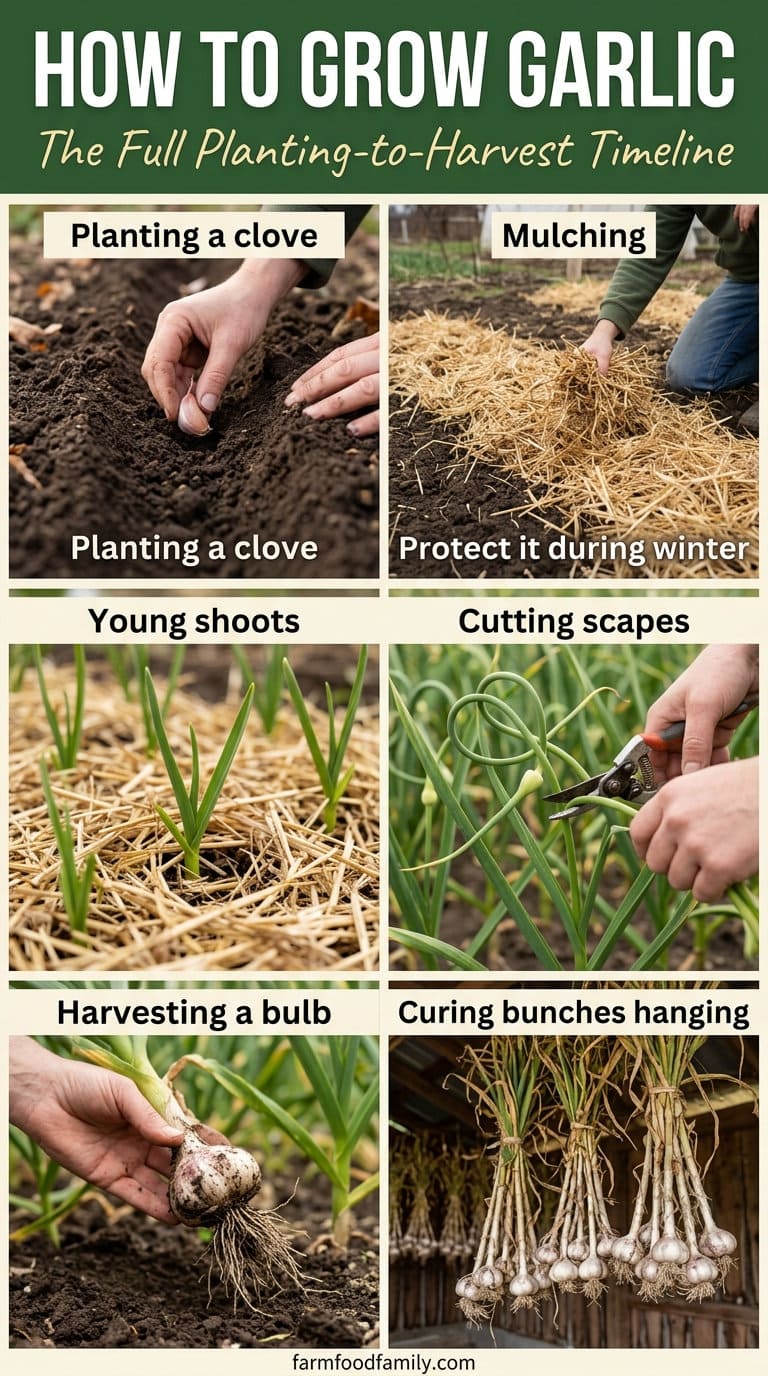
In most of the US, fall is the right window, ideally four to six weeks before the ground freezes solid. That gap gives the cloves time to send down roots before winter without pushing up green growth that frost will damage.
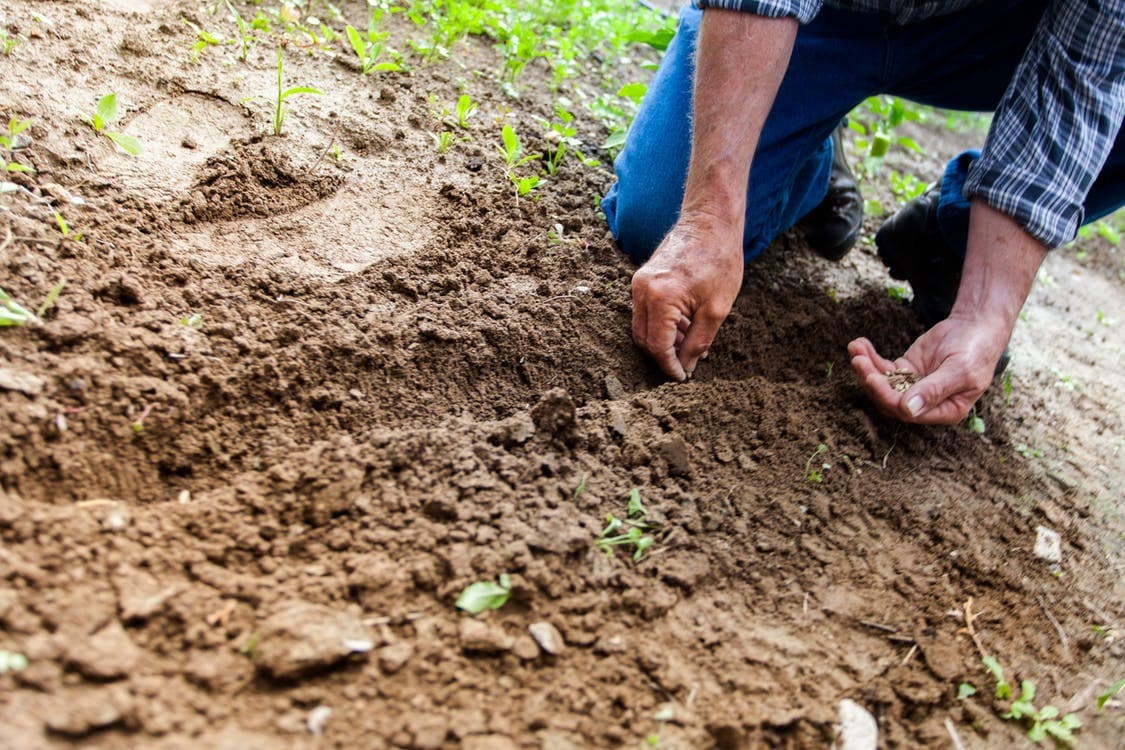
Break the bulb into individual cloves right before planting, not weeks ahead of time, and leave the papery skin on each one intact.
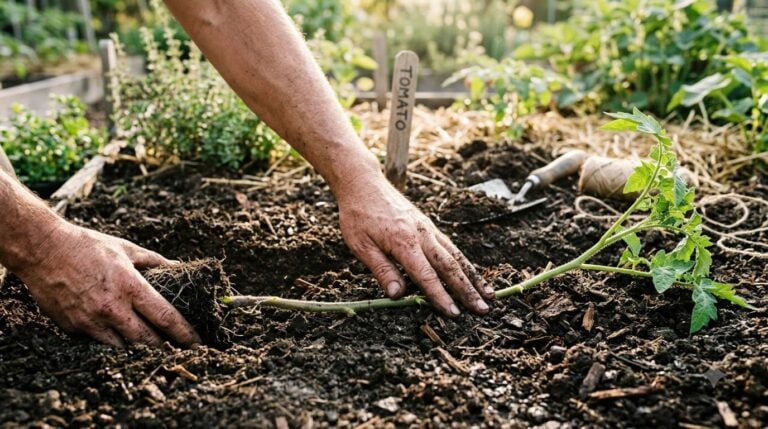
Plant each clove about 2 to 3 inches deep, pointed end up, spaced 4 to 6 inches apart. In colder zones, some growers plant slightly deeper, closer to 3 to 4 inches, for extra frost protection; Oregon State University Extension notes the deeper end of that range specifically helps overwintering in harsher climates.
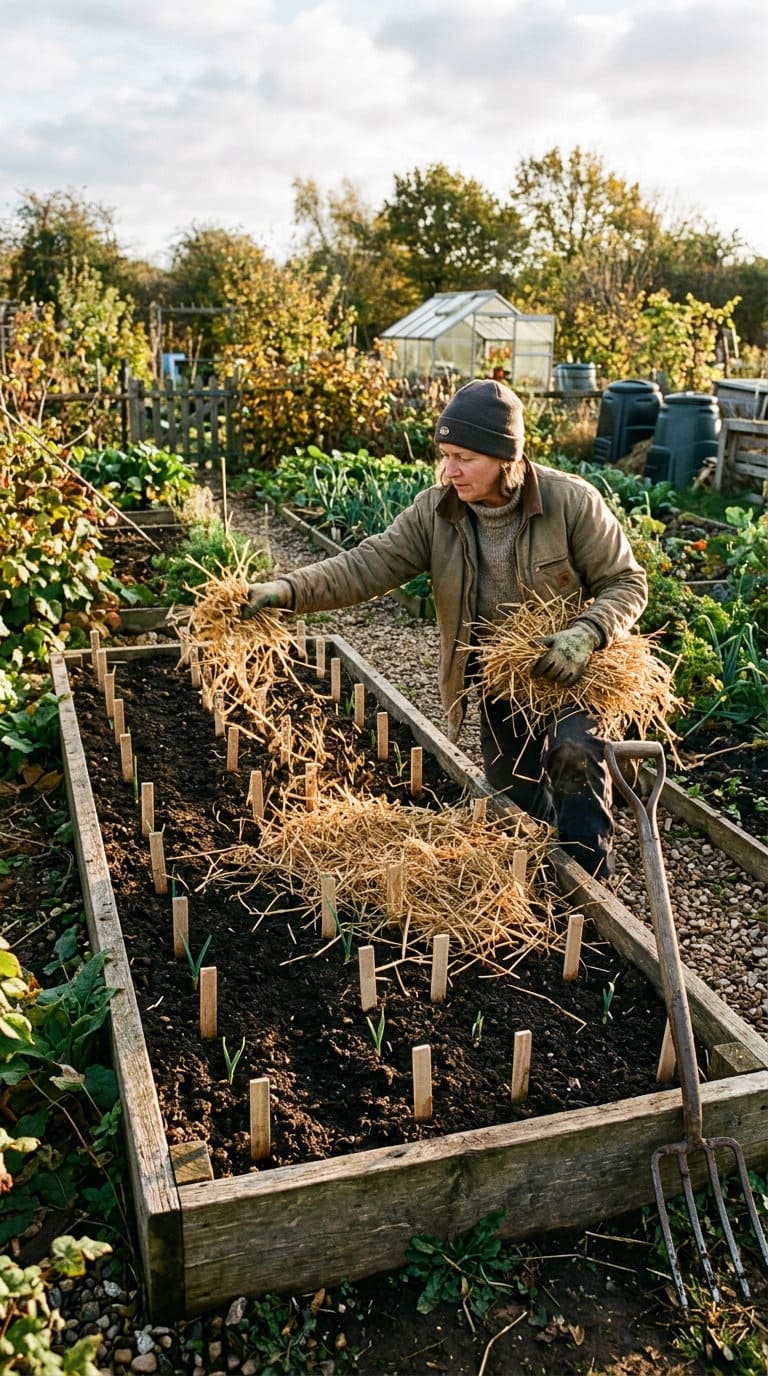
After planting, water gently and add 3 to 4 inches of mulch, straw or dry leaves work well. Mulch does more than just look tidy: it holds soil moisture, keeps weeds down, and buffers the cloves against hard freezes.
Feed Garlic at the Right Time
Most home-grower guides skip feeding entirely and wonder later why the bulbs came out small. Garlic is a heavier feeder than it looks.
The average homeowner spends $616/year on yard fixes that don't address the real problem. Find out what yours actually is — before you spend another dollar.
Take the Free QuizAt planting, work a tablespoon of a balanced fertilizer (something like 5-10-10) or bone meal into the bottom of each hole. Then, once new growth resumes in early spring, side-dress with a nitrogen source, blood meal, fish emulsion, or a balanced granular feed, and repeat every two to three weeks until scapes appear on hardneck varieties. The same principles for feeding vegetable garden soil apply here almost exactly.
One caution worth repeating: stop nitrogen feeding once bulbs start forming in late spring. Heavy nitrogen late in the season pushes leaf growth at the bulb’s expense and can actually dull the finished garlic’s flavor.
Water Garlic Carefully
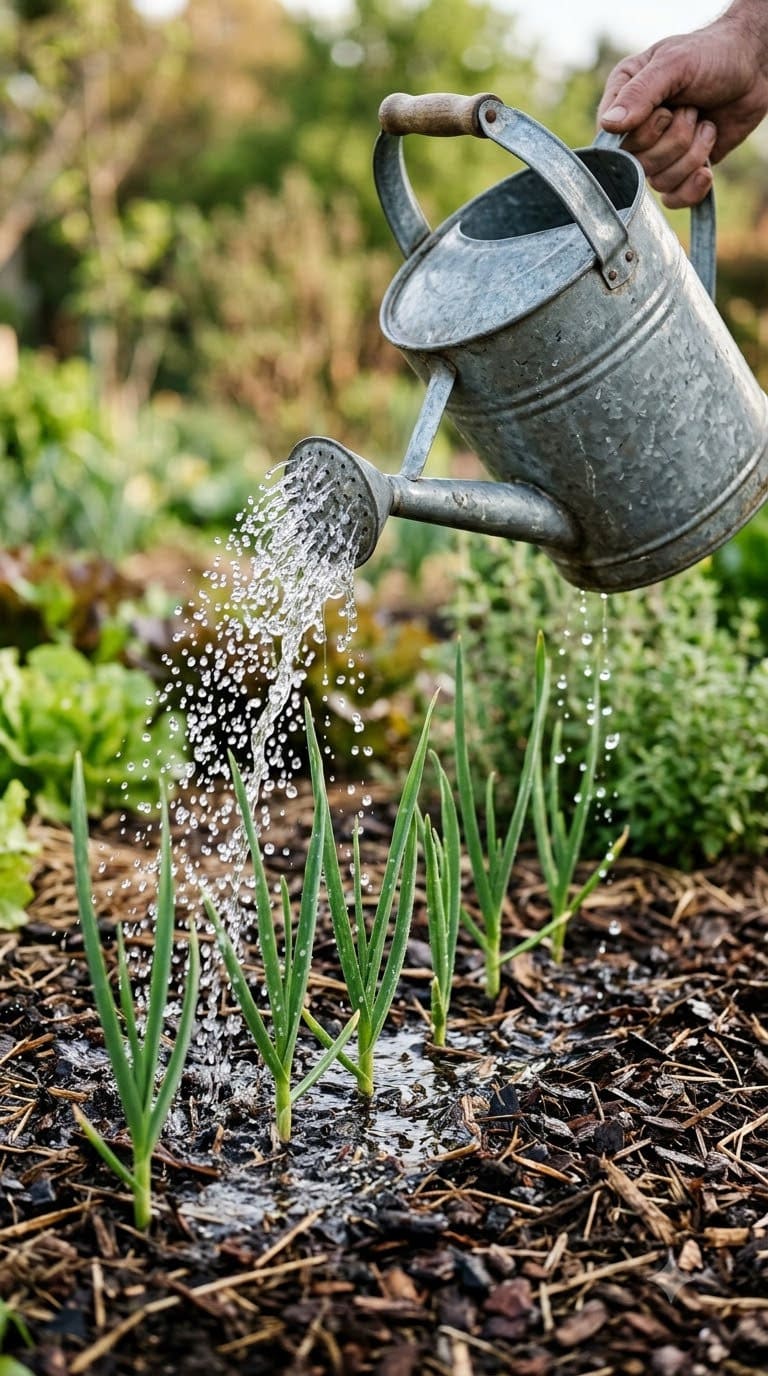
Garlic needs steady moisture while it’s actively growing, but too much water is where things go wrong fast.
Aim for soil that feels evenly moist, not soggy. Depending on your rainfall and soil type, that generally works out to about one inch of water a week, delivered in one or two deep soakings rather than a daily sprinkle.
• Water deeply and less often instead of a light daily watering.
• Cut back once the lower leaves start turning yellow or brown, that’s the plant signaling it’s moving toward maturity.
• Stop watering entirely about two weeks before harvest. Too much moisture close to harvest encourages bulb rot and shortens storage life.
You can also read more details about watering methods, soil improvement, and seasonal garlic care to find techniques that work best for your local growing conditions.
Keep the Area Free From Weeds
Garlic’s narrow, upright leaves let a lot of light reach the soil around them, which is basically an open invitation for weeds. Left unchecked, weeds will outcompete garlic for water and nutrients fast, since garlic’s root system is shallow and doesn’t fight back well.
Hand-pull or hoe regularly, but stay shallow. Garlic roots sit close to the surface, and a careless hoe pass can do more damage than the weeds would have.
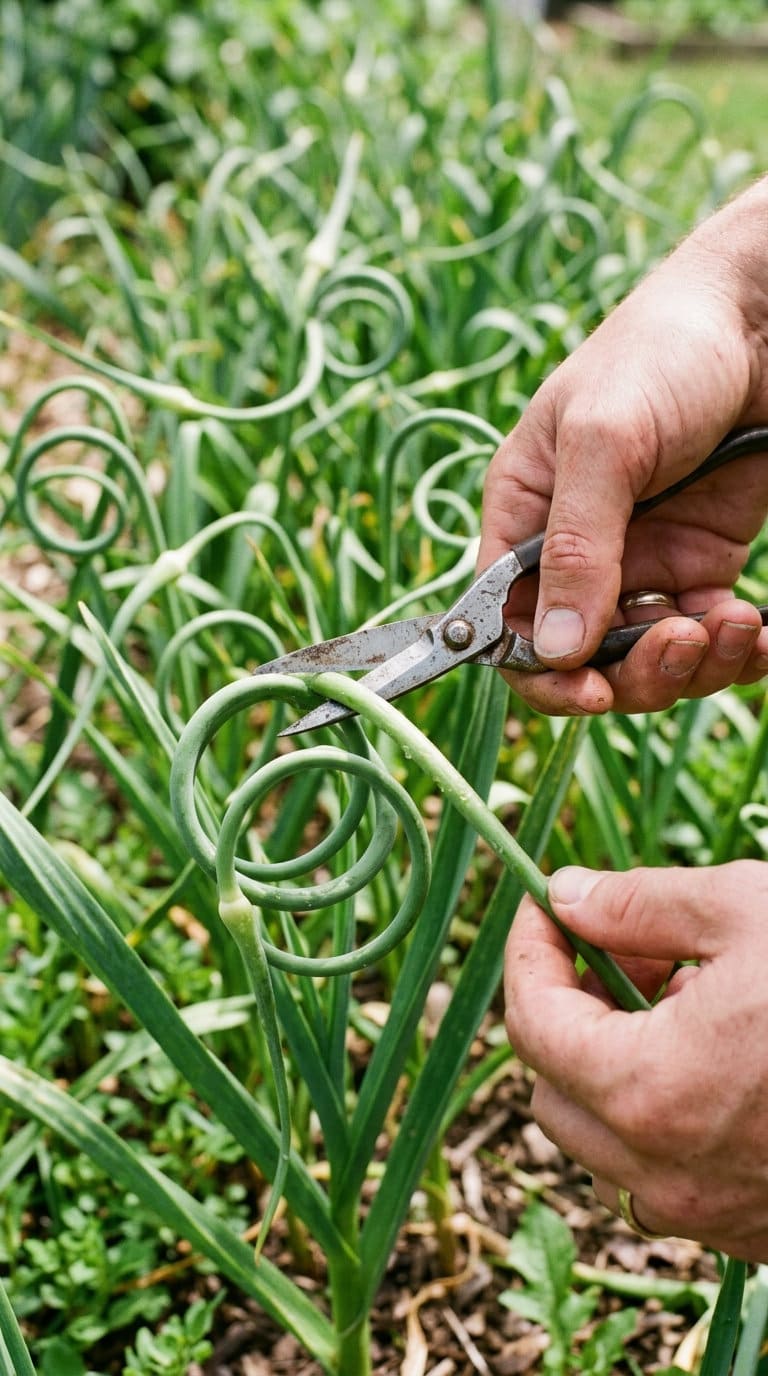
If you’re growing a hardneck variety, expect a curly green stalk, a scape, to show up in late spring or early summer. Cutting scapes off redirects the plant’s energy into the bulb instead of a flower, and most growers see a noticeably bigger harvest for it. Scapes are also genuinely good eating: chopped into pesto, tossed into a stir-fry, or grilled whole with a little olive oil.
Protect Garlic From Pests and Diseases
Garlic is one of the lower-maintenance crops, but it isn’t immune to problems, and knowing what you’re actually looking at saves a lot of guesswork.
• Aphids and thrips: small clusters on new leaves, or tiny silvery streaks on the foliage. A strong water spray or insecticidal soap handles both in a season or two of consistent checking.
• White rot: a fungal disease that shows up as a fluffy white growth at the base of the bulb, often with small black specks embedded in it. It survives in soil for years once established, which is why crop rotation matters so much.
• Botrytis neck rot: usually shows up in storage, not the garden, as a soft, water-soaked area near the neck that spreads down into the bulb. Good curing and airflow are the real prevention here.
• Nematodes: cause stunted, twisted growth and soft, discolored bulbs. There’s no in-season fix, resistant varieties and soil solarization the season before planting are the main defenses.
• Give plants enough space for air to move between them; cramped rows trap humidity and invite every fungal problem on this list.
• Avoid planting garlic where onions, leeks, shallots, or other alliums grew in the past two to three years. Good drainage is the other big lever, since constantly wet soil is close to a guarantee of fungal trouble sooner or later.
A few companion herbs that help keep garden pests in check nearby can also cut down on aphid pressure without any spraying at all.
Know When Garlic Is Ready to Harvest
Timing the harvest is the part first-time growers get wrong most often, and it’s worth getting right since it directly affects storage.
Garlic is usually ready when the lower third to half of the leaves have turned yellow or brown while the upper leaves are still green. That’s typically 8 to 9 months after a fall planting, depending on your region and variety.
Don’t wait for the entire plant to dry out. Leave it too long and the bulb wrapper splits, the cloves separate, and the bulb won’t store well.
When you’re ready to pull:
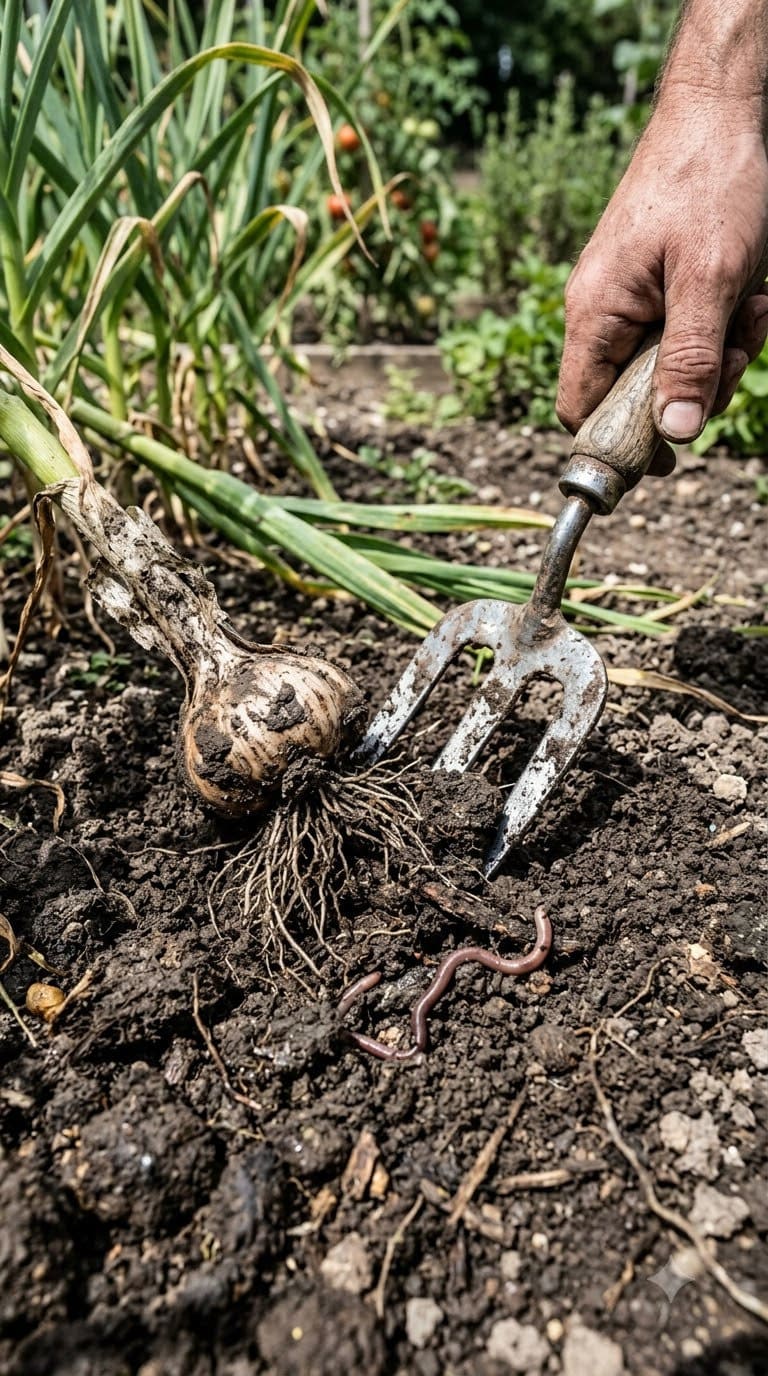
• Loosen the soil around each bulb with a garden fork or small shovel, working a few inches out from the stem so you don’t nick the bulb.
• Lift the bulb out; don’t yank it by the stem, which can snap the neck and open the bulb up to rot during curing.
• Handle freshly dug garlic gently. It bruises more easily than you’d think before it’s cured.
Cure Garlic Before Storage
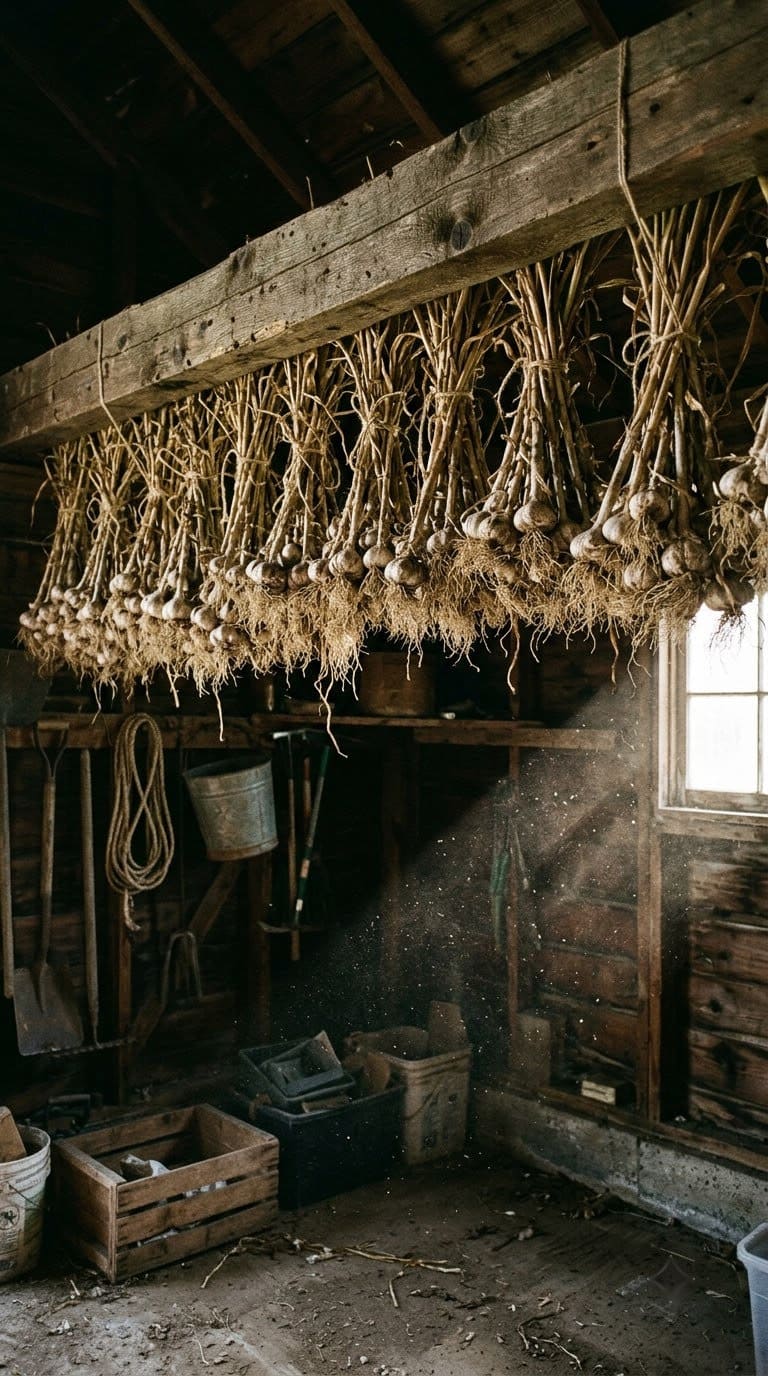
Fresh-dug garlic isn’t ready for long-term storage; it needs to cure first.
Lay or hang the whole plants, roots and stems still attached, in a dry, shaded spot with good airflow. A covered porch or a garage with a fan works fine. Direct sun during curing will scorch the wrappers.
Curing typically takes two to four weeks. You’ll know it’s done when the outer skin feels dry and papery rather than fleshy.
Once cured, trim the roots and stems, brush off loose soil, and store the bulbs somewhere cool, dry, and well-ventilated, around 60-65°F is ideal. Skip sealed plastic bags; trapped moisture is a fast track to mold.
Simple Tips for Bigger Garlic Bulbs
A few small habits make a real difference in bulb size by the end of the season:
• Plant your largest, healthiest cloves. Clove size at planting correlates directly with bulb size at harvest; the small inner cloves are fine to eat but rarely produce impressive bulbs.
• Keep plants well-fed and watered through the full growing season, not just at planting.
• Don’t overcrowd. Garlic given real room to spread its roots consistently outperforms garlic packed in tight, even in the same bed with the same soil.
Common Garlic-Growing Problems and Quick Fixes
This is the section most guides leave out entirely, but it’s usually what people are actually searching for mid-season.
| Symptom | Most Likely Cause |
| Leaves yellowing in early spring, well before harvest | Nitrogen deficiency or waterlogged soil; check drainage first, then feed |
| Only one round clove forms instead of a divided bulb | Cloves didn’t get enough cold exposure (vernalization), common with spring planting or a mild winter |
| Bulb wrapper split open in the ground | Left in the ground too long past maturity; harvest a few days earlier next season |
| Plant looks healthy but bulb is tiny at harvest | Overcrowded spacing or inconsistent watering during May-June bulb formation |
| Soft, mushy spot at the base after digging | Rot from waterlogged soil or damage during harvest; use promptly, it won’t store |
Can You Grow Garlic in Containers?
Yes, and it’s a good option if your soil is poor or you’re short on space, the same way plenty of other vegetables you can grow in pots do well in containers. Use a container at least 12 inches deep with drainage holes, fill it with a loose, well-draining potting mix, and plant cloves at the same 2 to 3 inch depth and 4 to 6 inch spacing as you would in the ground.
Containers dry out faster than garden soil, so check moisture every couple of days once temperatures warm up in spring. Otherwise, the timeline and care are identical to in-ground growing.
Frequently Asked Questions
How deep should you plant garlic cloves?
Plant cloves 2 to 3 inches deep with the pointed end facing up. In colder climates, planting slightly deeper (closer to 3 to 4 inches) gives extra protection against hard freezes, per Oregon State University Extension.
Can you grow garlic from grocery store bulbs?
You can, but it’s a gamble. Grocery garlic is sometimes treated with a sprout inhibitor and may introduce diseases uncommon to your area. Certified seed garlic from a nursery or local grower costs more upfront but performs far more reliably.
Why is my garlic bulb small at harvest?
Small bulbs usually trace back to one of three causes: overcrowded spacing, inconsistent watering during the bulb-forming stage in late spring, or planting undersized cloves to begin with. Fixing spacing and watering consistency solves most cases.
How many garlic bulbs can you expect from a pound of seed garlic?
A pound of seed garlic runs about 50 cloves, and each clove grows into one full bulb. So a pound planted and grown well should produce roughly 50 bulbs, assuming reasonable spacing and no major losses to rot or disease.
Do you need to fertilize garlic?
You don’t strictly need to, garlic will grow without it, but bulb size drops noticeably without feeding. A starter dose at planting plus a nitrogen side-dress in early spring is the difference between decent garlic and genuinely impressive garlic.
Final Thoughts
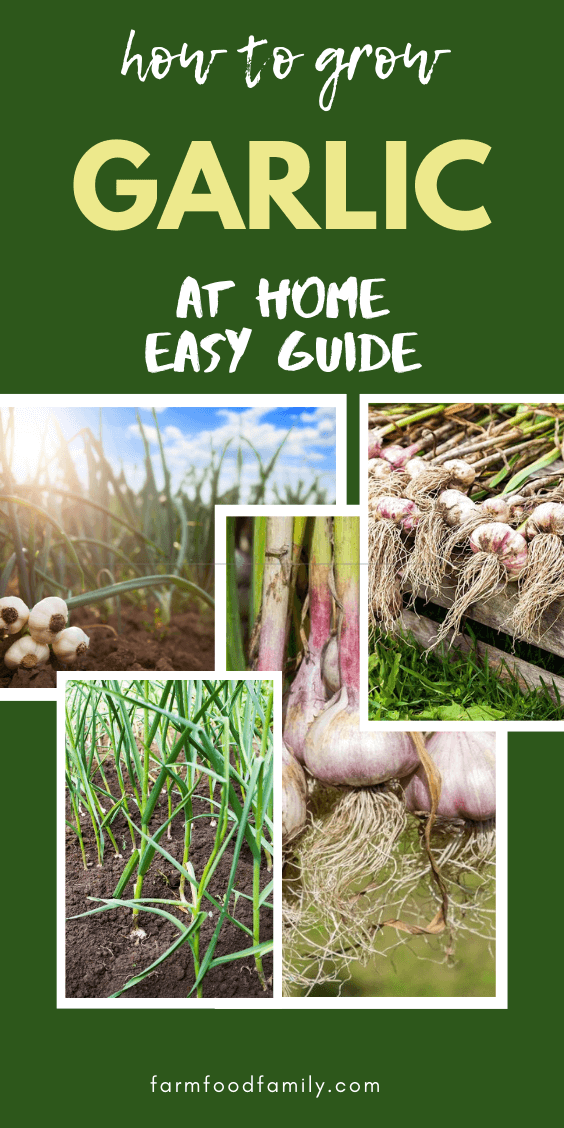
Growing healthy garlic really doesn’t have to be complicated. Start with good cloves, plant them in fertile, well-drained soil, give them plenty of sun, and keep the watering consistent instead of sporadic.
Regular weeding, good spacing, and pulling the bulbs at the right time will do most of the heavy lifting. And honestly, once you’ve tasted garlic you grew yourself, it’s hard to go back to the store-bought kind. Save a few of your best bulbs from this year’s harvest to replant next fall, and the cycle takes care of itself.
Products We Recommend
This post contains affiliate links. We may earn a commission on qualifying purchases at no extra cost to you.
Country Creek California Softneck Garlic Bulbs (3-Pack)
Amazon's Choice with 7,500+ ratings at 4.2 stars, a reliable pick for growers in mild-winter climates who want dependable softneck seed stock.
Shop Now
Pilestone Cold Hardy Garlic Seed Bulbs, Large Cloves (5-Count)
Rated 4.0 stars with 200+ recent buyers, bred specifically for cold-climate hardneck growing, a solid match for anyone planting in zones 3-6.
Shop Now
CIELCERA 12" Hori Hori Garden Knife with Sharpening Rod
Rated 4.7 stars with 400+ ratings. The serrated blade digs, cuts scapes, and lifts bulbs cleanly at harvest, doing the job of three separate tools.
Shop NowNever miss an update — choose FarmFoodFamily as your preferred source on Google.
How it works: Tap the button below to open Google's settings page, then check the box next to FarmFoodFamily.
Tap the checkbox to turn it blue — that's how you know it's set.