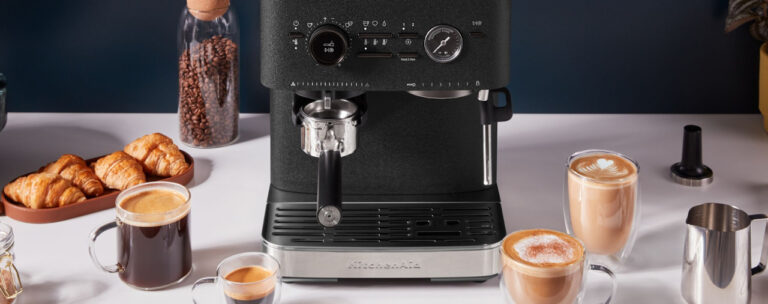
10 Tips and Tricks for Brewing the Perfect Coffee
Not only are coffee shops expensive, but when you consider all the waste they generate, it’s easy to see why people are ditching store-bought and trying their hand at DIY coffee brewing at home.
But how do you create delicious, barista-style coffee from your own kitchen?
1. Buy fresh, whole coffee beans
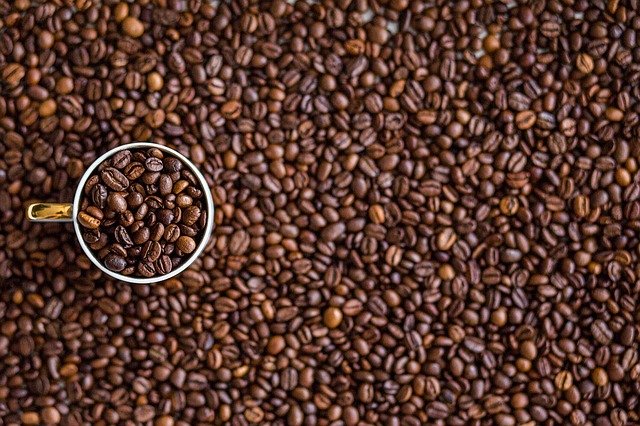
Simply put, bad beans = bad coffee. So spend some time finding good-quality, fresh, whole coffee beans to give your coffee the best possible start.
After roasting, coffee beans immediately start to lose their flavor due to a process known as degassing. When they’re ground, this process speeds up, which is why pre-ground coffee tends to have less flavor and substance than beans that have been ground on the day.
The closer to the roasting date you brew your coffee, the better the taste will be. And going for whole beans means you’re more likely to get a cup with all that delicious coffee goodness intact.
2. Store your beans properly
Once you’ve found the perfect beans, store them properly to ensure they don’t get stale and lose their natural flavor.
Many experts recommend storing your whole coffee beans in vacuumed sealed containers with a one-way valve. However, in our experiments, we found any glass or ceramic jar does the trick… Just be sure to store it away from direct sunlight.


An extra tip is to adjust the size of the container you’re using to match the volume of beans. As you drink through your supply, consider moving your beans into smaller containers. You could even pre-weigh your coffee and store individual servings in jelly jars.
3. Measure by weight, not volume
We’re definitely all guilty of measuring out our coffee by teaspoons or scoops, but you can do better!
Invest in a digital scale and weigh your coffee beans to ensure you’re getting precisely the right amount of coffee to water ratios every time.
The beans and brewing method, as well as your personal tastes, will dictate how much coffee you want to use.
As a general rule, a ratio of 1:20 (or around 7.5g coffee to 150ml water) will make a relatively strong cup.
Play around and experiment to find your perfect ratio.
4. Grind at the last possible minute
We’ve already discussed why you should buy whole coffee beans, but when and how you grind these beans at home also makes a significant difference.
Coffee starts losing its flavor within 30 minutes of being ground, so store your coffee as whole beans and just grind what you need… As close to brewing as possible!
You should also consider the coarseness of coffee. Grind your coffee too fine, and the coffee will be over-extracted with a bitter taste. Grind too coarse, and it might not be able to infuse properly, leaving you with a weak and uninspiring pot.
Generally, if you’re using a drip coffee maker, you should be set with a medium or medium-fine grind. A pour-over coffee maker, however, will do better with a medium to medium-coarse blend.
Do your research, find out what coarseness works best for your chosen brewing method, and only ever grind what you need.
5. Check your temperatures
A vital, often overlooked, consideration in brewing the perfect coffee is the temperature of the water used. The optimum brewing temperature is between 195’F – 205’F.
Newer coffee makers might have an inbuilt temperature adjustment and monitoring setting. Older or cheaper machines aren’t likely to include this, however, so you might want to invest in a digital thermometer.
The brewing temperature is vital for several reasons:
- It affects the extraction speed (cool water brews more slowly than hot)
- The acidity and flavors in coffee can’t infuse when brewed with water under 195’F
- Water hotter than 205’F will extract more bitter flavors and can burn your coffee
Yes, cold brew coffee is also a thing, but this is prepared differently and infuses for over 12 hours.
6. Use better water
In addition to getting the temperature right for your perfect coffee, using the right type of water can make or break your coffee habit.
Hard water (from the tap) is full of minerals and will struggle to bond with the coffee particles, even after they’ve dissolved. This will cause your coffee to be under-extracted and weak. The high mineral content of hard water can also cause problems with your coffee maker, such as lime build-up.
On the other hand, distilled water can also cause problems for your brewing. While it won’t cause so much mineral build-up, the lack of ions and minerals in distilled water can force the water to “leach minerals out of the metal components” of your coffee maker, degrading it over time. Distilled or over-filtered water is also detrimental to your coffee, as the extra bonding space can lead to over-extracting.
A nice middle ground, therefore, is perfect. Look for water with a mineral balance of around 150 parts per million. Or, if you’re not feeling quite so technical, water from your household Brita filter or your refrigerator’s filtered water will do the job.
7. Prepare your filter and “bloom” your coffee
So far, most of our tips have required a little extra thought but minimal effort. This step requires some extra time, but it will make a whole world of difference to your homemade coffee quality!
Before you start brewing, get everything your coffee will touch as close to the optimum brewing temperature as you possibly can so that the brewing device itself doesn’t steal heat from the water.
You should also “pre-wet” your filter (particularly for pour-over coffee). This simply involves wetting the filter with hot water and letting it drain. In addition to bringing your filter to the right temperature, this step also washes away the paper taste if you’re using a paper filter.
Kill two birds with one stone by pre-wetting your filter while “blooming” your coffee: preparing it for brewing by pouring some hot water over the grounds. This helps release any leftover carbon dioxide left over from the roasting process before it goes into your cup. Allow your ground coffee to sit, thoroughly wet, for around 45 minutes before transferring to your coffee maker.
8. Clean your coffee pot
Although this might sound obvious, remember that coffee beans are packed full of oil that will collect in your coffee maker. Regular cleaning prevents the oil from building up and affecting the flavor of your coffee.
9. Flavor with spices
If you’re longing for the delicious blends of flavors and syrups from your favorite coffee shop, using spices you have in your kitchen can effortlessly transform your coffee into an artisanal delicacy in no time!
Experiment with spices such as nutmeg and cinnamon, or stir a piece of chocolate into your coffee for a bit of extra flavor you’re sure to love.
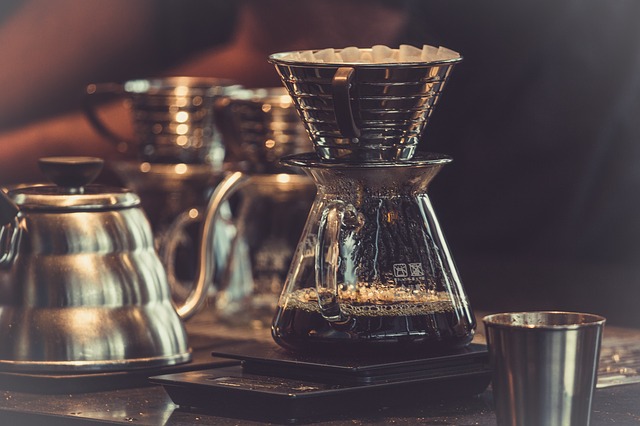
10. Experiment with different brewing methods
Whether you’re dependent on your single-serve coffee maker or couldn’t imagine life without the drip machine in your kitchen, there are loads of other ways to brew tastier, more flavourful cups of coffee.
Experiment with the French press, pour-over coffee, and other brewing styles to find the method that works best with your personal tastes and preferences.
Remember to start with good-quality beans, grind on the day, and take a little care when preparing your coffee. Then sit back and enjoy a lifetime of the perfect java without ever needing to frequent a barista again (although we won’t blame you if you still take the occasional detour)!
Related: Types of espresso machines