Why Does My Lawn Mower Starts Then Dies? (and How To Fix)

When most people think about lawn mowers, they picture a big machine that’s easy to operate. They don’t realize how much more complicated it can be until they have one of their own. If you’re having trouble with your lawn mower, there are a few things you should consider before giving up and buying a new one!
Do you ever find yourself asking, “Why does my lawn mower only run for a few seconds then dies?” This is a question most people ask when they are frustrated with their current lawnmower. This is a scenario that could happen even when using the most reliable lawn mower on the market!
People usually think it’s the gas tank, or the spark plug, but most likely it’s something much simpler than that! In this post we will go over some of the most common causes of your lawn mower dying and how to fix them!
Related: 7 Worst Lawn Mower Brands To Avoid
Possible causes for Lawn Mower Starting then Dying
When purchasing a lawn mower people usually think that if they have opted for the most reliable lawn mower currently available on the market, that they are safe from any inconvenience such as a lawn mower that will not start or that is starts and then stops quickly, however that is not always the case.
If your lawn mower start running briefly and then stops abruptly, these are some of the most common reasons why it is happening:
- Spark plug and ignition system issue
- Air filter issue
- Old/bad gasoline issue
- Clogged carburetor issue
- Broken parts issue
- Bad wiring issue
Now, we will go over each issue separately and discuss how to recognize it and what to do to fix it:


Step 1 – Check the spark plug and ignition system
How to recognize the issue?
If it has been difficult to start the engine in recent months, this could be because either the spark plug itself is faulty, or there’s something wrong with the ignition system.
If you have a lawn mower engine issue, it will start and run for a second or two, then the engine dies because the spark plug gap is too large. You can tell if your gap is too large by feeling around with your fingers to see if you feel a space between the gap in the outer electrode of the spark plug.
Also, make sure that the spark plug is actually sparking when you pull on the cord. If it sparks as it should, then remove the spark plug and look for deposits on or around it from gas or oil that may have been leaking from somewhere else in your engine. Check up top around the air filter to see if any drops have fallen there and check under your carriage, where a leak could easily go unnoticed.
How to fix the issue?
First, make sure that the spark plug isn’t wet or dirty. If it’s not, try cleaning it anyway – an oil-soaked spark plug can cause a hassle, as this oily film will build up certain electrical resistance in the area and stop sparking altogether.
You might be able to clean it by scrubbing off the black surface coating and then wiping down what you exposed to remove all of any crude oil residue. The same goes for your distributor cap too – wipe it down with a damp cloth to see if that fixes anything.
The second option is to replace the spark plug with a new one. Make sure when you’re replacing it that when you put in the new one, you put some dielectric paste on both sides of each terminal because if electricity did go through these terminals, it would bypass whatever was damaged in your ignition system and give you good power to start up again.
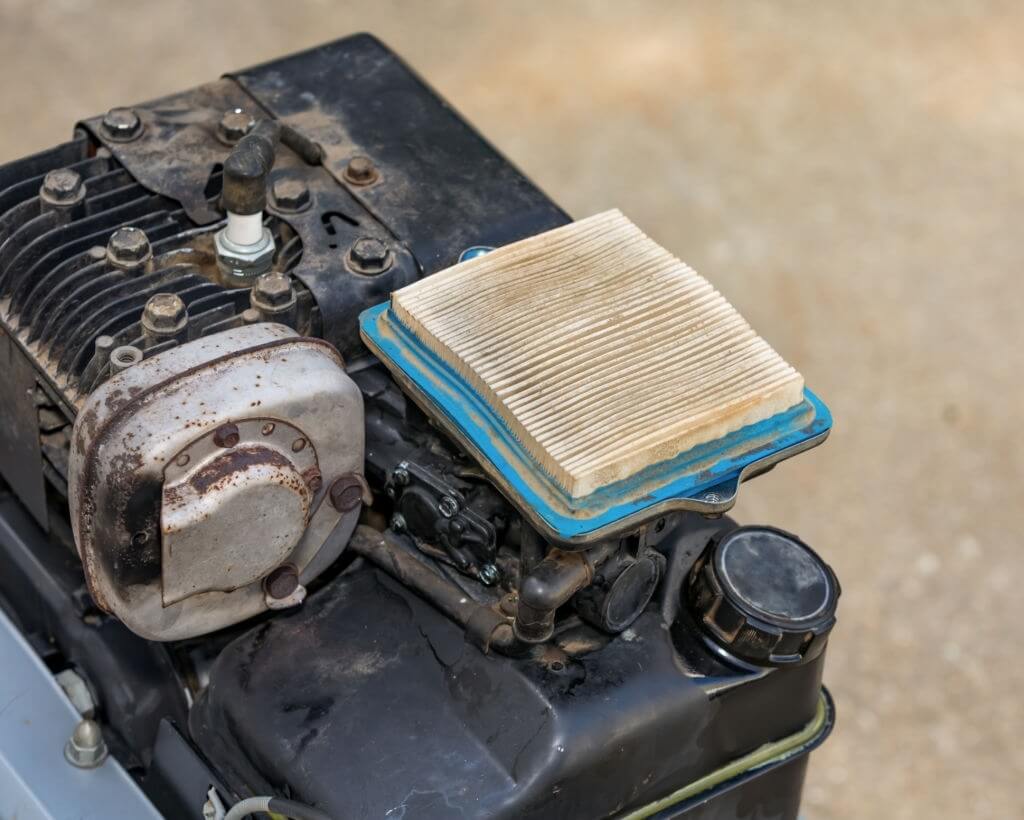
Step 2 – Clean or replace the air filter (A dirty air filter will make it hard for the engine to get enough oxygen)
How to recognize the issue?
If the engine doesn’t want to start, it could be due to an air filter that is either considerably dirty or clogged. You can figure out if that is the case by trying to start the engine when the air filter is removed (if it starts when there’s no load on it, then your problem is with a clogged or dirty pleat).
A clean air filter will allow the best possible airflow through your engine and past your spark plug in order for ignition to occur, thus having cleaner exhaust gases and better fuel efficiency (less fuel wasted).
Excessive carbon buildup on the back side of an air intake valve seat can force intake valves open against their springs when they should be closed. This reduces power significantly.
Related: 8 Best Lawn Mowers Under $300 Reviews On The Market and Buying Guide
How to fix the issue?
The easiest way to fix this is to take off the air filter screen and replace it with a new one. Here are the steps for dealing with this type of issue:
1. Remove the deck shield by loosening screws near the deck blade
2. Release cable holding idler pulley assembly by loosening two locknuts at bottom-side of an engine block side
3. Move area behind throttle lever out of way or remove throttle assembly completely
4. Remove air filter screen from intake manifold by twisting gently left and right, then pull straight up on frame plate bracket
5. Reinstall air filter screen by pushing down on frame plate bracket until it snaps into place, then reinstall throttle assembly and cable


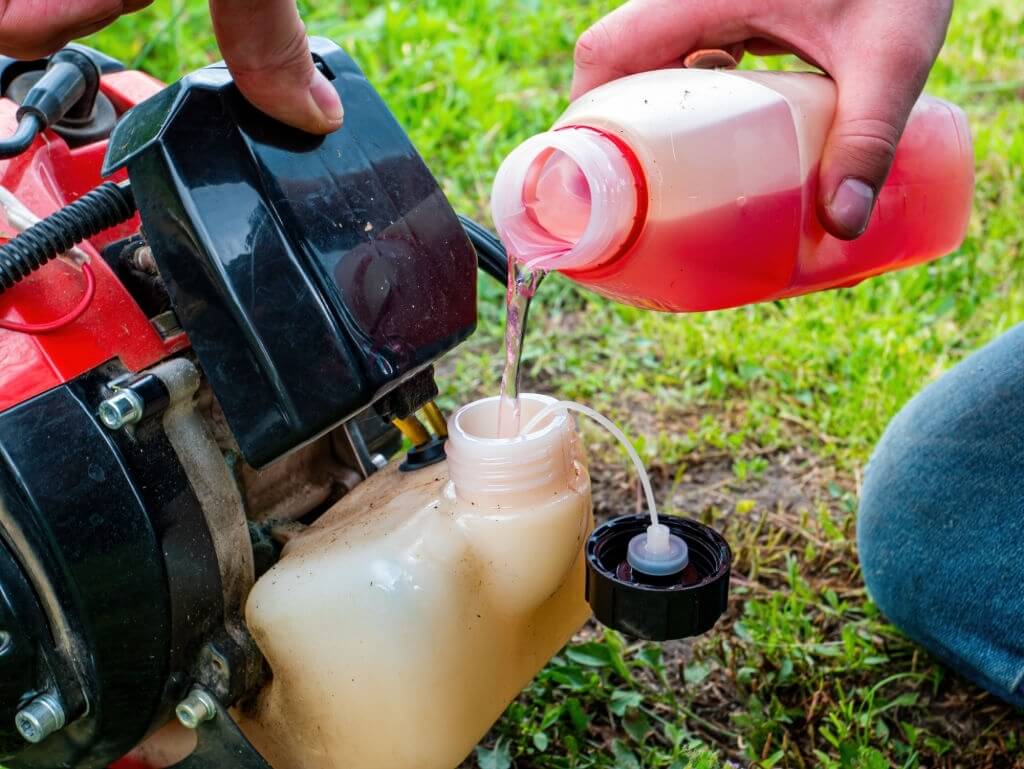
Step 3 – Check gasoline level in the tank and make sure that there is no water in gasoline
How to recognize the issue?
Bad fuel can have a number of causes, but it is most noticeable when the engine is running at high speed. For small engines that are run intermittently, rapid acceleration or hard starting may be all that is required to notice the problem.
Bad gas will produce blue smoke with a live flame instead of brown smoke with black soot floating in it – an easy way to tell if your lawn mower isn’t working right because you just put in bad gas.
However, if the fuel level has been adjusted too low, there will be no smoke in either case- which can easily lead someone with little knowledge about how engines work in the mistaken belief that their key issue IS indeed an empty tank.
How to fix the issue?
The first thing to do is take the gas tank off, clean it out completely and replace the gasoline hoses typically found under the seat at the back of your lawn mower. If this does not solve your problem you will want to take off each part one by one until you find what has caused this interruption in power to come back on again.
A lawn mower with a low or bad gasoline level is one of the most common causes of a lawn mower not starting. Removing air from the fuel tank can restore efficiency and power no matter what the problem is.
Currently, air removal is done by opening any of three valves on a conventional small engine – gas valve, vent valve or carburetor air intake valve. Closing them creates a vacuum and builds up pressure to fill these same numbers with fuel vapors from the mower’s tank!
Related: Rotary Vs. Reel Lawnmowers – Which is better?
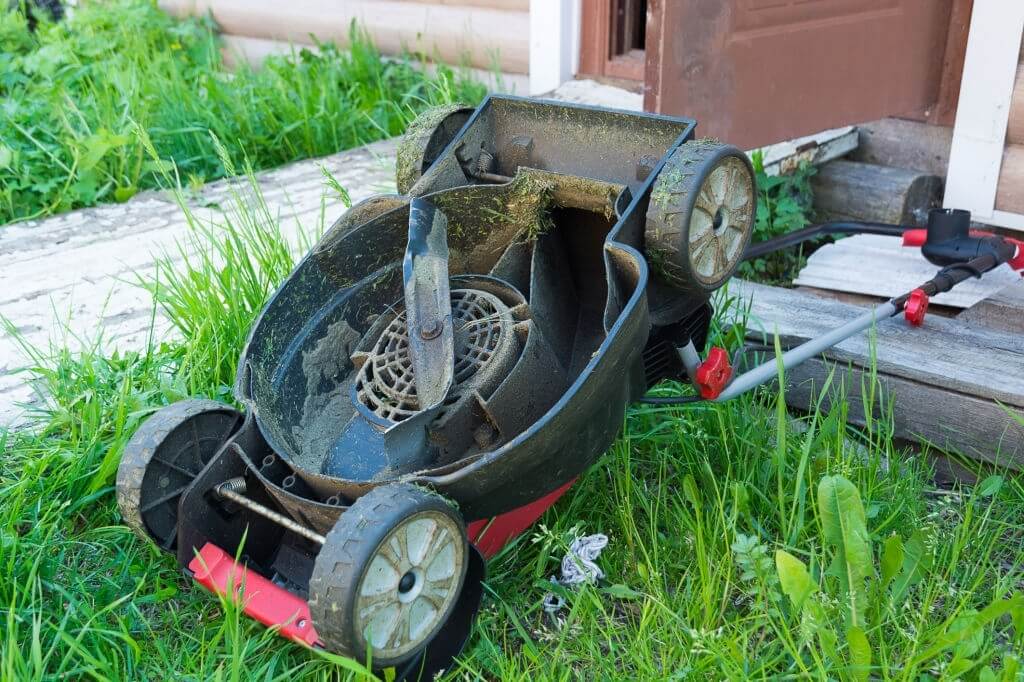
Step 4 – Remove debris from the carburetor, clean it out, and spray with cleaner
How to recognize the issue?
Both dirty carburetor and clogged carburetor bowls are equally troublesome issues with lawn mowers, but normally they both share the same symptom. A high-pitched noise associated with the engine is typically an alarm bell for this issue, though some people who are not familiar with this sound mistake it for hearing one of their car’s rattling noises.
Noticing white smoke coming out from the exhaust pipe is another symptom of either issue. If you’re looking at a regular plume of white steam coming out rather than individual puffs, then chances are that your lawn mower has a dirty or clogged carburetor.
Related: Lawn Aeration Guide: Why, How and When To Aerate Your Lawn
How to fix the issue?
A dirty carburetor is really just a clogged carburetor bowl, or when too many gooey, sticky particles build up in the bowl and restrict airflow.
The good news is that if you clean it out of your lawnmower or leaf blower vacuum and run some fresh gas through it, most of the time it will start right up again with no problems. So keep cleaning until you can get more fuel to enter and exit at max airspeed again. Go ahead and do this every few months for good measure.
After cleaning the carburetor, don’t forget to spray carburetor cleaner all around the outside before spraying it in. And make sure to avoid the motor. If you don’t have any carburetor cleaner on hand, try using WD-40 instead.
Step 5 – Replace any cracked or broken parts of the engine with new ones if necessary
How to recognize the issue?
A lawn mower issue with cracked or broken parts of the engine can be easily recognized. The most common signs are difficulty starting the engine, engine power loss, or sudden engine failure. The displacement of oil can be another sign.
Dirty air filters are also a possible concern because they interfere with the intake process of the fuel-mixing system. Barely getting any blades in contact with grass is another sign of low compression in one or more cylinders.
A lawn mower that doesn’t start could be caused by a handful of problems – depending on what type of lawn mower it is and how old it is.
How to fix the issue?
The issue with the cracked and broken engine parts can occur for a few different reasons. If we’re talking about a lawn mower, typically this is due to dirt and debris getting into the engine and around the lights.
However, if you want to be thorough, it’s more than likely as well as due to some other kind of problem such as water or gasoline getting in there. It’s important to determine which type of repair you’ll need so that proper diagnosis can take place.
It is not recommended to repair broken parts, but rather replace them completely with new ones if replacement is available. Since replacing parts will cost money and time, sometimes the best way to solve the issue is to buy a new engine entirely.
Step 6 – Check for loose wires or bad wiring on the engine block
How to recognize the issue?
The frequency of a lawn mower not starting can be an indication that the issue is with either loose wires or bad wiring on the engine block. Beneath the engine cover, examine each wire carefully and feel for any disconnects. With a good understanding of how your ignition system works, it will provide you with some direction about where to start looking.
Loose wires are a safety hazard because they will start to vibrate when the bike fires up and risk catching fire. To look for this problem, first open up the machine’s panel on either side of the engine block. If any wire is showing or loose then tie them back together until they are all taut or replace that part altogether which is faulty.
How to fix the issue?
Check for loose wires around the engine compartment or between the control module or throttle cable.
Check that frayed or white insulation of wiring is not causing shorting on metal bodywork that wouldn’t normally be conducive to electricity such as sheet metal, rubber, plastic, and paint surfaces.
Make sure all screws are tightened securely – both electrical connectors attached to the harness and connectors on each wire terminal.
Step 7 – If all else fails, take your lawn mower back to where you bought it for warranty service or replacement of parts
It may be worth it to take your lawn mower back to where you bought it for warrantable service or replacement of parts. They can also help you diagnose the problem and repair your mower, if possible. If they don’t offer that type of service, ask them who does and then go there.
The lawnmower warranty period varies by manufacturer and model but typically ranges from one year up to two years; however, we recommend following instructions in your manual which is what the manufacturer’s warranty specifies as their time limit for manufacturer warrantable repairs only.