12 Cheap DIY Outdoor Bar Ideas That Hold Up Outside and Serve Safely
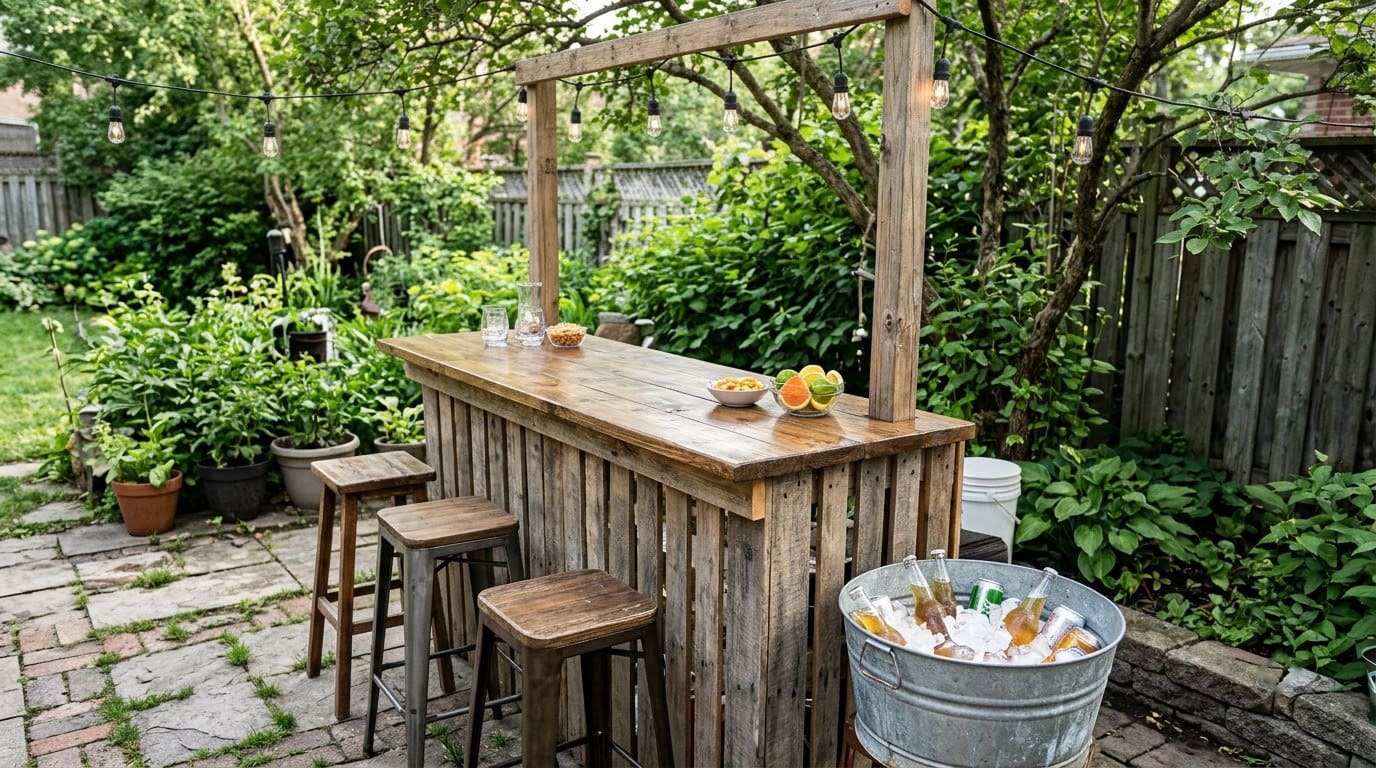
A good DIY outdoor bar is level, sealed against weather and set up so drinks stay cold, the wood is safe to serve on and the power is protected.

Never miss an update — choose FarmFoodFamily as your preferred source on Google.
How it works: Tap the button below to open Google's settings page, then check the box next to FarmFoodFamily.
Tap the checkbox to turn it blue — that's how you know it's set.
A good DIY outdoor bar is level, sealed against weather and set up so drinks stay cold, the wood is safe to serve on and the power is protected.
Products We Recommend
This post contains affiliate links. We may earn a commission on qualifying purchases at no extra cost to you.

AC Pacific 24 inch Metal Barstool Set of 2, Country Rustic Style with Low Back
Counter-height stools for a bar about 36 inches tall. Store or cover them in wet weather, since the listing doesn't say they are made for outdoor use.
Shop Now
Thompson's WaterSeal Clear Wood Sealer, 1 Gallon
A water-repellent sealer for frames, legs and edges. Check the label before using it on a surface that touches glasses or food, and let it cure fully.
Shop Now
DEWENWILS 3 FT Automatic Reset GFCI Extension Cord, Outdoor, UL Listed
An outdoor-rated cord with built-in GFCI protection for lights or a small fridge. It does not replace a proper outdoor outlet from an electrician.
Shop NowAn outdoor bar turns a patio into the place everyone ends up. It doesn’t need to be fancy. A sturdy counter, a spot for ice and a few stools are enough.
This guide gives you 12 cheap DIY outdoor bar ideas, from a pallet bar to a fold-down fence counter.
Each one lists what you need, how it goes together and the mistake to avoid. We also cover the safety side most guides skip: wood choice, wet power and how long food and drinks can sit out.
Answer 4 quick questions and get matched to the exact fix for your yard — drainage, budget, layout, or something else entirely.
Take the Free QuizFor a bigger cooking setup, see our best outdoor kitchen ideas.
Quick Answer
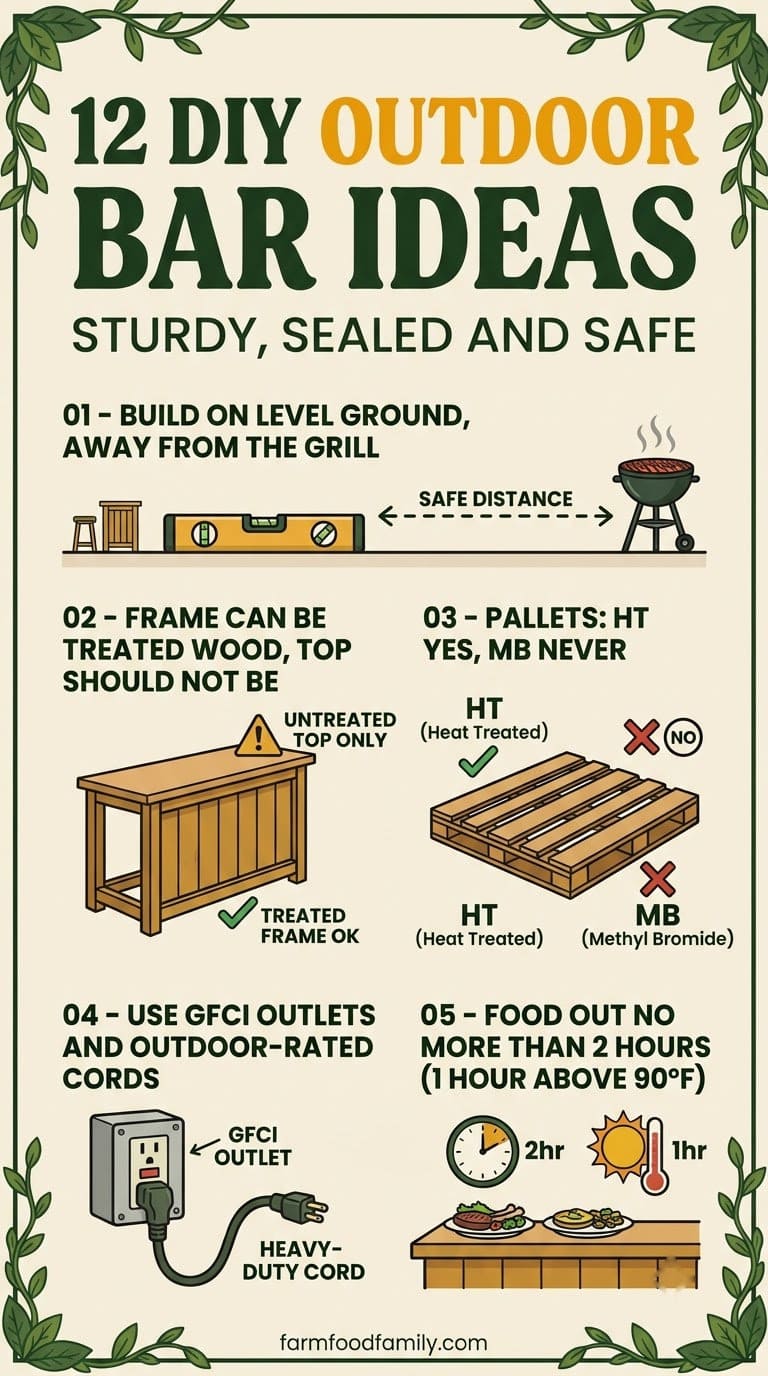
Build your outdoor bar on level ground, away from your grill and fire pit. Use a stable frame, a weather-sealed top and stools that fit under the counter.
Pick the wood with care. The CPSC’s guidance on CCA-treated wood says not to use it for counter tops or cutting boards, and to work outdoors with gloves, goggles and a dust mask. If you use pallets, pick ones stamped HT, and never use or burn MB pallets, according to Penn State Extension.
Keep cold things cold. The USDA says never to leave food out for more than two hours, or one hour above 90 °F.


But start small. A simple counter and a cooler teach you what the space needs.
Most yard problems trace back to one specific, fixable cause. Find yours in 4 quick questions.
Take the Free QuizSeal the top, keep the legs off wet ground and use GFCI-protected power. Put the bar in shade, with a short walk to ice and snacks.
How Do You Choose a Spot and Size?
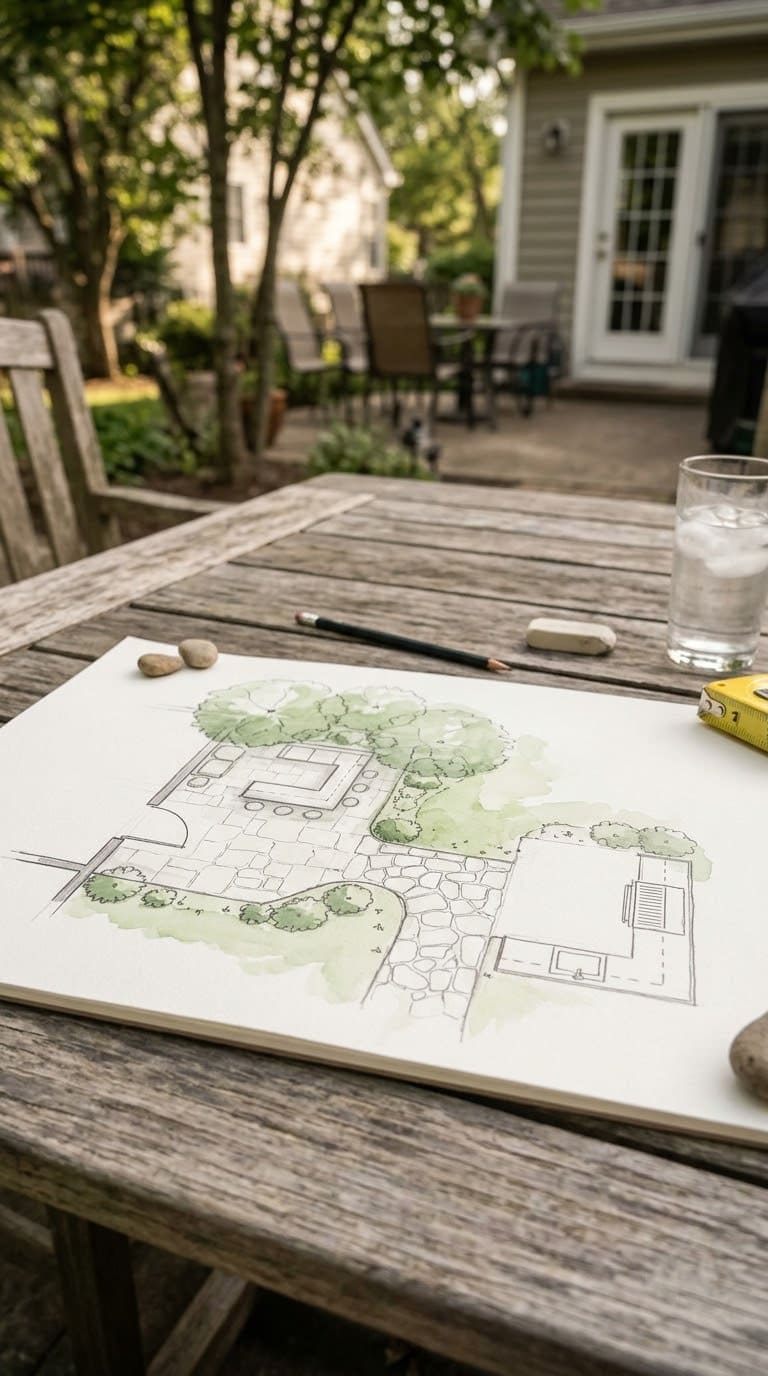
Pick the spot first, then design the bar.
- Level ground. A wobbly bar is a hazard, and wet glasses make it worse.
- Shade. Shade keeps drinks cold and people comfortable.
- Near the kitchen. A short walk to ice, snacks and the sink saves trips.
- Away from heat. Keep it clear of the grill, fire pit and tiki torches.
- Room to stand. Leave space for people to walk behind and beside the bar.
For height, a counter is usually about 36 inches and a bar about 42 inches. Match your stools to the height, and leave room for knees.
Our take: sit in a chair at a cardboard mockup before you build. It shows you how much space you need.
What Wood Is Safe for a Bar Top?
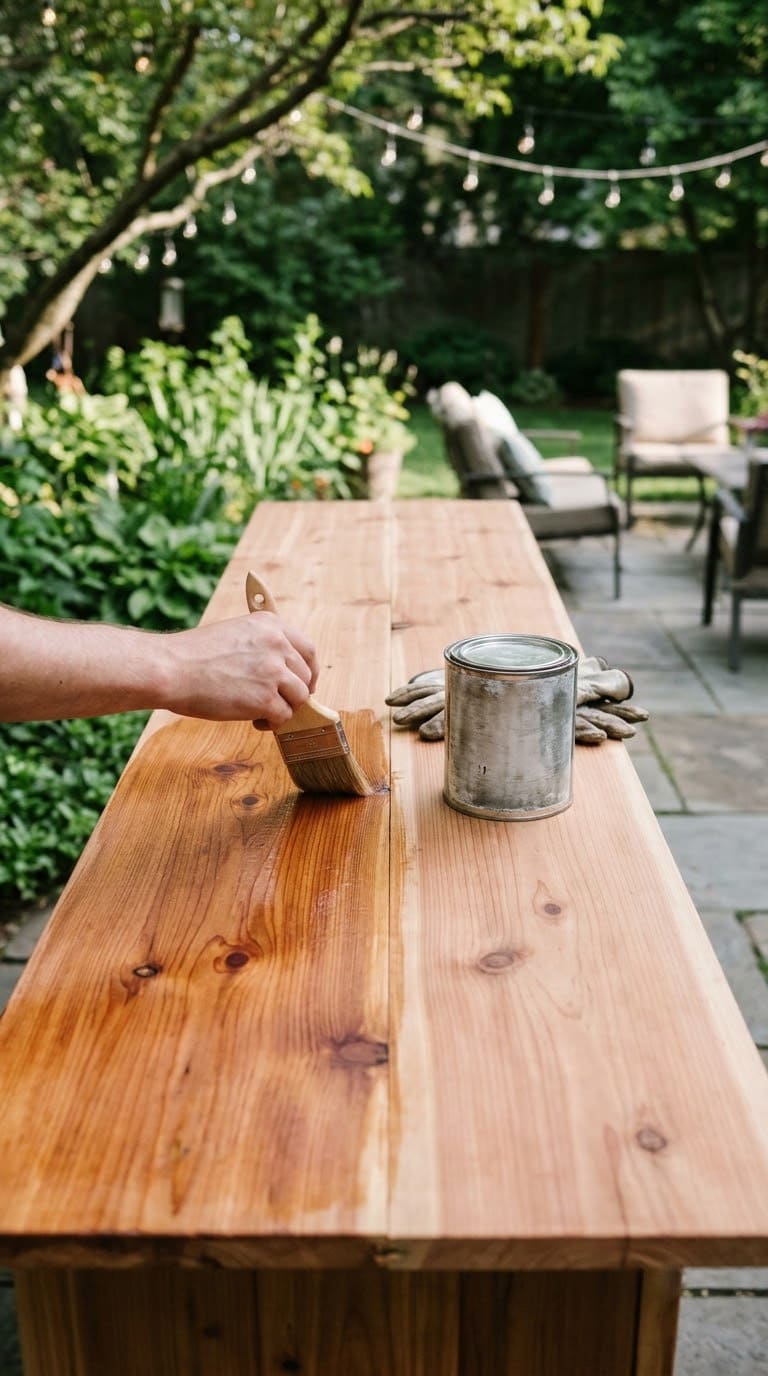
Your bar top touches glasses, ice and often food, so the wood matters.
The CPSC’s brochure on CCA-treated wood says it should not be used for counter tops or cutting boards. It says treated wood should never touch drinking water.
It also says to work outdoors, wear goggles, gloves and a dust mask when sawing, wash up after handling and avoid burning treated wood. That brochure covers older CCA lumber, but we’d apply the same caution to any treated board that will touch drinks.
Counter-height stools for a bar about 36 inches tall. Store or cover them in wet weather, since the listing doesn't say they are made for outdoor use.
Shop NowThis post contains affiliate links. We may earn a commission on qualifying purchases at no extra cost to you.
For the frame, treated lumber is fine. For the top, we’d choose untreated cedar or another durable wood, then seal it. A regular coat of penetrating stain or sealant also helps protect wood from weather.
Pallets work for frames and sides, with a rule. Penn State Extension says never to use MB pallets for any home project or burn them. UC ANR says heat-treated (HT) pallets are generally safe because no chemicals are used, and unmarked pallets can be risky.
The average homeowner spends $616/year on yard fixes that don't address the real problem. Find out what yours actually is — before you spend another dollar.
Take the Free QuizOur take: use pallets for the base and sides, and a new board for the top. A top you can wipe clean is worth a few dollars.
How Do You Keep Food and Drinks Safe?
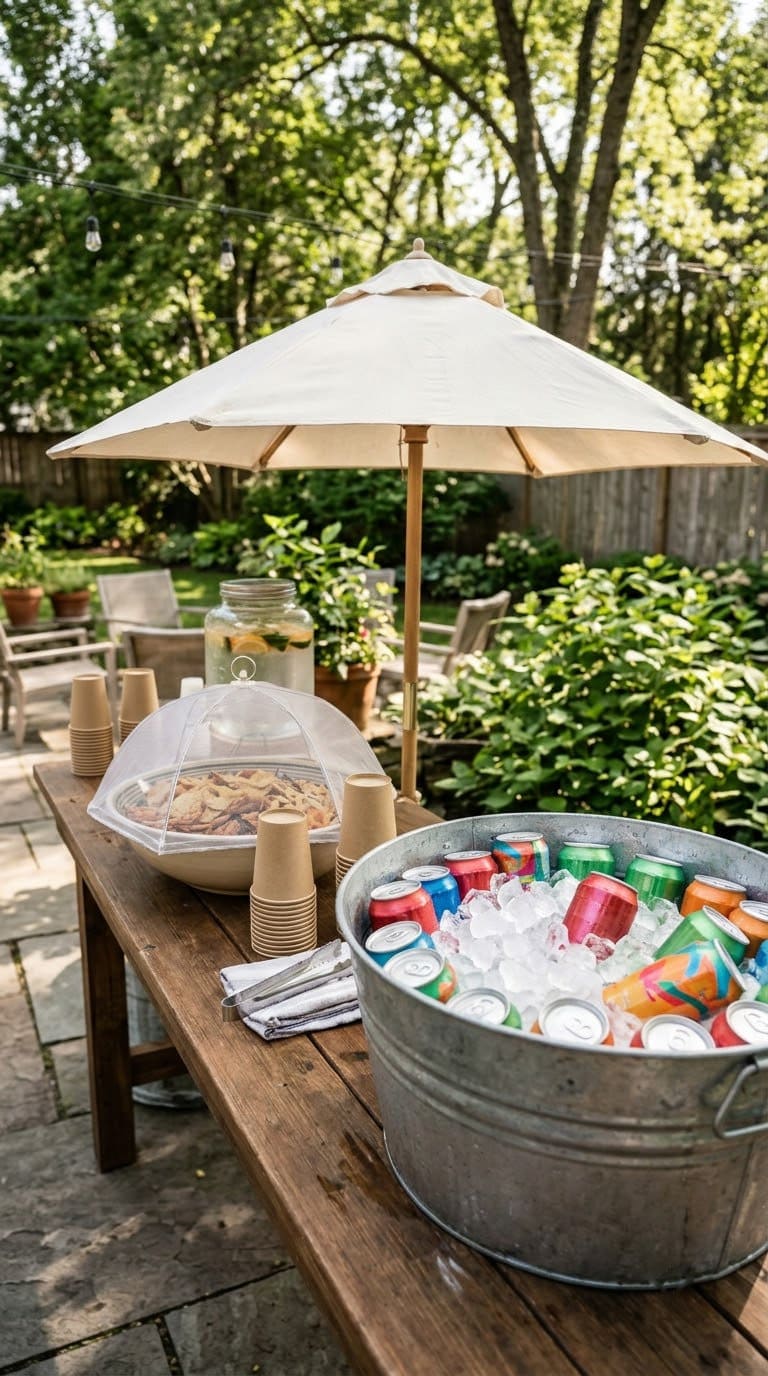
Outdoor heat speeds up spoilage. The USDA says bacteria grow fastest between 40 and 140 °F. Its advice is to never leave food out for more than two hours, and no more than one hour if the air is above 90 °F.
That affects bar snacks and garnishes, not just meals.
- Keep cold items on ice or in a cooler.
- Put out small bowls and refill them.
- Keep fruit and dairy garnishes in the fridge until needed.
- Use a scoop for ice, not your hands or a glass.
Our take: put the cooler under the bar and put snacks in the shade. Both stay cooler.
How Do You Power a Bar Safely?
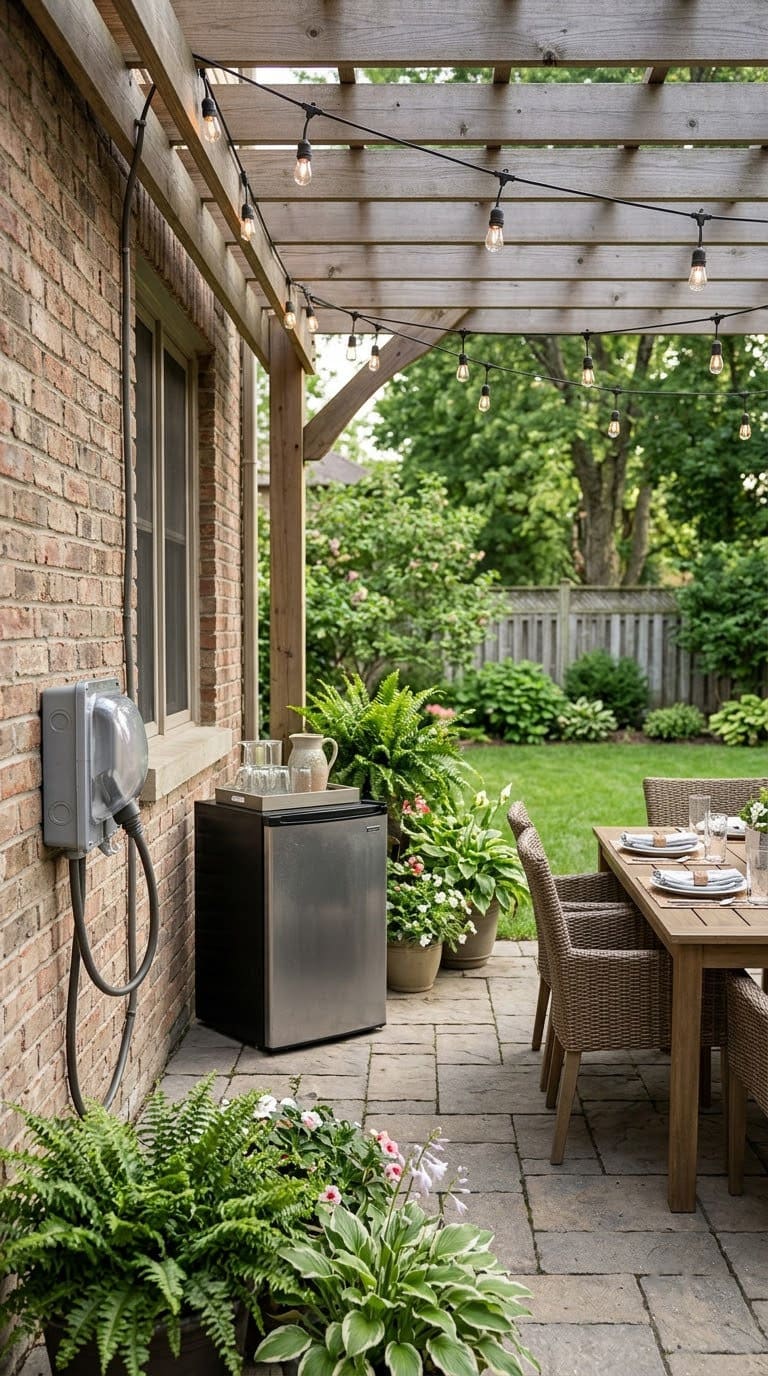
Water and power don’t mix, and bars have both. The Electrical Safety Foundation International publishes an outdoor electrical safety booklet on using electrical safety devices to help protect against shock and fire.
The simple rules we’d follow are these.

- Use outlets protected by a ground-fault circuit interrupter (GFCI).
- Use outdoor-rated cords and lights.
- Keep plugs and cords off wet ground and away from the ice tub.
- Ask an electrician to add outdoor outlets, rather than running long cords.
- Use battery lights if you don’t have a safe outlet.
Our take: if you plan a fridge, tap or blender, hire an electrician. It’s the one place not to improvise.
12 DIY Outdoor Bar Ideas
1. Pallet Bar
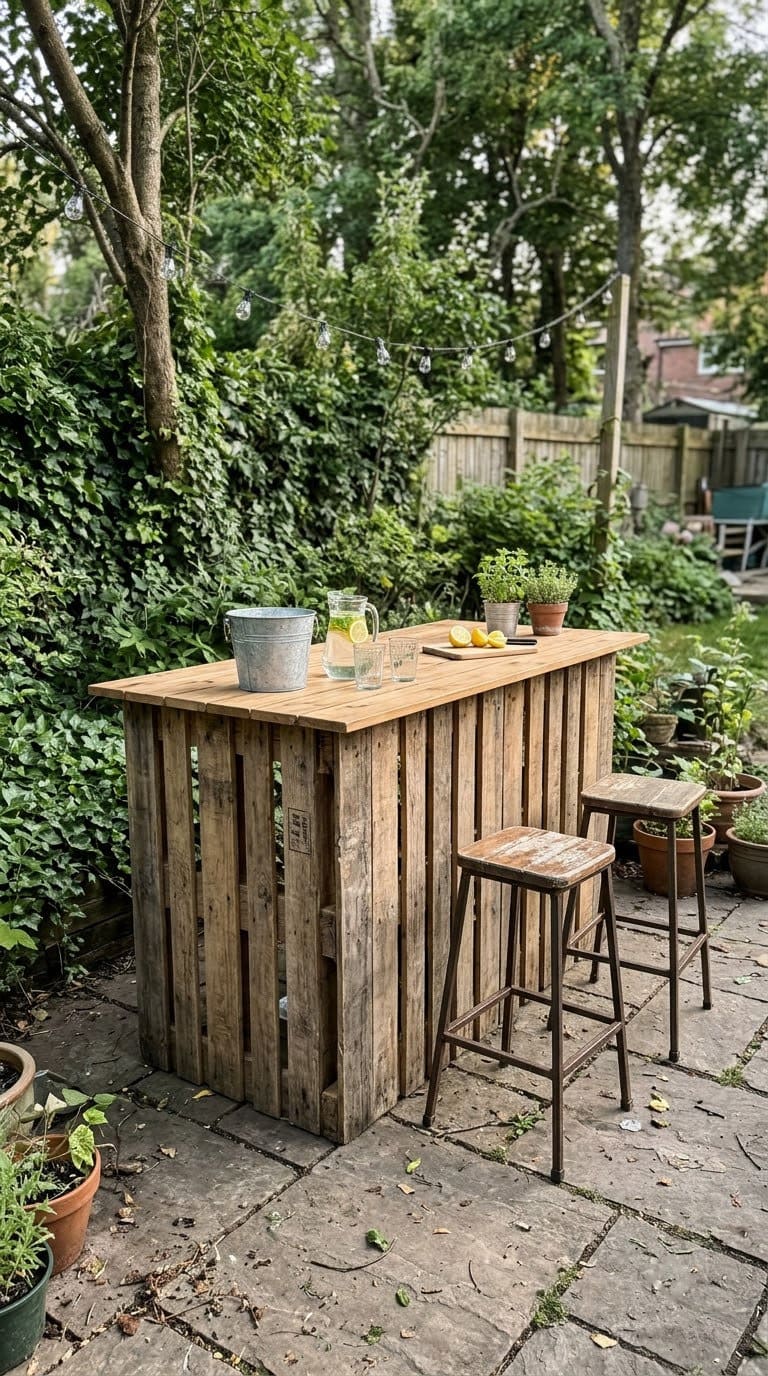
The classic cheap bar.
- Cost level: Low.
- Skill: Easy.
- Build: Stand two HT pallets as the front and back. Screw a plank top across them. Add a shelf at the back.
- Mistake: Using MB or unmarked pallets, or leaving nails.
Our take: use a new board for the top, so the surface is clean and flat.
2. Cinder Block and Plank Bar
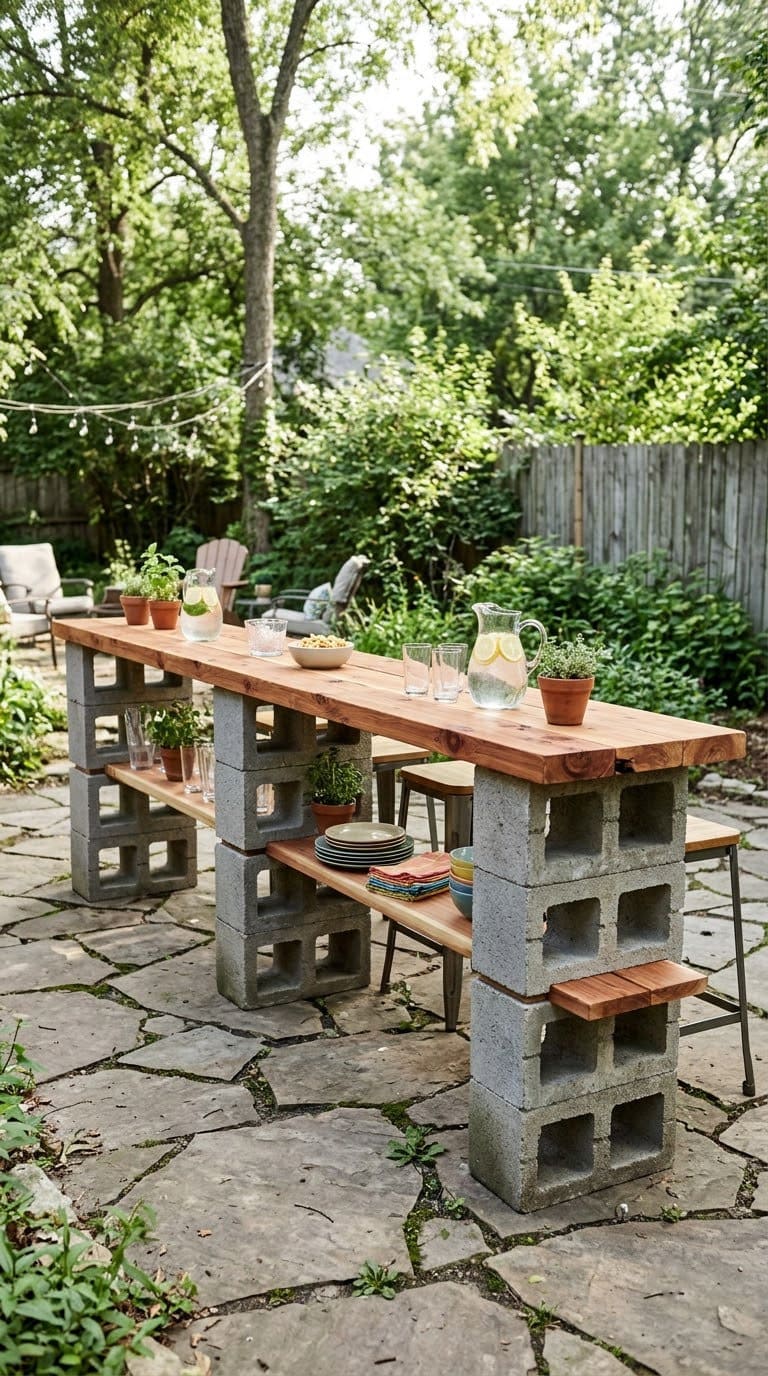
No cutting and no tools beyond a drill.
- Cost level: Low.
- Skill: Easy.
- Build: Stack blocks two high. Lay planks across them. Use the holes as small shelves for bottles.
- Mistake: Uneven ground. Level it first.
Our take: glue the top boards to the blocks with construction adhesive so they can’t slide.
3. Repurposed Dresser Bar
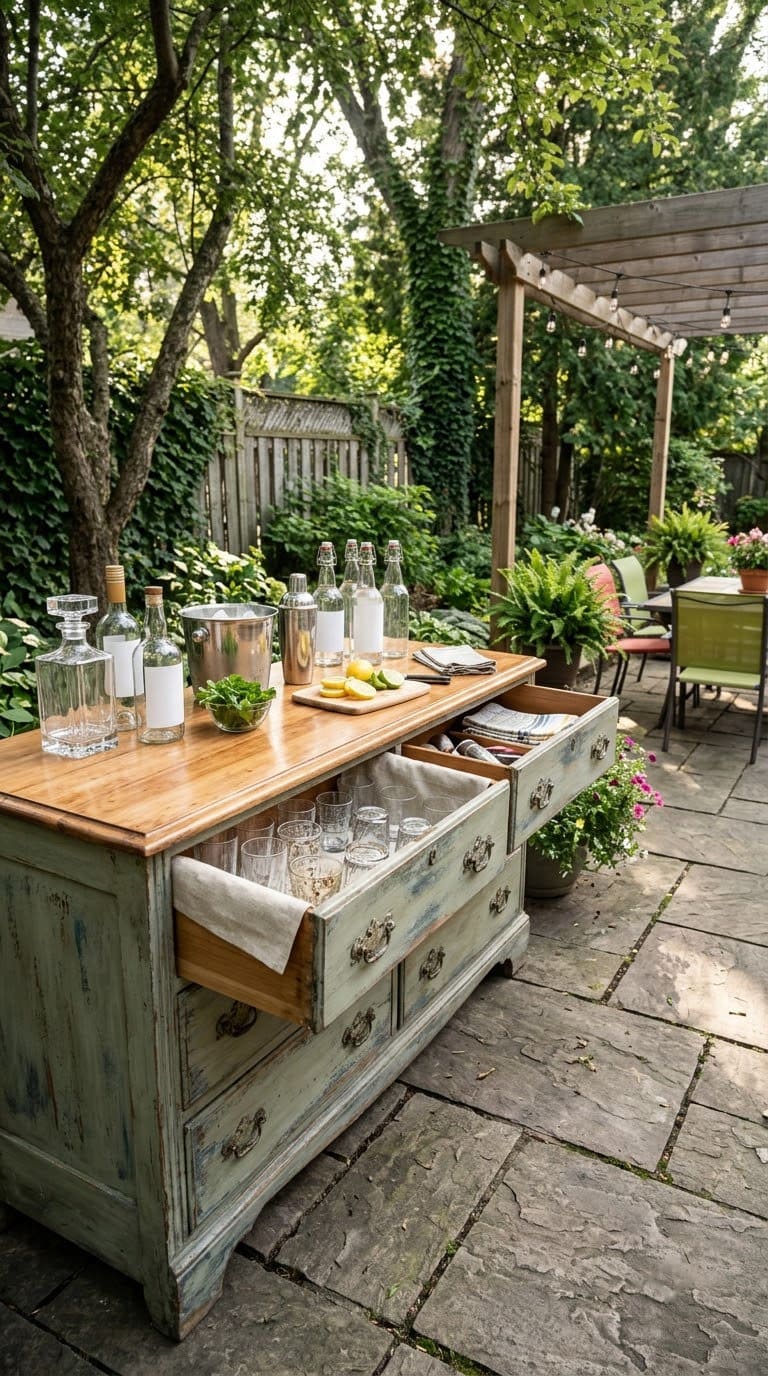
Old furniture makes a bar with built-in storage.
- Cost level: Low.
- Skill: Medium.
- Build: Remove drawers or leave a few. Seal the top and paint with exterior paint.
- Mistake: Using lead-painted pieces. Skip chipped old paint.
Our take: store glasses in the drawers and line them with a washable mat.
4. Fold-Down Fence Bar
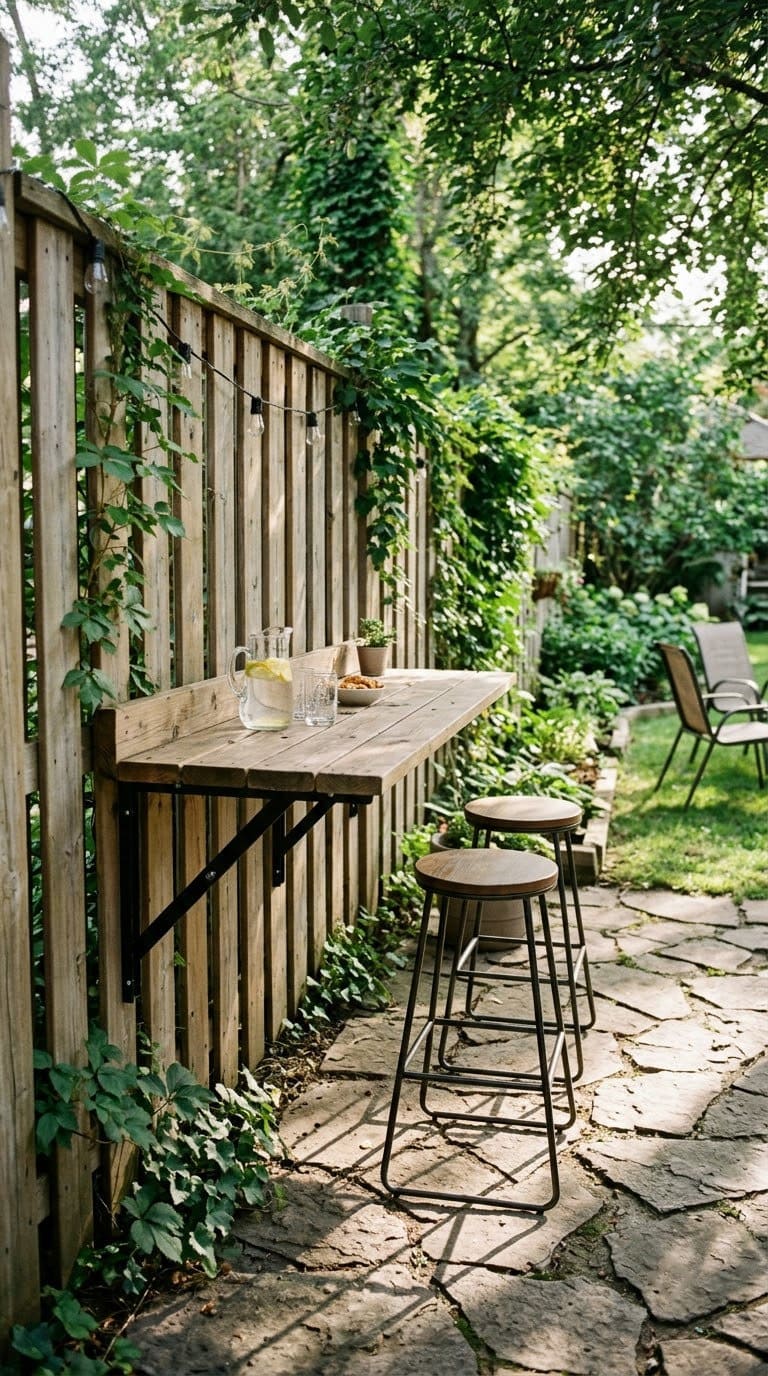
A Murphy-style bar saves space.
- Cost level: Medium.
- Skill: Medium.
- Build: Hinge a counter to a fence post or wall. Add folding supports.
- Mistake: A weak mount. Anchor into posts or studs, not thin boards.
Our take: fold it up when you’re not using it and it disappears.
5. Rolling Bar Cart
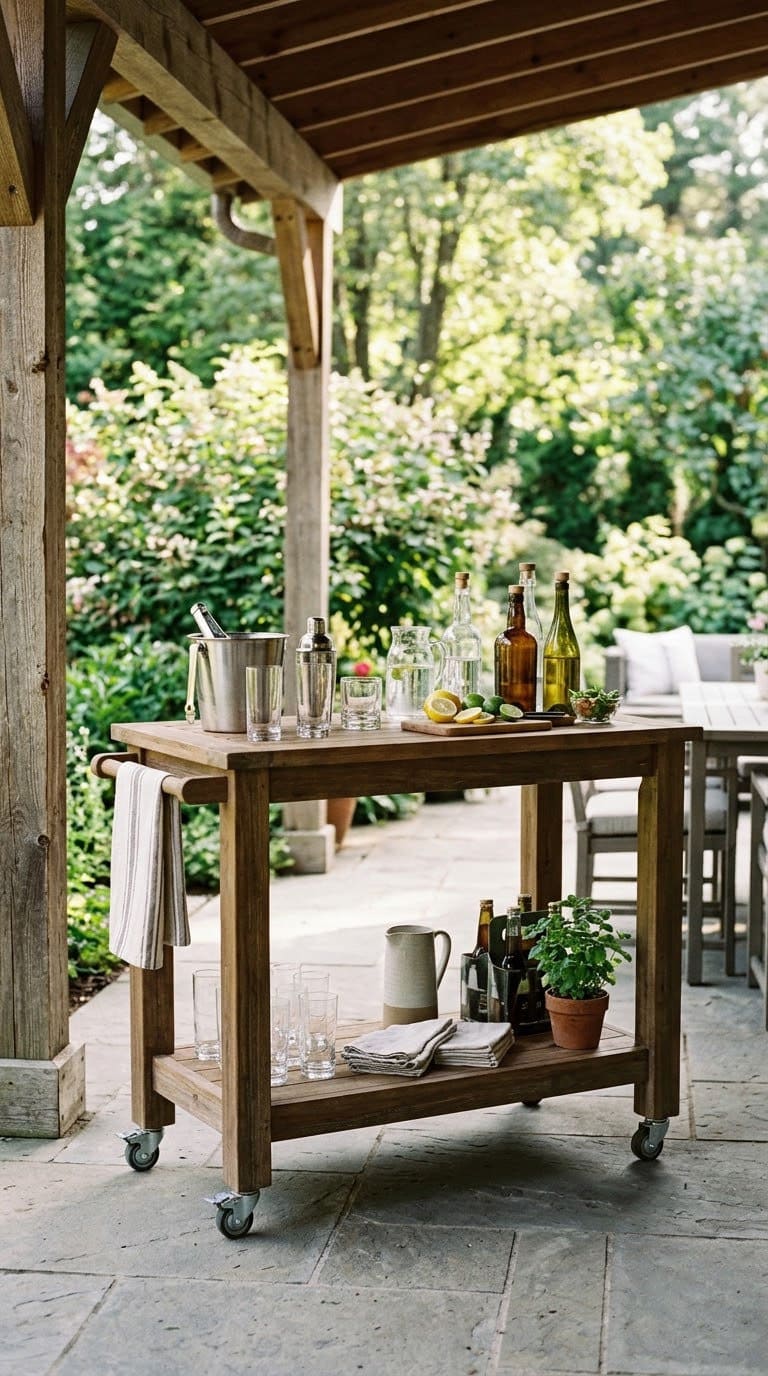
A cart moves where you need it.
- Cost level: Low to medium.
- Skill: Easy.
- Build: Buy or build a two-shelf cart with locking wheels.
- Mistake: Overloading it. Heavy bottles tip a light cart.
Our take: store it indoors in winter and the finish lasts longer.
6. Cooler-in-Counter Bar
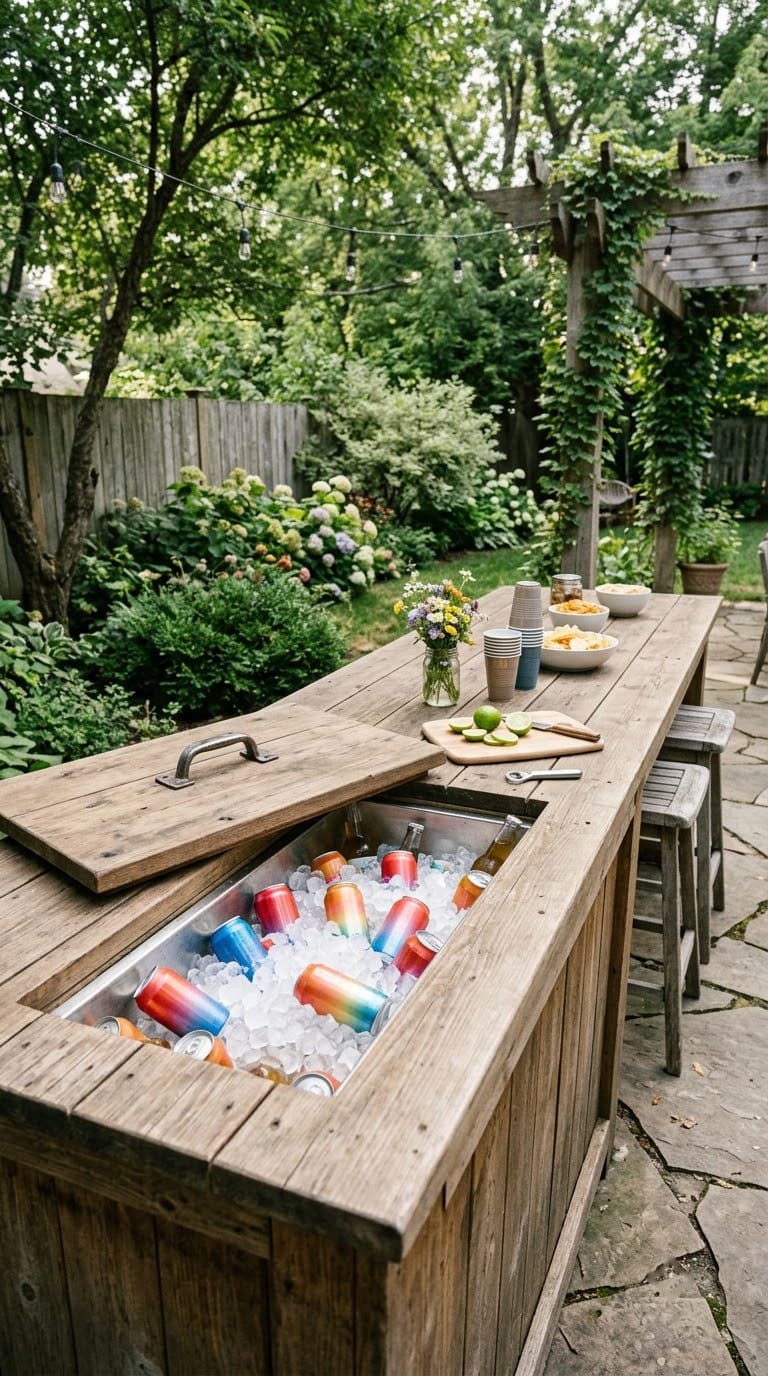
Build the ice in.
- Cost level: Medium.
- Skill: Medium.
- Build: Cut an opening in the top to fit a cooler. Add a lid or rim.
- Mistake: No drain. Plan for melt water.
Our take: add a drain hose into a bucket. It saves a puddle on the patio.
7. Wine Barrel Bar
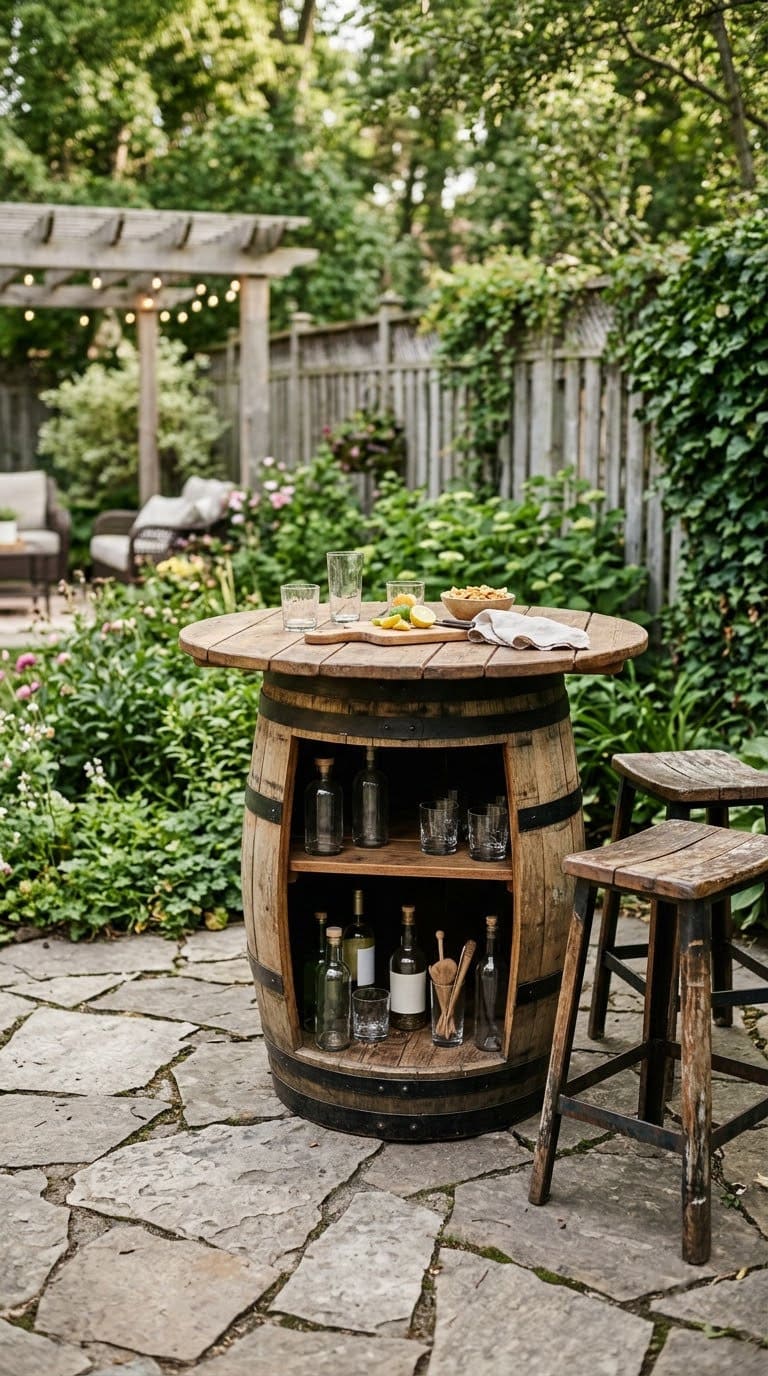
A barrel is a ready-made base.
- Cost level: Medium.
- Skill: Easy.
- Build: Stand a barrel upright. Add a round top and stools.
- Mistake: A small top. Leave room for glasses.
Our take: use two barrels with a plank between them for a longer bar.
8. Tiki Hut Bar
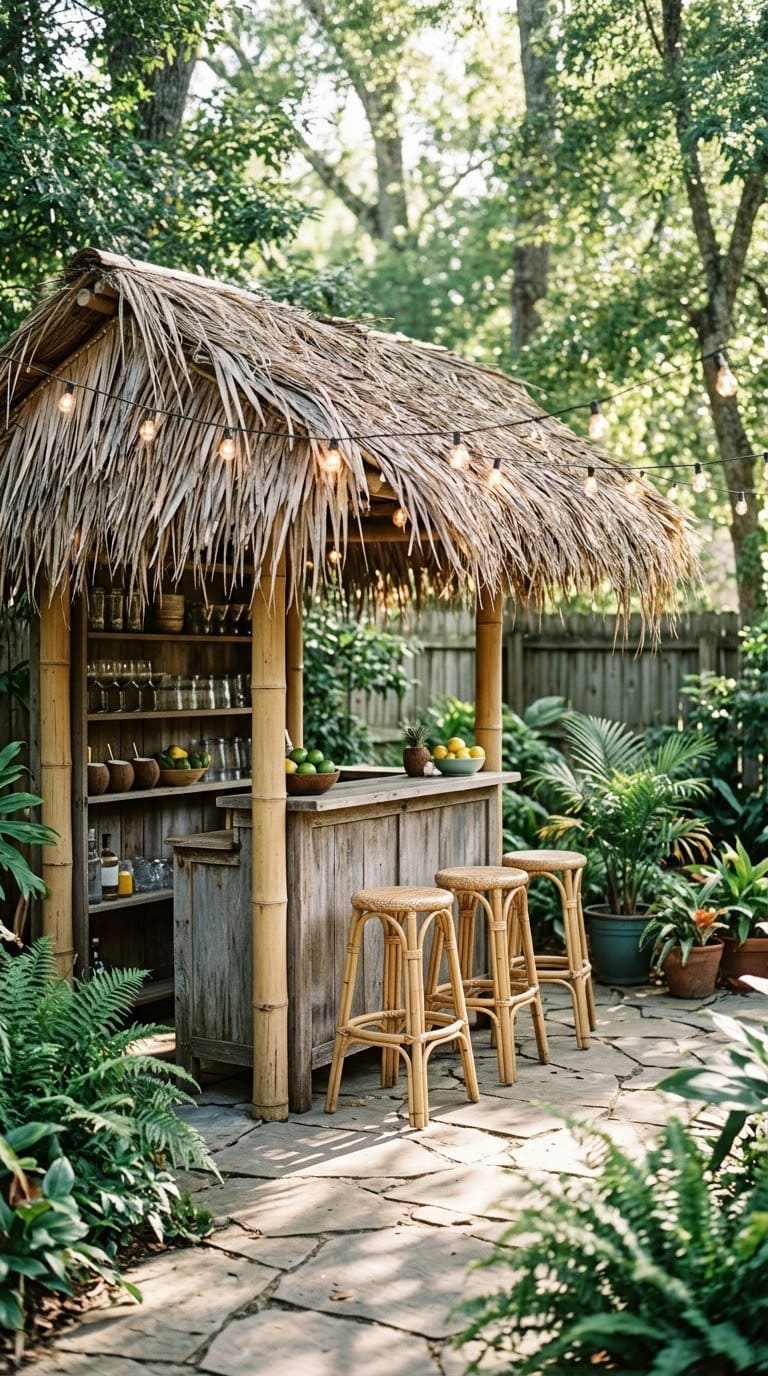
A tiki bar sets a mood.
- Cost level: Medium.
- Skill: Medium.
- Build: Build four posts and a roof frame. Add a thatch or bamboo cover.
- Mistake: Open flames near the roof. Use LED torches, since dry thatch burns easily.
Our take: keep the grill and fire pit well away from the hut.
9. Garden Shed Window Bar
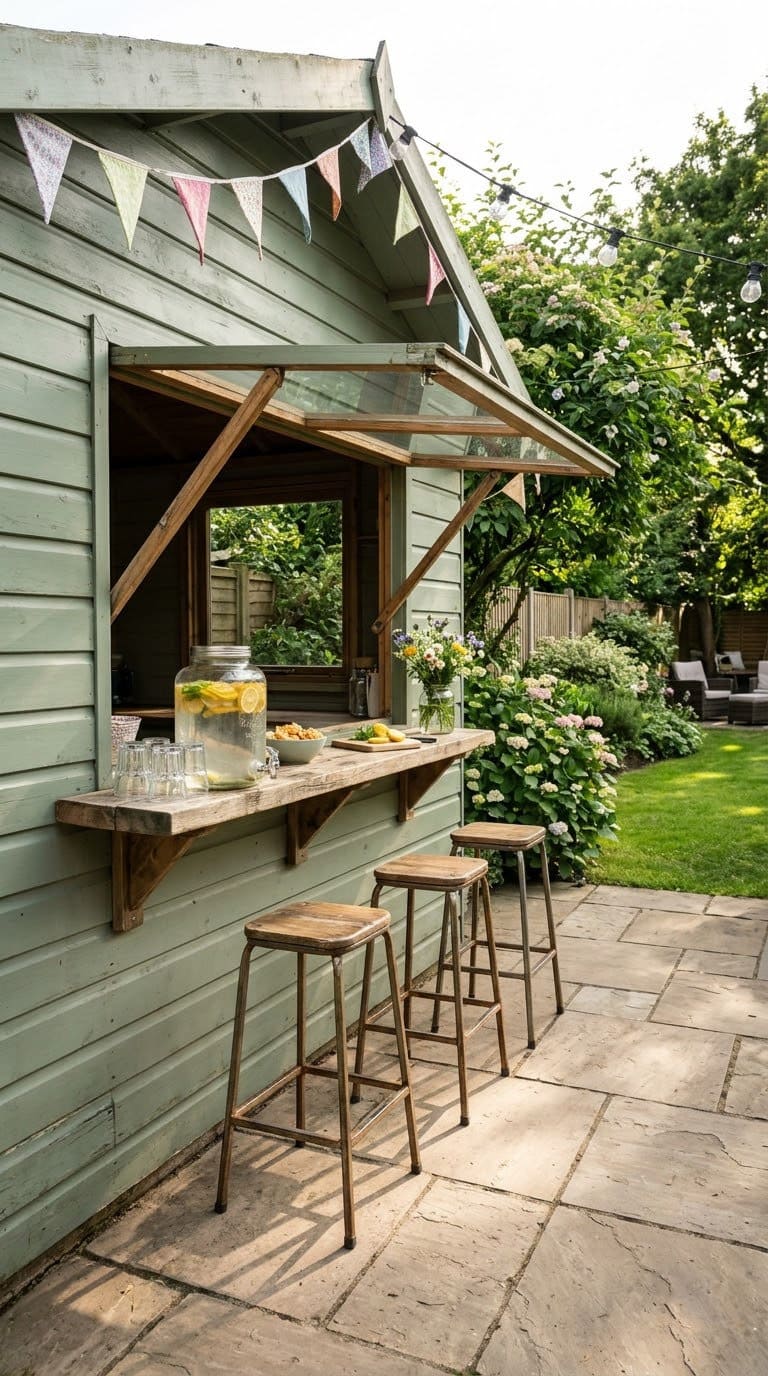
A shed window makes a hidden bar.
- Cost level: Medium.
- Skill: Medium.
- Build: Cut a window and add a hinged shutter. Add a shelf on the outside.
- Mistake: Cutting into a load-bearing wall. Frame the opening.
Our take: store ice and glasses inside, so service is quick.
10. Pergola Bar
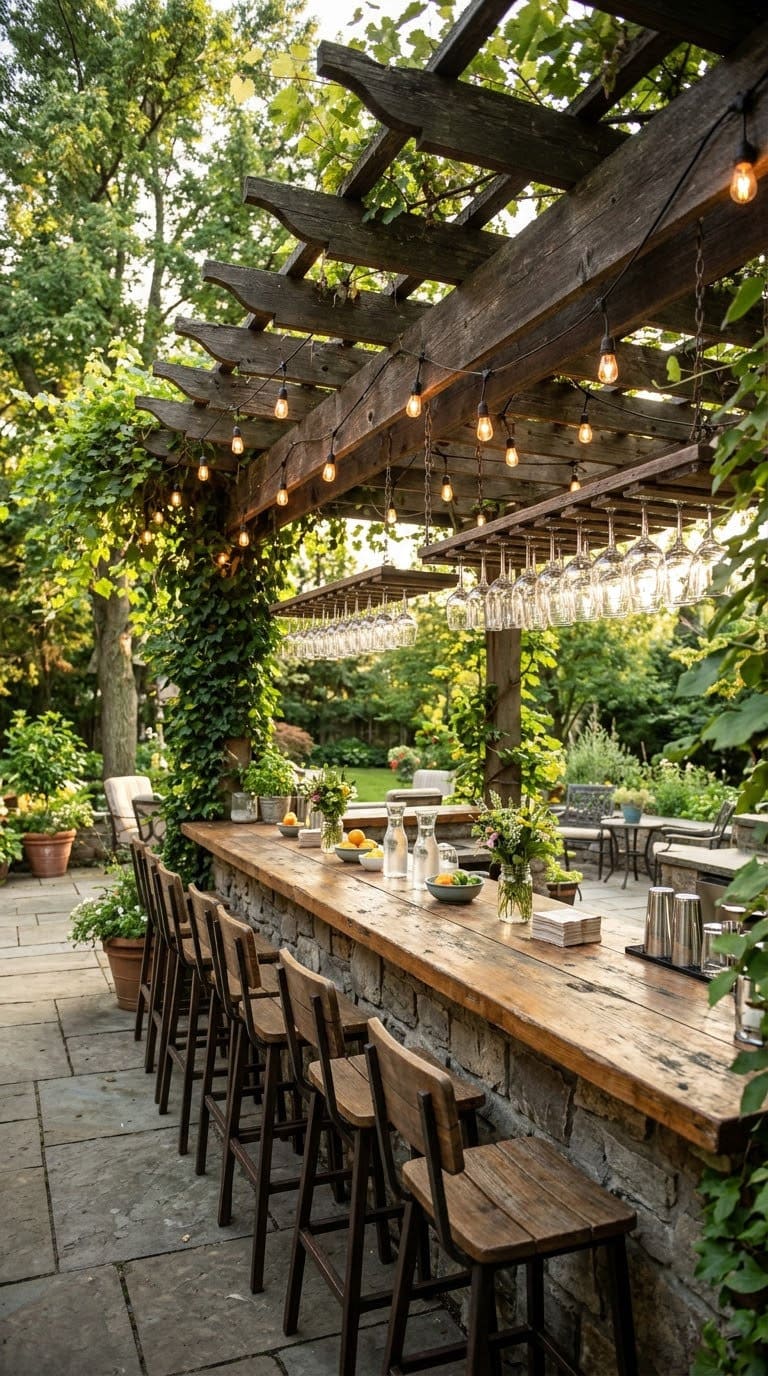
A roof makes a bar usable in any weather.
- Cost level: Medium to high.
- Skill: Medium to hard.
- Build: Build or buy a small pergola, then set the bar beneath it.
- Mistake: Posts not anchored. Anchor to a slab or footings.
Our take: add a pull-down shade for midday sun.
11. Workbench Bar
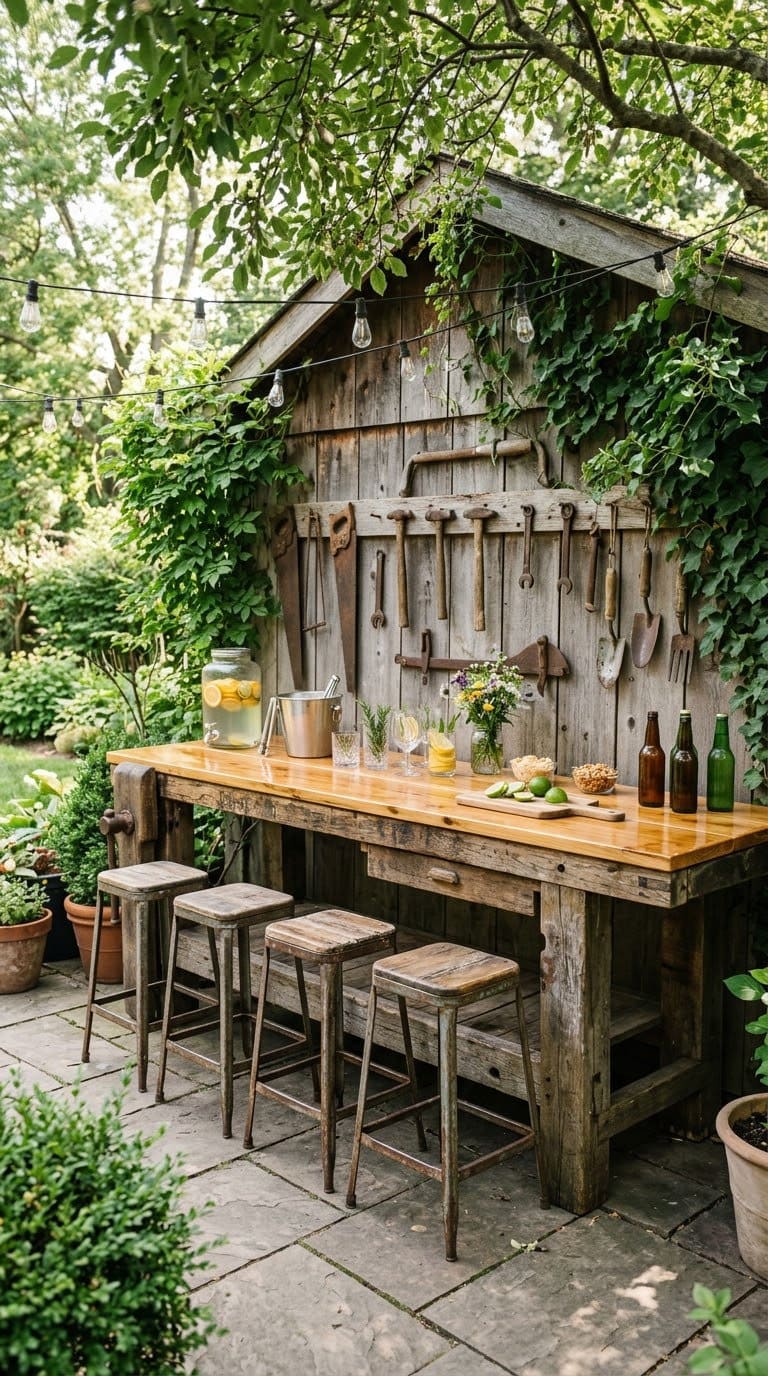
An old workbench is already sturdy.
- Cost level: Low.
- Skill: Easy.
- Build: Clean it, sand it and seal the top. Add stools.
- Mistake: Chemical stains. Use a new top if the wood looks stained.
Our take: hang glasses and bottle openers on the wall behind it.
12. Ladder Shelf Bar
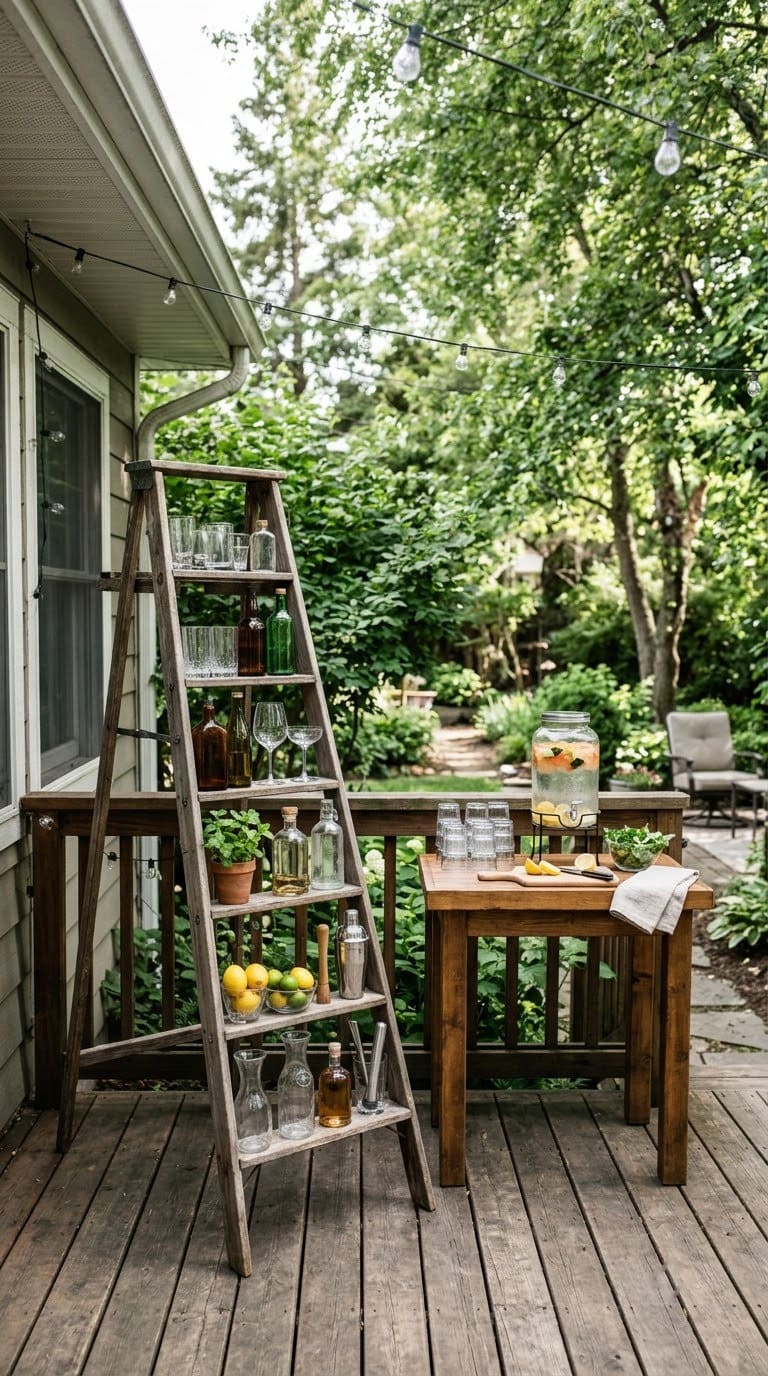
This is the simplest bar of all.
- Cost level: Low.
- Skill: Easy.
- Build: Lean a sturdy ladder shelf against a wall and set a small table in front.
- Mistake: Tipping. Anchor the ladder to the wall.
Our take: use it to display bottles and keep the table clear for mixing.
How Do You Weatherproof a Bar?
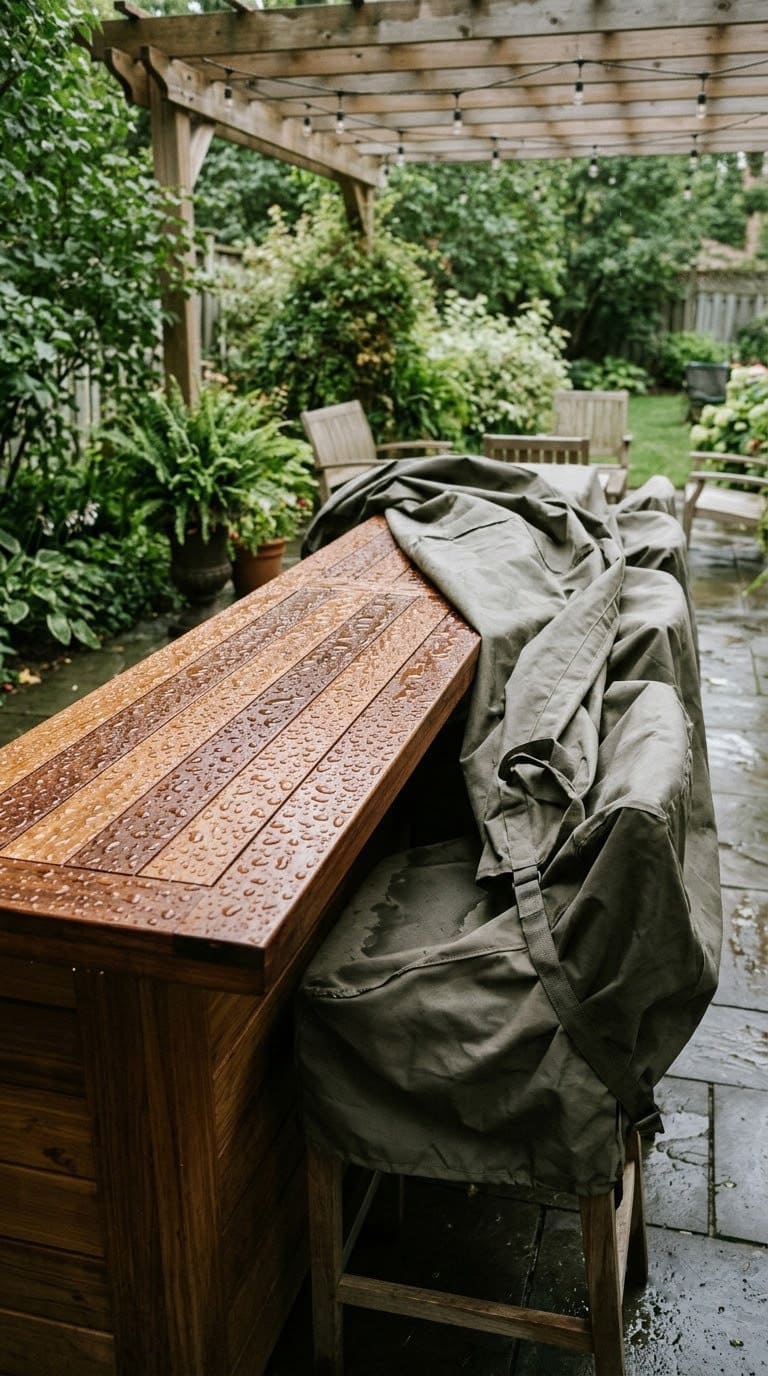
Outdoor weather is hard on wood.
- Seal the top and edges, and recoat each season.
- Raise legs off the ground on pavers.
- Use stainless or coated screws.
- Cover the bar when you’re not using it.
- Store cushions and electronics indoors in winter.
Our take: oil or sealer is cheaper than replacing a rotten top.
What Mistakes Should You Avoid?
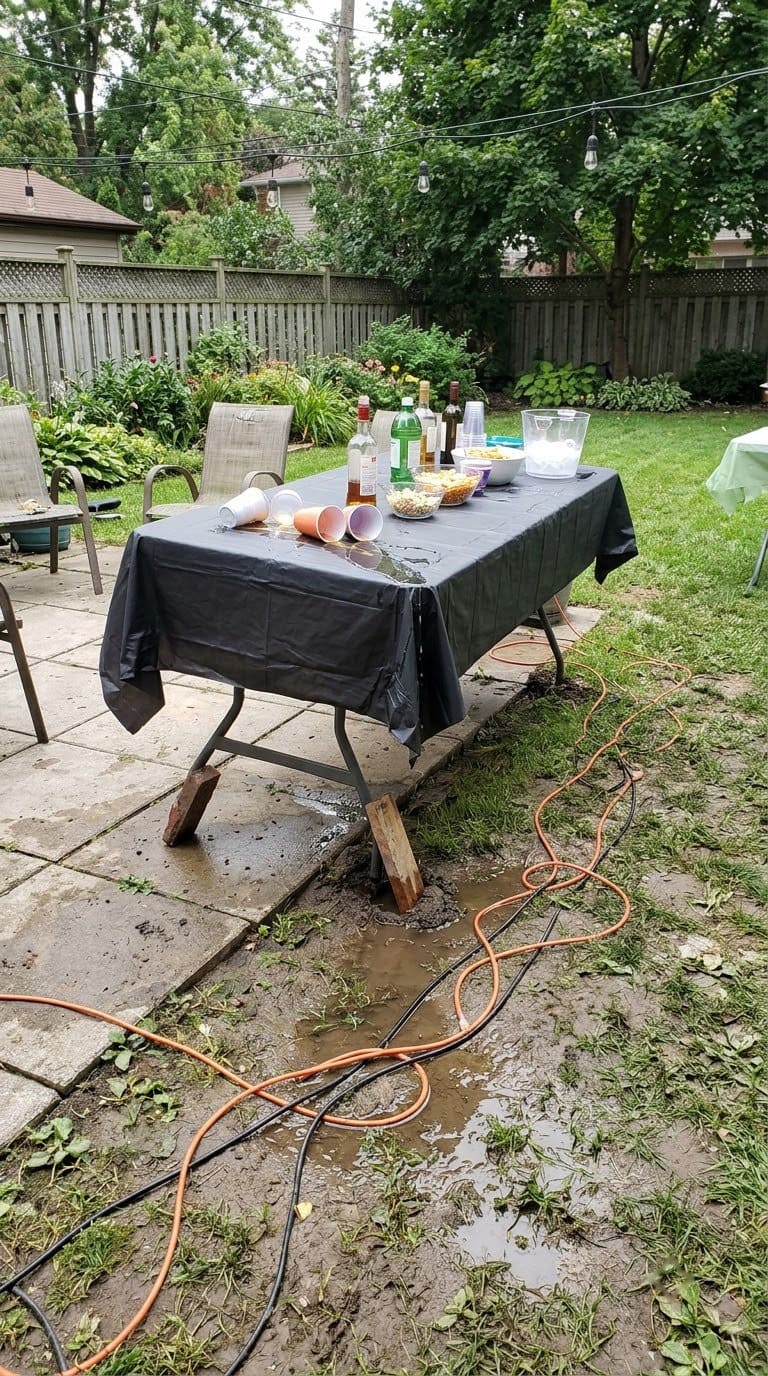
Most problems come from wood, water and level.
- Treated wood on the top. Use untreated, sealed wood.
- MB or unmarked pallets. Avoid them.
- Wet cords. Use GFCI outlets and outdoor-rated cords.
- An unlevel base. Level it first.
- Food left out. Follow the two-hour rule.
- Flames near thatch or wood. Use LEDs.
Frequently Asked Questions
What is the cheapest DIY outdoor bar?
A pallet bar or a cinder block and plank bar. Both use cheap materials and can be built in a weekend. Use HT pallets only, and put a clean, sealed board on top.
Can I use pallets for an outdoor bar?
Yes, for the frame, if they are stamped HT. Penn State Extension says never to use MB pallets, and UC ANR says HT pallets are generally safe.
How do I protect an outdoor bar from rain?
Seal the top and edges, raise the legs and add a roof or cover. Recoat the sealer each season.
How do I power an outdoor bar?
Use GFCI-protected outlets and outdoor-rated cords, and keep them off wet ground. Hire an electrician for fridges or taps. See our DIY outdoor project ideas for more backyard builds.
Your Weekend Bar Plan
- Friday: Pick a level, shaded spot and sketch a bar at the right height.
- Saturday morning: Gather HT pallets or lumber, and a new top board.
- Saturday afternoon: Build the frame and seal the top.
- Sunday: Add stools, lights and a cooler, and test for wobble.
- Every season: Recoat the sealer and check the outlets.
Start with a level spot and a clean top. That is how a cheap bar becomes the party spot.
Never miss an update — choose FarmFoodFamily as your preferred source on Google.
How it works: Tap the button below to open Google's settings page, then check the box next to FarmFoodFamily.
Tap the checkbox to turn it blue — that's how you know it's set.