20 Charming DIY Home Sweet Home Sign Ideas (With Wood, Paint, and Finish Tips)
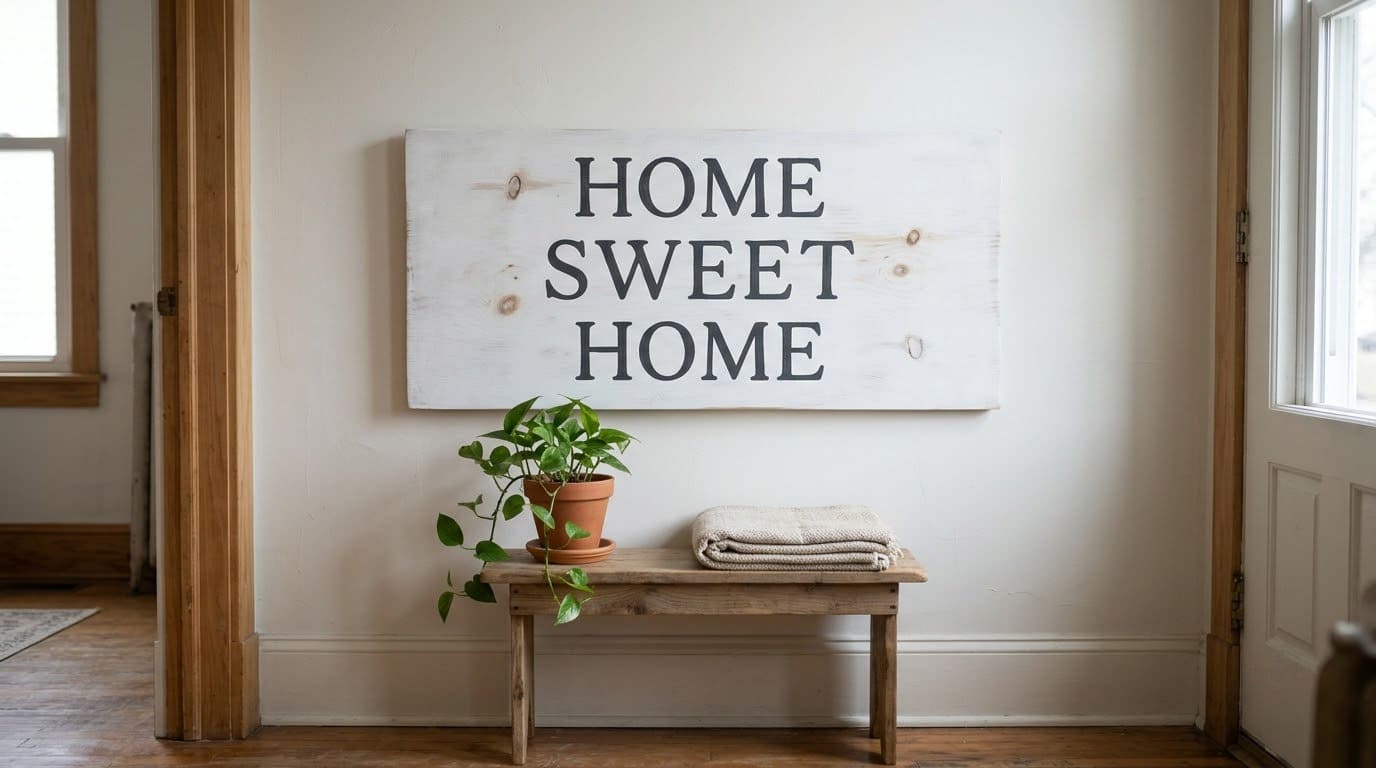
A handmade home sweet home sign takes an afternoon, as long as you match the wood, paint, and finish to where it hangs.

Never miss an update — choose FarmFoodFamily as your preferred source on Google.
How it works: Tap the button below to open Google's settings page, then check the box next to FarmFoodFamily.
Tap the checkbox to turn it blue — that's how you know it's set.
A handmade home sweet home sign takes an afternoon, as long as you match the wood, paint, and finish to where it hangs.
Products We Recommend
This post contains affiliate links. We may earn a commission on qualifying purchases at no extra cost to you.

2 Pack 2 Inch Letter Stencils Set, 72 Reusable Stencils
Reusable plastic stencils for painting letters on wood, metal, and walls
Shop Now
Rust-Oleum Painter's Touch Acrylic Latex Paint, Gloss Apple Red
Brush-on acrylic latex for interior and exterior surfaces, matching the acrylic latex advice from Purdue
Shop Now
KURUI 303 Pc Picture Hanging Kit with Sawtooth Hangers
Sawtooth hangers, hooks, nails, and a level for hanging a finished sign
Shop NowA home sweet home sign is the classic first DIY project. It needs a board, some paint, and a little patience. Done well, it welcomes everyone who walks through your front door.
Most guides stop at the pretty picture. They skip which wood holds paint, which finish lasts outdoors, and how to handle the rags. This guide gives you 20 sign projects with the materials, the finish, and the safety notes for each.
In this article
Answer 4 quick questions and get matched to the exact fix for your yard — drainage, budget, layout, or something else entirely.
Take the Free QuizWhat’s the Quick Answer for a Sign That Lasts?
Match the finish to the spot. Indoors, almost any paint works. Outdoors, paint and finish must fight sun and rain.
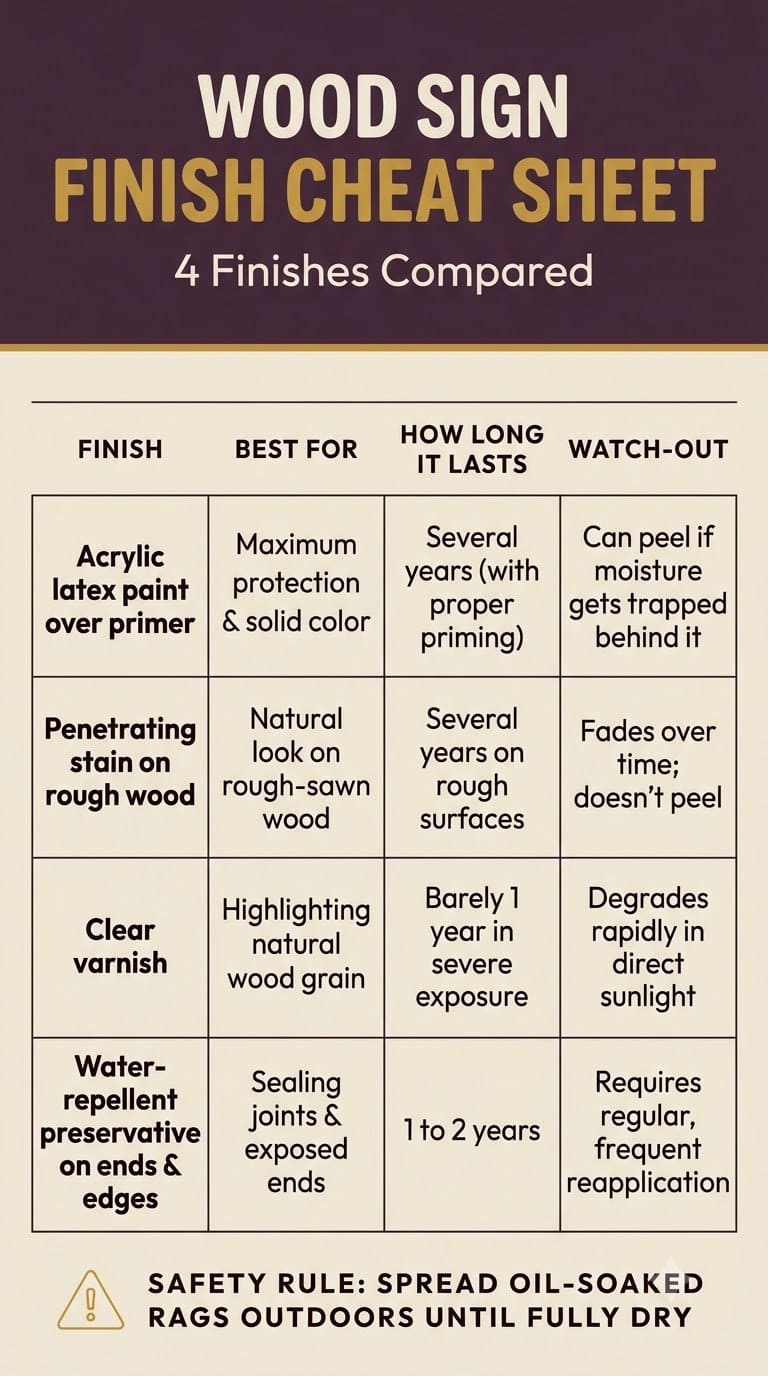
Purdue Extension advises priming bare wood and then applying two coats of good acrylic latex paint. It says paint performs best on smooth, edge-grained lightweight woods like redwood and cedar. It also says paint fails first at the ends and edges of boards.
Clear varnish is the weak point. Purdue says it cracks and peels, and in severe exposures it may last barely one year.
Choose the wood and paint before you pick a design, because they decide how long the sign lasts. A pretty sign on the wrong board will peel by next spring. Handle stain rags with care. The NFPA’s Bob Benedetti told Consumer Reports that oil-based finishes heat as they dry. Lay rags flat outdoors until fully dry.
Which Material Suits Which Spot?
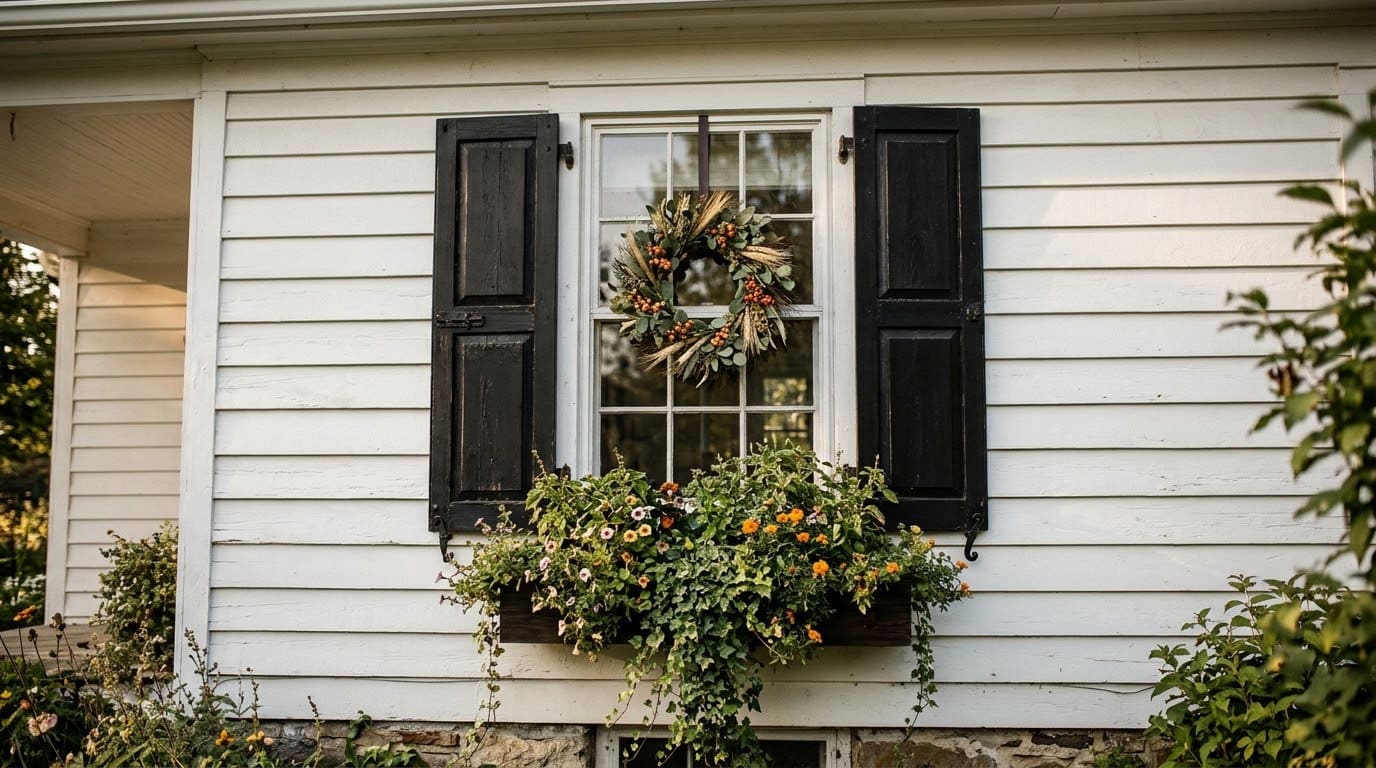
This table is our own planning guide, built from the Purdue publication where it applies. The Purdue paper covers house siding and is from 1986, so we adapted it to signs.


| Material or finish | Indoors | Covered porch | Open outdoors |
|---|---|---|---|
| Primed wood with acrylic latex paint | Yes | Yes | Yes, with sealed edges |
| Penetrating stain on rough wood | Yes | Yes | Yes, recoat as needed |
| Clear varnish | Yes | Short life | Cracks and peels |
| Galvanized or painted metal | Yes | Yes | Yes, check for rust |
| Fabric, paper, string art | Yes | Sheltered only | No |
Most yard problems trace back to one specific, fixable cause. Find yours in 4 quick questions.
Take the Free QuizBefore You Start: Wood, Paint, Finish, and Safety
Pick the right wood. Purdue says paint holds best on smooth, edge-grained boards of lightweight species like cedar. Southern yellow pine has bands of dense wood where paint does not hold well, so penetrating stains suit it better.
Prepare the wood. Sand it smooth, and wipe off the dust. Treat the ends and edges of outdoor signs with a water-repellent preservative first, since Purdue says paint fails first in those spots.
Check the temperature. Purdue says to apply latex paint when it is 50 degrees F or above, and oil-based paint at 40 degrees F or above.
Check old boards for lead paint. The EPA says homes built before 1978 are more likely to have lead-based paint. It advises wetting an area before you sand and sanding the minimum.
Be cautious with pallet wood. Many pallets are heat treated, but some are not, and we found no readable authority source on the stamps. Check any pallet for stains and odors. Skip it if you are unsure.
How Do You Handle Stain and Finish Rags Safely?
Oil-based stains and finishes need care. Benedetti said some of them heat up as they dry and cure. Heat can build when wet rags are mishandled.
Purdue gives a similar warning. It says sponges or cloths wet with oil-base stain are susceptible to spontaneous combustion. To prevent fires, bury them, immerse them in water, or seal them in an airtight container right after use.
Reusable plastic stencils for painting letters on wood, metal, and walls
Shop NowThis post contains affiliate links. We may earn a commission on qualifying purchases at no extra cost to you.
Consumer Reports gives a drying method. Do not ball up oil-soaked rags or toss them in the trash while wet. Spread them outdoors on the ground or a metal rack until fully dry. Two full days is usually enough.
If rags catch fire indoors, call the fire department and get everyone outside.
The average homeowner spends $616/year on yard fixes that don't address the real problem. Find out what yours actually is — before you spend another dollar.
Take the Free Quiz20 DIY Home Sweet Home Sign Ideas
1. Classic Painted Pine Board
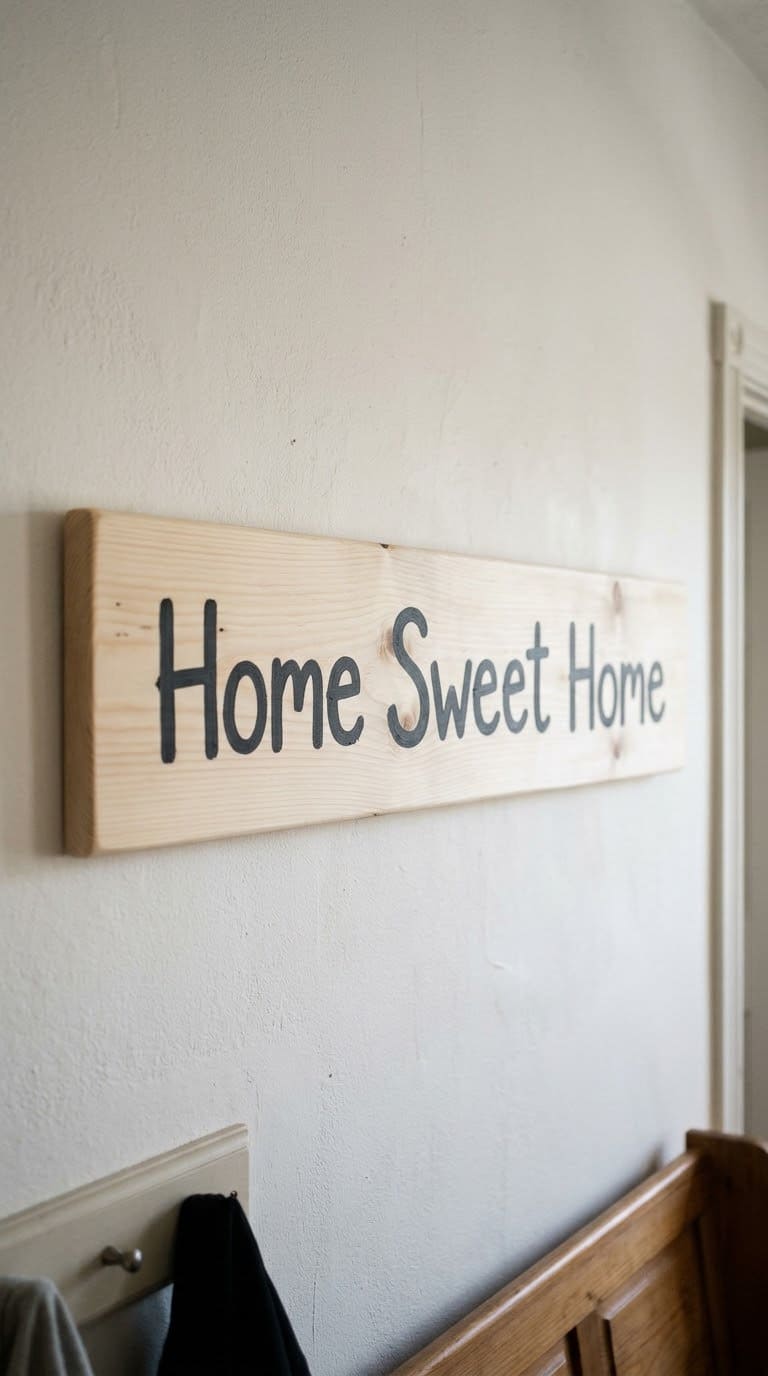
Start with a smooth pine board. Sand it, wipe it clean, and prime it. Then paint two thin coats of acrylic latex in a light color, as Purdue advises for paint systems.
Mark the letters with a pencil, and paint them with a small brush or a stencil. Seal the edges with a water-repellent finish if the sign will hang outdoors. For rustic styles, see our rustic wood sign ideas.
Cost tier: low.
2. Pallet-Wood Sign
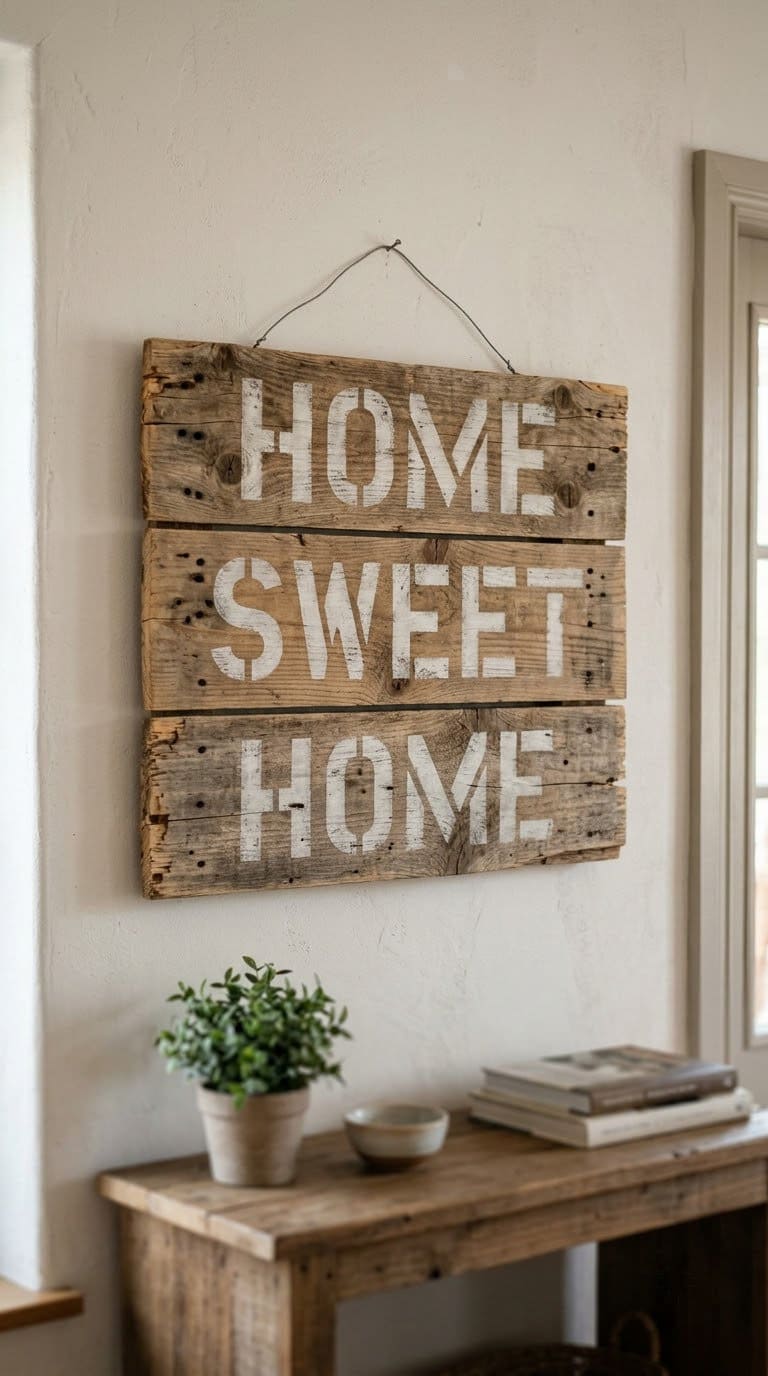
Take a pallet apart carefully, and pull every nail. Sand the boards smooth and join them with two backing strips. Paint or stain the face.
Check the pallet before you use it. See the pallet note above, and skip any board that smells or looks stained.
Cost tier: very low.

3. Barn-Wood Slat Sign
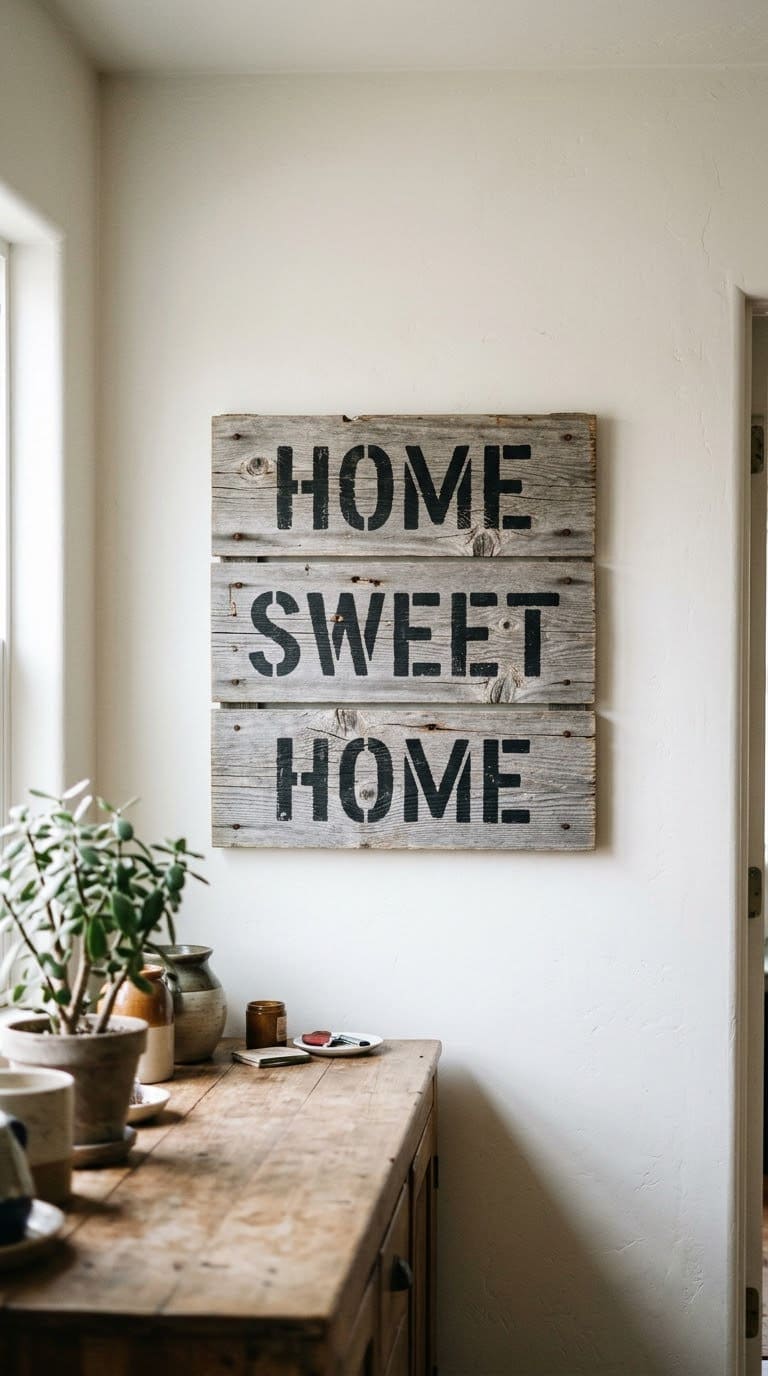
Join three slats of weathered wood across two cleats. Leave the surface rough for the rustic look. A penetrating stain suits rough wood, per Purdue.
Check old boards for lead paint before you sand. Wear a mask and work outside.
Cost tier: low.
4. Cutting-Board Sign
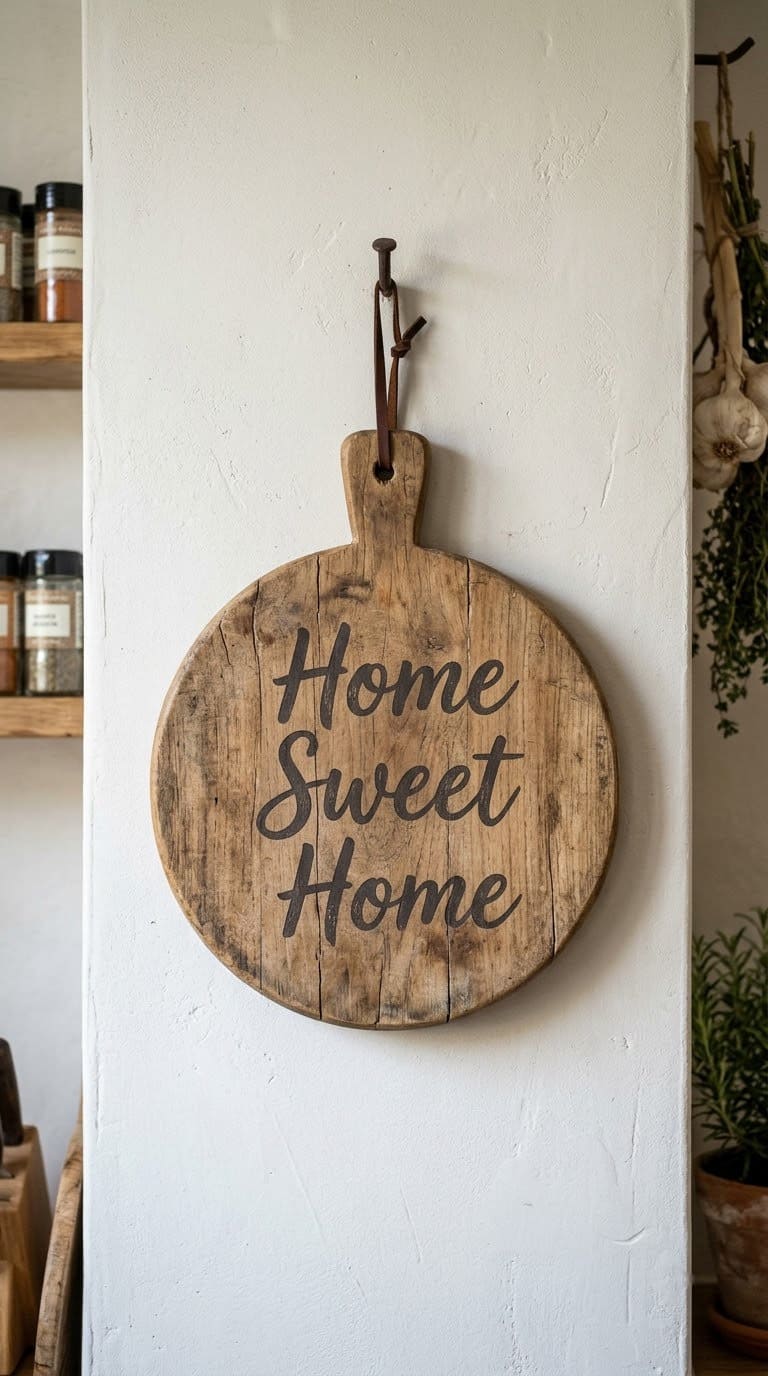
A wood cutting board is a ready-made sign blank. Paint or burn the words, and seal the board with a finish. Hang it from the handle hole.
Do not use it for food after you paint it. Treat it as decor.
Cost tier: very low.
5. Coat-Hook Sign
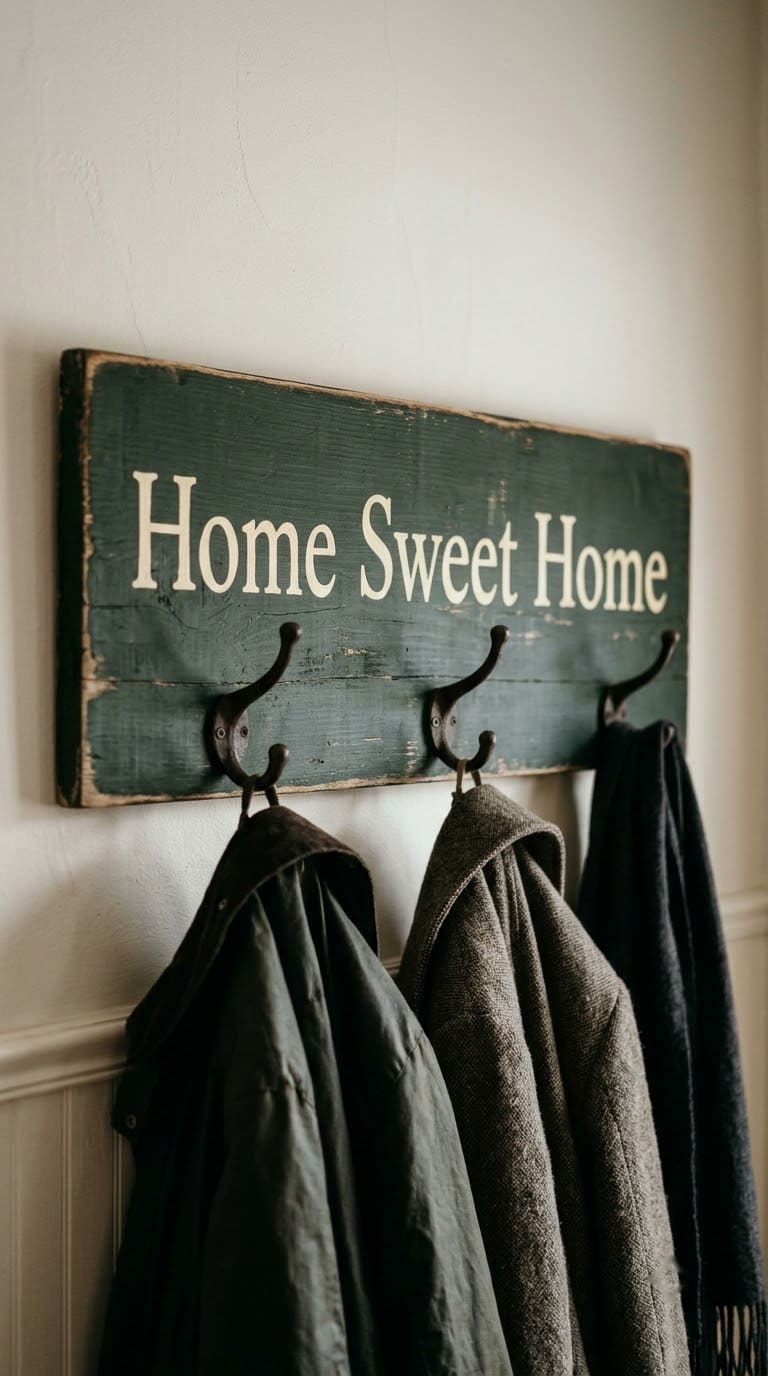
Mount iron hooks under a painted board. Fix the board to wall studs, since coats add pull. Choose hooks with screws that fit the wood.
See more entry ideas in our rustic entryway guide.
Cost tier: low to medium.
6. Vinyl-Letter Plywood Sign
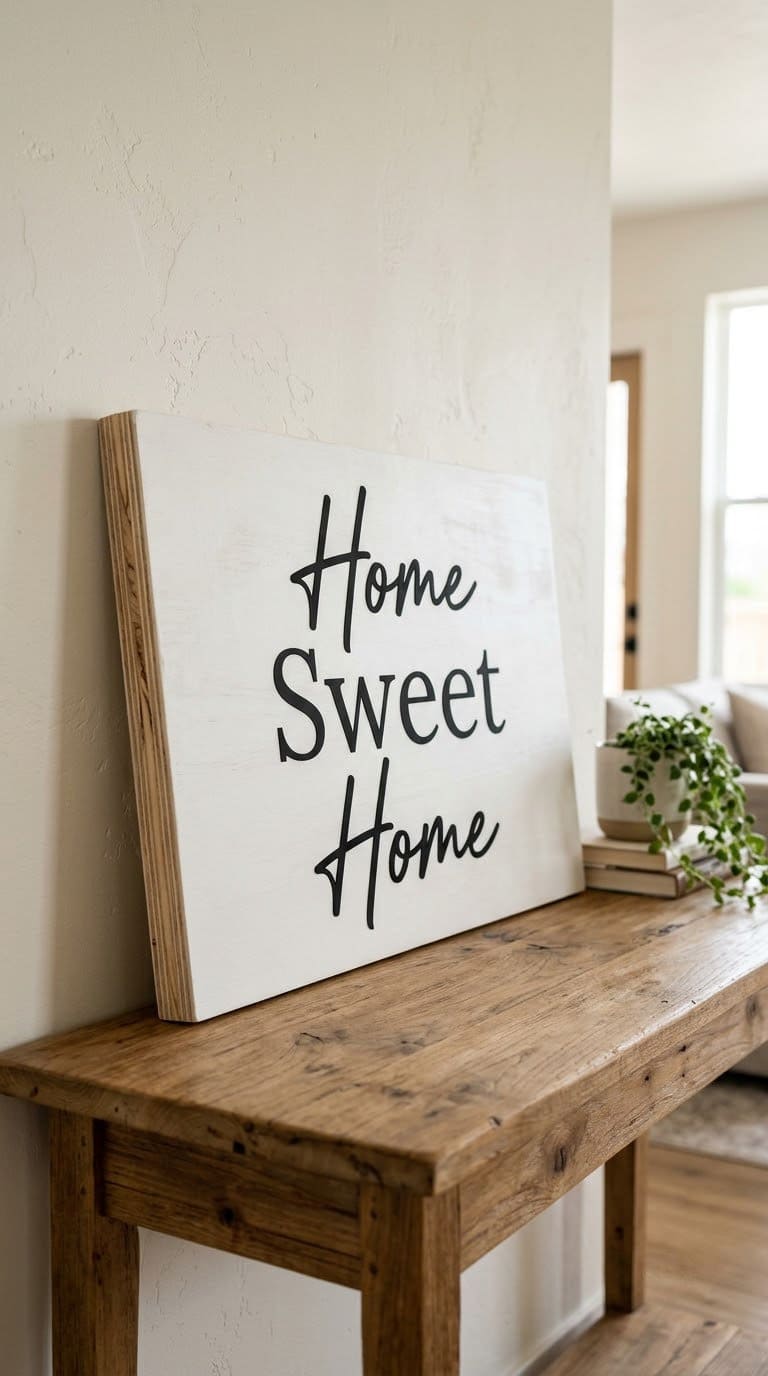
Paint a plywood panel, and apply vinyl letters from a cutting machine or a stencil. Purdue says plywood with a medium density paper overlay (MDO) holds paint well compared with standard plywood.
Smooth and rough-sawn plywood develop surface checks outdoors, per Purdue, so keep standard plywood signs sheltered.
Cost tier: low.
7. Wood-Slice Round Sign
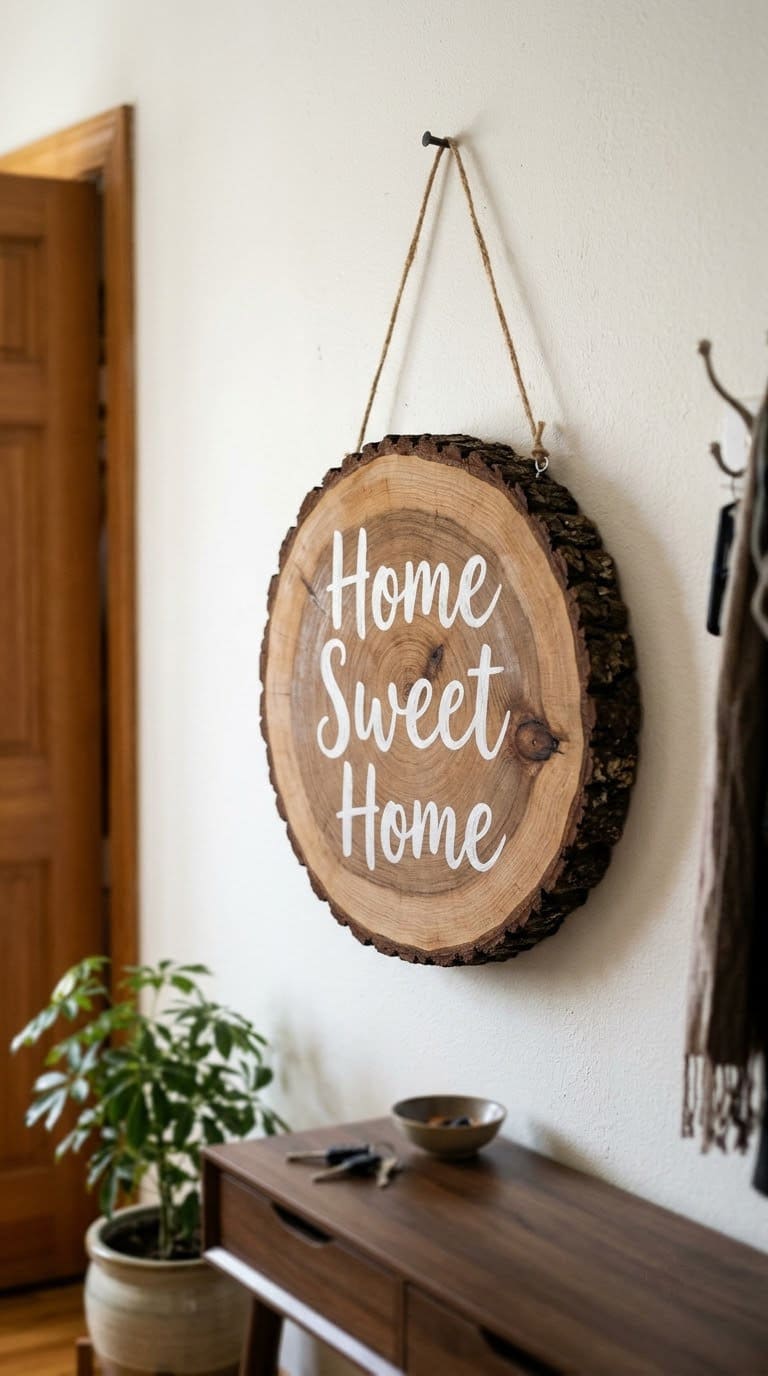
Use a cured wood slice, and sand it smooth. Seal it to slow cracks. Paint the letters in a contrasting color.
A fresh slice cracks as it dries, so use dried wood. Hang it indoors or on a covered porch.
Cost tier: low.
8. Key-Holder Sign
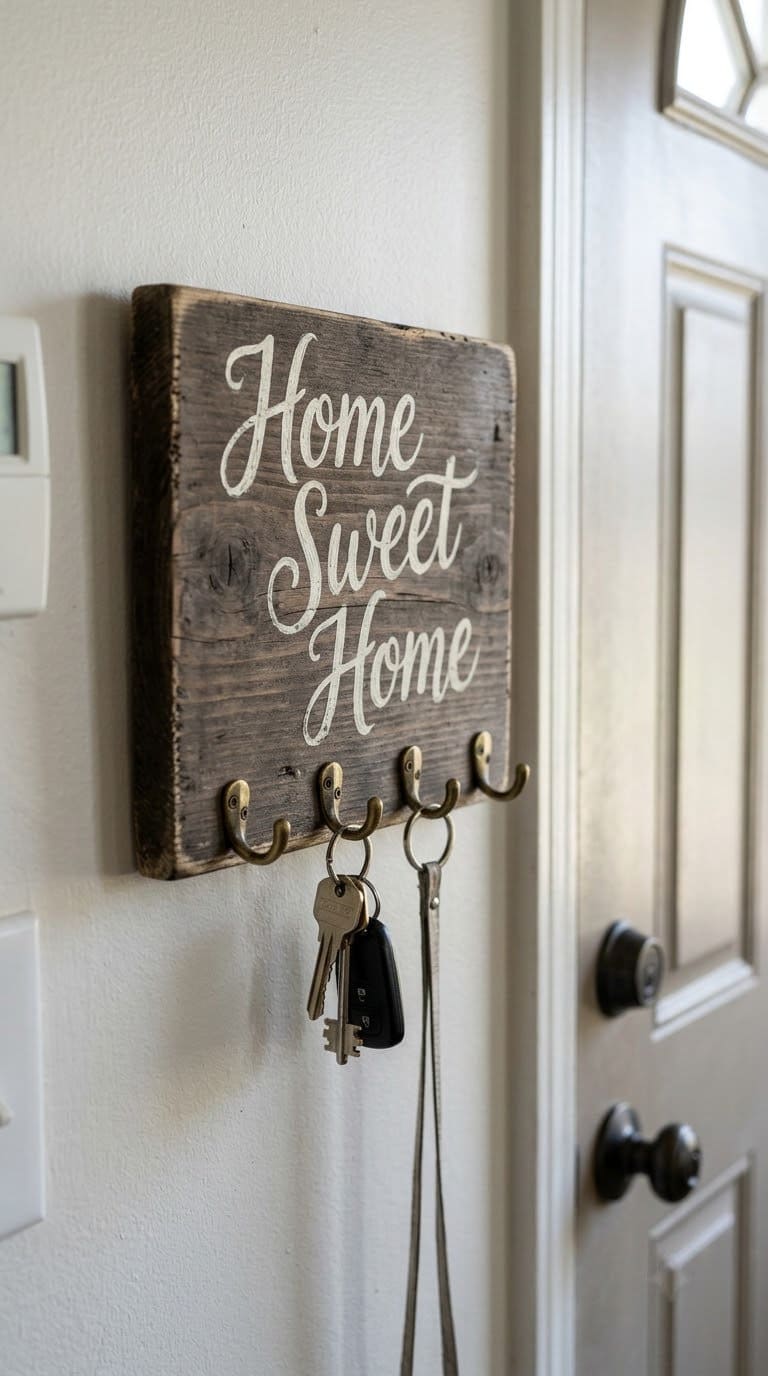
Add small hooks to a short board. Paint the words above the hooks. Mount it near the door at hand height.
Use screws that suit the wall. Keep the sign light.
Cost tier: low.
9. Chalkboard Sign
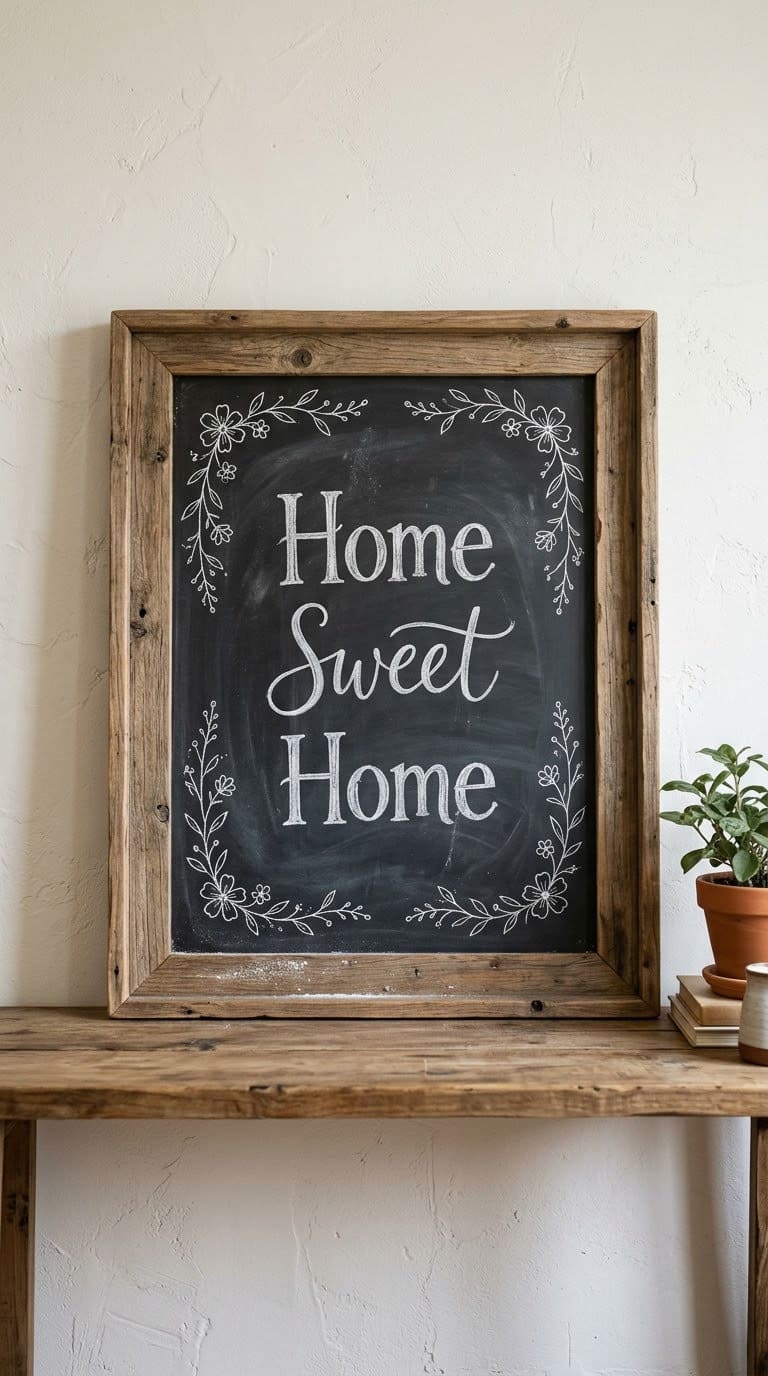
Paint a board with chalkboard paint, and frame it. Write the words in chalk, and change them for each season. Season the surface by rubbing chalk across it first.
Keep it indoors or under cover, since rain washes chalk off.
Cost tier: low.
10. Galvanized Metal Sign
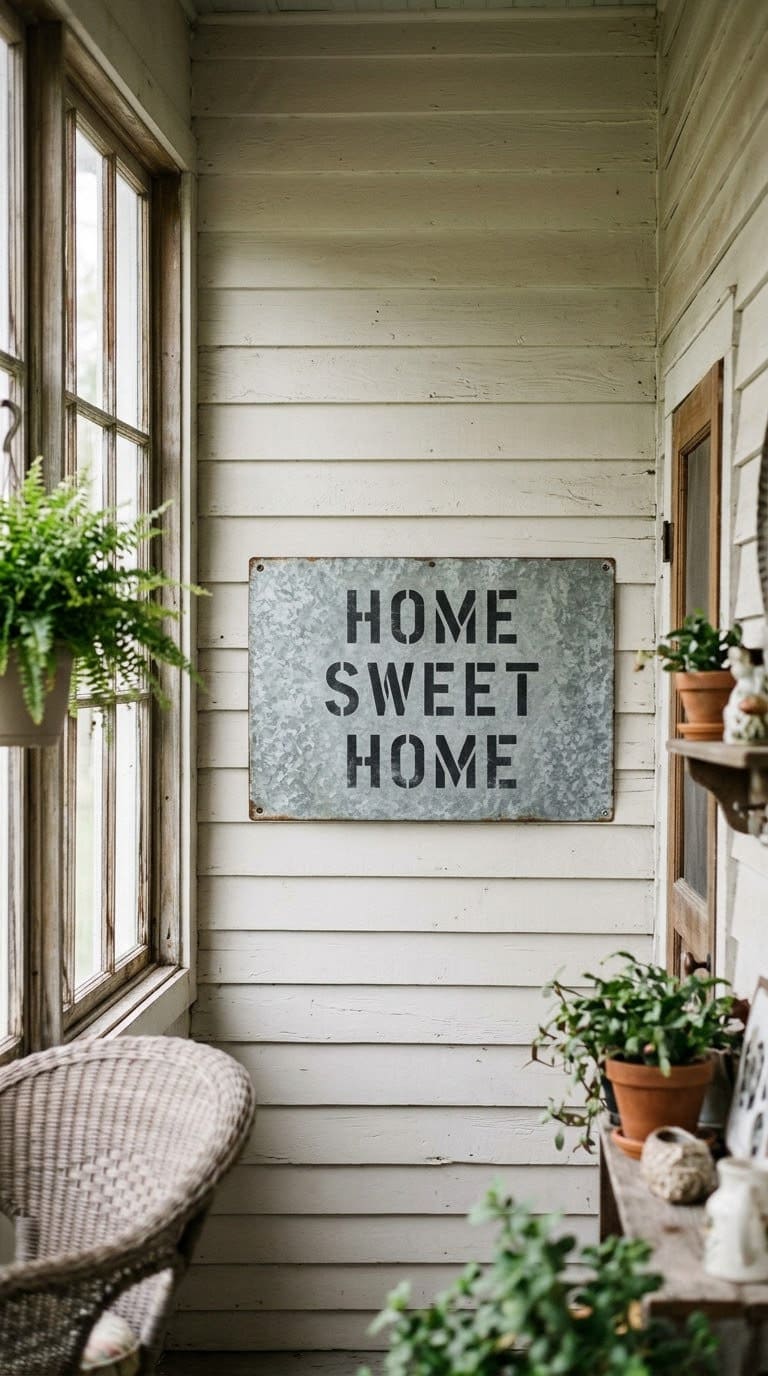
Clean a galvanized panel, and stencil on the letters with paint made for metal. Round off sharp corners with a file.
Check for rust over time. Seal the paint with a clear spray made for outdoor metal.
Cost tier: medium.
11. Embroidery-Hoop Sign
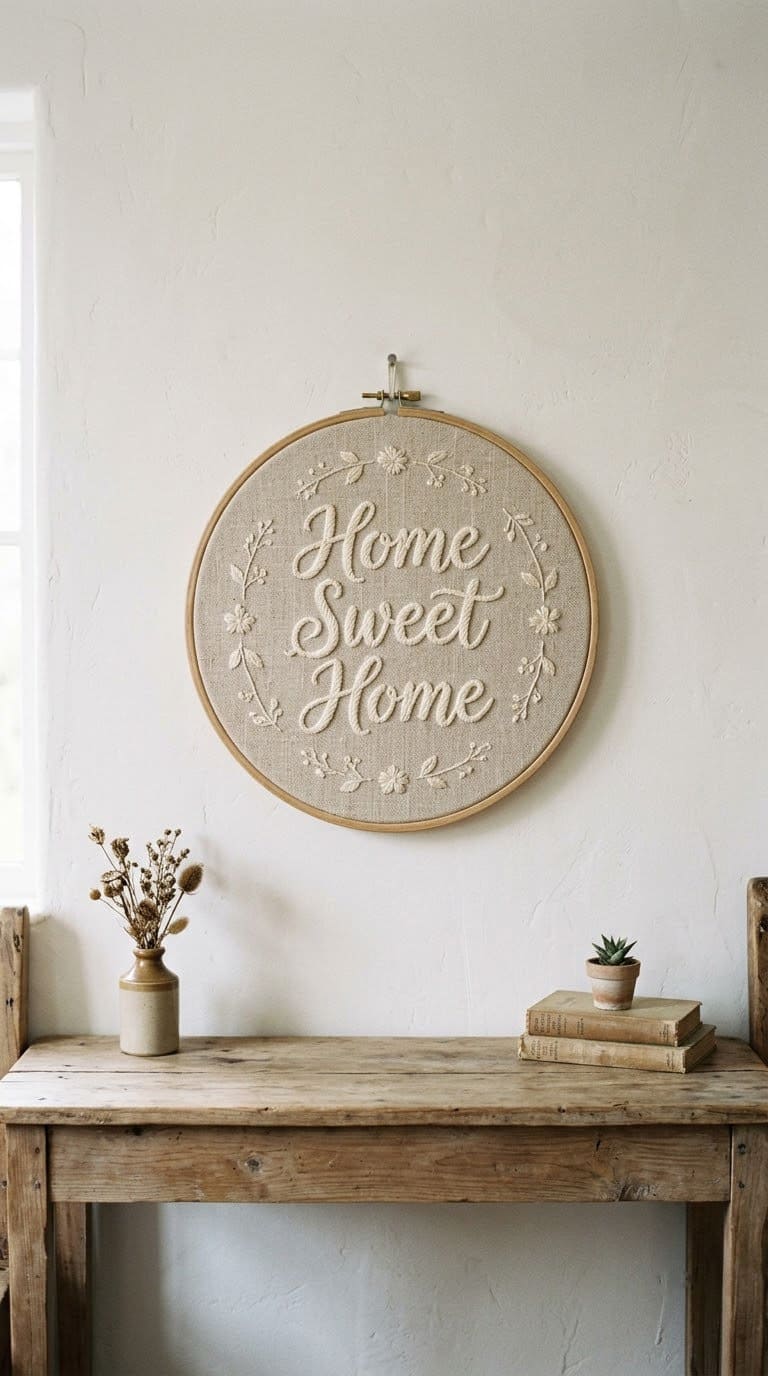
Stitch the words on linen, and mount the fabric in a hoop. Trim the extra fabric and glue it inside the hoop.
Keep fabric indoors, away from sun and damp. Hang it on a small nail.
Cost tier: low.
12. String-Art Nail Sign
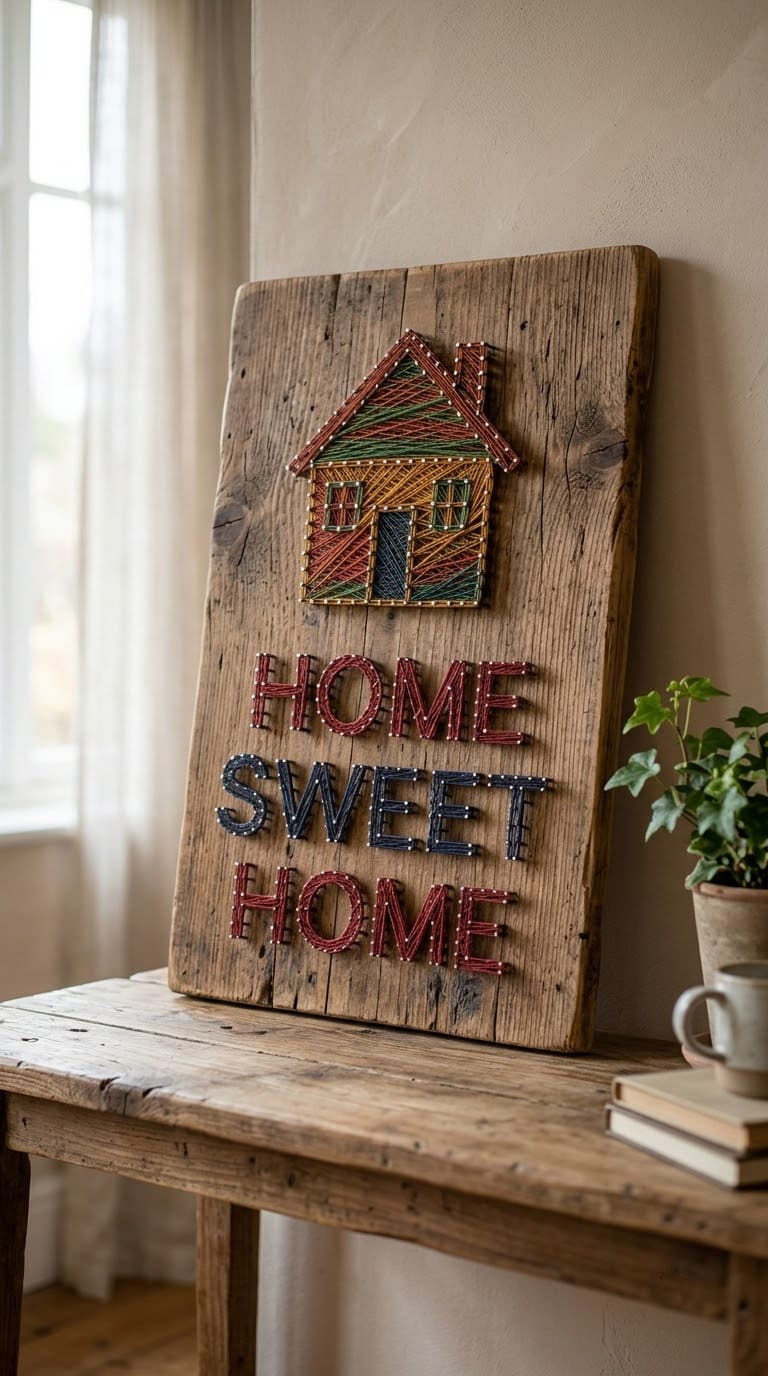
Hammer small nails into a board along a printed pattern, and wrap thread between them. Tear off the paper when you finish.
Use a nail set to avoid hitting your fingers. Keep it away from small children.
Cost tier: low.
13. Wood-Burned Sign
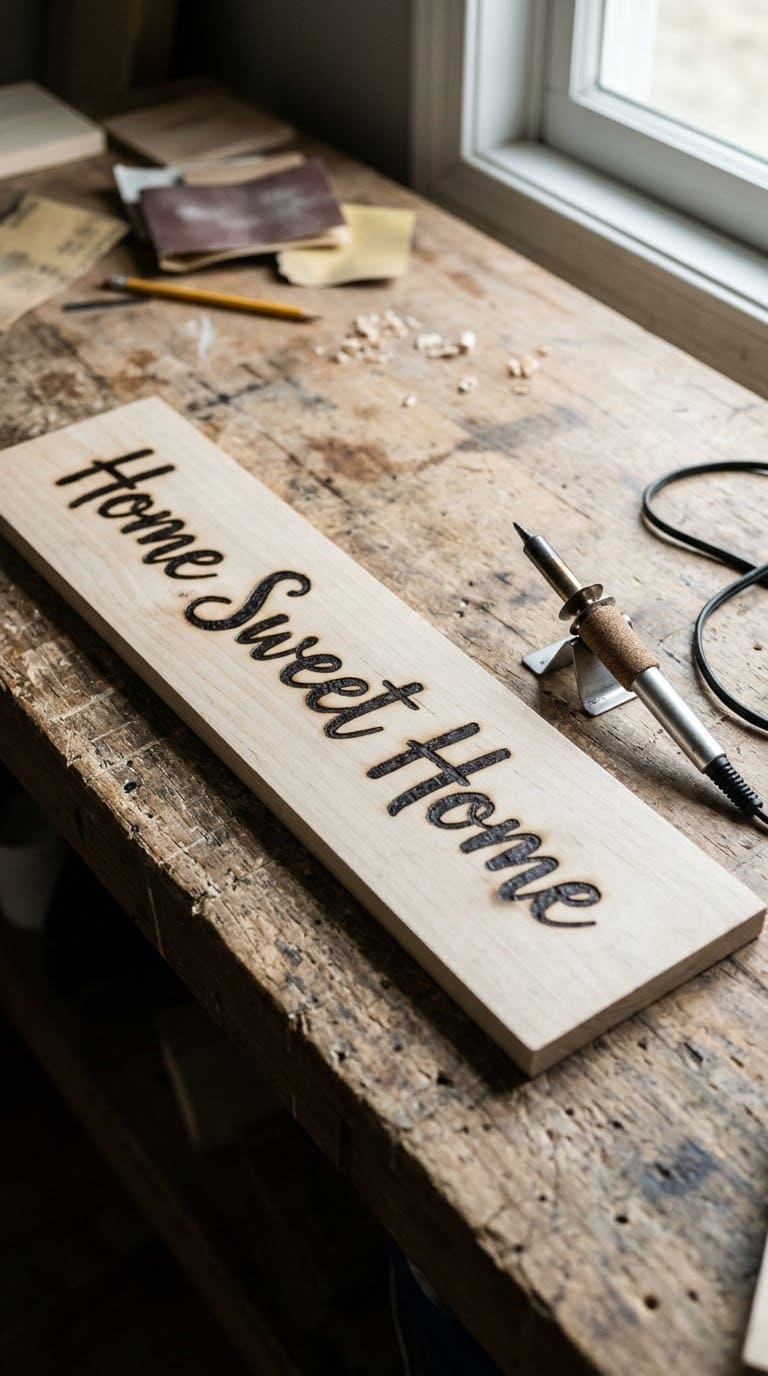
Draw the words in pencil, and trace them with a wood-burning pen. Burn on a flat surface and work in a ventilated place.
Let the pen cool fully before you put it down. Seal the board when you finish.
Cost tier: low to medium.
14. Porch Leaner Sign
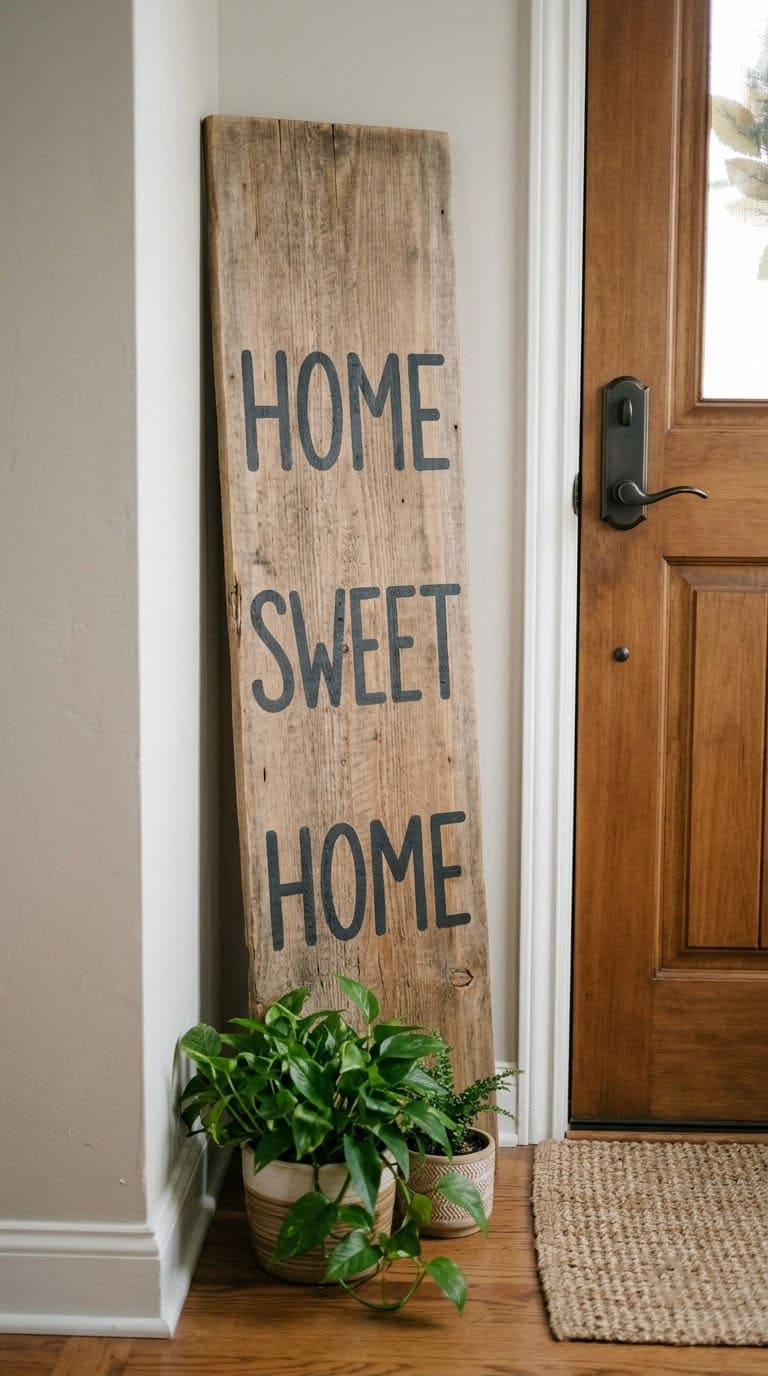
Cut a tall board, paint it with a vertical design, and lean it by the door. Use primer and two coats of exterior paint, as Purdue advises.
Seal the bottom end, since water wicks up. Stand it on a stable base.
Cost tier: medium.
15. House-Number Combo Sign
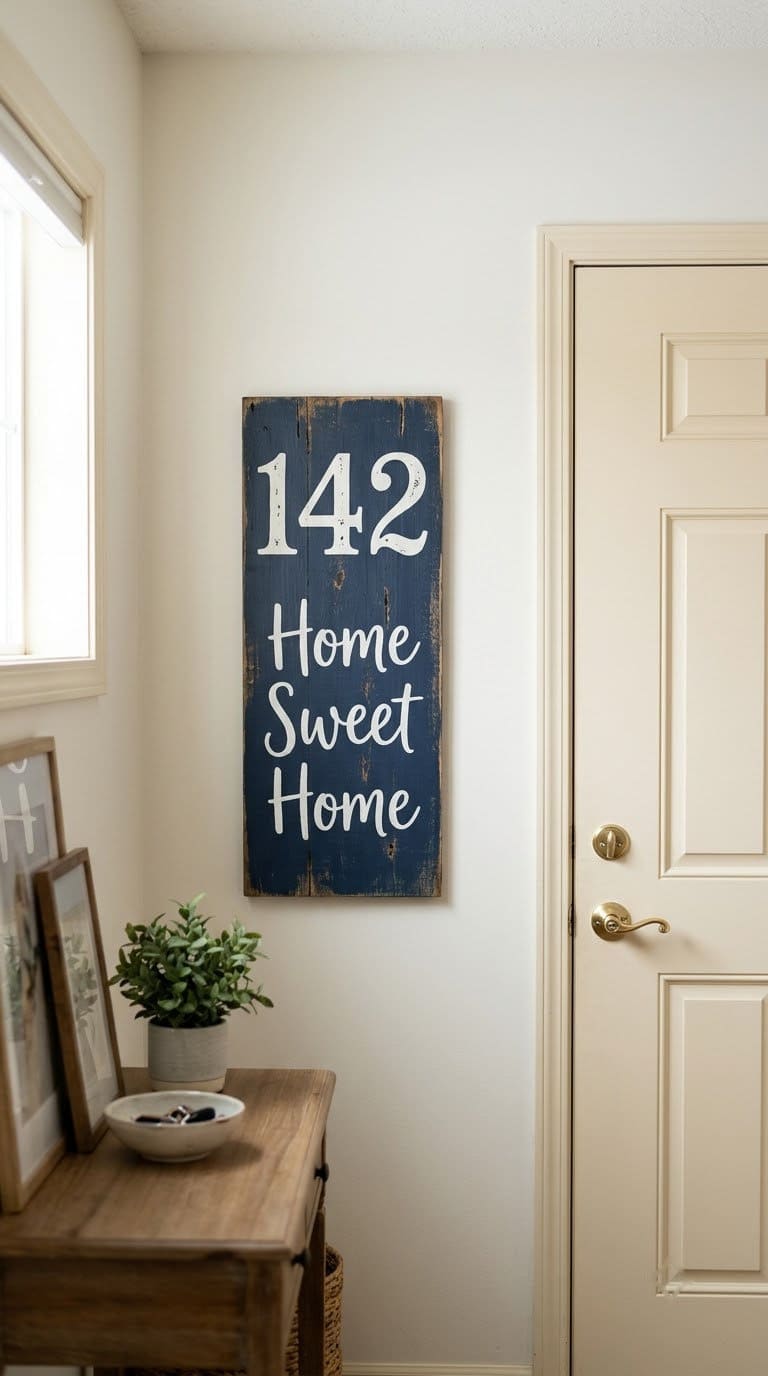
Paint a board with your house number on one side and the words on the other. Add a water-repellent finish on the ends and edges.
Choose high-contrast colors for the number, so visitors can read it from the street.
Cost tier: medium.
16. Hanging Rope Sign
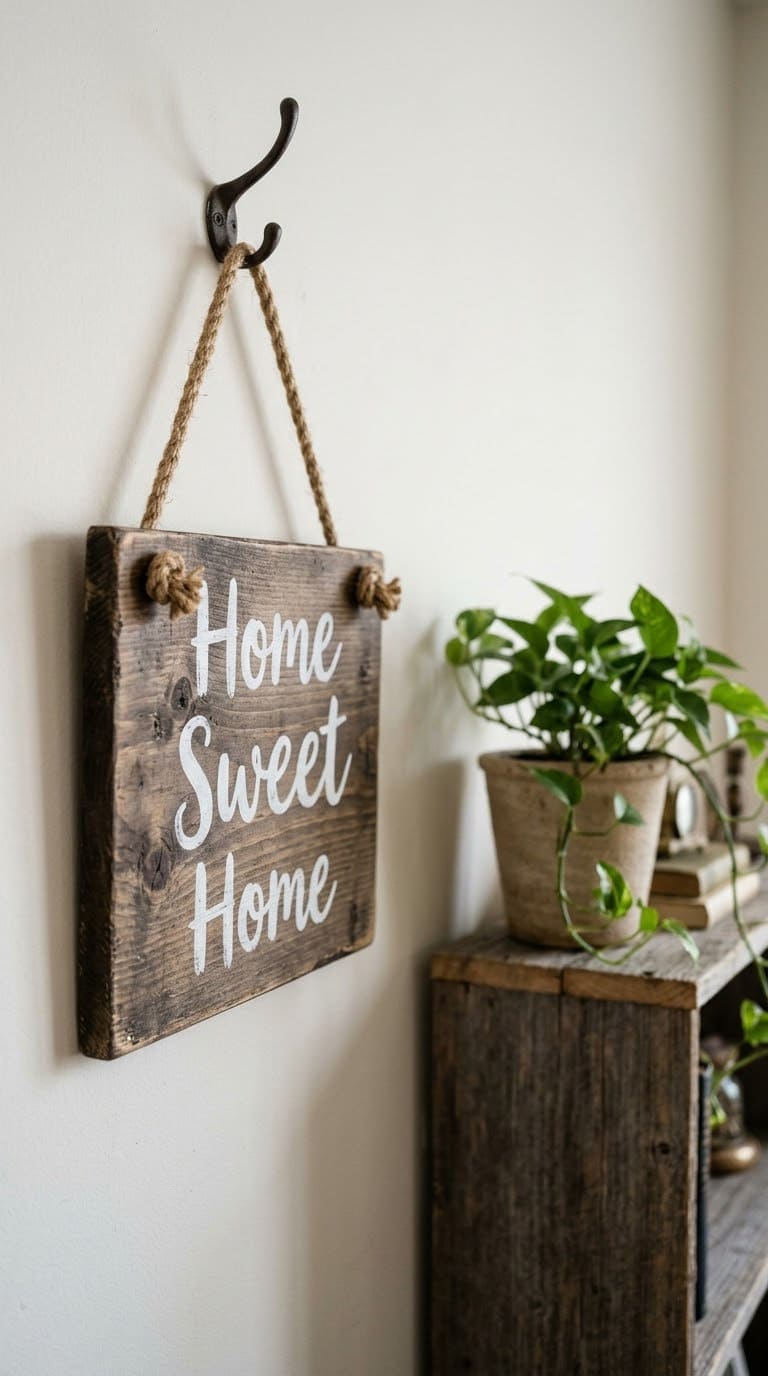
Drill two holes in the top of the board, and thread rope through them. Knot the ends and hang the sign from a strong hook.
Check the hook for the weight of the sign. For help choosing fixings, see our floating shelf guide.
Cost tier: low.
17. Shiplap Panel Sign
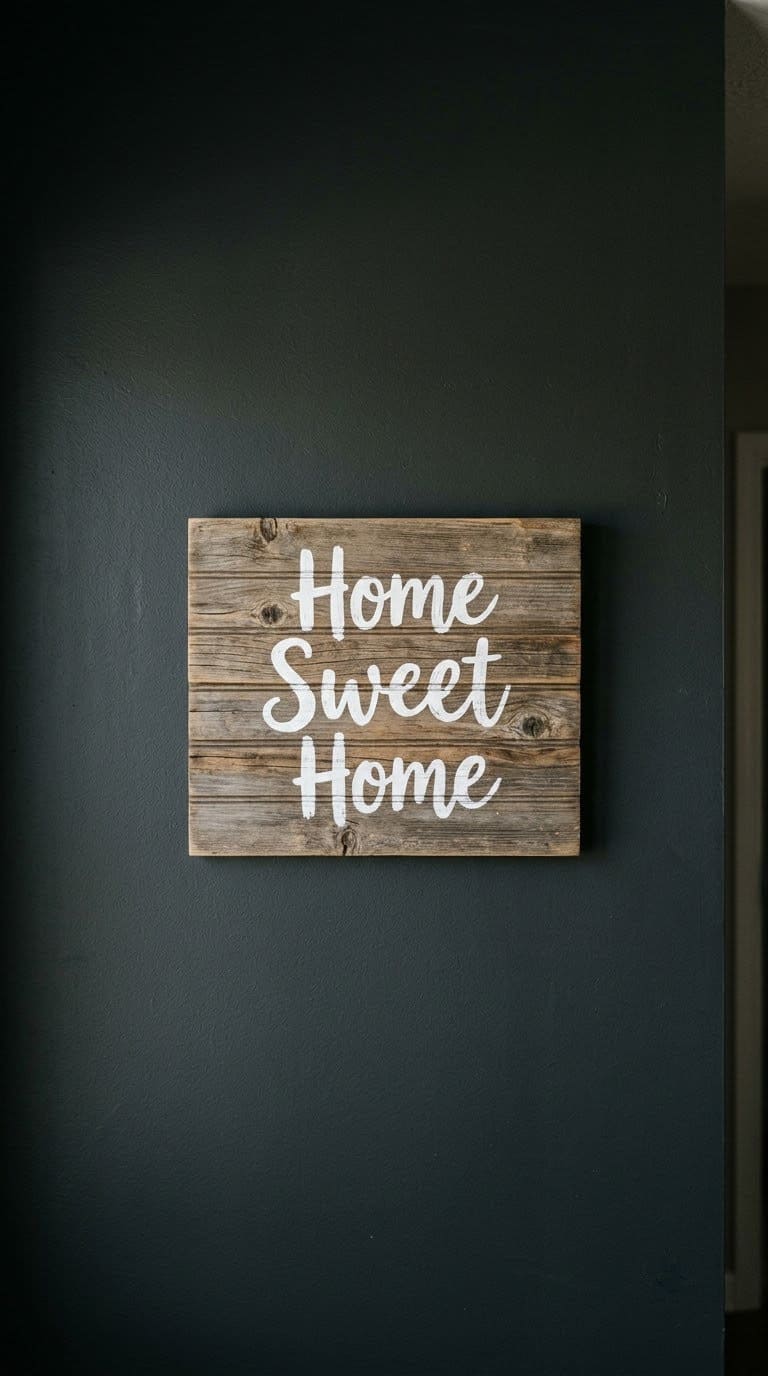
Join narrow boards edge to edge with a small gap for a shiplap look. Paint the board, and then add the letters.
Seal the edges before painting. Purdue says paint fails first at ends and edges.
Cost tier: medium.
18. Typography in a Thrifted Frame
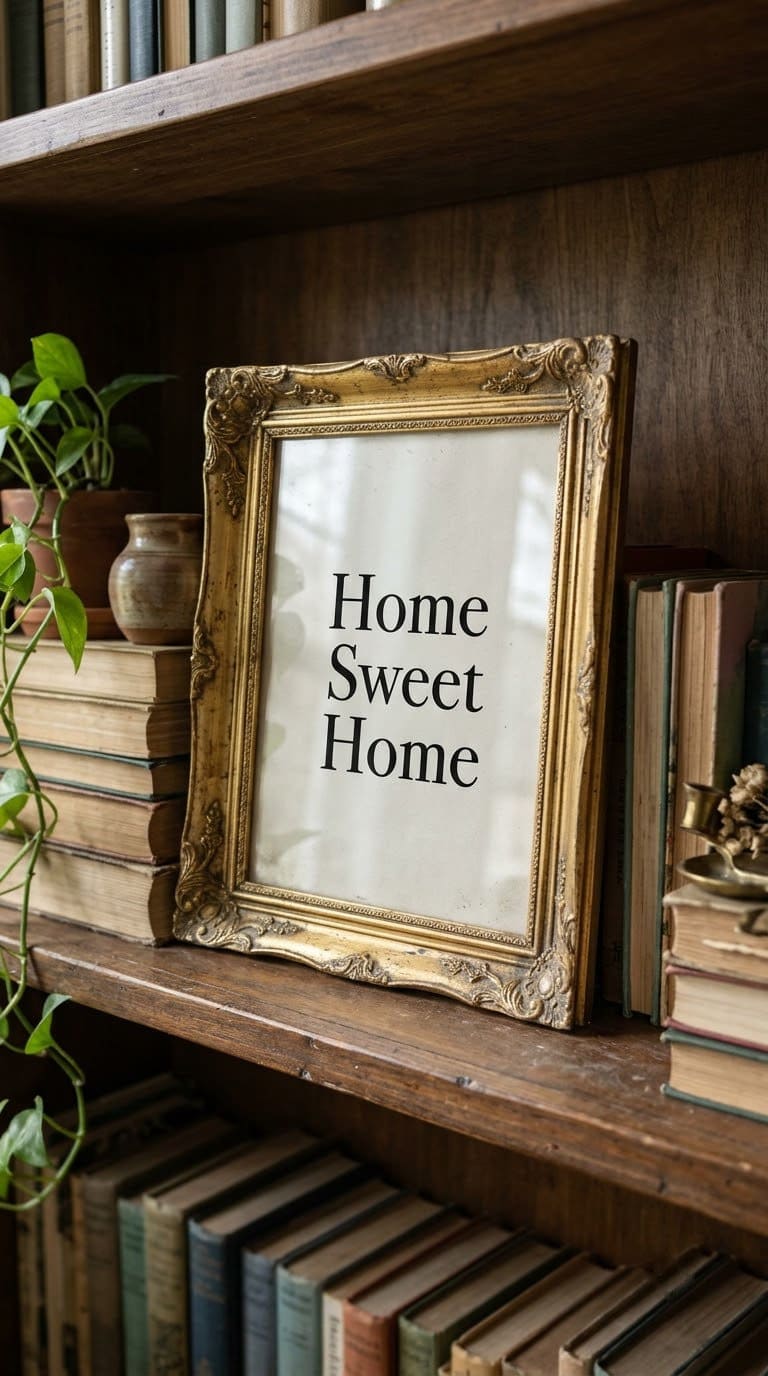
Print the words in a font you like, and slip the page into a thrifted frame. Spray paint the frame to match your room.
Check old frames for lead paint before you sand them. Hang it on a small nail.
Cost tier: very low.
19. Paper-Cut Shadow Box
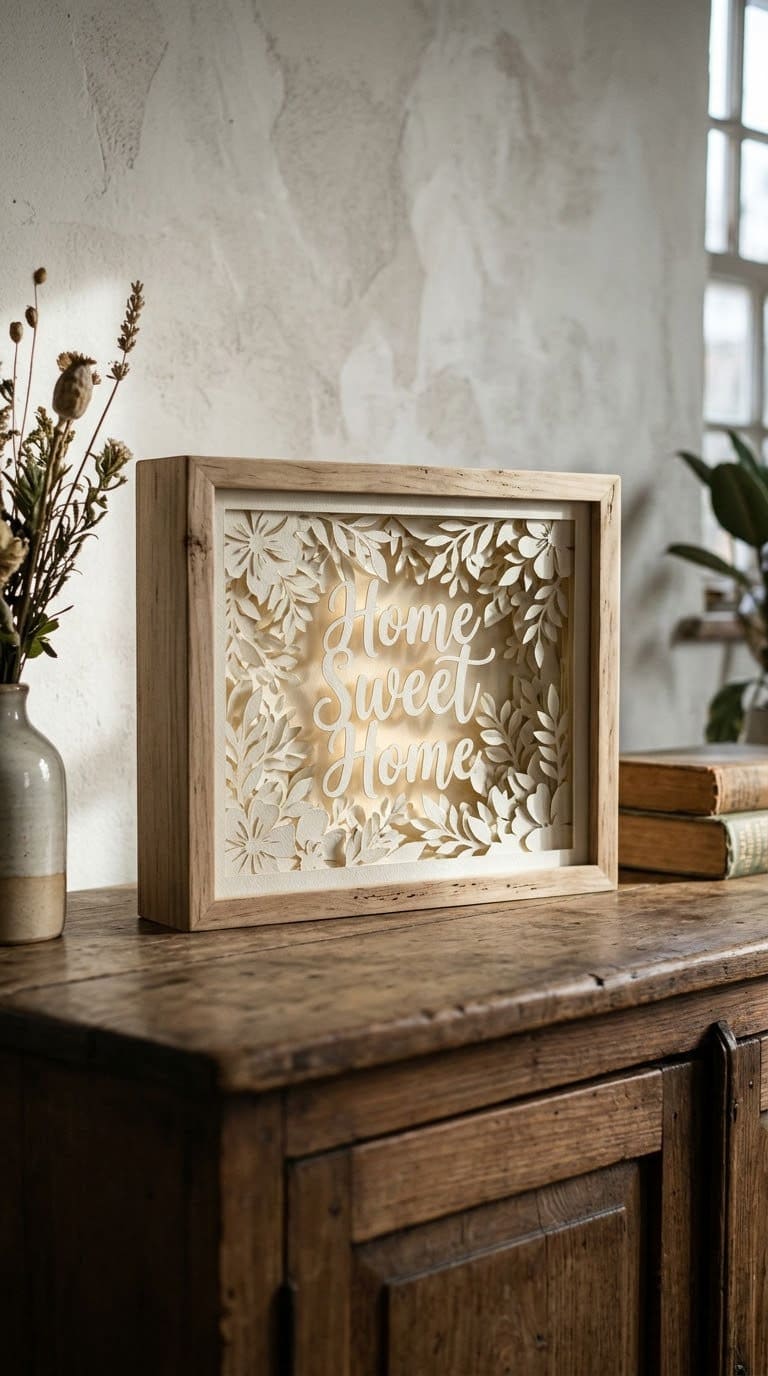
Cut layers of cardstock into letters and a house shape. Stack the layers in a deep frame, with space between them. Add a strip of battery lights for a glow.
Keep it away from heat. Use it indoors only.
Cost tier: low.
20. Burlap and Board Banner
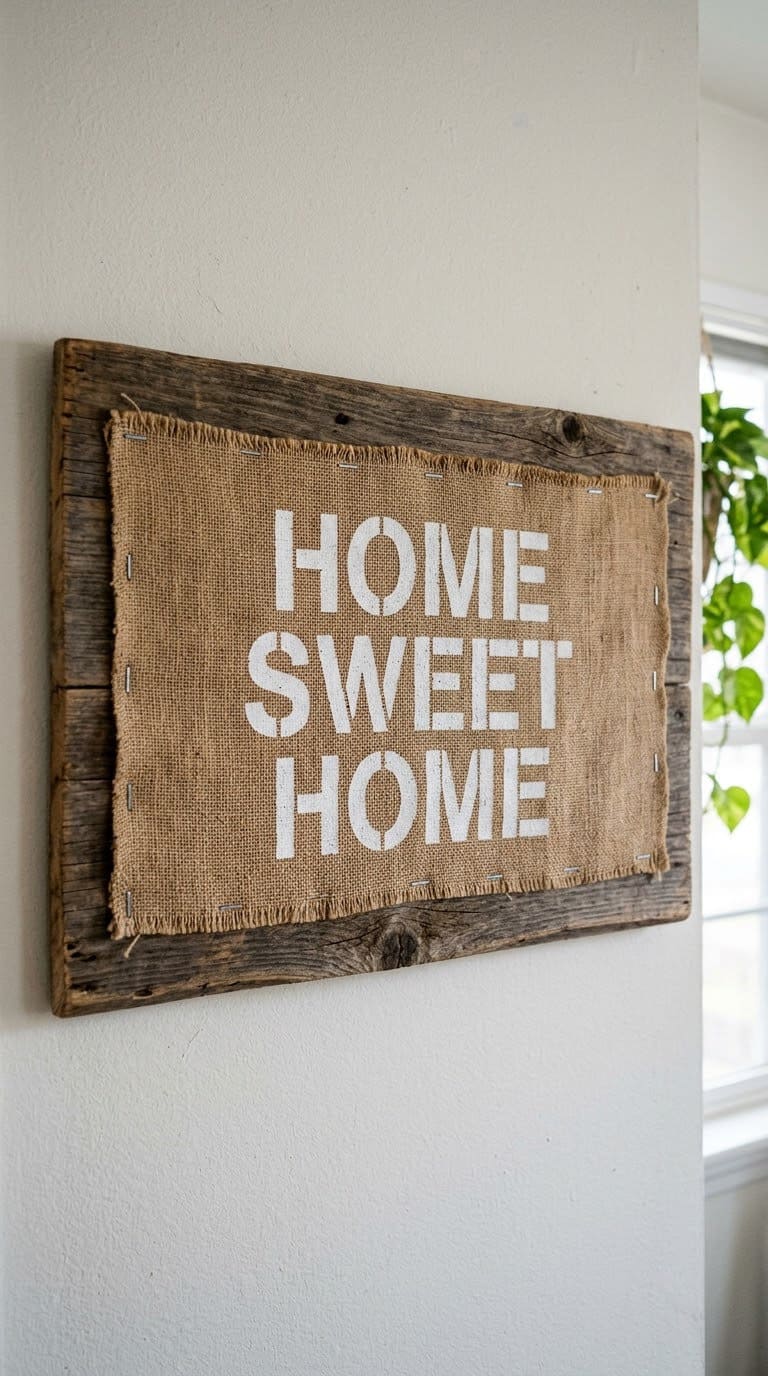
Staple a strip of burlap to a board, and stencil the words in white. Fray the edges for a soft look.
Burlap fades and frays outdoors, so hang it inside. Seal the board’s edges.
Cost tier: very low.
Where Should You Hang a Home Sweet Home Sign?
Hang it where guests look first. The wall beside the front door, above a bench, or over a console all work. Our small entryway decor ideas show how to fit a sign into a tight hall.
Balance it with other pieces. A sign pairs well with a mirror, a plant, or a framed print. See our entryway mirror ideas and gallery wall ideas for mixing sizes.
If the entry is awkward, use a narrow vertical sign. Our awkward entryway ideas cover odd spaces. For a farmhouse look, browse the farmhouse wall decor ideas.
For signs that live in the garden, use the finish tips above and see our garden sign ideas.
How Do You Choose the Lettering Style?
Pick lettering that you can read from across the room. Bold block letters in a dark color on a light board read best from a distance. Thin script looks pretty up close but fades from view.
Keep the words simple and spaced evenly. Mark the baseline with a light pencil line before you paint. Use a stencil or vinyl letters if you do not trust your hand.
Use one or two colors, not four. Matching the letters to a color already in the room makes the sign feel planned.
How Do You Hang a Sign Safely?
Match the hardware to the weight. Light signs hang on a small nail or a sawtooth hanger. Heavy ones need screws into a stud or the right wall anchors.
Use two points for a wide sign so it hangs level. Check the level with a small level or a ruler. Stand back and check from across the room.
Read the package for any wall anchor you buy. It lists the wall type and the weight rating.
Common Mistakes to Avoid
Using clear varnish outdoors is the first mistake. Purdue says clear film finishes crack and peel, and may last barely one year in severe exposure.
Skipping the edges is the second. Purdue says paint fails first at the ends and edges of boards.
Piling stain rags is the third. Consumer Reports says not to ball them up or toss them wet.
FAQ
What paint works best for outdoor wood signs?
Prime the wood and apply two coats of good acrylic latex paint, per Purdue Extension. Treat the ends and edges first.
How long does a clear varnish last outdoors?
Purdue says clear film finishes may last barely one year in severe exposure.
What wood is best for a painted sign?
Purdue says paint performs best on smooth, edge-grained lightweight woods such as redwood and cedar.
How do I dispose of stain rags?
Spread oily rags outdoors until fully dry, which usually takes about two days, per Consumer Reports. Do not toss them wet.
Is it safe to sand old painted boards?
Check for lead in homes built before 1978, per the EPA, and wet the area before you sand.

Never miss an update — choose FarmFoodFamily as your preferred source on Google.
How it works: Tap the button below to open Google's settings page, then check the box next to FarmFoodFamily.
Tap the checkbox to turn it blue — that's how you know it's set.