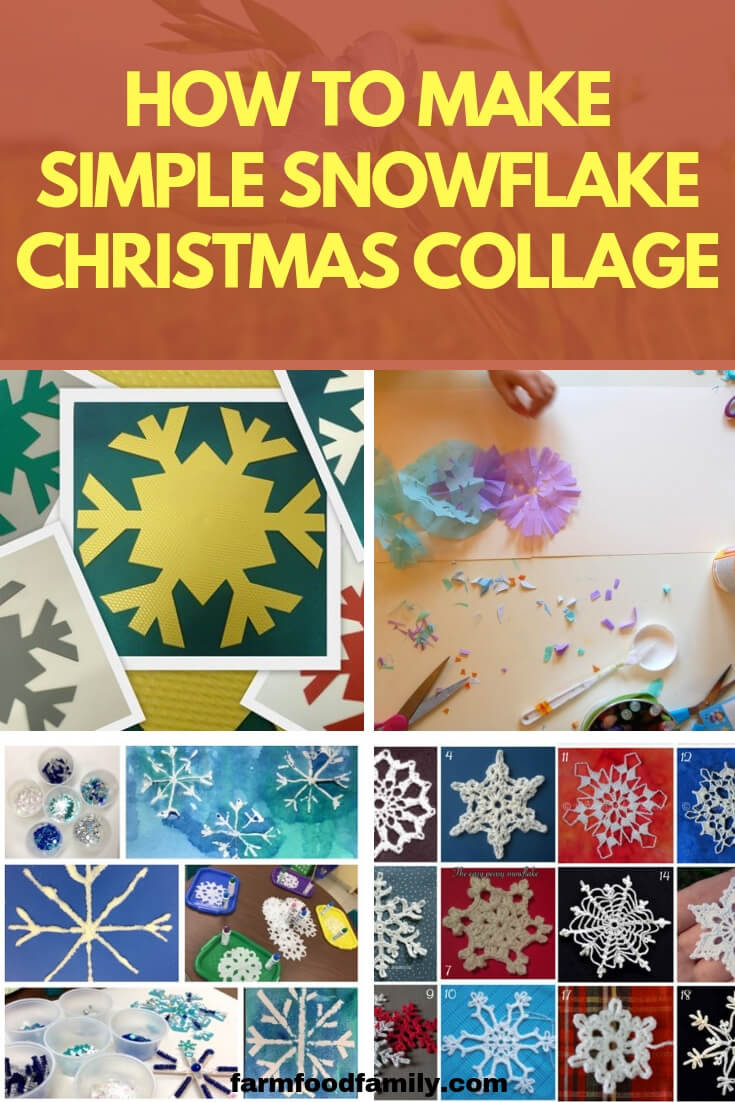
How to Make Simple Snowflake Christmas Collage
Sometimes, all you want to do is make a mess. There are other times, though, when you want something a little more streamlined. Collages can incorporate both of these.
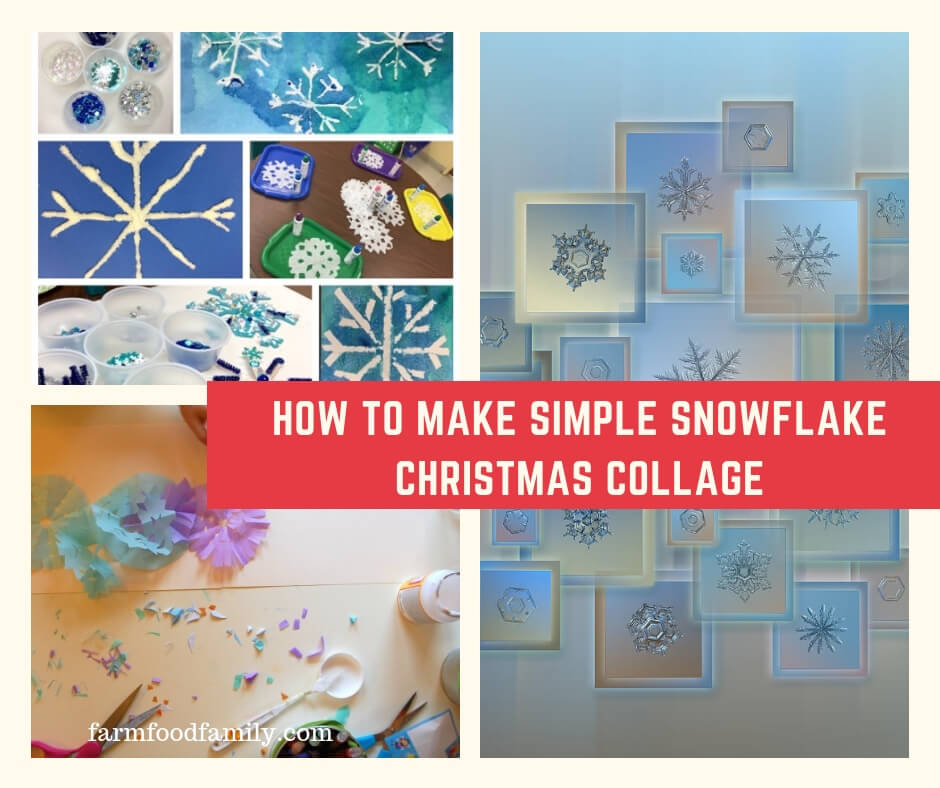
This project is a good example of how to create a collage for Christmas using a few simple materials. Not only is this project simple, but also it is possible to complete in a relatively short period time.
This is perfect when time runs short in the classroom, or for when children are looking for numerous projects to complete in one sitting.
Materials:
- Red construction paper
- Green construction paper
- White paper
- Scissors
- Lace corner punch
- Foil lined tea wrapper
- Holiday rubber stamp
- Black inkpad
- Black gel ink pen
- Magenta glitter gel pen
- Glue stick
Instructions:
- Create red and white snowflakes using the lace corner punch and the scissors. Use a variety of sizes and shapes to keep the collage from being too uniform unless, of course, that is the look you are going for. Remember, when collaging there are no real rules.
- Cut open the foil lined tea wrapper and cut it in half. Use the lace corner punch on each of its corners.
- Begin collaging on the green paper. Layer the snowflakes and tea wrapper pieces one on top of each other. Experiment when the arrangements of each piece before affixing everything down to the green paper using the glue stick.
- Use the holiday stamp and black inkpad to add another layer to the collage. Once the ink is dried in the areas where you have stamped, color in a bit of the image using the magenta glitter gel pen.
- Add some doodles to the edges of the collage using the black gel pen.
- Write over the entire collage using the magenta glitter gel pen. Use Christmas quotations, Christmas carols, Christmas stories, or personal journal entries (or other thoughts) pertaining to Christmas.
Variations:
- Add stickers or die-cuts to the collage in with the layer of snowflakes to add further dimension and color.
- Use a variety of rubber stamped images, rather than just one.
- Color the stamped images using a variety of glitter gel pen colors, rather than just highlighting some areas with one color.
- Add cutout’s from old Christmas cards, or the greetings from old Christmas cards, to the layers of the collage.
This project is a great opportunity to add in a lesson about recycling, particularly if students are asked to bring in old holiday wrapping paper and old holiday cards to share with the classroom during the project.
Students could also bring in damaged Christmas books to recycle into Christmas collages, as well as old Christmas sheet music that has run its course. Encourage children to work on this project during the holiday break from school, and then use them as gifts for relatives.
Read more: How to Make Christmas Themed Art Cards and ACEOs