Brick Edging Ideas: 15 Designs Plus the Right Brick Grade
Walk into a hardware store looking for edging brick and nobody’s going to stop you from buying the wrong kind. Brick comes in weathering grades, and most homeowners have never heard of them, which is exactly how a perfectly nice-looking edging job ends up cracked and flaking after one hard winter. So before the 15…

Never miss an update — choose FarmFoodFamily as your preferred source on Google.
How it works: Tap the button below to open Google’s settings page, then check the box next to FarmFoodFamily.
Tap the checkbox to turn it blue — that’s how you know it’s set.
Walk into a hardware store looking for edging brick and nobody’s going to stop you from buying the wrong kind.
Brick comes in weathering grades, and most homeowners have never heard of them, which is exactly how a perfectly nice-looking edging job ends up cracked and flaking after one hard winter.
So before the 15 ideas below, here’s the part that actually determines whether any of them last.
1. Get the brick grade and base right first
Brick has three weathering grades, and only one of them is rated for what a garden edge actually deals with. NX brick is interior-use only.

MX is fine outdoors but isn’t rated for repeated freezing and thawing. SW, “severe weathering,” is the only grade the Brick Industry Association actually rates for exterior applications that see freeze-thaw cycles, which is most of the continental US in winter. If a brick doesn’t have SW stamped or listed on the pallet, ask before you buy it for outdoor edging.

Base prep matters just as much as the brick itself. Oregon State University Extension’s guide to installing pavers and the University of Missouri Extension’s brick walk and patio guide both call for a trench roughly 6 inches deep, filled with about 4 inches of compacted crushed gravel topped with 1 to 2 inches of coarse sand, deeper in colder climates where frost penetrates further.
Answer 4 quick questions and get matched to the exact fix for your yard — drainage, budget, layout, or something else entirely.
Take the Free Quiz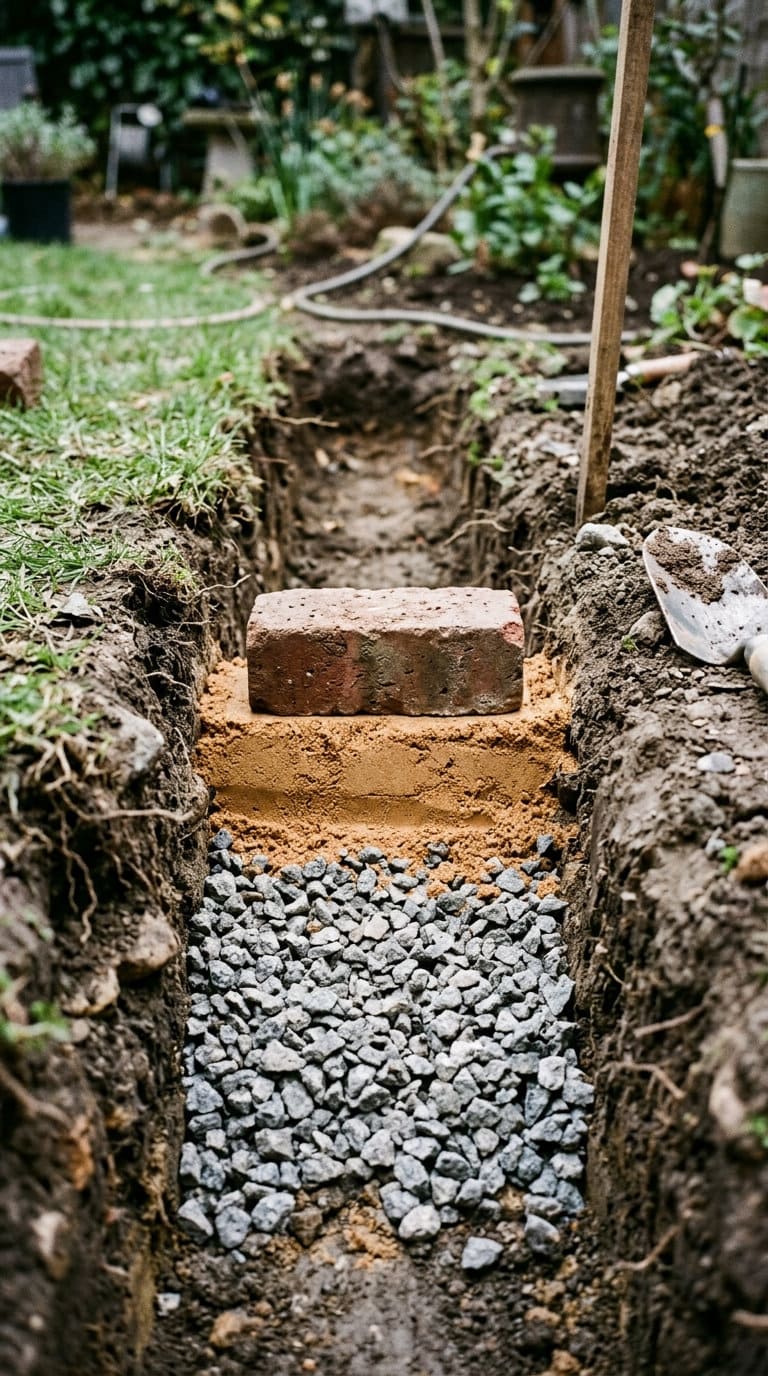
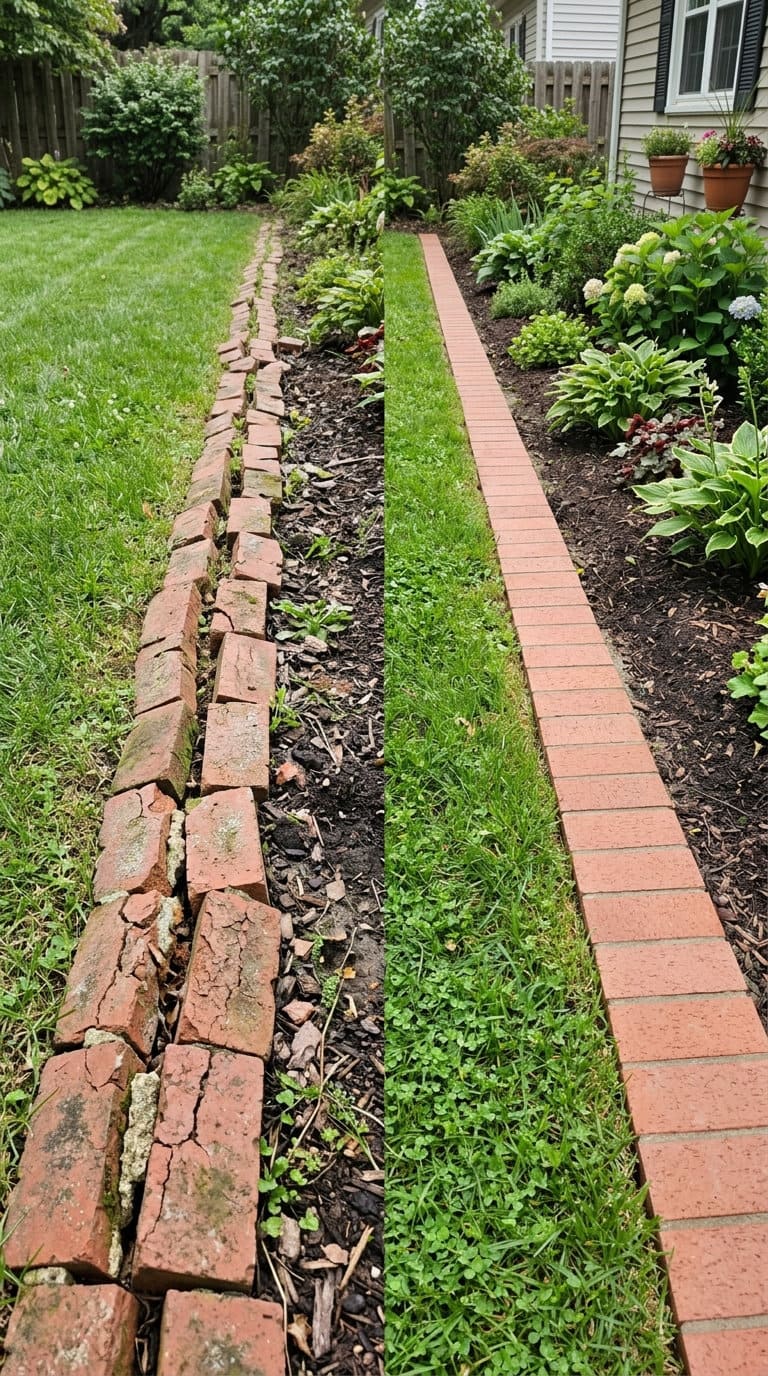
Skip that base and you get frost heave, real and well documented on landscaping forums, where a full winter of freeze-thaw cycles pushes improperly bedded brick up and out of alignment. It’s not a brick-quality problem at that point, it’s a base-prep problem, and no amount of SW-rated brick fixes bad drainage underneath it.
2. Classic straight-line brick edging
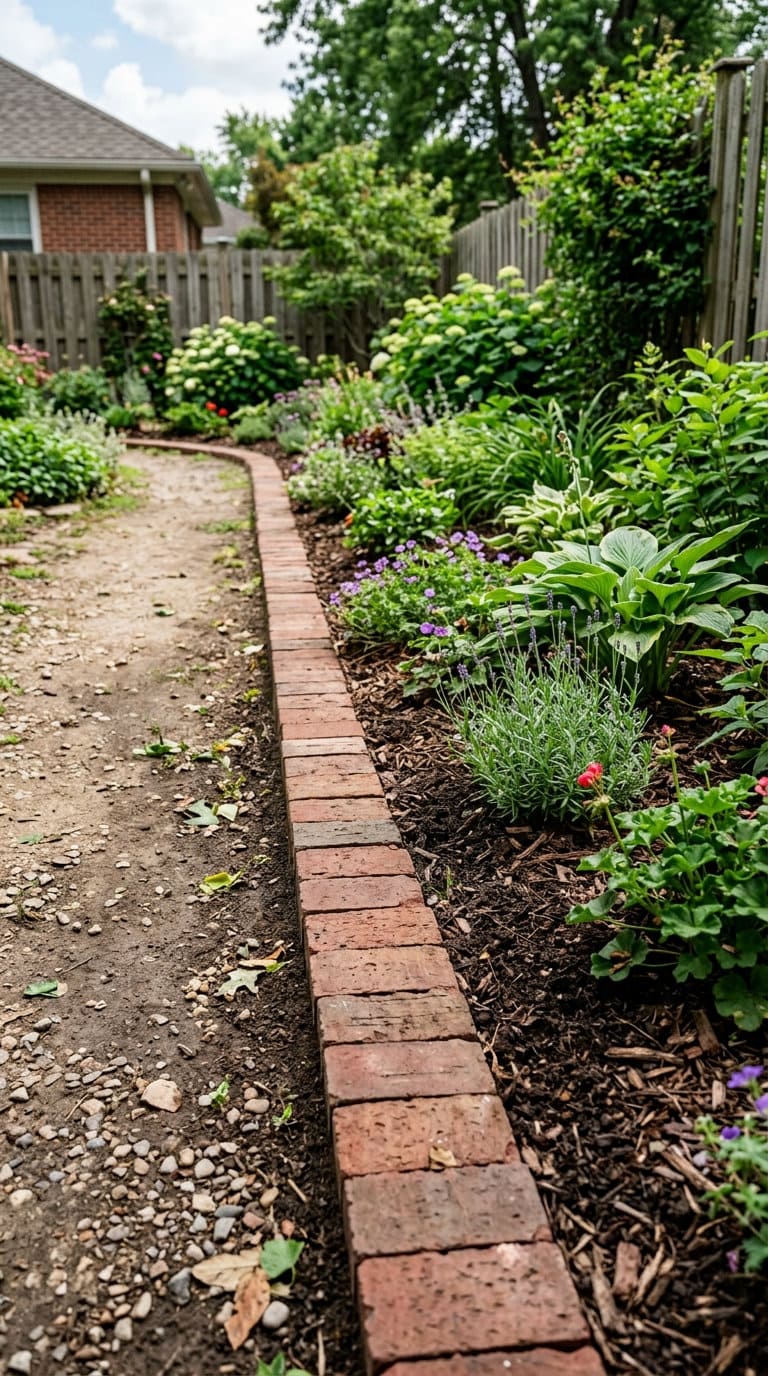
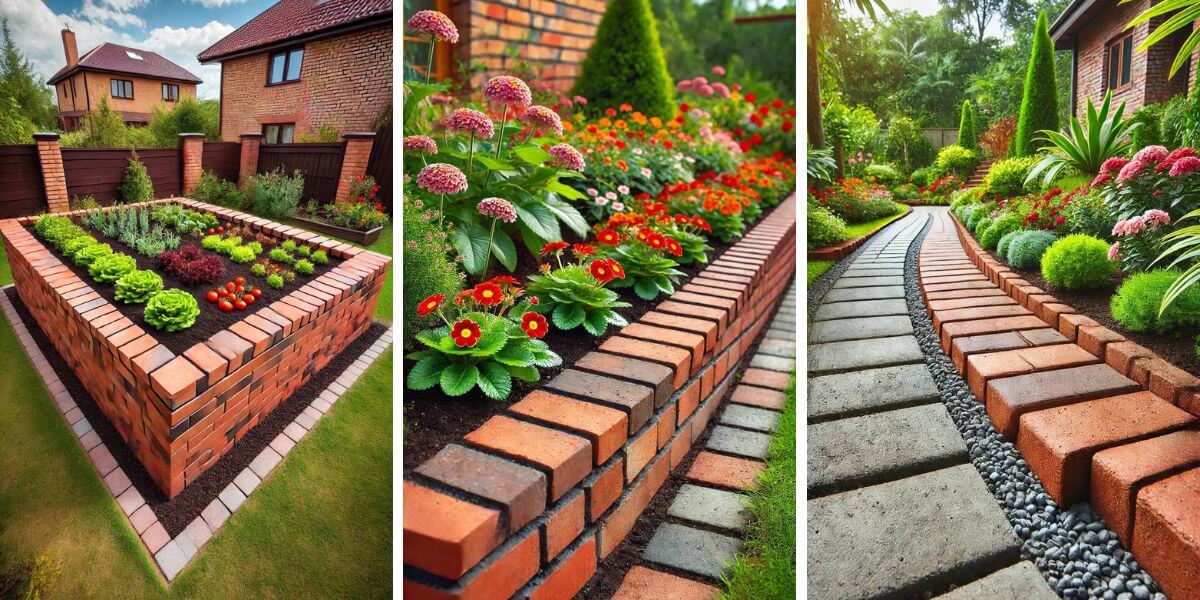
The simplest version: bricks set end to end in a straight run along a bed or walkway edge. It’s the lowest-effort option on this list and still looks intentional, which is more than you can say for most “easy” landscaping shortcuts.
Keep the top of each brick level with its neighbors, uneven brick height is the fastest way to make a straight line look sloppy instead of clean.
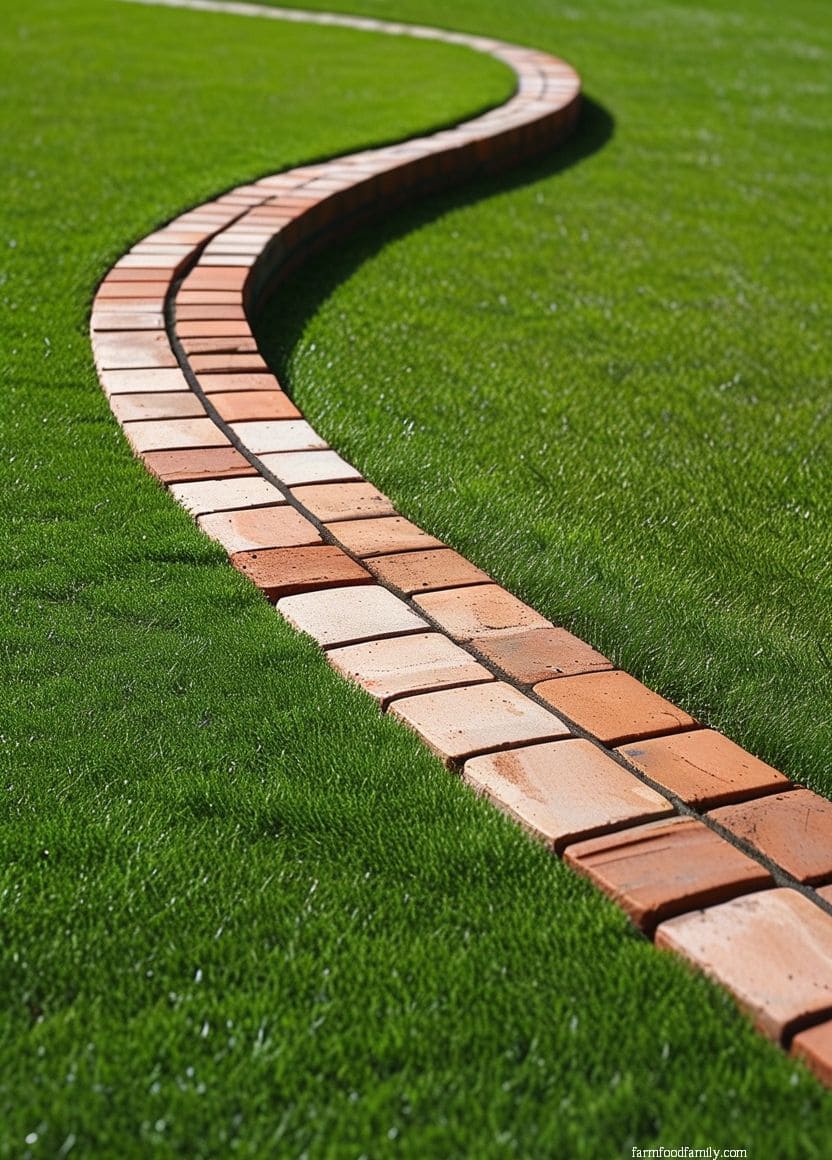
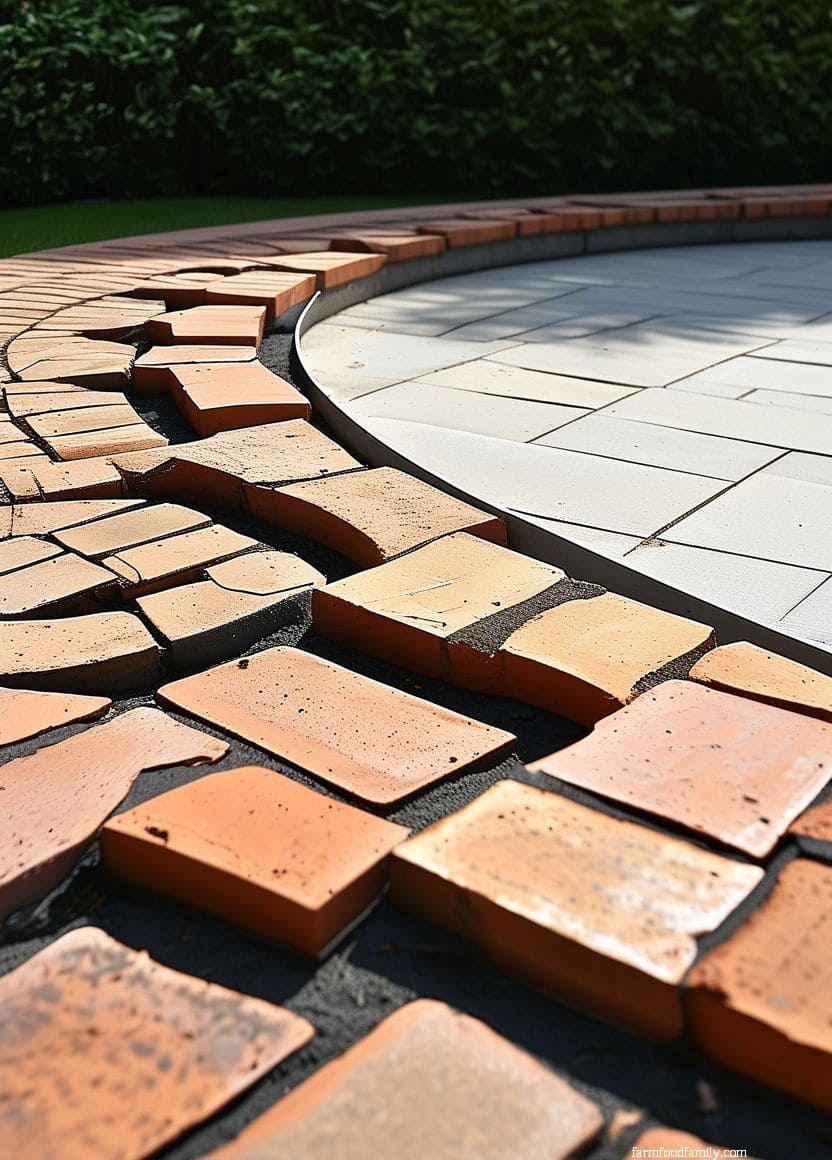
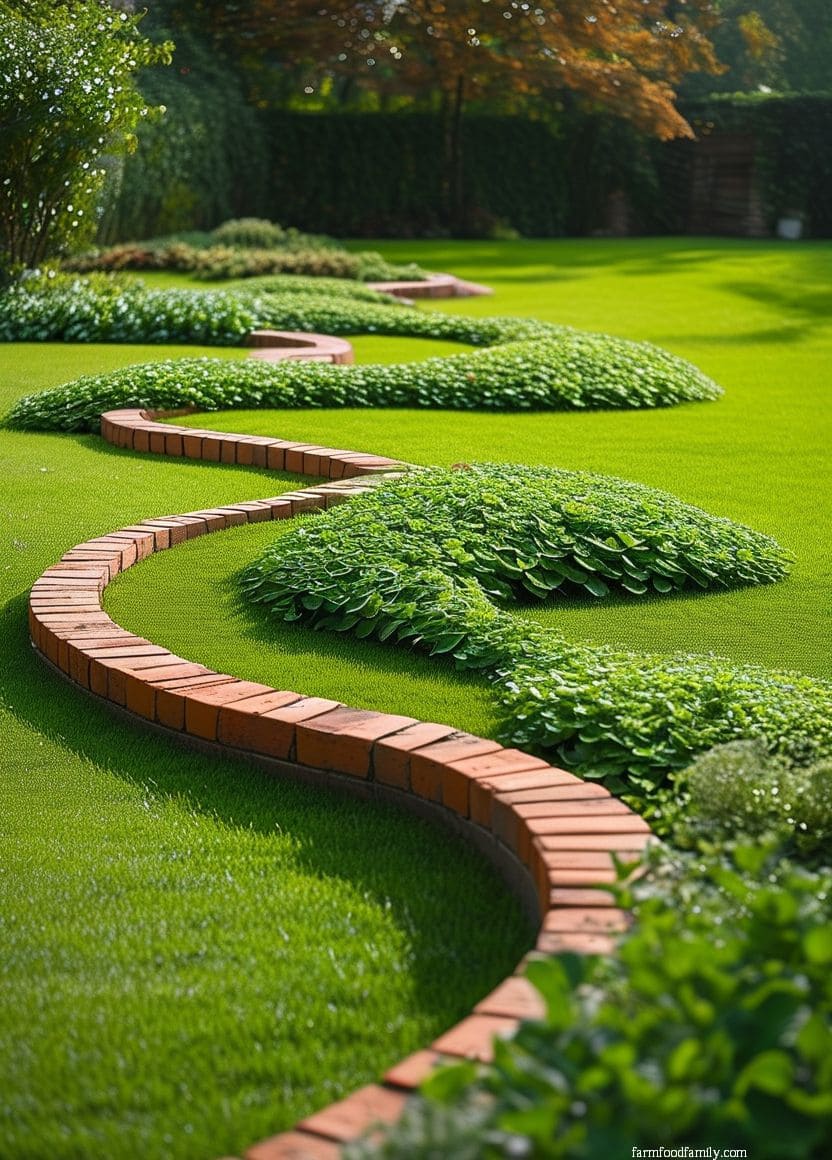
3. Curved brick edging
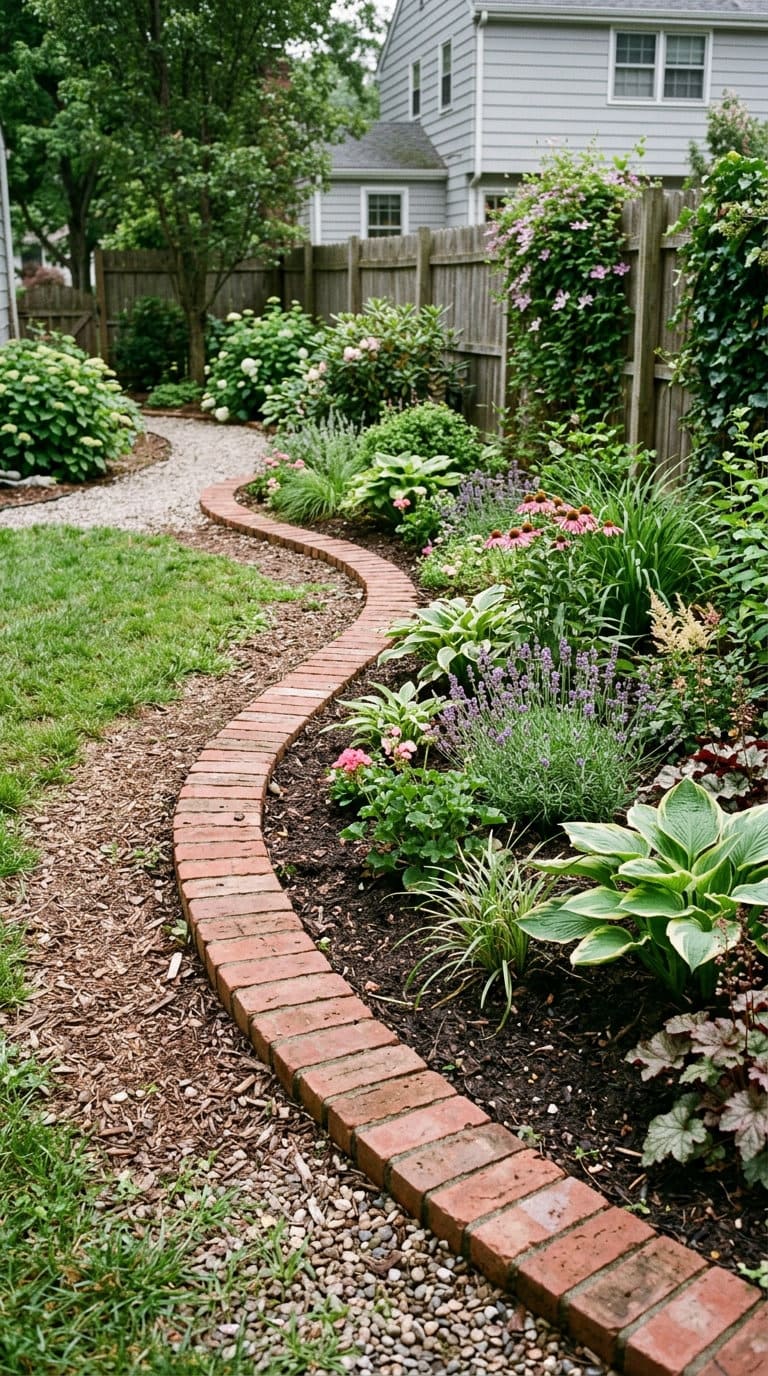
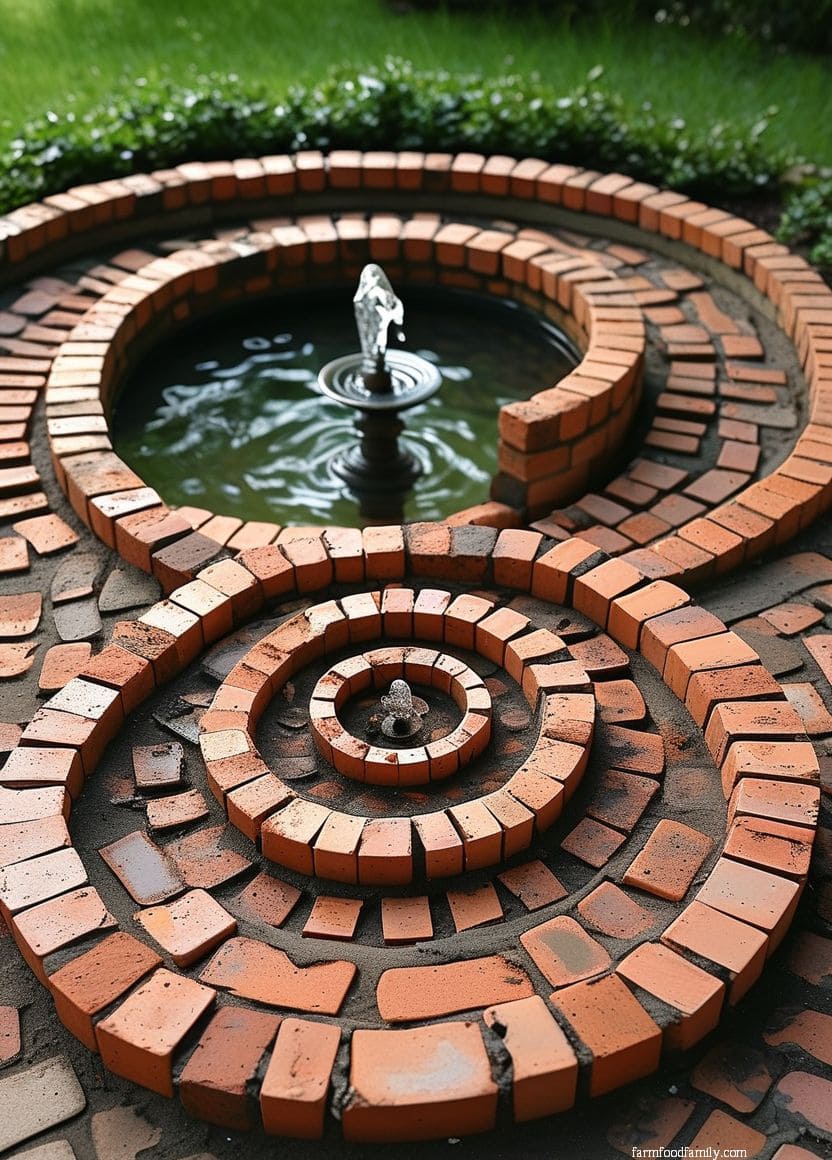
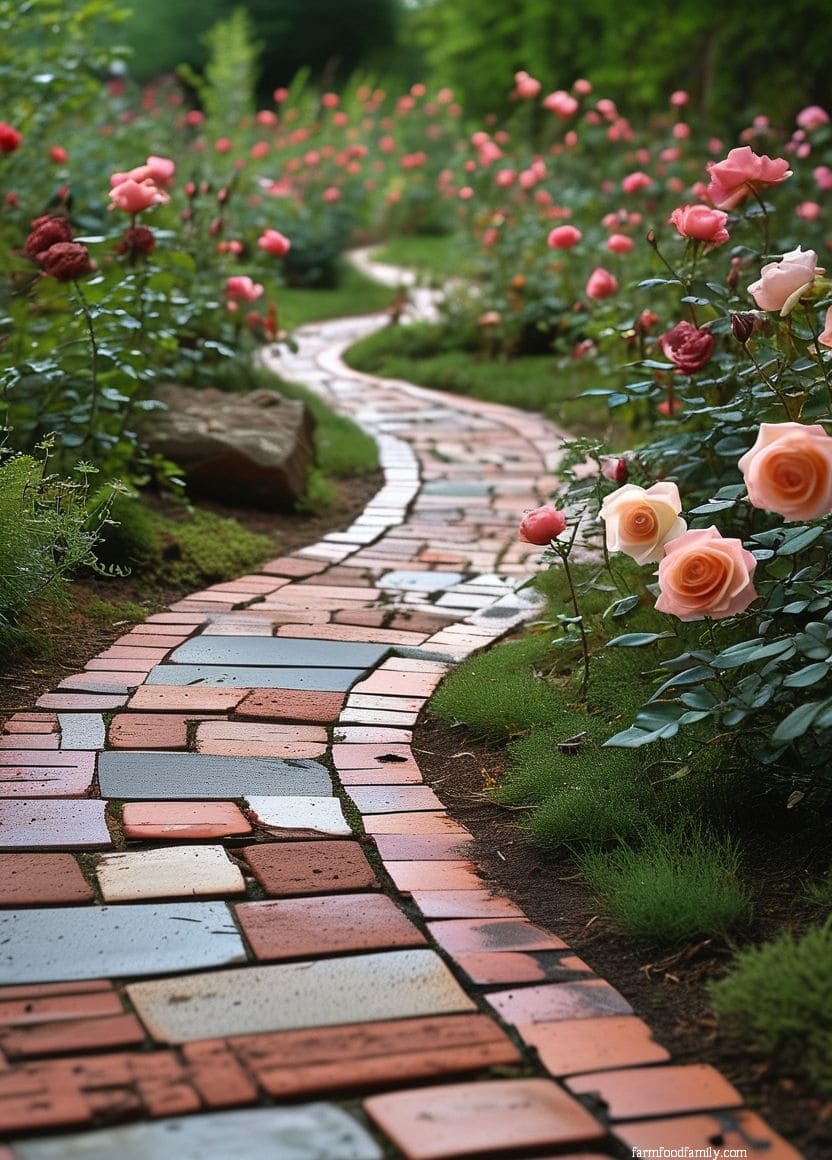
Curved beds need brick set at a slight angle to each other so the line reads smoothly instead of looking like a straight edge forced into a bend. Standard rectangular brick works for gentle curves; tighter curves are easier with a brick cut specifically for radius work.
Dry-lay the curve first without any base material to check the spacing looks right before committing to the trench and setting bed underneath it.
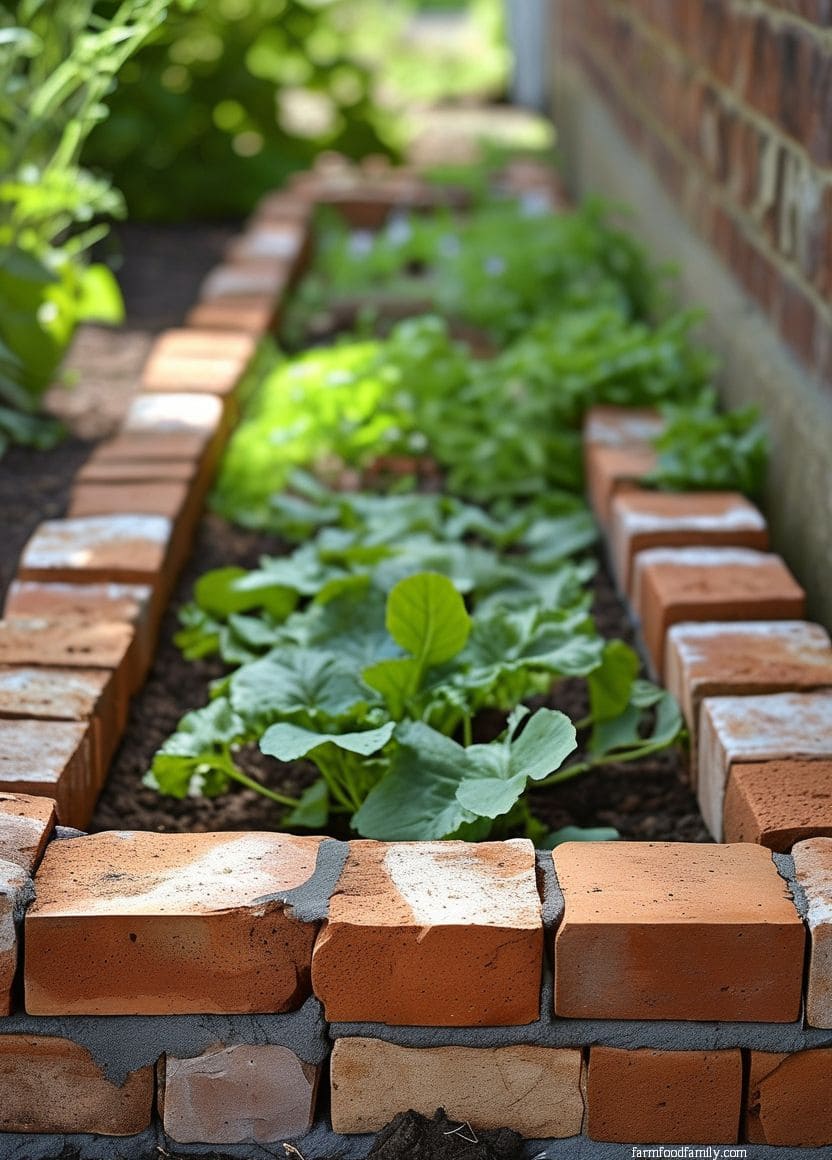
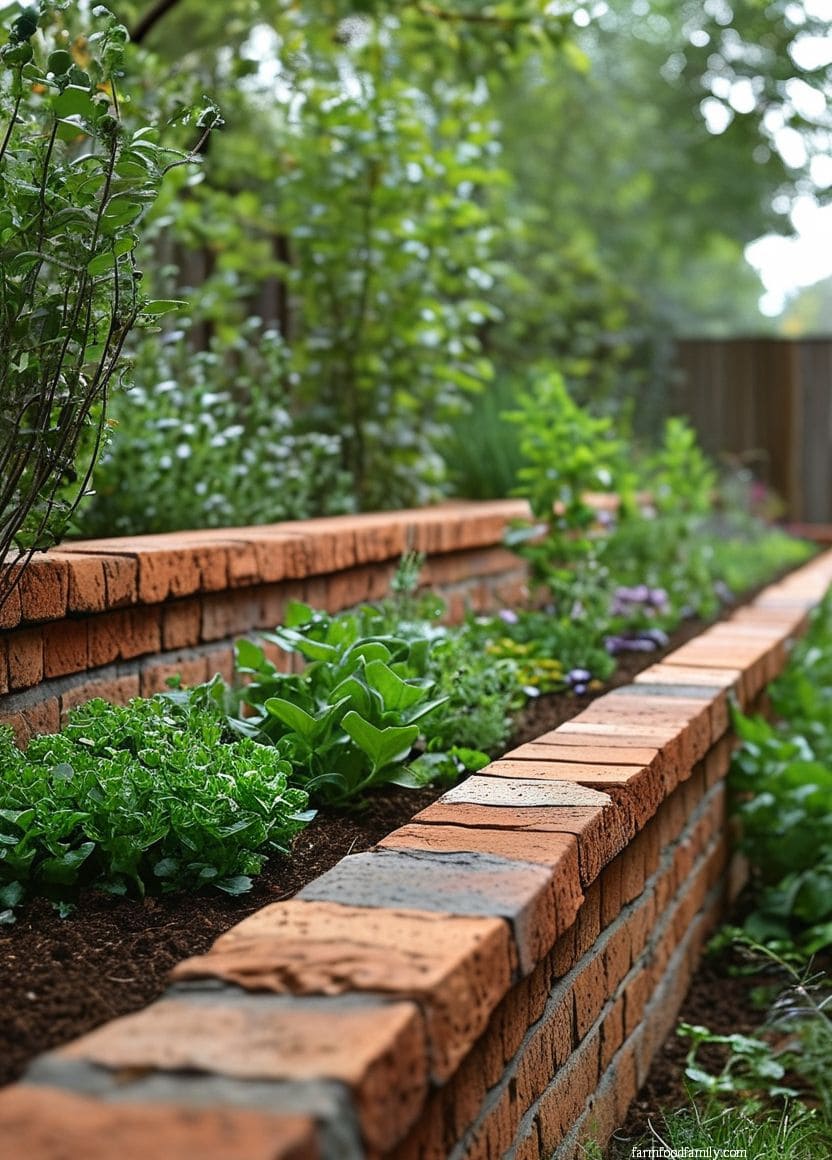
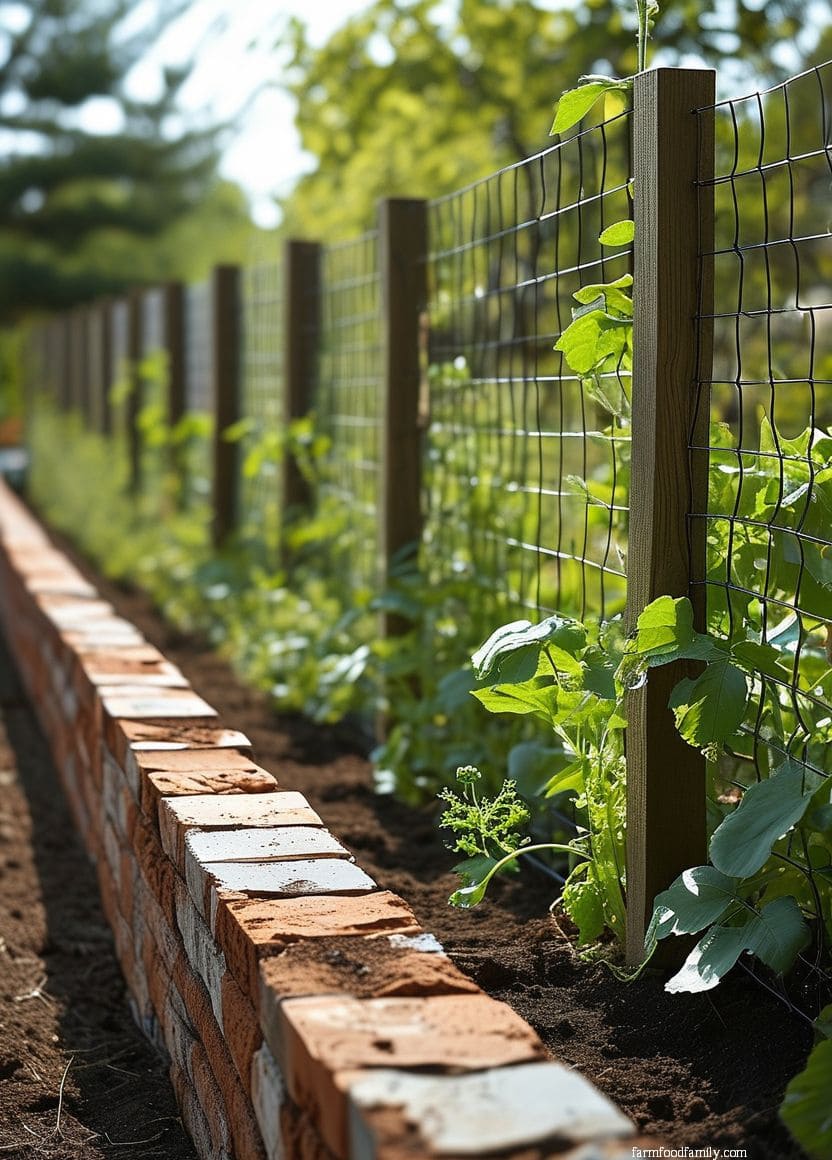
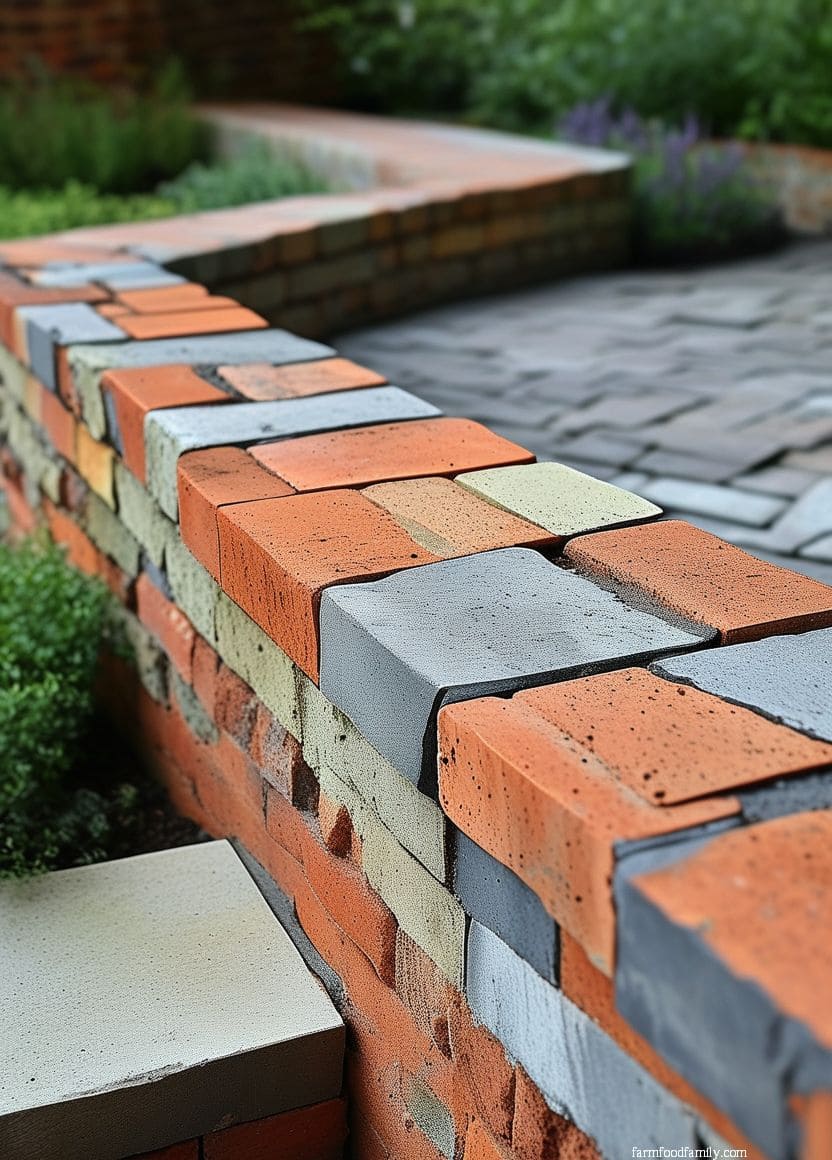
4. Raised brick edging
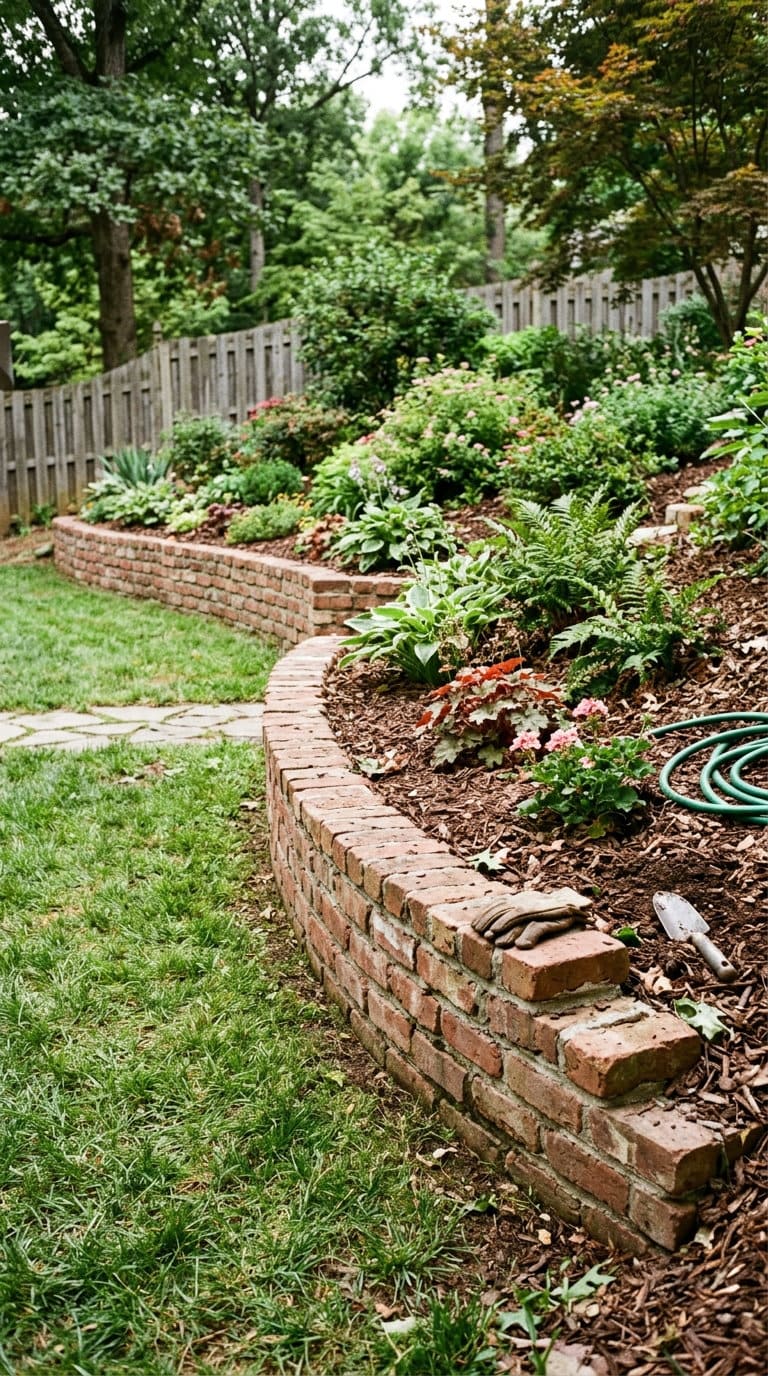
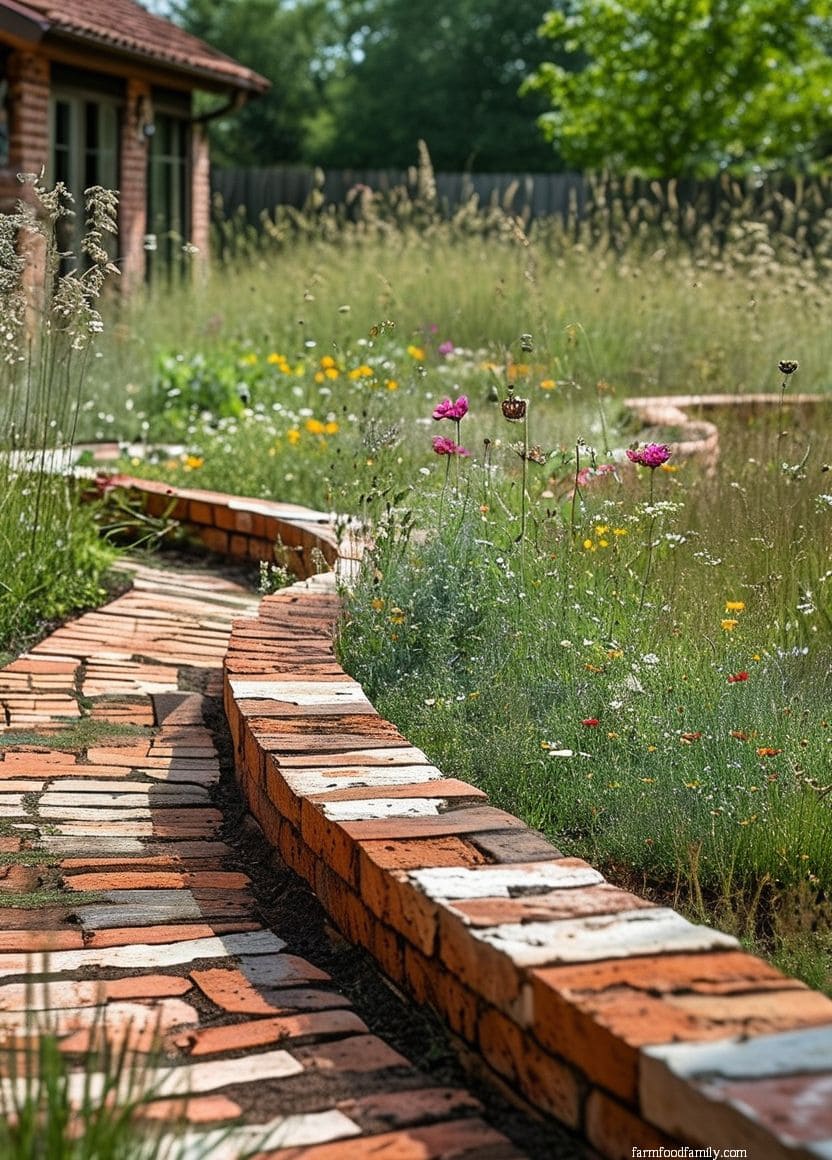
Stacking brick two or three courses high instead of a single row gives a bed real vertical definition, useful for holding back mulch or soil on a slight slope.
This is closer to a low retaining wall than simple edging, so it needs mortar or interlocking brick, not just a dry-laid single course.
Most yard problems trace back to one specific, fixable cause. Find yours in 4 quick questions.
Take the Free Quiz5. Herringbone pattern edging
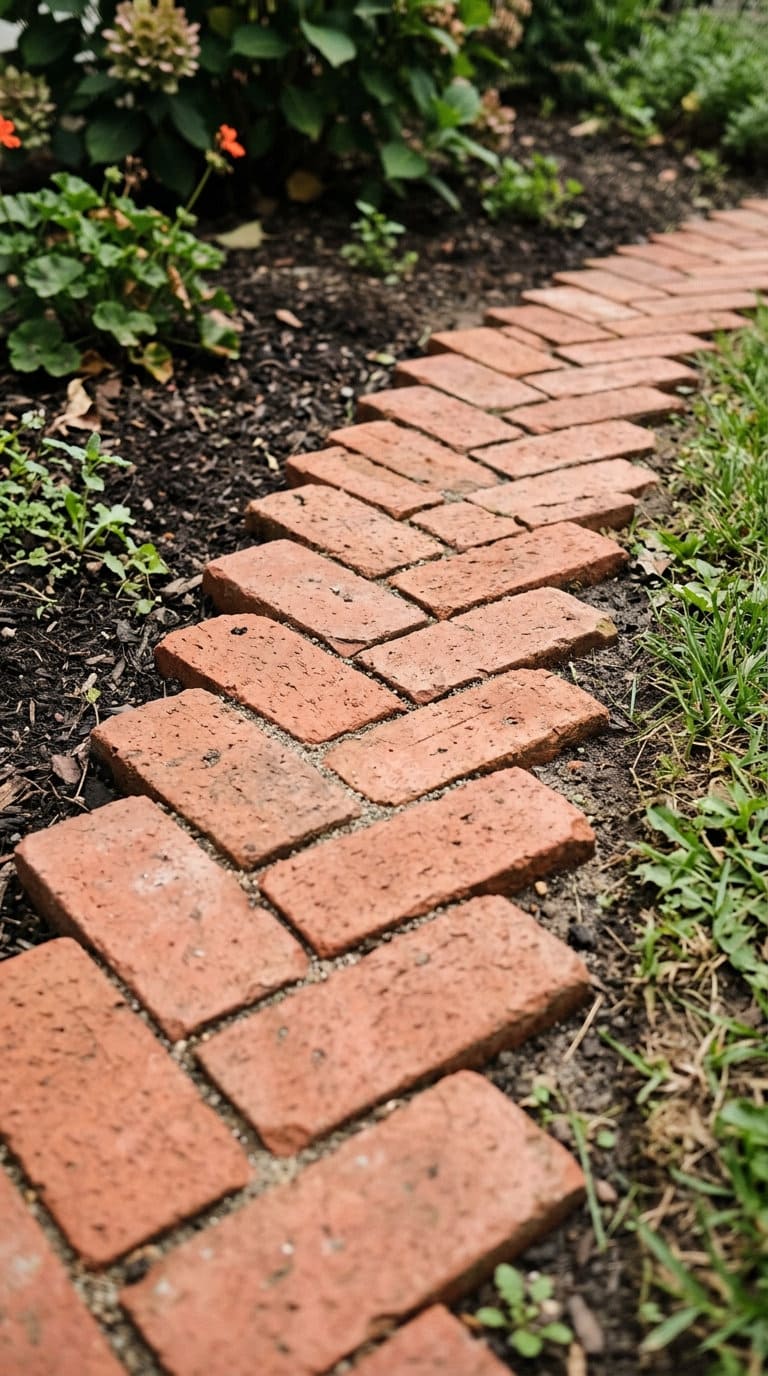
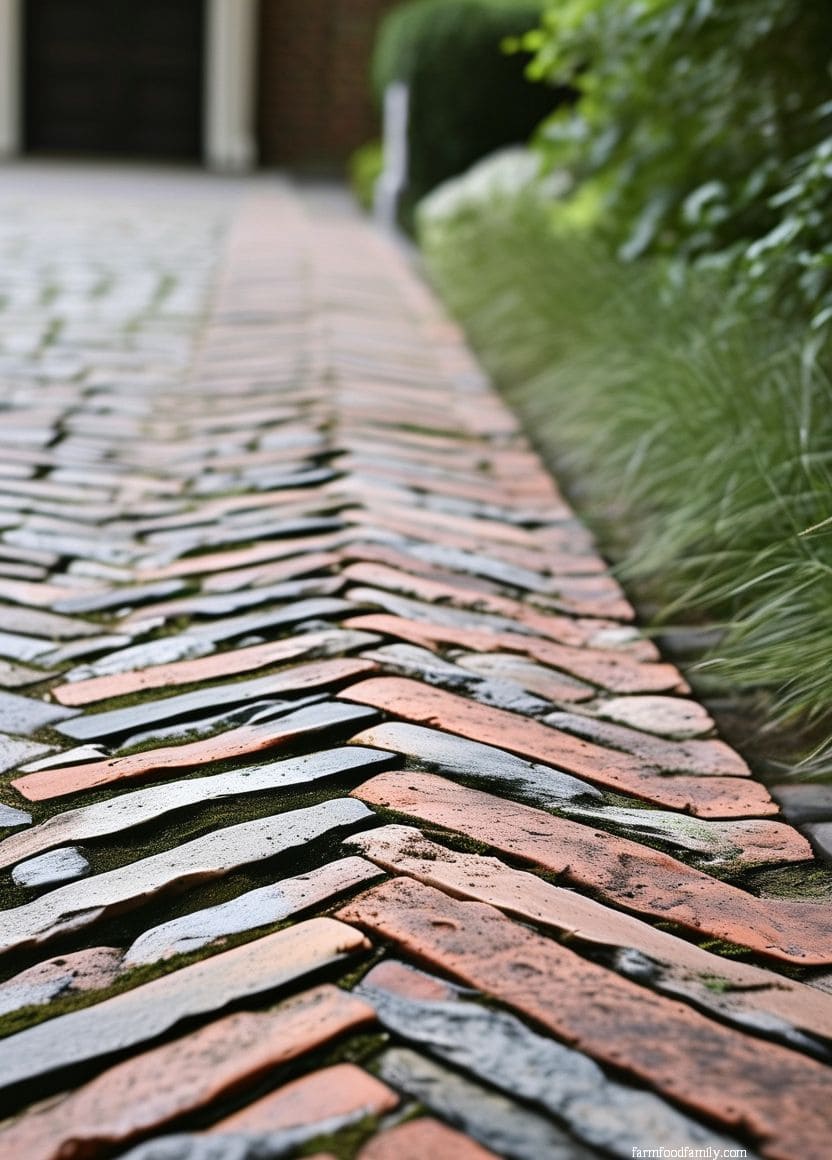
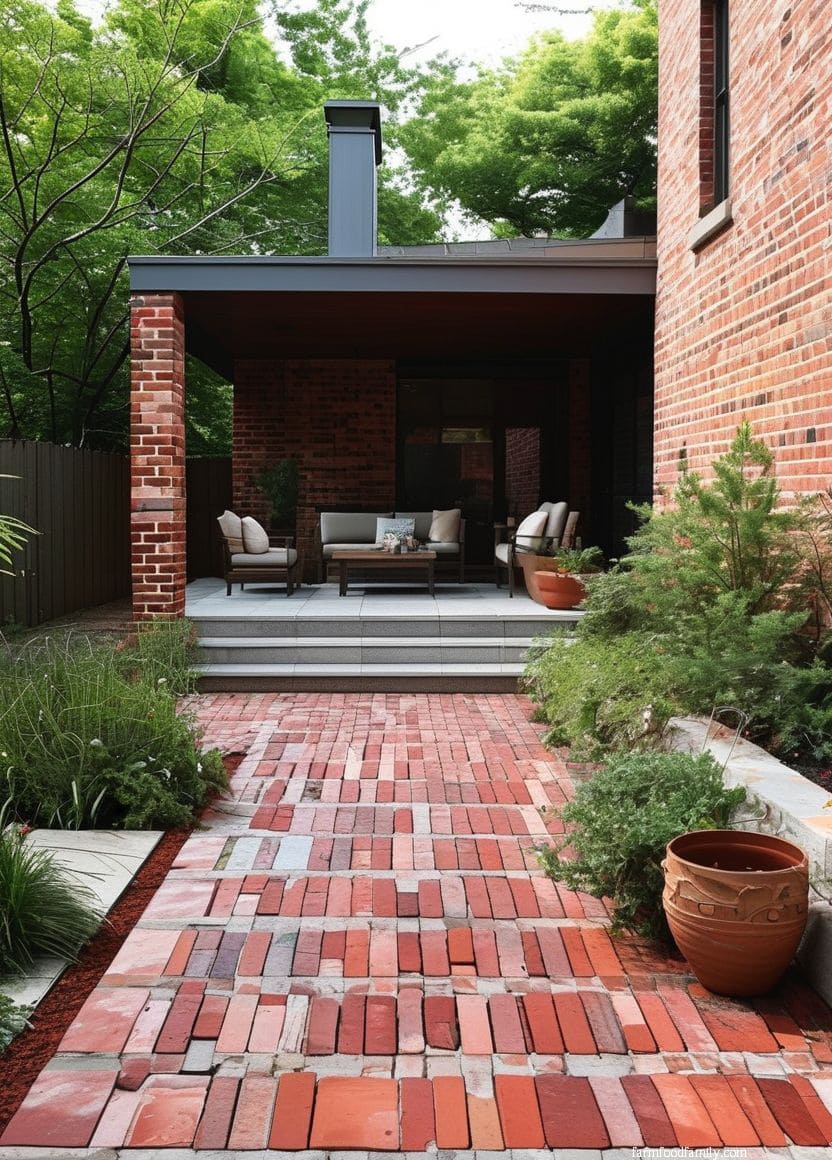
Bricks laid at alternating 45-degree angles create a herringbone weave along the edge line instead of a flat run.
It reads as more decorative and takes noticeably longer to lay than a straight course, worth it for a front-facing bed where the edging itself is part of the visual, not just a boundary.
6. Stacked brick edging
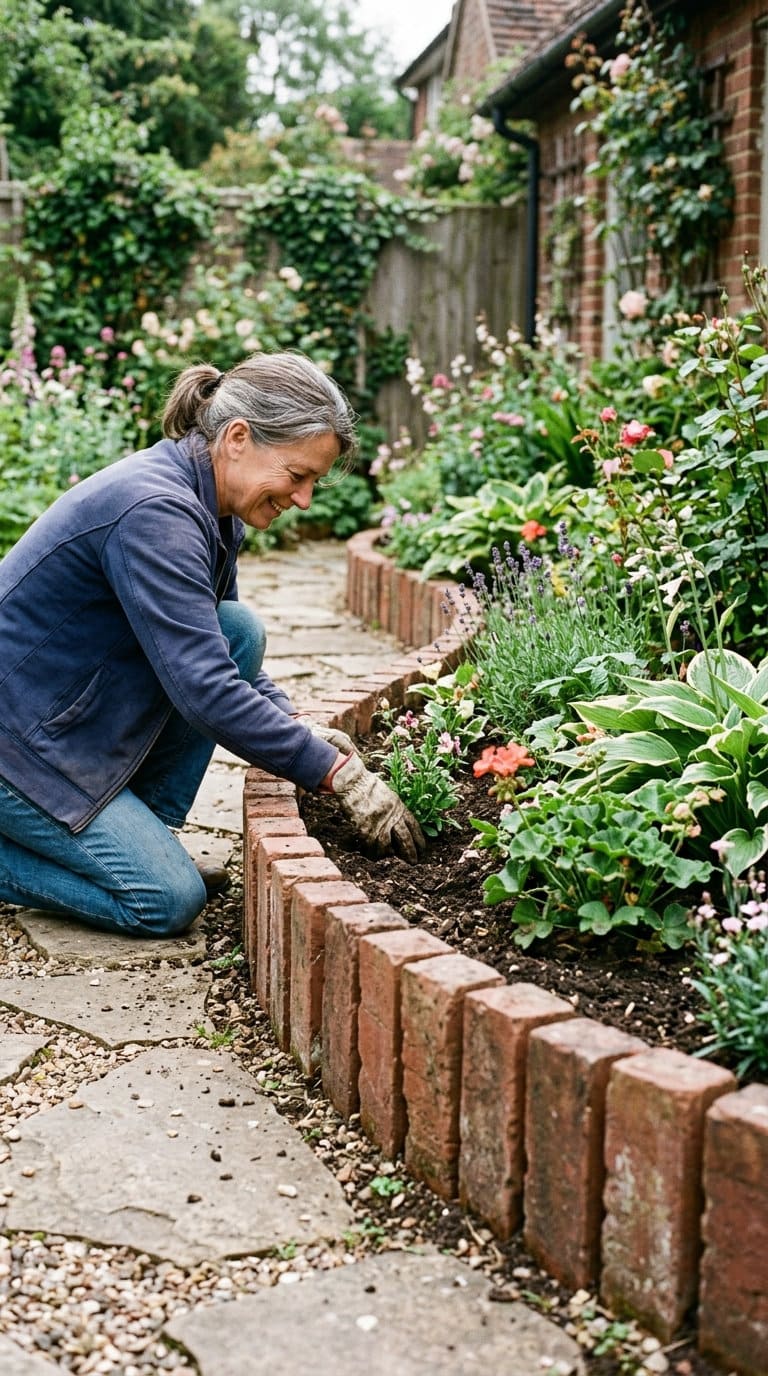
Bricks set on their long edge rather than laid flat give a taller, narrower profile than a standard flat course.
It uses less brick per linear foot than raised edging (section 4) while still reading as more substantial than a single flat row.
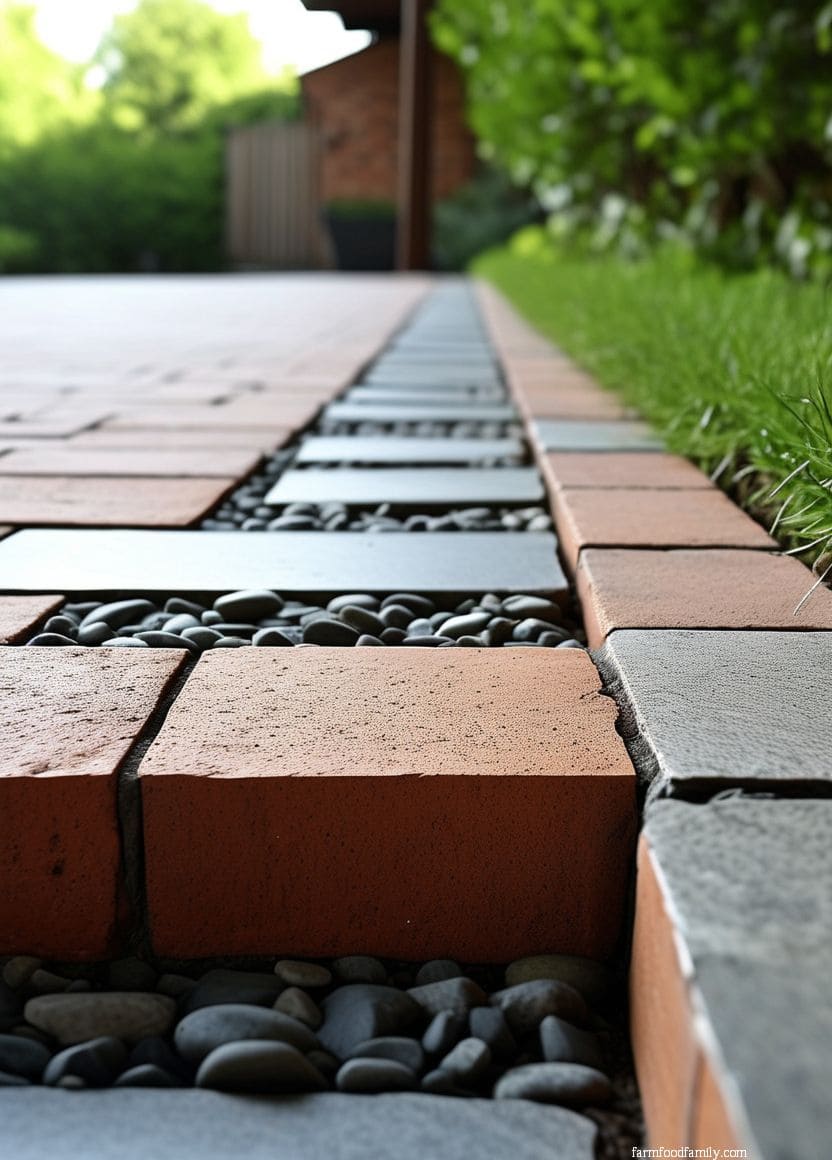
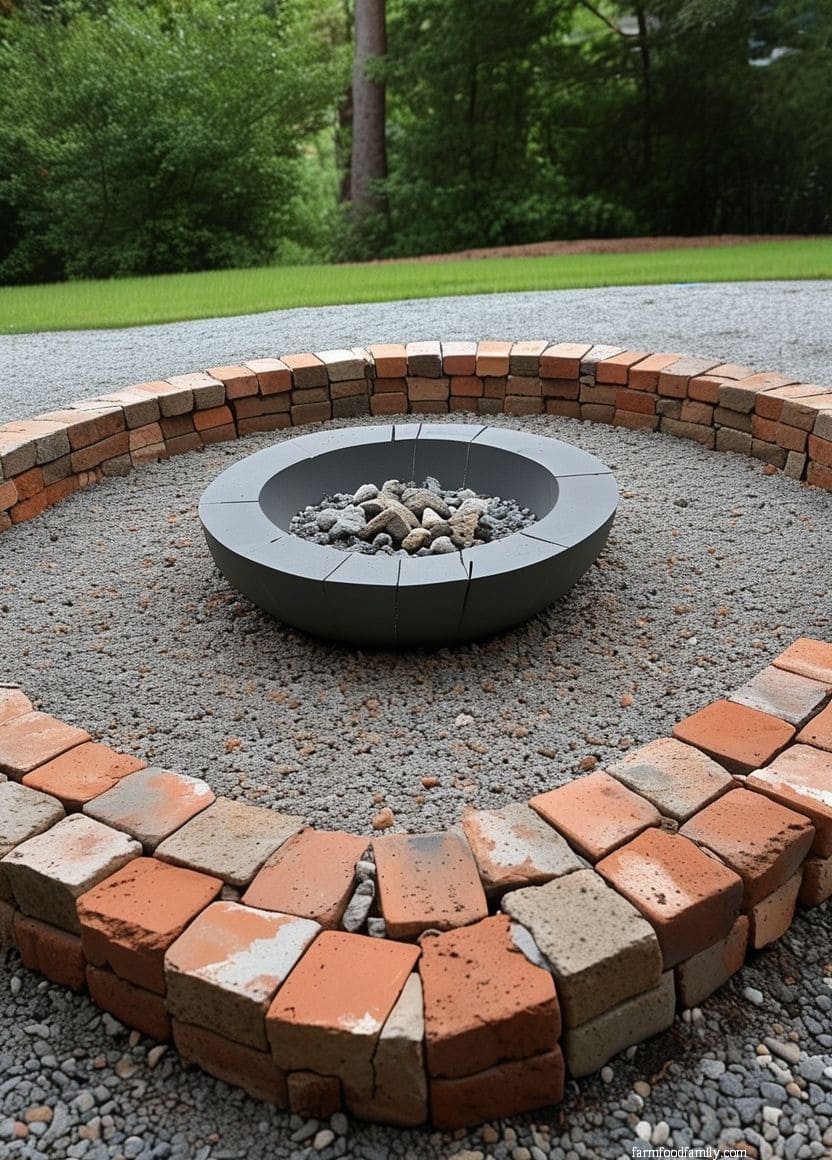
7. Brick and gravel combination edging
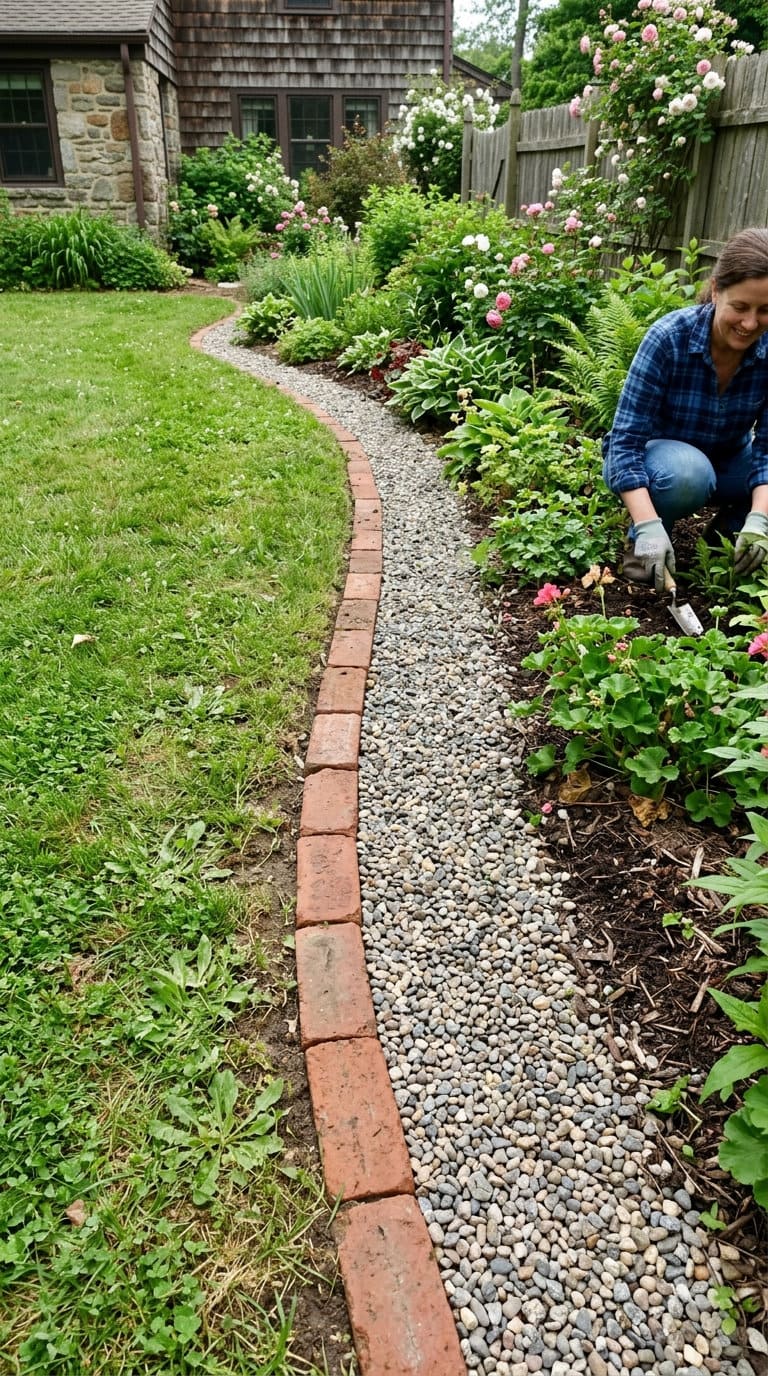
Brick sets the hard boundary line, gravel fills the transition zone between the edging and the lawn or walkway.
It’s a good option if drainage near the bed is already a concern, since the gravel gives water somewhere to go instead of pooling against the brick.
8. Brick and concrete edging
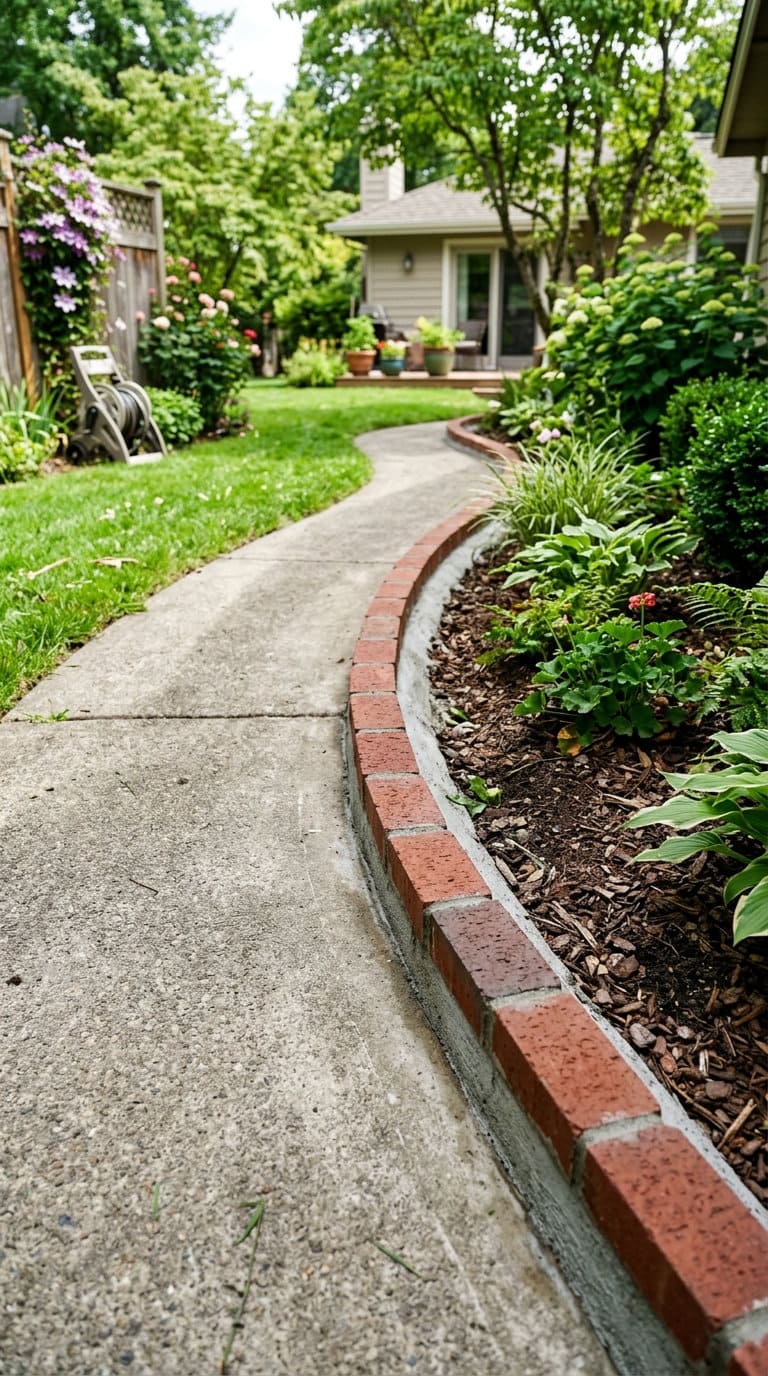
A poured concrete footing under or beside a brick course gives the most permanent, immovable edge on this list, at the cost of being the hardest to modify later.
Worth it for a permanent walkway boundary, overkill for a garden bed you might reshape in a few years.
9. Brick edging with flower inserts
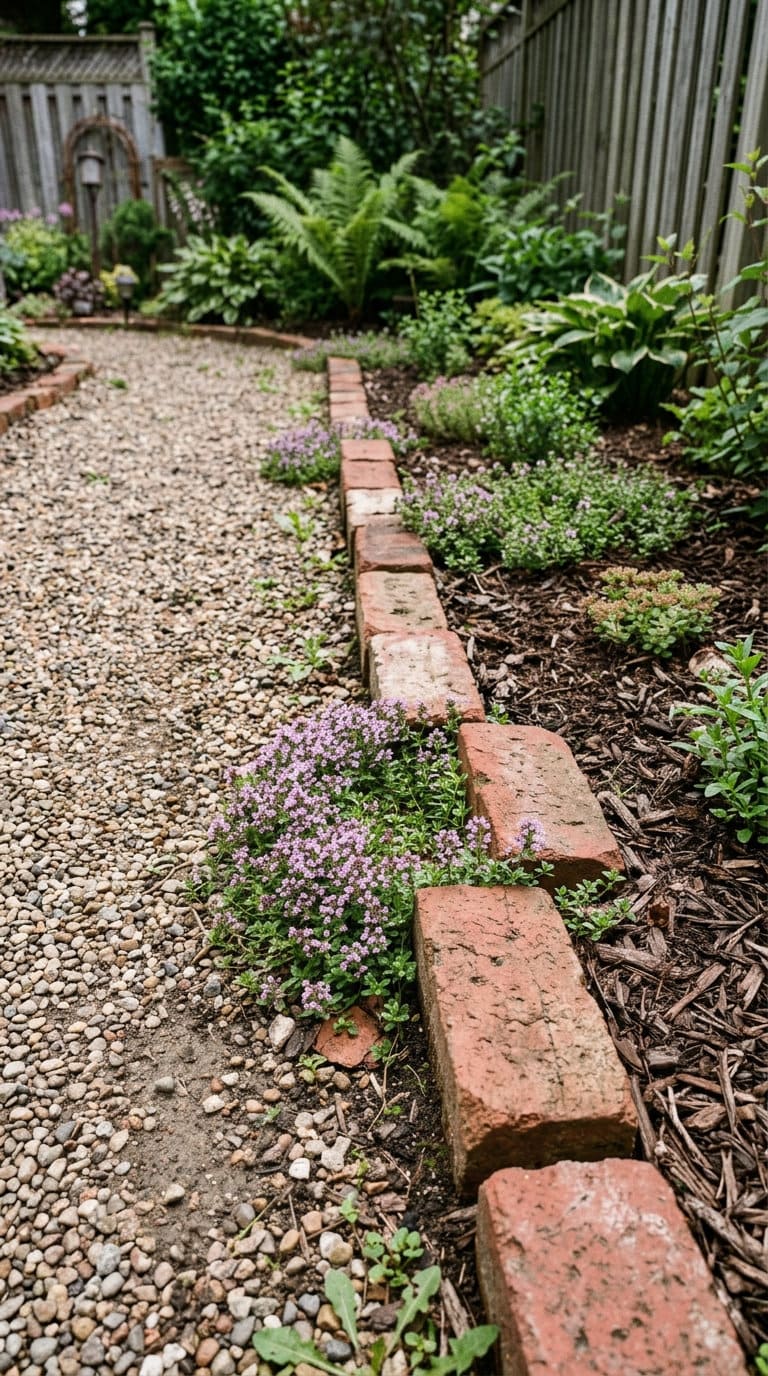
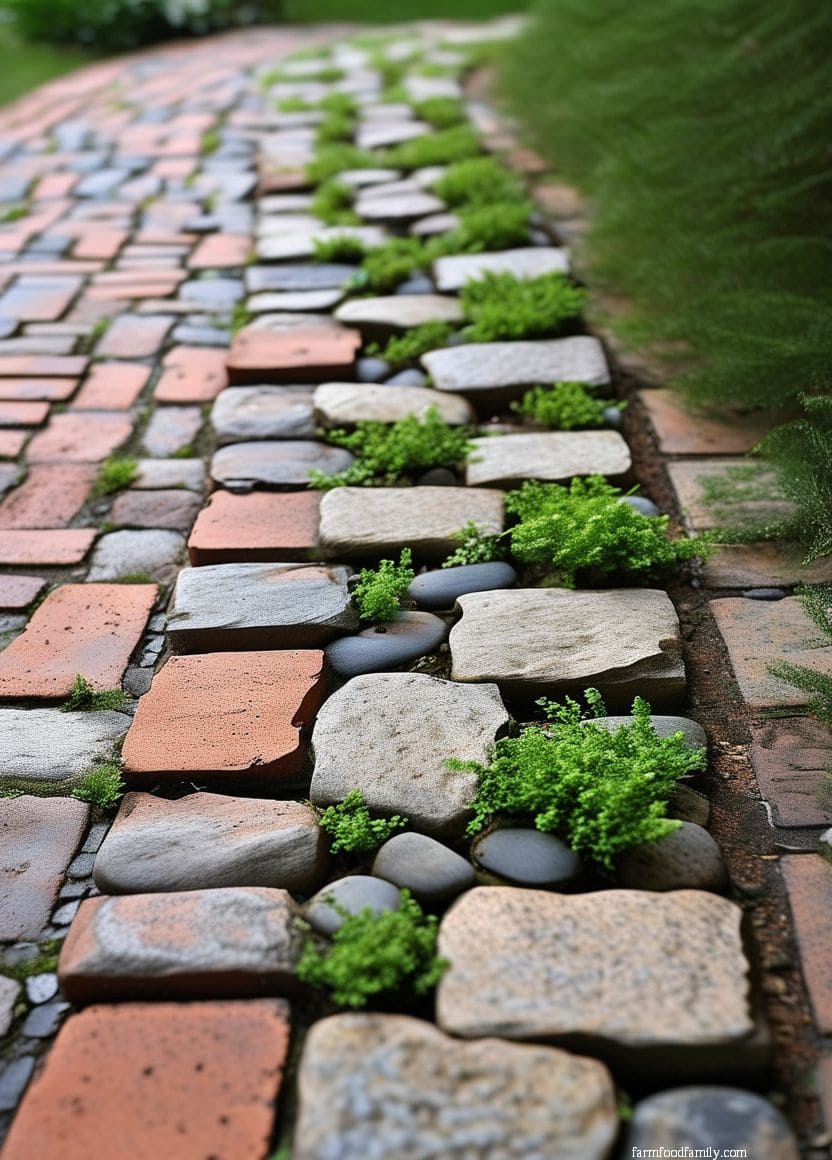
Leave gaps in an otherwise continuous brick line and plant low flowers or groundcover directly in them.
The average homeowner spends $616/year on yard fixes that don't address the real problem. Find out what yours actually is — before you spend another dollar.
Take the Free QuizCreeping thyme and sedum both tolerate the compacted, well-drained conditions right next to brick better than most flowering annuals would.
10. Brick edging with lighting
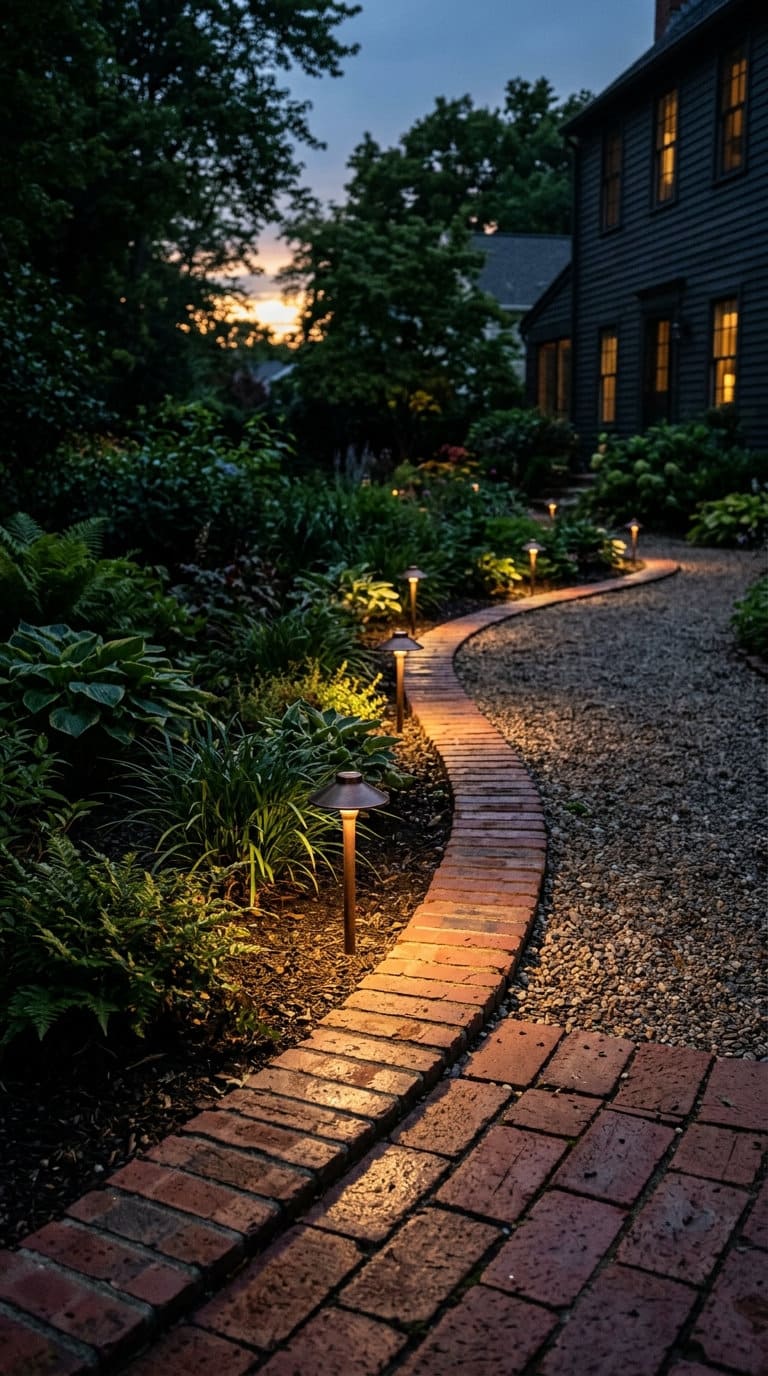
Low-voltage path lights set into or alongside a brick edge line do double duty, marking the bed boundary during the day and the walkway route after dark.
Run the wiring under the sand setting bed before the final brick course goes down, not after, retrofitting wiring under set brick means pulling it back up.
11. Brick edging with metal accents
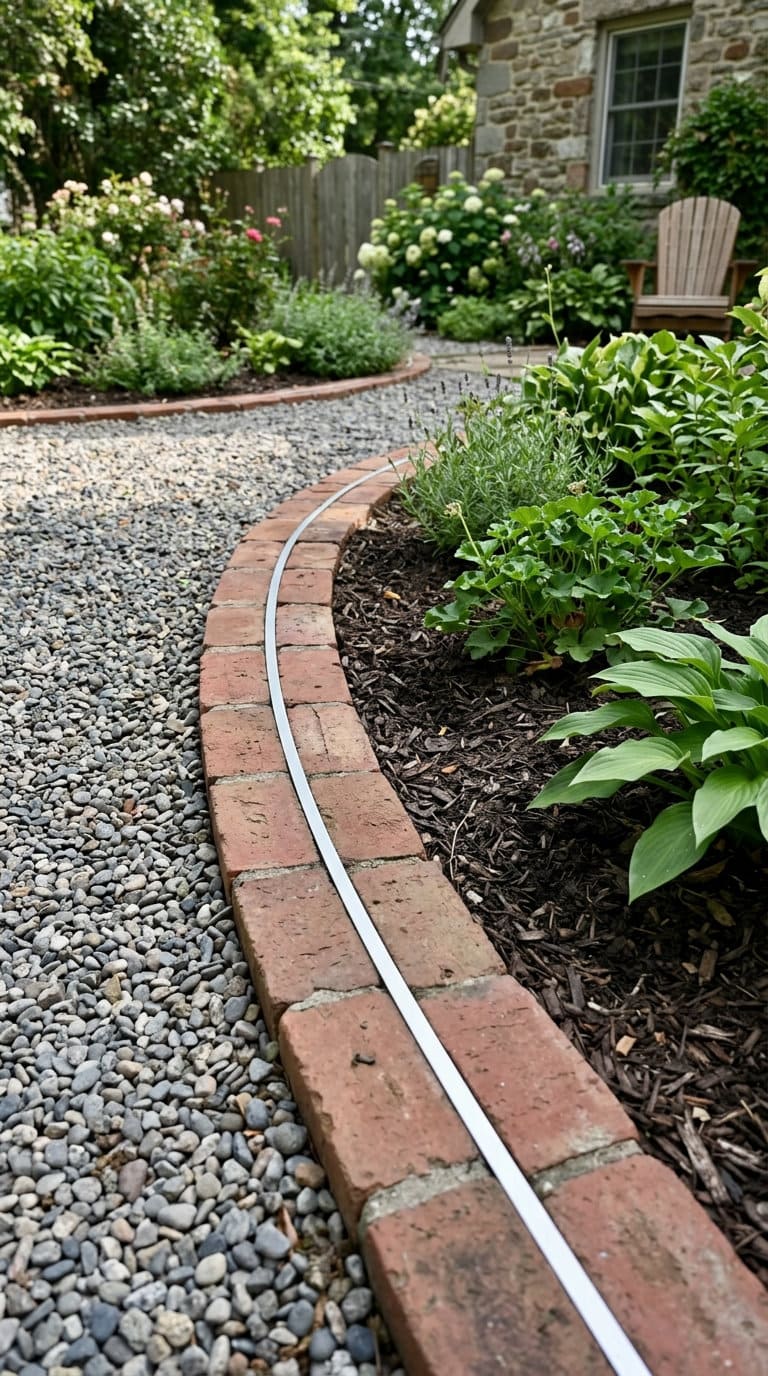
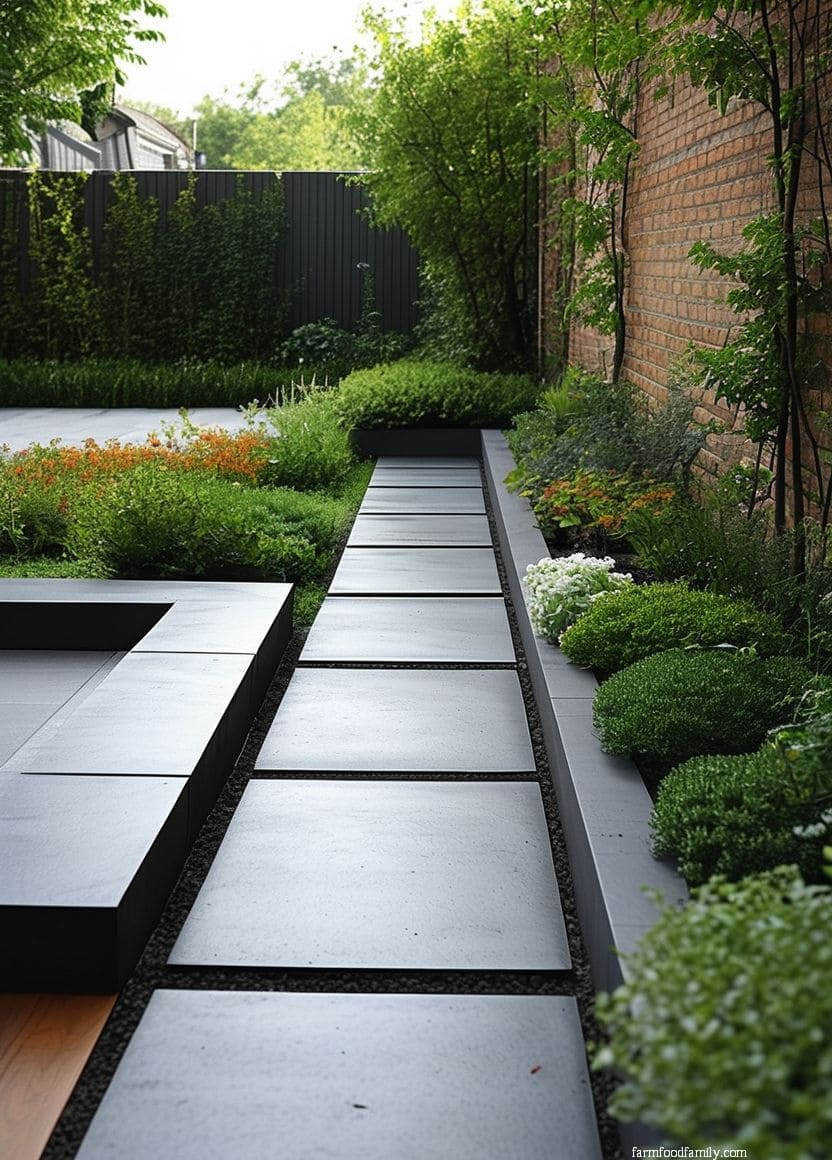
A thin strip of steel or aluminum edging set flush with the top of a brick course gives a crisp, deliberate transition line, useful where the brick edge meets a different material like gravel or mulch.
It’s a small detail, but it’s the difference between an edge that looks finished and one that just stops.
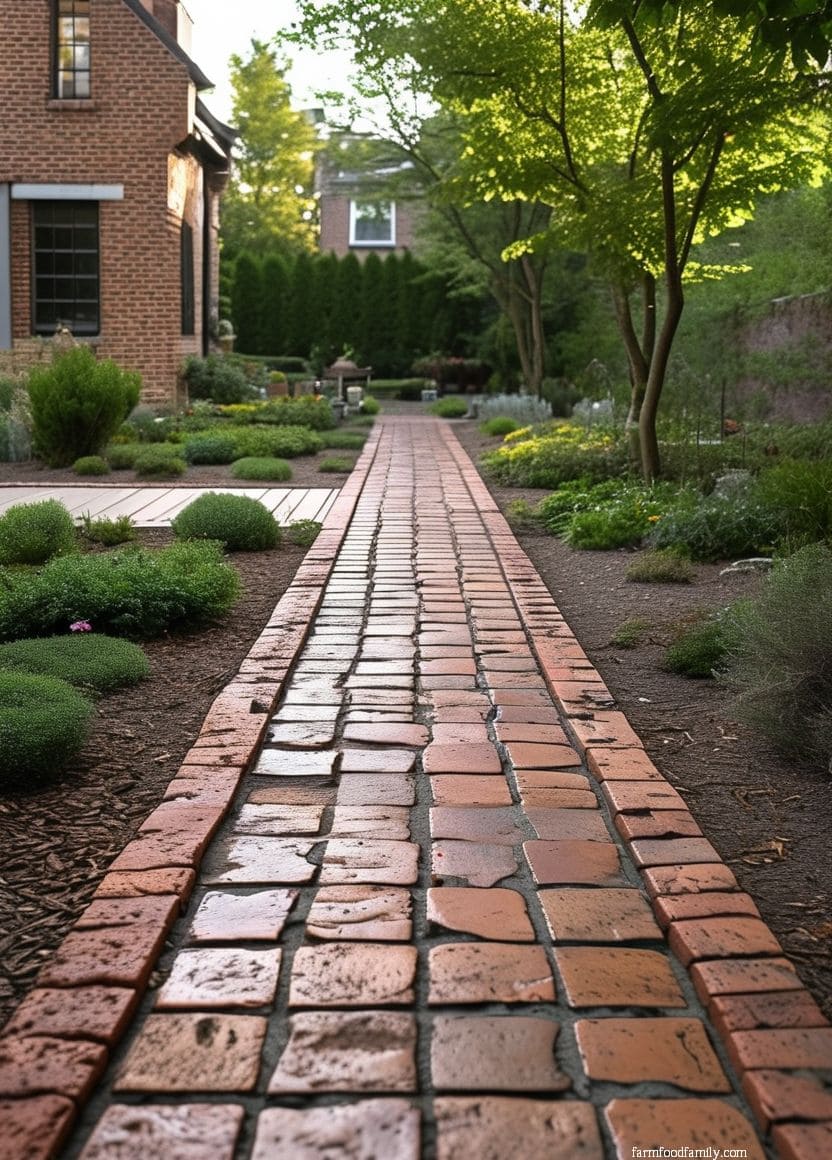
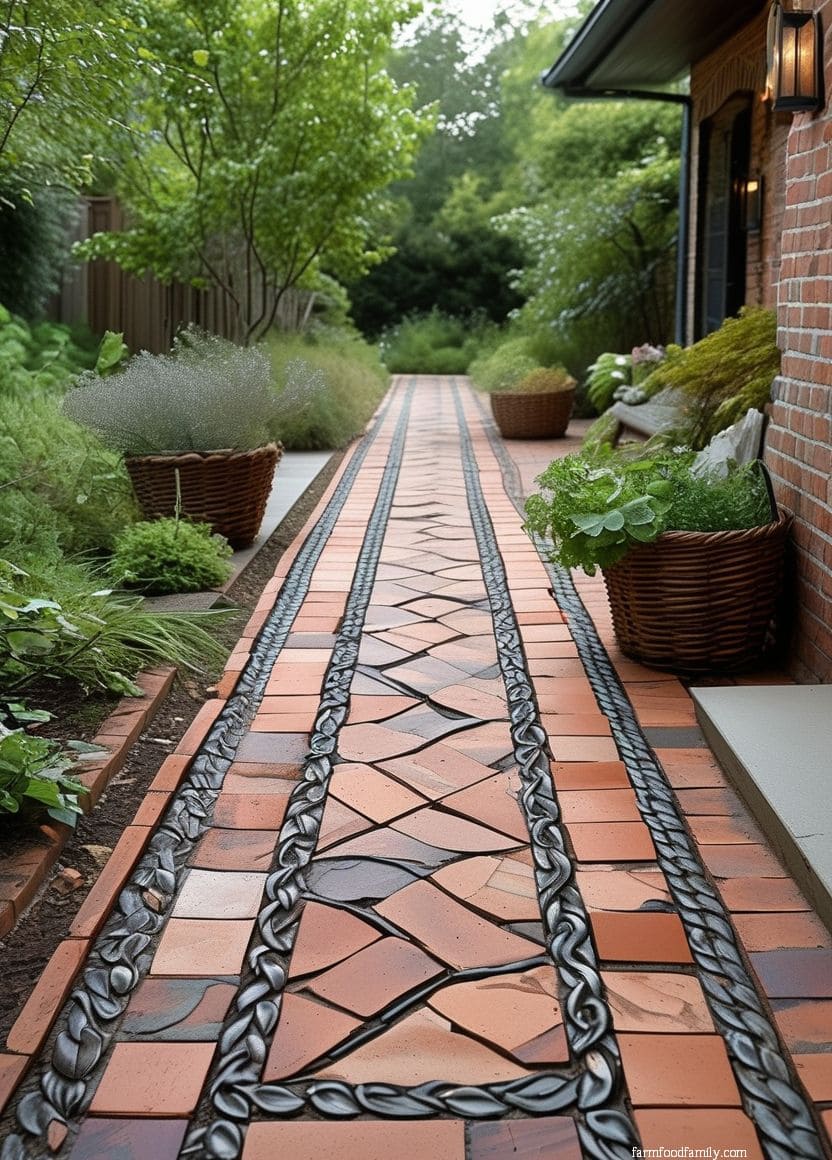
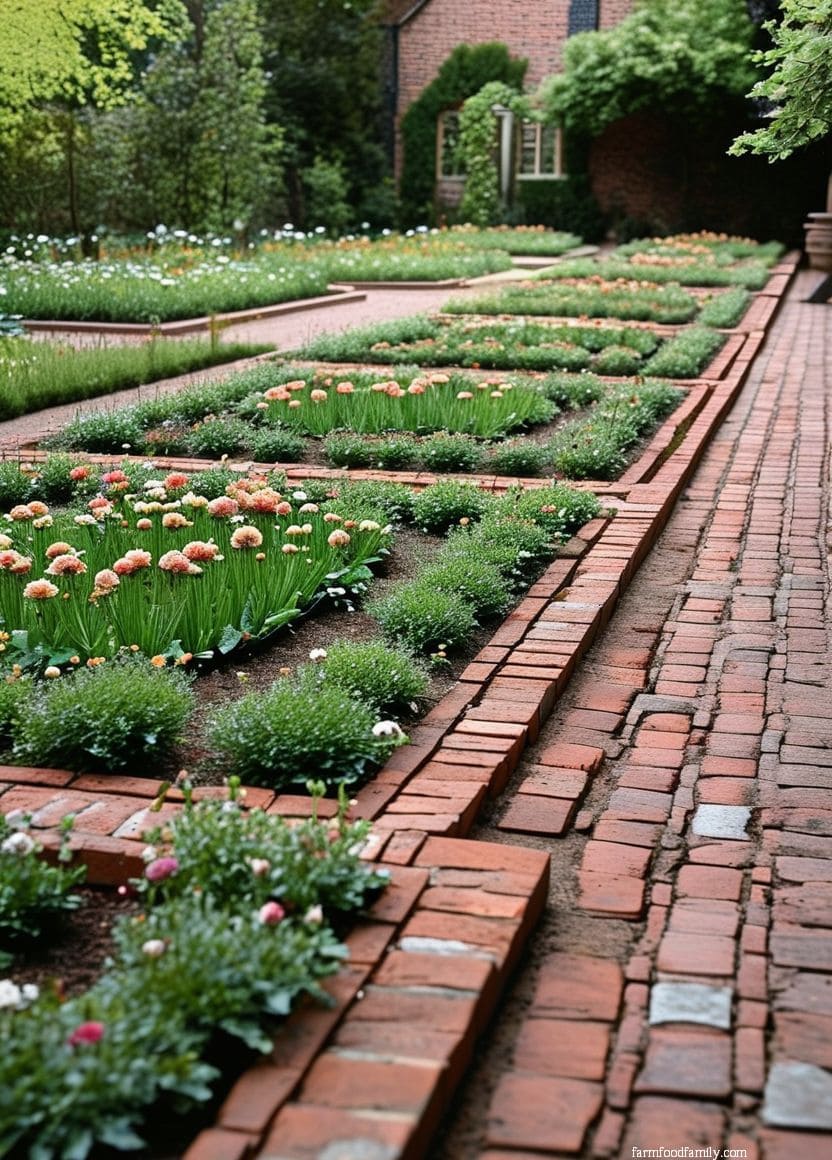
12. Brick Edging for Pathways
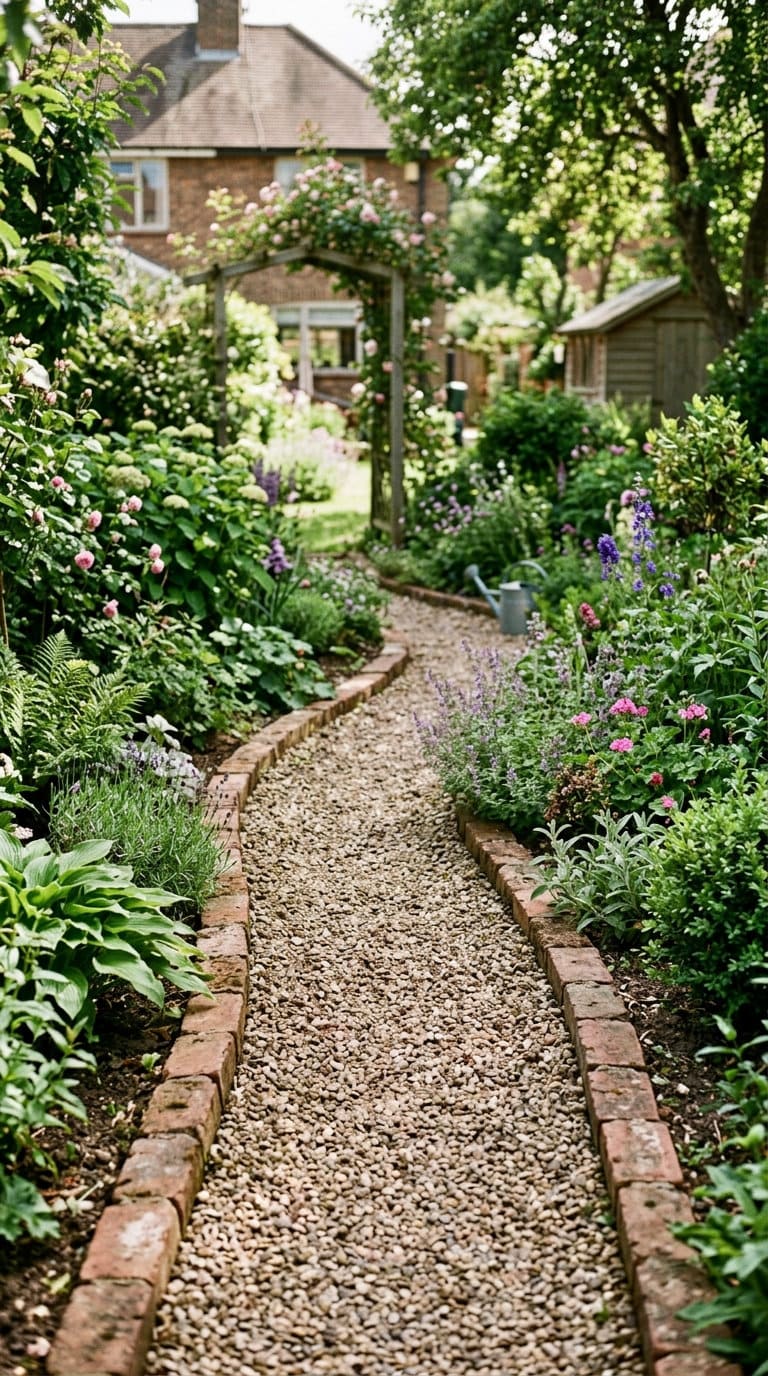
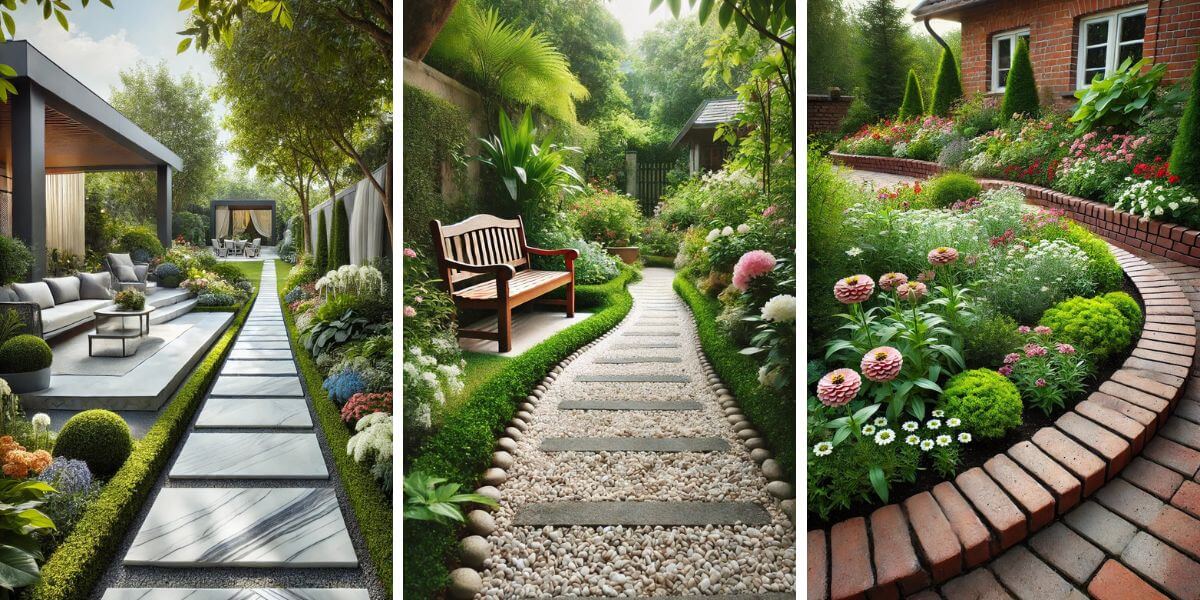
Running brick edging along both sides of a walking path does more than look tidy, it physically keeps gravel or mulch path material from migrating into the surrounding lawn or beds over time.
This is one of the more functional entries on this list, not just decorative.
13. Multi-level Brick Edging
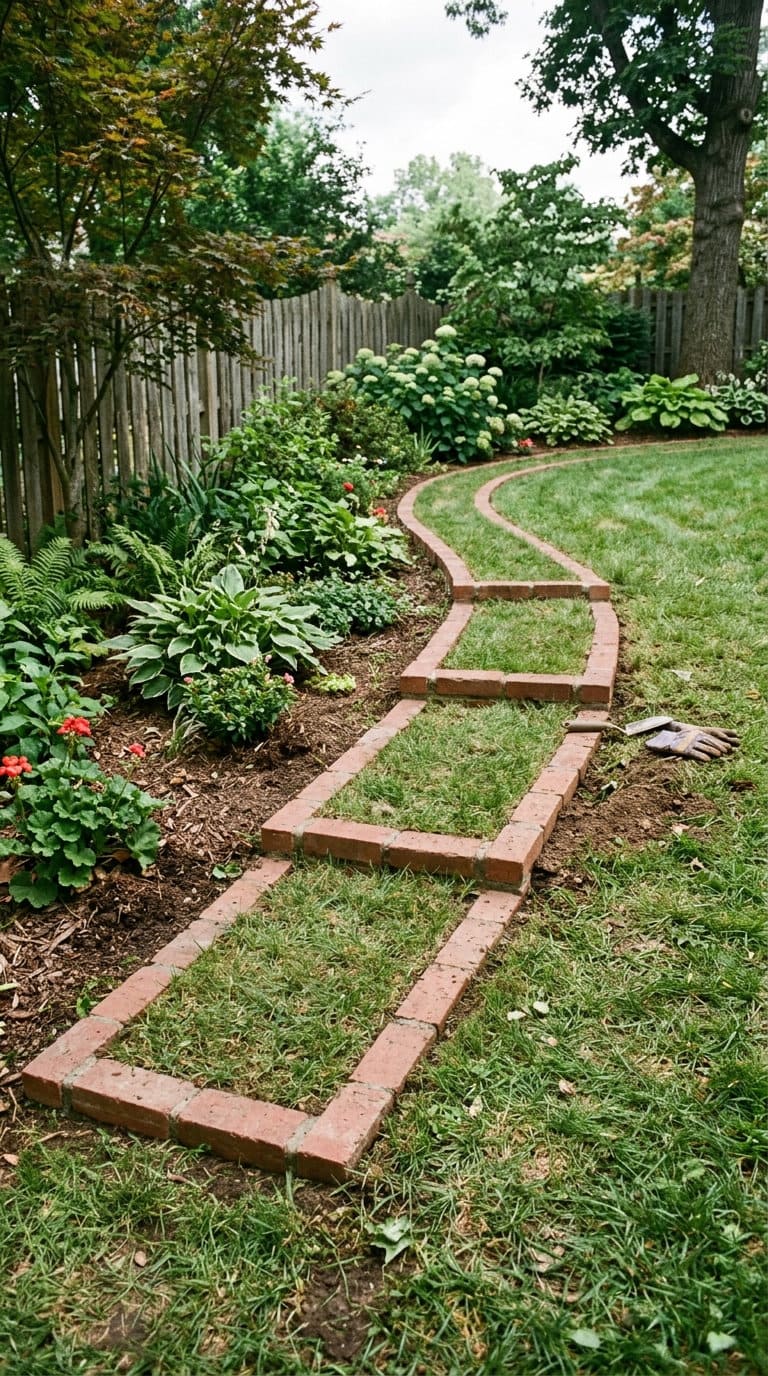
On a sloped yard, brick edging stepped down in sections (rather than one continuous line following the grade) creates a series of small level changes instead of a single sloped run.
Each step needs its own properly prepared base, this isn’t a shortcut around the base-prep advice in section 1, it’s the same advice applied multiple times down a slope.
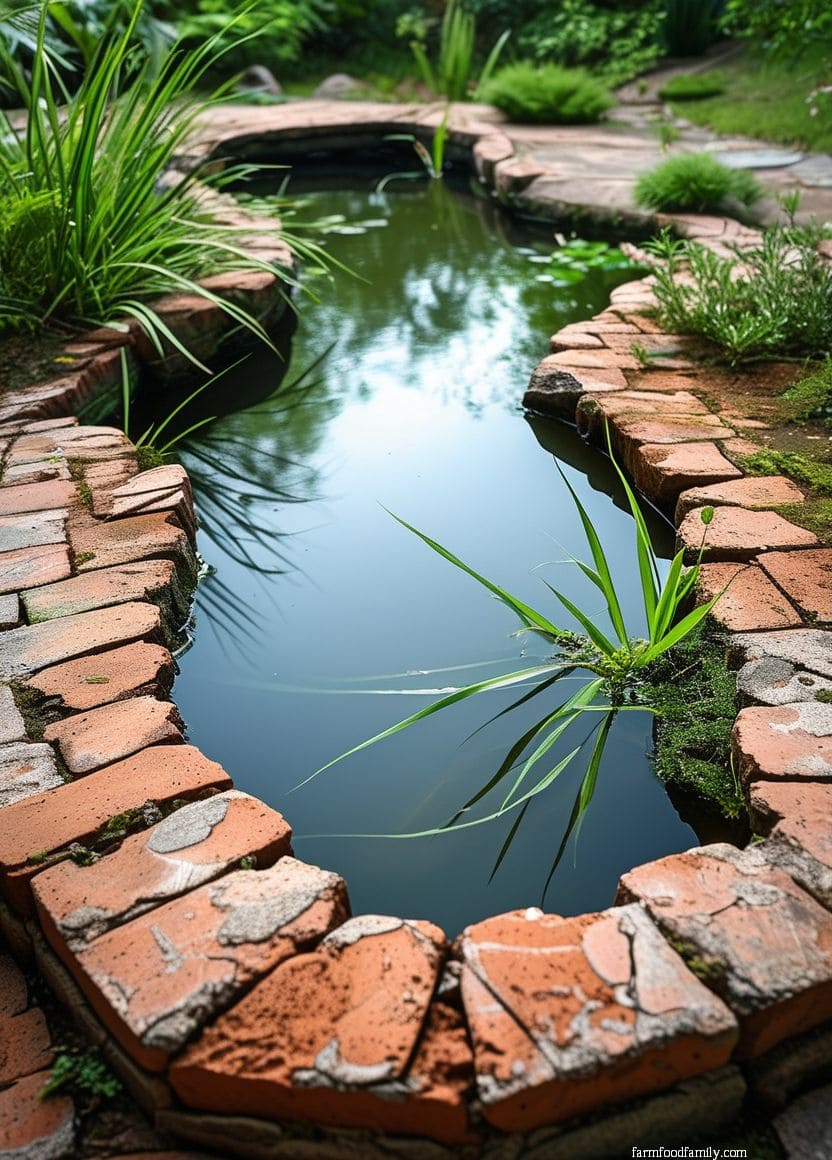
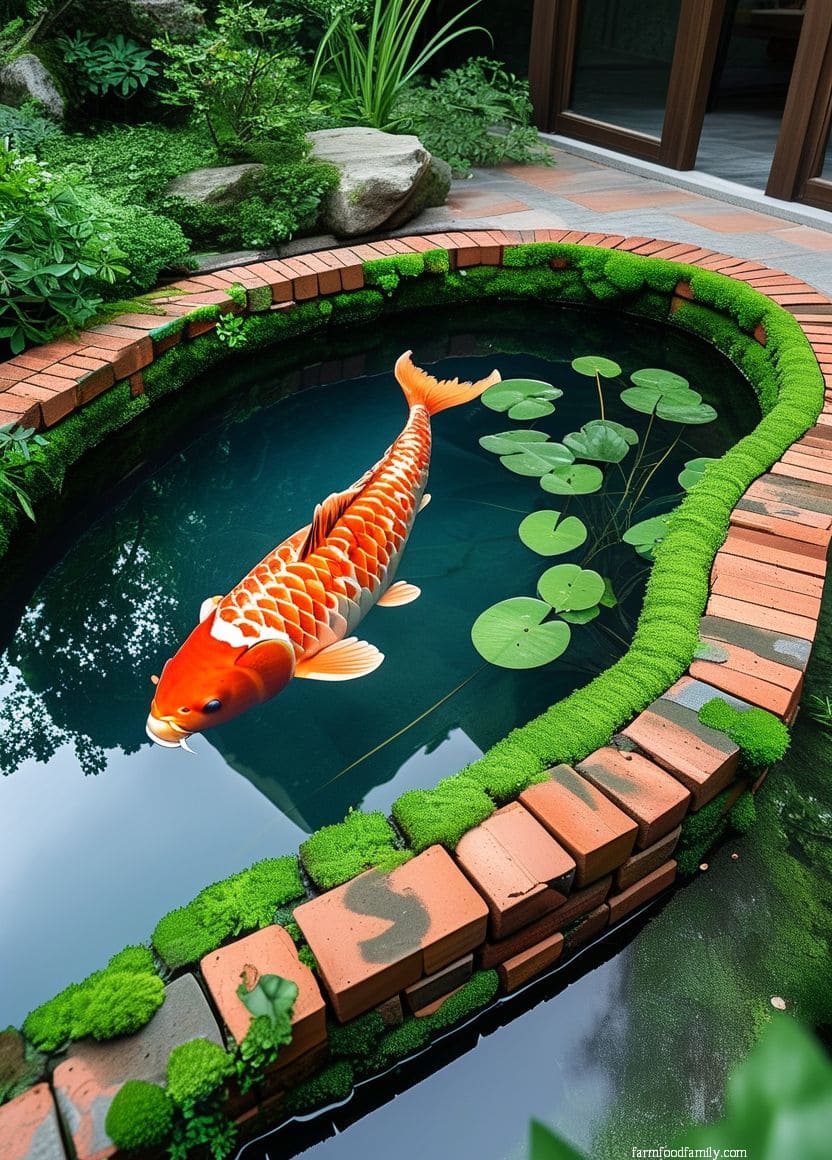
14. Brick Edging for Water Features
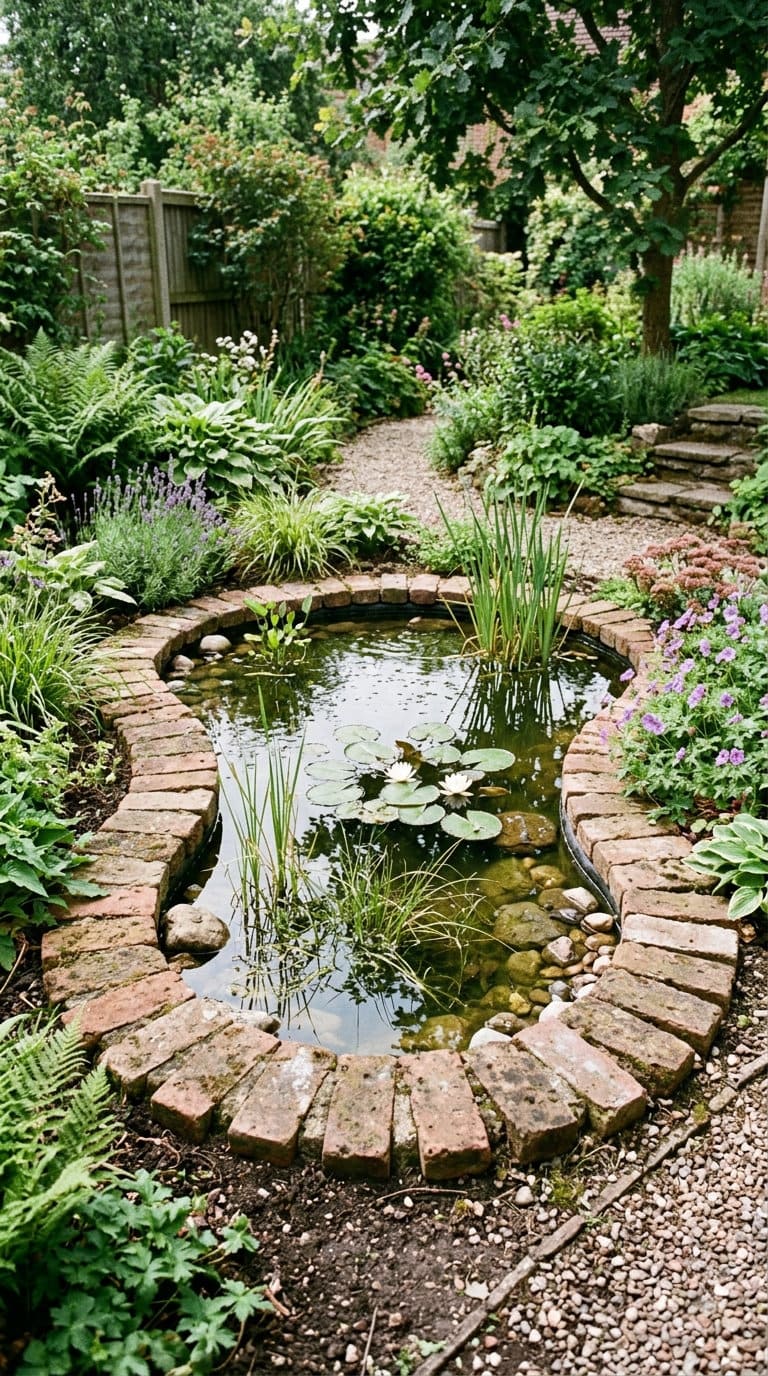
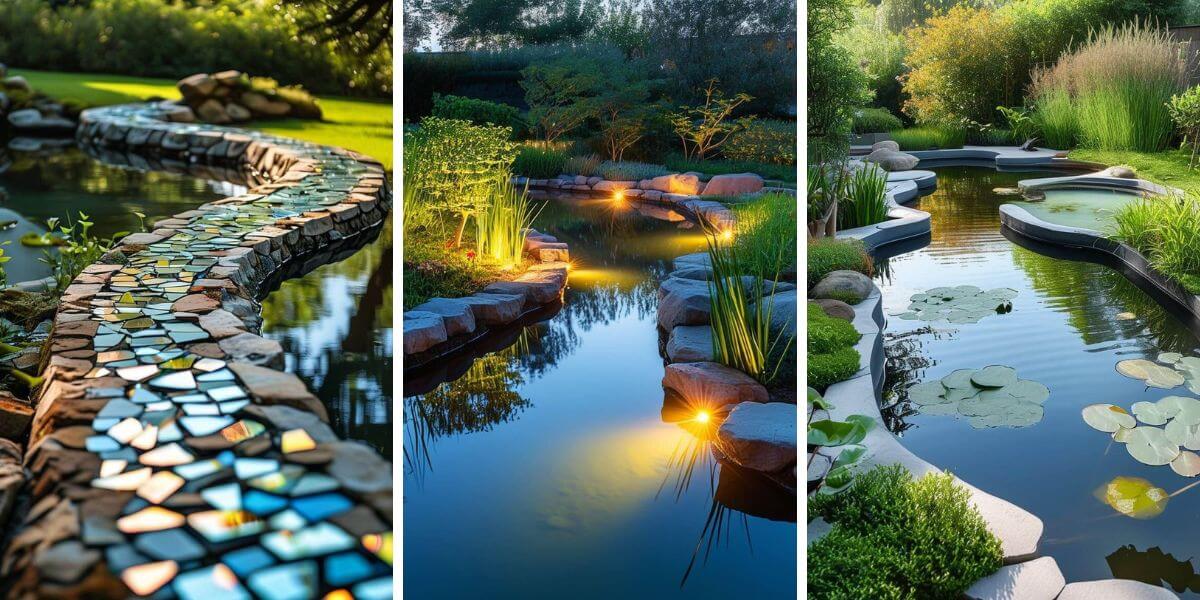
Brick edging around a pond or water feature deals with constant moisture exposure, which makes the SW weathering grade from section 1 non-negotiable here specifically, non-rated brick right at a waterline will degrade faster than anywhere else in the yard.
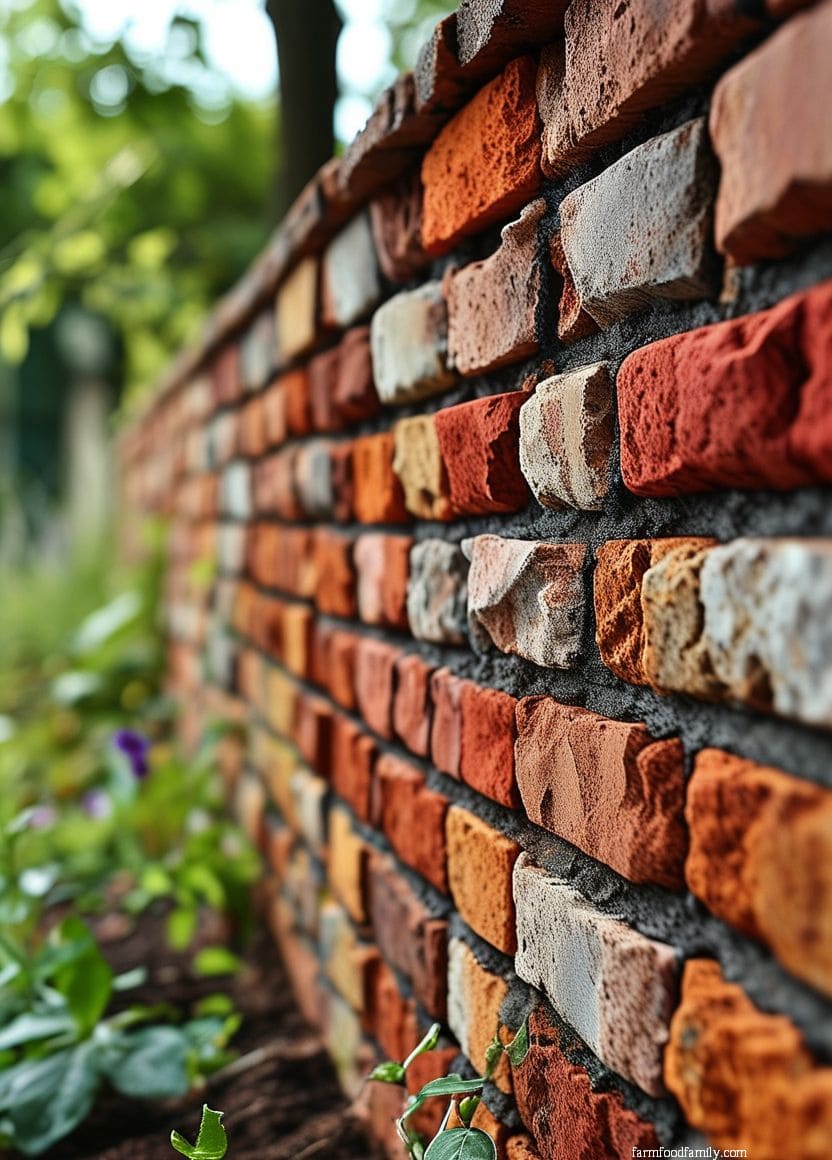
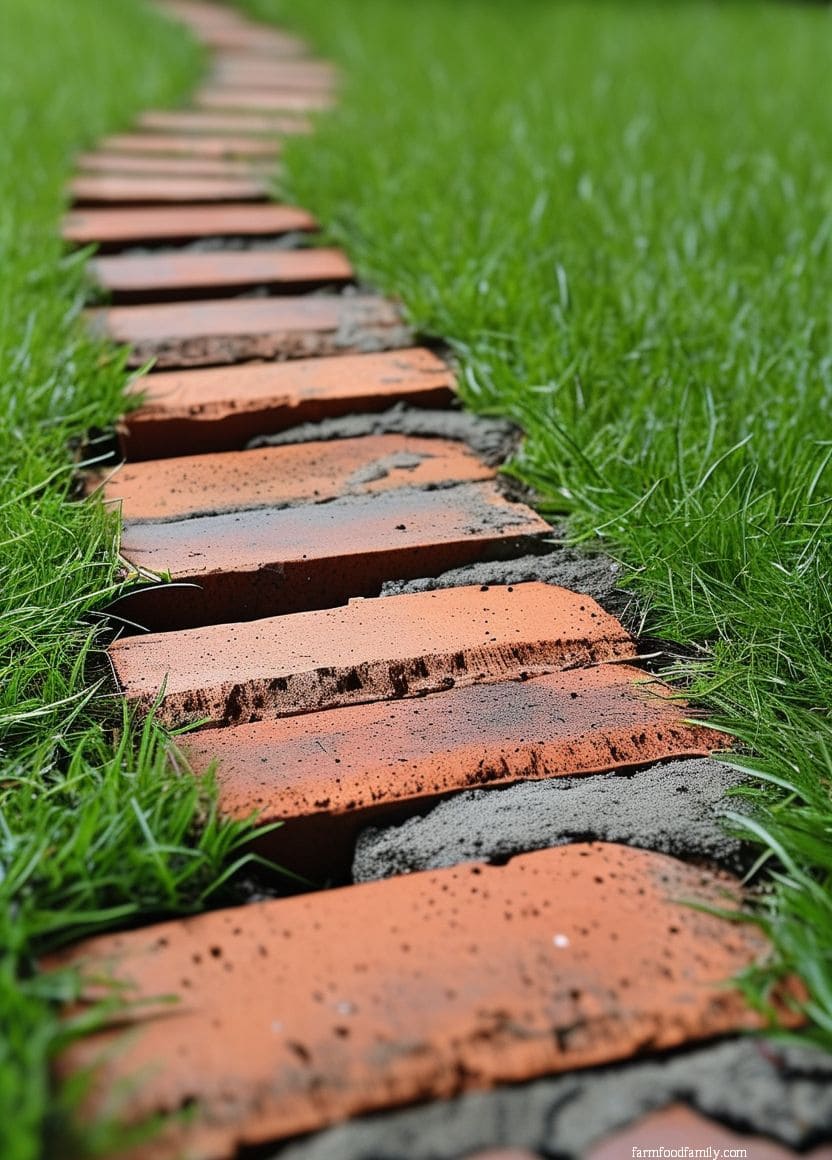
15. Rustic Brick Edging
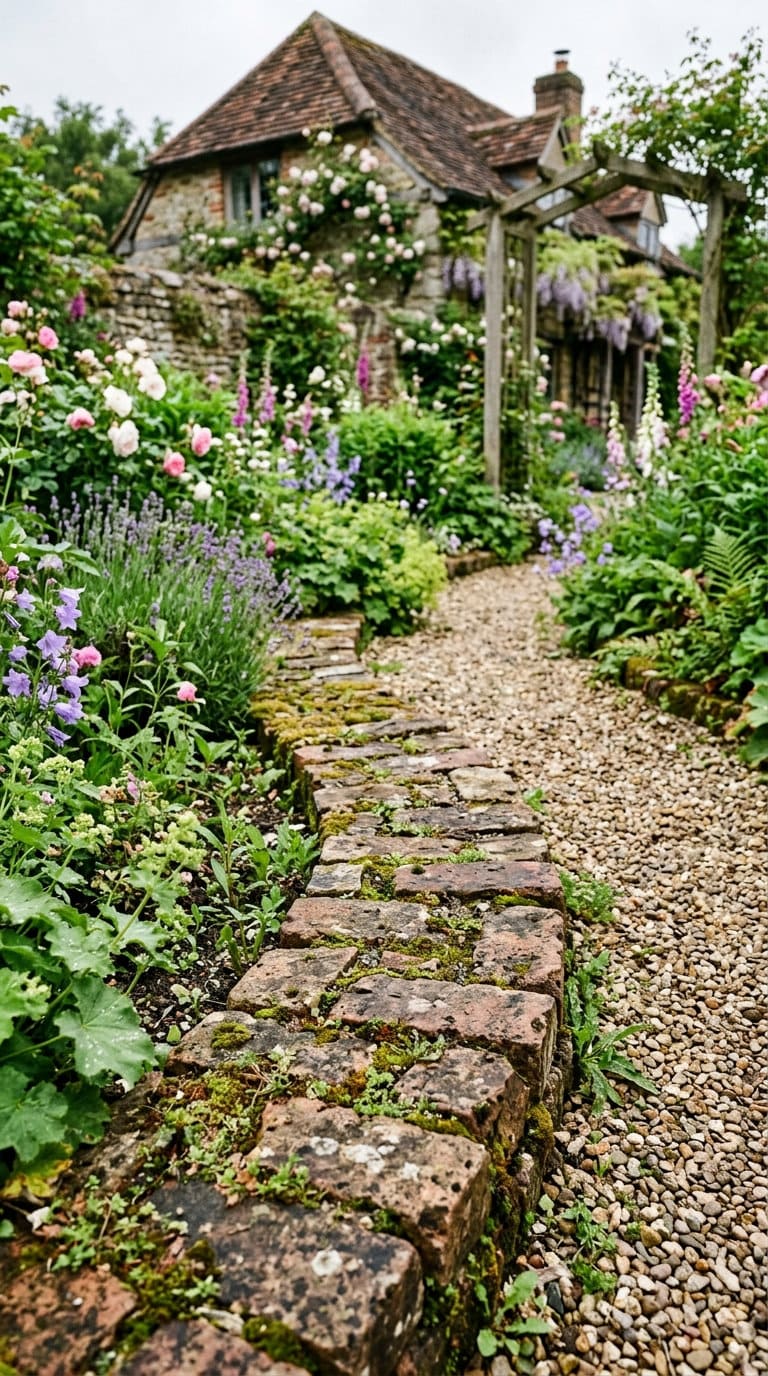
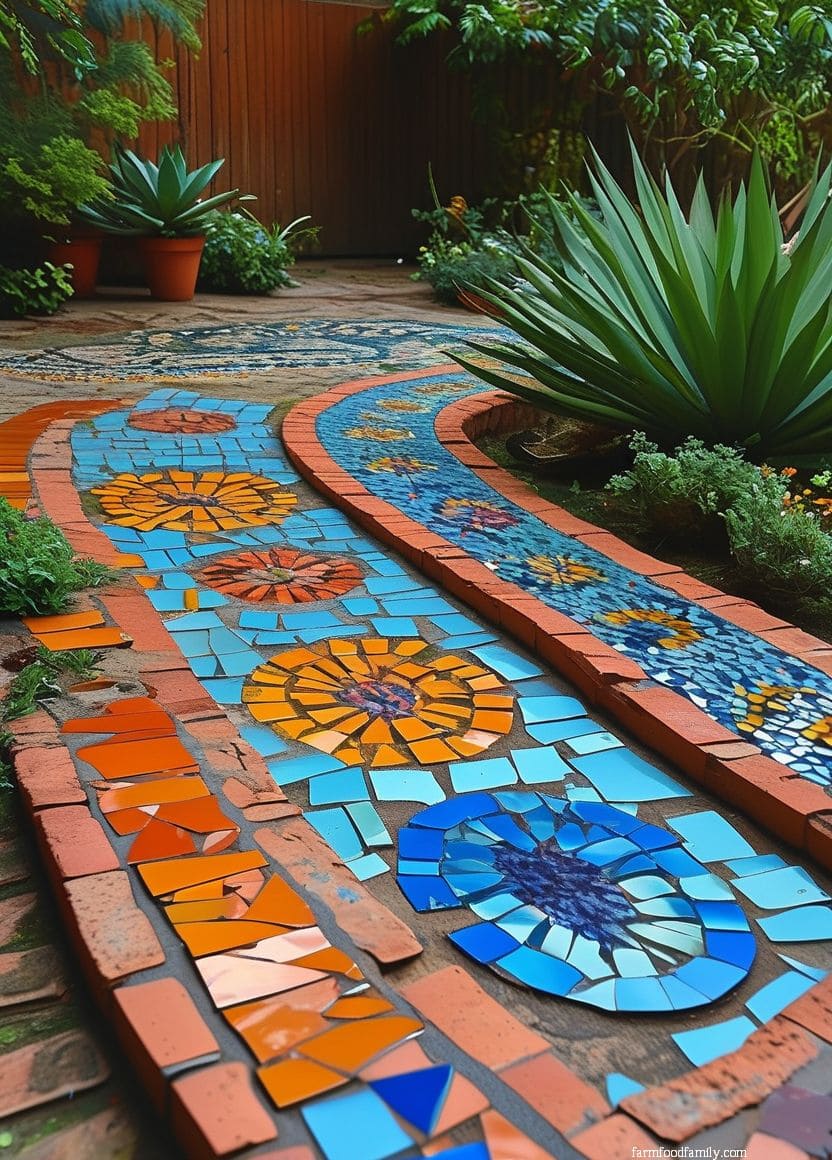
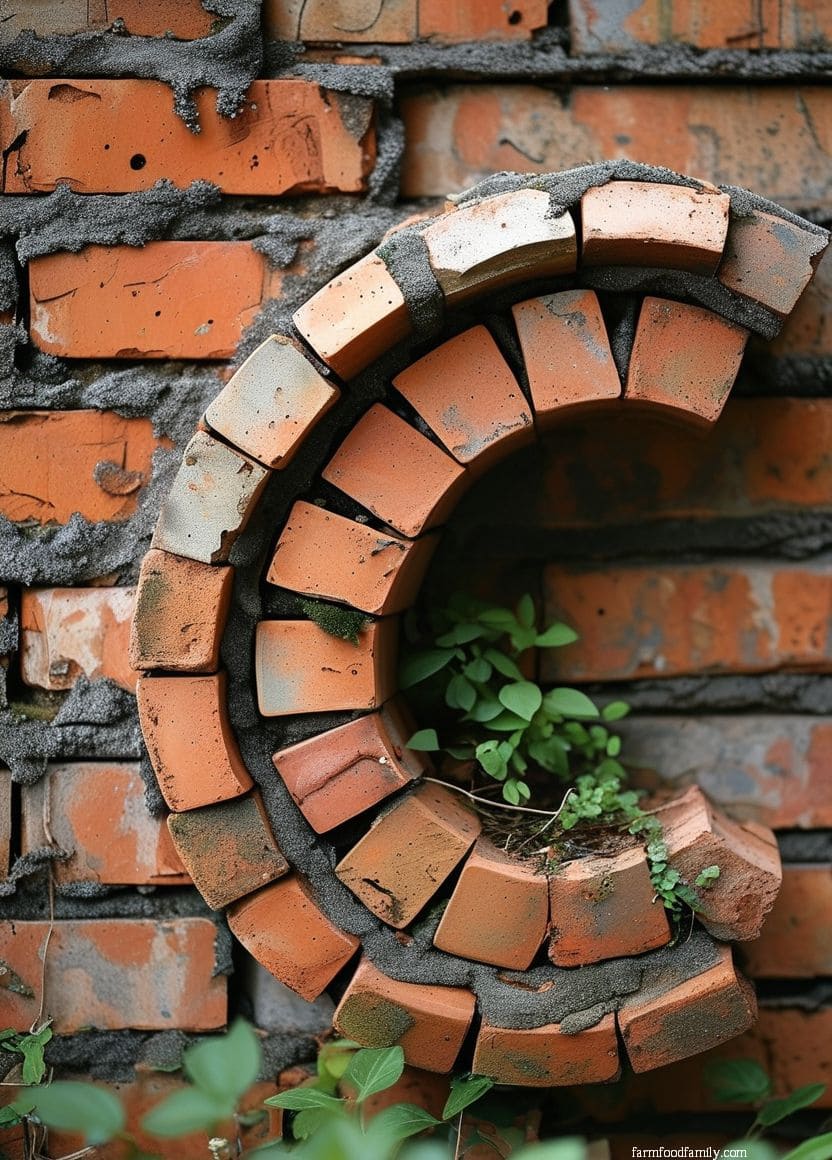
Weathered, reclaimed, or deliberately irregular brick gives a cottage-garden or old-world look that a uniform new course can’t replicate.
This is also the section where the dry-laid-versus-mortared decision matters most: dry-laid (sand-set) is cheaper, faster, and fits the loose rustic aesthetic better, but it will shift with frost and needs periodic re-leveling; mortared holds its line for decades but costs more upfront and reads a little too crisp for a genuinely rustic look.
If you go dry-laid, use polymeric sand in the joints rather than plain sand, it hardens when misted with water and cuts down significantly on weeds growing up between the bricks, a common complaint with sand-set brick edging.
A few more things worth planning around
If brick isn’t quite the material you end up choosing, it’s worth comparing against stone edging ideas and mulch edging ideas before committing to a full trench-and-base installation.
If you’ve got old brick sitting around from a demo project, repurposed old brick ideas covers other uses beyond edging. And for the actual installation mechanics referenced throughout this piece, how to lay bricks for garden edging walks through the step-by-step process in more detail.
Conclusion
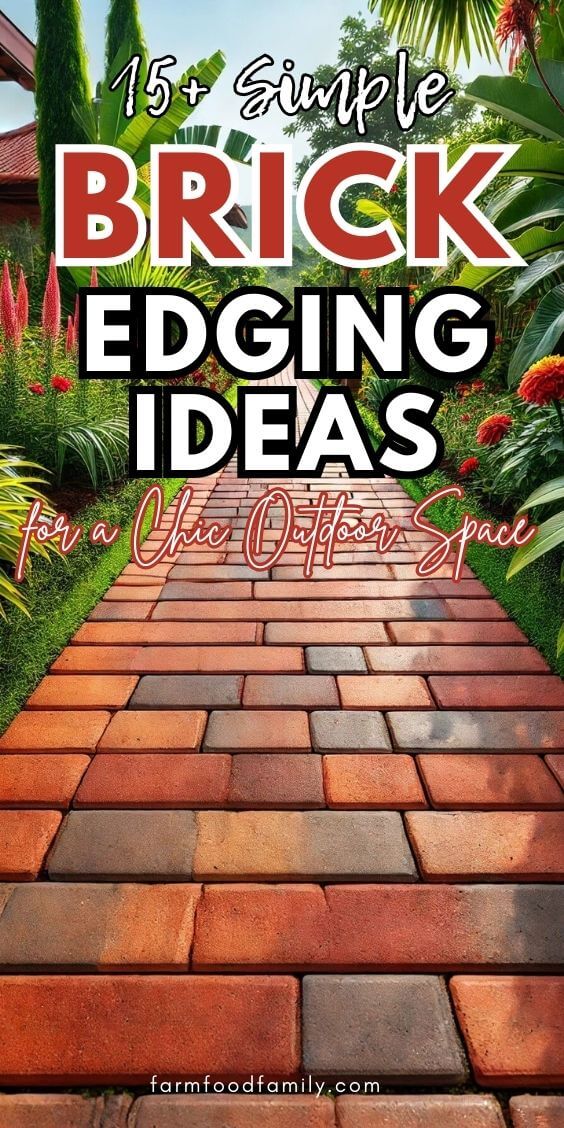
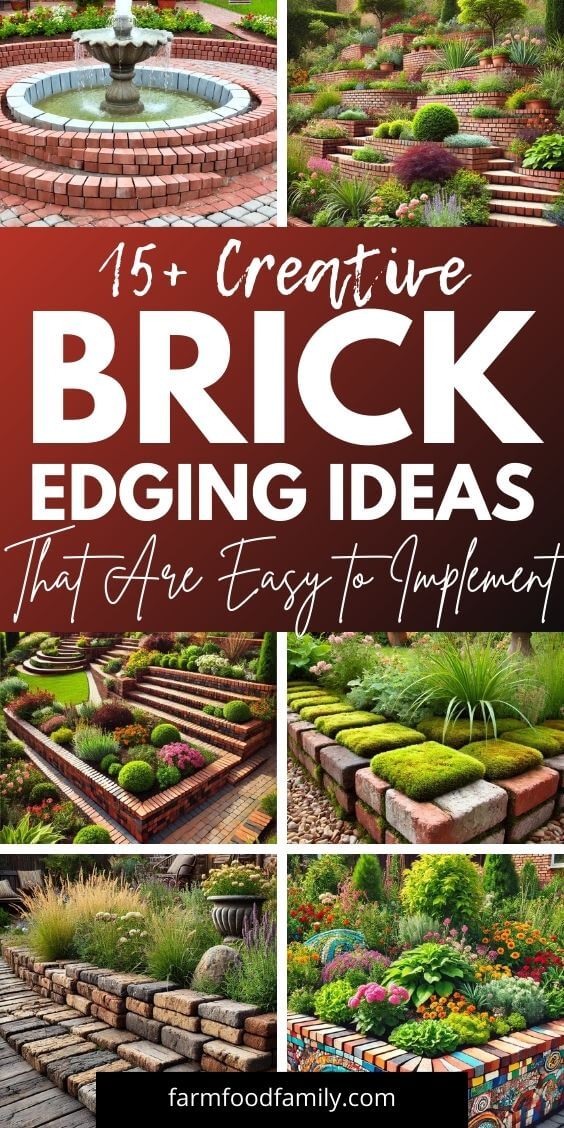
In wrapping up, each of these brick edging ideas offers a distinct way to enhance your garden’s character and functionality.
Whether you’re building dramatic multi-levels, outlining serene water features, or instilling rustic charm through weathered bricks, there’s an edging style that aligns with every garden theme and need.
These edging techniques not only elevate the visual appeal but also provide practical benefits like erosion control and path delineation.
So, grab some bricks, unleash your creativity, and transform your garden into a beautifully edged masterpiece that reflects your personal style and landscaping vision. Happy gardening!
FAQs
What’s the best type of brick for outdoor edging?
Look for SW-rated brick, “severe weathering,” which is the only grade the Brick Industry Association rates for repeated freeze-thaw exposure. NX brick is interior-only and MX is exterior but not freeze-rated, using either outdoors in a climate with real winters is a common and avoidable mistake.
How deep should a brick edging trench be?
Roughly 6 inches, with about 4 inches of compacted crushed gravel and 1 to 2 inches of coarse sand on top as the setting bed, per Oregon State University Extension and the University of Missouri Extension. Go deeper in colder climates where frost penetrates further into the soil.
Does brick edging shift or heave in winter?
It can, and it’s a common enough complaint that it comes up regularly on landscaping forums. The cause is almost always inadequate base prep rather than the brick itself, without a proper gravel base for drainage and frost protection, seasonal freeze-thaw cycles will push brick up and out of alignment regardless of brick quality.
What maintenance does brick edging need?
Check periodically for shifted or loose brick, especially after winter, and pull weeds growing in the joints before they establish. If white, powdery staining (efflorescence, mineral salts leaching to the surface) appears, don’t pressure-wash or use muriatic acid, both can make it worse; a stiff brush and plain water is the safer first step.
Never miss an update — choose FarmFoodFamily as your preferred source on Google.
How it works: Tap the button below to open Google's settings page, then check the box next to FarmFoodFamily.
Tap the checkbox to turn it blue — that's how you know it's set.