20 Sleek DIY Floating Shelf Ideas (With Stud, Anchor, and Safe-Finish Tips)
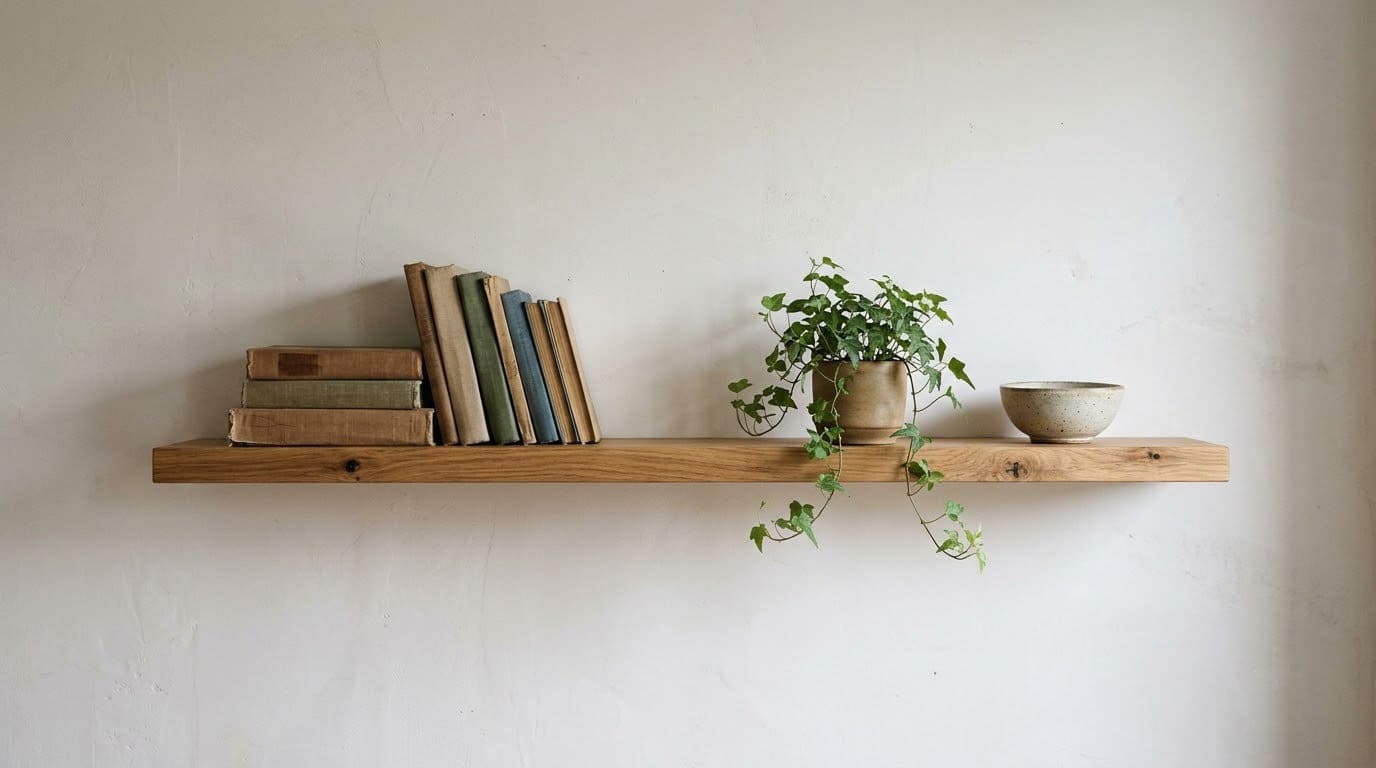
A floating shelf looks effortless, but it only stays up if it is fixed to studs or the right anchors and finished safely.

Never miss an update — choose FarmFoodFamily as your preferred source on Google.
How it works: Tap the button below to open Google's settings page, then check the box next to FarmFoodFamily.
Tap the checkbox to turn it blue — that's how you know it's set.
A floating shelf looks effortless, but it only stays up if it is fixed to studs or the right anchors and finished safely.
Products We Recommend
This post contains affiliate links. We may earn a commission on qualifying purchases at no extra cost to you.

Zircon StudSensor A100 Stud Finder with Live Wire Detection
Finds framing and flags live wires before you drill
Shop Now
8-Pack 10 Inch Hidden Floating Shelf Brackets
Concealed brackets for a shelf that hangs with no visible hardware
Shop Now
KURUI Drywall Anchors Assortment Kit with Toggle Bolts, 164 pcs
Toggle bolts and anchors for spots with no stud, with ratings on the package
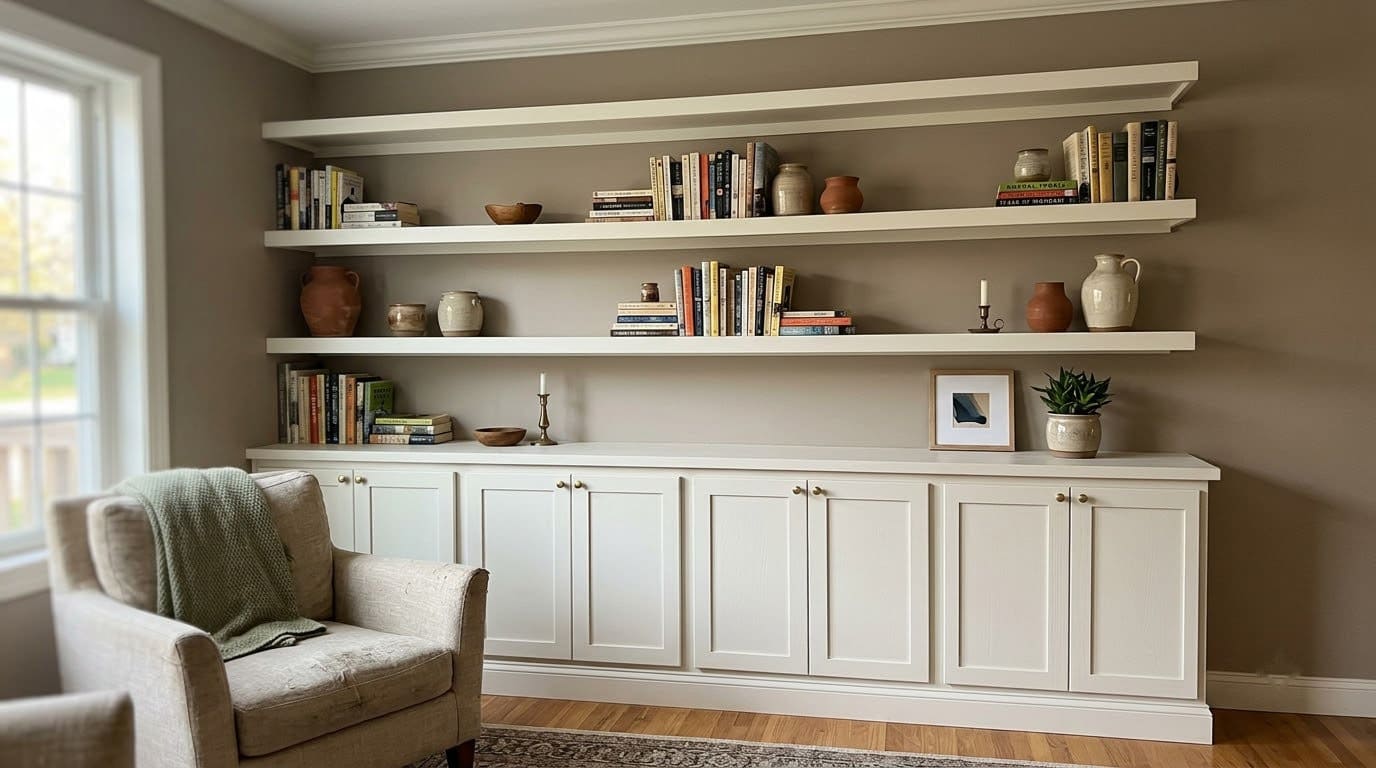
Shop NowA floating shelf is the cleanest way to add storage without adding furniture. There are no visible brackets, so books and plants seem to hang on the wall. The look is calm and modern, and a simple one costs far less than a store-bought piece.
The catch is that the strength is hidden too. A shelf that is not fixed to the wall properly will sag or fall. This guide gives you 20 ideas with the mounting, finishing, and safety notes that most lists skip.
In this article
Answer 4 quick questions and get matched to the exact fix for your yard — drainage, budget, layout, or something else entirely.
Take the Free QuizWhat’s the Quick Answer for a Floating Shelf That Stays Up?
Fix the shelf to wall studs wherever you can. Ryan Van Bibber of Family Handyman builds a floating shelf on a cleat. The cleat is a ripped 2×4 screwed to the studs with 4 inch lag screws, and the shelf slides over it.
Use a stud finder to locate the studs. Mark them with painter’s tape, and check the cleat for level before you tighten the screws. A level cleat is what keeps the whole shelf from tilting.
Be careful with finishing. The National Fire Protection Association’s Bob Benedetti told Consumer Reports that oil-based stains, polishes, and varnishes can heat up as they dry. Lay rags flat outdoors to dry.
Test the shelf before you load it. Push down on it by hand, then add weight slowly. A shelf that moves or creaks at this point is not ready for books, so tighten the fixings or add a second stud.
Which Mounting Method Fits Your Shelf?
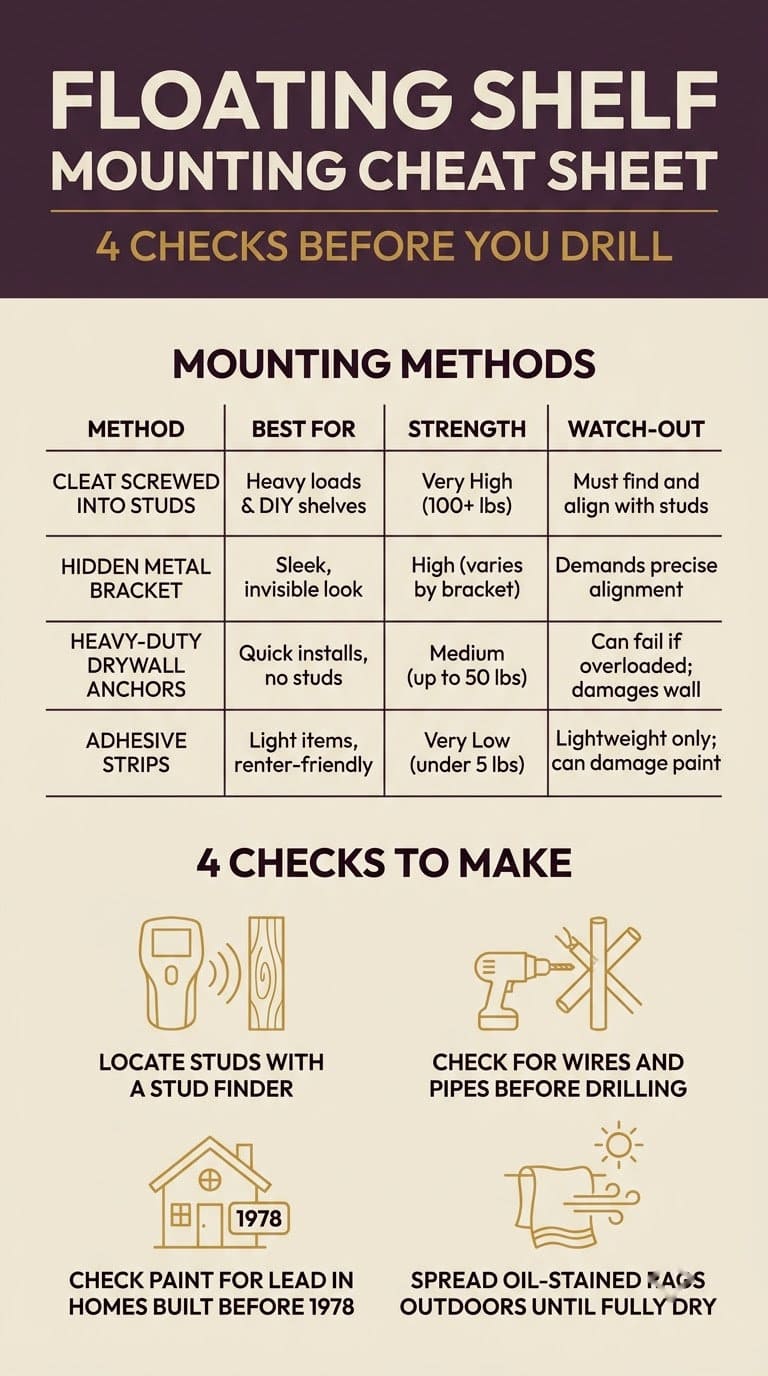
This table is our own planning guide. Only the cleat row is based on a fetched source. The other rows are general practice, so follow the package for any anchor you buy.

| Method | Best for | Strength | Watch-out |
|---|---|---|---|
| Cleat screwed into studs | Books, plants, decor | Strongest of the four | Needs studs where you want the shelf |
| Hidden metal bracket | Heavier shelves | Strong when screwed into studs | Bracket must match shelf thickness |
| Heavy-duty drywall anchors | Where no stud exists | Moderate, set by the anchor rating | Read the rating on the package |
| Adhesive strips | Very light decor | Weak | Do not trust for books or plants |
Most yard problems trace back to one specific, fixable cause. Find yours in 4 quick questions.
Take the Free QuizBefore You Start: Studs, Wires, Paint, and Tools
Gather a stud finder, a level, a tape measure, a drill, painter’s tape, and the fasteners for your wall. Find the studs first. They are often spaced 16 inches apart, but that can vary, so check each one.
Look for wires and pipes before you drill. Outlets and switches have wires running to them, so avoid drilling directly above, below, or beside them. A stud finder shows framing but not what runs through the wall.
Check old paint. The EPA says homes built before 1978 are more likely to have lead-based paint. It advises wetting an area before you sand and sanding the minimum.
How Do You Finish a Shelf Safely?
Sand the shelf in steps, then wipe off the dust. Family Handyman sands with 100-grit, vacuums the dust, and finishes with 150-grit. Then it stains the shelf and hides the screw heads with non-hardening putty so the shelf can come off later.
Handle stain rags with care. Benedetti says some oil-based finishes heat up as they dry and cure. Heat can build when wet rags are piled or balled up.
Consumer Reports gives these steps. Do not toss wet rags in the trash. Spread them outdoors on the ground or a metal rack until they are fully dry and somewhat hard. Two full days is usually enough, but it may take longer.
If rags catch fire outdoors, douse them with water or cover them with sand or dirt. If they catch fire indoors, call the fire department and get everyone outside.
Finds framing and flags live wires before you drill
Shop NowThis post contains affiliate links. We may earn a commission on qualifying purchases at no extra cost to you.
How Do You Plan the Layout and Spacing?
Sketch the wall before you cut anything. Mark the studs first, then decide where the shelves can sit on them. Work around the studs, since a shelf that lands between them needs anchors instead.
Set the first shelf at a height that suits its use. Place a bookshelf where you can reach every row, and a key shelf near the door at about hand height. Leave enough clearance above a shelf for the tallest object it will hold.
The average homeowner spends $616/year on yard fixes that don't address the real problem. Find out what yours actually is — before you spend another dollar.
Take the Free QuizUse painter’s tape to outline each shelf on the wall. Stand back and check the spacing from across the room. Move the tape until the rhythm looks right, and only then drill.
Keep heavy items near the wall end of the shelf and over a stud. Spread the load across the length instead of stacking it in one spot.
20 Sleek DIY Floating Shelf Ideas
1. Classic Cleat Shelf
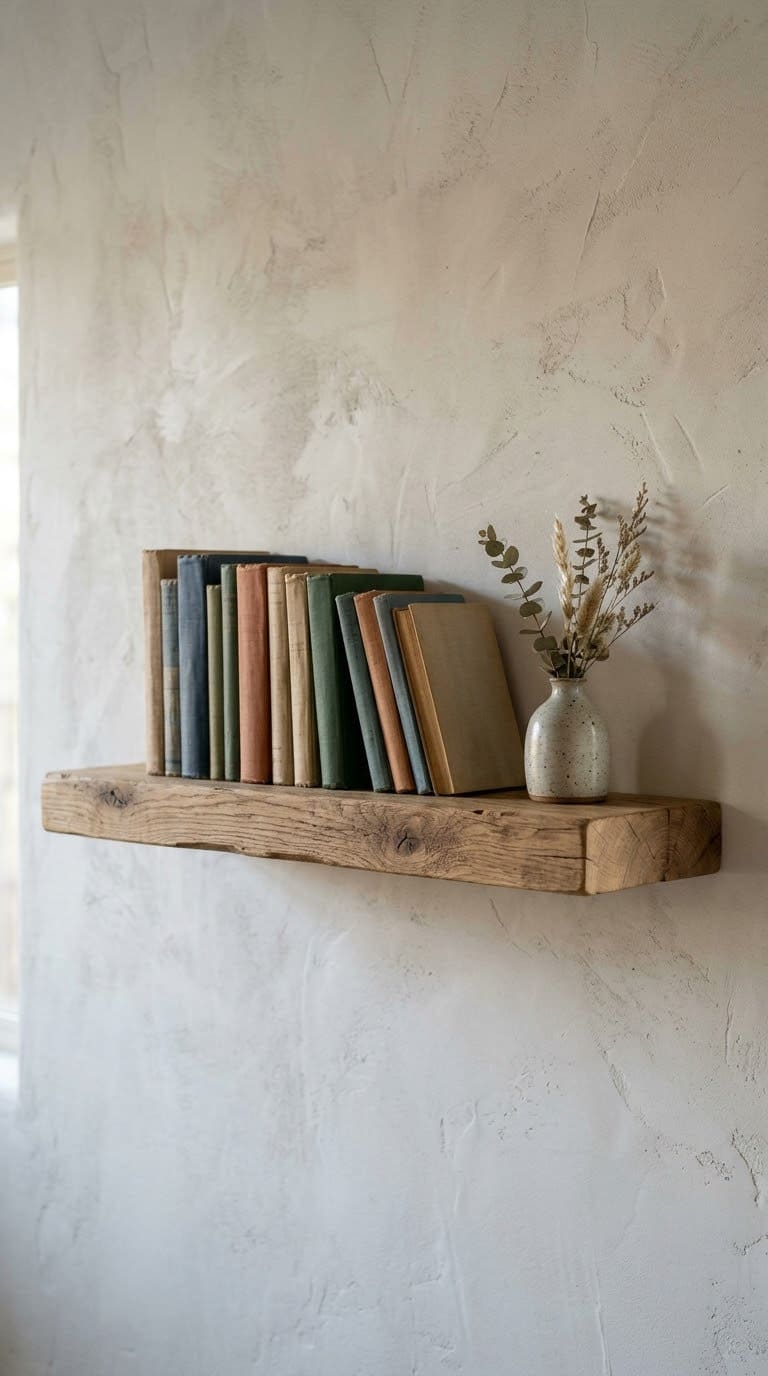
This is the shelf to learn on. Build a hollow box from plywood, and slide it over a cleat screwed to the studs. Family Handyman’s version is 72 inches long, 11 inches deep, and 2-1/2 inches thick, from 1/2 inch red oak plywood.
The author says the shelf can support about 50 lbs. each, with no test method given, so treat that as a ceiling and load it lighter. For hardware options, see our shelf bracket guide.
Cost tier: medium.
2. Live-Edge Shelf
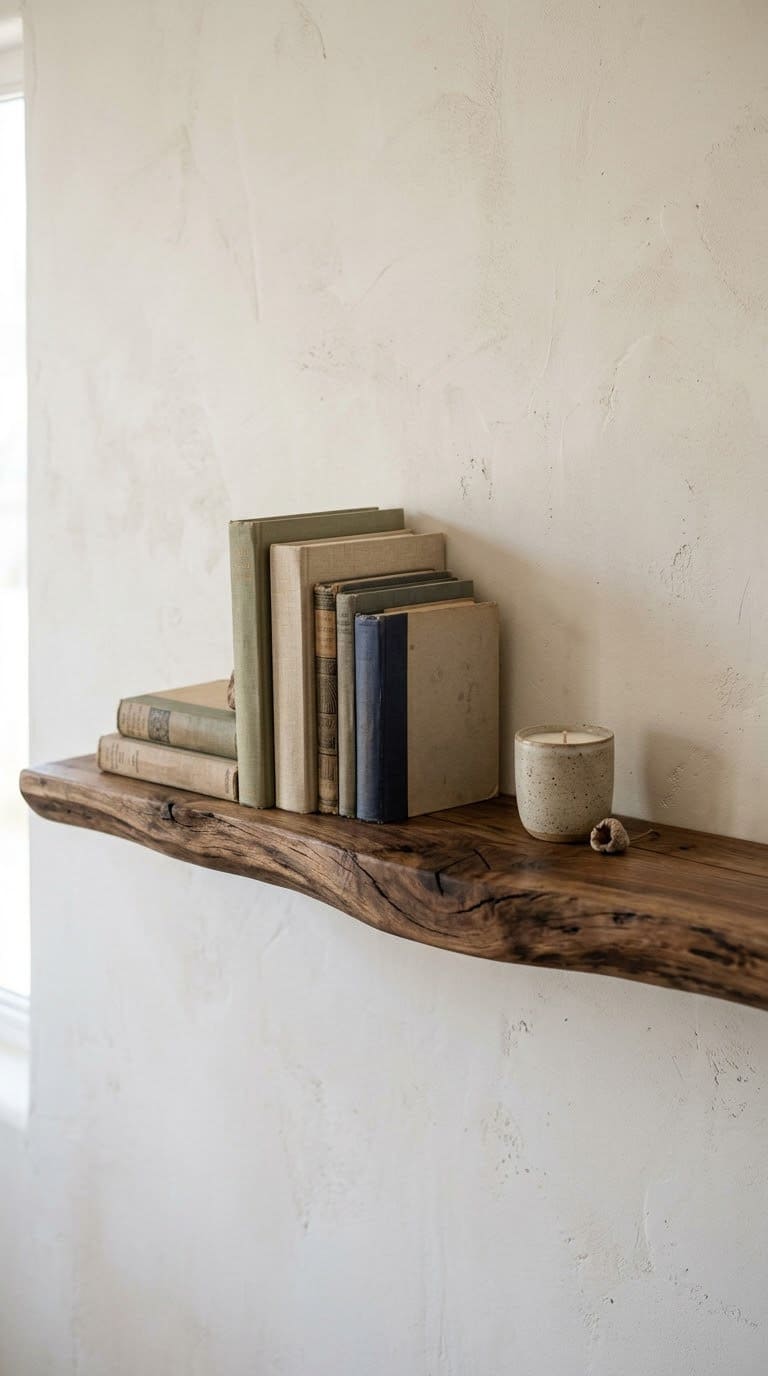
Mount a live-edge board on hidden brackets. Sand the edge smooth, and seal the bark side so it does not shed. The natural curve gives a warm focal point.

Pick a board that is flat and dry. A warped board will pull away from the wall.
Cost tier: medium to high.
3. Hexagon Honeycomb Shelves
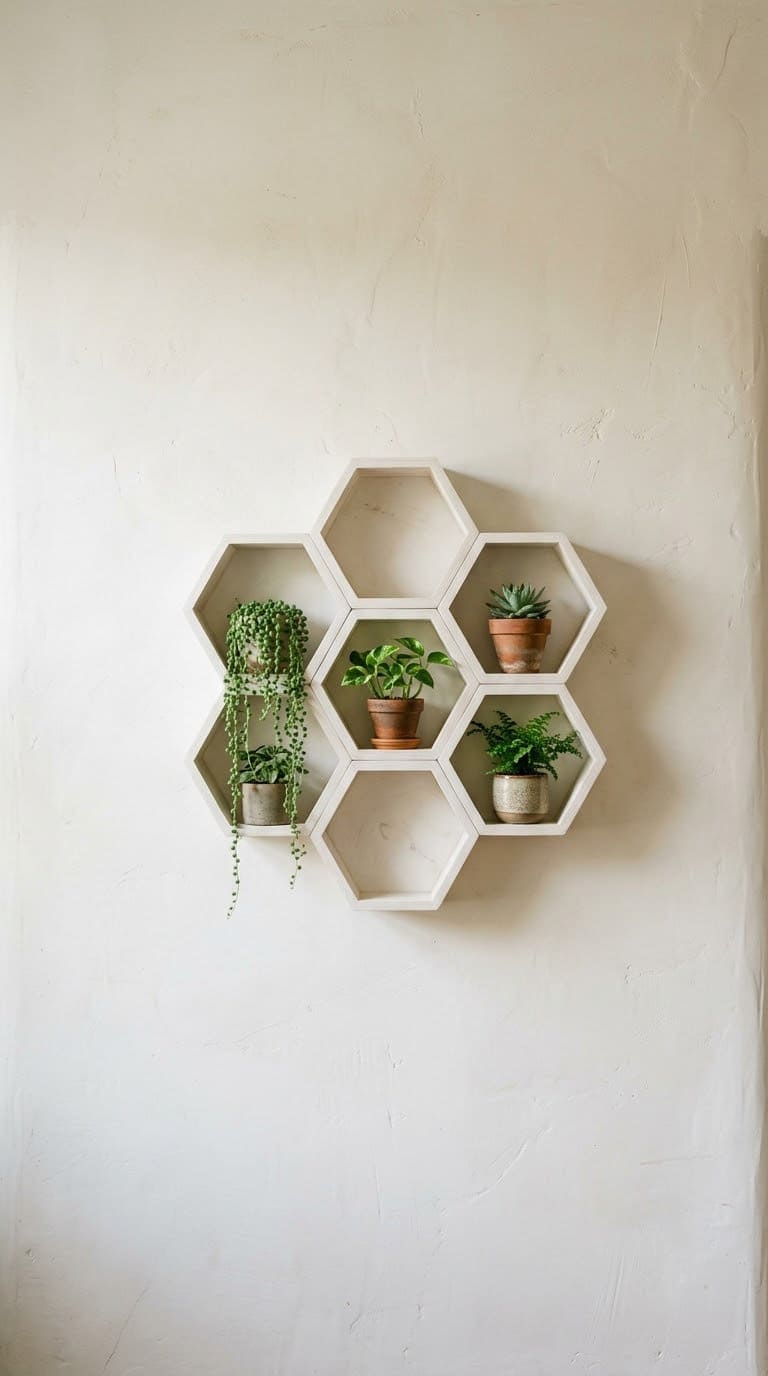
Cut six equal sides at a 30-degree angle to make each cell. Glue and clamp the joints, then screw each cell to the wall. Group three to seven cells in a cluster.
Keep the items light, such as small plants and trinkets. Our gallery wall ideas show how to mix shelves and frames.
Cost tier: medium.
4. Angled Library Shelf
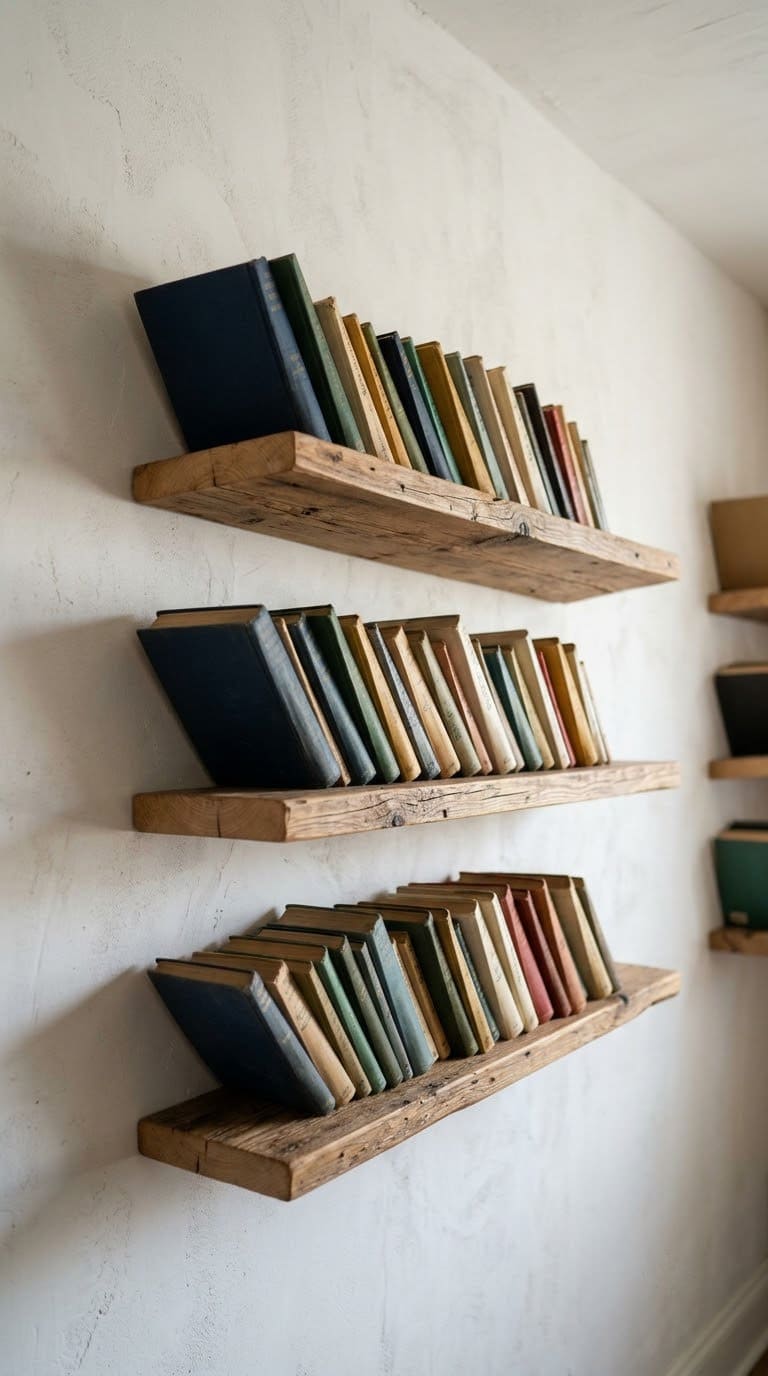
Tilt each shelf slightly so books lean in. Use a hidden bracket sized for the tilt. Keep the angle gentle, so books cannot slide off.
Space the shelves evenly. Load heavy books on the lowest shelf. See more book ideas in our DIY bookshelf ideas.
Cost tier: medium.
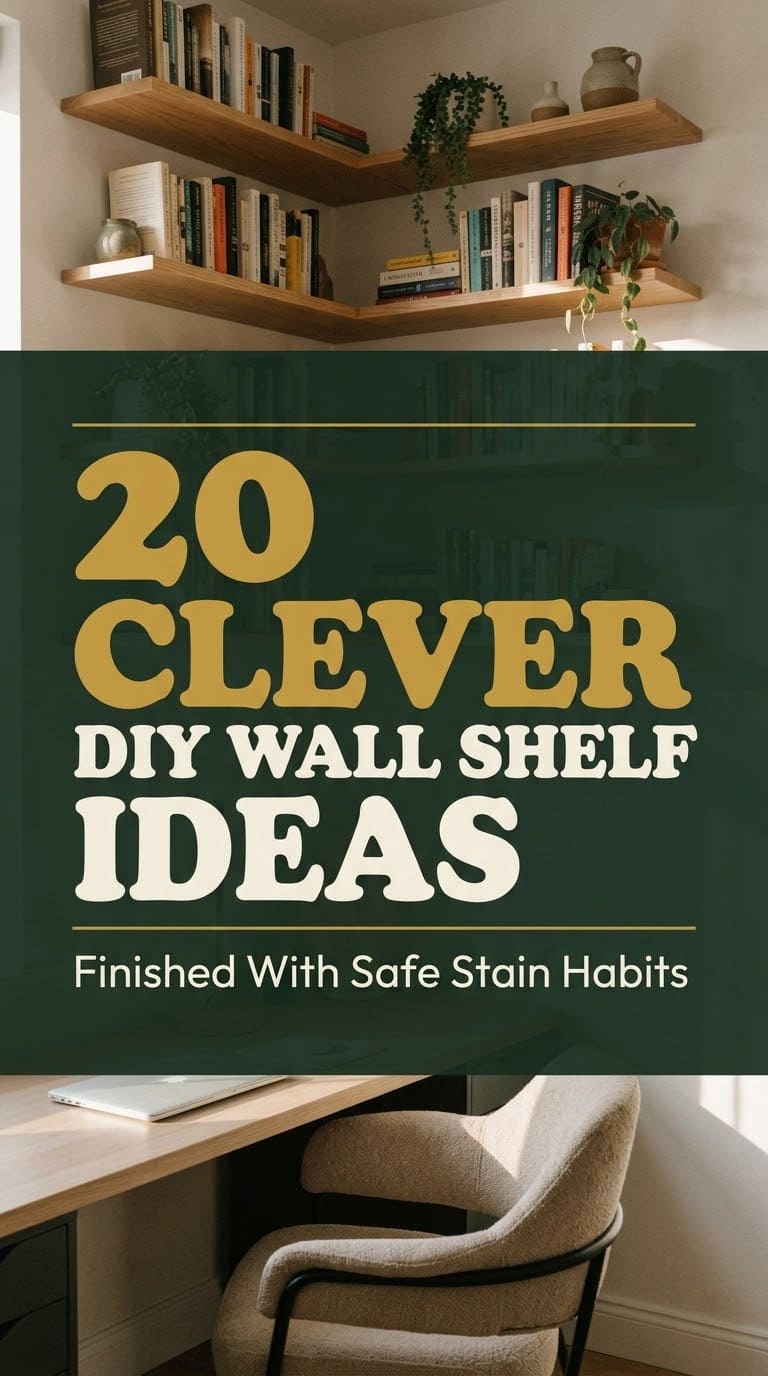
5. L-Shaped Corner Shelf
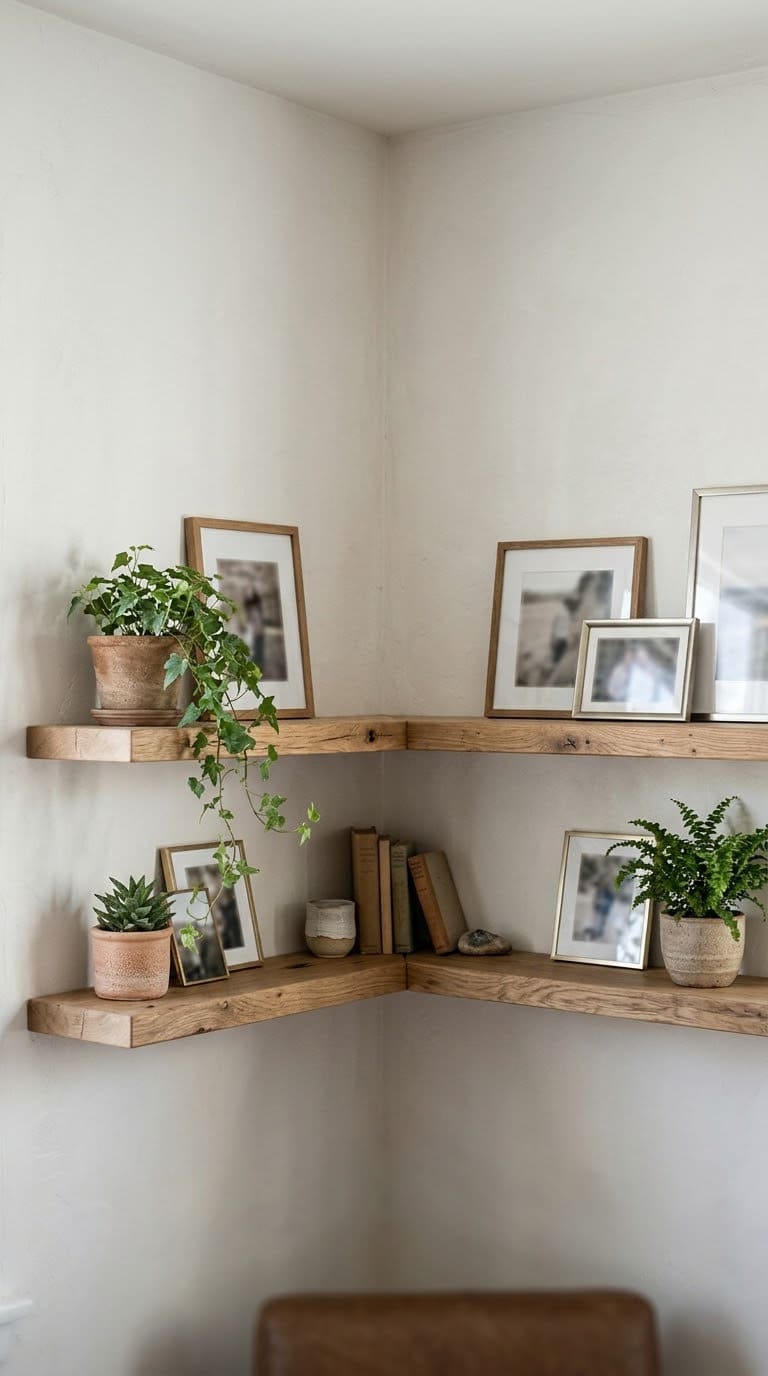
Join two boards at a right angle, and wrap the shelf around an inside corner. Fix one leg to studs on each wall. A corner uses space that is usually wasted.
Check that both walls are plumb. Our corner shelf ideas cover more layouts.
Cost tier: medium.
6. Triangle Corner Shelf
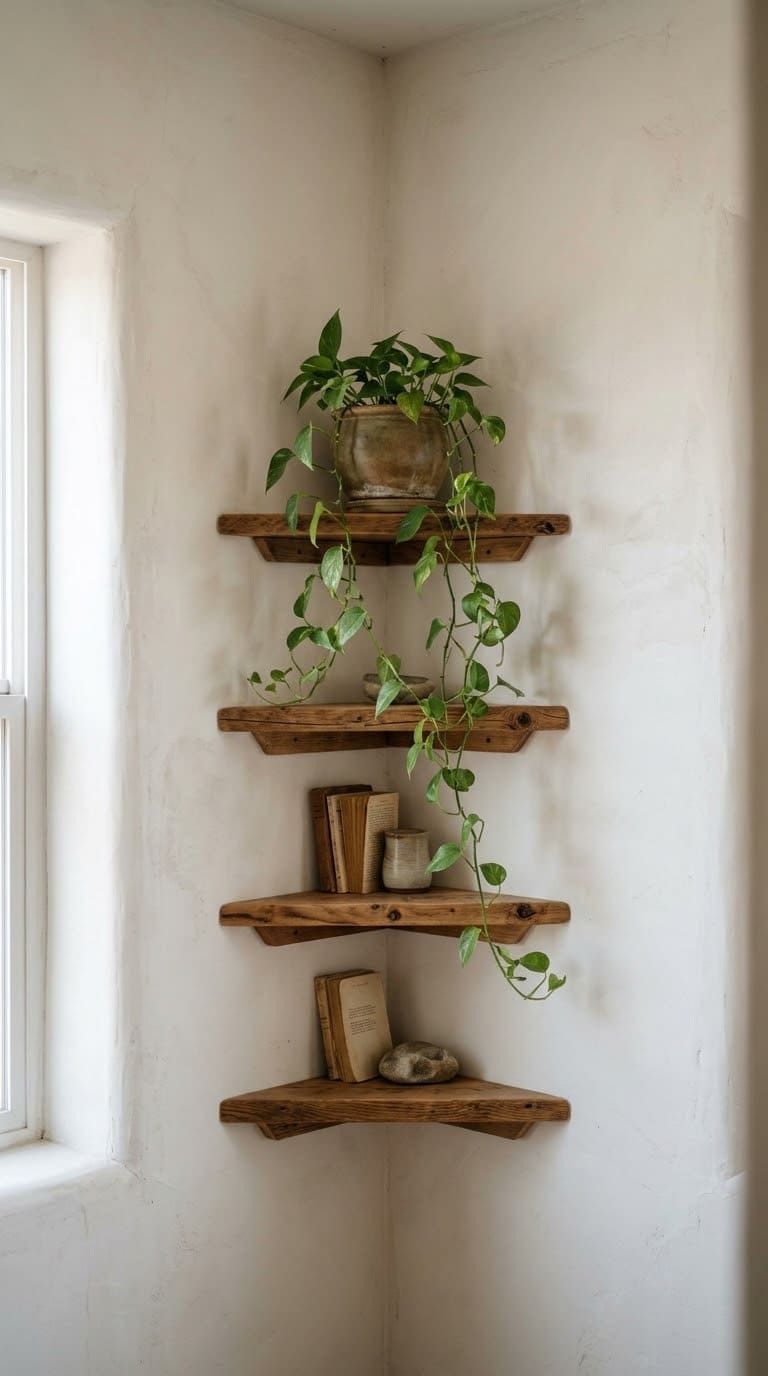
Cut triangles from solid wood or plywood, and mount them in a corner at staggered heights. Use pocket screws or brackets into the studs.
Keep each shelf small and light. A trailing plant looks good against the angles.
Cost tier: low to medium.
7. Stair-Step Wall Shelves
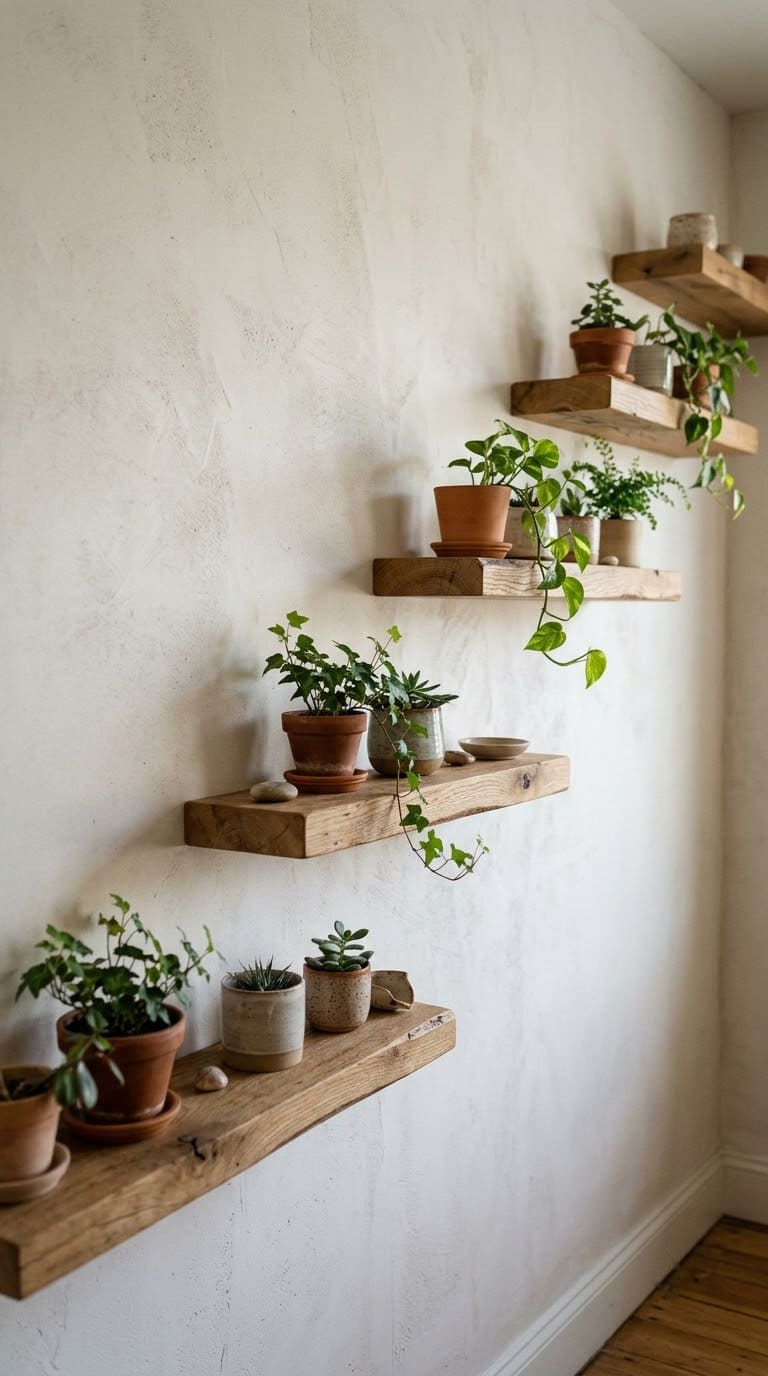
Mount shelves in a diagonal line so they step up the wall. Vary the length slightly. Fix each shelf into a stud, and keep the steps even.
The pattern draws the eye upward. Use it in a stairwell or a tall entry.
Cost tier: medium.
8. Drawer Floating Shelf
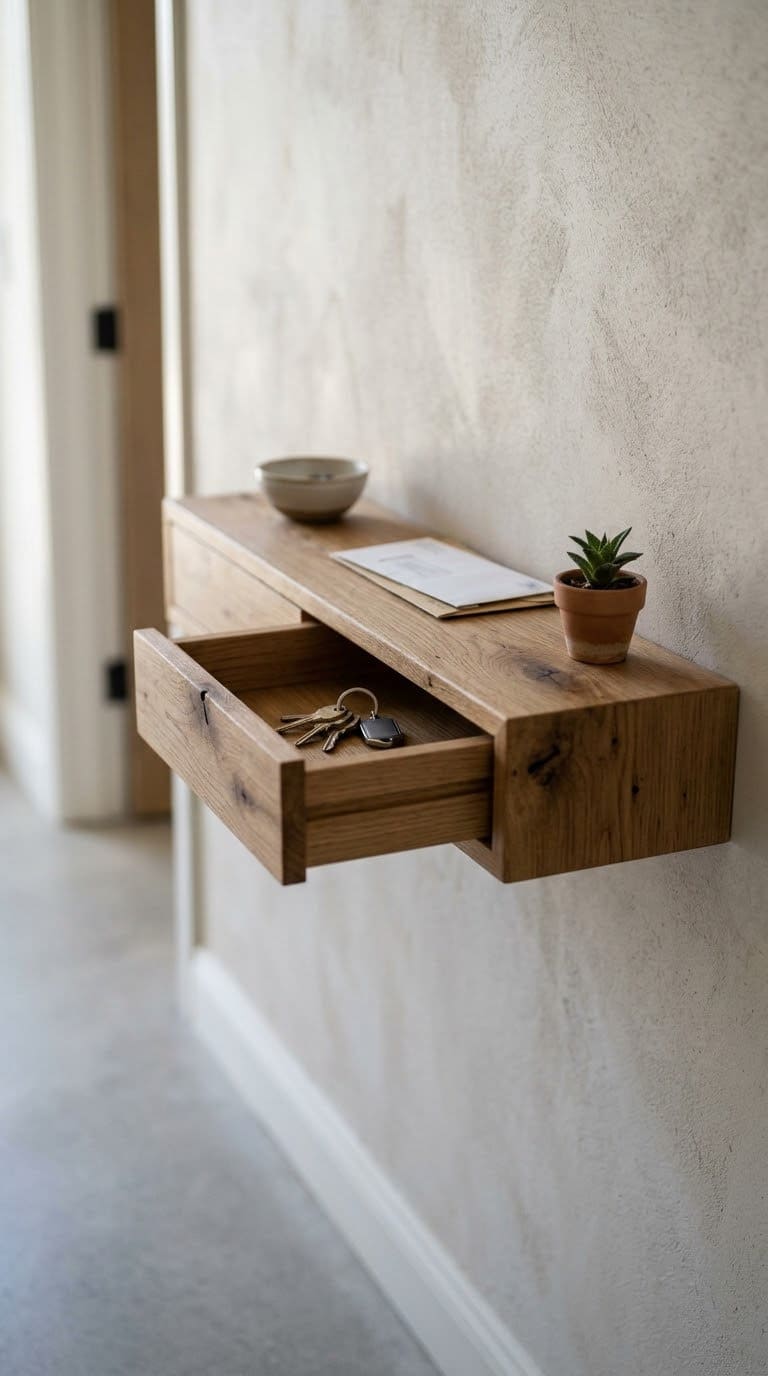
Build a deeper box with a shallow drawer. Add full-extension slides, and make the box strong. The extra weight of a drawer means the mounting must be solid.
Fix the box to studs with a cleat or bracket. Keep the drawer for light items.
Cost tier: high.
9. Wave Shelf
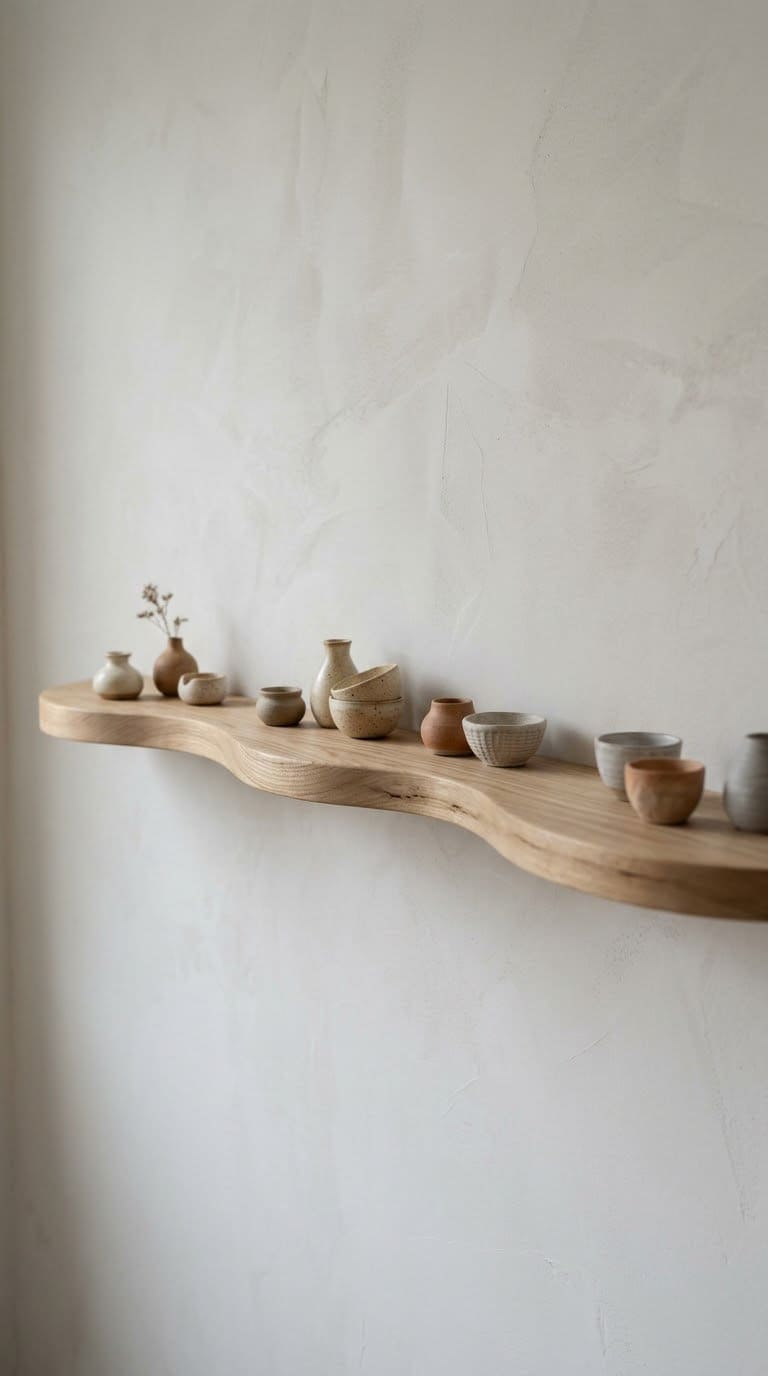
Cut a wave profile from plywood with a jigsaw. Sand the curve smooth, and mount it on hidden brackets. Place objects in the dips so they do not roll.
Use the wave in a bedroom or a reading nook. Keep the items light.
Cost tier: medium.
10. Spiral Ribbon Shelf
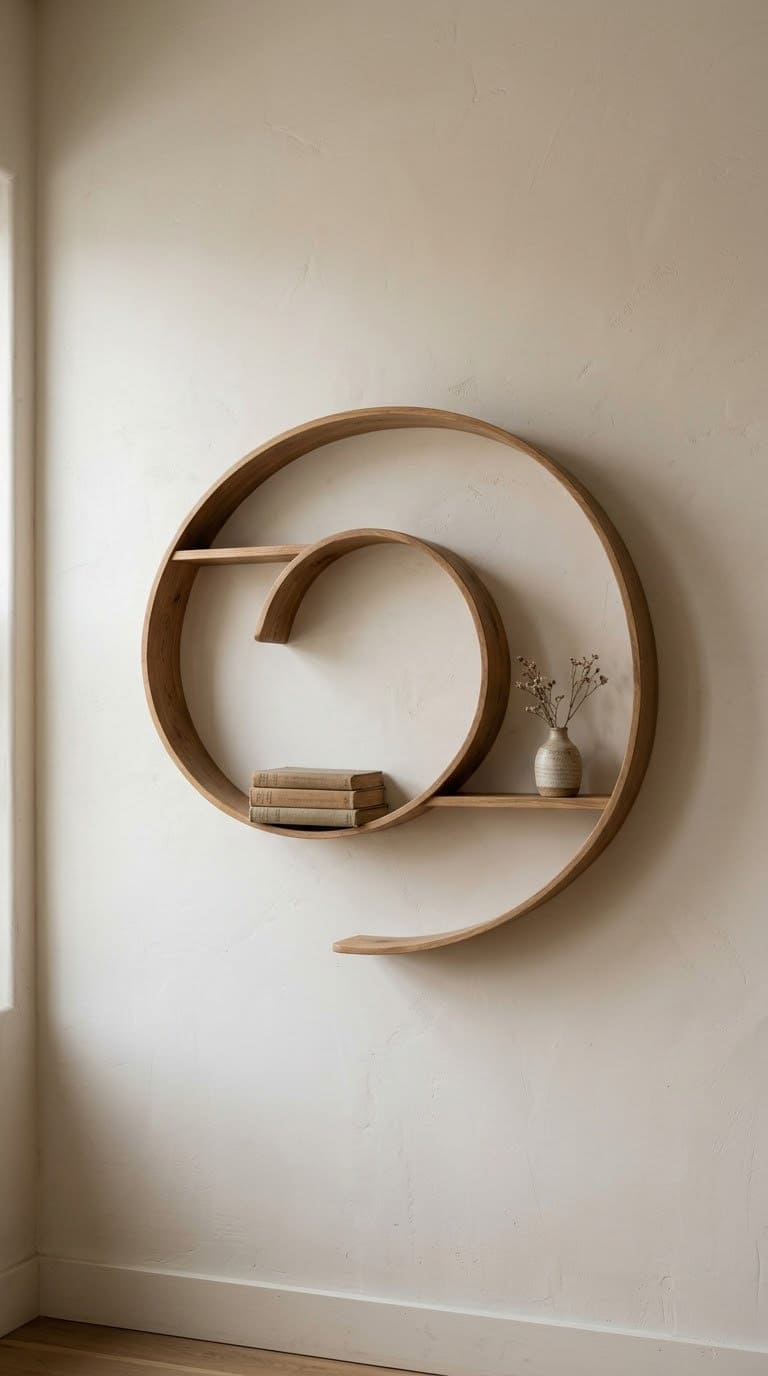
Laminate thin strips of wood into a spiral. Mount the spiral on a sturdy plate fixed to studs. This one is a showpiece, so keep the load small.
Seal the wood. Place it on its own wall, where it can be seen.
Cost tier: high.
11. Box-Wall Cubes
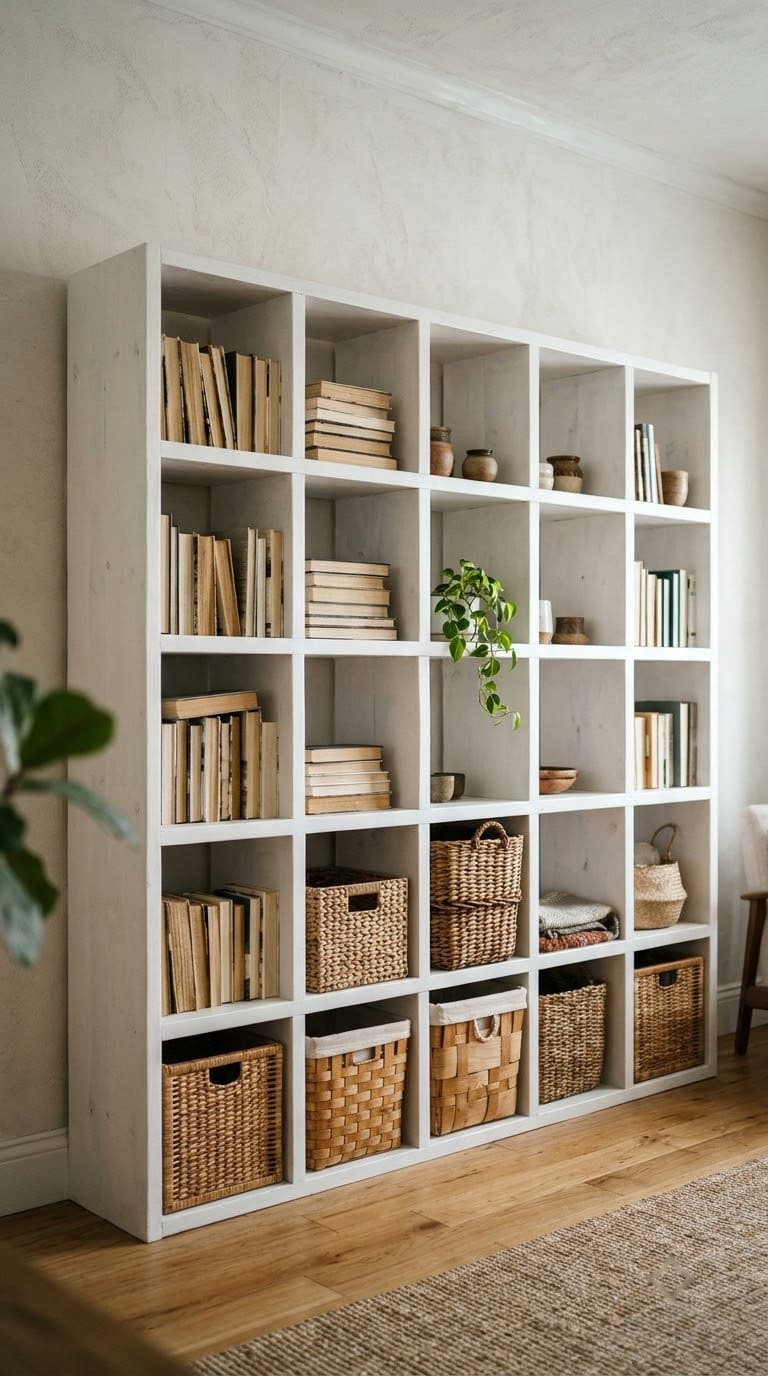
Build open boxes from plywood, and mount them in a grid. Screw each box to studs, and use cleats if you can. Mix open and closed cubes for rhythm.
Fix the lowest row first. For built-in looks, see our living room built-in shelving ideas.
Cost tier: medium.
12. Linked Square Modules
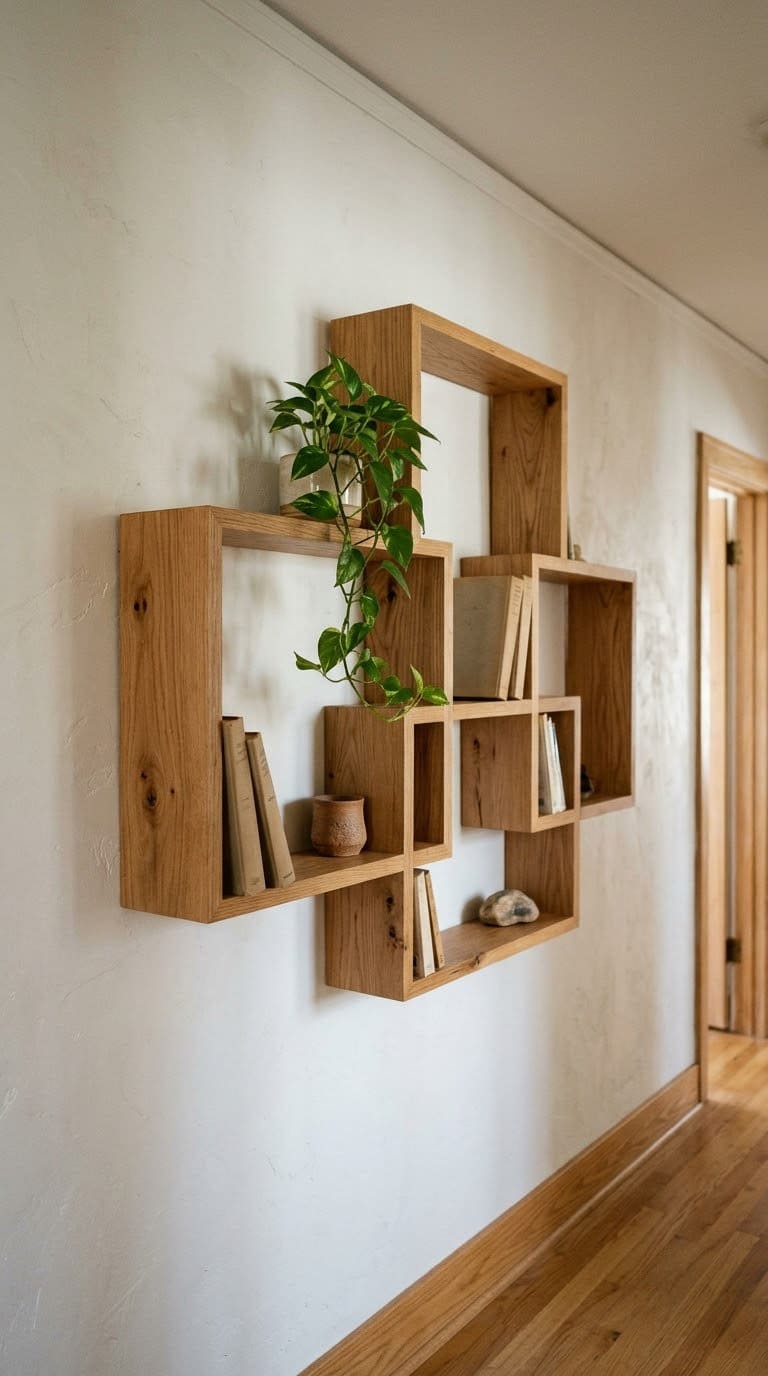
Join square boxes at their corners in a staggered pattern. Mount the whole group as one piece, with screws into studs. Paint it one color for a graphic look.
Plan the layout on the floor first. Use painter’s tape on the wall to check the pattern.
Cost tier: medium.
13. TV-Side Floating Shelves
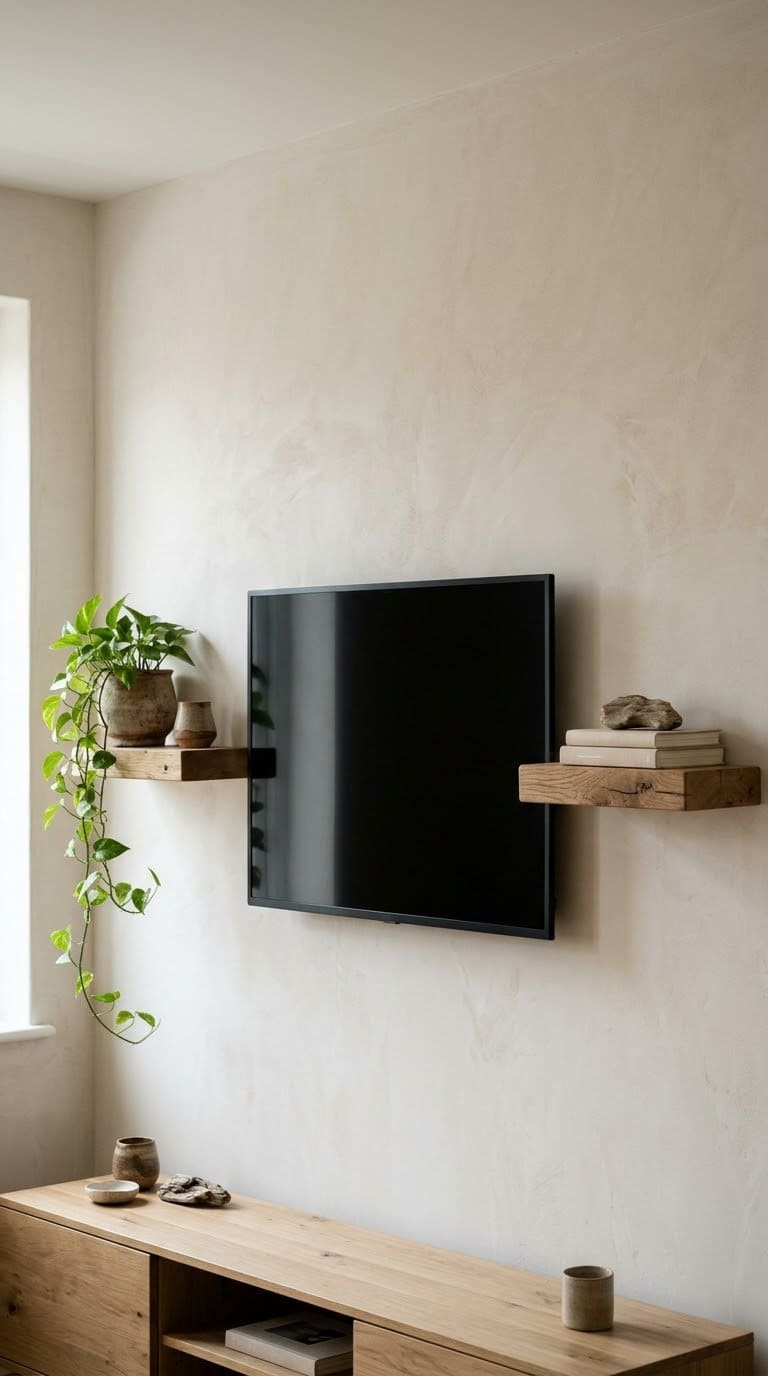
Mount two shelves beside the TV at different heights. Hide cords behind a cable channel. Keep the shelves lightweight, and do not hang speakers on them unless the mounting is rated.
Fix the shelves into studs. Check wires carefully, since TV walls often hold power and data cables.
Cost tier: medium.
14. Picture Ledge
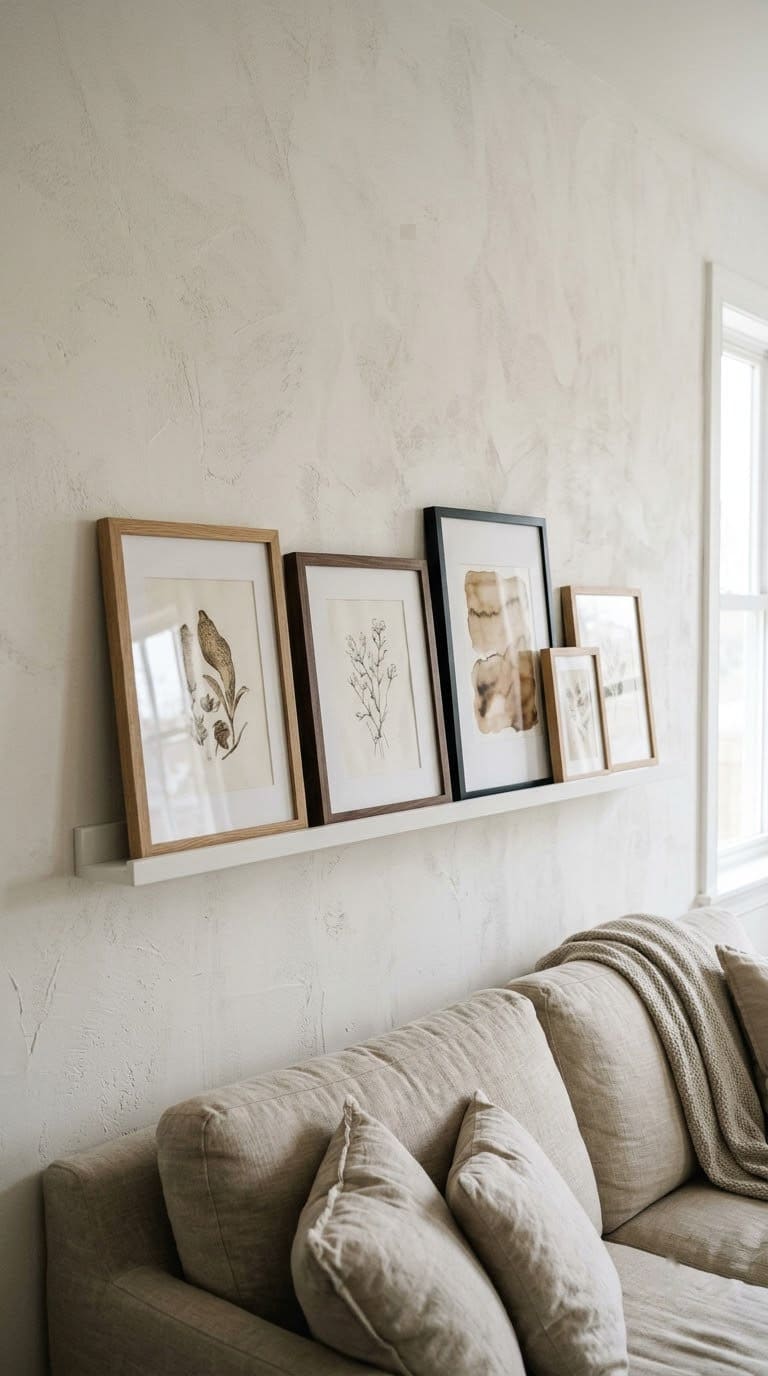
A picture ledge is a shallow shelf with a front lip. Mount a slim board with a lip on the front, and lean frames on it. Swap the art any time.
The shallow depth makes it easy to mount. See our over-the-sofa wall decor ideas.
Cost tier: low.
15. Kitchen Spice Shelf

Mount a narrow shelf near the stove, but not directly over a burner. Seal the wood so grease and steam do not stain it. Keep jars lined up at the front edge.
Choose a depth that fits your jars. More ideas are in our kitchen shelving guide.
Cost tier: low to medium.
16. Bathroom Floating Shelf
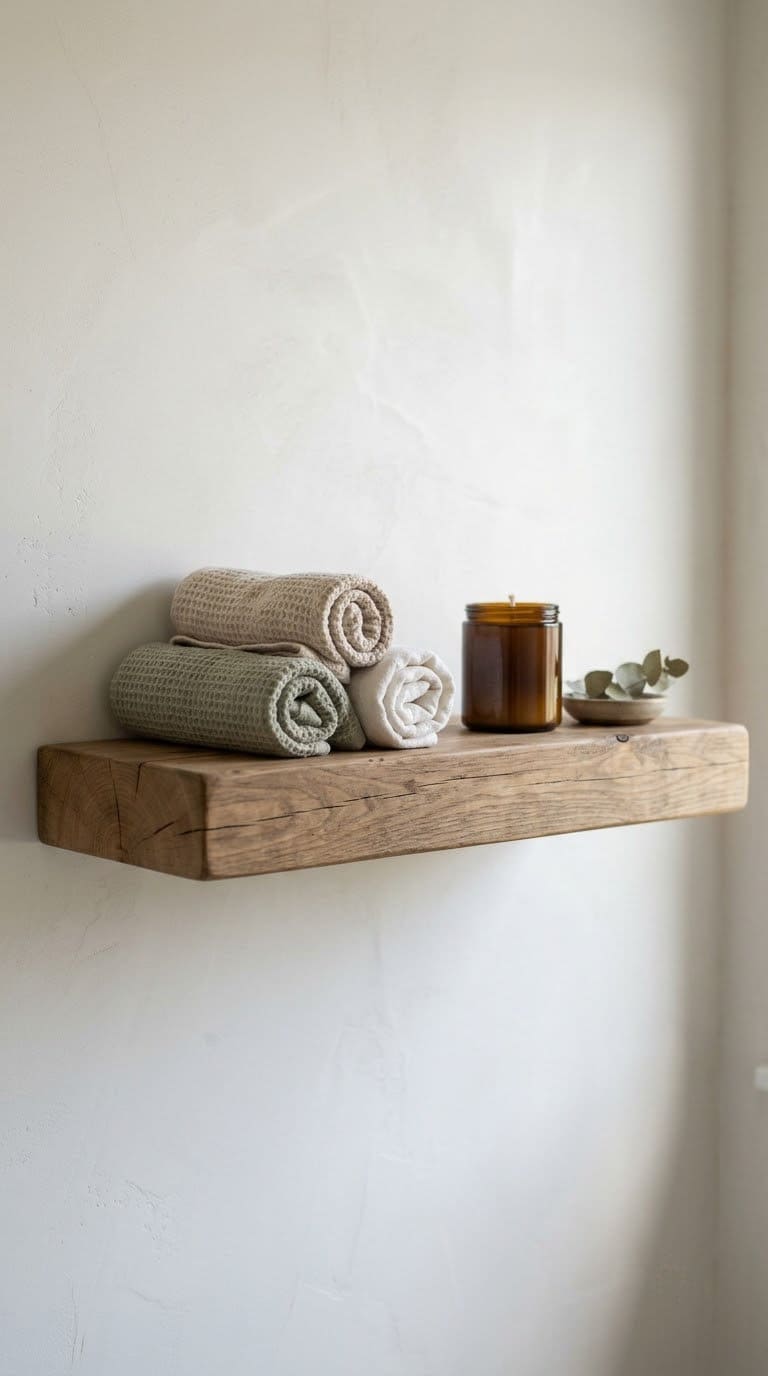
Humidity swells raw wood. Seal every side of the board with a water-resistant finish. Fix the shelf to studs behind the tile or drywall.
Keep it away from the shower spray. See our bathroom shelf ideas.
Cost tier: medium.
17. Entryway Key Shelf
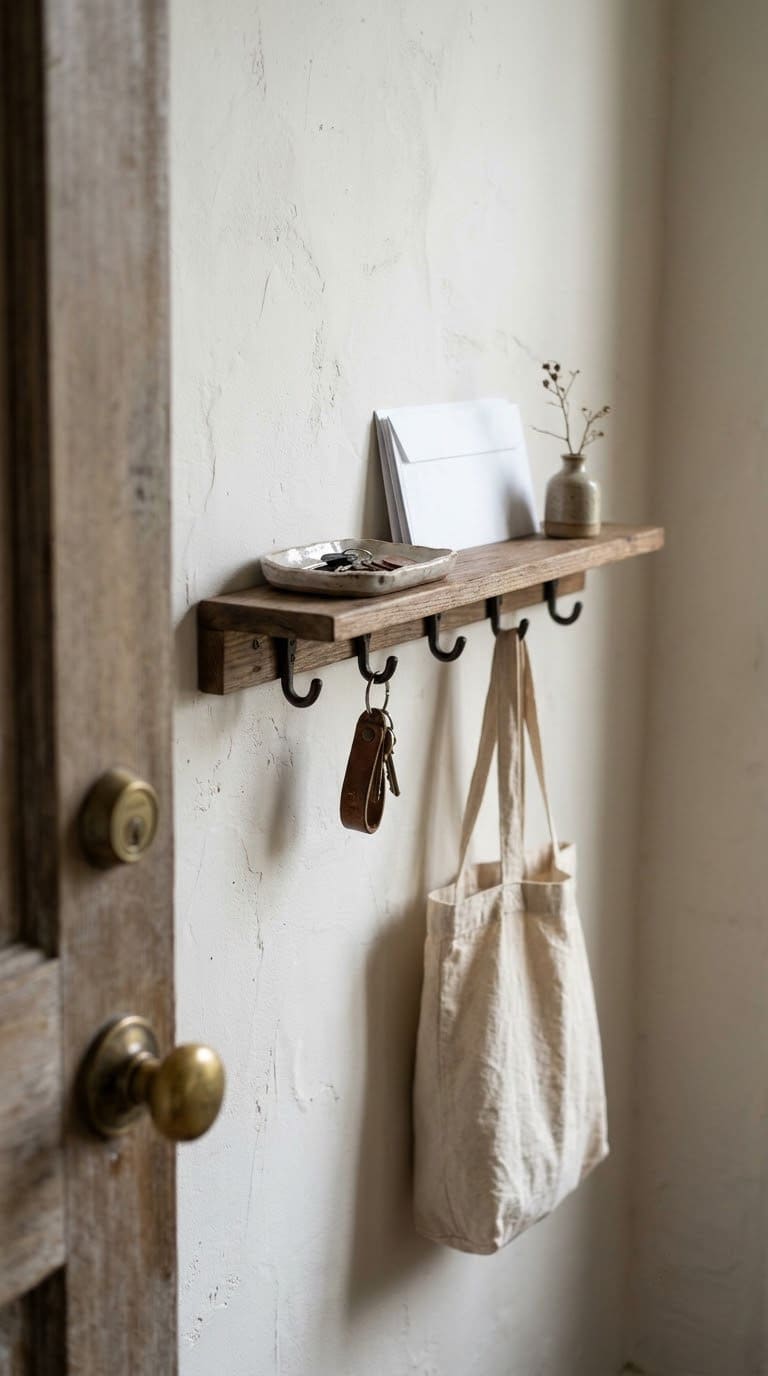
Add a row of hooks under a slim shelf. Use the shelf for keys and mail. Fix it into studs, since coats on hooks add pull.
Keep the shelf shallow, so it does not catch shoulders. Check the hooks for strength.
Cost tier: low.
18. Nursery Book Ledge
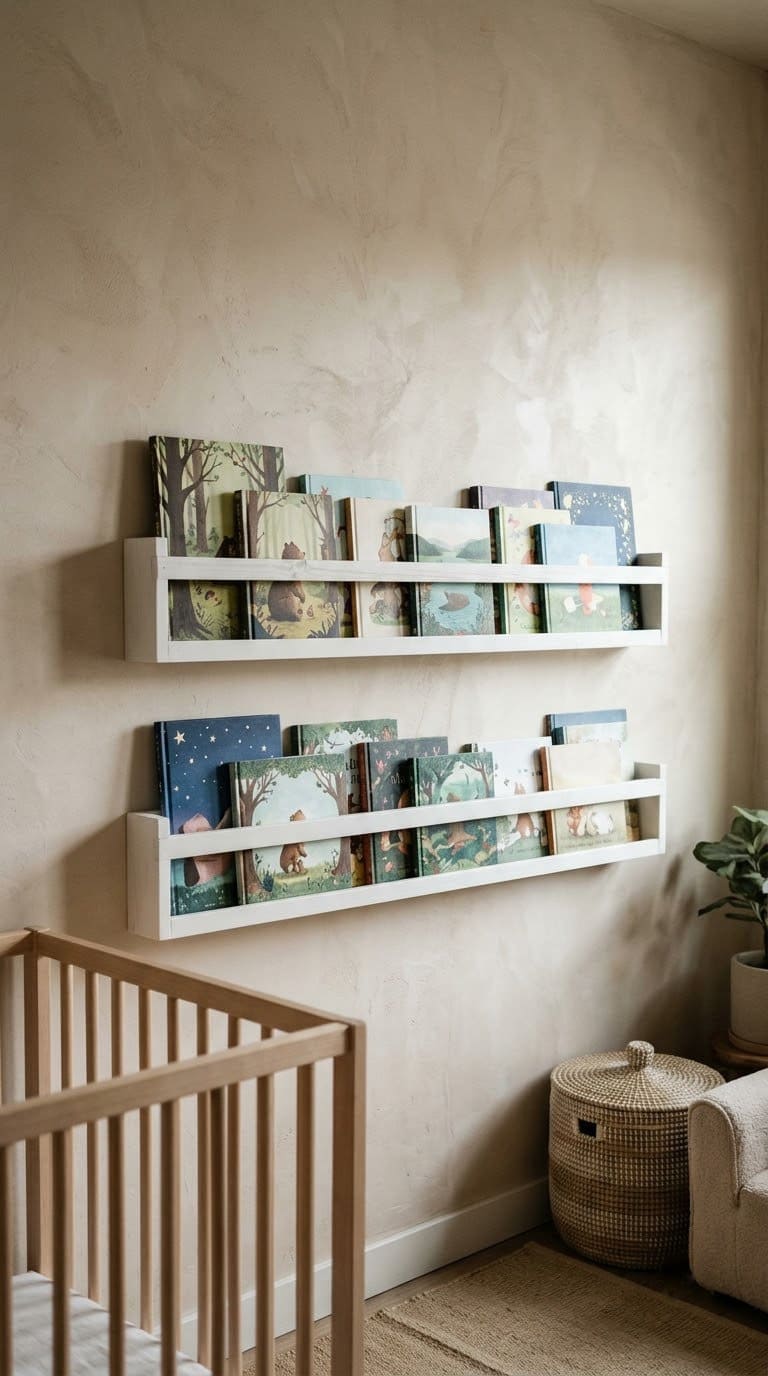
A shallow ledge lets a child see book covers. Mount it where a child cannot pull on it, and fix it into studs. Keep the ledge light.
Avoid heavy items above a crib. Use a rounded, sanded edge.
Cost tier: low.
19. Floating Desk Shelf
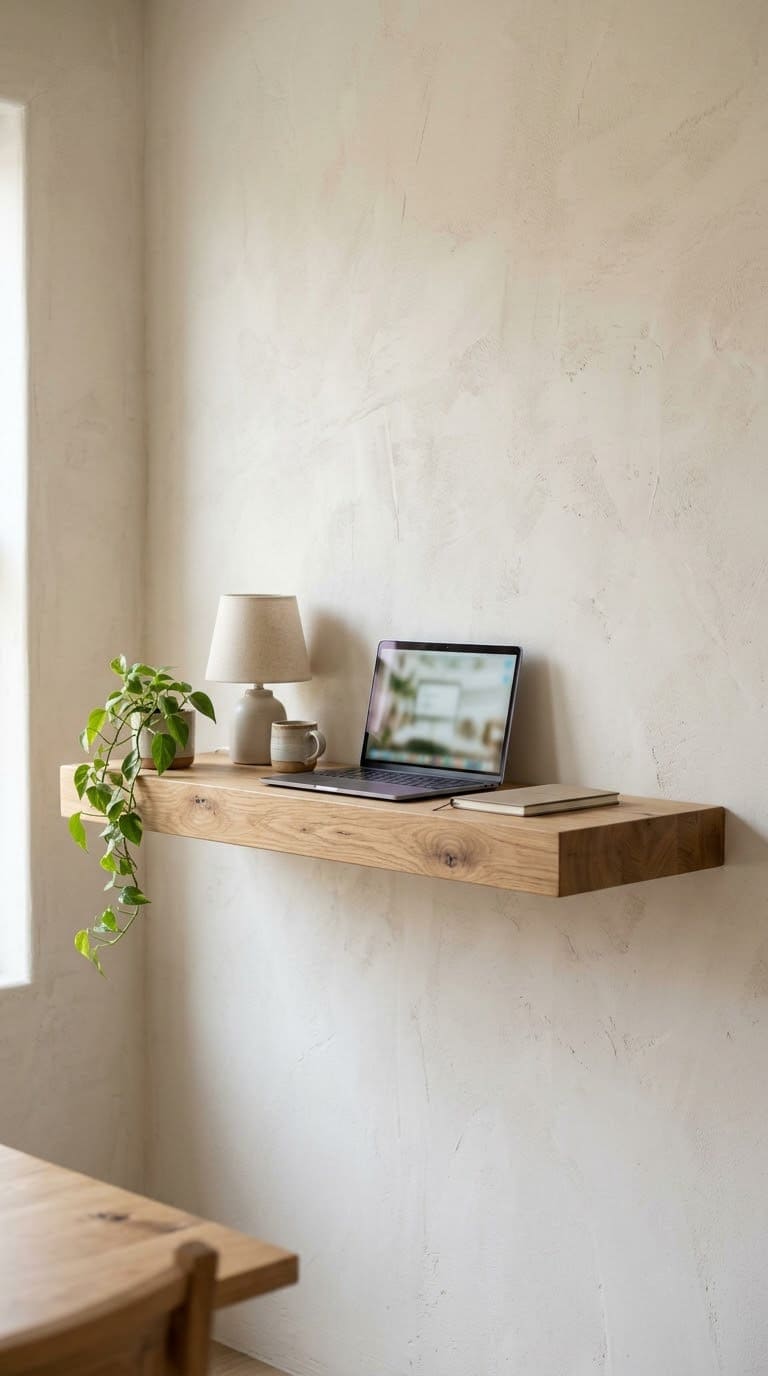
A wall-mounted desk shelf saves floor space. Build it deeper and thicker than a decor shelf, and fix it into studs with a cleat and brackets. Add a support if it will hold a laptop.
This is a heavier load, so do not rely on anchors alone. Our office shelving ideas show how to combine desks and shelves.
Cost tier: high.
20. Floating Plant Shelf
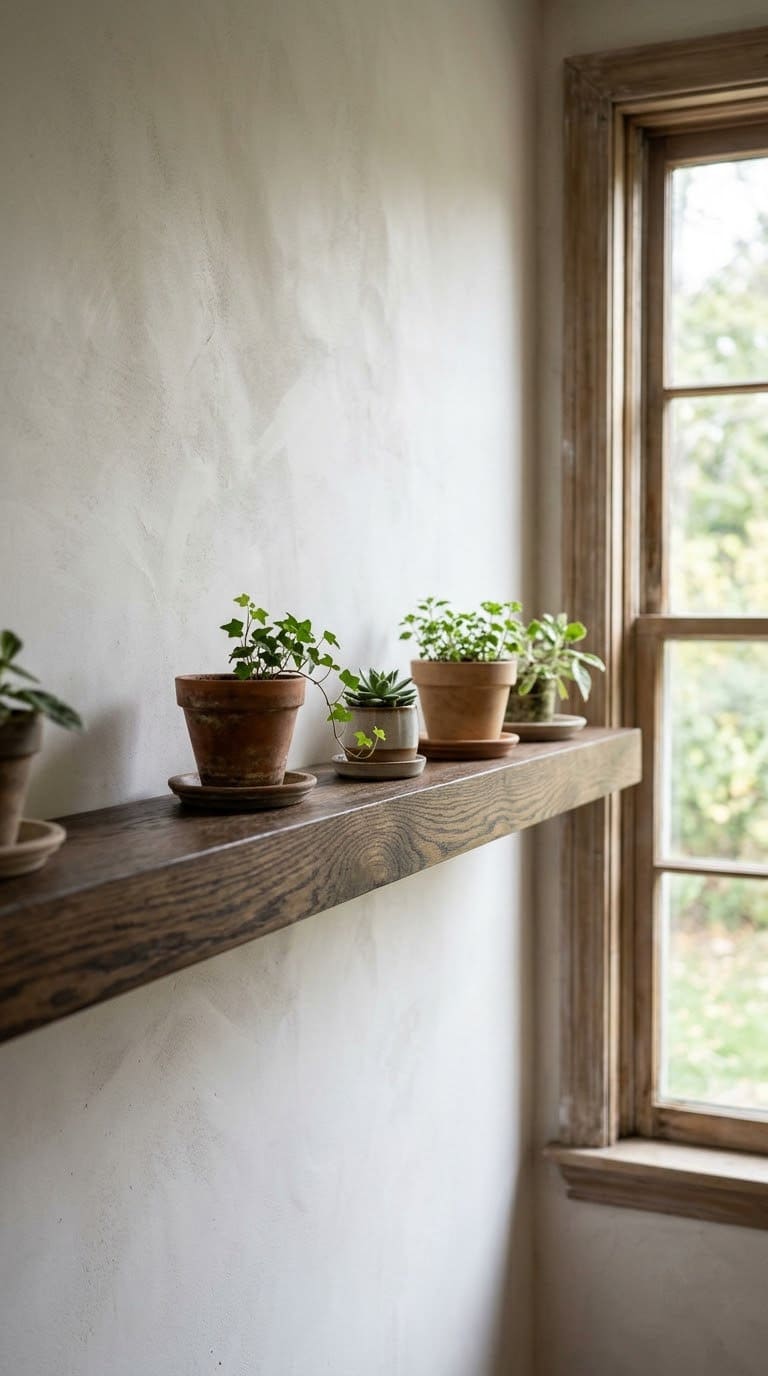
Mount a shelf near a bright window for plants. Use saucers to catch drips. Keep pots light, since wet soil adds weight.
Seal the top of the shelf so water does not soak in. Do not overload it.
Cost tier: medium.
How Deep and How Heavy Can a Floating Shelf Be?
Sources disagree on this, and we found no reliable test data. Family Handyman says its 11 inch deep shelves can support about 50 lbs. each. Its author gives no test method or rating for the screws or wall.
Some how-to pages say a deeper shelf is weaker, because the load sits farther from the wall. We did not find a source we could read that tested this. Treat depth as a reason to build stronger and to load lighter.
Read the package for any anchor you buy. It lists the wall type and weight rating. Choose an anchor rated well above your planned load, and load gradually.
Put heavy items on the lowest shelves, close to the wall. For farmhouse shelf styling, see our farmhouse shelf decor ideas.
Common Mistakes to Avoid
Skipping the studs is the first mistake. Family Handyman fixes its cleat into studs with lag screws.
Piling stain rags is the second. Consumer Reports says not to ball up oily rags or toss them in the trash while wet.
Sanding old paint dry is the third. The EPA says to wet the area first and sand the minimum.
FAQ
How do I find studs for a floating shelf?
Use a stud finder and mark each stud with painter’s tape. Studs are often 16 inches apart, but that can vary.
How much weight can a floating shelf hold?
It depends on the shelf, the fasteners, and the wall. Family Handyman says its stud-mounted shelves support about 50 lbs. each, with no test method given. Always check anchor ratings.
How do I dispose of stain rags?
Spread oily rags outdoors until fully dry, which usually takes about two days, per Consumer Reports. Do not toss wet rags in the trash.
Can I mount a floating shelf without studs?
You can with heavy-duty anchors, but the load is lower. Read the weight rating on the package. [EDITOR NOTE: General practice, not from a fetched source.]
Is it safe to drill into old walls?
Check for lead paint in homes built before 1978, per the EPA, and check for wires and pipes before you drill.
Never miss an update — choose FarmFoodFamily as your preferred source on Google.
How it works: Tap the button below to open Google's settings page, then check the box next to FarmFoodFamily.
Tap the checkbox to turn it blue — that's how you know it's set.