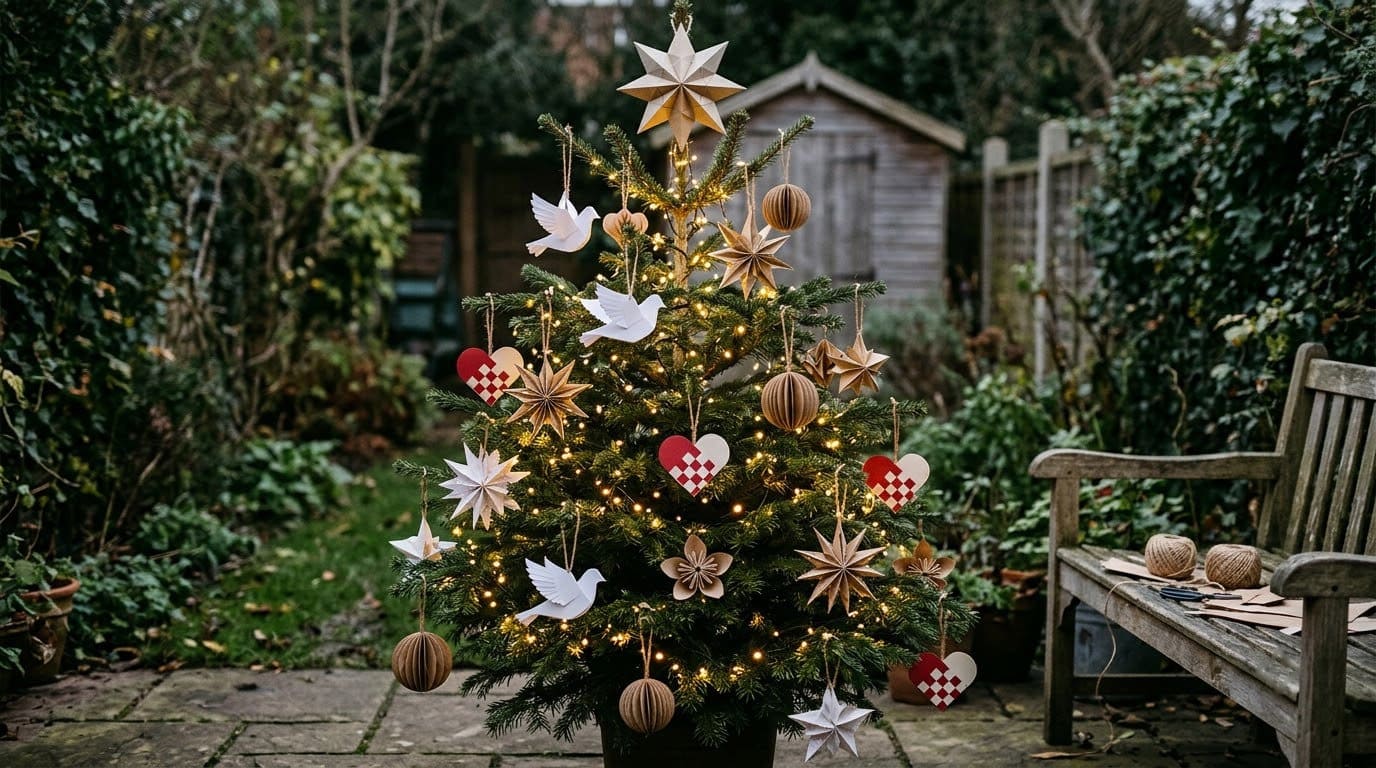
19 DIY Paper Christmas Tree Ornament Craft Ideas
Paper makes cheap, light ornaments for a tree, and the smart way is to pick the project that fits your skill, use low-temperature glue and keep paper away from flames and heat.

Never miss an update — choose FarmFoodFamily as your preferred source on Google.
How it works: Tap the button below to open Google's settings page, then check the box next to FarmFoodFamily.
Tap the checkbox to turn it blue — that's how you know it's set.
Paper makes cheap, light ornaments for a tree, and the smart way is to pick the project that fits your skill, use low-temperature glue and keep paper away from flames and heat.
Products We Recommend
This post contains affiliate links. We may earn a commission on qualifying purchases at no extra cost to you.

Surebonder 10W Ultra Low Temp Cool Shot Mini Glue Gun Kit with 12 Glue Sticks
A low-temperature mini glue gun, the type the CPSC art and craft guide prefers over high-temperature guns. It still gets warm, so supervise kids.
Shop Now
MAXECHO 8.5 x 11 Colored Cardstock, 100 Sheets in 50 Colors
Sturdy sheets for stars, flowers, doves, trees and owls. Use cardstock when a shape must hold its form.
Shop Now
Ecohu Set of 5 Circle Paper Punches, 0.3 to 2 inch
Clean circles for owl bellies, snowballs, bauble circles and flower centers. Use light pressure on thick cardstock.
Shop NowPaper is the easiest craft supply to find. You probably have some at home right now, from scrapbook sheets to old book pages and newspaper.
This guide keeps the original 19 ideas in the same order, with the photos you already see. We added a short description for each one, a supply list and simple steps so you know what you are getting into before you start.
The projects run from a ten-minute paper tree to a layered dahlia that takes an evening. Pick what matches your time, your tools and the kids at your table.
Answer 4 quick questions and get matched to the exact fix for your yard — drainage, budget, layout, or something else entirely.
Take the Free QuizQuick Answer
Paper ornaments are cheap, light and easy on tree branches. Start with a simple one, like a woven heart, a folded tree or a rolled paper bauble. Then try folded flowers and stars when you feel ready.
Most projects need paper, scissors, glue and thread, and many take under an hour. A few use a glue gun. The CPSC Art and Craft Safety Guide says to avoid high-temperature hot glue guns and to supervise children closely.
Paper burns, so keep it away from heat. The USFA says to keep candles at least 12 inches from anything that can burn. We also suggest LED tree lights, and don’t put candles near the tree.
But small beads and paper bits can be a choking risk. Check each project before you hand it to a child under three.


Which Paper Should You Use?
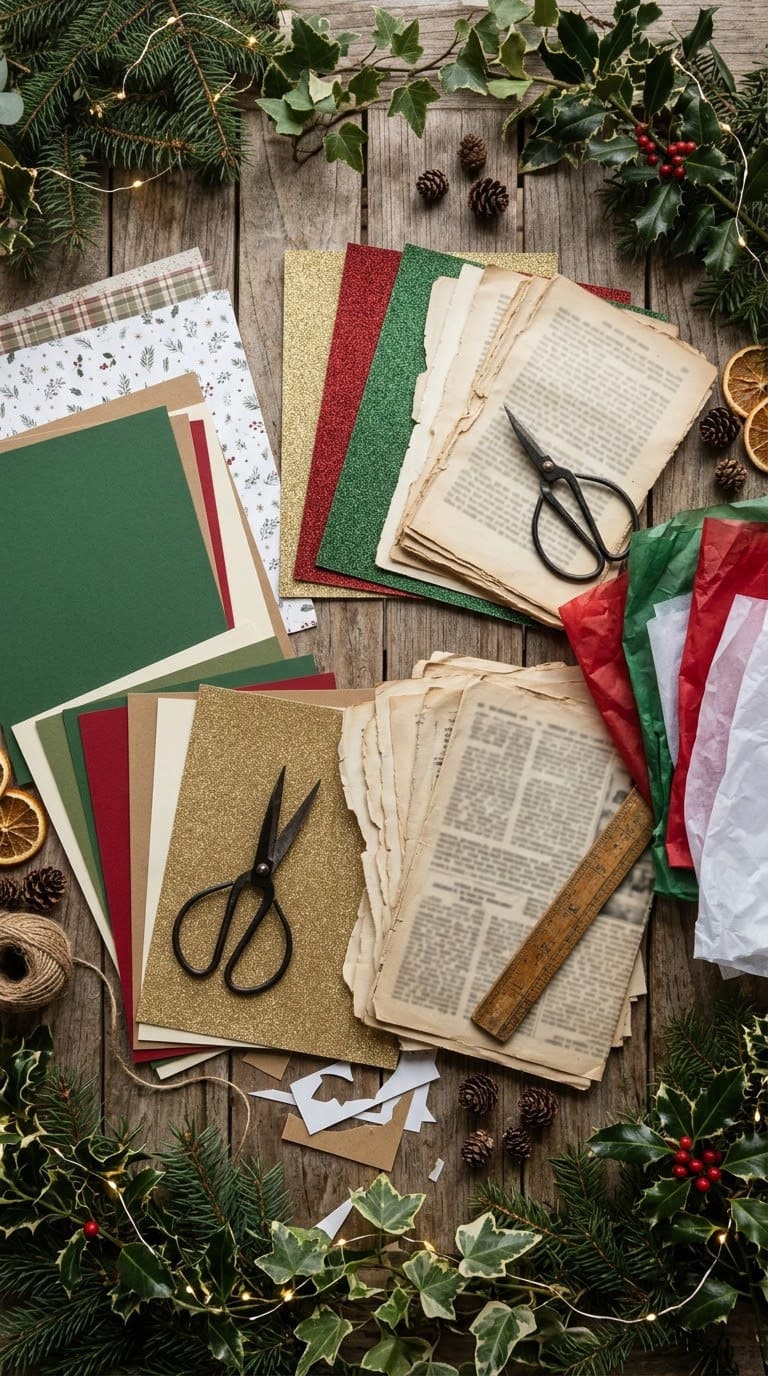
The right paper makes a project easy or hard. Use this table to pick.
Most yard problems trace back to one specific, fixable cause. Find yours in 4 quick questions.
Take the Free Quiz| Paper | Best for | Why |
|---|---|---|
| Cardstock | Stars, flowers, trees, owls | Holds its shape, hangs well |
| Scrapbook paper | Hearts, strips, baubles | Has a pattern on both sides |
| Old book pages | Origami flowers, woven stars | Thin, soft and old-fashioned |
| Newspaper | Dahlias, rolled shapes | Free and easy to fold, but it smudges |
| Tissue paper | Honeycomb shapes, cone scoops | Light and bright, but it tears |
| Plain printer paper | Snowflakes, practice folds | Cheap, so good for a first try |
Our take: use cardstock when a project must hold its shape. Use thin paper when it must fold into small layers. The wrong weight is the top reason an ornament flops.
What Tools Do You Need for Paper Ornaments?
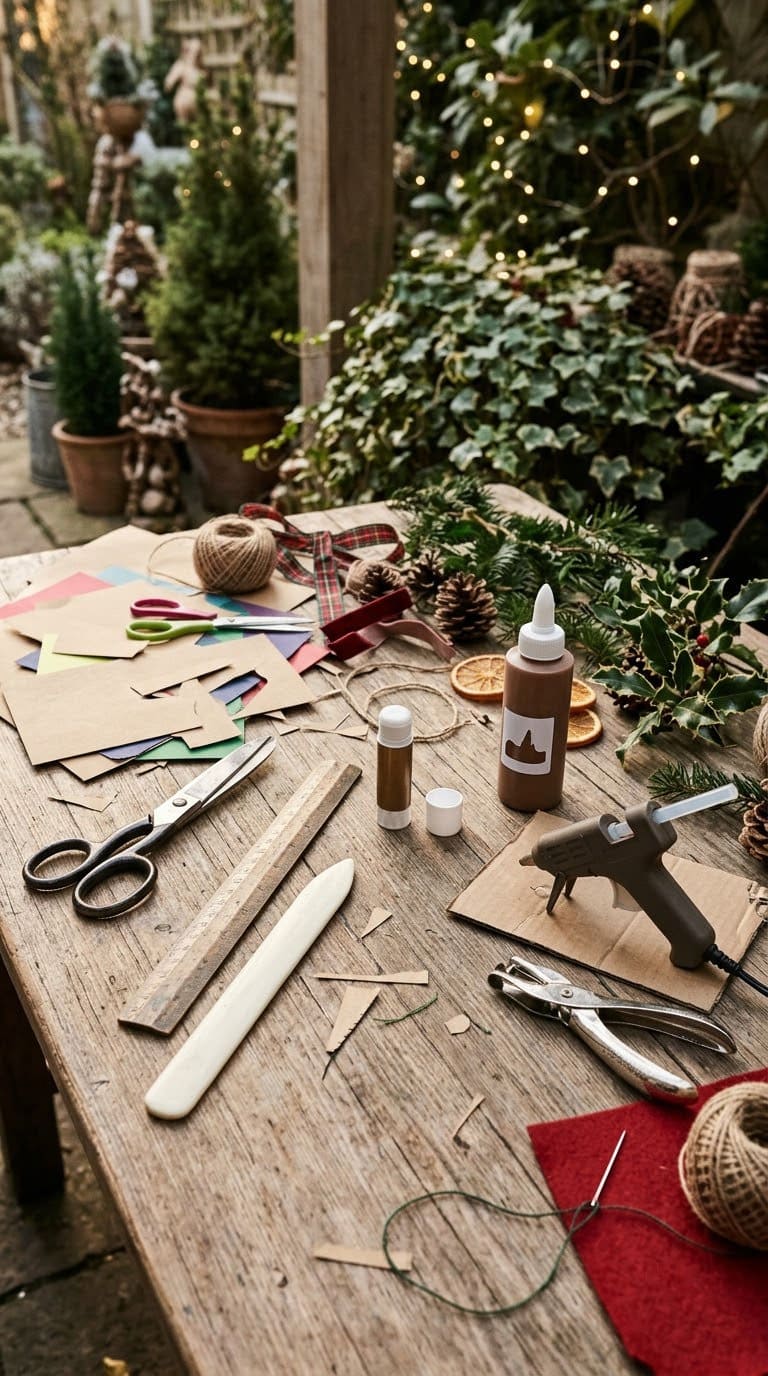
Most of these projects use the same short kit. A few extras make a big difference.
- Sharp scissors: Dull blades tear paper and ruin crisp folds.
- Ruler and pencil: Strips and squares need to be even for the pieces to fit.
- Glue stick and tacky glue: The stick works on flat sheets. Tacky glue holds folded edges.
- Low-temperature glue gun: It sets fast for owls, tubes and heavier pieces.
- Needle and thread: For beaded ornaments and loops to hang them.
- Hole punch: Makes neat circles and holes for ribbon.
Our take: a bone folder, or the back of a spoon, makes a sharper crease than a fingernail. It’s worth it for the star and the dahlia.
How Do You Keep Paper Ornaments Safe?
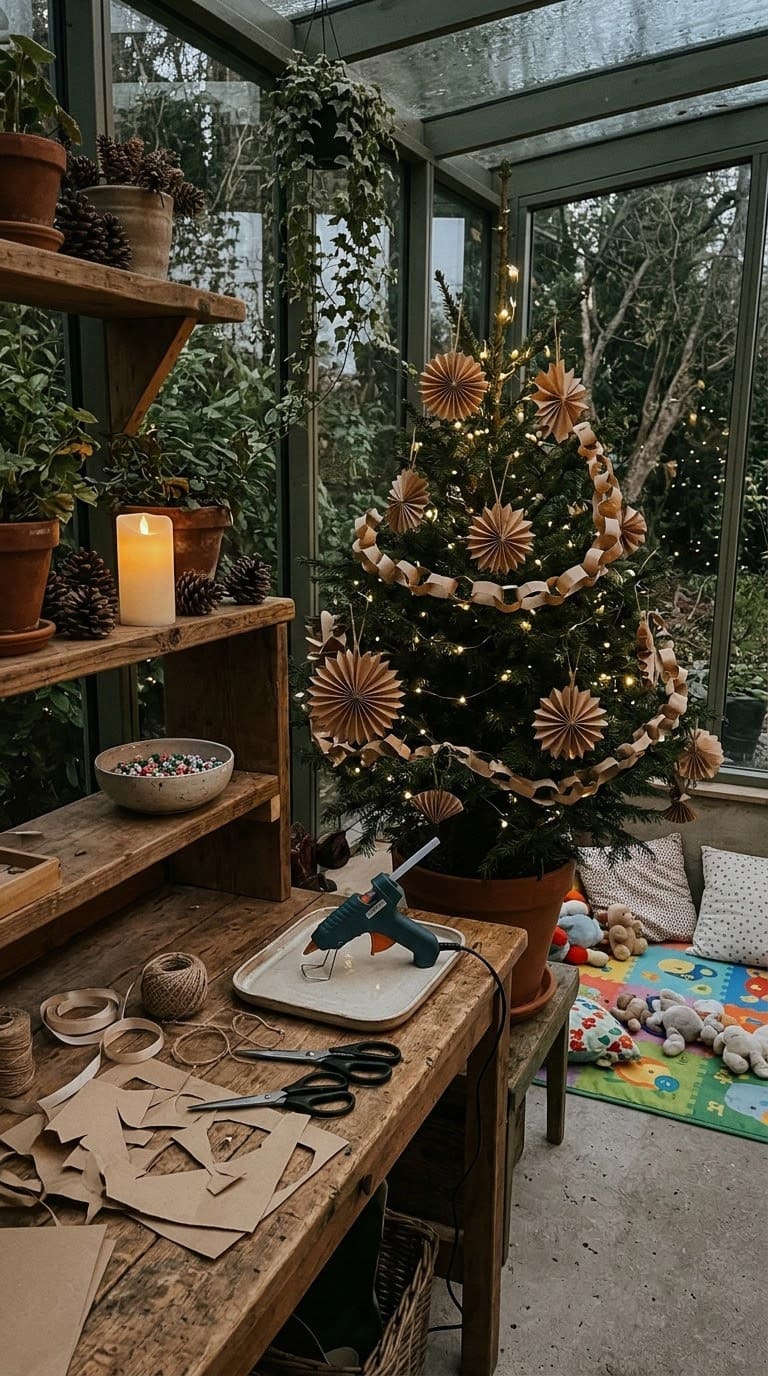
Paper looks harmless, but it needs a few rules.
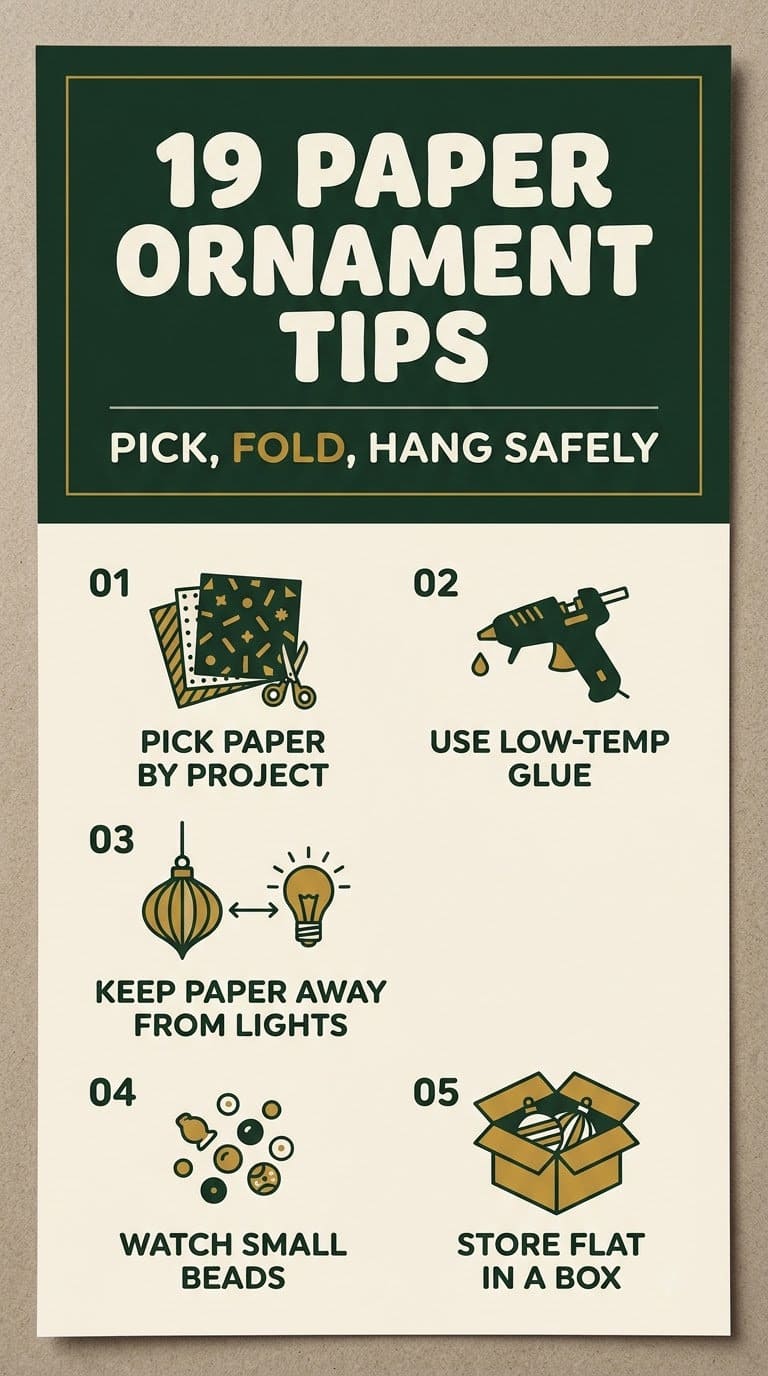
- Use low-temperature glue. The CPSC Art and Craft Safety Guide says to avoid high-temperature hot glue guns, and use low-temperature models instead. It also says insulated gloves protect your hands.
- Watch the small parts. The CPSC says a small part is anything that fits in a cylinder about the size of a toddler’s throat. Beads, paper punches and glitter bits can all fit, so keep them away from children under three.
- Keep paper away from flames and hot bulbs. Paper burns, so skip candles near the tree. Use LED lights, and leave a gap between the bulbs and any ornament.
- Cut with care. Use sharp scissors in good light. Keep craft knives for adults, and cut on a mat.
- Supervise children. Stay close while kids use scissors, glue and thread.
Our take: hang the paper ornaments on the outer, upper branches and keep wired lights inside the tree. Dry paper near a warm bulb is a risk you don’t need.
1. DIY Paper Angel Ornament.
This is a small paper angel with a cone or fan body and a pair of wings. The photo shows doily angels, pink fan-pleated ones and soft blue cone angels. One tutorial we read builds the body from a paper doily cut in half and rolled into a cone.

A low-temperature mini glue gun, the type the CPSC art and craft guide prefers over high-temperature guns. It still gets warm, so supervise kids.
Shop NowThis post contains affiliate links. We may earn a commission on qualifying purchases at no extra cost to you.
- Skill and time: Easy, about 20 minutes each.
- What you need: A paper doily or cardstock, sticky tape, a pipe cleaner, scissors, glue and thread.
- Step 1: Cut a doily in half and roll it into a cone. Tape the seam at the back.
- Step 2: Twist a pipe cleaner into a hoop for the head, leaving about 2 inches of straight wire to push into the top of the cone.
- Step 3: Cut wings from cardstock, or fold a strip of paper like a fan, and glue them on the back.
- Step 4: Add a thread loop at the top.
- Make it last: Store the angels in a small box so the wings don’t crush.
- Watch: Bend the end of the pipe cleaner over so the cut end doesn’t poke out.
Our take: white doilies with gold wings look classic, and pastel paper gives a softer, modern tree.
The average homeowner spends $616/year on yard fixes that don't address the real problem. Find out what yours actually is — before you spend another dollar.
Take the Free Quiz2. DIY Paper Dove Decorations
These white paper doves have a folded body, a spread tail and a pair of wings. The photo shows them hanging on a green tree and resting on branches. One tutorial we read uses medium-weight craft paper and pricks a pattern into the wings with a needle.

- Skill and time: Medium, about 40 minutes each.
- What you need: Medium-weight paper, a soft pencil, tracing paper, a sewing needle, paper glue, twine or ribbon, a folded towel and a bird template.
- Step 1: Cut two bodies, two wings and one tail per bird, then draw a pattern on each piece.
- Step 2: Lay the pieces on a folded towel and prick the pattern with a needle.
- Step 3: Glue the wing bases together with a loop of string between them, and curve the wings gently when dry.
- Step 4: Glue the two body pieces together with the tail and wings inside, pin pricks facing out.
- Make it last: Lay the doves flat in a box when the season ends.
- Watch: Keep the needle on the towel and away from fingers, when children help.
Our take: trace one good dove on cardboard and use it as a stencil. The next ones come out identical.
3. DIY Woven Paper Heart Ornament
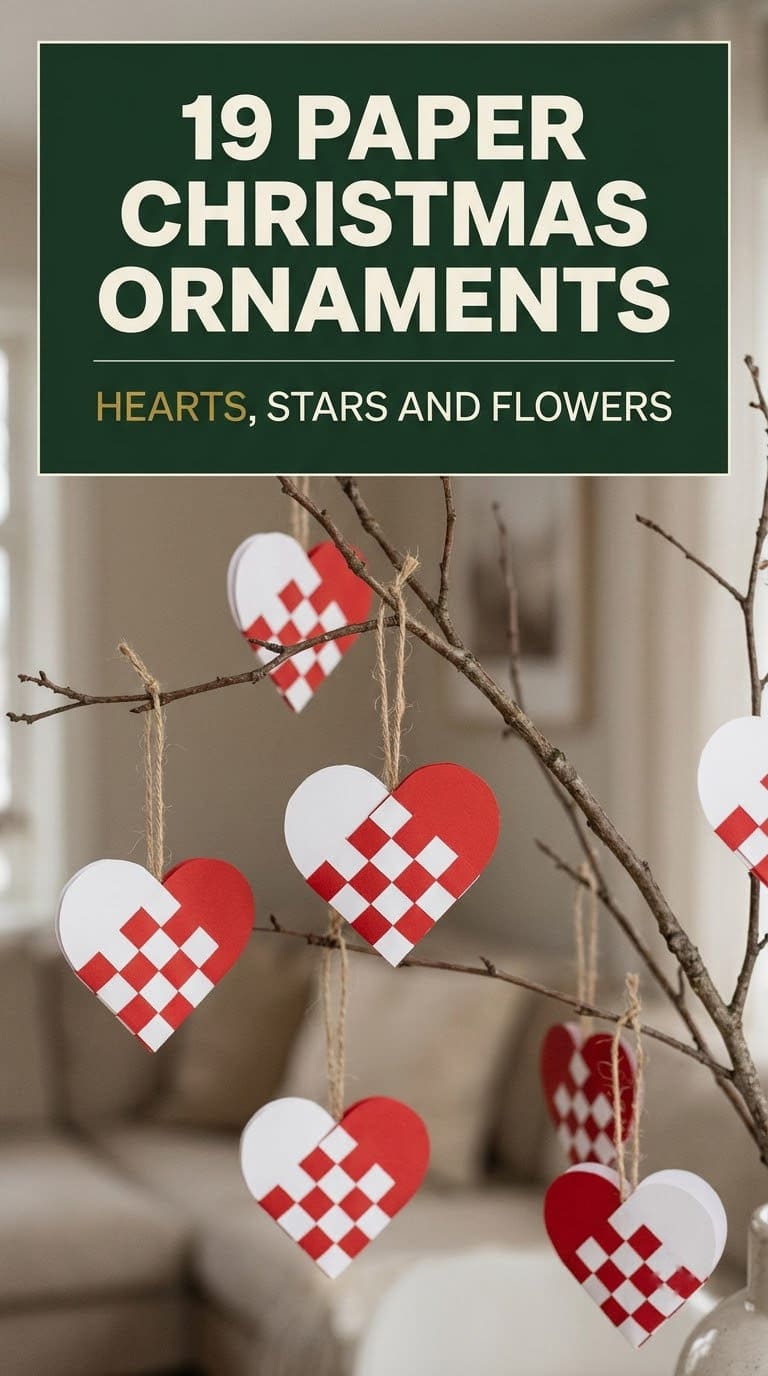
A woven paper heart is a small pocket made from two folded paper pieces, one over the other. It’s a Scandinavian craft that kids learn quickly. The photo shows red, pink and white woven hearts.



- Skill and time: Easy, about 15 minutes each.
- What you need: Two colors of paper, scissors, a pencil, a ruler and a hole punch with ribbon.
- Step 1: Fold each paper in half and draw a half-rounded shape on it, with straight cuts from the fold.
- Step 2: Cut the slits from the fold up to the line, leaving a border at the top.
- Step 3: Weave one strip from one color through the strips of the other, alternating over and under.
- Step 4: Punch a hole near the top and add a ribbon loop.
- Make it last: Handle gently while you weave, since thin paper tears.
- Watch: Use two colors with strong contrast so the weave shows.
Our take: this is the best first project in the list. It takes only paper and scissors, and a ten-year-old can do it alone.
4. DIY Paper Heart Ornaments
These puffy hearts are built from straight paper strips curved into a loop. One tutorial we read uses four strips 12 inches long and four strips 8 inches long, each 1 1/2 inches wide. You glue the strips back to back so each side shows a pattern.

- Skill and time: Easy, about 25 minutes.
- What you need: Two or more patterned papers, a ruler, scissors, glue, a stapler and ribbon.
- Step 1: Cut the strips and glue them back to back in pairs.
- Step 2: Stack the long strips with a short strip on each side, all lined up at one end.
- Step 3: Bend the top ends down to meet the bottom ends, forming a heart, and check which side faces out.
- Step 4: Staple the ends together, cover the staples with a strip of paper and glue a ribbon between the curves.
- Make it last: The ribbon between the curves also makes the heart sturdier.
- Watch: Check the strip order before you bend. It’s easy to fix at that stage and hard later.
Our take: use four different papers if you can. Every view of the heart then shows a new pattern.
5. DIY Glitter Paper Flower Ornament
This is a folded paper flower made from five petals. The photo shows tan book-page flowers with blue and white beads in the center. The tutorial we read uses old dictionary pages and a bit of glitter glue.

- Skill and time: Medium, about 45 minutes per flower.
- What you need: Old book pages cut into 5 inch squares, a glue stick, double-stick tape, glitter glue, a wire hook and cardstock for the center.
- Step 1: Fold each square into a small triangle, then into a diamond, and fold the sides into a kite shape.
- Step 2: Fold the tips down and fold the small triangle in half, then glue the two small triangles together to finish one petal.
- Step 3: Make five petals and join them in a ring with double-stick tape, which held better than glue in the tutorial.
- Step 4: Add glitter glue in the center and slip a wire hook through.
- Make it last: Store them flat in a box lined with tissue.
- Watch: Let the glitter glue dry before you hang the flower. Wet glue stains thin paper.
Our take: do all the first folds for every petal before you assemble. It makes the pattern easier to repeat.
6. DIY Woven Star Paper Ornament
A woven paper star is made from folded strips that cross and lock, like a small snowflake. The photo shows white woven stars in many sizes. It’s sometimes called a Finnish star or an Advent star.

- Skill and time: Hard, about 60 minutes for your first one.
- What you need: Thin paper strips, clear glue, small clips and thread.
- Step 1: Weave two square grids of strips, one for each side of the star. One tutorial uses ten strips per side for a fuller star.
- Step 2: Add a tiny drop of glue at each strip crossing.
- Step 3: Twist each pair of corner strips and glue the ends together to form the points. Clip them while the glue dries.
- Step 4: Place one side over the other, turned 45 degrees, and weave the loose strips through to join them.
- Make it last: Twisting each strip before you glue it is what gives the points their shape.
- Watch: Use thin glue. Too much glue stiffens the weave and leaves marks.
Our take: practice on printer paper before you use fancy paper. The first star will show you where the weave goes wrong.
7. DIY Snowball Paper ornament
This is a ball built from paper circles. The photo shows a white 3D paper ball with a snowflake pattern and a string of paper snowballs. One tutorial we read makes a ball from six circles cut around a jam jar lid.

- Skill and time: Medium, about 30 minutes.
- What you need: White or patterned paper, a jar lid to trace, scissors, glue, a pencil and ribbon or twine.
- Step 1: Trace and cut six circles for each ball, in different patterns if you like.
- Step 2: Fold each circle in half with the pattern side inside.
- Step 3: Glue half of one circle to half of the next, matching the center folds exactly, and keep going.
- Step 4: Fold a ribbon loop in half, knot the end, tuck it in the center and glue the last circle over it.
- Make it last: Store the balls in a tub so they stay round.
- Watch: A ball that flops means the circles were cut unevenly. Use a lid or a template.
Our take: use plain white paper and cut a small snowflake for the front. It gives you the frosted look in the photo.
8. Gift Garlands Paper Ornaments
A gift garland is a string of tiny paper gift boxes with bows. The photo shows paper-wrapped gifts, bright ribbons and patterned wrapping. It adds a playful, handmade look to a tree.

- Skill and time: Easy, about 30 minutes for a short garland.
- What you need: Small paper boxes or folded paper squares, wrapping paper, ribbon, twine, scissors and tape.
- Step 1: Fold small cardstock squares into little boxes or cut paper squares into cubes.
- Step 2: Wrap each box in patterned paper and tie a ribbon bow.
- Step 3: Thread twine through the tops with a needle or tape it to the back.
- Step 4: Drape the garland from branch to branch.
- Make it last: Wrap the garland loosely around a card for storage.
- Watch: Heavy boxes pull branches down. Keep them small and light.
Our take: wrap each box in a different paper from your scrap pile. It makes the garland look collected.
9. DIY Diamond Shape Paper Ornaments
A folded paper diamond looks like a faceted gem. The photo shows gold and orange diamond shapes and small folded points. The tutorial we found says to fold two squares separately, form the peaks, then glue the two halves together.

- Skill and time: Easy, about 15 minutes each.
- What you need: Two squares of cardstock per ornament, a bone folder, glue, a needle and thread.
- Step 1: Fold each square to create the peaks, as in a simple pyramid.
- Step 2: Glue the two folded pieces together, base to base, to form the diamond.
- Step 3: Poke a small hole at the top with a needle.
- Step 4: Thread a string through and tie a loop.
- Make it last: Metallic cardstock reflects tree lights and keeps its sharp edges.
- Watch: Hold the pieces until the glue grabs, so the points line up.
Our take: use gold, copper and silver cardstock on a mixed set. They look expensive.
10. DIY Paper Ice Cream Cones Ornaments
These tiny ice cream cones are paper cones filled with tissue or paper scoops. The photo shows pink, orange and blue scoops in cones. They are playful on a kids’ tree or a candy-theme tree.

- Skill and time: Easy, about 15 minutes each.
- What you need: Tan or brown paper, colored tissue or crumpled scrap paper, glue, scissors and thread.
- Step 1: Cut a quarter circle from the tan paper, roll it into a cone and glue the seam.
- Step 2: Crumple a ball of tissue or scrap paper for the scoop.
- Step 3: Glue the scoop into the top of the cone.
- Step 4: Add a thread loop through a small hole at the top.
- Make it last: Keep them dry. Water spoils the paper.
- Watch: Beads or sprinkles make a choking risk for small kids. Skip them.
Our take: draw a waffle pattern on the cone with a brown pen. It sells the look.
11. DIY Puzzle Rudolph Reindeer Paper Ornament
This is a small reindeer built from paper or a cardboard tube. The photo shows a round ball reindeer with a red nose and cute tube reindeer in brown. It’s a friendly one for kids.

- Skill and time: Easy, about 20 minutes.
- What you need: A cardboard tube or paper circles, brown paint or paper, pipe cleaners, googly eyes, a red pom-pom and glue.
- Step 1: Paint or cover the tube in brown.
- Step 2: Bend a pipe cleaner into a V and tuck it inside the tube for antlers.
- Step 3: Glue on googly eyes and a red nose.
- Step 4: Make a loop from thread and glue it inside the tube.
- Make it last: Check that the glued parts feel firm before you hang it.
- Watch: Pom-poms and googly eyes are small parts. Keep them away from children under three.
Our take: put the red nose low on the face, so it doesn’t catch on branches.
12. DIY Card Stock Paper Flower Ornament
This flower is built from seven pointed petals in silver cardstock. The photo shows folded petals laid out in a ring, and the finished star-like flower on a tree with a bead in the center. One tutorial we read cuts 2 cm strips, trims the ends with a template and rolls the middle of each strip into a point.

- Skill and time: Medium, about 40 minutes.
- What you need: Stiff paper, scissors, a petal-end template, a stapler, double-sided tape, a glue gun, a bead and glitter outliner.
- Step 1: Cut strips about 3/4 inch wide, trim the ends with the template and roll the middle of each strip into a point.
- Step 2: Overlap the two ends and staple them. Glue did not hold stiff paper in the tutorial.
- Step 3: Make seven identical petals and attach them in a ring to a paper circle backed with double-sided tape.
- Step 4: Press a bead into a drop of glue in the center, then add a thread loop on the back.
- Make it last: Cover the staples with glitter outliner for a clean look.
- Watch: Use a low-temperature glue gun for the bead, and keep the bead away from toddlers.
Our take: cut one sample petal first and trace it. Even petals make the flower look professional.
13. DIY Rolled Paper Ornament
A rolled paper bauble is made by wrapping paper strips around each other, from wide to narrow. The photo shows red, green and gold striped baubles. In the tutorial we read, strips are 9 inches long, with widths going from 3 inches down to 1 inch, in alternating colors.

- Skill and time: Medium, about 45 minutes.
- What you need: Construction paper, ribbon, foam mounting tape, double-sided tape, white glue and scissors. The original tutorial has the exact widths.
- Step 1: Cut the strips and sort them from widest to narrowest.
- Step 2: Put mounting tape across the center of the widest strip, add a folded ribbon and roll it.
- Step 3: Add tape to the next strip and roll it onto the ornament. Keep going down to the narrowest strip.
- Step 4: Use double-sided tape at the last seam so it lies flat.
- Make it last: Add thin quilled curls with glue for a decorative finish.
- Watch: Tape width matters. Test it on a scrap strip first.
Our take: pick two or three colors only. More colors look busy on a small ball.
14. DIY Striped Paper Ornament
This is a striped bauble built from strips of paper threaded on a string. The photo shows pink and white stripes with a bead on top. The tutorial we found says to cut nine strips of each color, 3 1/2 inches long and 1/2 inch wide, and the finished ornament is about 3 inches across.

- Skill and time: Easy, about 30 minutes.
- What you need: Two colors of paper, a needle and thread, two beads, a penny to trace two small circles and scissors. See the How About Orange tutorial for the full layout.
- Step 1: Cut the strips and two small circles, then fold each strip in half.
- Step 2: Thread a bead onto doubled thread, then pass through one circle.
- Step 3: String the strips near one end, alternating colors, then string the other ends in the same order so they fan out.
- Step 4: Add the second circle and bead, then tie a loop at the top.
- Make it last: If it hangs crooked, rethread the ends up through the bead and out the top.
- Watch: Beads are small parts. Use paper circles only if toddlers are near.
Our take: a gap may show where the strips meet. Turn it toward the inside of the tree.
15. DIY Paper Christmas Tree Decorations
These are small 3D paper trees. The photo shows red and green layered trees with gold stars on top. The credited tutorial makes a flat tree in two pieces that slot together, about 4 1/2 inches tall.

- Skill and time: Easy, about 15 minutes each.
- What you need: A tree template, cardstock in assorted colors, scissors, a hole punch and twine.
- Step 1: Trace the tree template twice onto cardstock and cut both out.
- Step 2: Cut a slit down the center of one tree from the top, and from the bottom on the other.
- Step 3: Slide the two trees together to form a 3D tree.
- Step 4: Punch a hole at the top, thread twine through and tie a loop.
- Make it last: Let kids color them with markers or add stickers before you slot them together.
- Watch: Cut the slits no wider than the card so the trees stay snug.
Our take: for the layered look in the photo, stack three folded cones from large to small and top with a paper star. That version is our own idea.
16. DIY Glitter Paper Roll Owl Ornament
This is a small owl made from a toilet paper tube. The photo shows owls covered in rows of glittery paper circles, with big round eyes. One tutorial we read paints the tube white, folds the ends in to form ears and feet, and uses a glue gun for the glitter circles.

- Skill and time: Medium, about 40 minutes each.
- What you need: A toilet paper tube, white craft paint, white and yellow cardstock, glitter cardstock, a small circle punch, a pipe cleaner, a glue gun and scissors.
- Step 1: Paint the tube white, then fold one end into the center and the other end over it for ears.
- Step 2: Cut large white circles for the eyes, add black pupils and a yellow triangle for the beak.
- Step 3: Punch about 15 glitter circles and glue them in rows across the belly. Cut two wings from the same paper.
- Step 4: Glue a pipe cleaner loop to the back.
- Make it last: A glue stick did not hold the glitter well in the tutorial, but a glue gun did.
- Watch: Use a low-temperature glue gun and supervise children, as the CPSC suggests.
Our take: folding the ends perfectly is hard. Do your best, because the points are meant to look like ears.
17. DIY Paper Snowflakes Ornaments
A cut paper snowflake is the classic. The photo shows crisp white snowflakes with different cut patterns, hanging in a group. They look like snow on a dark tree.

- Skill and time: Easy, about 10 minutes each.
- What you need: A 6 inch square of white paper, sharp scissors and white thread.
- Step 1: Fold the square in half diagonally to make a triangle, then fold it in half again.
- Step 2: Divide the triangle into three, and fold one outside edge over the center, then the other.
- Step 3: Cut diagonally across the top, then cut shapes along all three edges. The more you cut, the more lacy it looks.
- Step 4: Unfold, flatten and hang with thread.
- Make it last: Press them flat under a book before you pack them.
- Watch: Cut slowly near the folds. Too wide a cut splits the snowflake.
Our take: try different cuts on each snowflake. No two need to match.
18. Honeycomb Paper Ornaments
A honeycomb ornament is a folded paper shape that opens like an accordion. The photo shows honeycomb bells, little trees, hats and a big red fan. The tutorial we read starts with an 8 inch honeycomb paper ball in mixed colors and cuts a bell shape from it.

- Skill and time: Easy, about 15 minutes each.
- What you need: Folded honeycomb paper balls, a pencil, sharp scissors and double-stick tape.
- Step 1: Draw half a bell or oval on the folded ball.
- Step 2: Cut along the line carefully.
- Step 3: Unfold the paper.
- Step 4: Stick both ends together with double-stick tape, and add a thread loop at the top.
- Make it last: Store them flat so the folds stay crisp.
- Watch: Use sharp scissors. Thick folded paper tears if you saw at it.
Our take: choose mixed colors in one family, like red and pink. A related tutorial from How About Orange builds a ball from 12 slotted flower shapes with no glue.
19. DIY Newspaper Dahlia Flower Ornament
A paper dahlia is a flower made from many layered petals. The photo shows pink, orange and green dahlias and a big wall dahlia. It’s the showiest idea on the list.

- Skill and time: Hard, about two hours.
- What you need: Newspaper or book pages cut into squares, a small cardboard circle, tacky glue or a low-temperature glue gun, scissors and a hanger.
- Step 1: Cut dozens of squares, about 5 inches each.
- Step 2: Fold each square into a pointed petal by folding two corners to the center.
- Step 3: Glue the petals around the cardboard circle in rings, starting at the outside edge.
- Step 4: Keep adding rings, with each ring slightly overlapping the last, until the center is filled.
- Make it last: Store it in a box with tissue so the petals keep their shape.
- Watch: Newsprint can smudge. Wash your hands before you handle white paper.
Our take: the credited tutorial link points to a different ornament, so these steps follow the usual paper dahlia method. Make just one as the showpiece of your tree.
How Do You Hang and Store Paper Ornaments?
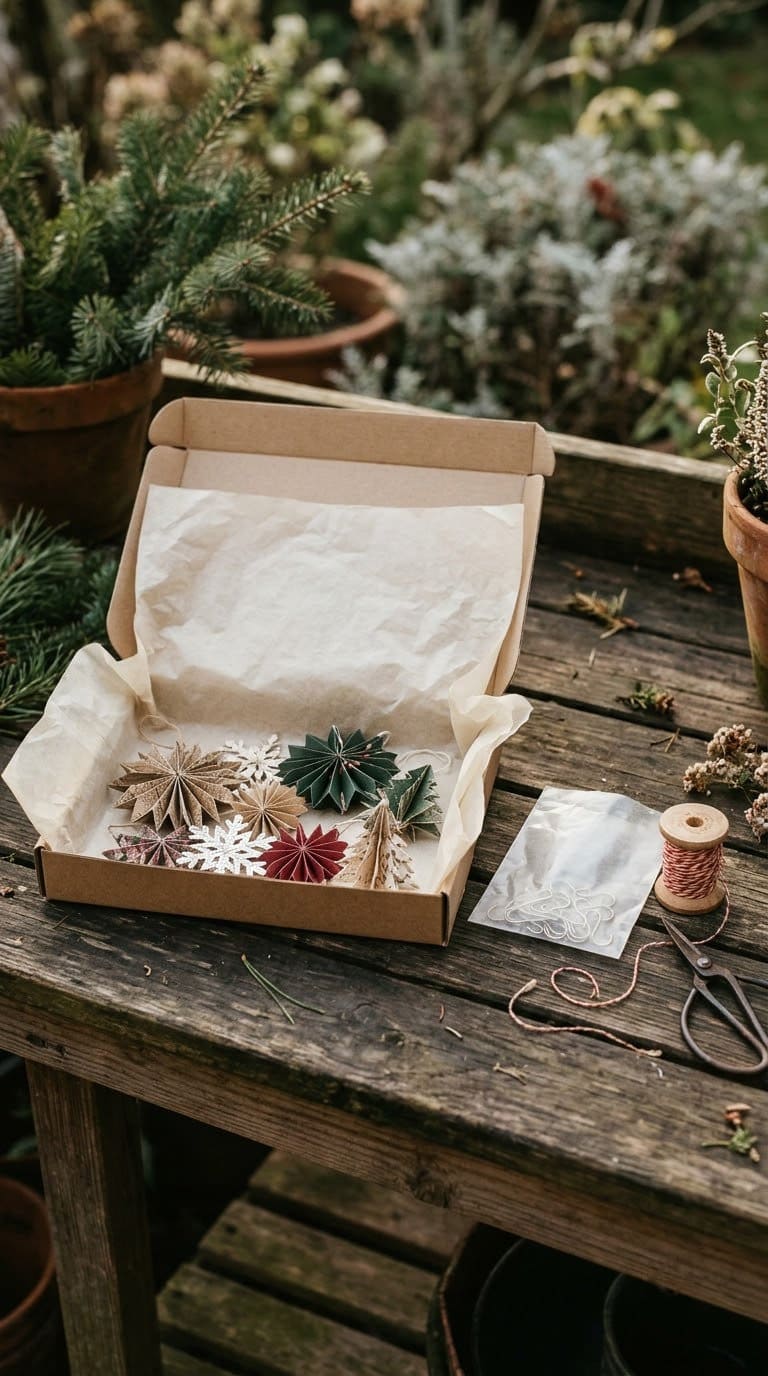
Paper breaks down fast when it is bent, wet or hot. A little care helps it last for years.
- Hang with thread or a light hook. Heavy wire pinches paper.
- Spread them out. Don’t cluster paper ornaments on one branch.
- Pack flat. Use a shallow box and layer tissue between pieces.
- Keep dry. Damp air curls paper, so avoid the garage or basement.
- Label the box. You will find the right one next year.
Our take: write the year on the box. It turns your ornaments into a family record.
What Mistakes Should You Avoid?
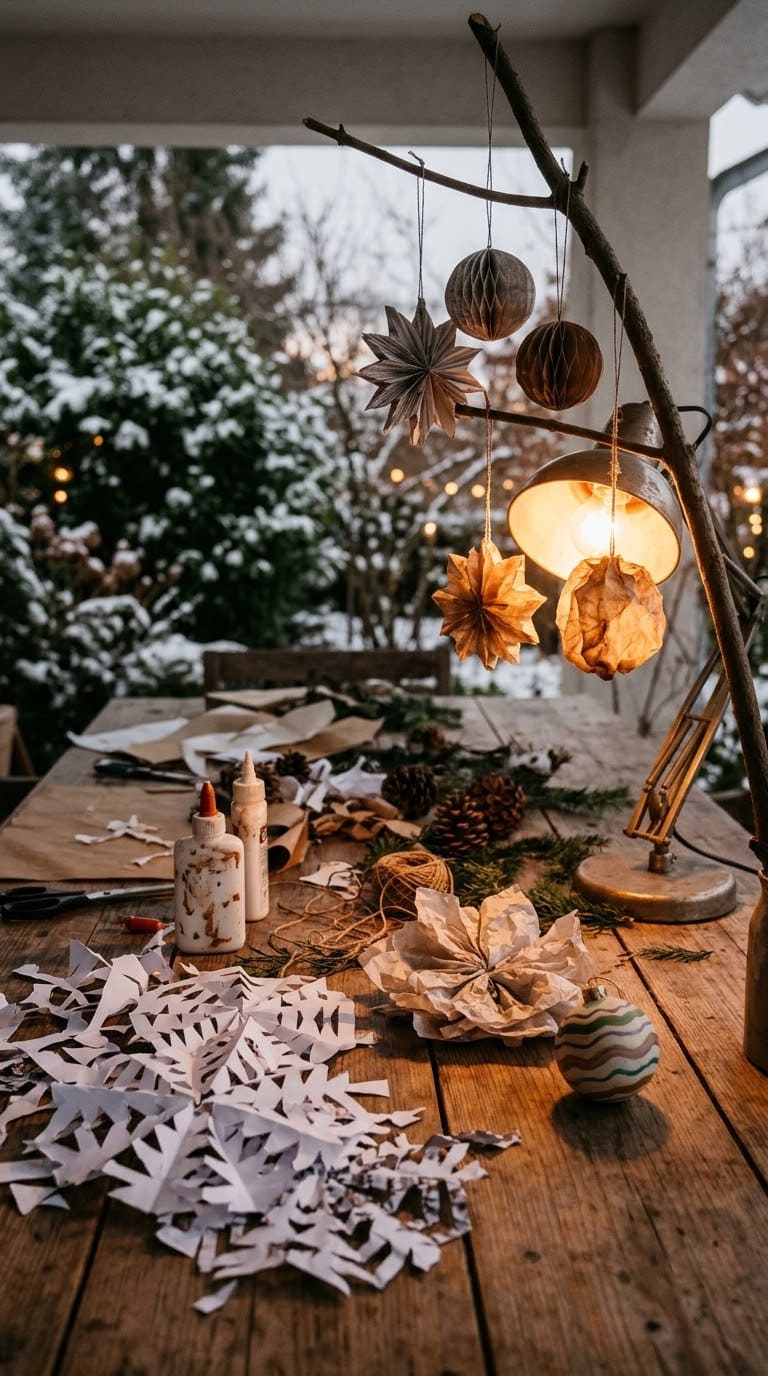
Most paper ornaments fail for small reasons.
- Wrong paper weight. Thin paper flops and thick paper will not fold.
- Too much glue. It warps and stains the paper.
- Skipping a template. Uneven pieces make uneven ornaments.
- Hanging near hot bulbs. Paper can scorch. Use LED lights.
- Small beads for toddlers. Pick paper centers instead.
Frequently Asked Questions
What is the easiest paper ornament to make?
The woven paper heart and the cut snowflake. Both need only paper, scissors and a little time. Children can do them with help.
What paper is best for Christmas tree ornaments?
Cardstock holds its shape for stars, flowers and trees. Thin paper works for folds, snowflakes and honeycomb. See our Christmas ornament ideas for other materials.
Is it safe to put paper ornaments on a lit tree?
Paper burns, so keep it away from heat. Use LED lights, leave space between bulbs and ornaments and never put candles near the tree. The USFA says to keep candles at least 12 inches from anything that can burn.
How do I store paper ornaments?
Lay them flat in a shallow box with tissue between layers. Keep the box in a dry place. Damp air curls and stains paper.
Your Paper Ornament Plan
- Day 1: Pick three ideas, one easy, one medium and one showy.
- Day 2: Gather paper, glue and thread, and cut a test piece.
- Weekend: Make the easy ones first, then the medium one.
- Week before Christmas: Hang them on the outer branches, away from the lights.
- After Christmas: Pack them flat with tissue and label the box.
Start with the woven heart or the paper tree. They are quick, they look good and you will have the hang of folding by the third one.
Never miss an update — choose FarmFoodFamily as your preferred source on Google.
How it works: Tap the button below to open Google's settings page, then check the box next to FarmFoodFamily.
Tap the checkbox to turn it blue — that's how you know it's set.