Furnace Repair in Winston-Salem NC | Learn How to Fix and Maintain Your Heater
Your heating system requires regular maintenance to keep running optimally and save you money and unnecessary repairs. Proper upkeep will allow your unit to work more efficiently and cost-effectively over time.
Start by checking your thermostat settings, cleaning, or replacing filters as required, patching any leaks in ductwork to improve efficiency, and patching any leaks to increase energy savings. A good rule of thumb would be replacing them every month but read on to learn more.
1. Check the Thermostat
Insulating your home properly and sealing any cracks around doors and windows are crucial elements to the performance of any heating system, as leaving these spaces open wastes energy and forces it to work harder than necessary.
2. Check the Filters
Cleaning the filter regularly is one of the key elements of proper heater maintenance. Clogged filters lower efficiency, increase fire risk, and could even result in carbon monoxide poisoning if they become blocked with debris.
Filters are typically found in return air ducts or near blower compartments and feature rectangular frames with accordion-folded fabric that strains out solid particles such as dust and pollen before they can enter the home. Disposable filters typically feature cardboard frames while permanent ones have plastic or metal ones.
3. Check the Vents
If the airflow from any room appears slower or completely stopped altogether, this could be a telltale sign that your vents have become blocked (source: https://www.huduser.gov/portal/publications/moisture.pdf). Use a screwdriver to unscrew the cover of one of your vents and take a peek inside.
4. Check the Burners
If a burner is producing an uneven flame, this could be caused by a clogged burner head. These little holes allow gas to flow in but sometimes they get blocked by food debris, grease build-up, or other types of debris.
Your burner element could also need replacing. If there are bubbles, warping, or yellow hues around its edge then this element – it is best to visit allaboutcarehvac.com or bring in the professionals. Furthermore, you can contact them using the information below:
- All About Care Heating & Air, Inc.
- 2420 Farrington Point Dr SE, Winston-Salem, NC 27107, United States
- (336) 771-9000
- https://www.allaboutcarehvac.com/
5. Check the Thermostat Settings
If your thermostat is not reaching the desired temperature, there are a few things to keep an eye out for. First, verify the battery is functioning as intended and replace it if necessary.
Next, double-check that settings match seasonal preferences; for instance, if running an air conditioning system in summer can prevent heating from functioning as intended but a heater will not turn on, perhaps too high of temperatures have been set?
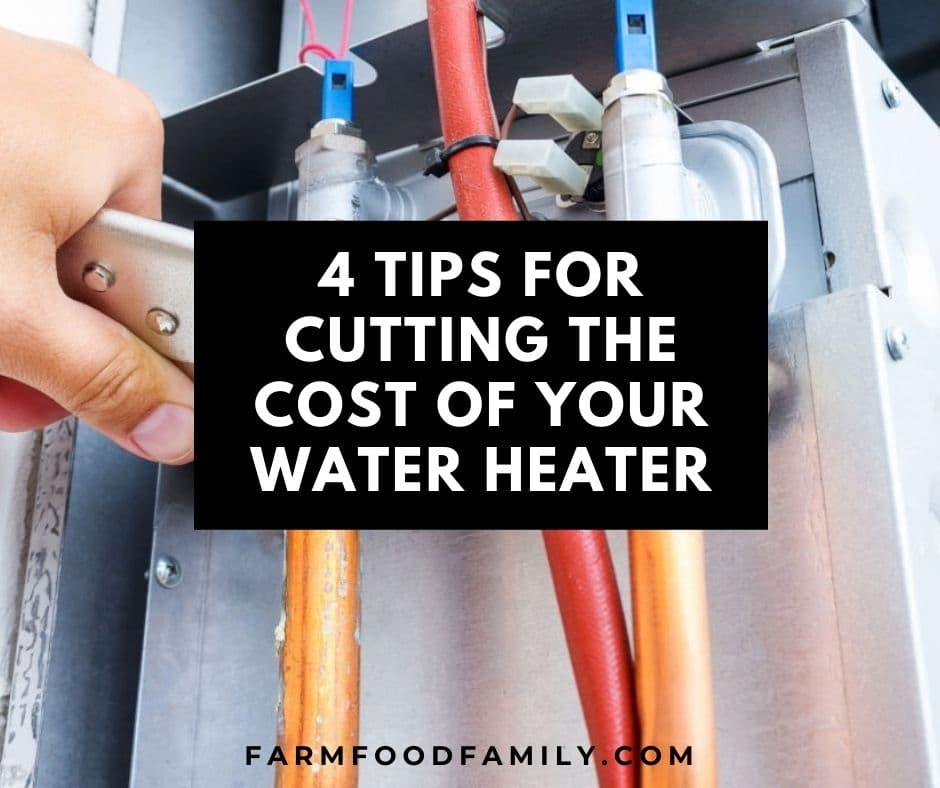
6. Check the Electrical Connections
Loose wires can block electricity from reaching all areas of your heater and cause it to stop working or function intermittently. If you suspect loose wires, shut off power to it immediately and inspect for signs of corrosion or damage to wiring connections. For your own safety and to reduce fire hazards, an experienced technician should handle any repairs necessary in a water heater system.
Wet element insulation allows current to flow down its least resistant path, increasing current draw. Verify a conductive uninterrupted grounding path exists between the green ground lead wire and an earth/ground source by measuring with an ohmmeter; if not met specifications, turn off the power and have an electrician or testing service verify and correct its condition before turning back on power again. Also, make sure your protection devices are appropriately sized.
7. Check the Motor
Overheating of heater motors can damage its insulation as seen here and shorten its lifespan dramatically, as well as leading to other complications, including reduced efficiency and higher operating costs.
Once again, use a multimeter to check the voltage at the motor terminals. This test should make sure that it matches what is listed on its nameplate; wear rubber gloves when conducting this step so as to prevent electric shock.
8. Check the Burners
Dirty or damaged components in a heater may consume more energy, leading to higher utility bills and dangerous accumulation of gas in its heating chamber. Regular inspection and maintenance checks may help address this problem and reduce energy waste.
Clean burners produce a steady blue flame; any yellow flame that flickers or wavers indicates improper combustion and could result in carbon monoxide poisoning. To clean your burners properly, disconnect them from your stove and soak them for 20 to 30 minutes in a soap and water solution; after soaking, wipe down their surfaces with soapy water before carefully reattaching them to their base.
9. Check the Thermostat Settings
If the temperature does not seem right in your home, that could be a telltale sign of miscalibration on the thermostat. This may be caused by loose batteries, changes to programming settings, or dust built-up on its internal components – all things which could impact its accuracy.
A thermometer and tape can help you accomplish this test effectively. Attach a soft paper to the wall at an equivalent height as your thermostat, place a thermometer atop it for 20 minutes, then compare temperatures on both devices.
10. Check the Electrical Connections
Always choose a high-quality ohmmeter; many models include instruction manuals and user reviews online. If necessary, get professional assistance to check out your heater if this task is beyond your abilities.
Remove your thermostat from its place on the wall and photograph its wiring so you can compare it with those on your system control board. Take note of each color, their connector label meanings, and which terminal they connect to on your thermostat (RH terminal usually). C wires in red without an H are connected directly to the RH terminal while blue C wires belong to heat pumps.