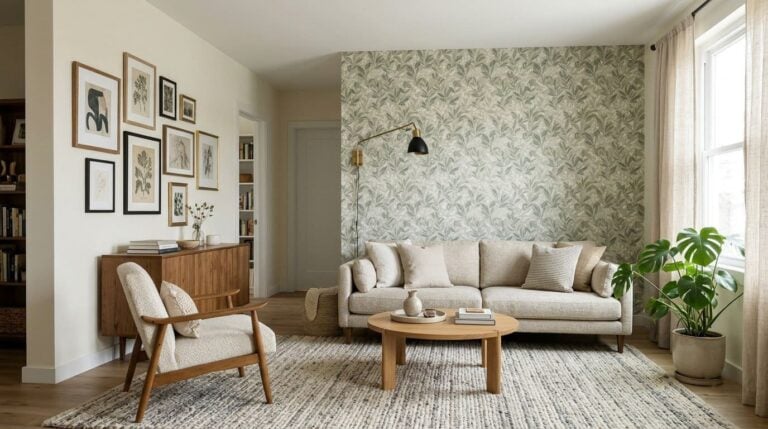
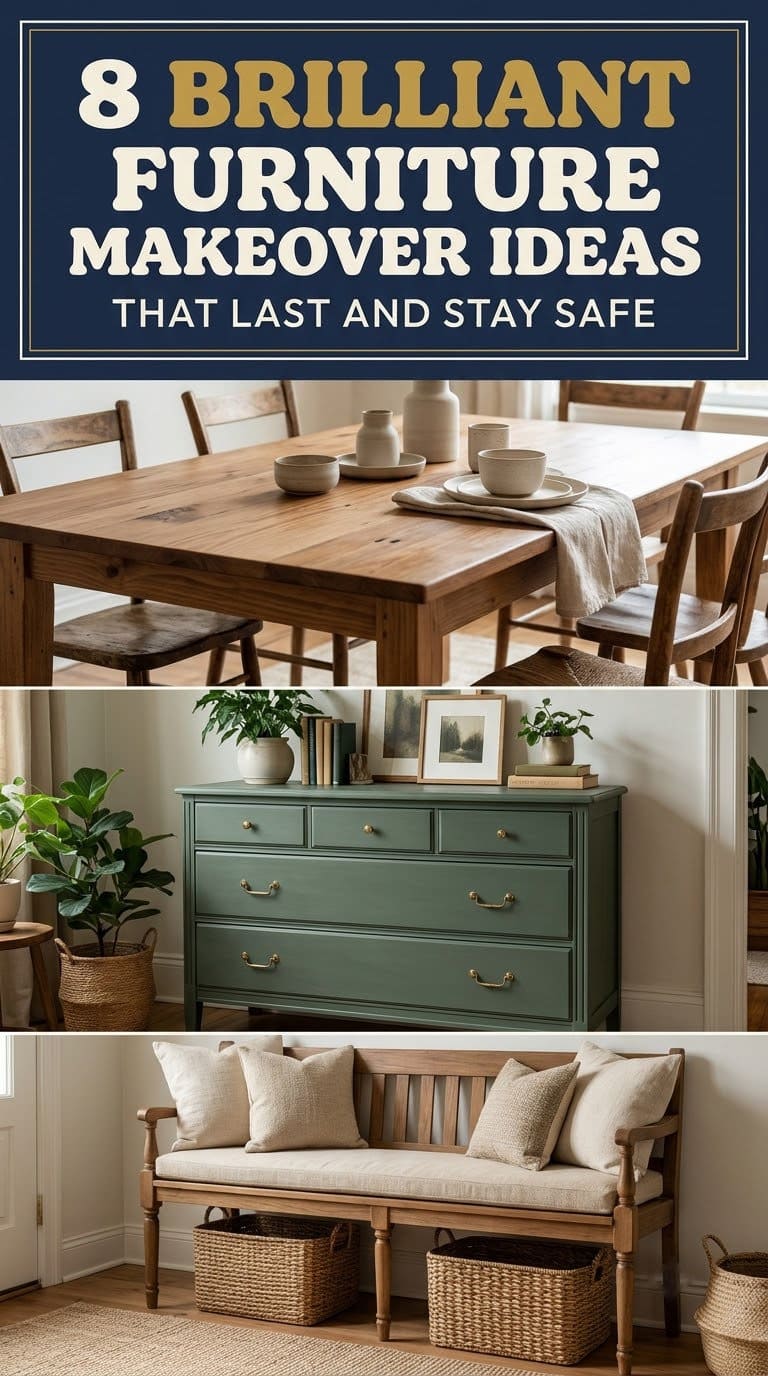
8 Brilliant Furniture Makeover Ideas That Last and Stay Safe
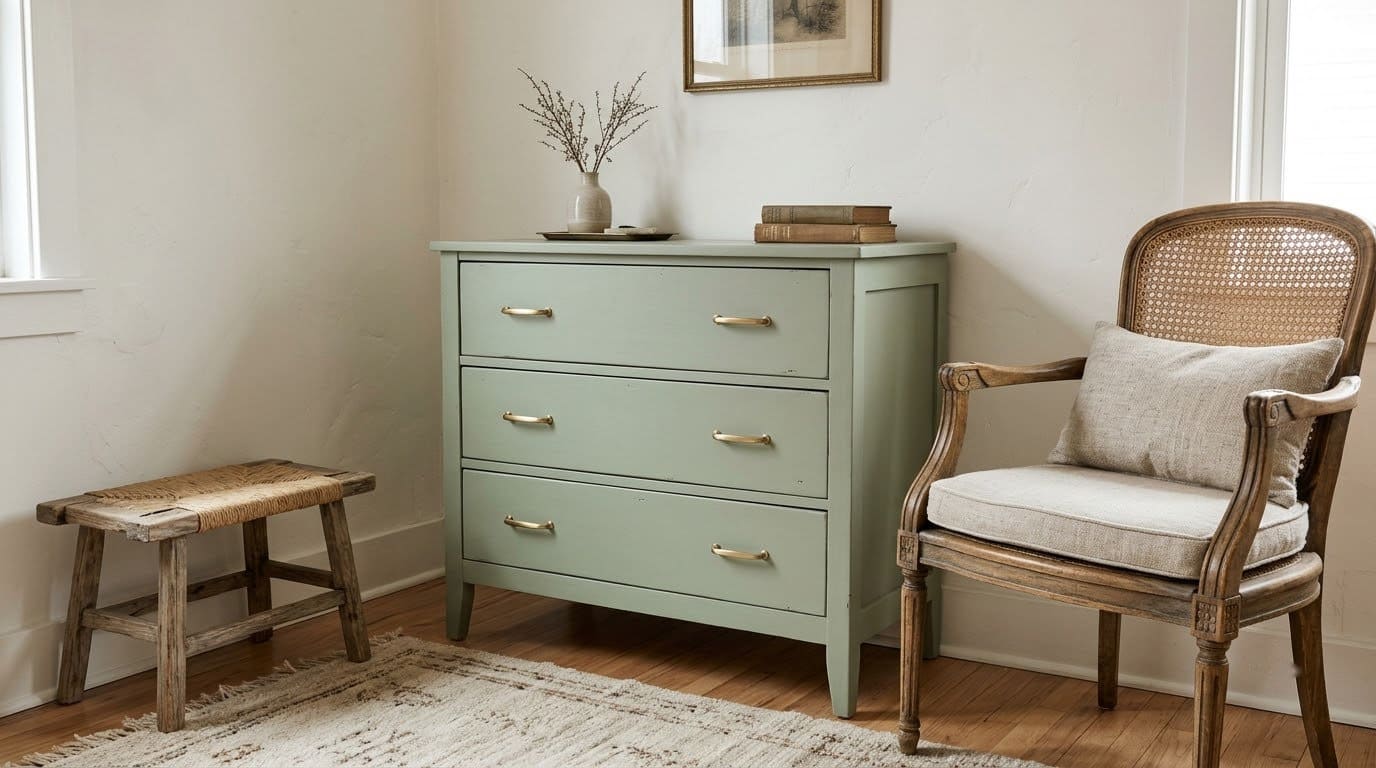
An old piece of furniture looks new again when you prep it right, check the old paint for lead and anchor anything that can tip.

Never miss an update — choose FarmFoodFamily as your preferred source on Google.
How it works: Tap the button below to open Google's settings page, then check the box next to FarmFoodFamily.
Tap the checkbox to turn it blue — that's how you know it's set.
An old piece of furniture looks new again when you prep it right, check the old paint for lead and anchor anything that can tip.
Products We Recommend
This post contains affiliate links. We may earn a commission on qualifying purchases at no extra cost to you.

Ougourim Furniture Anchors, 10 Pack
Wall anchor straps tested to ASTM F3096-23, for anchoring a finished dresser to the wall.
Shop Now
Asidrama 10 Pack 3-Inch Brushed Brass Cabinet Pulls
Zinc pulls with 3-inch (76 mm) hole spacing and two screw sizes, for the hardware swap in idea 3.
Shop Now
Arrow T50 Heavy-Duty Staple Gun
Manual stapler that takes T50 staples, for the no-sew chair seats in idea 6.
Shop NowMost furniture makeover lists show a pretty “after” photo and skip the part that makes paint stay on. The prep is the project. Paint is the last hour.
But old pieces also come with old risks. Lead paint, tall dressers that tip and harsh strippers all show up in real makeovers.
These eight ideas give you the full recipe. Each one lists the steps, the supplies, the time and the checks, so the finish lasts.
Quick Answer
Prep decides how long a makeover lasts. Clean the piece, sand the shine off and prime it before you paint. On laminate, use a bonding primer.
Check old paint before you sand. The EPA says homes built before 1978 are more likely to have lead-based paint. It lists refinishing old furniture as a job that can expose you to lead, and it says not to remove lead-based paint yourself.
Anchor tall pieces to the wall. A CPSC release counted 459 child deaths from furniture and TV tip-overs from 2000 to 2018. It says furniture that could topple onto a child should be anchored to the wall.
Work in a ventilated space, and give each coat time to dry. Check the paint can for exact times, since brands differ. Use a bonding primer on slick surfaces, and seal wood that will meet water.


Which Idea Fits You?
Pick by piece, budget and skill. This table sorts the eight ideas below.
| Idea | Best for | Budget tier | Skill | Main risk |
|---|---|---|---|---|
| 1. Paint laminate right | Flat-pack dressers and desks | Low | Beginner | Peeling paint |
| 2. Refresh a solid wood dresser | Heirloom pieces | Low | Beginner | Old lead paint |
| 3. New hardware that fits | Any drawer piece | Low | Beginner | Wrong hole spacing |
| 4. Dresser into bath vanity | Powder rooms | Mid | Intermediate | Water damage |
| 5. Headboard or door bench | Entryways | Low to mid | Intermediate | Weak joints |
| 6. No-sew dining chair seats | Dining sets | Low | Beginner | Sagging foam |
| 7. Metal and outdoor rescue | Patios | Low | Intermediate | Rust returning |
| 8. Strip and restain wood | Tables and desks | Low to mid | Intermediate | Chemical fumes |
Before You Start: Checks That Make a Makeover Last
A makeover fails in the prep stage. Run through these checks first.
Is the old paint safe to sand?
Assume it may contain lead until a test says otherwise.
The EPA gives rough odds by build year. The likelihood is 24 percent for homes built 1960 to 1977 and 69 percent for 1940 to 1959. It climbs to 87 percent before 1940.
For damaged paint on areas under 6 square feet, the EPA says to fix it without sanding. If you must sand, wet the area first, sand only what you need and clean up thoroughly. The EPA also says to hire a certified lead-based paint inspector or risk assessor to find out for sure.
Will the piece tip over?
Dressers, bookcases and chests can fall on children. The CPSC release says 24 percent of child tip-over deaths involved furniture alone, such as chests, dressers or bureaus. About 11,000 children were treated in emergency rooms each year from 2016 to 2018.
Anchor the piece to the wall with a low-cost anchoring kit when you finish. Put heavy items in the lower drawers, since children often climb dresser drawers.
How long should paint dry between coats?
Two big paint brands give two different answers. Benjamin Moore and Sherwin-Williams each publish a laminate guide. Use this table to see them side by side, then follow the label on your own can.
Wall anchor straps tested to ASTM F3096-23, for anchoring a finished dresser to the wall.
Shop NowThis post contains affiliate links. We may earn a commission on qualifying purchases at no extra cost to you.
| Step | Benjamin Moore | Sherwin-Williams |
|---|---|---|
| Sanding | 220-grit sandpaper | 150-grit sandpaper |
| Primer | INSL-X STIX | Extreme Bond Primer |
| Wait between coats | One day | At least four hours |
We’d follow the longer wait on a piece you’ll use daily, since it gives the paint more time to harden. Always check the can.
What do you need in your kit?
Keep it simple. Gather a degreasing cleaner, sandpaper, a bonding primer, a brush or small foam roller, painter’s tape and a drop cloth. Add a respirator if you spray or strip.
1. Paint Laminate the Right Way
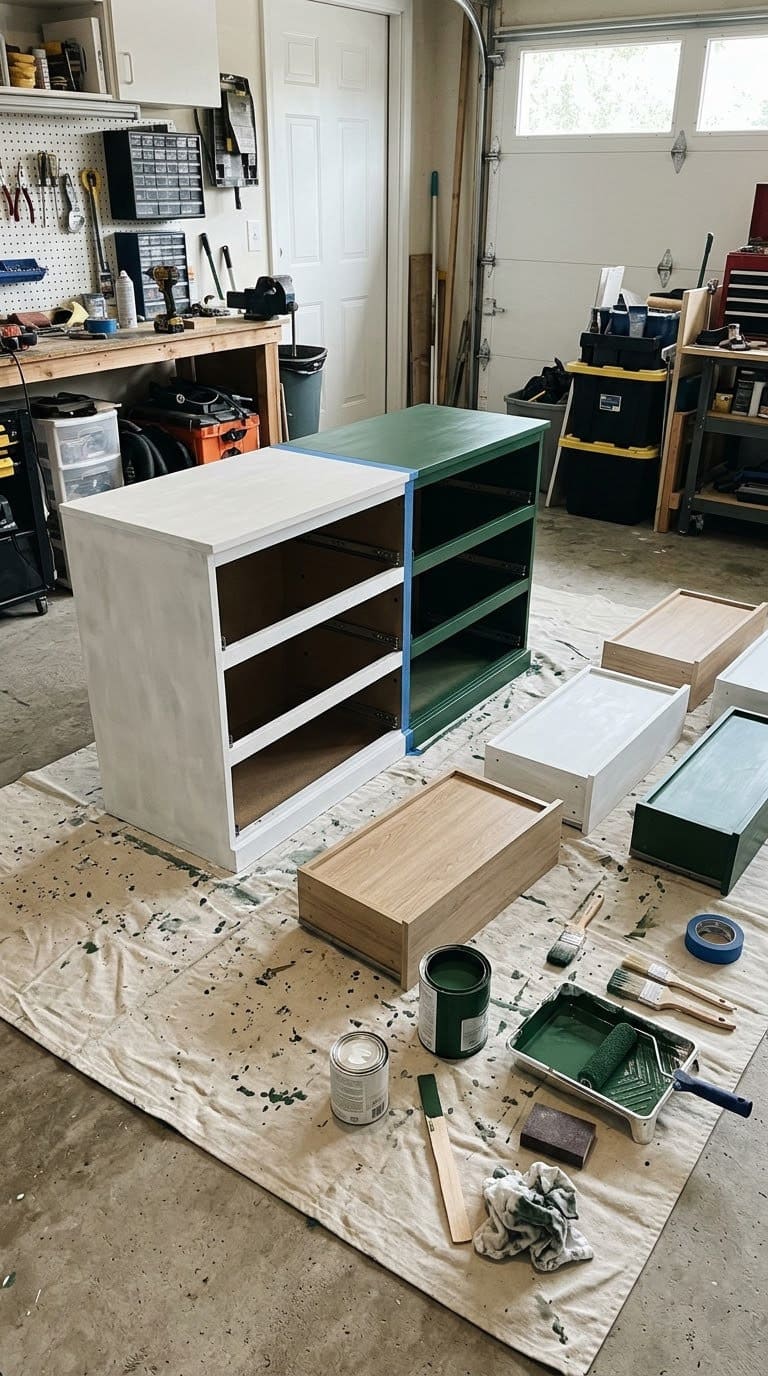
Laminate looks hard to paint because it’s slick and shiny. The trick is to rough it up and use the right primer.
Benjamin Moore says to wipe the piece with a wet rag, then sand the glossy surface down to a dull look with 220-grit sandpaper. It warns against oversanding, since laminate is thin.
Vacuum, then wipe. Clear the sanding dust with a vacuum and a microfiber towel. Dust under the primer causes bumps.
Prime with a bonding primer. Benjamin Moore uses INSL-X STIX. Sherwin-Williams uses Extreme Bond Primer and lightly sands the primer once it’s dry and hard.
Take it apart. Remove drawers, doors, hinges and hardware. Sherwin-Williams also says to scrape off sticky residue first, such as tape glue.
Paint thin coats. Two light coats beat one thick one. A small foam or mohair roller leaves a smooth finish.



Quick tip: Paint doors and drawer fronts lying flat so drips don’t run. Turn small pieces upside down and work toward the legs.
For more painted dresser looks, see our DIY painted dresser ideas. Budget: low. Skill: beginner.
2. Refresh a Solid Wood Dresser
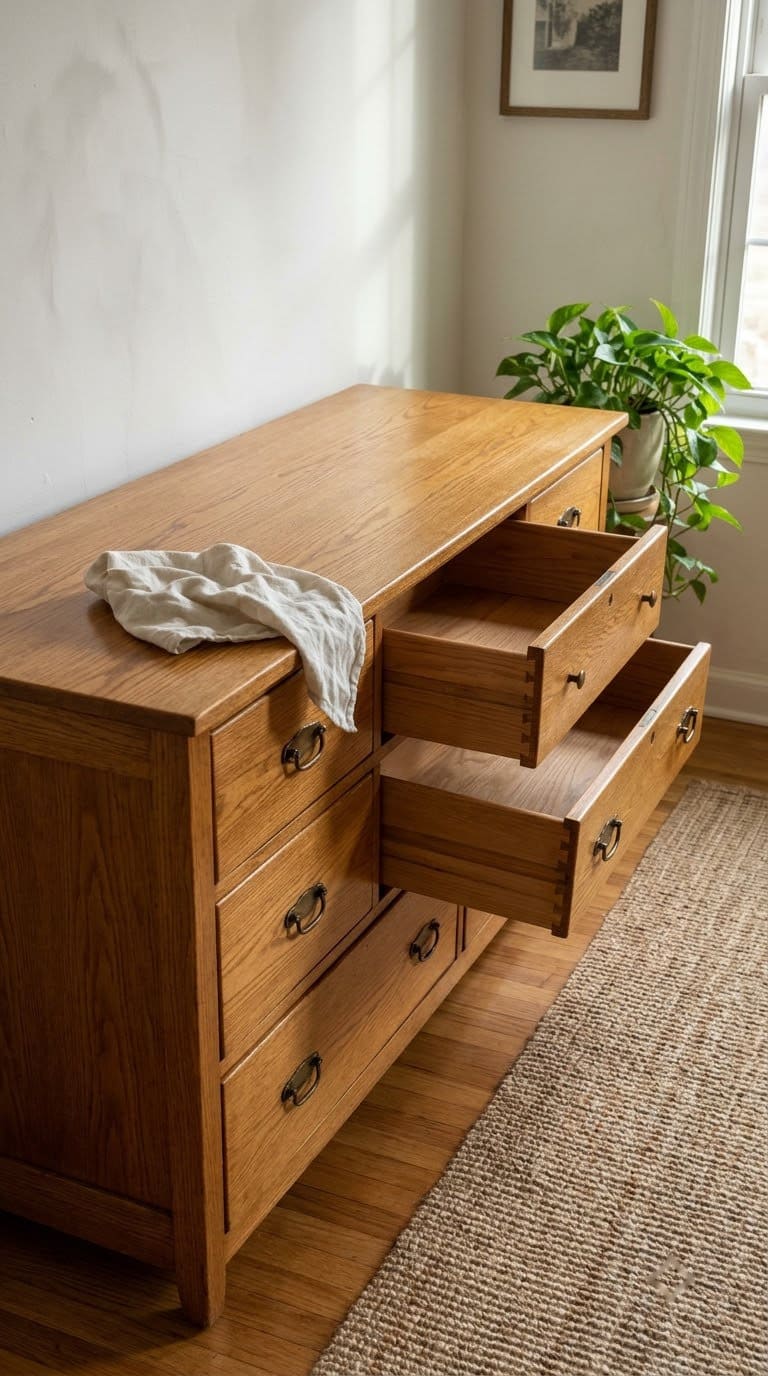
Solid wood is worth saving. It’s sturdier than new flat-pack, and it can take many finishes.
Start with the gentlest fix. Clean the piece, tighten loose screws and test a small spot with wax or oil. Many old pieces look good with no paint at all.
Test for lead before you sand. If the piece has chipped old paint, treat it as possible lead. The EPA says not to try removing lead-based paint yourself. Seal it, choose another piece or hire a certified pro.
Check the joints. Pull each drawer all the way out and push it back. Look for loose joints, bowed bottoms and signs of insects.
Smell the drawers. A smoky or damp smell stays in wood. If it’s strong, leave the piece in the store.
Keep a sound finish. Original finish adds character and value. Clean it and add wax before you think about paint.
Decide on the finish. Paint changes the look the most. Wax and oil keep the grain.
Our guide to finding good pieces at thrift stores explains how to spot value before you buy. Budget: low. Skill: beginner.
3. New Hardware That Fits
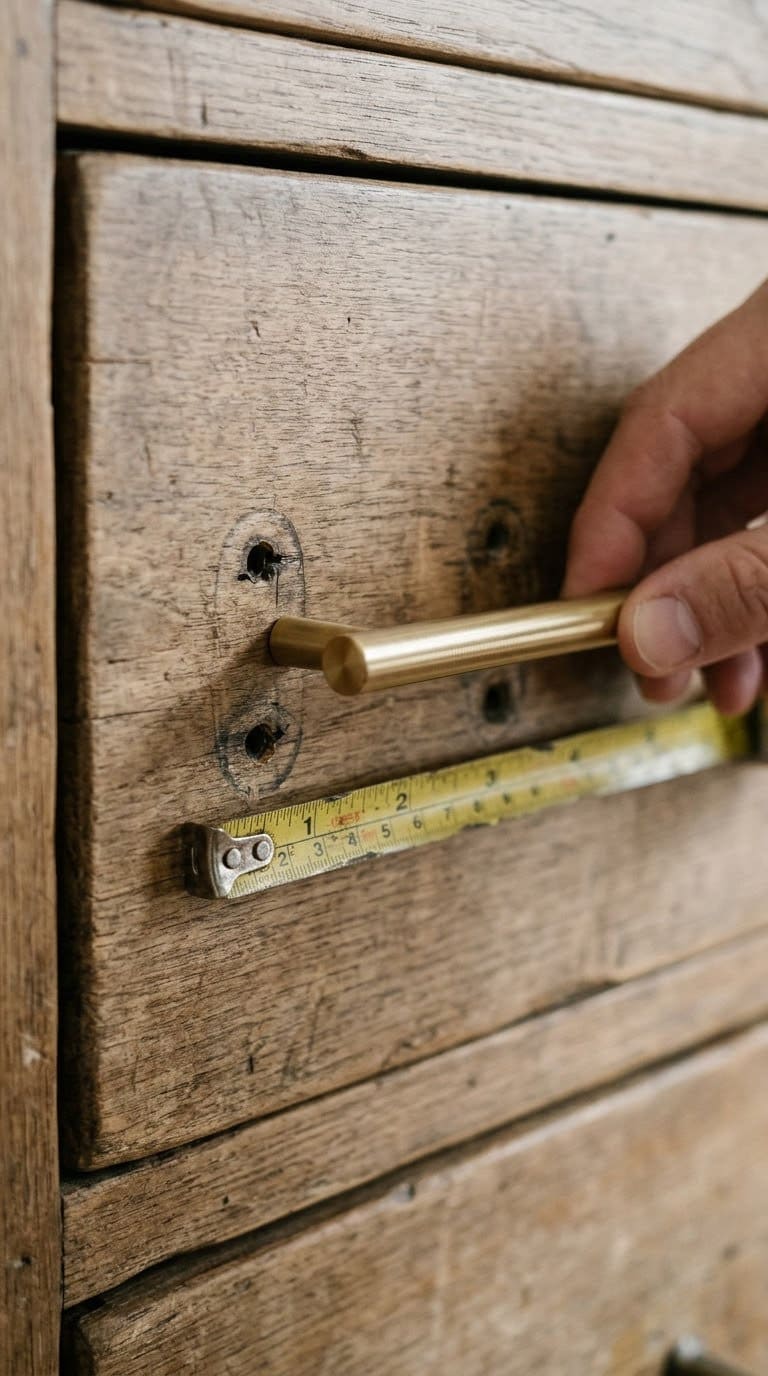
New hardware is the cheapest upgrade in this list. It also changes the whole look in an hour.
Measure the distance between the centers of the two screw holes, not the length of the pull. That’s called center-to-center.
If the holes are hard to center by eye, try another way. Measure from the left edge of one hole to the left edge of the other. It gives the same number.
Match the spacing. Take the old pull off and measure before you shop. A pull with the wrong spacing means new holes.
Buy one to test. Order a single pull first and hold it up to a drawer. Check projection too, since a deep pull can bang into a neighbor.
Fill unused holes. If new spacing doesn’t match, fill the old holes with wood filler, sand and paint before you drill again.
Use a template. A scrap of cardboard with two marked holes keeps every pull level and even. Tape it in place.
Choose knobs for one hole. A knob needs a single hole, so it’s the easy swap if the spacing is odd.
For more ideas, see our list of dresser alternatives. Budget: low. Skill: beginner.
4. A Dresser Turned Into a Bath Vanity
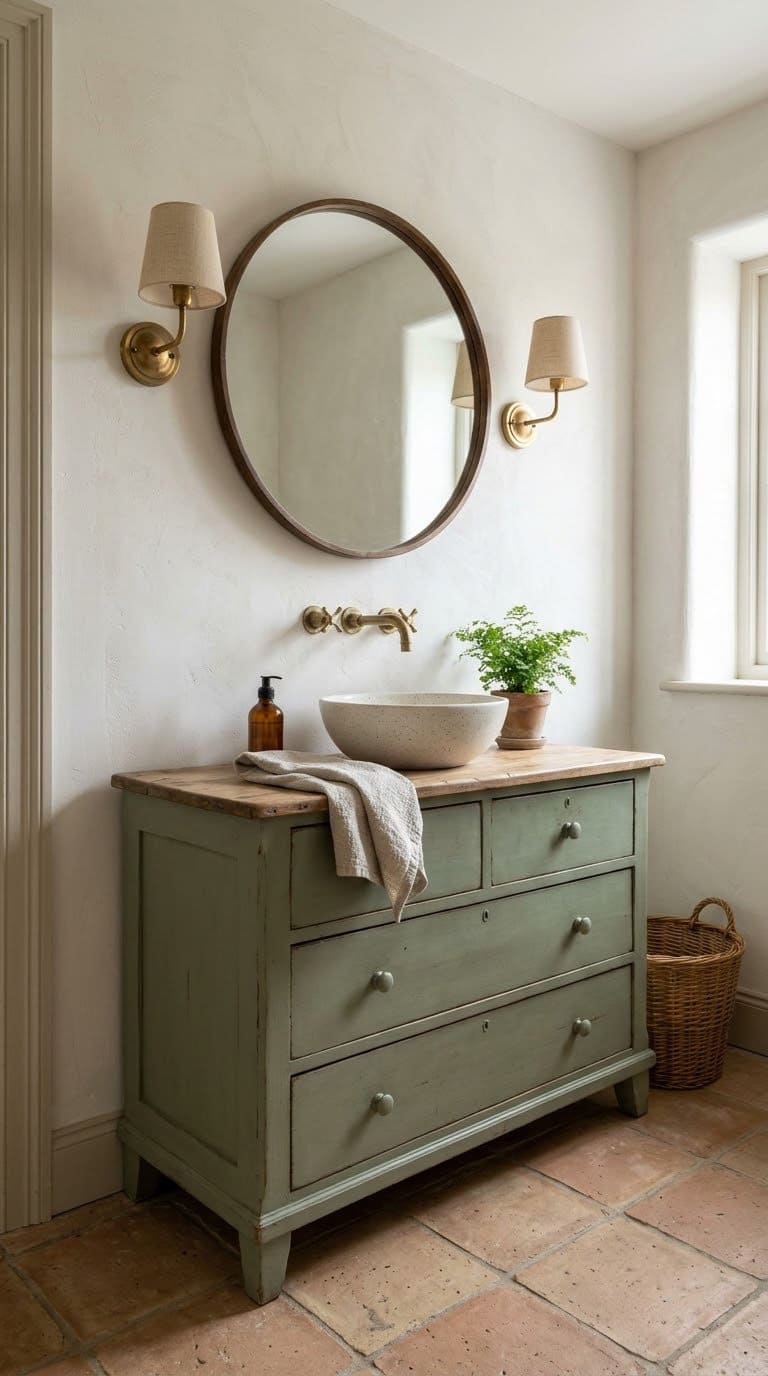
A dresser makes a one-of-a-kind vanity. It’s also one of the harder makeovers, since wood and water don’t get along.
This Old House, in a guide by Paul Hope, says to mark 4 inches to each side of the lower drawer’s centerline. That makes an 8-inch cutout for the trap and supply lines.
Seal the wood. The same guide says to apply a water-resistant sealant to protect the wood from moisture, and to reapply it seasonally. Seal the top, the edges and the cut ends.
Set it near the wall. It says to position the vanity about 3 inches from the wall. Fasten it into the studs with 3-inch wood screws, using 2-by-4 scrap as mounting blocks.
Dry-fit the sink. If the crosspiece needs a curved cut, trace the sink rim and cut with a jigsaw. Test the fit before you trim more.
Hire a plumber if you aren’t sure. The article notes the project needs carpentry skills and plumbing knowledge. Final connections should follow the sink maker’s instructions and local code.
Run the fan. A wet room can warp wood, so use the exhaust fan during showers.
Budget: mid. Skill: intermediate.
5. A Headboard or Door Bench
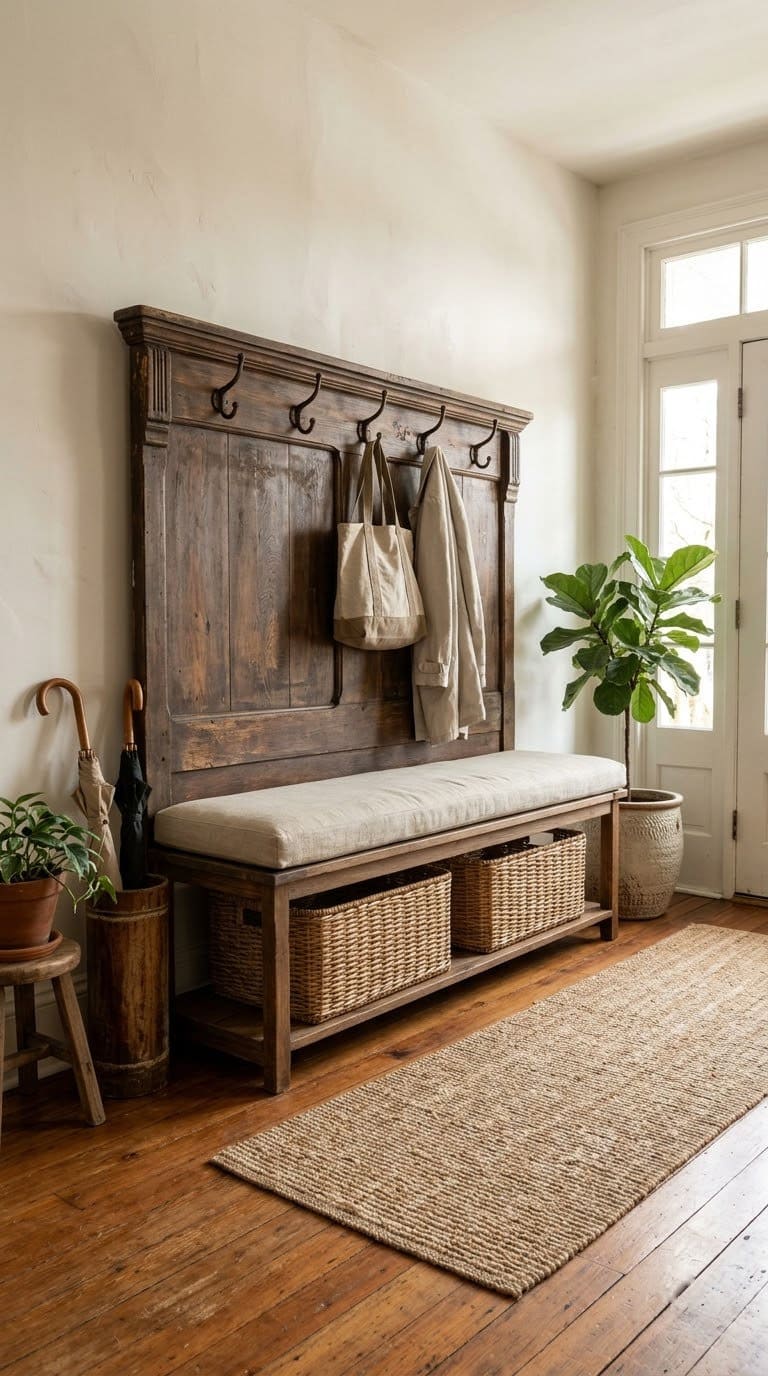
An old headboard makes a sturdy entryway bench. The curved top becomes the back, and the legs become the arms.
Cut the footboard or the bed rails to length for the seat. Join them with strong brackets and wood screws, and add a plywood seat.
Check the width. A bench seat is usually about 18 inches deep and wide enough for two people. That’s a common planning number, and it’s our own rule of thumb.
Reinforce the joints. Glue and screw every joint. A bench takes more weight than a bed, so add a center support under the seat.
Pick the seat. A padded seat feels better. Cut the foam about an inch larger than the seat and wrap it in fabric.
Finish it for the door. A bench near an entry gets wet shoes. Use a durable paint and sealer.
Add storage. Two baskets underneath hold shoes, and a row of hooks on the wall gives you a mudroom.
For more ideas on repurposing old pieces, see our farmhouse furniture decor ideas. Budget: low to mid. Skill: intermediate.
6. No-Sew Dining Chair Seats
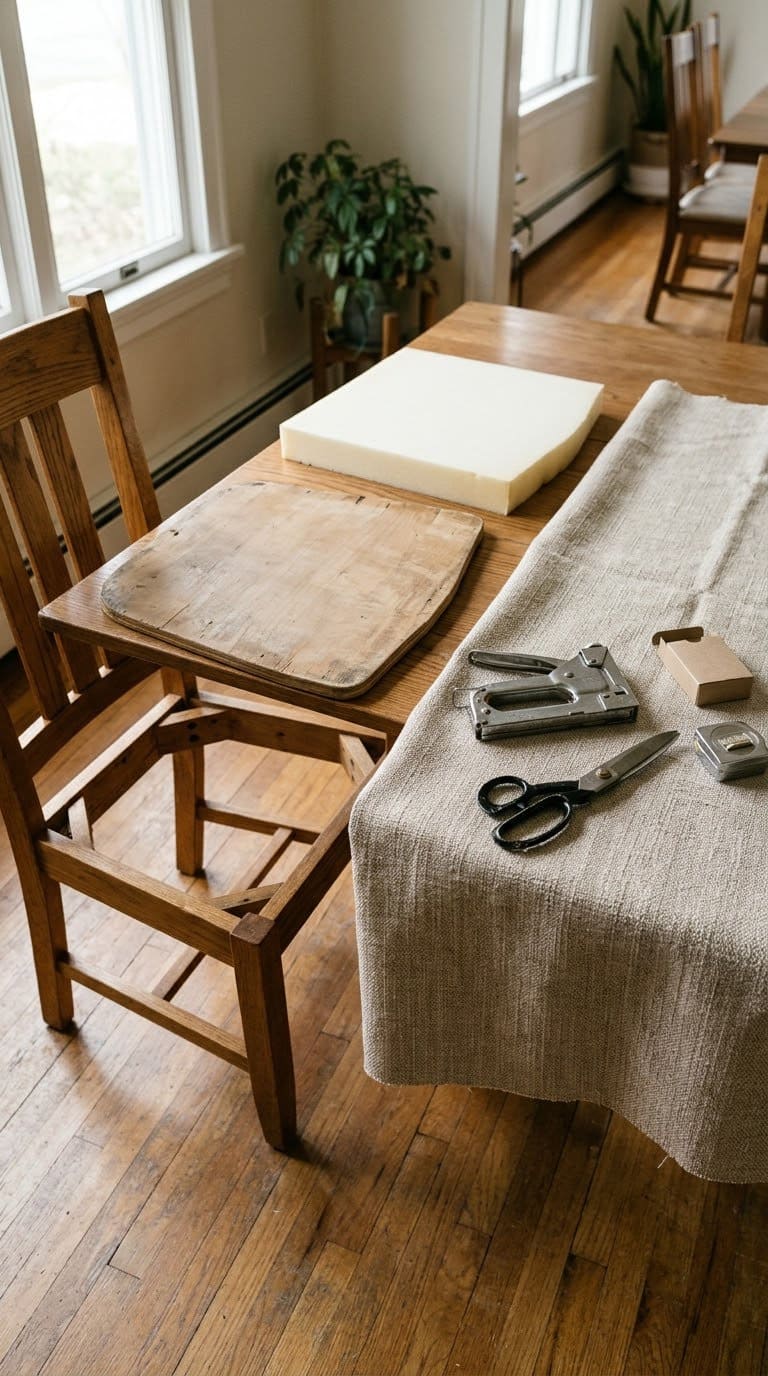
You can recover a dining chair without a sewing machine. A staple gun does the work.
Flip the chair over and unscrew the seat. Pull off the old fabric and look at the foam. If it’s flat or crumbly, replace it.
Cut the foam to size. Trace the seat on new foam and cut it with a serrated knife. A slightly rounded edge looks softer.
Pick the fabric. Choose a tight weave that can take wear. Wash and iron it first so it doesn’t shrink.
Staple from the center out. Pull the fabric tight over each side, staple the middle first, then work toward the corners. Fold the corners like a gift wrap.
Trim and reattach. Cut off extra fabric and add a dust cover underneath. Screw the seat back on.
Paint the frame first. Prime and paint the wood before you cover the seat. It’s easier to do it without fabric.
For what a used set is worth before you start, see our guide to pricing used furniture. Budget: low. Skill: beginner.
7. Rescue Metal and Outdoor Furniture
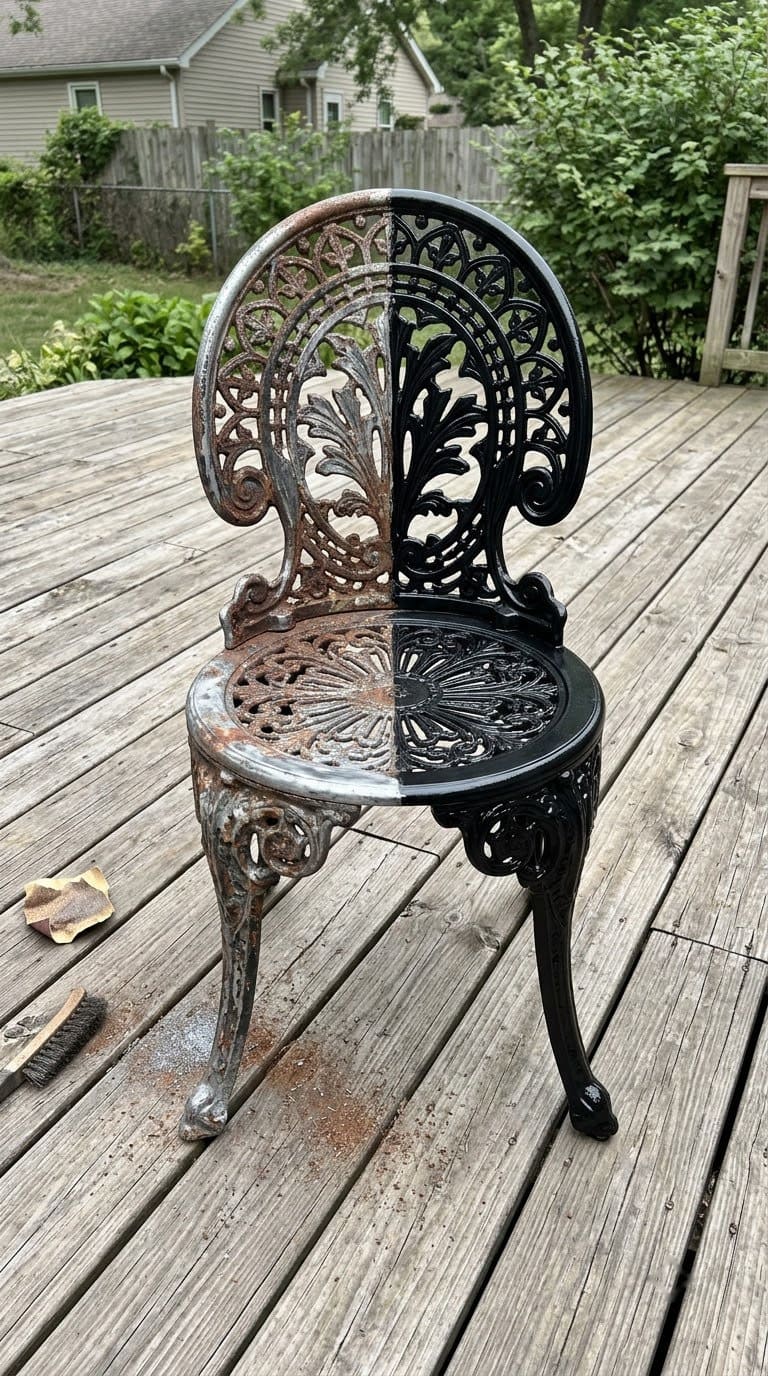
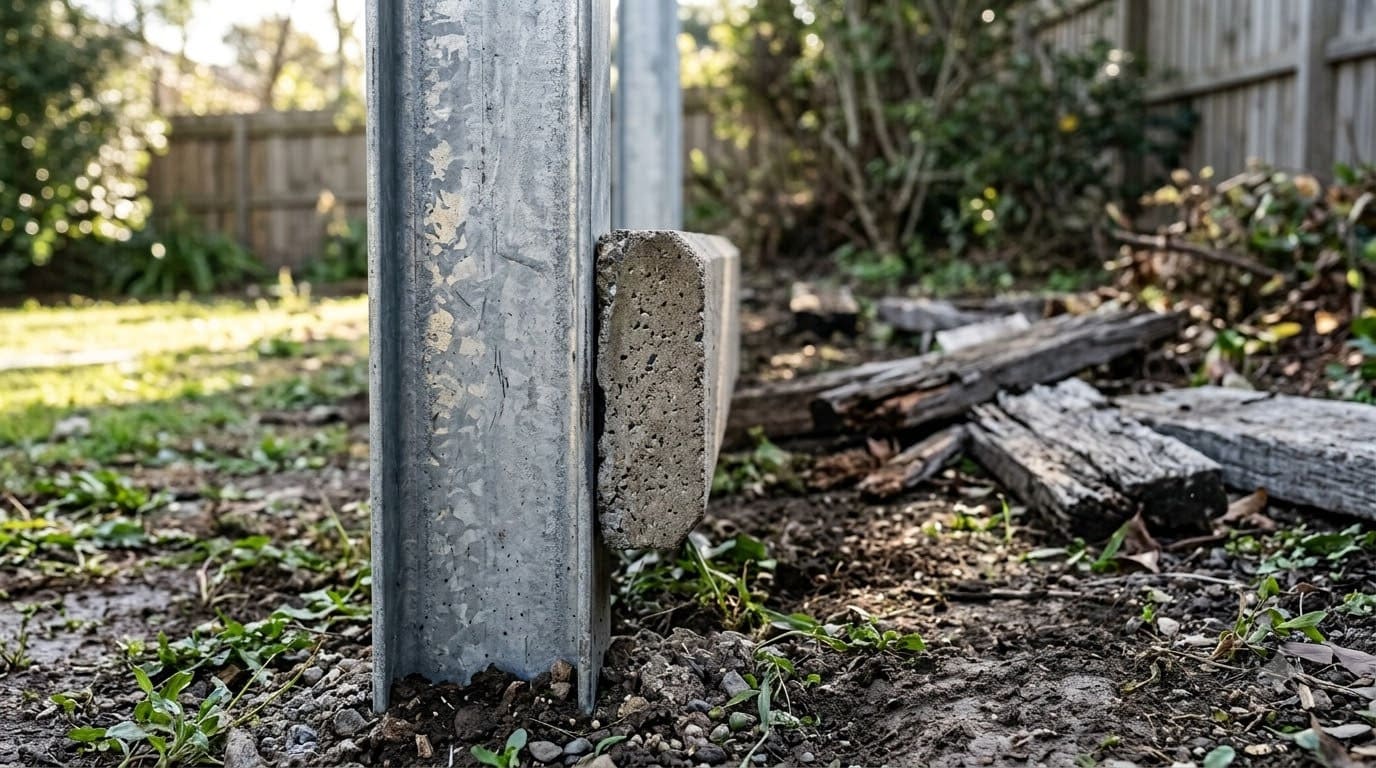
Metal furniture comes back to life with rust removal and the right paint. The work is dusty, so wear a mask and gloves.
Brush off loose rust with a wire brush or coarse sandpaper. Wipe the surface clean and dry. Then prime with a rust-blocking primer made for metal.
Check old paint first. Old metal pieces may also have lead paint. Follow the EPA advice from the checks above before you sand or brush.
Fill pits. Use a metal filler on deep pits and sand it smooth.
Use outdoor paint. Pick a paint made for outdoor metal. Our guide on using exterior paint inside explains why the type matters.
Spray in thin coats. Spray paint goes on best in thin coats with drying time between them. Check our note on spray paint drying times.
Protect it from weather. Store the piece under cover in winter, or add a clear coat made for outdoors.
See more patio projects in our DIY outdoor furniture ideas. Budget: low. Skill: intermediate.
8. Strip and Restain a Wood Table or Desk
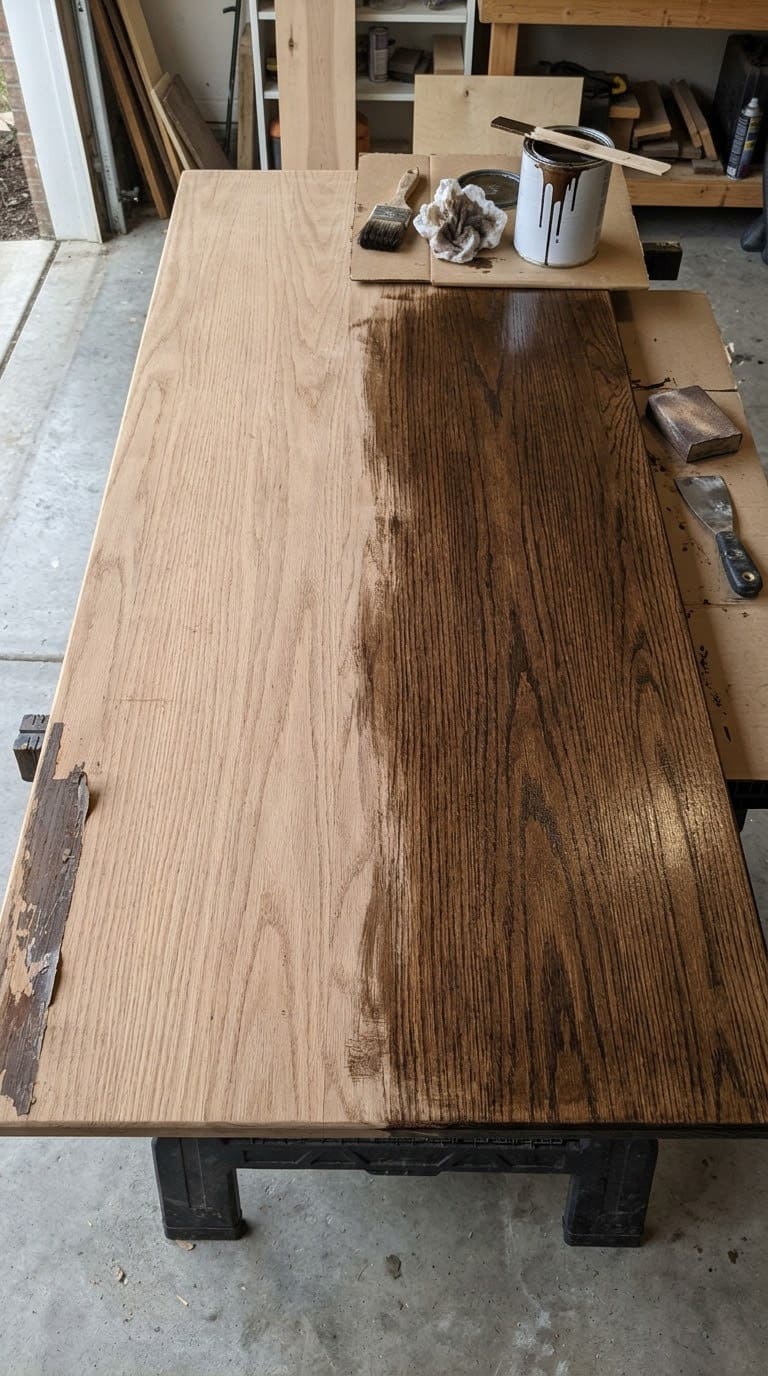
Sometimes the best makeover is a new finish on good wood. A table or desk with nice grain can take stain well.
This is the dustiest and smelliest job on the list. So do it outdoors or with the windows open.
Check for lead and veneer. If the finish is old paint, stop and test. If it’s thin veneer, don’t sand it hard.
Choose a stripper with care. Check the label and pick one that says it’s free of methylene chloride. Wear chemical gloves, eye protection and a respirator rated for the product.
Work in small sections. Apply the stripper, wait as the label says and scrape with the grain. Wipe the wood clean with the cleaner the maker names.
Sand the bare wood. Sand with the grain, moving up through finer grits. Wipe off dust before staining.
Stain and seal. Test the stain on a hidden spot. Our comparison of oil-based and water-based stain helps you pick one.
Let it cure. A table top feels dry long before it’s hard. Give it extra time before you set down hot or heavy items.
Budget: low to mid. Skill: intermediate.
Rental-Friendly and Small-Space Makeovers
You don’t need a workshop for a good makeover. These swaps work in an apartment.
Swap hardware, add peel-and-stick shelf liner inside drawers and use a clean wax on solid wood. A thrift-store chair with a new seat cover changes a room without paint.
Do paint in the daytime with the window open. Bring a small sealed can of paint for touch-ups.
How Should You Spend the Budget?
Spend on prep and finish. Save on the pieces themselves.
| Spend more on | Save on |
|---|---|
| A bonding primer | The piece (buy used) |
| A good brush or foam roller | Hardware (buy one to test) |
| A respirator for strippers | Fabric for seats |
| A wall anchor kit | Baskets and decor |
A used piece in good shape costs little, so put the money into the primer and the topcoat. Those two decide how long the finish lasts.
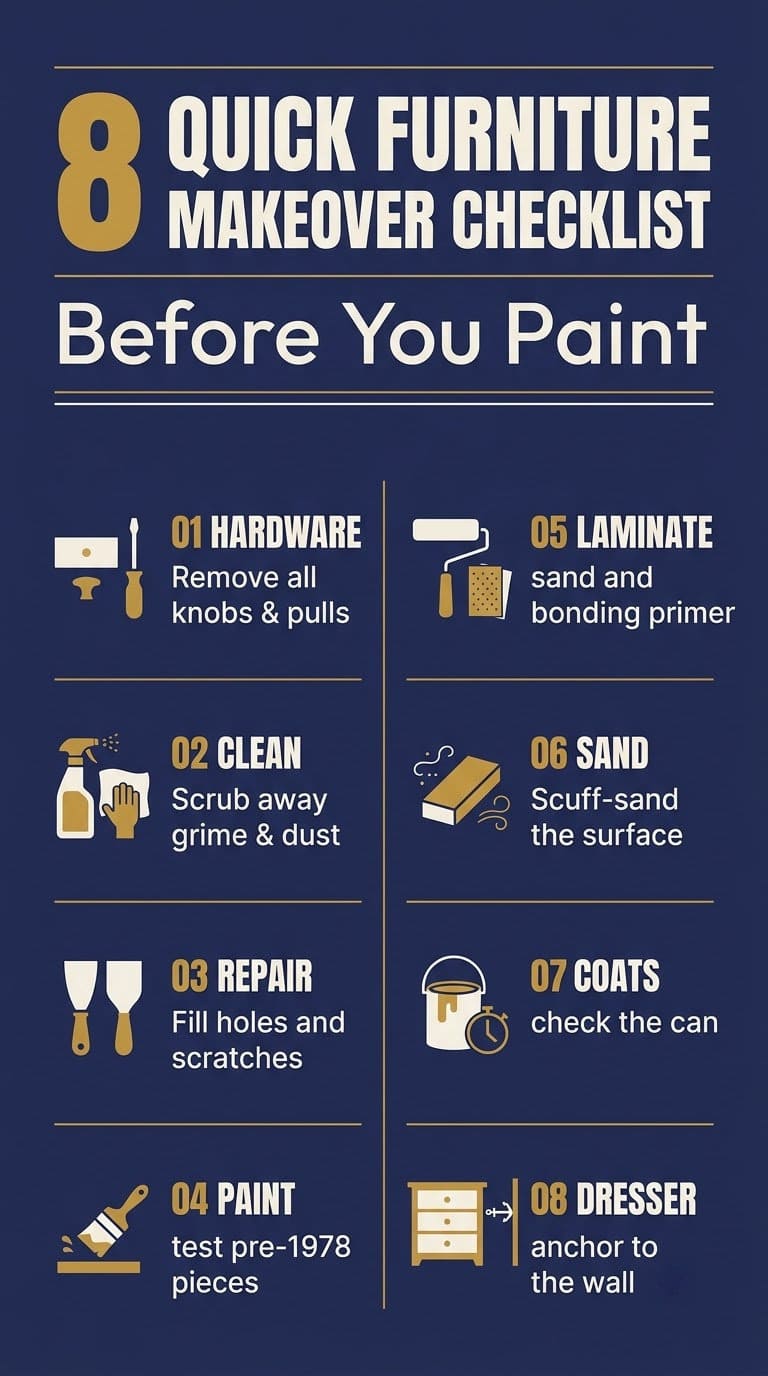
What to Do First
Start with the checks, then the work. This order saves rework.
First, test old paint and check the piece for loose joints. Second, remove hardware and clean the piece. Third, sand and prime.
Then paint in thin coats, let each dry and reattach hardware. Last, anchor tall pieces to the wall.
Common Mistakes to Avoid
Most makeovers fail in the same few ways.
Skipping the primer. Both Benjamin Moore and Sherwin-Williams name a bonding primer for laminate. Without it, paint tends to peel.
Sanding old paint without a test. The EPA says not to remove lead-based paint yourself.
Oversanding laminate. Benjamin Moore says laminate is thin, so avoid oversanding.
Rushing the coats. Sherwin-Williams says to wait at least four hours between coats, and Benjamin Moore says one day. Check your can.
Forgetting to anchor. The CPSC says furniture that could topple onto a child should be anchored to the wall.
Skipping the sealant in a wet room. This Old House says to seal the wood and reapply the sealant seasonally.
FAQ
Do you have to sand furniture before painting?
For most pieces, yes. Sanding dulls the shine so paint can grip. Benjamin Moore uses 220-grit on laminate, and Sherwin-Williams uses 150-grit.
Do I need a primer on laminate furniture?
Yes. Both Benjamin Moore and Sherwin-Williams use a bonding primer on laminate before paint.
Is it safe to sand old painted furniture?
Test first. The EPA says homes built before 1978 are more likely to have lead paint. It lists refinishing old furniture as a job that can expose you to lead.
How long should I wait between coats of paint?
Follow your can. Sherwin-Williams says at least four hours between coats, and Benjamin Moore says one day.
How do I stop a dresser from tipping?
Anchor it to the wall with a low-cost anchoring kit, and keep heavy items in the lower drawers. The CPSC says furniture that could fall on a child should be anchored.
Can you turn a dresser into a bathroom vanity?
Yes, with careful sealing and some plumbing know-how. This Old House says to cut an 8-inch trough in the lower drawer for the pipes and to seal the wood with a water-resistant sealant.
Related Posts
- Best Online Second Hand Furniture Stores
- Latex Paint Over an Oil-Based Primer
- How to Maintain Oak Furniture
Never miss an update — choose FarmFoodFamily as your preferred source on Google.
How it works: Tap the button below to open Google's settings page, then check the box next to FarmFoodFamily.
Tap the checkbox to turn it blue — that's how you know it's set.