8 Sturdy Office Shelving Ideas That Hold Files, Books and Gear Safely
Good office shelving gets paper, books and gear off your desk, as long as you plan the load, the span and the wall before you buy a single bracket.

Never miss an update — choose FarmFoodFamily as your preferred source on Google.
How it works: Tap the button below to open Google's settings page, then check the box next to FarmFoodFamily.
Tap the checkbox to turn it blue — that's how you know it's set.
Good office shelving gets paper, books and gear off your desk, as long as you plan the load, the span and the wall before you buy a single bracket.
Products We Recommend
This post contains affiliate links. We may earn a commission on qualifying purchases at no extra cost to you.

Furniture Anchors 10 Pack, Anti-Tip Straps
Metal wall anchor straps with hardware for bookcases and dressers, for ideas 1 and 4.
Shop Now
Premium Wall Scanner Stud Finder
Electronic stud finder for wood and metal studs, for finding the studs in ideas 1, 2 and 7.
Shop Now
KURUI Hollow Wall Anchors Assorted Kit, 44 pieces
Toggle bolts and butterfly anchors for drywall, for idea 2 when there is no stud.
Shop NowMost offices don’t fail for lack of storage. They fail because the shelves sag, the brackets pull out or the bookcase wobbles.
A shelf that works holds the weight you put on it, sits where you can reach it and stays put on the wall. Looks come second.
These eight ideas pair a layout with the checks that keep it safe. Each one includes the steps, the order of work and what to measure first.
Quick Answer
Mount into studs whenever you can. Emily Burns Morgan at Bob Vila says studs support weight best, and that drywall needs butterfly or toggle anchors.
Anchor every tall bookcase. The CPSC counted 459 child tip-over deaths from 2000 to 2018 and advises anchoring furniture to the wall with low-cost devices.
Keep shelves short. Woodworkers on a cabinetmaking forum put the limit for 3/4 inch plywood at about 32 inches, and say it’s “pushing it” for heavy objects.
Match the fastener to the wall. Morgan’s knock test helps: a hollow sound means drywall, and a solid sound means plaster.
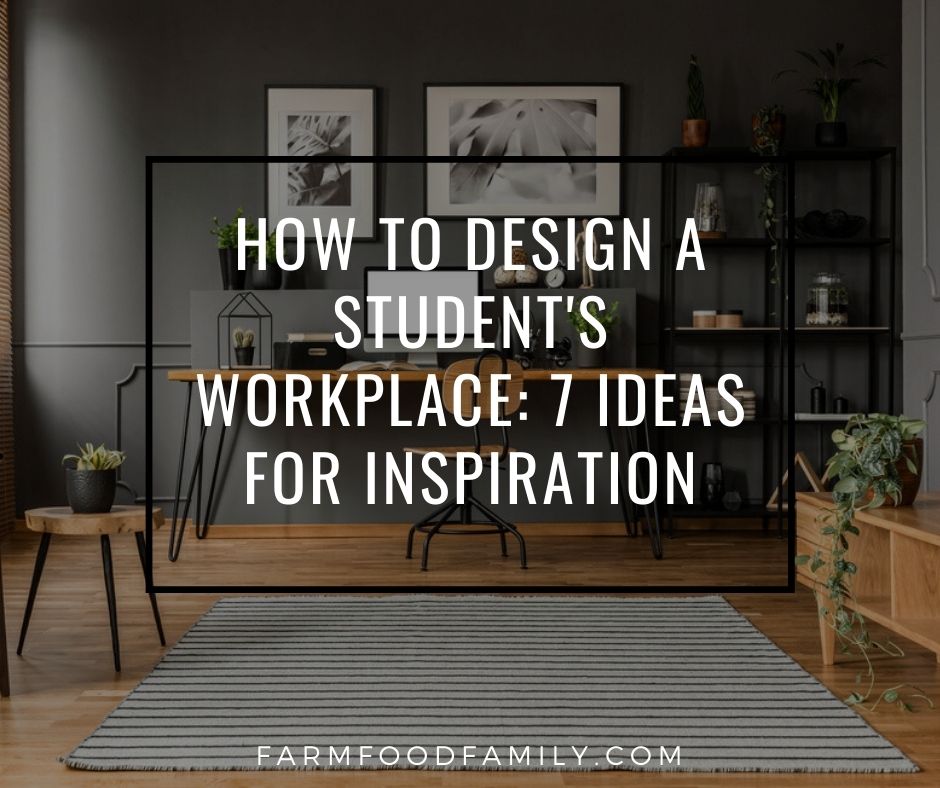


Put heavy books and binders on the lowest shelves, and keep light items on the top. That keeps the unit stable and easy to reach.
And measure your binders, boxes and equipment first. Then pick the shelf height and depth that fit them.
Which Idea Fits You?
Pick by what you store and how much wall you have. This table sorts the eight ideas below.
| Idea | Best for | Budget tier | Skill | Main risk |
|---|---|---|---|---|
| 1. Anchored bookcase wall | Books, binders | Mid to high | Intermediate | Tip-over |
| 2. Floating shelves over the desk | Small items, decor | Low to mid | Beginner | Pull-out |
| 3. Adjustable binder shelves | Files, binders | Mid | Intermediate | Sagging |
| 4. Cube shelving with bins | Supplies | Low to mid | Beginner | Overfilled bins |
| 5. Desk hutch and riser | Daily gear | Low | Beginner | Wobble |
| 6. Rolling cart and file | Shared spaces | Low to mid | Beginner | Tipping |
| 7. Pegboard and rail wall | Tools, cables | Low | Beginner | Loose hooks |
| 8. Closet or alcove shelving | Tiny rooms | Low to mid | Intermediate | Dark, deep shelves |
Before You Start: Measure, Weigh and Check the Wall
Shelving is a measuring job first and a style job second. Spend ten minutes on these steps before you shop.
How do you measure for office shelving?
Grab a tape measure and a notepad. Write down these numbers.
| Measure | Why it matters |
|---|---|
| Wall width and height | Sets how many shelf bays fit |
| Ceiling height | Tells you if tall units fit |
| Height of your tallest binder or box | Sets the shelf spacing |
| Depth of your deepest item | Sets the shelf depth |
| Distance from desk to wall | Keeps walking and chair space |
| Outlet and switch positions | Keeps shelves clear of them |
Lay your binders and boxes on the floor in the order you’d shelve them. Measure each stack. Add a little clearance so items slide in and out without scraping.
How long can a shelf be?
Shelf length decides whether it sags. A woodworker thread on WoodWeb shows how builders think about it.
| Shelf build | What woodworkers report |
|---|---|
| 3/4 inch plywood | About 32 inches is the limit, and heavy loads push it |
| Longer than about 34 inches | Laminate two layers with a 1-1/2 inch nosing |
| 48 by 12 inch adjustable shelves | Carried heavy loads for 20 or more years with oak stiffeners on the front and back |
| Any long shelf | Cut the span to 24 inches, add a shelf or add a stiffener |
One poster glues 7/8 by 1-1/2 inch solid edging to the front and back of each shelf, with the bowed side up. Another says even 32 inch shelves can sag without stiffeners.
Metal wall anchor straps with hardware for bookcases and dressers, for ideas 1 and 4.
Shop NowThis post contains affiliate links. We may earn a commission on qualifying purchases at no extra cost to you.
What holds a shelf to the wall?
Match the fastener to the wall. Morgan’s guide gives a simple rule.
| Wall | Fastener |
|---|---|
| Wood studs | Screw the bracket into the stud, with no anchor needed |
| Drywall | Butterfly or toggle anchors |
| Plaster | Hollow wall anchors |
She suggests a knock test. A hollow sound points to drywall, and a solid sound points to plaster.
Anchors carry a weight rating, and she advises choosing ones at the low end of the range to be safe. Read the package before you buy.
Which items are the heaviest?
Books, binders and paper reams are the heaviest things in an office. Put them on the lowest shelves and in the shortest spans.
Put light things, such as baskets, plants and decor, on the top shelves. That keeps the unit stable and easier to reach.
1. An Anchored Bookcase Wall
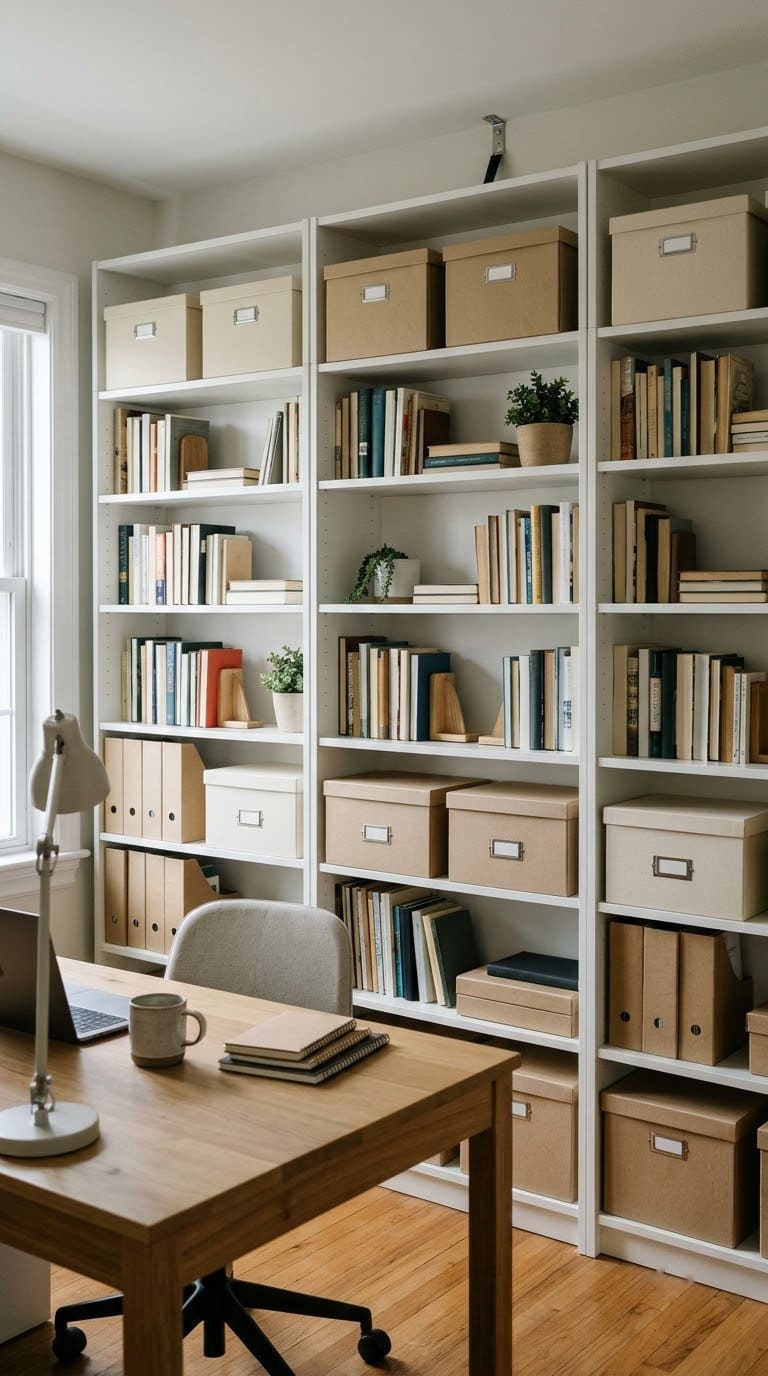
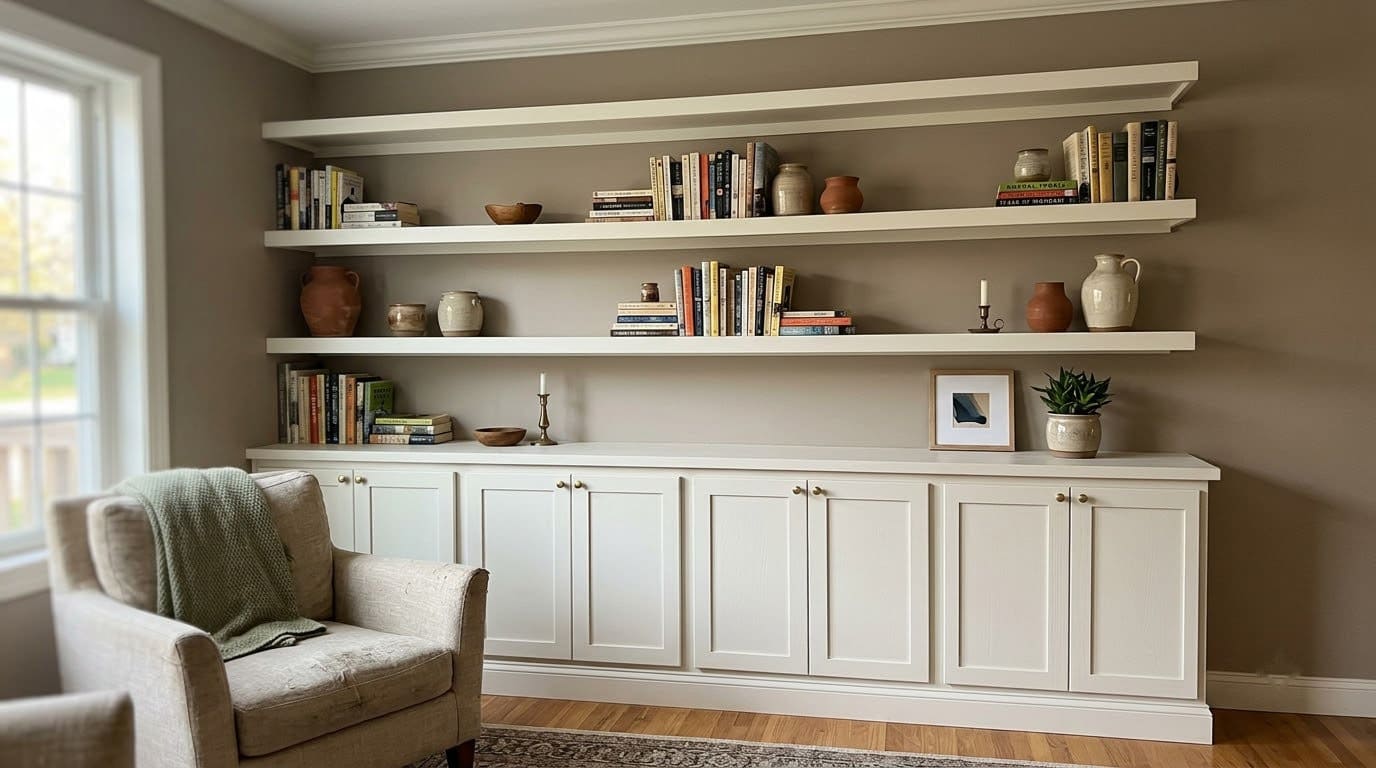
A bookcase wall gives you the most storage per square foot of floor. It also makes a strong backdrop for video calls.
Pick units of the same depth and height so they line up. Join them side by side with screws through the sides to make one solid mass.
Anchor every case. The CPSC says to anchor furniture to the wall with low-cost anchoring devices. It counts 459 tip-over deaths of children 17 and under from 2000 to 2018, and says about 11,000 children a year went to the ER for tip-over injuries.


Do it in order. Position the bookcase and find the studs behind the top rail. Screw the anchor bracket into a stud.
Attach the strap to the case and pull it snug. Pull on the case to test it.
Load it smartly. Put heavy books and binders on the bottom two shelves. Keep the top shelf for light items.
Plan the bays. Mark the wall width on the floor with painter’s tape and slide the cases into place. Leave a small gap at each end for trim or a wall switch. If the ceiling is low, pick cases a little shorter and add a top rail.
Join them. Clamp two cases side by side, drill pilot holes through the inner sides and drive short screws to link them. Linked cases act as one wide unit and wobble less.
Add a light. A plug-in strip under a shelf shows the contents and lights the desk. Hide the cord behind the case.
Dress the top. Keep the top shelf for baskets and a plant. Leave a little space under the ceiling so air moves and dust is easy to wipe.
For built-in looks, see our living room ideas with built-in shelving. Budget: mid to high. Skill: intermediate.
2. Floating Shelves Over the Desk
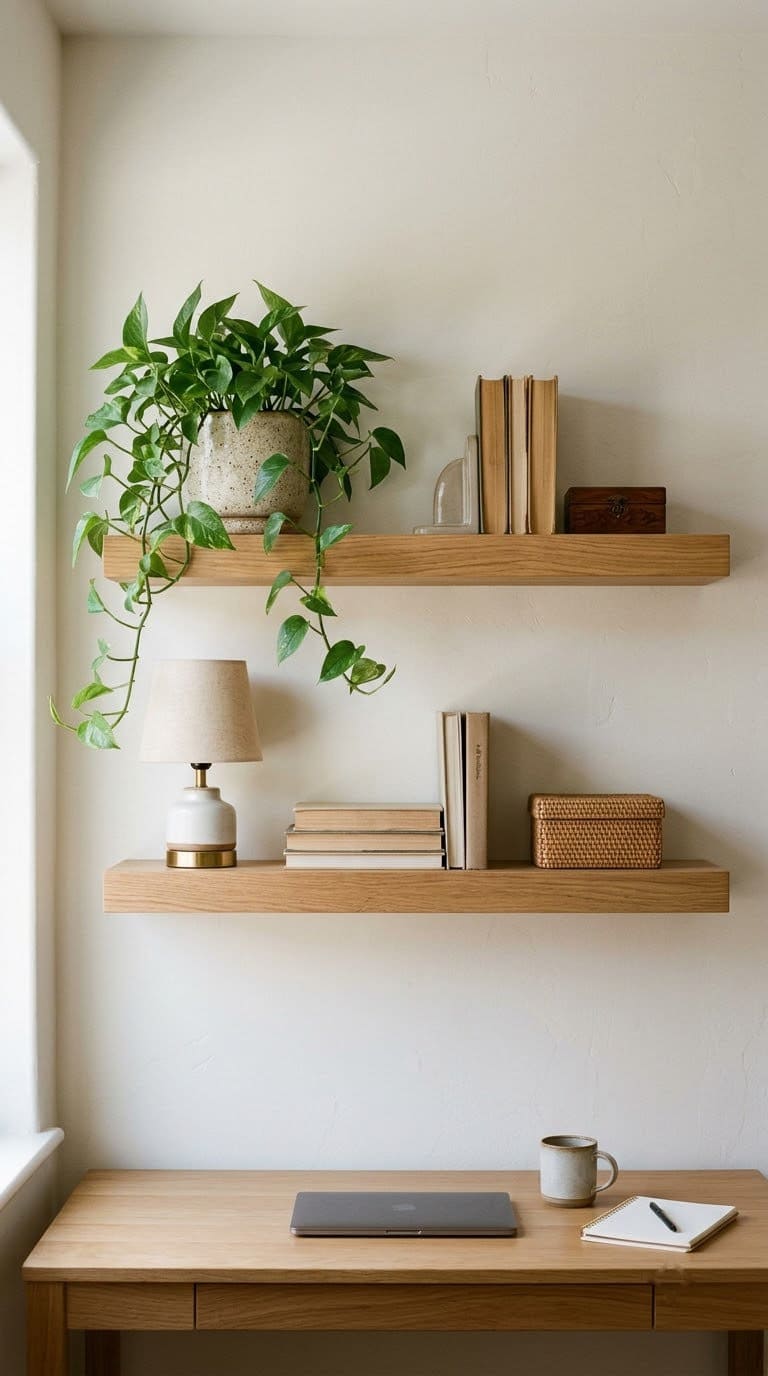
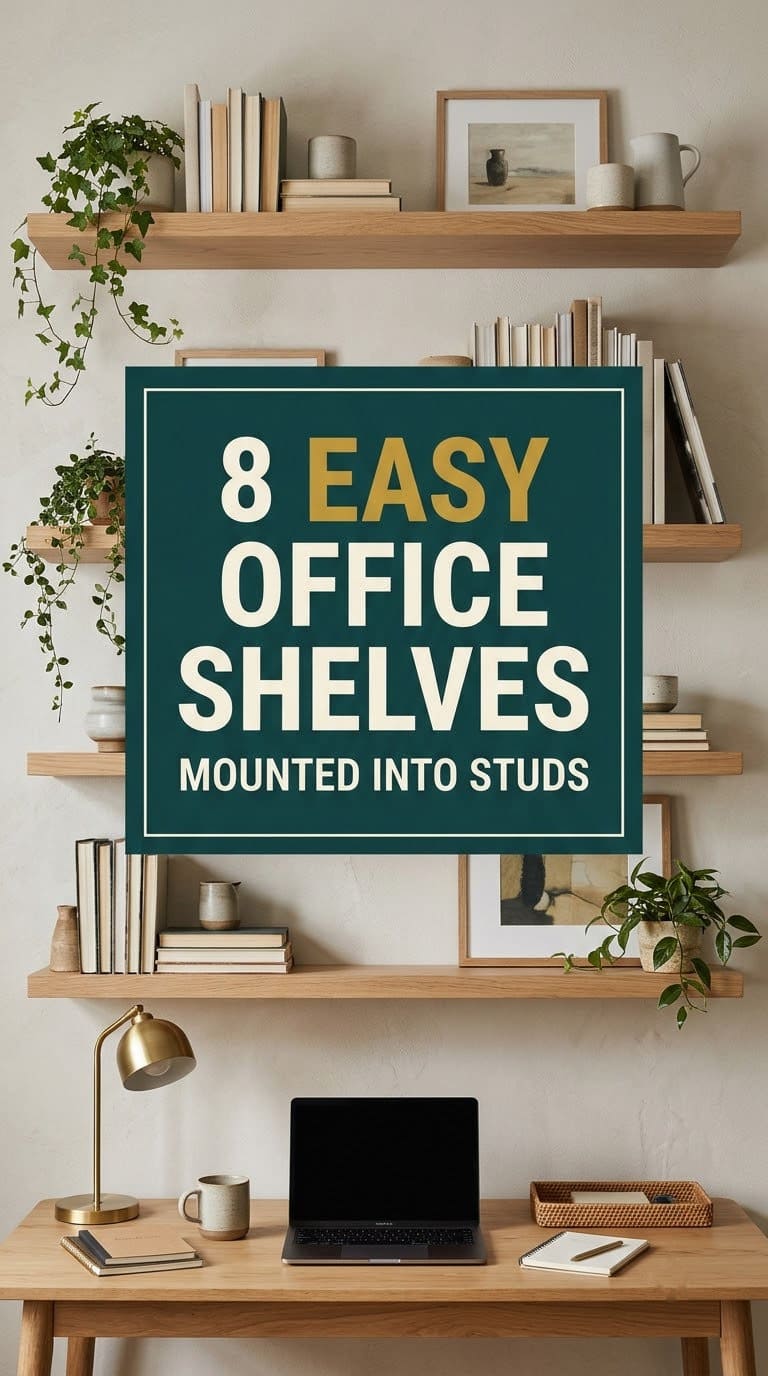
Floating shelves keep the floor clear and use wall space above the desk. They suit small items, decor and a few books.
Morgan says to attach the bracket to a stud if possible, since studs support weight best. If there’s no stud where you want the shelf, use butterfly or toggle anchors in drywall.
Follow her steps. Mark both ends of the shelf on the wall. Draw a level line between them.
Drill pilot holes, set the anchors or find the stud, and screw the bracket into place. Slide the shelf onto the bracket.
Space them well. Leave enough space between the desk and the first shelf so you can sit up straight without hitting it. Place the shelf where you can see it from the chair.
Keep the load light. Put small things on a floating shelf and heavy things lower down.
Choose the length. A shorter shelf is stronger. If you want a long shelf, use more than one bracket and put each one into a stud.
Use a level, not your eye. A level line catches a crooked mark before you drill. Check it again after you set the bracket.
Pick the finish. A shelf with a rounded front edge is gentler on your head when you stand up. Keep the top clear of dust catchers.
Test it. Press down on the shelf with your hand. If it shifts at all, remove it and add another fastener before you load it.
Budget: low to mid. Skill: beginner.
3. Adjustable Shelves for Binders and Files
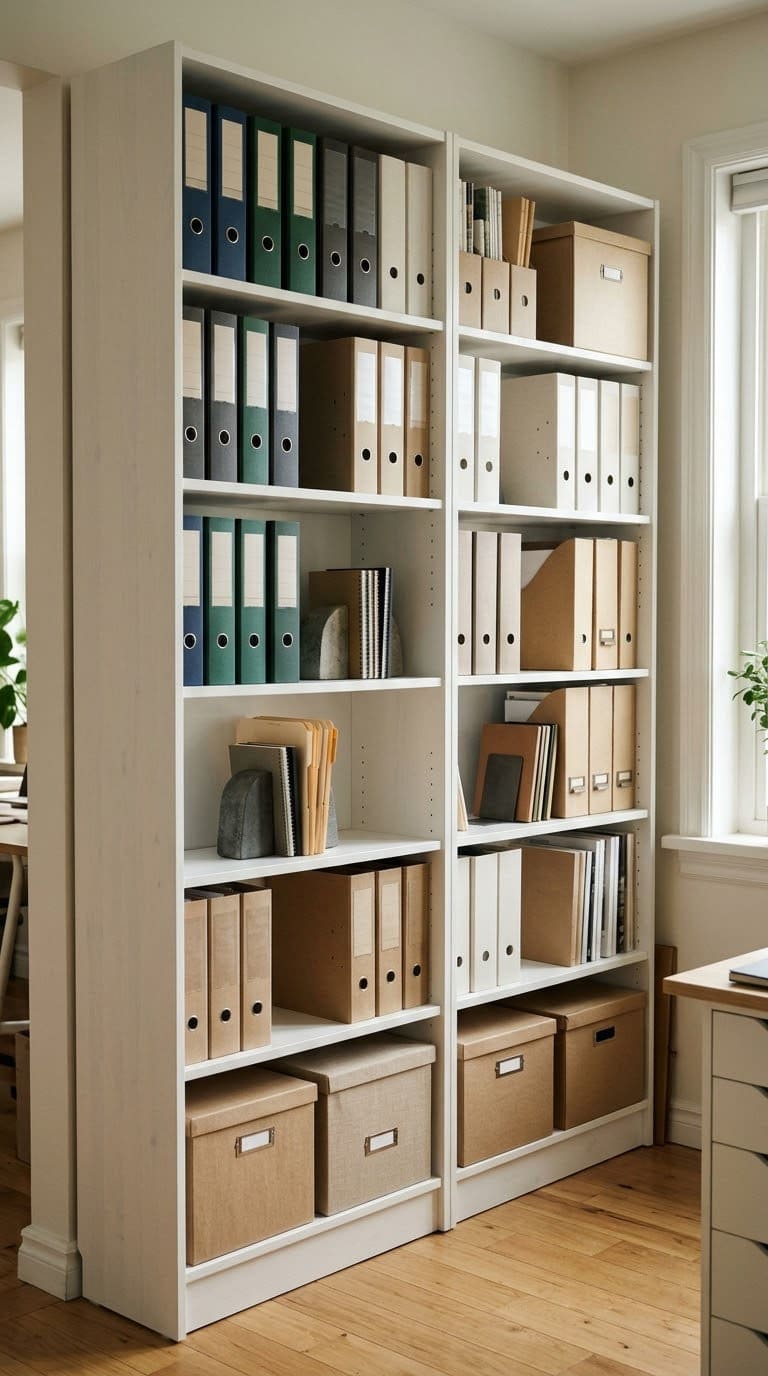
Binders and files are heavy and tall. Adjustable shelves let you set each level to fit.
Woodworkers on the WoodWeb thread put the limit for 3/4 inch plywood at about 32 inches and call it “pushing it” for heavy objects. They advise shorter spans, a middle divider or a stiffener on the front edge.
Build it right. Use shelves no longer than 32 inches, or add a solid wood strip to the front edge. For a longer shelf, add a center upright, so each span stays short.
Set the spacing. Put the shelf pins a little above the tallest binder in each row. Use bookends to keep binders upright when a row is half full.
Label everything. A label on each spine and a label on each shelf edge saves time every day.
Cut the pieces. Cut each shelf to length so it sits snug between the sides but slides in and out. Glue a solid wood strip to the front edge to stiffen it. Glue a second strip to the back edge for extra strength on heavy shelves.
Check for bow. Hold each shelf up and sight along it. Install it with the bowed side up, so the load flattens it.
Use enough pins. Use four shelf pins per shelf, one at each corner. Push them all the way in so the shelf sits flat.
Sort by use. Put daily files at hand height, reference binders above and archive boxes on the lowest shelf.
For a smaller version, see our small home office ideas. Budget: mid. Skill: intermediate.
4. Cube Shelving With Bins
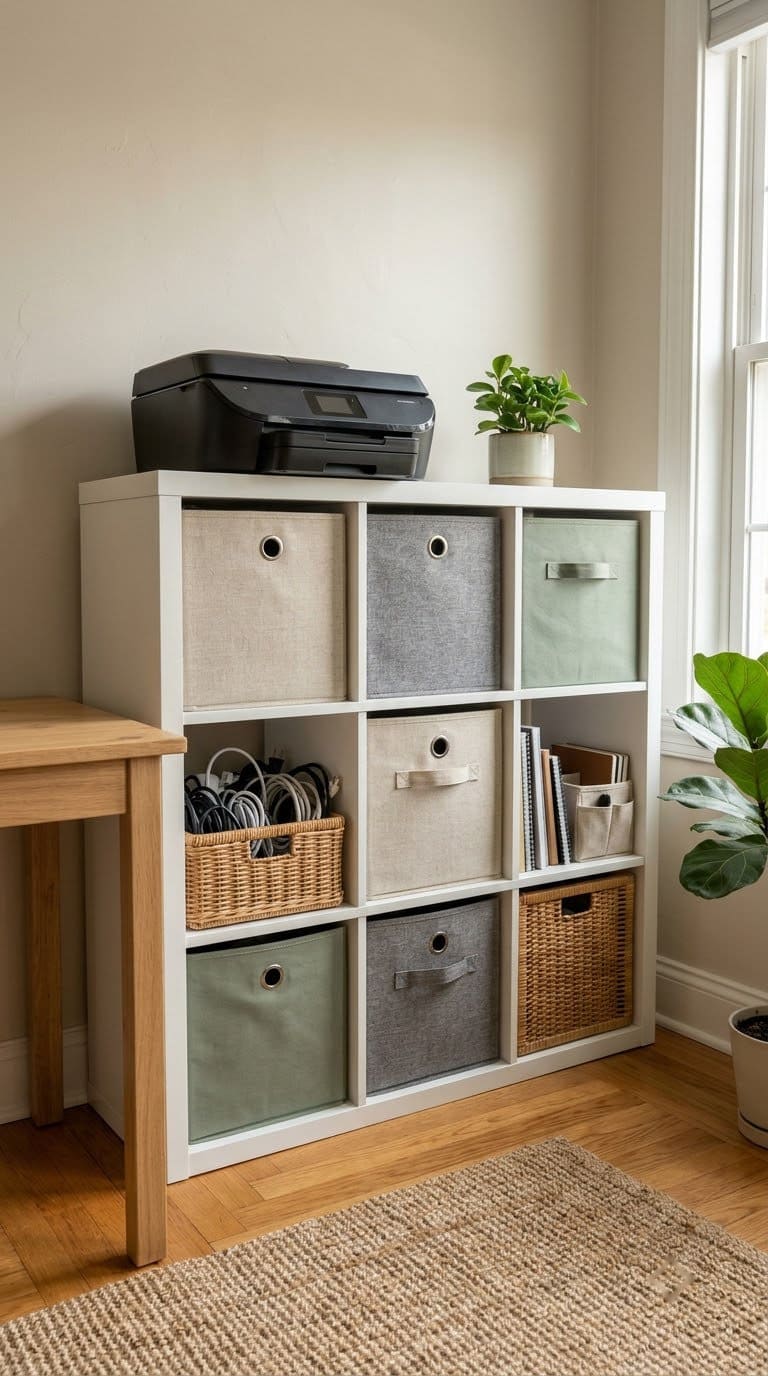
Cube shelving is the easy way to store small supplies. Each cube holds a bin, and each bin holds a category.
Group items by job. One bin holds pens and tape, another holds envelopes and stamps, and another holds spare cables and chargers. Label the front of each bin.
Don’t overfill. Fill each bin until it’s three-quarters full. Bins that are stuffed are hard to lift and can pull out of the cube.
Anchor the unit. A cube unit can tip if you pull a heavy bin out of a high cube. Attach it to the wall if it’s taller than it is wide.
Pick the size. Choose bins that fit the cube with a little room for your fingers. Soft fabric bins are quiet. Rigid plastic bins stack better and wipe clean.
Make a label system. Put a label on the front of each bin with the category. Use a clear holder, so you can change it later.
Use the top. A cube unit’s top is a good spot for a printer or a plant, as long as the unit is stable. Check that the top is strong enough for the printer’s weight.
Keep a “wait” bin. Put one bin aside for paper you haven’t sorted yet. Empty it once a week.
For cube ideas, see our cube storage ideas and cubby storage ideas. Budget: low to mid. Skill: beginner.
5. A Desk Hutch and Riser
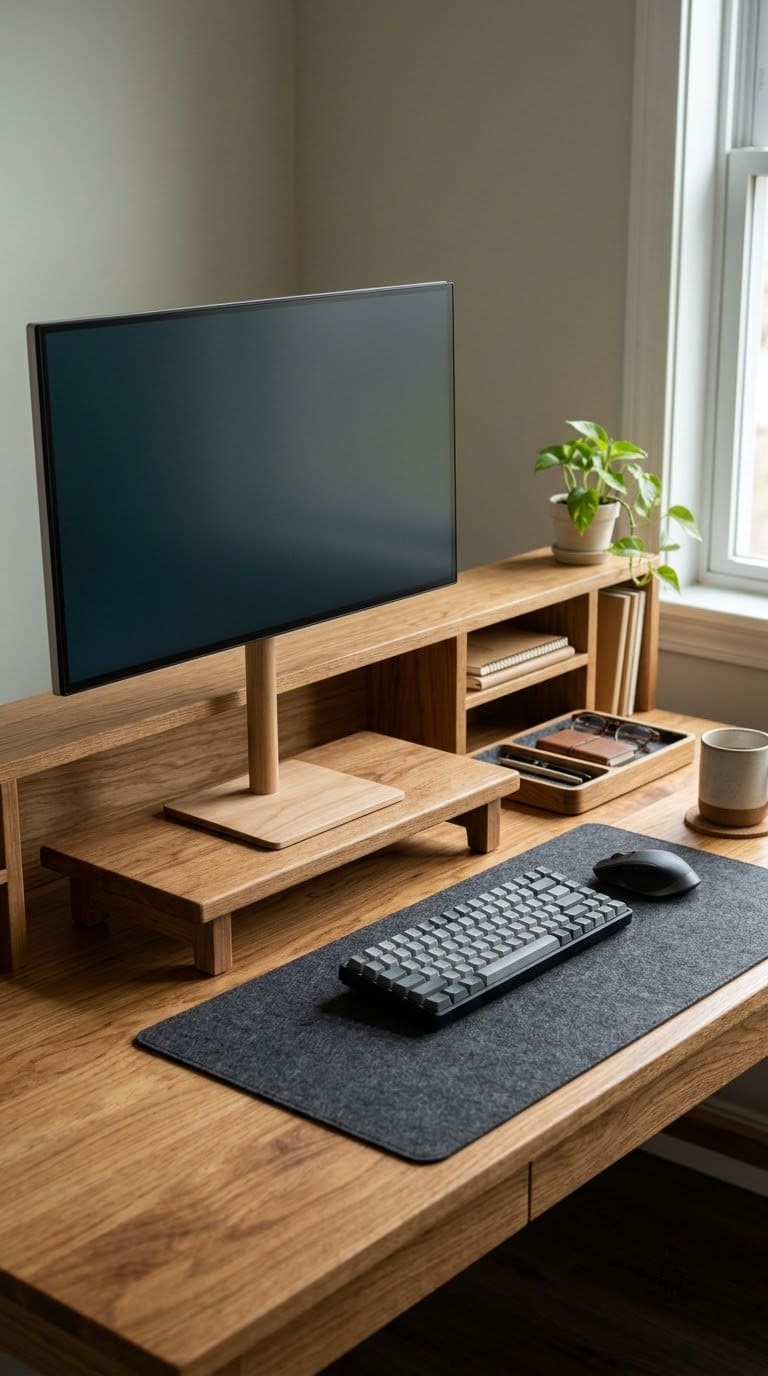
A hutch or a riser puts storage on top of the desk. It turns dead space into shelf space.
Pick a riser that’s as wide as your monitor and sturdy enough to carry it. Put your keyboard under the riser when you’re not typing, and use the riser’s shelf for notebooks.
Keep it stable. A hutch that sits on the desk can wobble. Choose one with a solid back and fix it to the desk with screws or strong clamps if the maker allows.
Plan the cables. Run cables behind the hutch and tie them with hook-and-loop straps. A small cable box on the floor hides the power strip.
Measure the desk. Check the depth of the desk and the height of the hutch. Make sure you can still sit up straight under the bottom shelf and see over the top.
Place the monitor. Set the monitor on the riser so you look at it straight on. Put the keyboard and mouse at a height where your elbows stay relaxed.
Make a landing strip. Keep the front of the desk clear. Use the hutch for things you reach for often, such as pens and a notepad.
Add a tray. A small tray on the desk holds the pieces you use most, so they don’t spread out.
Our home office furniture for small spaces covers desks that suit a hutch. Budget: low. Skill: beginner.
6. A Rolling Cart and File Storage
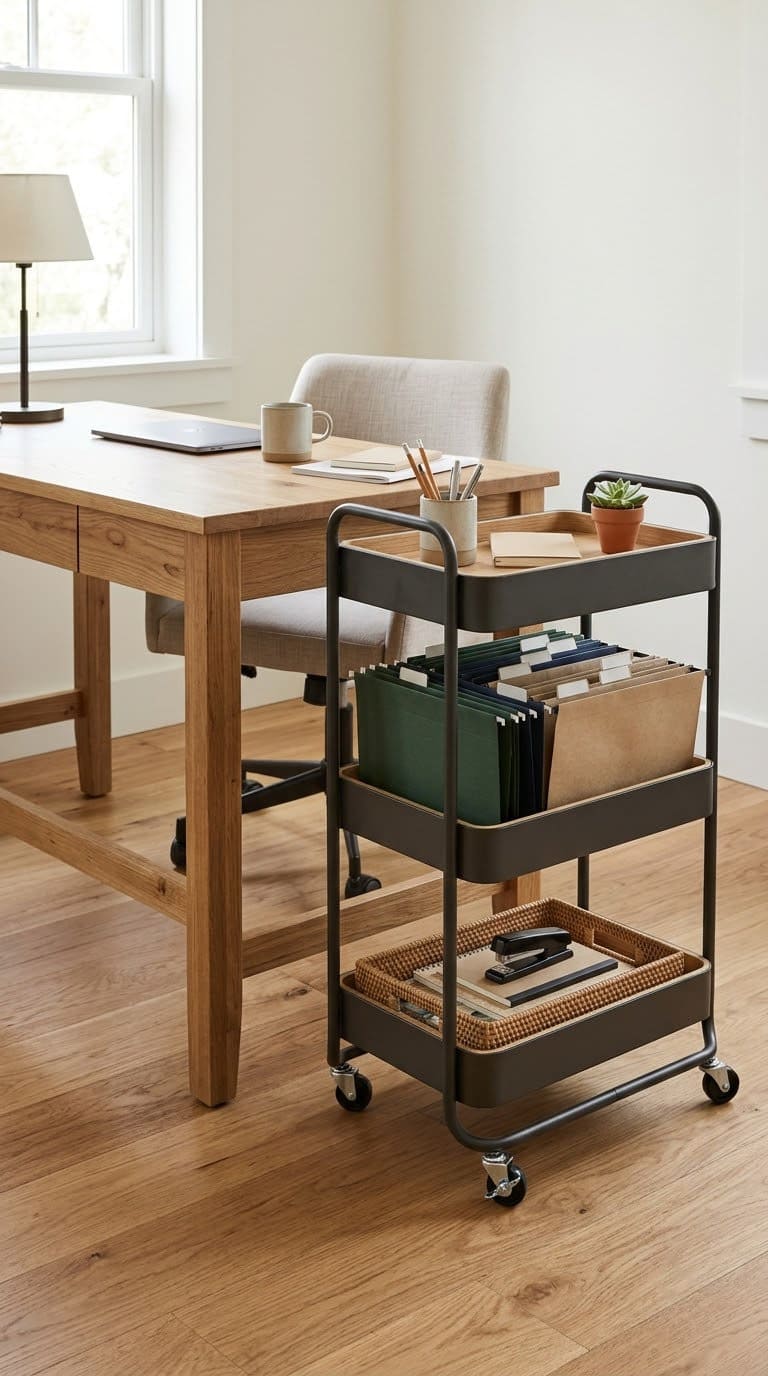
A rolling cart acts like a movable shelf. Park it next to the desk or push it into a closet.
Use it for hanging files, project folders or a printer. Choose a cart with locking wheels and lock them whenever the cart stands still.
Load it low. Put heavy folders on the bottom tier and light supplies on top. A top-heavy cart can tip when you roll it over a threshold.
Think about the printer. If your printer sits on the cart, check that the cart’s weight rating is more than the printer’s weight. Our printer storage ideas show other spots for it.
Pick the right cart. Look for sturdy shelves and wheels with locks. A cart that rolls smoothly on your floor type is a better buy than a cheap one that sticks.
Set up the files. Use hanging file folders with tabs. Put the most-used tab at the front. Add a few empty folders for new papers.
Park it right. Place the cart where you can reach it from the chair without standing. Lock the wheels each time you stop.
Review the cart each month. Empty it, sort it and put old papers in an archive box. A cart works best when it isn’t full.
Budget: low to mid. Skill: beginner.
7. A Pegboard and Rail Wall
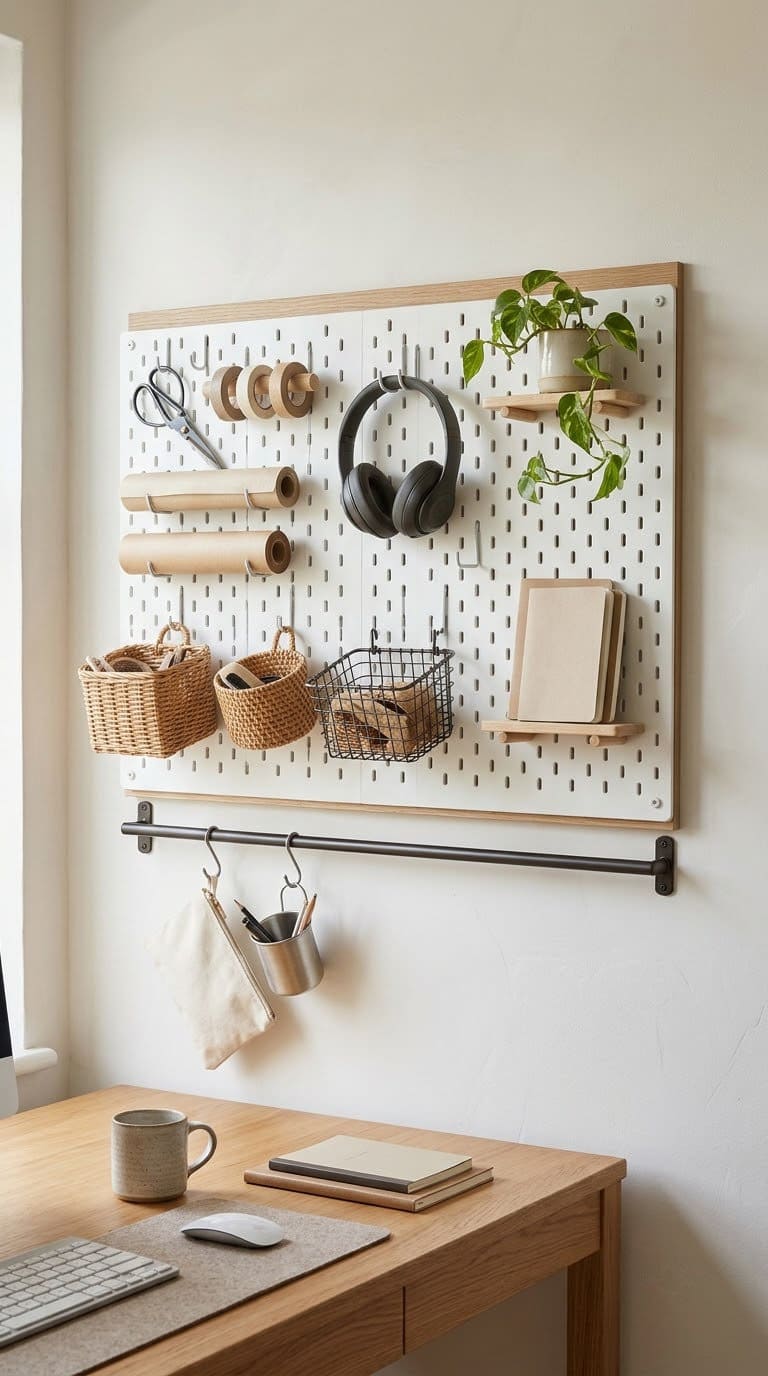
A pegboard or a rail system hangs small tools where you can see them. It’s the cheapest wall storage you can build.
Mount the board into studs, with spacers behind it so hooks can slip in. Use baskets for small items and hooks for tools. Group things by use.
Use the right hooks. Pick hooks that lock into the board, so they don’t pull out when you grab a tool. Keep heavy tools at the bottom.
Plan the layout. Trace each item on the board with a pencil before you hang it. Items you use most go closest to your hand.
Mount the board. Fix the board to studs, with spacers behind it so hooks can slip in. Check each screw for a firm fit.
Sort the hooks. Use big hooks for headphones and a bag. Use small hooks for scissors and tape. Use baskets for loose small items.
Add outlines. Trace each tool’s shape on the board with a marker. You’ll see right away when something is missing.
Keep the weight low. Hang the heavier items near the bottom of the board and the lighter ones above.
Budget: low. Skill: beginner.
8. Closet or Alcove Shelving
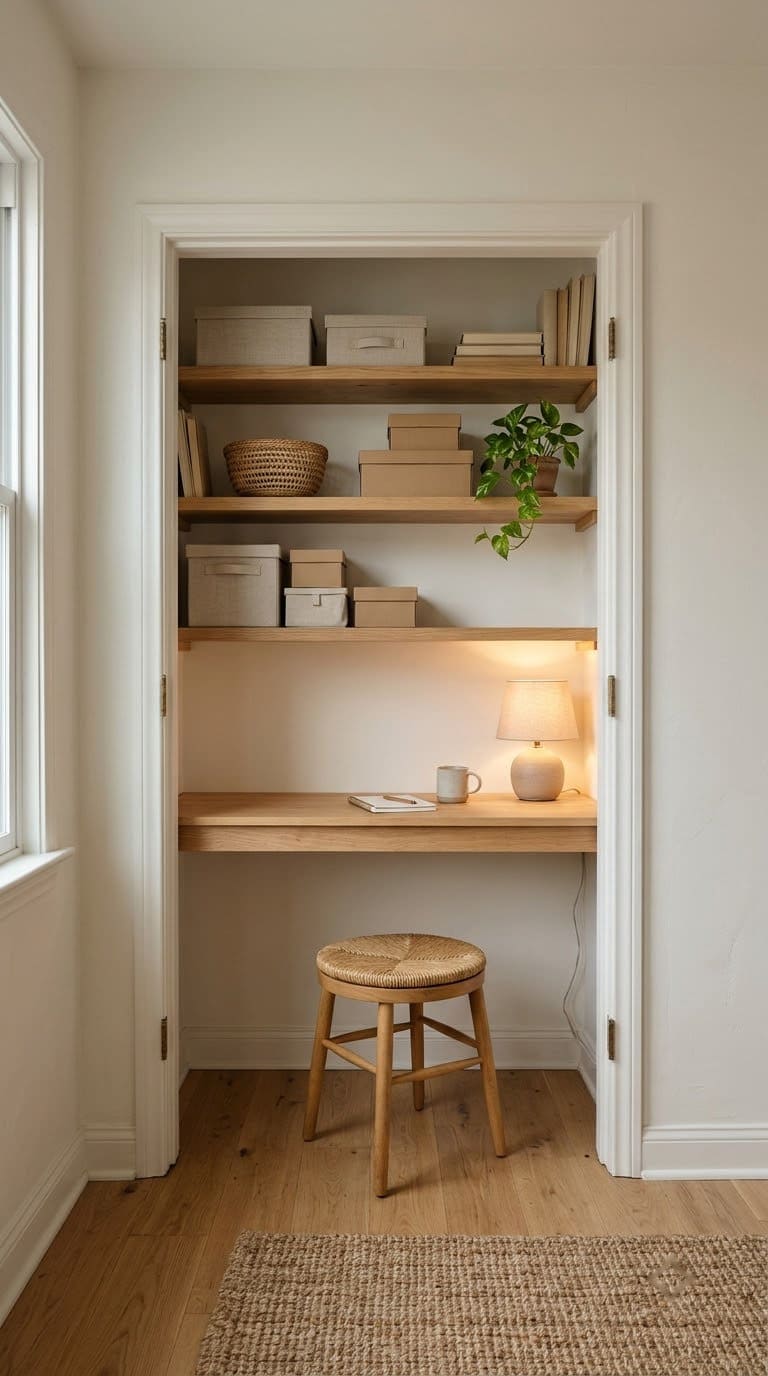
A closet or an alcove turns a tiny space into an office. Shelves above the desk use the full height.
Measure the opening, then fit the shelves to the width. Keep each shelf short, so it doesn’t sag. Add a center upright if the closet is wide.
Light it well. A closet is dark. Add a battery light or a plug-in strip under the top shelf.
Don’t go deep. Shallow shelves keep items in view. A deep shelf hides things at the back.
Measure carefully. Measure the closet width at the top, middle and bottom. Walls are rarely perfectly straight, so use the smallest number.
Remove the doors. Take the doors off the hinges, or fold them back. This gives you room to sit and a clear view of the shelves.
Support the shelves. Fix a cleat to the wall at each shelf level and screw it into studs. Rest the shelf on the cleats and screw it down.
Add a work surface. Fit a desktop on cleats at the right height for your chair. Leave room under it for your knees.
For more ideas, see our bedroom office ideas and basement office design ideas. Budget: low to mid. Skill: intermediate.
Which Items Go on Which Shelf?
Use this table to place your things. It keeps heavy items low and daily items close.
| Item | Where it goes |
|---|---|
| Heavy binders and reams of paper | Lowest shelves |
| Daily files and notebooks | Waist to shoulder height |
| Printer and heavy equipment | Desk, cart or lower shelf |
| Supplies in bins | Middle cubes |
| Decor, plants, baskets | Top shelves |
| Archive boxes | Closet shelf or floor row |
A Simple Cable and Power Plan
Shelves and gear mean cables. Plan them before you install.
Put a power strip on the wall or behind a bookcase, not on the floor. Tie cables with hook-and-loop straps and label each one at both ends.
Keep cables out of walkways. Run them along the wall edge or inside a cord cover. Don’t coil a cable tightly around a power brick, since that can trap heat.
A Weekend Install Plan
You can finish most of these projects in a weekend. This plan keeps it simple.
On Friday evening, measure and mark the wall. Clear the floor and the desk.
On Saturday morning, find the studs and install the brackets or the anchors. Hang the shelves and test each one.
On Saturday afternoon, build and anchor the bookcase. On Sunday, load the shelves from the bottom up.
Label every bin and shelf. Finish with the cables.
Which Setup Fits Your Room?
Your room decides the shelving more than your taste does. Here’s how we’d sort it.
A spare room. Go with a bookcase wall and a rolling cart. You have the floor space and a strong wall.
A bedroom corner. Pick floating shelves and a cube unit. They use little floor and fold into the room.
A closet or alcove. Use short shelves on cleats and a narrow desk. Keep everything within arm’s reach.
A rental. Skip permanent fixings. Pick freestanding units, anchor them with removable straps and use a desk hutch.
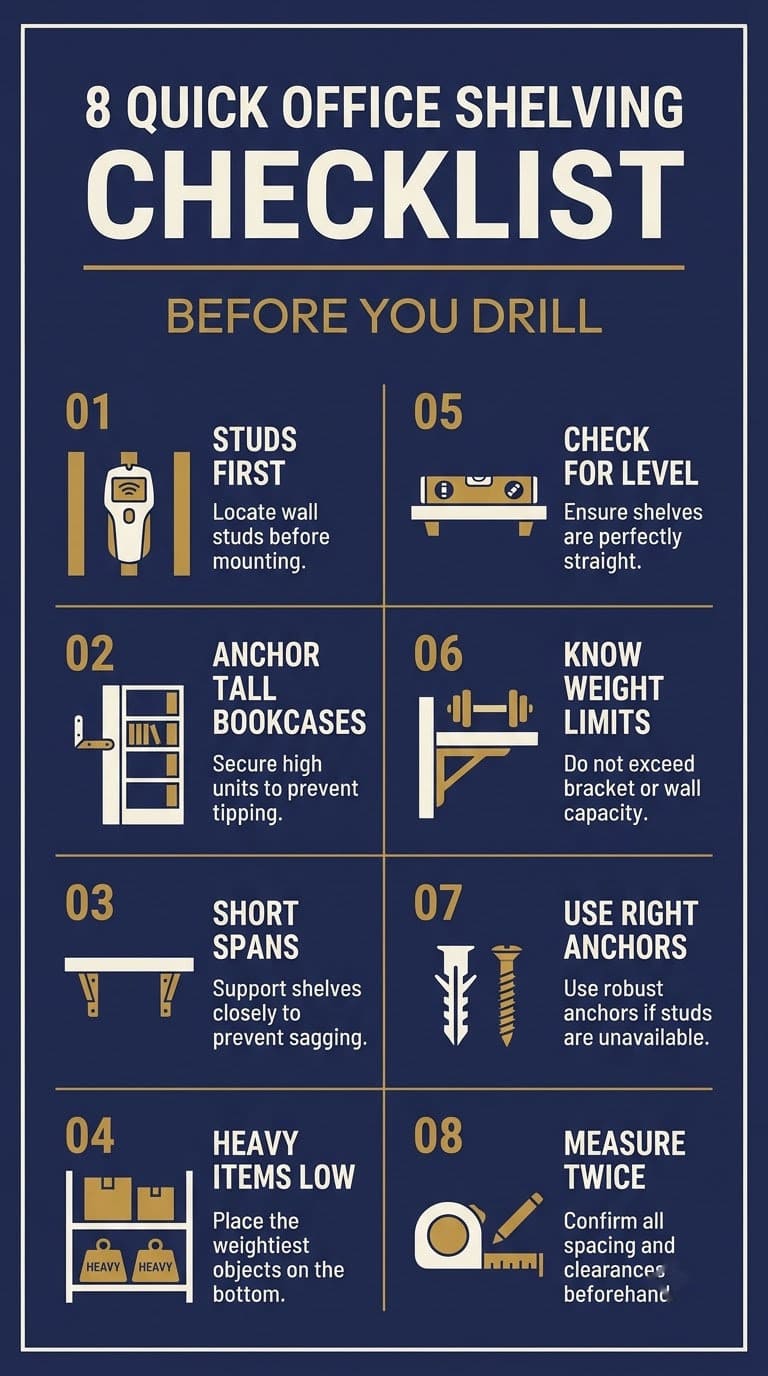
How Do You Keep the Shelves Working?
A shelf stays useful only if you tidy it. A short routine keeps it that way.
Once a week, put things back where they belong and sort the “wait” bin. Once a month, dust the shelves and check the brackets and anchors. Once a year, clear one shelf at a time and decide what to keep.
If a shelf starts to bow, take half the load off and add a stiffener or a middle upright. A bowed shelf only gets worse.
What to Do First
Start with the plan, then buy. This order saves money and time.
First, measure the wall, the ceiling and your biggest items. Second, find the studs and mark them. Third, decide which shelves carry heavy loads.
Then buy the shelves and the fasteners. Install the heavy units first and finish with the small items.
Common Mistakes to Avoid
Most shelving problems come from a short list of errors. Here’s what to watch for.
Skipping the anchors. The CPSC says to anchor furniture to the wall. Do it even if the bookcase seems steady.
Using long spans. Woodworkers say 3/4 inch plywood is limited to about 32 inches for heavy loads. Shorten the span or add a stiffener.
Using the wrong fastener. Morgan says drywall needs butterfly or toggle anchors, and plaster needs hollow anchors. Match the fastener to the wall.
Overloading the top. Heavy items go low. Light items go high.
FAQ
How far apart should office shelves be?
Set each shelf a little above the tallest item in its row. Measure your binders and boxes first, then add a little clearance.
Do I need to anchor an office bookcase?
Yes. The CPSC advises anchoring furniture to the wall with low-cost anchoring devices.
How do I mount a shelf in drywall?
Morgan says to use a stud if you can, and butterfly or toggle anchors if you can’t. Choose anchors at the low end of their weight rating.
How long can a plywood shelf be?
Woodworkers put the limit for 3/4 inch plywood at about 32 inches for heavy loads. Add a stiffener or a center upright for longer shelves.
How deep should an office shelf be?
Measure your deepest item and add a little clearance. A shallow shelf keeps things in view. A deep shelf hides things at the back, so use bins or a pull-out tray.
What’s the best way to store files?
Use hanging folders in a rolling cart or a lateral file for daily papers. Put old papers in archive boxes on a low shelf. Label everything.
Can I put heavy things on a floating shelf?
Keep it light. A floating shelf works for small items and a few books. For heavy loads, use a floor-standing bookcase that’s anchored to the wall.
How do I find studs?
Use a stud finder. Morgan says the finder detects the metal nails and screws in studs. Mark each stud with a pencil and check by tapping.
Related Posts
Never miss an update — choose FarmFoodFamily as your preferred source on Google.
How it works: Tap the button below to open Google's settings page, then check the box next to FarmFoodFamily.
Tap the checkbox to turn it blue — that's how you know it's set.