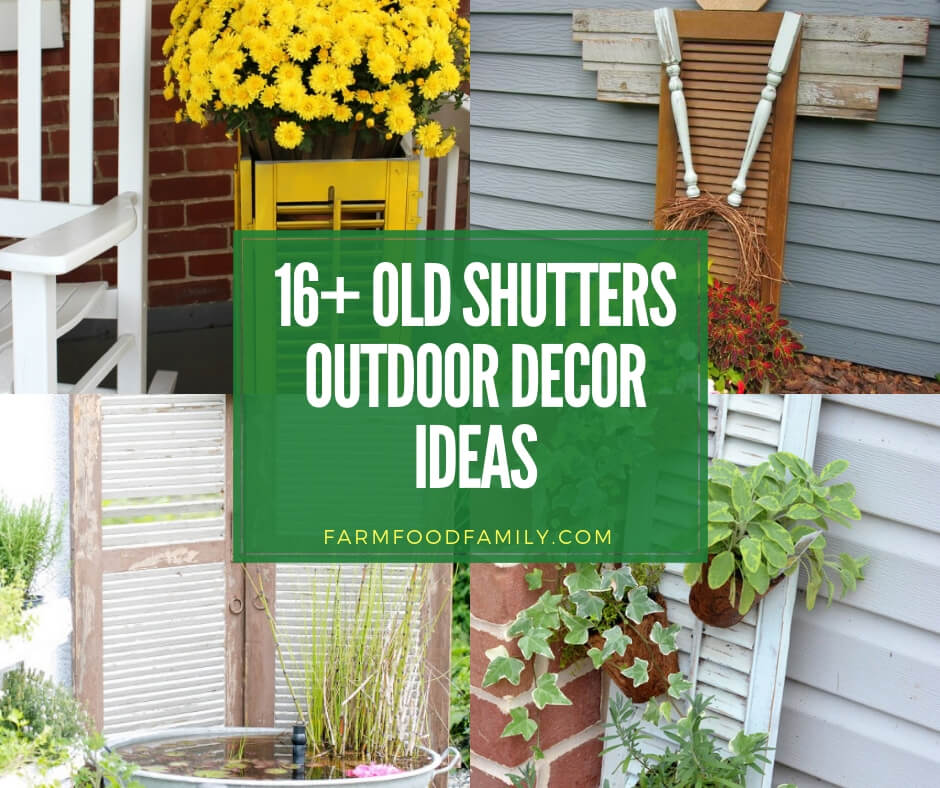
16+ Old Shutter Outdoor Decor Ideas (Plus the Lead Paint Safety Check Most Guides Skip)
An old wooden shutter has real character, weathered paint, real joinery, the kind of texture you can’t fake with new lumber. But that same weathered paint is exactly why an old shutter needs one check before it becomes a planter, a shelf, or anything else. So before the 16 ideas below, here’s the part most…

Never miss an update — choose FarmFoodFamily as your preferred source on Google.
How it works: Tap the button below to open Google’s settings page, then check the box next to FarmFoodFamily.
Tap the checkbox to turn it blue — that’s how you know it’s set.
An old wooden shutter has real character, weathered paint, real joinery, the kind of texture you can’t fake with new lumber. But that same weathered paint is exactly why an old shutter needs one check before it becomes a planter, a shelf, or anything else. So before the 16 ideas below, here’s the part most repurposing guides skip entirely.
1. The lead paint safety check most old-shutter guides skip
Start with the age of the house or barn the shutter came from. Lead-based paint was banned for US residential use in 1978, and 87% of homes built before 1940 still have some lead-based paint on them somewhere, even homes built as late as 1960-1978 have about a 1 in 4 chance.
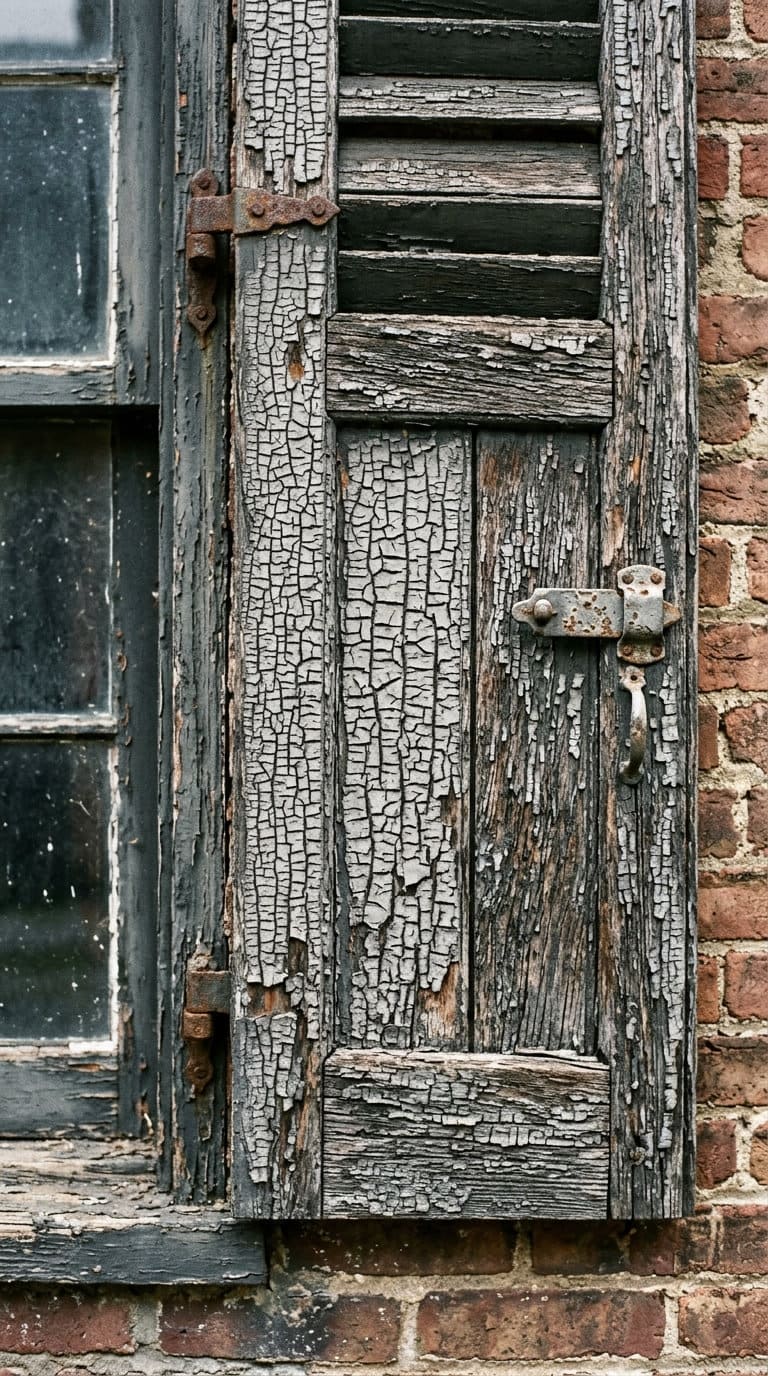
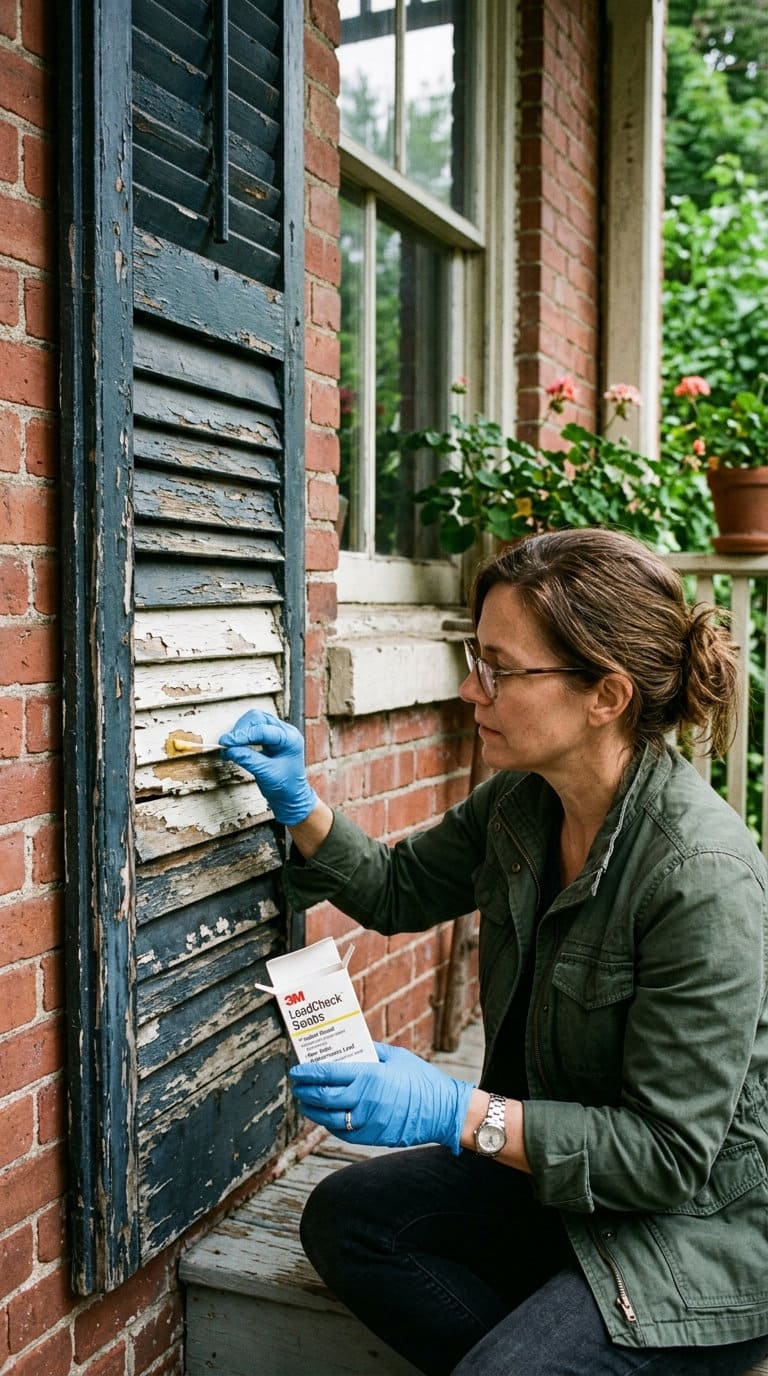
The practical rule: treat any shutter that came off a pre-1978 structure as lead-paint-positive until you actually test it. Alligatoring, chalking, or chipping paint on an old shutter are real warning signs, but visual inspection alone isn’t reliable, and DIY test kits sold at hardware stores carry a real false-negative risk according to the CPSC, an EPA-certified inspector gives the reliable answer.
If the shutter does test positive, never dry-sand or dry-scrape it, that’s exactly what generates lead dust, the primary way people actually get exposed. Contain the work area, wear a P100-rated respirator, keep the surface wet if you’re disturbing the paint at all, and clean up with a HEPA vacuum or wet wipes rather than a broom. Keep kids and pregnant women away from the work area while you’re doing this. If the paint is still intact and not peeling, encapsulating it with a real sealant is a legitimate alternative to full removal, ordinary paint doesn’t count as encapsulation.
Here’s the point most guides genuinely miss: if you’re planning to use a shutter as a planter, soluble lead from old paint can leach into soil and get taken up by plant roots, a real contamination risk for anything you’d eat, not just a dust concern. The fix isn’t stripping the paint and planting straight into the wood, it’s never letting soil or edible plants touch old painted wood directly at all.
Use a separate food-safe liner or pot set inside or behind the shutter so the shutter stays purely decorative, or fully line the interior with heavy plastic sheeting as a real barrier before adding any soil.
Answer 4 quick questions and get matched to the exact fix for your yard — drainage, budget, layout, or something else entirely.
Take the Free Quiz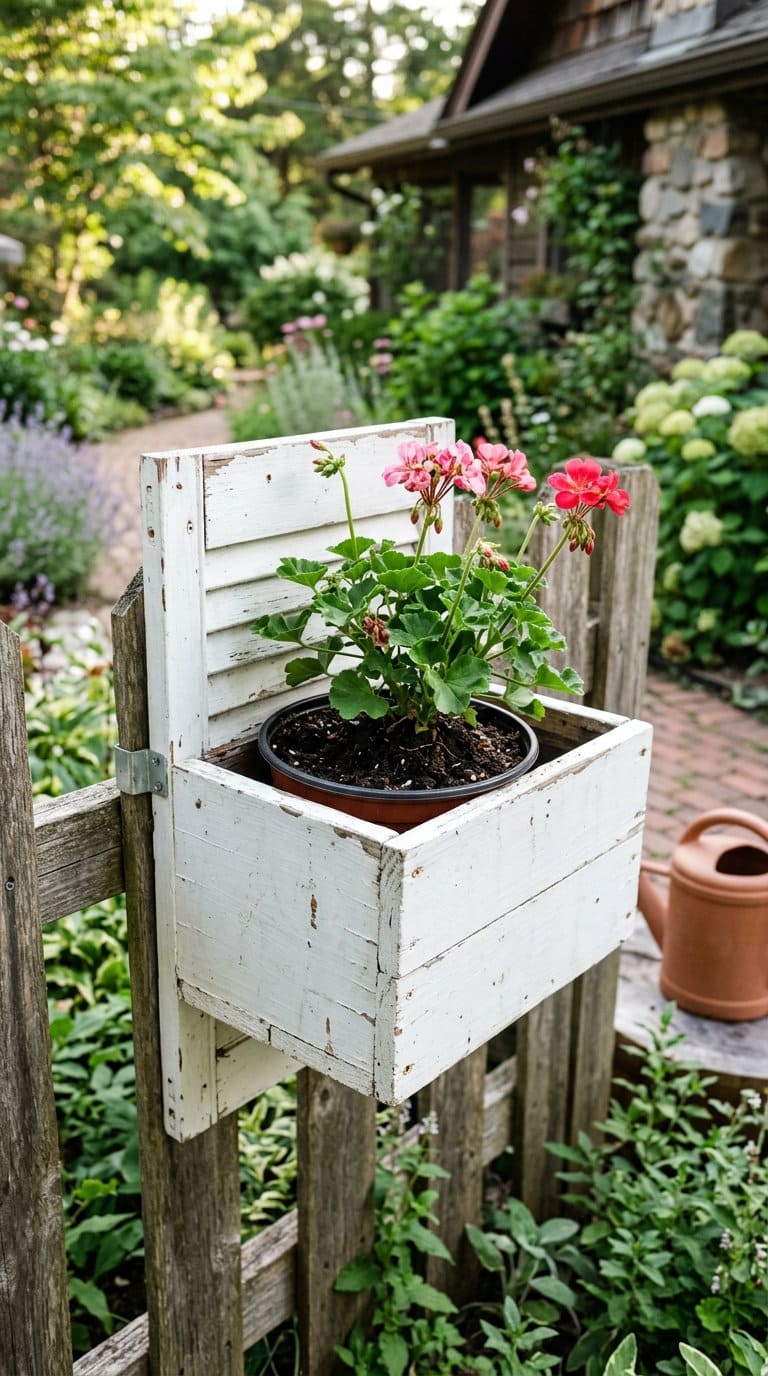
One more real consideration for anything staying outdoors long-term: old shutters need finishing on all six sides, not just the face you see, the back and edges are where rot actually starts on a repurposed piece. A marine-grade spar varnish holds up genuinely better than stain alone, and leaving a quarter-inch gap between the shutter and whatever it’s mounted against prevents the trapped moisture that causes most of the rot in reused wood.
With the real safety check covered, here are 16 ways to actually use an old shutter outdoors.
1. DIY Patriotic Shutter
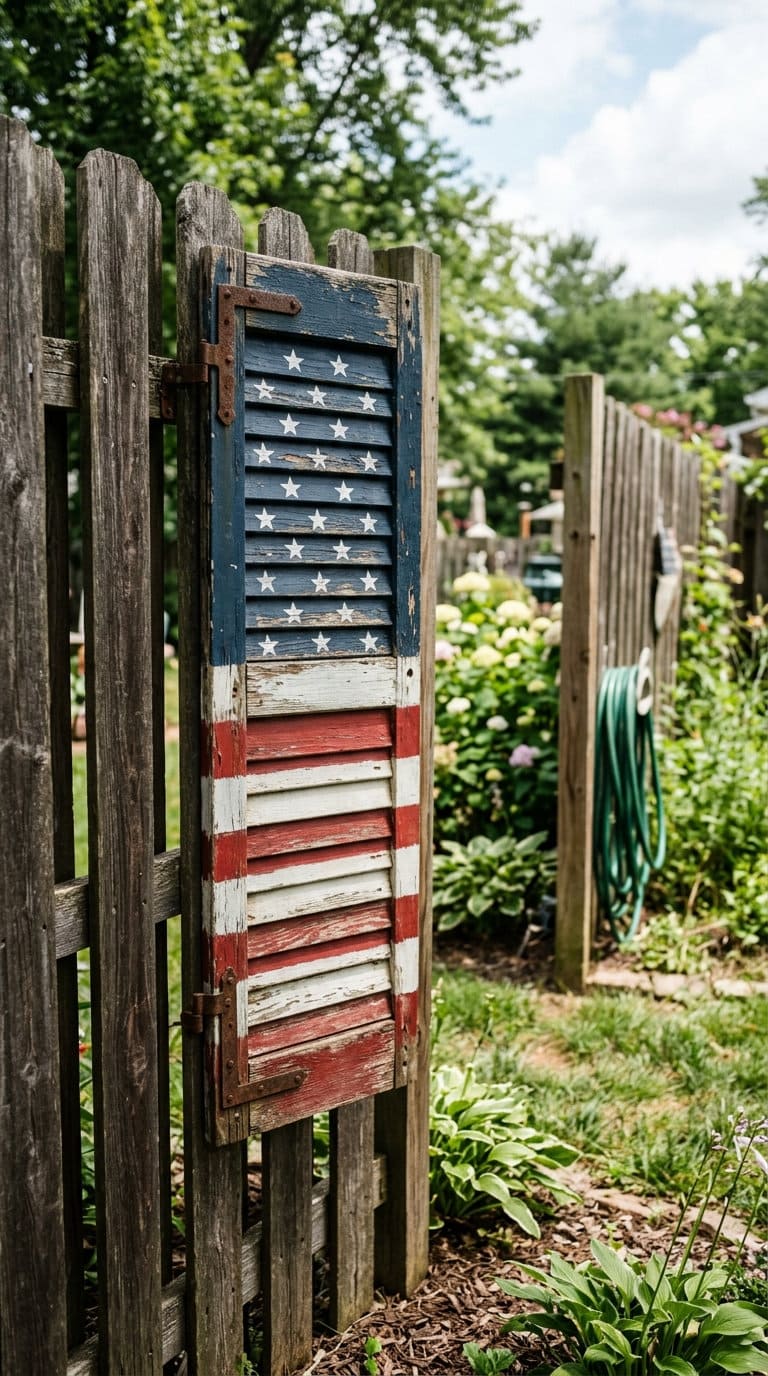
Paint alternating shutter slats in red, white, and blue, or stencil a star pattern directly onto the existing weathered finish, for a genuinely eye-catching seasonal accent piece near a front door or fence line.
If the original paint tests positive for lead, paint directly over an intact, non-peeling surface rather than sanding it down first, this keeps the project both faster and safer.
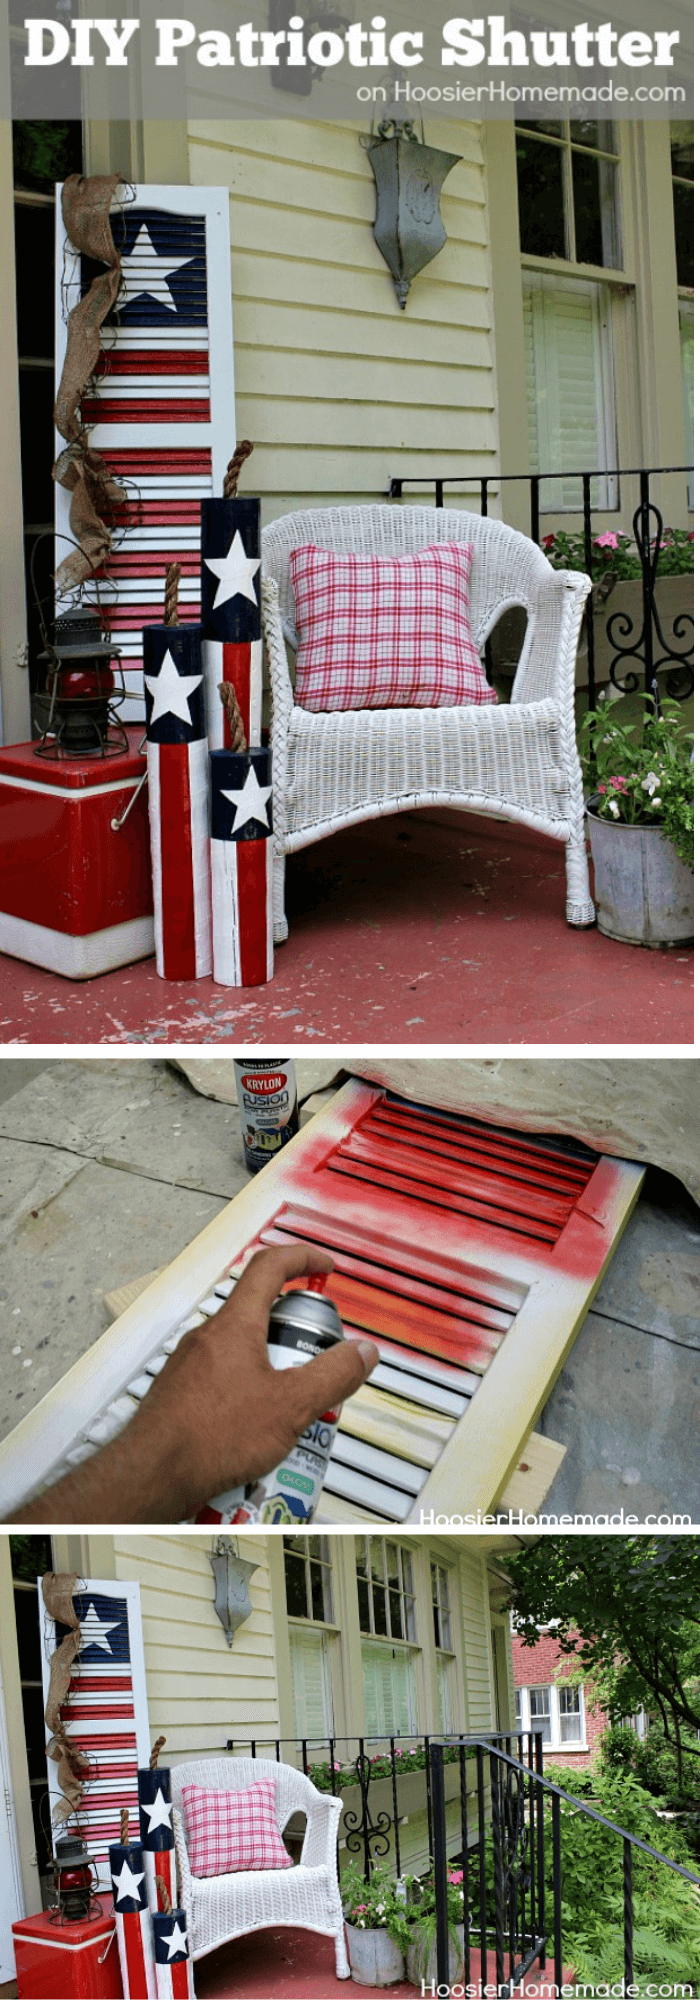
2. Build a Shutter Side Table
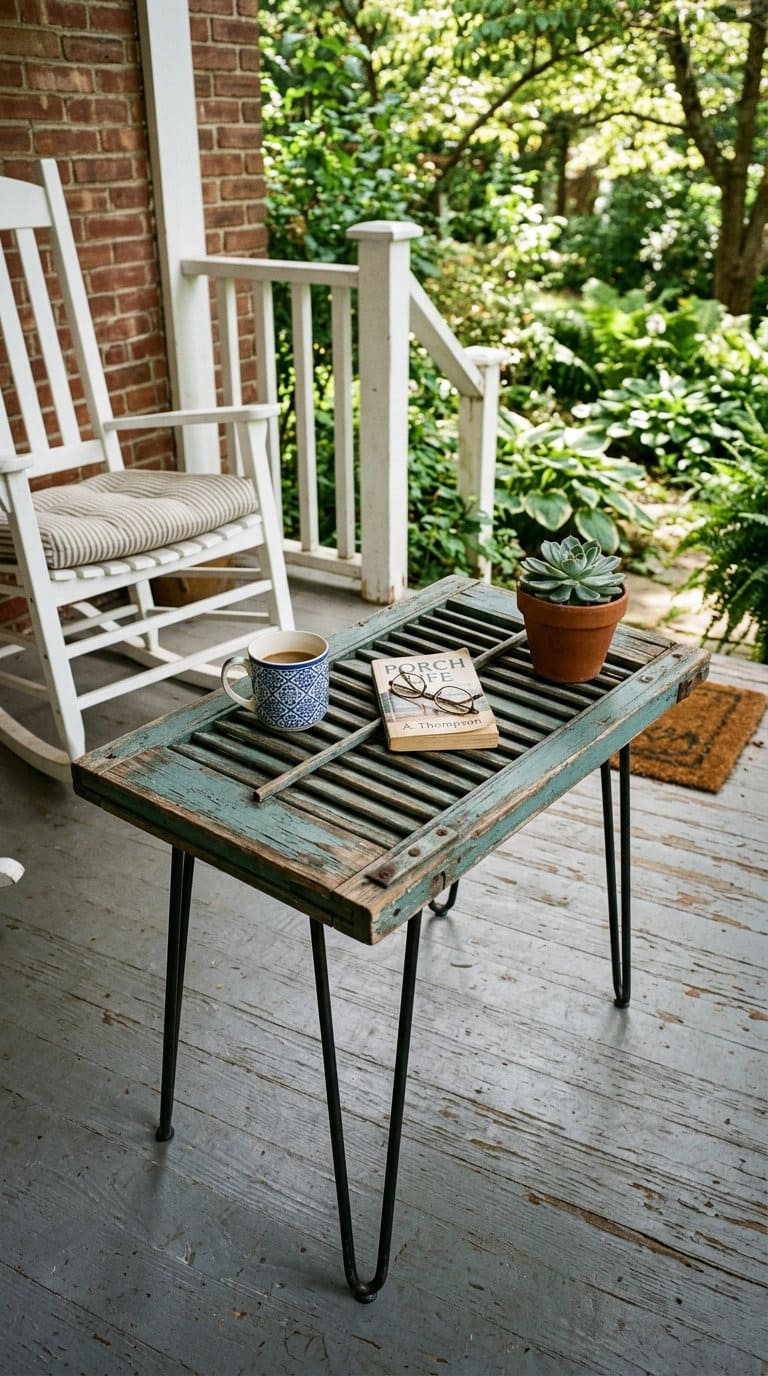
A shutter laid flat and mounted on simple X-frame or hairpin legs makes a genuinely sturdy small side table for a porch or patio.
Most yard problems trace back to one specific, fixable cause. Find yours in 4 quick questions.
Take the Free QuizSeal all six sides with a real outdoor-rated finish before adding legs, this is exactly the kind of project where skipping the back and edges shows up as warping within a season.
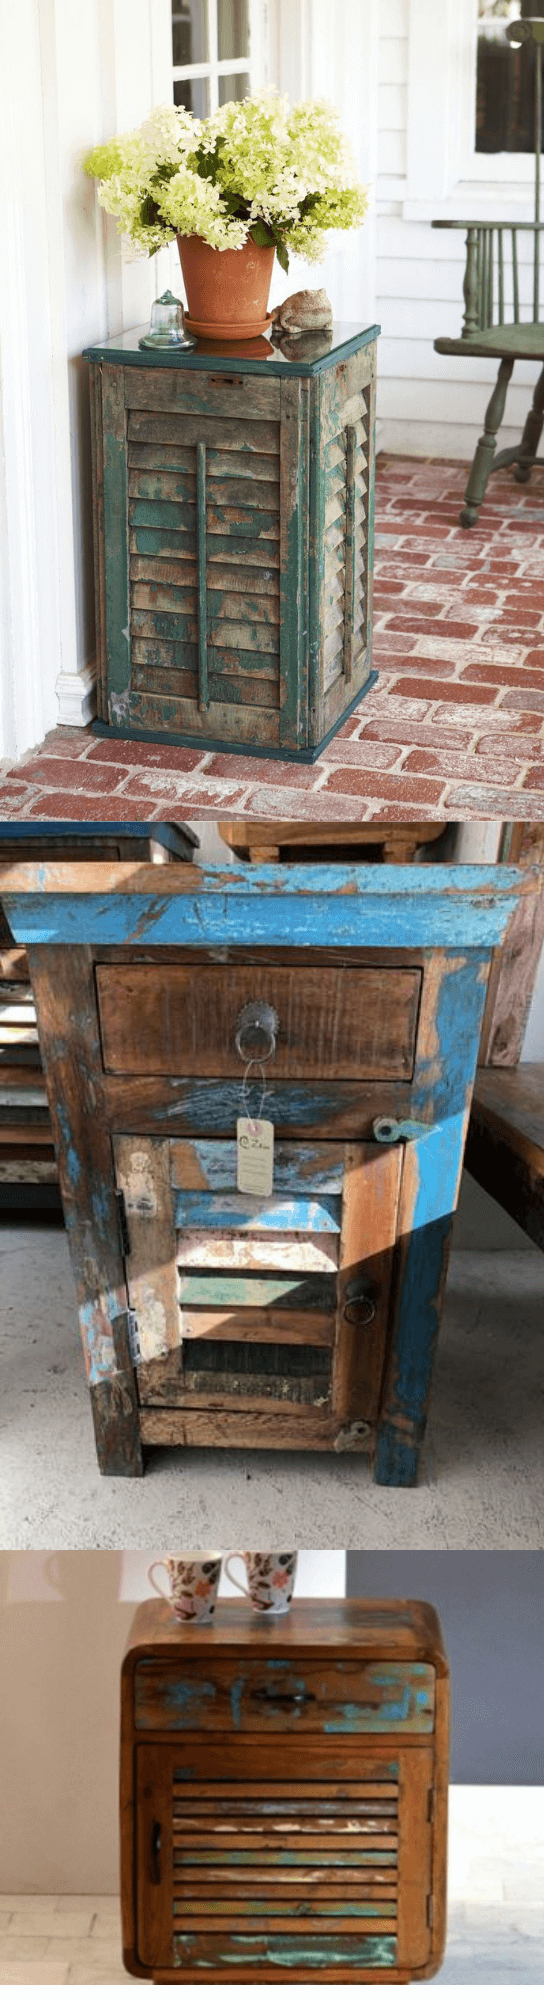
3. Scrap wood garden angel
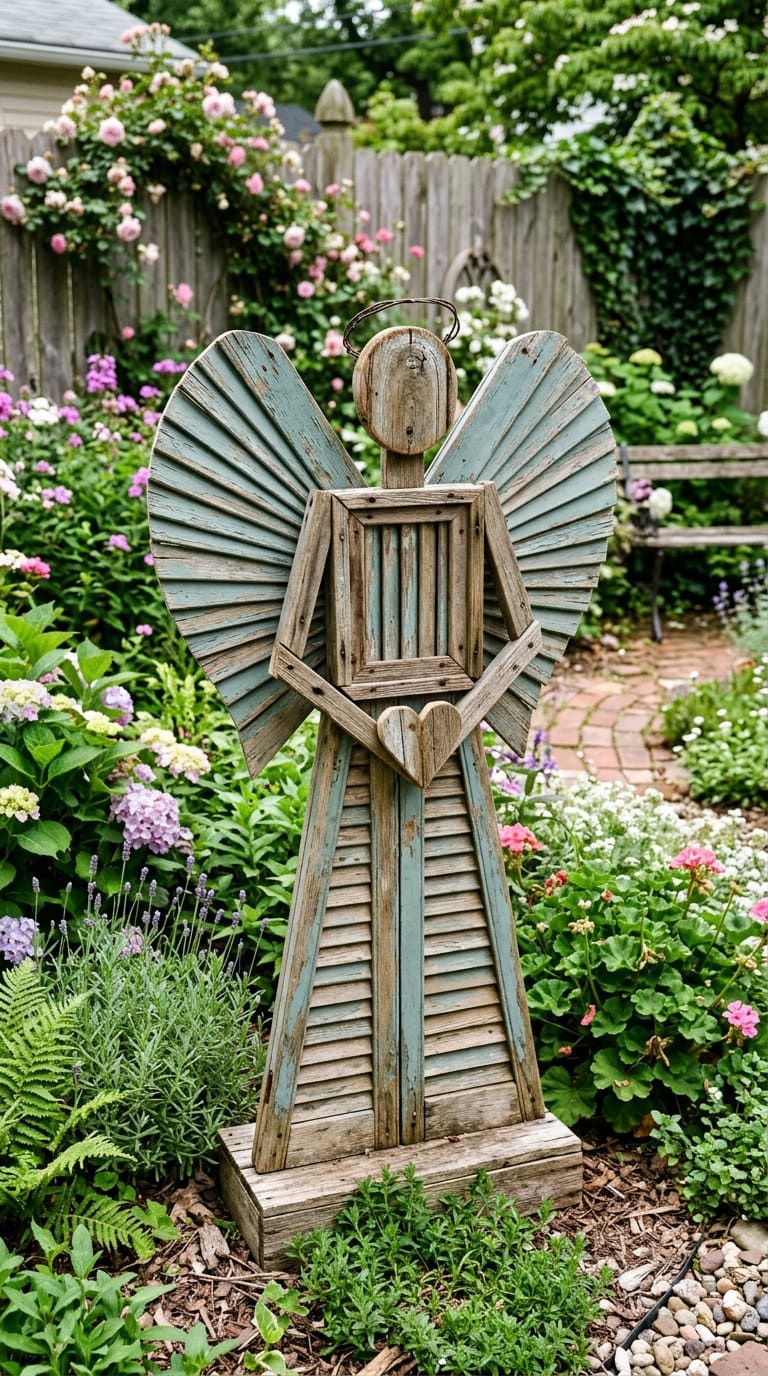
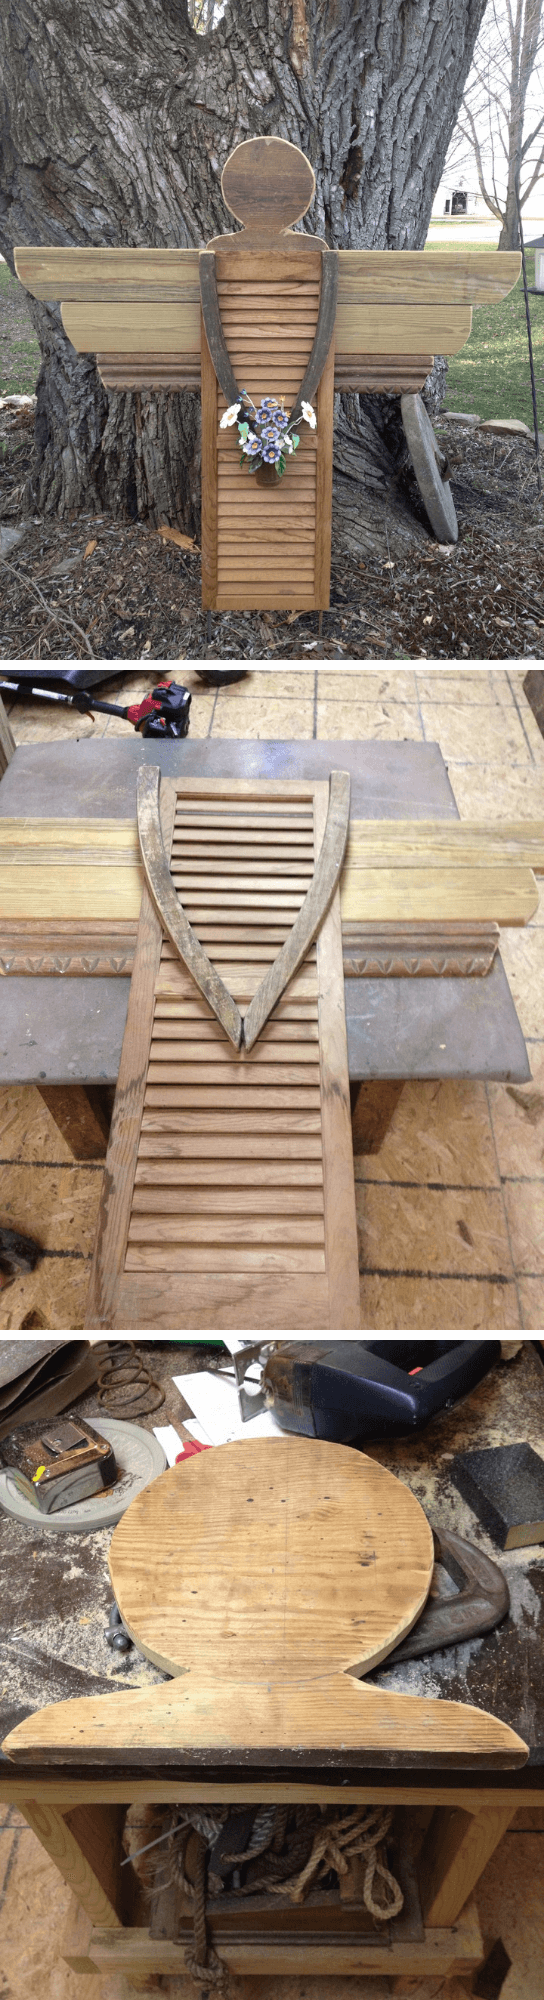
Cut a simple angel silhouette from a shutter’s slats and remaining frame, wings from the louvered slats, a body from the frame stiles, for a genuinely charming garden accent that uses nearly the whole piece with minimal waste.
Seal any freshly cut edges the same way as the rest of the piece, exposed new-cut wood weathers differently than the surrounding painted surface.
4. Garden Supply Storage
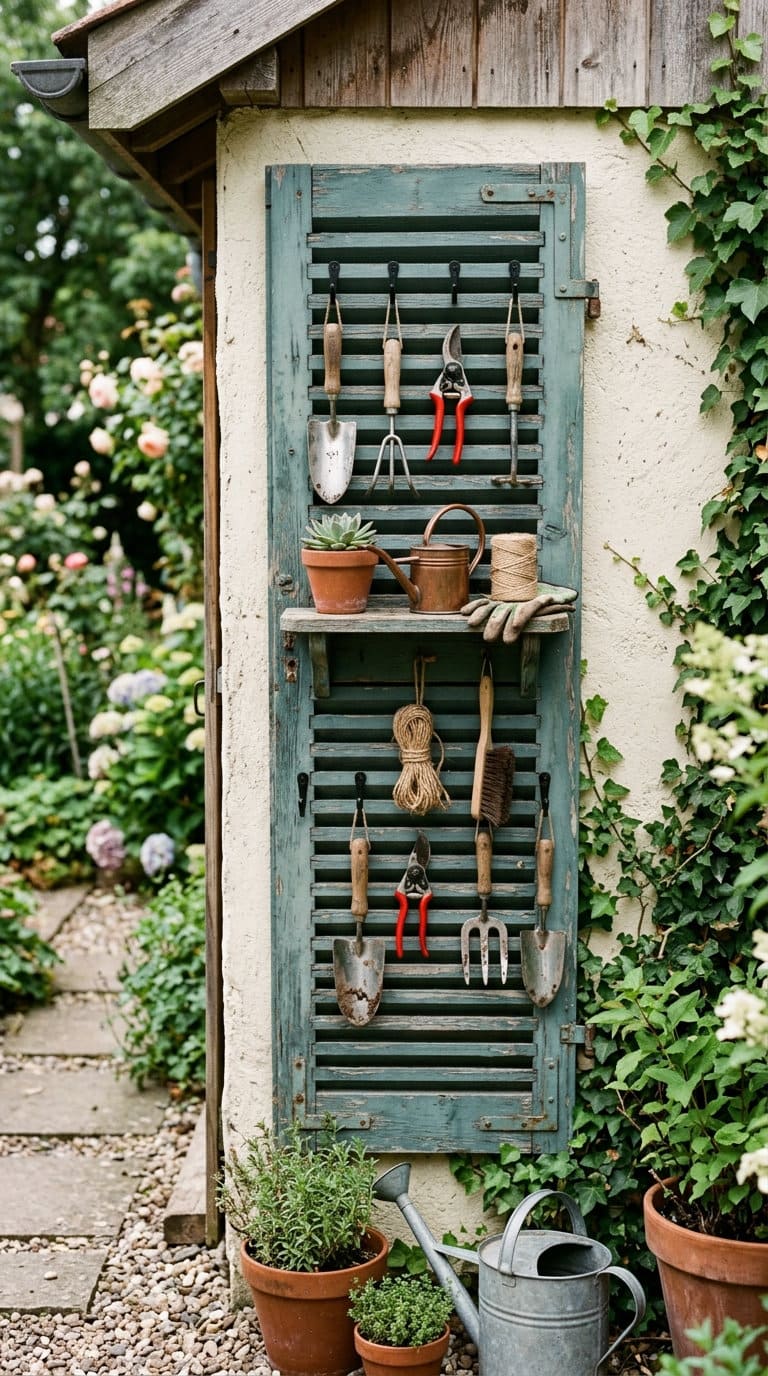
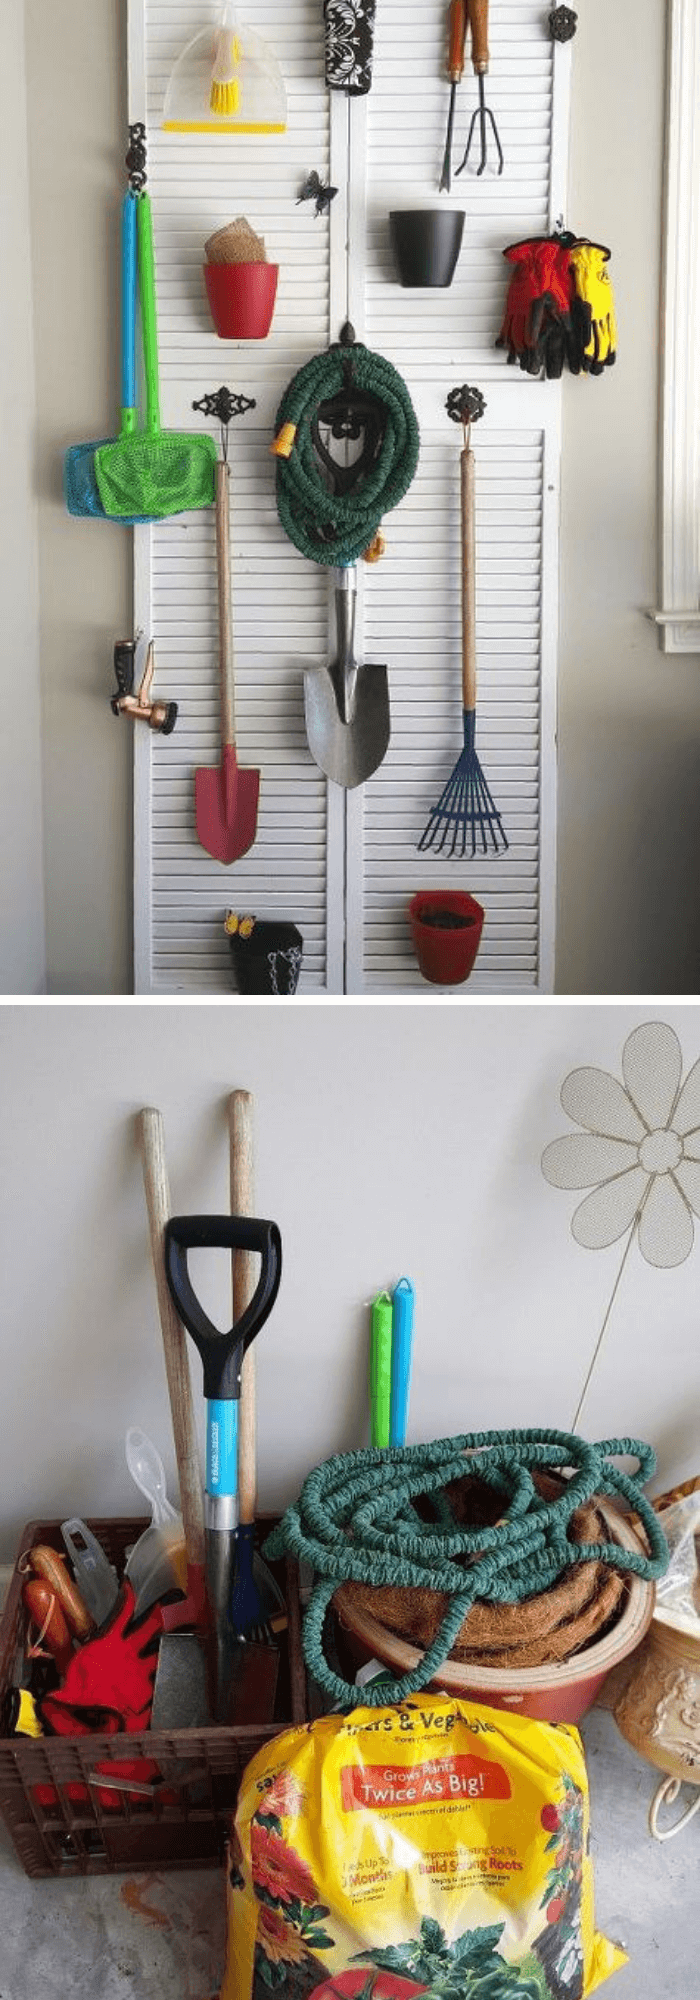
Mount a shutter vertically with small hooks and a narrow shelf attached to the frame for a genuinely useful spot to hang trowels, gloves, and twine right where you actually garden.



Keep it under an eave or overhang if possible, direct rain exposure on an unsealed back face is where this kind of piece fails fastest.
The average homeowner spends $616/year on yard fixes that don't address the real problem. Find out what yours actually is — before you spend another dollar.
Take the Free Quiz5. Patina Shutters Shelf Unit
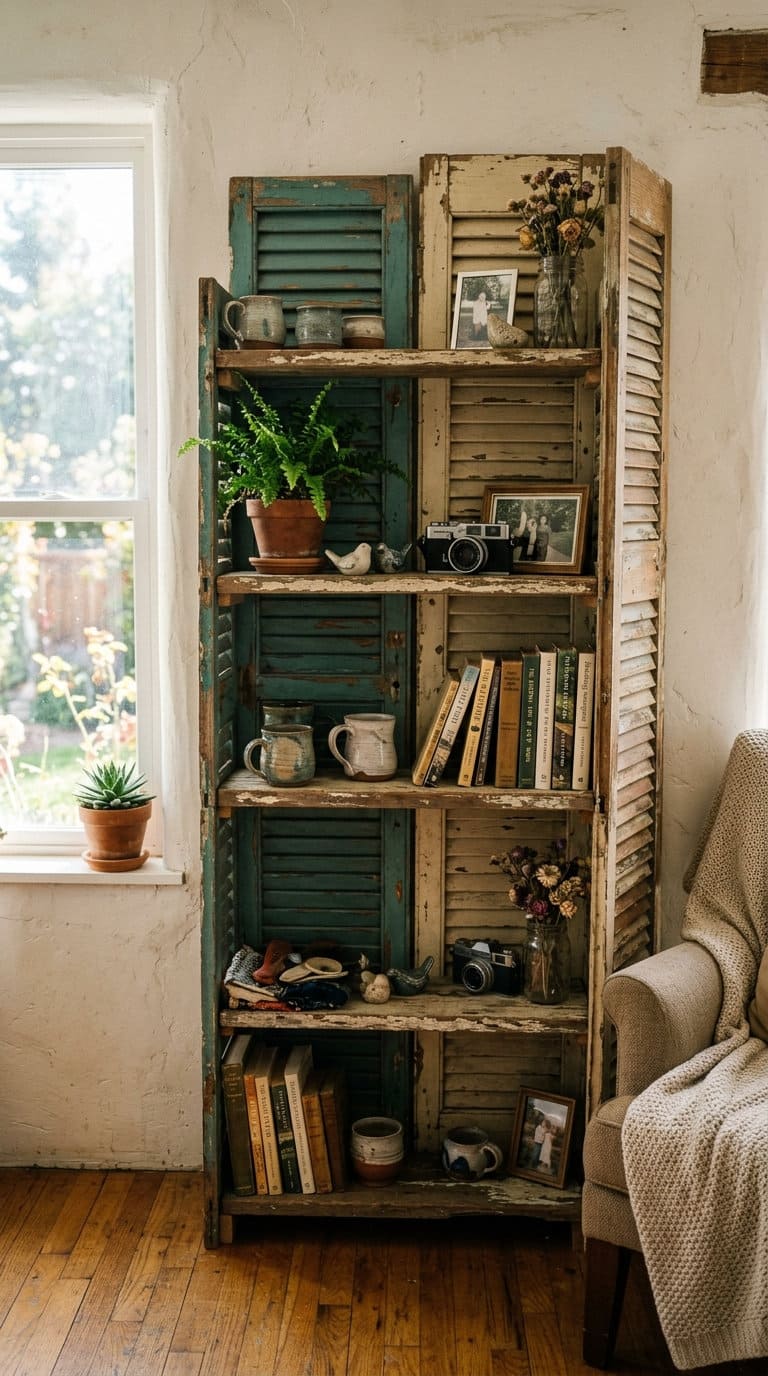
Stack two or three shutters horizontally with simple wood brackets between them for genuinely useful open shelving that keeps the shutters’ existing weathered patina as the whole visual point, no repainting needed if the surface is sound.
This only works safely if you’ve confirmed the paint isn’t actively peeling or chalking, per section 1’s guidance, since this shelf unit will see regular hand contact.
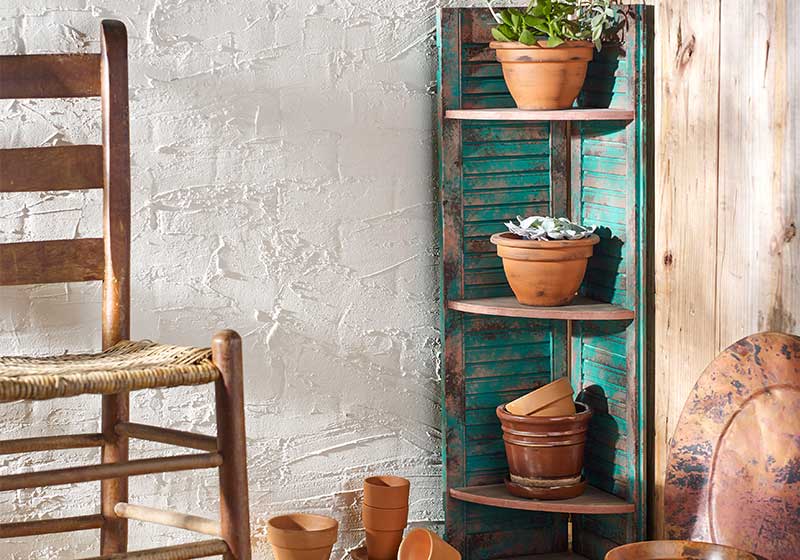
6. Shutter and Mason Jar Herb Garden
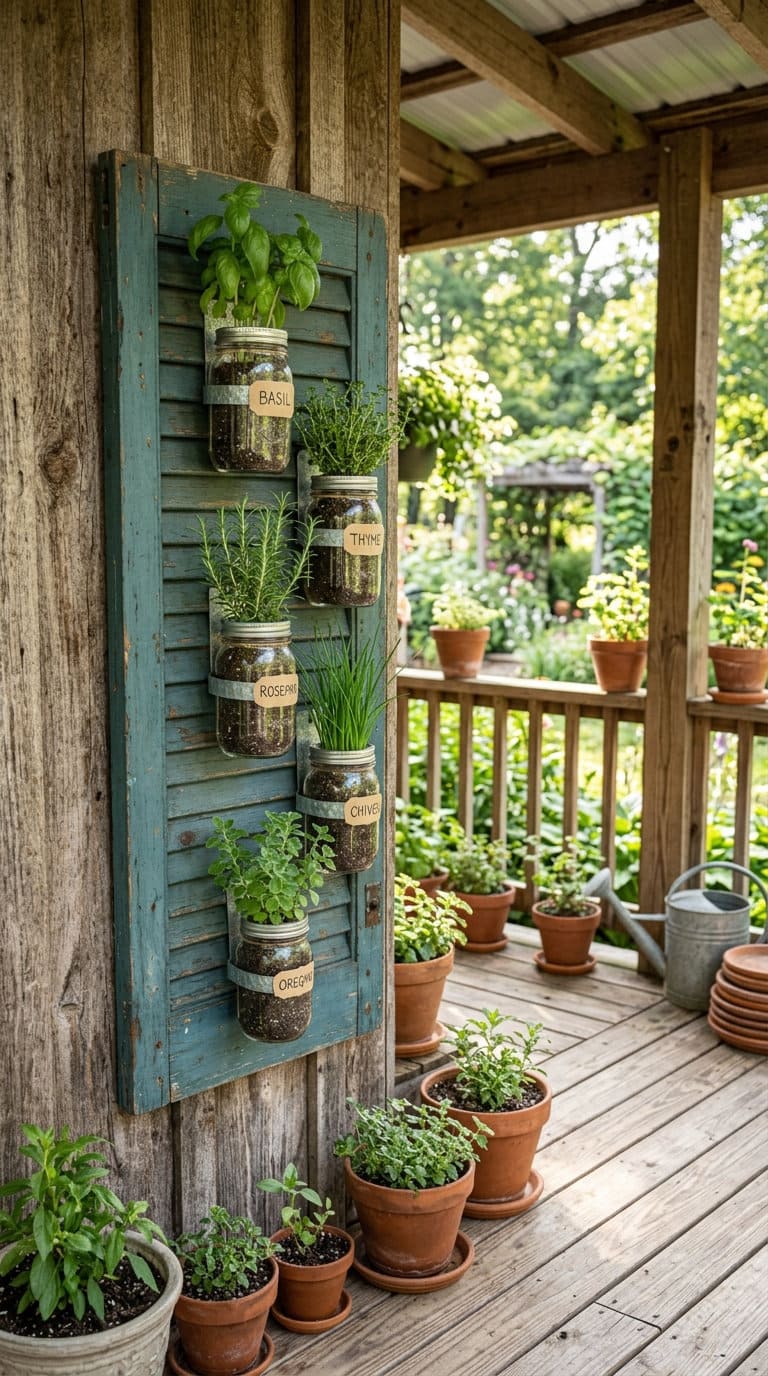
Mount mason jars in wire or wood brackets attached to a shutter’s frame for a genuinely space-efficient vertical herb garden.
This is exactly the idea where section 1’s planter guidance matters most: the jars themselves are the actual growing container, plant your herbs directly in the jars, never in soil packed against the shutter’s painted wood itself, and you get a safe, genuinely attractive setup either way.
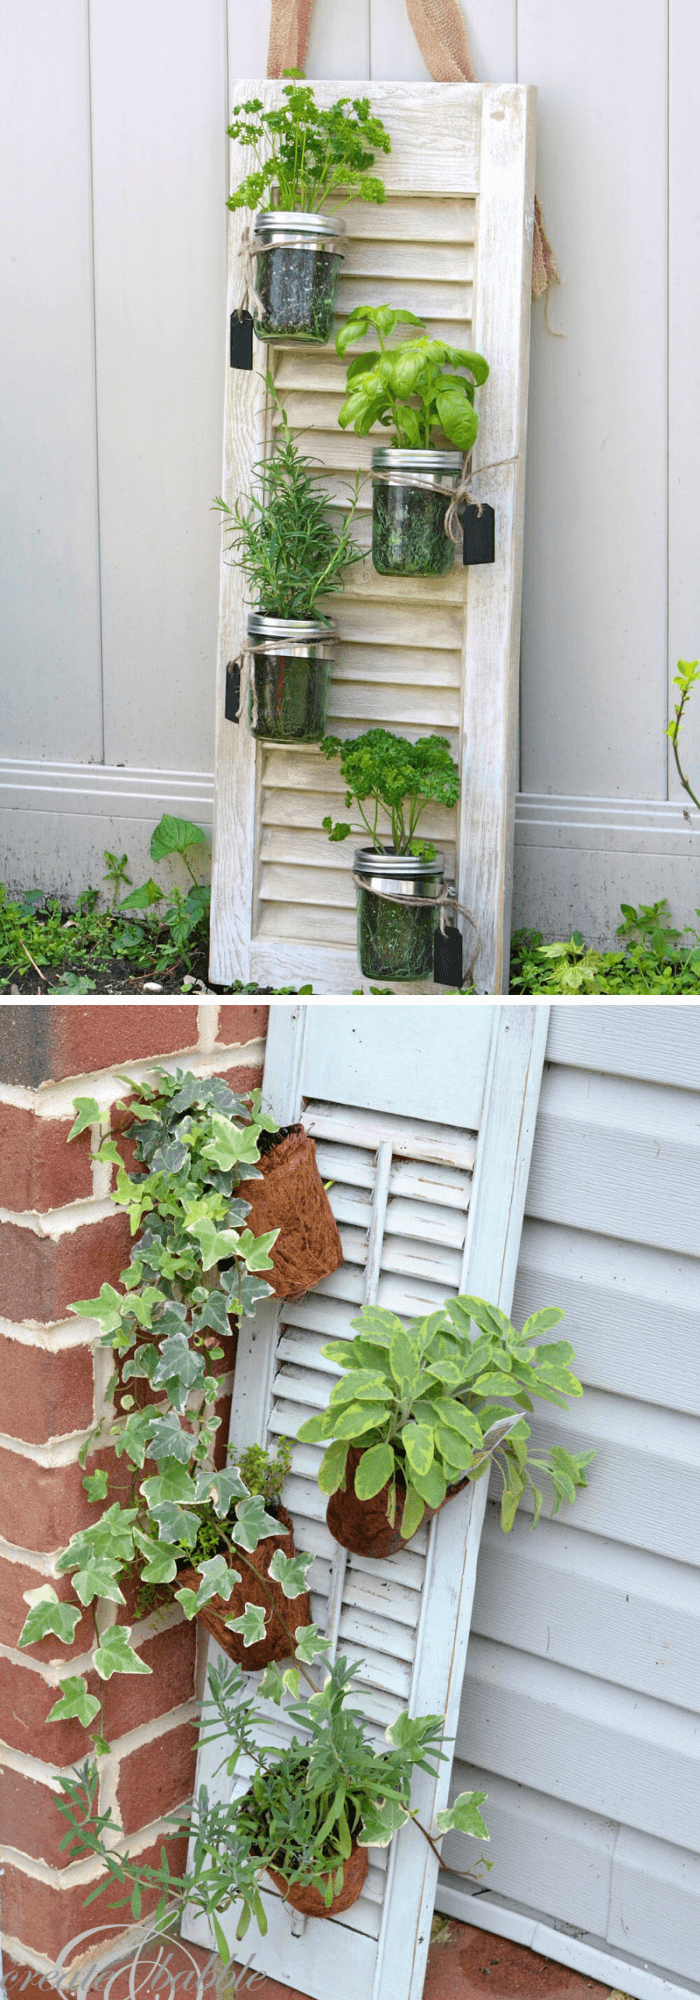
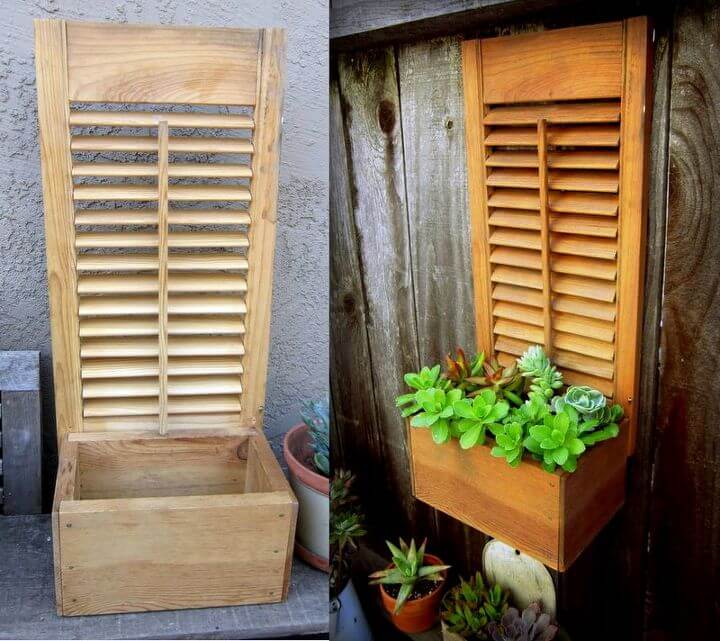
7. Repurposed Shutter Planter Boxes
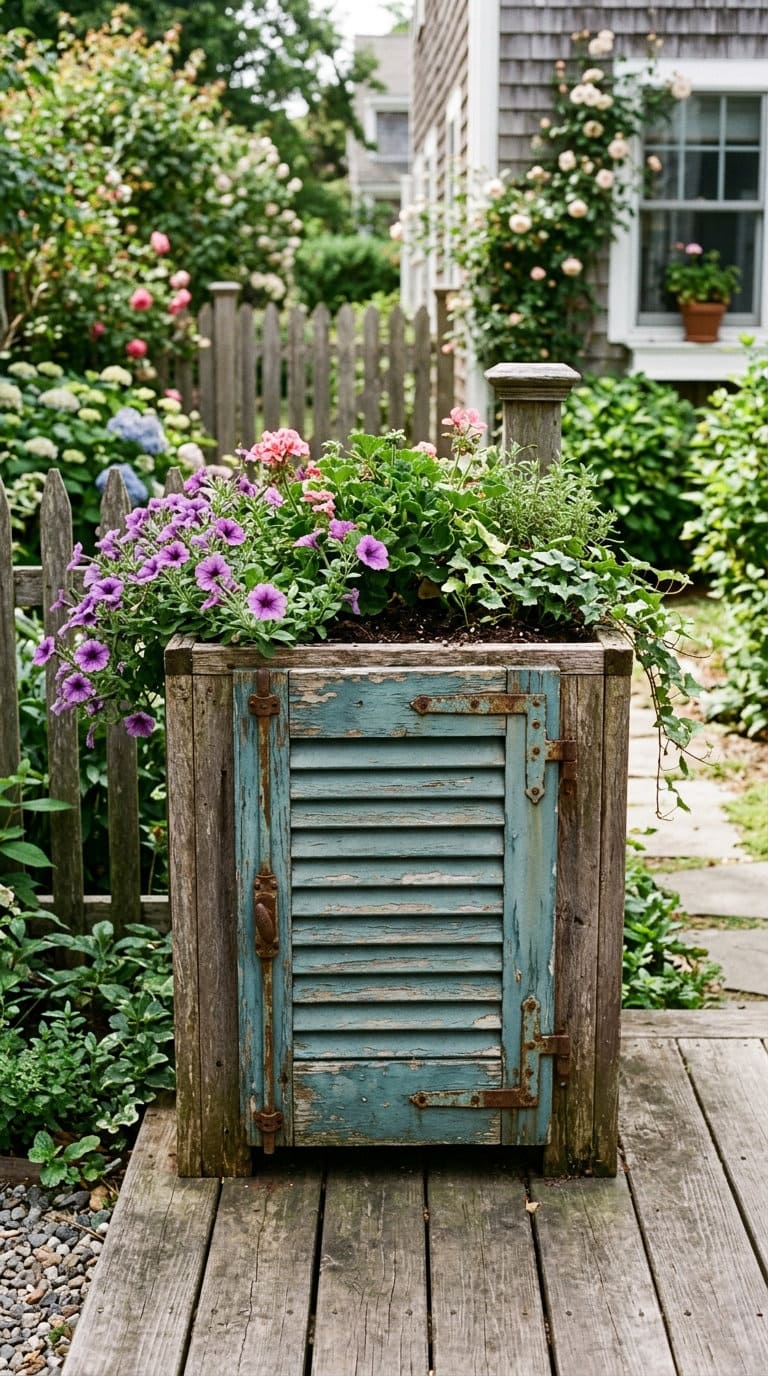
Attach a shutter to the front of a plain wood planter box as decorative facing, rather than using the shutter itself as the container walls, for a genuinely good-looking result that also solves the lead-safety question automatically.
The actual soil and roots stay inside the separate plain-wood box behind the shutter face, exactly the separation section 1 recommends.
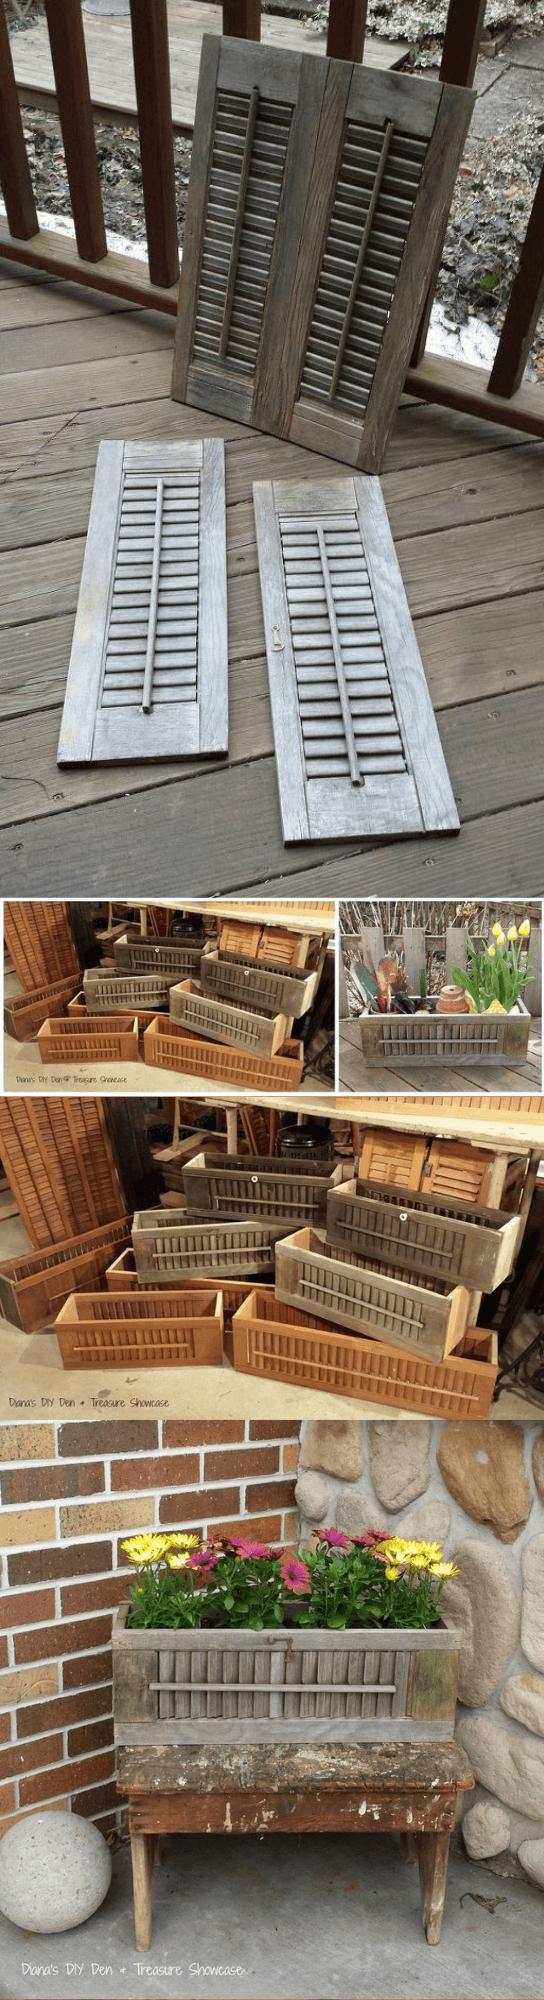
8. Shutter Word Art
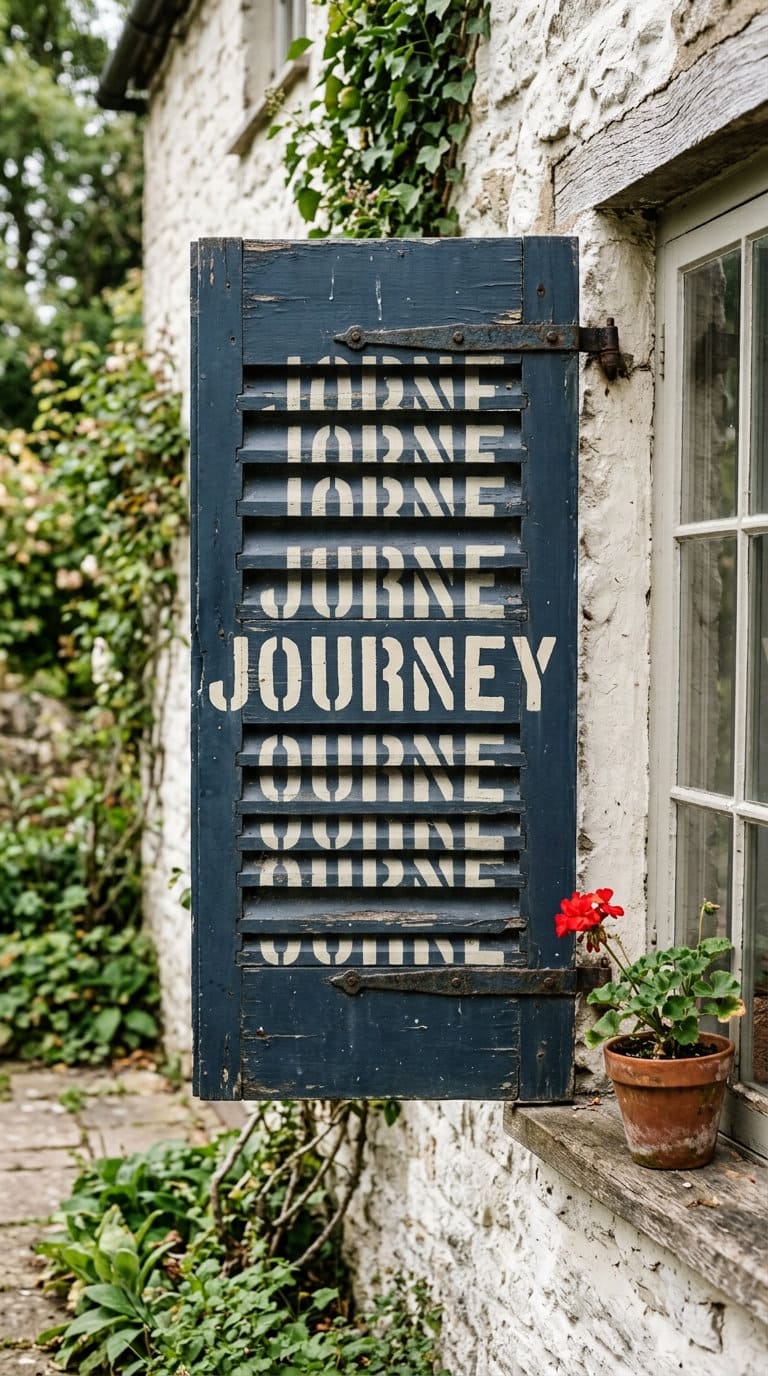
Paint or stencil a single word or short phrase across a shutter’s slats for a genuinely simple, high-impact piece that works well as a porch or garden focal point.
Test the existing paint before adding a stencil directly on top of it if the shutter shows any chipping, a fresh coat over compromised old paint can still release dust during the sanding prep most stencil projects call for.
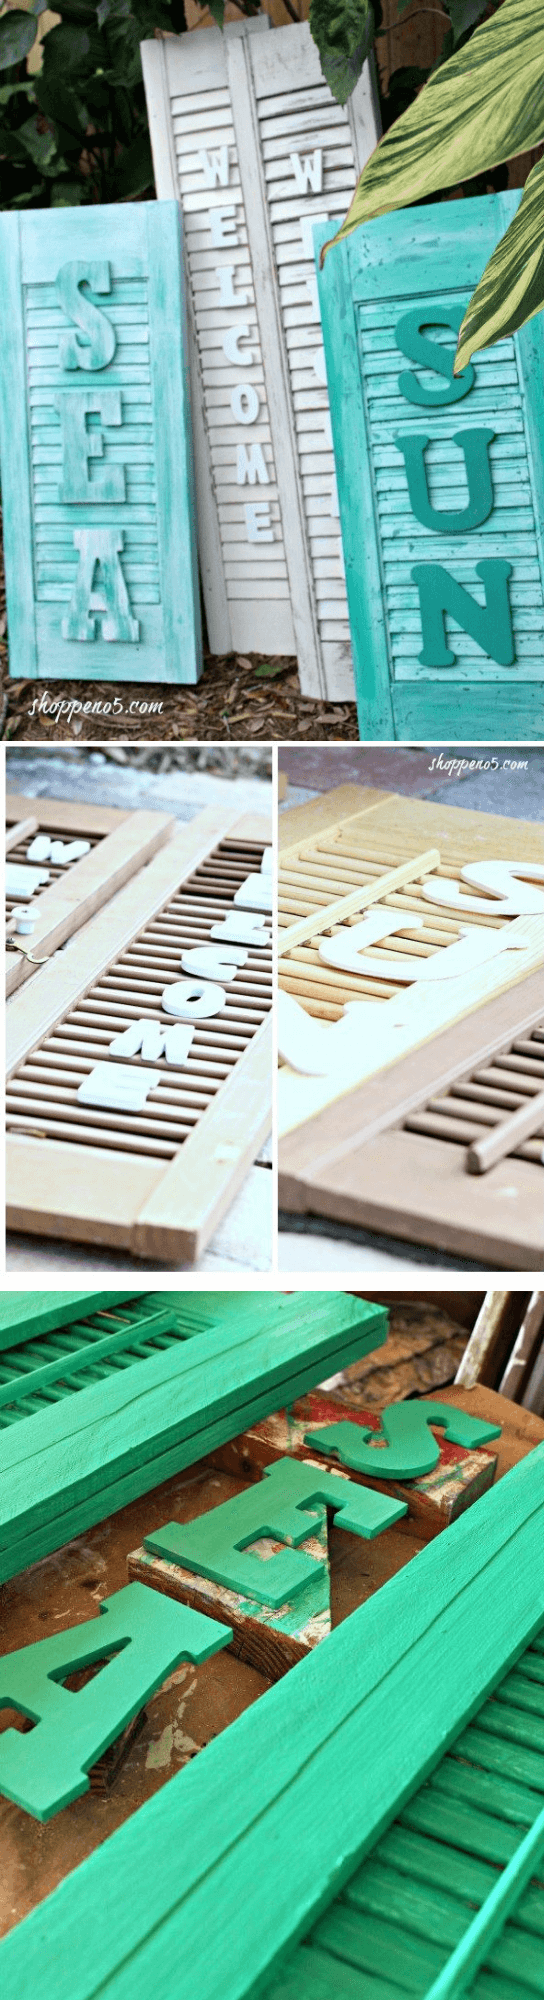
9. Old shutter Garden Angel
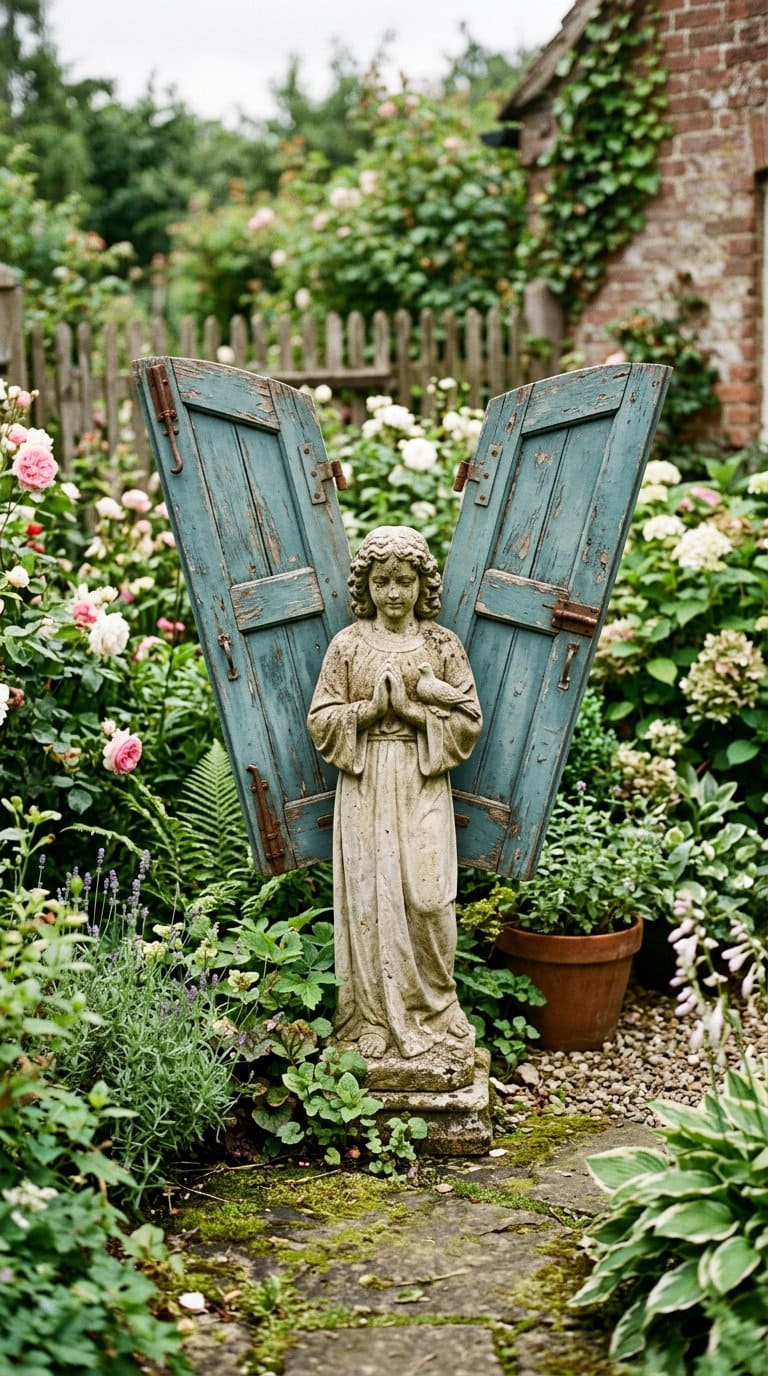
A second, more elaborate take on the garden angel concept, this version uses a full intact shutter as the angel’s “wings” (the louvered slats reading as feathers) mounted behind a separate carved or purchased angel figure, rather than cutting the shutter itself into a silhouette.
This lets you keep the shutter fully intact if you’d rather not cut into an especially nice piece.
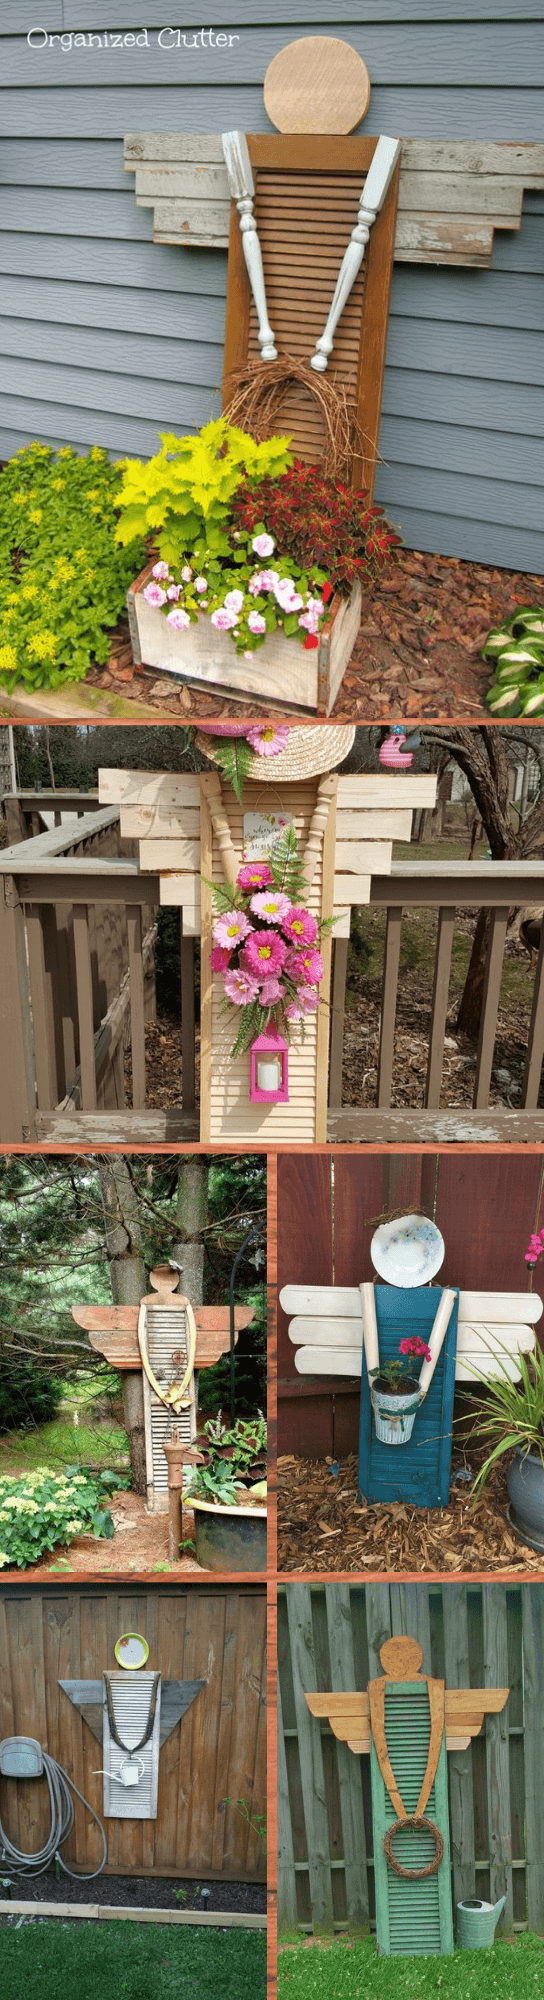
Source: pinterest
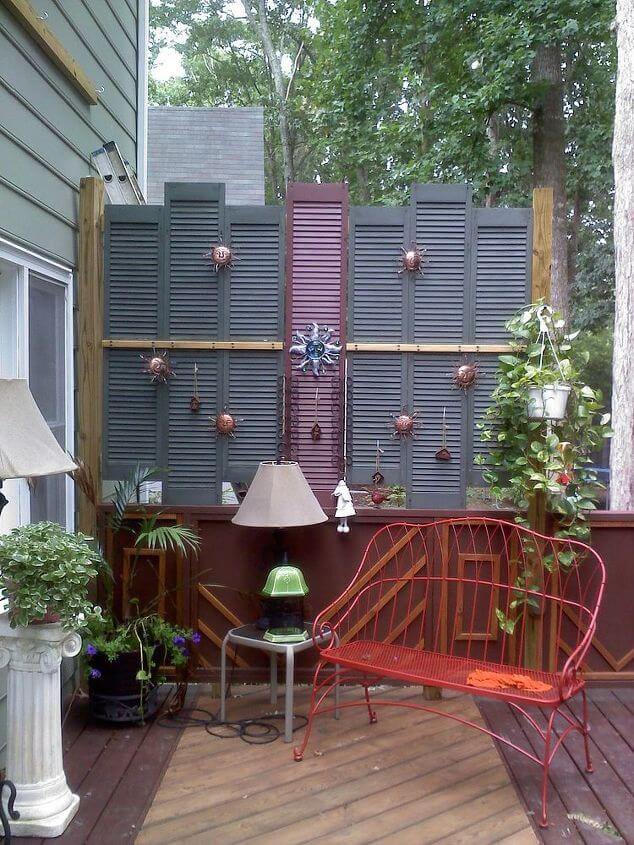
10. Built a privacy screen from the old shutters
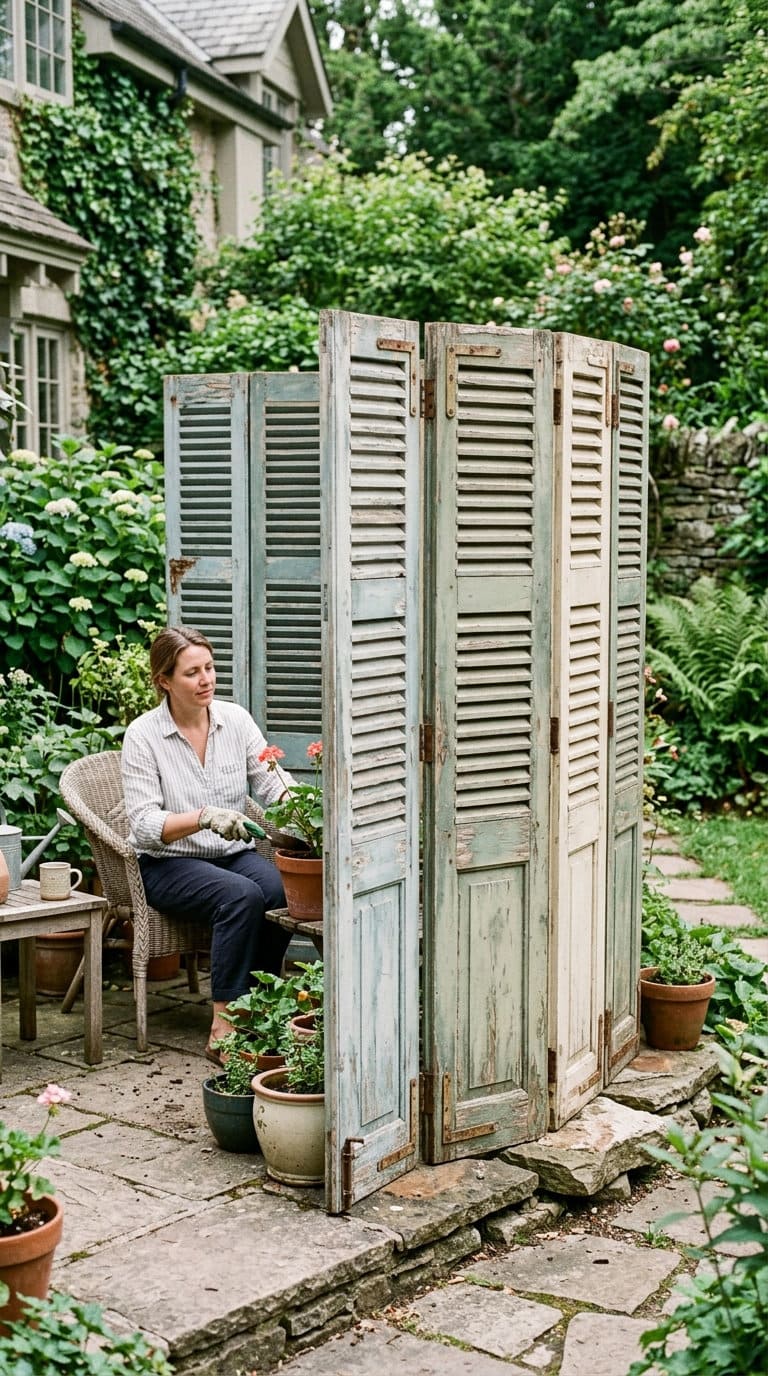
Hinge several shutters together, or mount them in a simple frame, to build a genuinely effective folding or fixed privacy screen for a patio or hot tub area.
Apply section 1’s weatherproofing guidance across the whole screen, this is a piece that stays outdoors permanently and takes direct weather on both faces, the highest-exposure use case on this whole list.
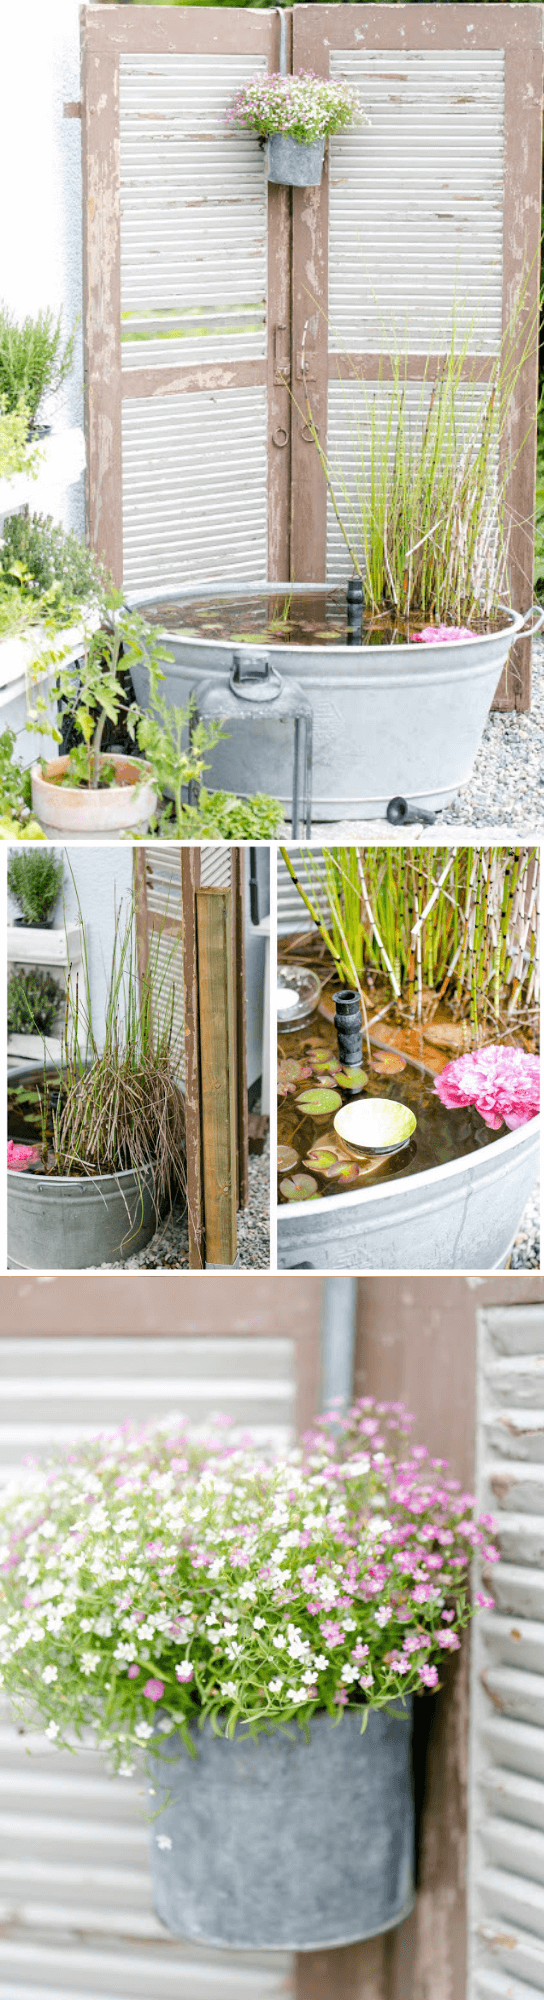
11. Privacy on the Deck from old shutters
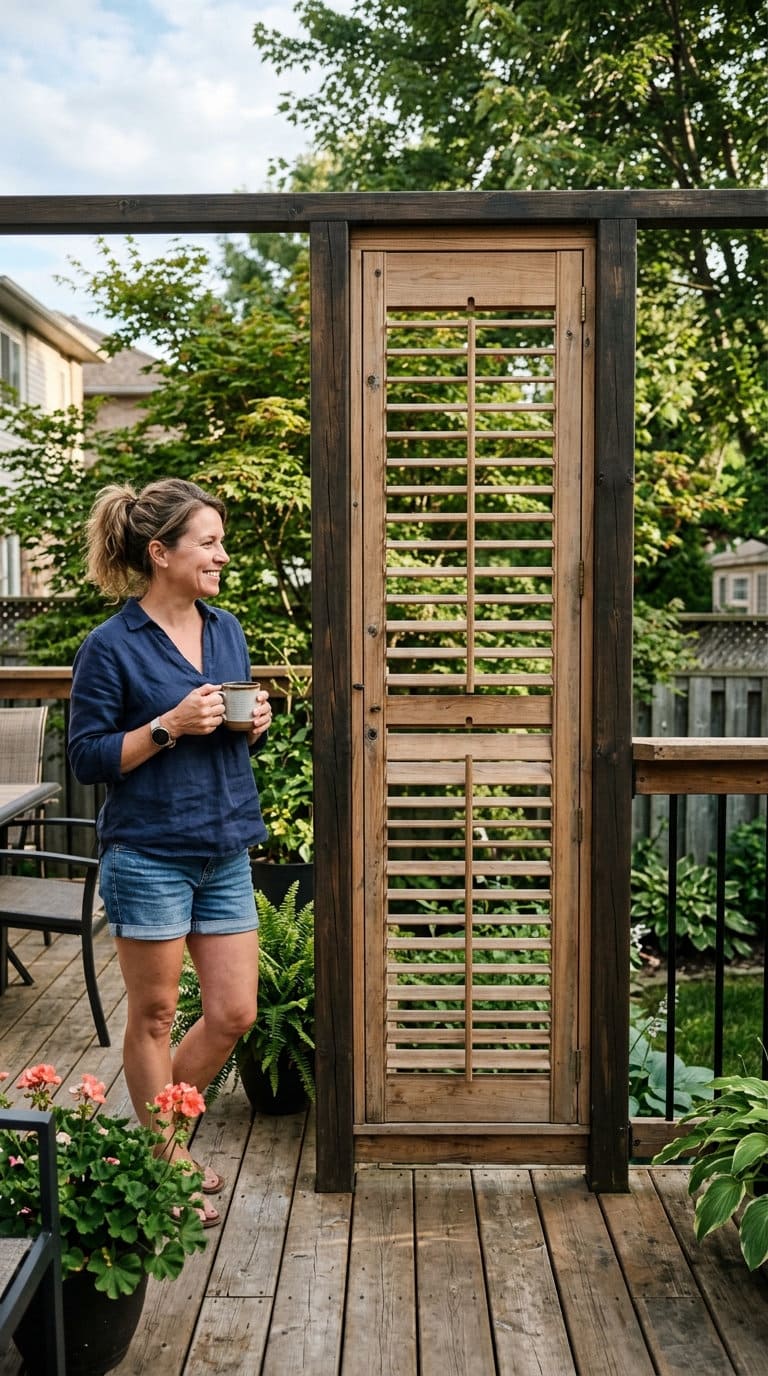
Mount shutters vertically along a deck railing or between posts for a genuinely lighter-weight privacy solution than a solid fence panel, while still allowing airflow through the louvers.
Leave the quarter-inch mounting gap from section 1 between the shutter and the deck structure itself, deck lumber holds moisture longer than open air, and that gap is what keeps the shutter from rotting where it touches.
12. Summer Porch with white shutters and succulents
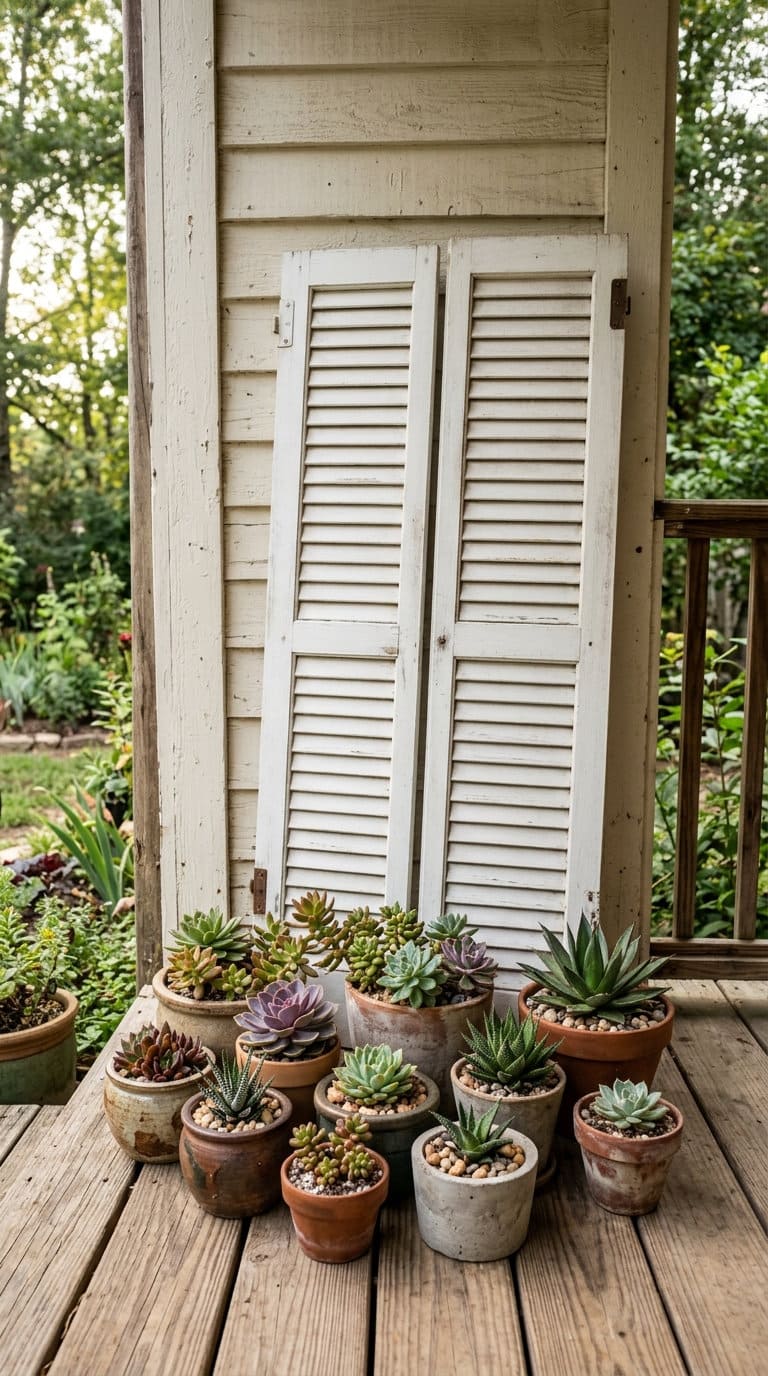
Lean a few white-painted shutters against a porch wall as a backdrop, then group potted succulents in front rather than in the shutter itself, for a genuinely low-maintenance seasonal display.
Succulents in particular tolerate being moved and rearranged easily, making this one of the simplest ideas on this list to actually execute in an afternoon.

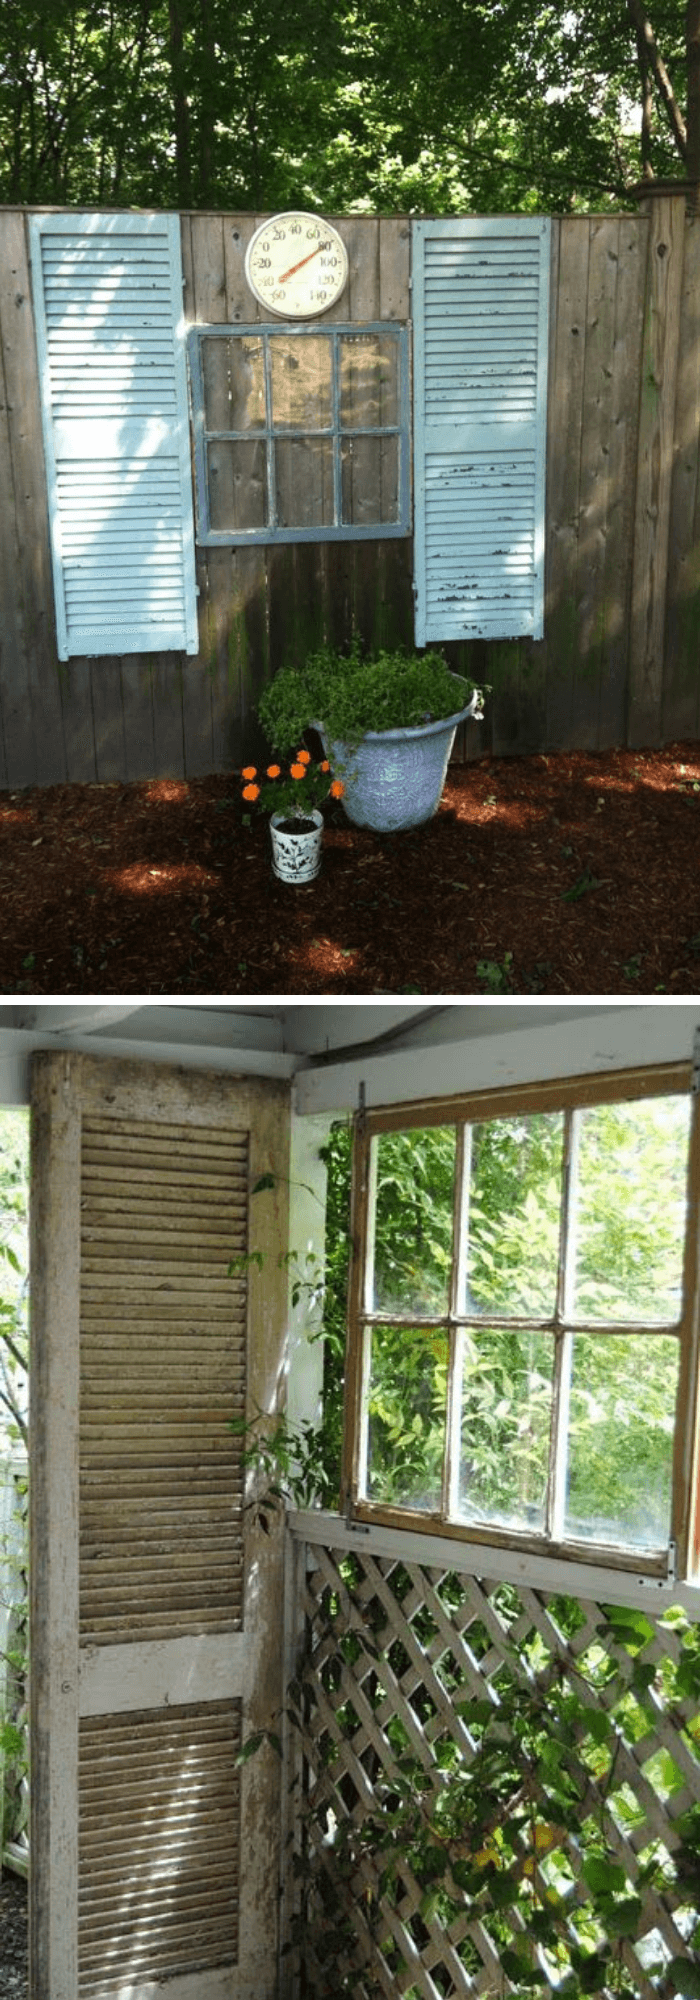
13. Old shutters and window
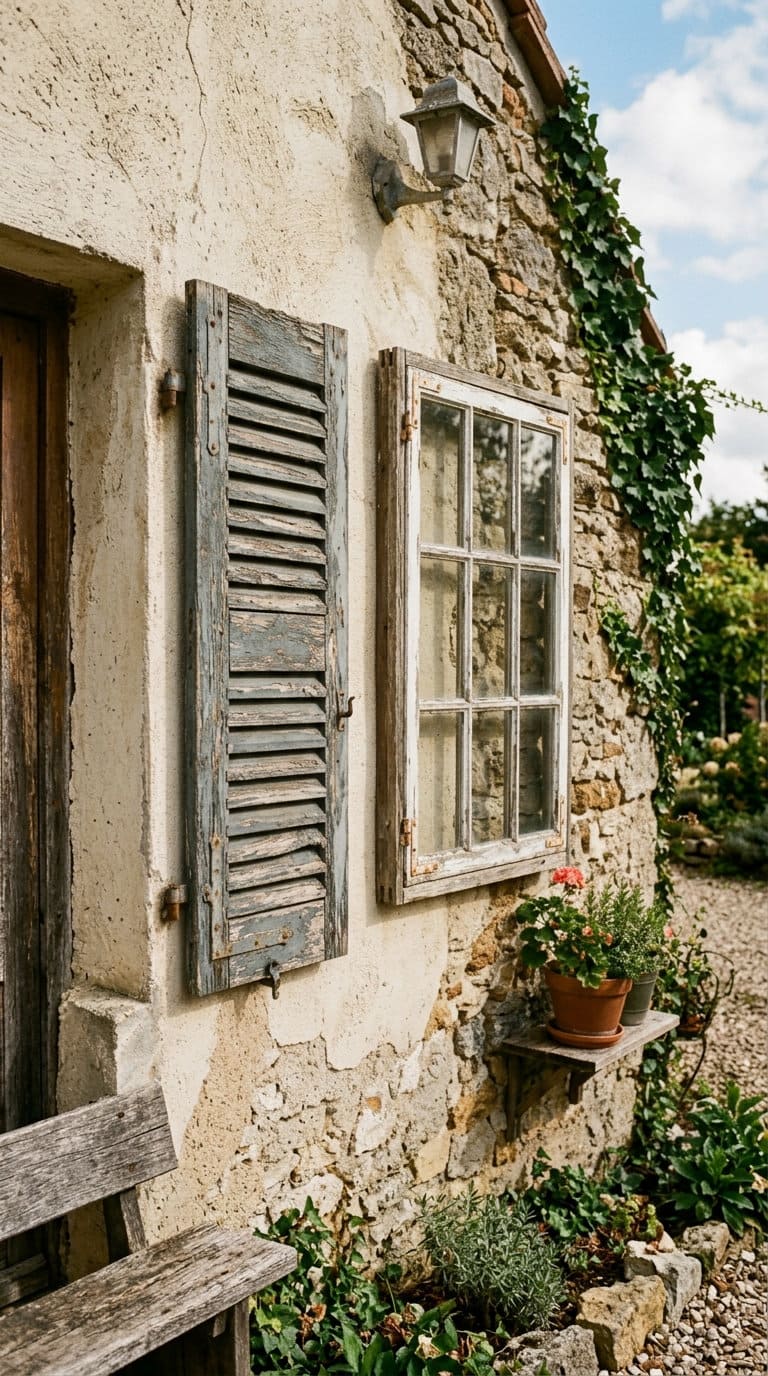
Pair a salvaged shutter with a matching old window frame, shutter mounted beside or behind the window, for a genuinely nostalgic architectural vignette on an exterior wall.
Since neither piece serves a functional building purpose anymore, this is a good use for a shutter that’s too far gone structurally for furniture but still has real visual character.
14. Succulent Planter
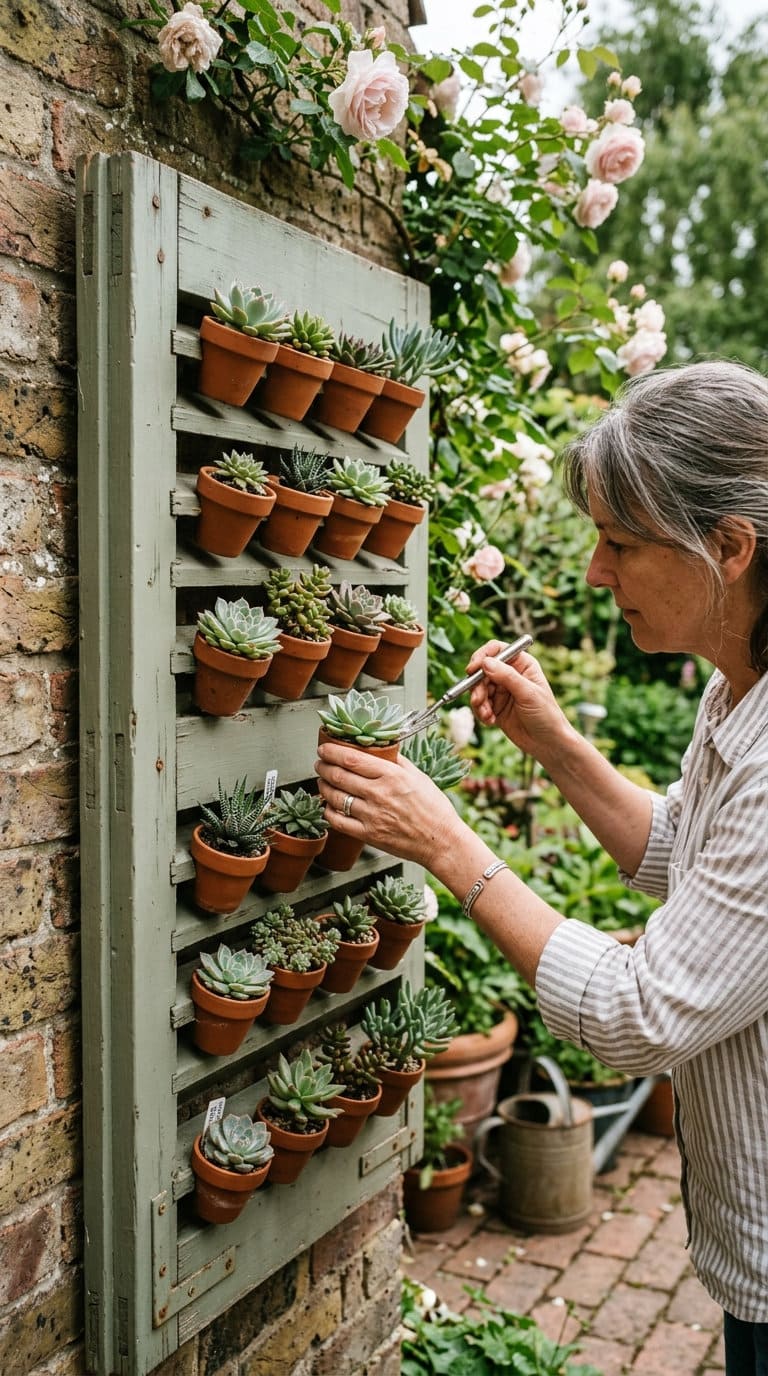
Cut a shutter’s slats to hold small individual pots at an angle, one per slat gap, for a genuinely striking vertical succulent display.
Per section 1, use actual small pots set into the gaps rather than packing soil directly against the shutter wood, succulents’ shallow root systems make this an easy, natural fit for the safe-liner approach.
15. Garden planter box
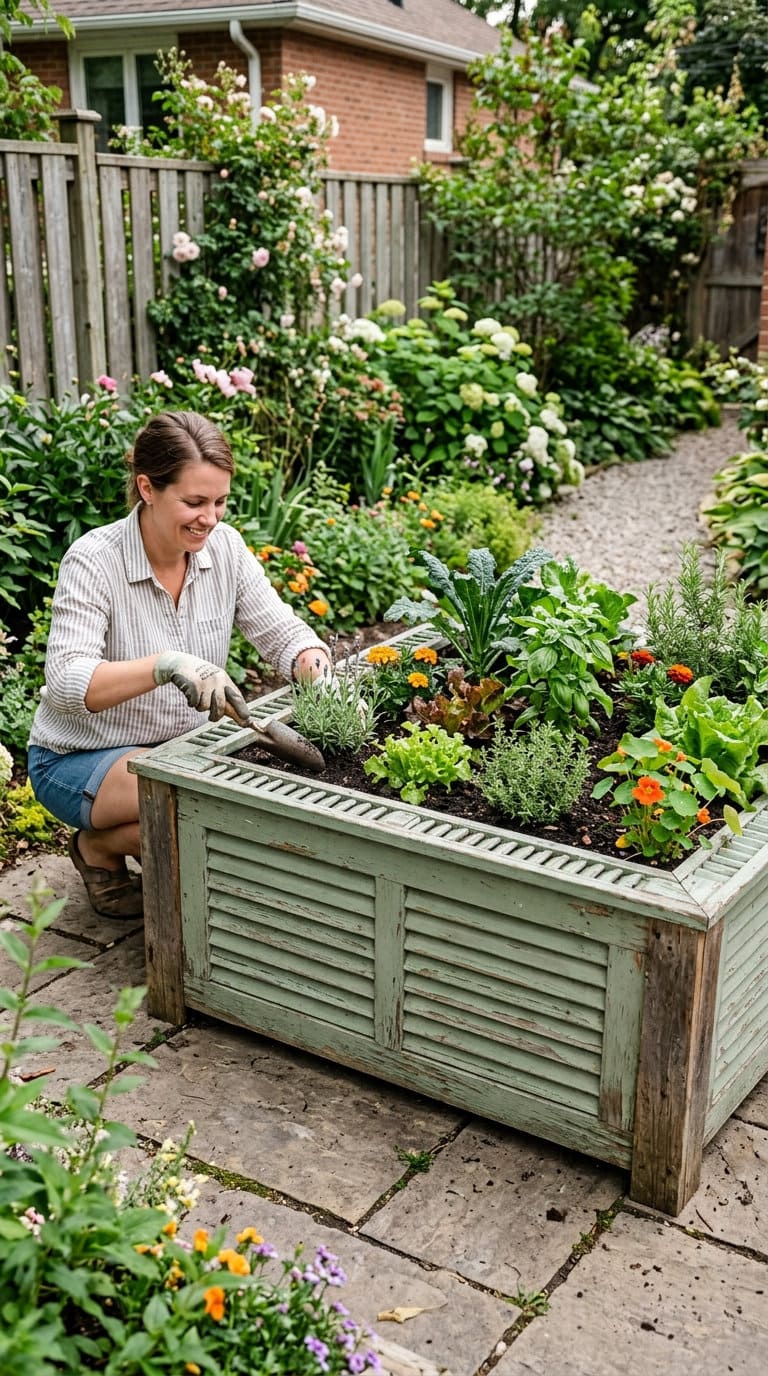
Build a simple rectangular planter box and attach a shutter panel to one visible side as decorative paneling, the same separation principle as idea 8, for a genuinely good-looking result without the wood-contact question.
This version works well as a larger, more substantial planter for vegetables or larger flowering plants specifically because the actual growing container is built from known, food-safe lumber.

16. Yellow shutter planter for summer and fall porch
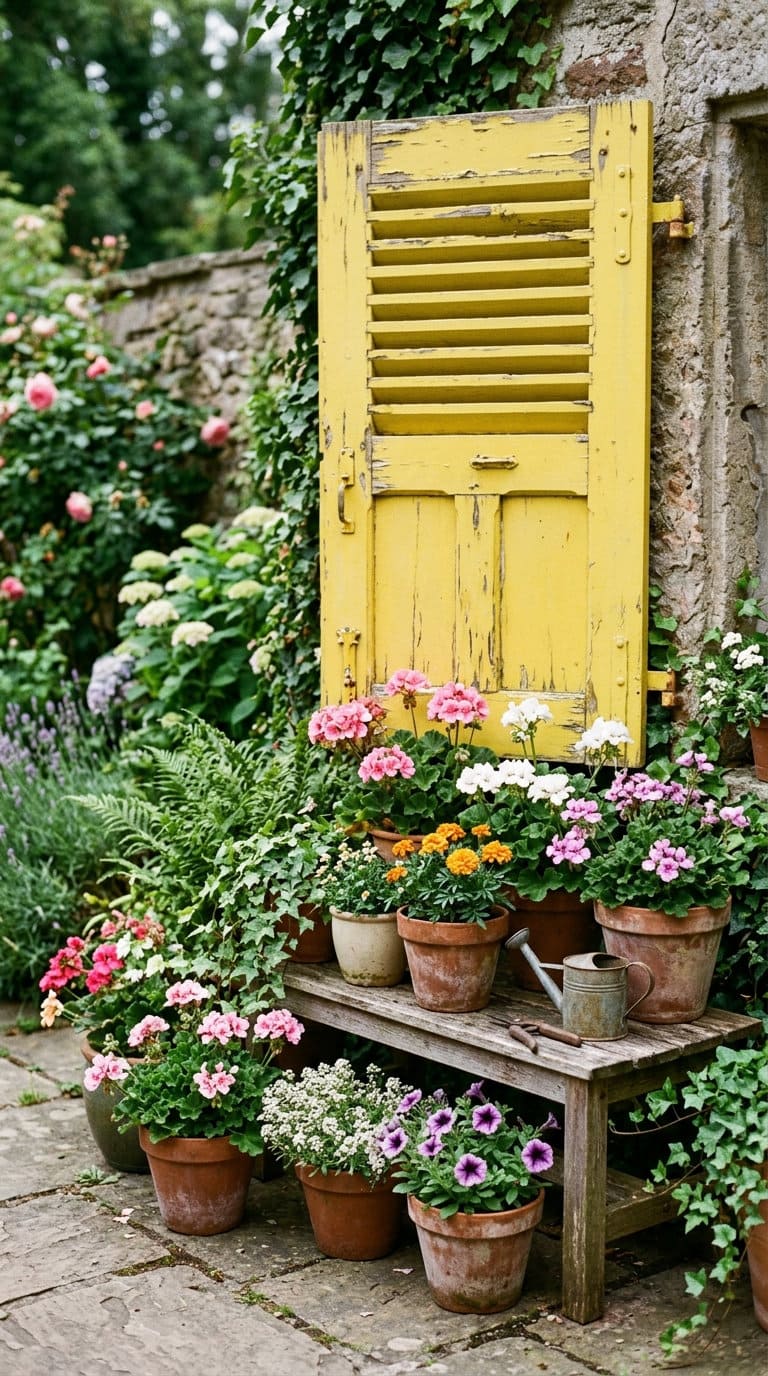
Repaint a shutter a bright, cheerful color (yellow reads especially well against a neutral porch) and use it purely as a decorative backdrop or leaning accent behind seasonal potted flowers, rather than as the growing container itself.
Swap the potted flowers between summer and fall varieties while the shutter itself stays as a fixed seasonal anchor piece.

A few more things worth planning around
For more salvaged-door privacy screen techniques similar to ideas 11 and 12, repurposed old door ideas covers a related approach. For more on the safe-container principle behind several of the planter ideas above, repurposed garden container ideas and DIY pallet and wood planter box ideas both go deeper. If you have a salvaged window to pair with idea 14, repurposed old window ideas is worth a look. For the porch-focused ideas, porch railing ideas and screened-in porch ideas both have more.
FAQs
Do old shutters have lead paint?
Possibly, and you should assume yes until you test. Lead-based paint was banned in 1978, and homes built before that, especially before 1940, commonly still have it. Alligatoring or chalking paint is a warning sign, but visual inspection alone isn’t reliable, an EPA-certified inspector or a proper test gives the real answer.
Can I use an old shutter as a planter for herbs or vegetables?
Not by planting directly into the painted wood. Lead from old paint can leach into soil and be taken up by plant roots, a real risk for anything you’d eat. Use a separate food-safe pot or liner set inside or behind the shutter instead, so the shutter stays decorative and the soil never touches the painted wood directly.
How do I make an old shutter last outdoors?
Finish all six sides, not just the front you see, the back and edges are where rot actually starts. A marine-grade spar varnish holds up better outdoors than stain alone, and leaving a quarter-inch gap between the shutter and whatever it’s mounted against prevents the trapped moisture that causes most rot in reused wood.

Never miss an update — choose FarmFoodFamily as your preferred source on Google.
How it works: Tap the button below to open Google's settings page, then check the box next to FarmFoodFamily.
Tap the checkbox to turn it blue — that's how you know it's set.