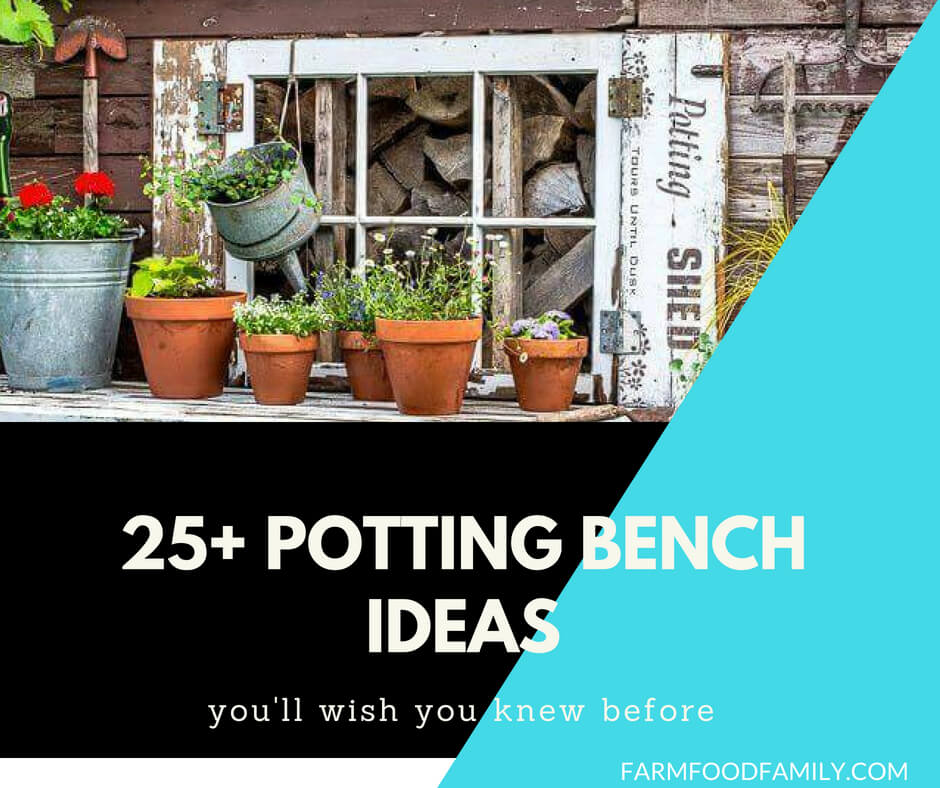
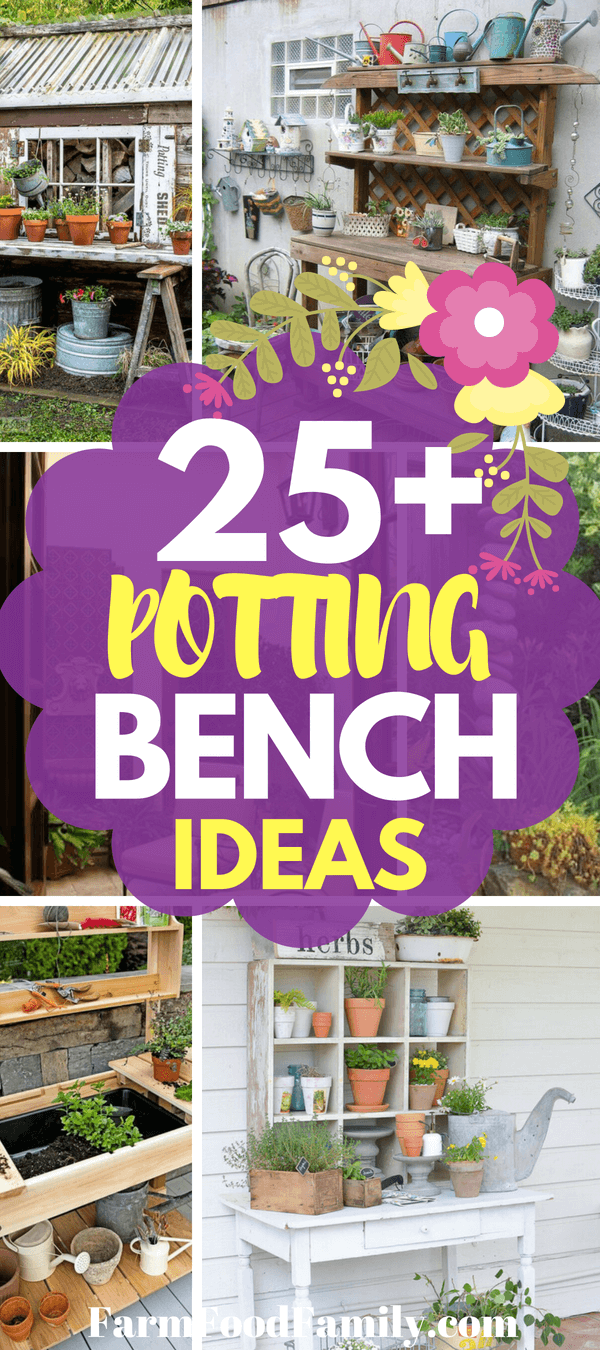
25+ Cool Potting Bench Plans to Enjoy Gardening
Have you ever found yourself knee-deep in soil and seedlings, wishing for a better way to organize your gardening tasks? A potting bench is a sturdy table designed specifically for gardeners to work comfortably while standing, providing a compact and tidy area for potting plants and keeping gardening tools within arm’s reach.
The benefits of adding a potting bench to your garden are numerous; it not only saves your back from the strain of bending over but also keeps your gardening supplies in one central location.
In this article, we’ll walk you through the steps to create your own potting bench plans, tailored to fit your space and style. Whether you’re a seasoned gardener or just starting to nurture your green thumb, having a dedicated potting bench can transform your gardening experience.
We’ll cover everything from the basic purpose and design considerations to the final touches that will make your potting bench both functional and a delightful addition to your garden.
Let’s get started on building a workspace that will make your gardening more efficient and enjoyable.
Considerations Before Building Your Potting Bench
Before diving into the construction of your potting bench, it’s crucial to plan carefully to ensure that the final product meets your gardening needs and fits well within your available space. Here we discuss the essential factors to consider in the planning stage.
Assessing Your Space and Choosing the Right Location
The first step is to look at the space you have. You want a spot that is easy to reach and works well with the rest of your garden.

A good location means you’re more likely to use your potting bench. It should be in a place that doesn’t get too much wind or too much sun. Here’s a simple table to help you decide the best spot for your bench:
| Factor | Ideal Condition |
|---|---|
| Sunlight | Partial shade |
| Wind | Sheltered area |
| Accessibility | Close to garden |
| Ground Levelness | Flat surface |
Determining the Size of the Potting Bench
Next, think about how big your bench should be. You need enough room to work but it must fit in your space.
Measure the area where you want to put the bench and decide how much room you can give it. Remember, you need space to move around it too. The size will affect how much you can do at one time on the bench.
Selecting Materials for Durability and Aesthetics
The materials you choose should last a long time and look good in your garden. Wood is a popular choice because it’s strong and has a natural look.
Cedar and redwood are good types of wood for outdoor use because they resist rot.
If you prefer not to use wood, there are other materials like metal or recycled plastic that can work well too. Here’s a breakdown of material options:
| Material | Pros | Cons |
|---|---|---|
| Wood | Natural, durable | Needs maintenance |
| Metal | Long-lasting | Can rust |
| Plastic | Low maintenance | May not be as sturdy |
Considering Storage Needs and Accessories
Think about what you want to store on your bench. You might need shelves or hooks for tools and a space to keep soil and pots.
Some benches come with built-in sinks or bins for soil. Decide what is important for you and make sure your plan includes these features. Storage and accessories help keep everything organized and within reach when you are working on your bench.
By taking the time to assess these factors, you’ll be well on your way to creating a potting bench that is not only functional but also a perfect fit for your gardening lifestyle.
Basic Tools and Materials Needed
Before starting your potting bench project, gathering all the necessary tools and materials is essential to ensure a smooth building process. Safety is also a key consideration, so don’t forget to equip yourself with the appropriate safety gear.
List of Tools Required for the Project
To construct your potting bench, you’ll need a set of basic tools. Here’s a list to get you started:
- Measuring tape: For precise measurements of wood and other materials.
- Saw: A handsaw or power saw to cut wood to the correct sizes.
- Screwdriver: For driving screws; a power drill with a screwdriver bit can speed up the process.
- Hammer: For nailing parts together if needed.
- Square: To ensure angles are right and everything is properly aligned.
- Sandpaper or a sander: To smooth out rough edges of the wood.
- Drill with bits: For making pilot holes for screws, which helps prevent wood from splitting.
- Wrench: For tightening any bolts or nuts used in the construction.
Materials List with Quantities and Measurements
The materials you’ll need will depend on the specific design and size of your potting bench. Here’s a general list that can be adjusted based on your plan:
| Material | Quantity | Measurements |
|---|---|---|
| Wood planks | Varies | According to plan |
| Screws | Varies | Appropriate for wood |
| Nails | Varies | If preferred over screws |
| Wood glue | 1 bottle | Optional for extra hold |
| Finish or sealant | 1 can | To protect the wood |
Make sure to refer to your chosen potting bench plans for exact quantities and measurements.
Safety Equipment and Precautions
Safety should never be overlooked when working on any DIY project. Here’s the safety gear you should have:
- Safety goggles: To protect your eyes from dust and debris.
- Work gloves: To protect your hands from splinters and cuts.
- Ear protection: If you’re using loud power tools.
- Dust mask: To avoid inhaling sawdust, especially when sanding.
- Sturdy footwear: To protect your feet from any falling objects.
Always ensure your work area is well-lit and free from clutter to minimize the risk of accidents. Keep tools unplugged when not in use, and never leave sharp tools within reach of children. By being prepared with the right tools, materials, and safety precautions, you’re ready to start building your potting bench with confidence.
Potting Bench Design Plans
Creating a potting bench that suits your gardening needs can be a rewarding DIY project. Below is a guide to constructing a Classic Potting Bench Design, complete with dimensions and a step-by-step process.

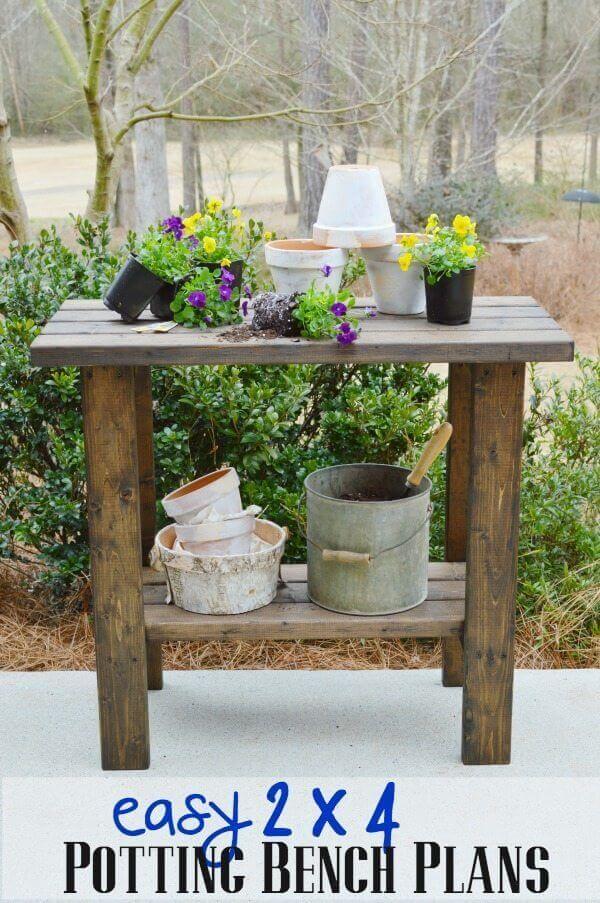
1. Classic Potting Bench Design
Detailed Plan with Dimensions
| Component | Quantity | Dimensions (L x W x H) |
|---|---|---|
| Legs | 4 | 2×4 in. x 34 in. |
| Top Frame Long Sides | 2 | 2×4 in. x 48 in. |
| Top Frame Short Sides | 2 | 2×4 in. x 22 in. |
| Top Boards | 5 | 1×6 in. x 48 in. |
| Bottom Shelf Frame Long Sides | 2 | 2×4 in. x 44 in. |
| Bottom Shelf Frame Short Sides | 2 | 2×4 in. x 22 in. |
| Bottom Shelf Boards | 5 | 1×6 in. x 44 in. |
| Backsplash Boards | 3 | 1×4 in. x 48 in. |
Note: Dimensions can be adjusted to fit personal preferences or space requirements.
Step-by-Step Construction Process
- Prepare the Legs:
- Cut four legs from 2×4 lumber at 34 inches in length.
- Assemble the Top Frame:
- Cut two long sides and two short sides for the top frame.
- Lay out the 2x4s to form a rectangle, with the short sides inside the long sides.
- Secure the corners with screws to create the frame.
- Attach the Top Boards:
- Cut the top boards to length.
- Place the top boards on the frame, ensuring they are flush with the edges.
- Screw the boards to the frame from above, spacing them evenly.
- Construct the Bottom Shelf Frame:
- Cut two long sides and two short sides for the bottom shelf frame, similar to the top frame.
- Assemble the frame with screws.
- Add the Bottom Shelf Boards:
- Cut the bottom shelf boards to length.
- Secure them to the bottom shelf frame with screws, spaced evenly.
- Attach the Legs:
- Stand the legs upright and screw the top frame to the top of the legs.
- Ensure the top is level and the legs are square to the frame.
- Attach the bottom shelf frame between the legs at the desired height.
- Install the Backsplash:
- Cut the backsplash boards to length.
- Attach them vertically to the back edge of the top frame for keeping soil and debris from falling off the back.
- Finishing Touches:
- Sand all surfaces to remove splinters and rough edges.
- Apply a finish or sealant to protect the wood from the elements.
Once you have completed these steps, your classic potting bench is ready for use. It provides a sturdy, functional surface for all your gardening tasks, and with proper care, it will serve you for many seasons to come.
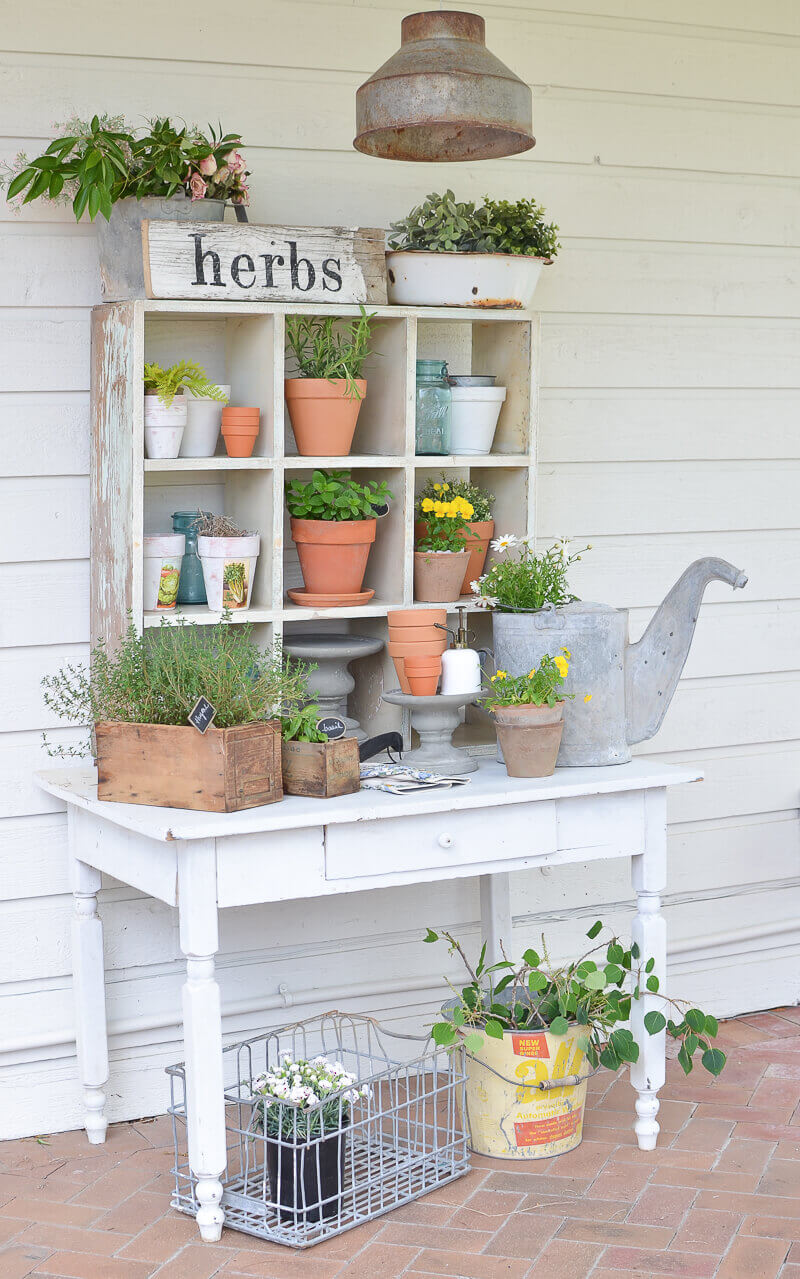
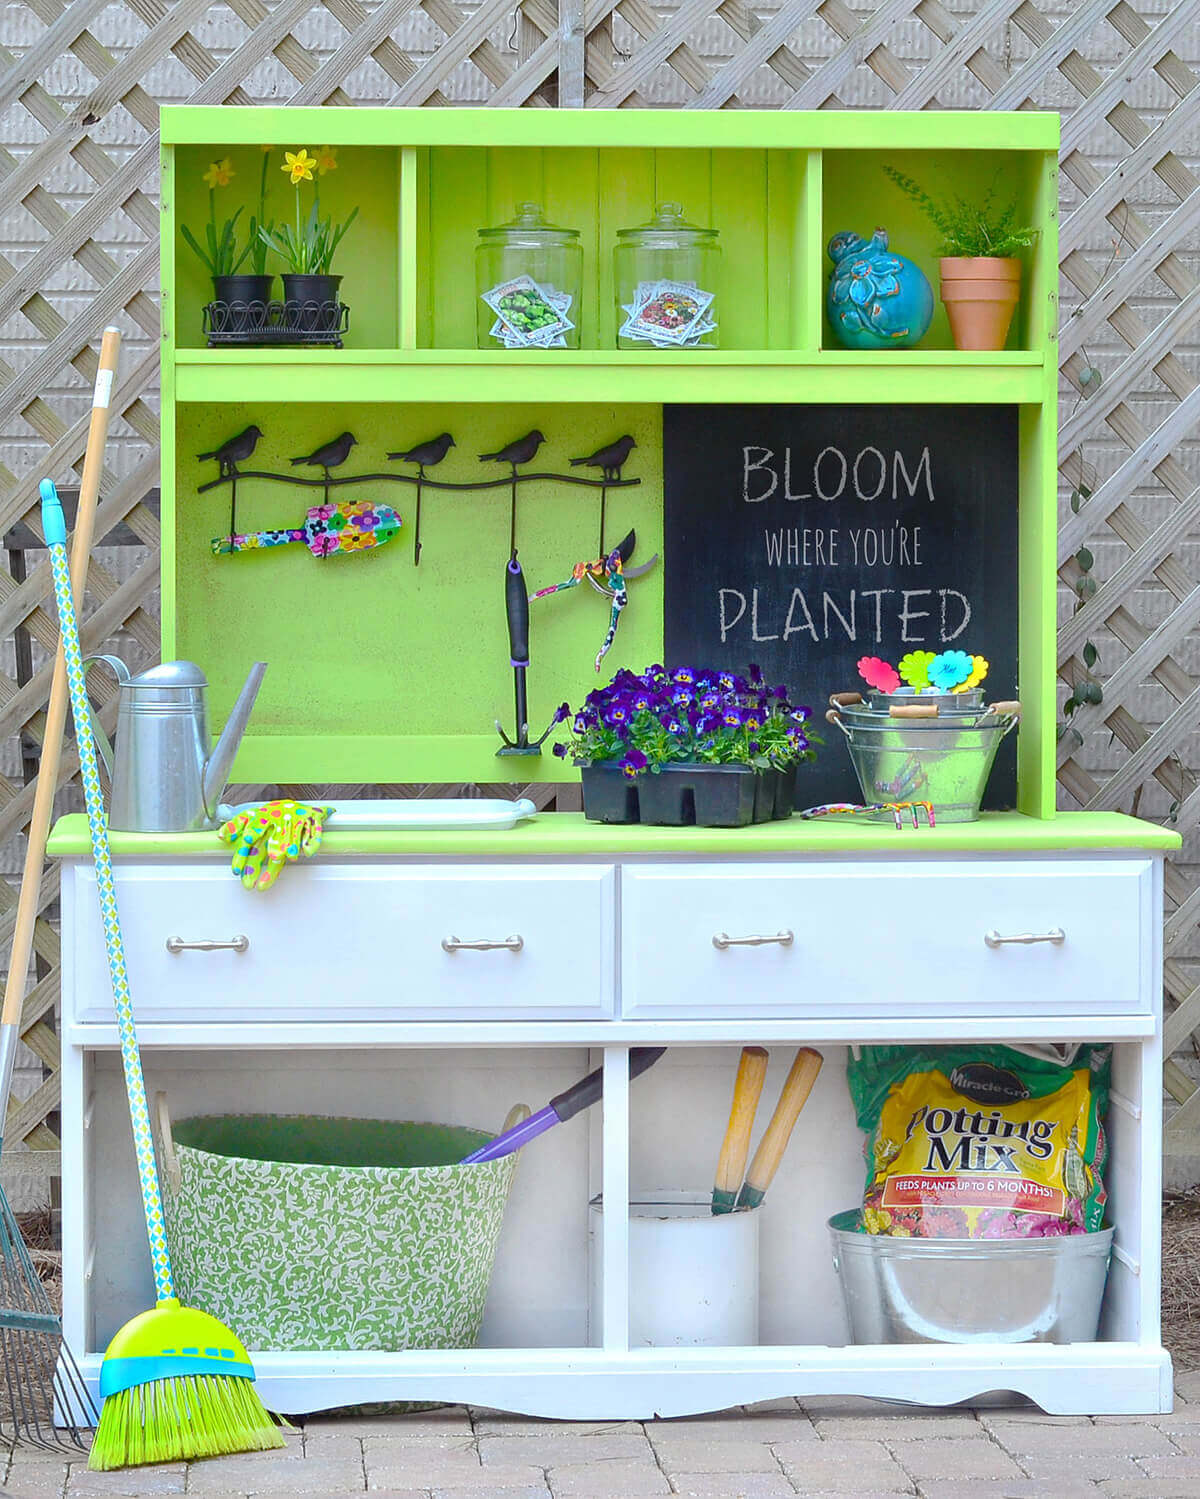
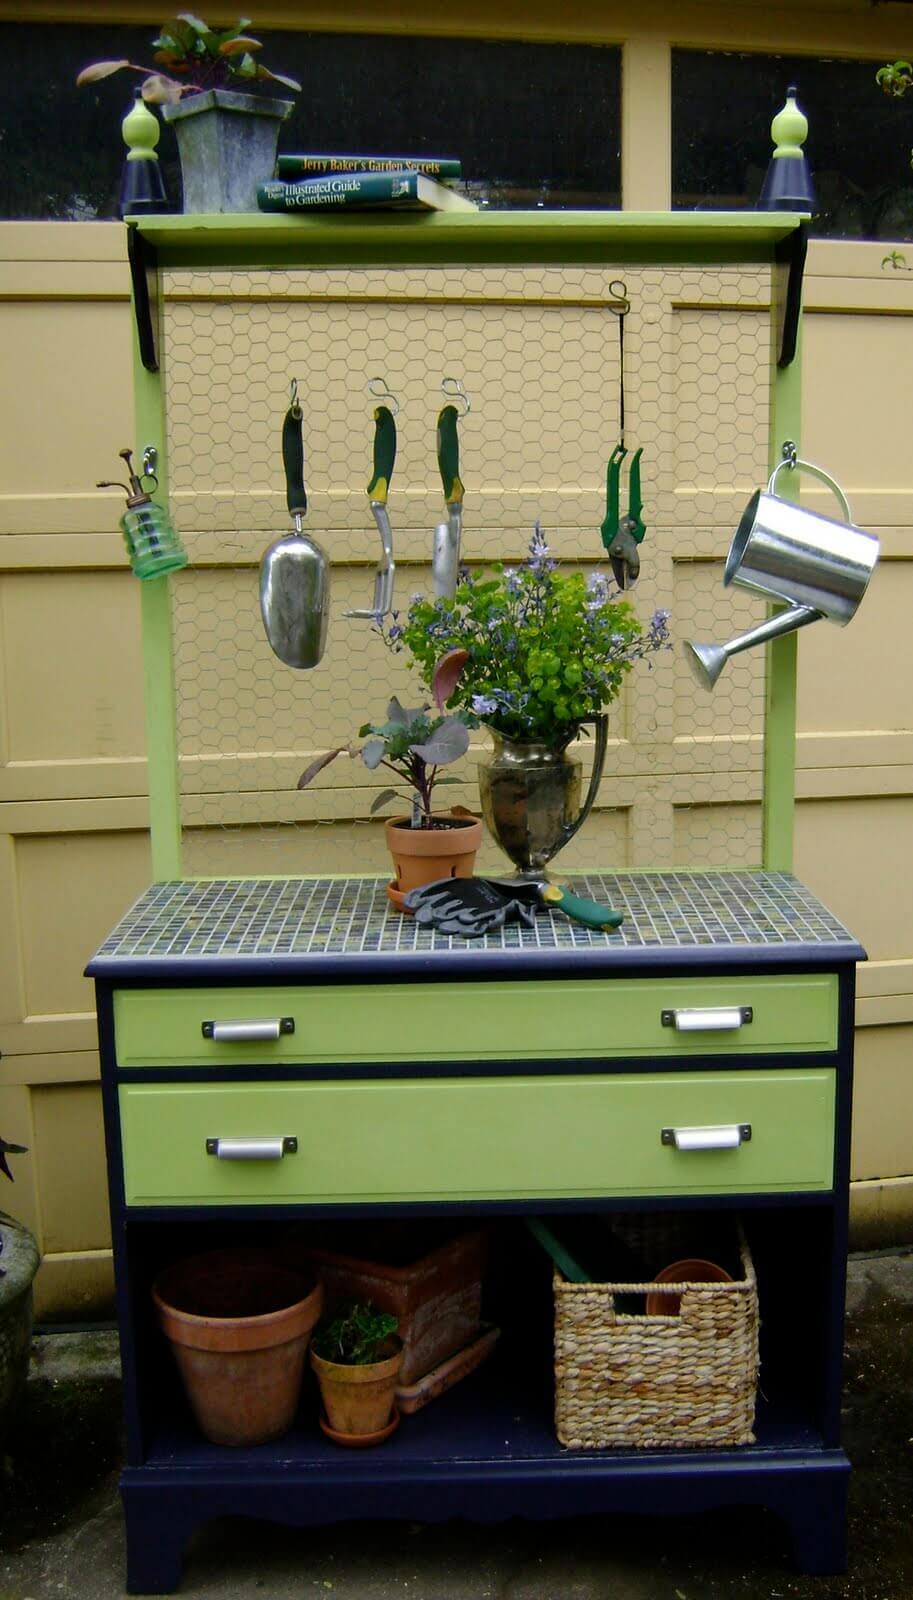
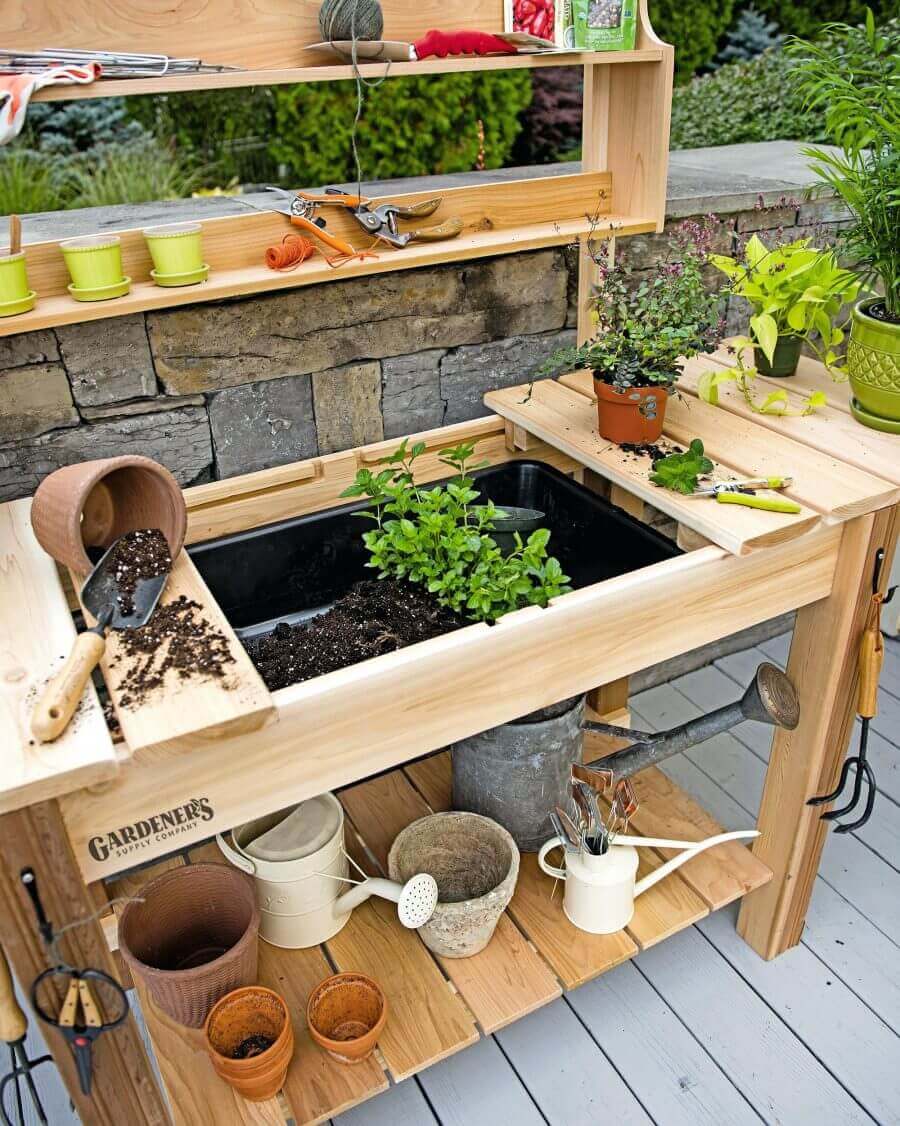
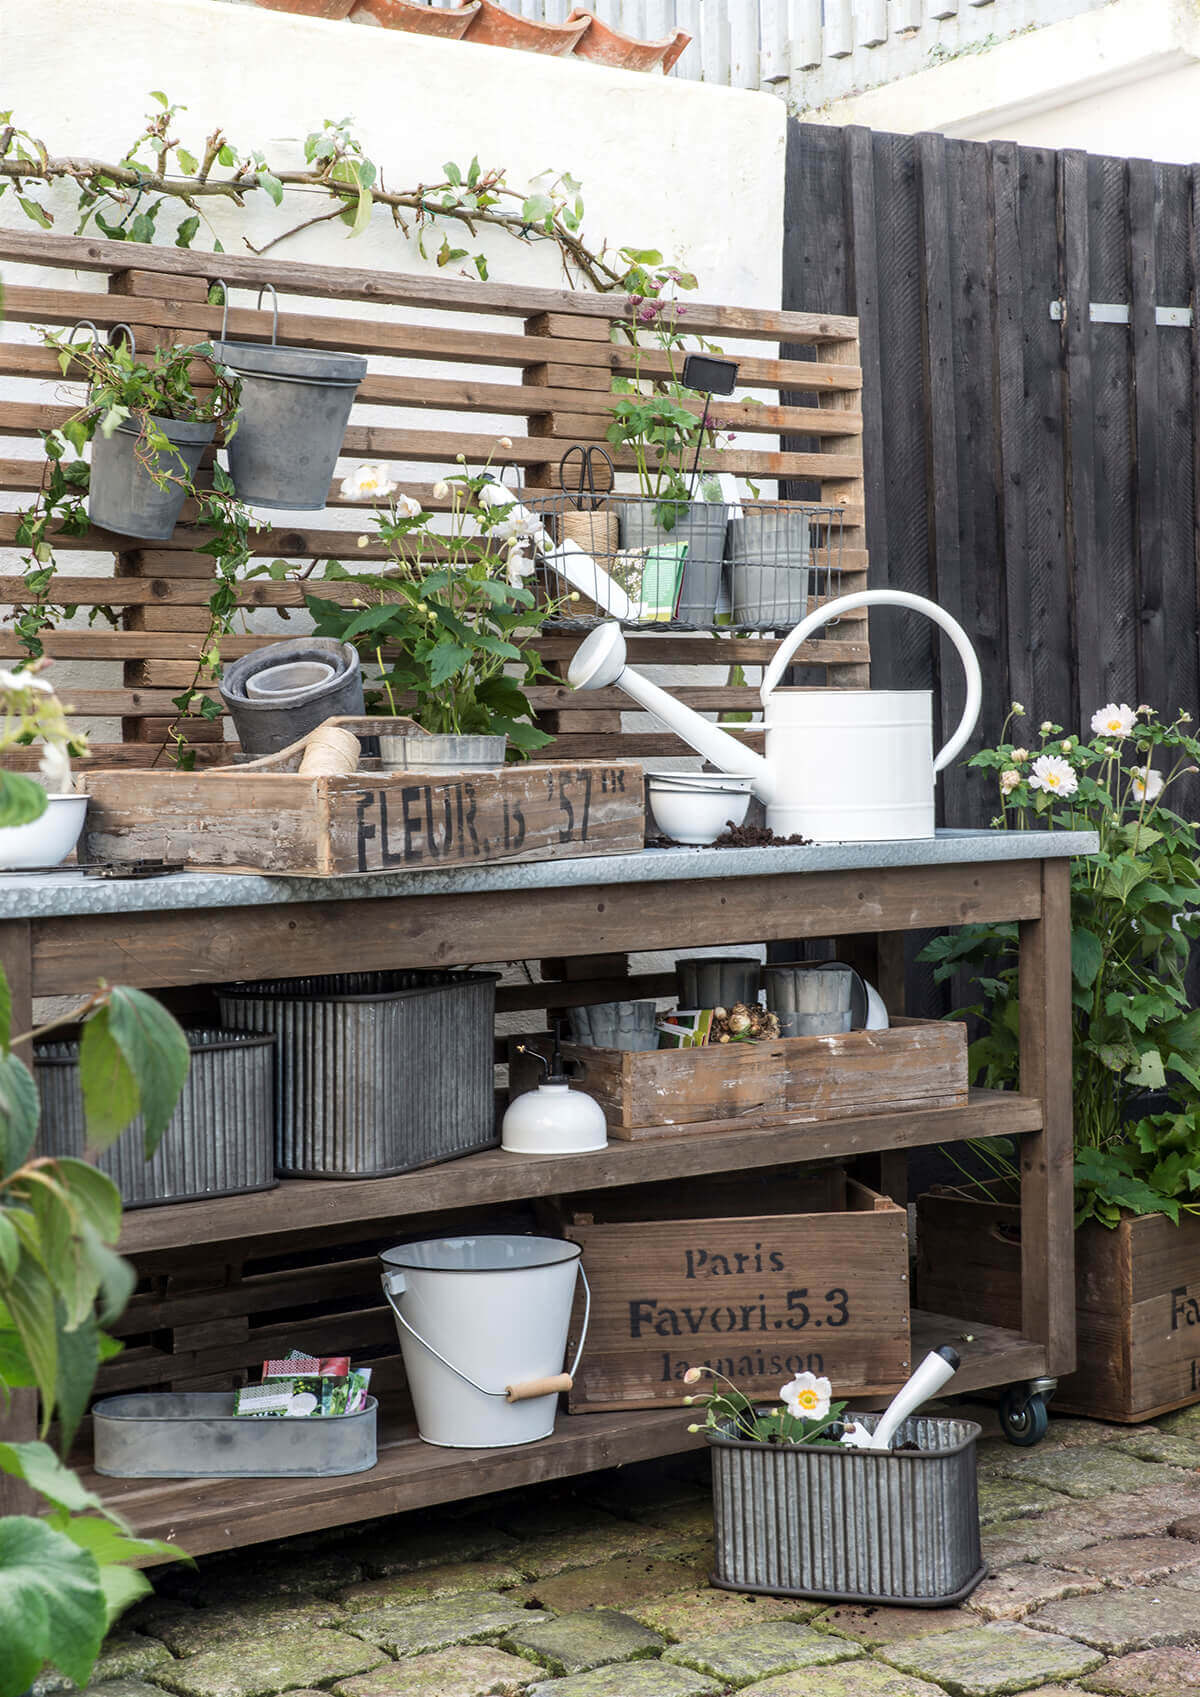
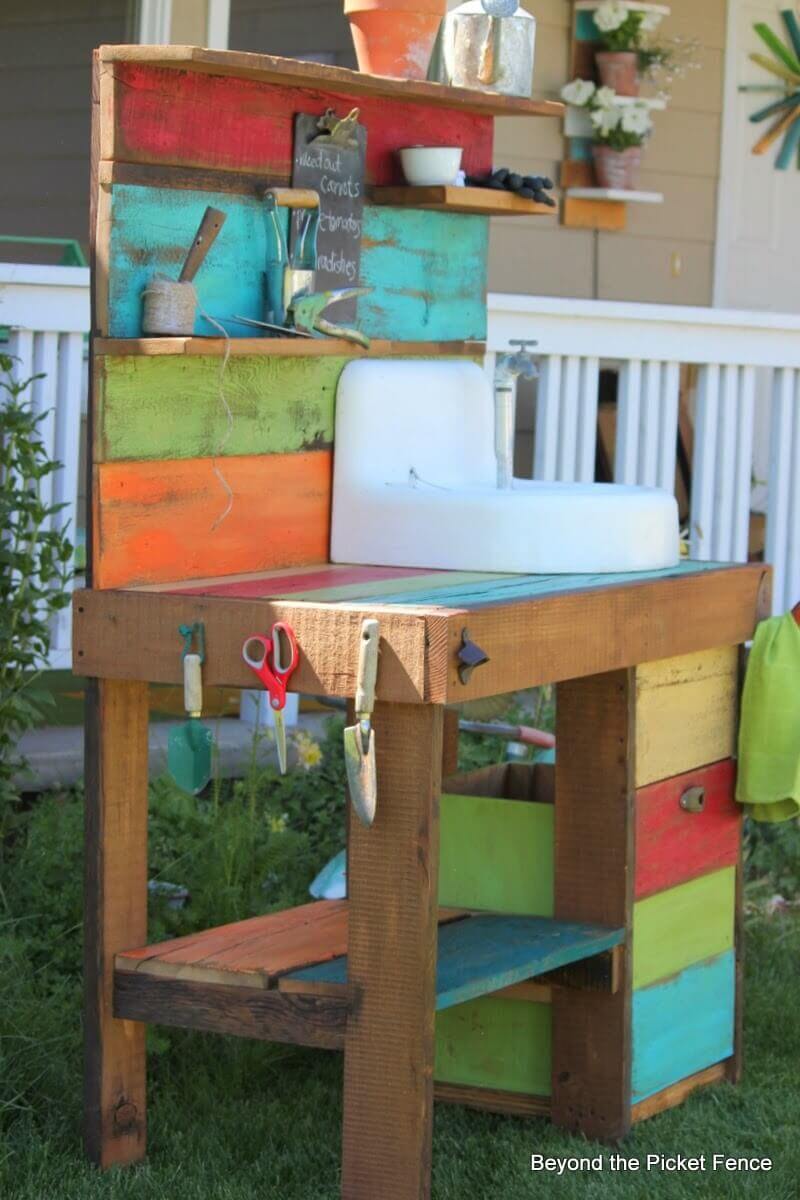
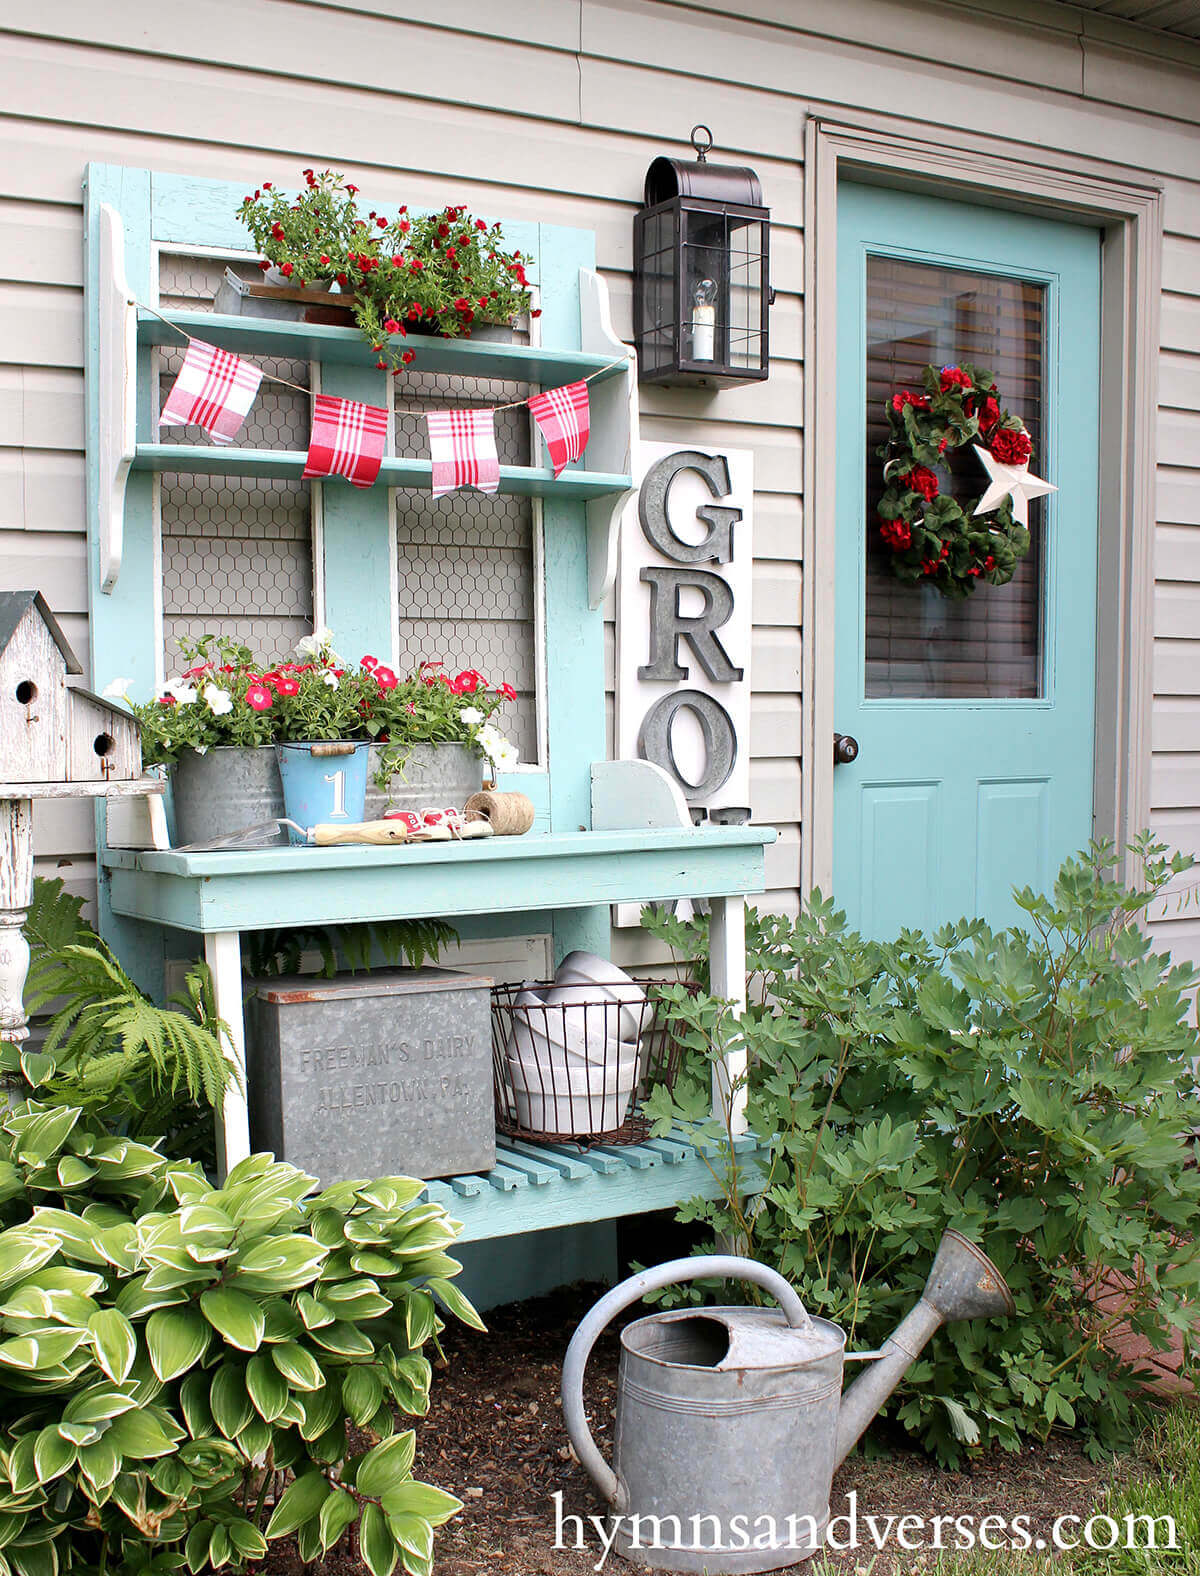
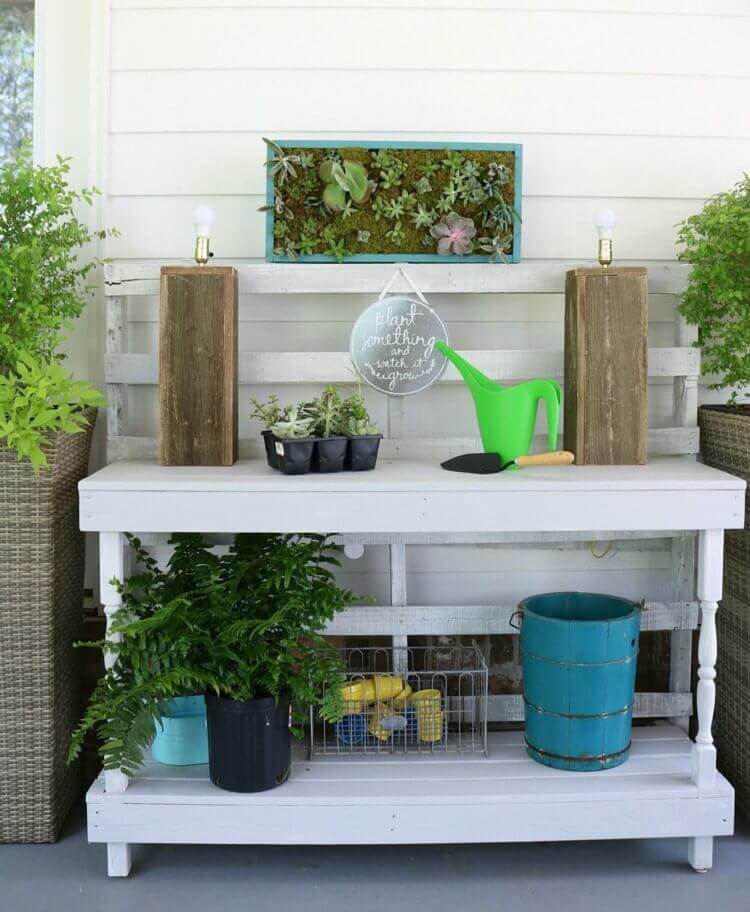
2. Potting Bench with Built-in Storage
A potting bench with built-in storage offers additional benefits and features that can enhance your gardening efficiency.
Not only does it provide a work surface for potting and planting, but it also includes compartments and spaces to keep your tools, pots, soil, and fertilizers organized and accessible.
Design Features and Benefits
- Integrated Shelving: Multiple shelves allow for the organization of small pots, gardening tools, and other essentials.
- Enclosed Cabinets or Drawers: Protect your valuable gardening supplies from the elements and keep them neatly tucked away.
- Hooks and Side Bars: Offer easy access to frequently used tools like trowels, pruners, and gloves.
- Spacious Worktop: Ample surface area for potting plants, with a durable and easy-to-clean finish.
- Optional Sink or Soil Bin: An inset basin can be used for washing tools or hands, while a soil bin can keep potting mix within reach.
These features provide a multifunctional space that saves time and effort by keeping everything you need close at hand.
Construction Guide with Illustrations
- Frame Assembly:
- Construct the frame using 2×4 lumber to create the legs and supports for the worktop and shelves.
- Ensure the frame is square and securely fastened with screws.
- Worktop Installation:
- Attach a plywood board cut to size on top of the frame, followed by a layer of slats or a solid piece of lumber for the worktop.
- If incorporating a sink or soil bin, cut the appropriate size hole in the worktop before attaching it to the frame.
- Building Shelves and Storage:
- Add horizontal supports within the frame where shelves or drawers will be located.
- Construct drawers or cabinet doors as needed and install them with the appropriate hardware.
- Adding Hooks and Side Bars:
- Screw in hooks directly onto the frame or onto a piece of wood that is then attached to the frame.
- Install side bars by attaching vertical pieces of wood to the outside of the legs and adding dowels or metal bars across them.
- Finishing Touches:
- Sand all wooden surfaces to prevent splinters and apply a protective finish to withstand weather conditions.
- Add any additional features like wheels for mobility or a towel rack for convenience.
Please note, illustrations are not provided in this text-based format, but you can find many detailed potting bench plans with illustrations online or in woodworking books that will guide you through the construction process with visual aids.
3. Mobile Potting Bench Design
A mobile potting bench brings the convenience of portability to your gardening endeavors. With the ability to move your work surface to various locations, you can take advantage of changing sunlight patterns, work closer to your garden beds, or simply rearrange your outdoor space with ease.
Advantages of Mobility
- Versatility: Move the bench to where you need it, whether it’s in the shade on hot days or nearer the garden during planting season.
- Convenience: Easily relocate your potting bench for cleaning, reorganizing, or during off-season storage.
- Adaptability: Adjust to changing light conditions, weather, or garden layouts without the hassle of heavy lifting or disassembly.
- Space Efficiency: Roll the bench out of the way when not in use, maximizing your outdoor living space.
The mobility of a potting bench adds a layer of functionality that stationary benches can’t match, making it a popular choice for gardeners who value flexibility and convenience.
Blueprint and Assembly Instructions
- Frame Construction:
- Build a sturdy frame using 2×4 lumber to support the work surface and lower shelf. Ensure the frame is square and solid.
- Install horizontal braces at the bottom of the frame for additional stability.
- Work Surface and Shelf:
- Cut a piece of plywood or thick lumber to size for the worktop and secure it to the top of the frame.
- Attach a lower shelf made from slats or plywood for storing heavy bags of soil or pots.
- Adding Wheels:
- Select heavy-duty, outdoor-rated caster wheels, two of which should have locking mechanisms to keep the bench in place when in use.
- Attach the wheels at each corner of the bottom frame, ensuring they are tightly fastened and the bench remains level.
- Storage Features:
- Incorporate hooks on the side of the frame for hanging tools.
- Build in a small drawer or toolbox that can be slotted under the work surface or hang a fabric storage pouch on the side.
- Assembly and Finishing:
- Assemble all parts securely, using screws and wood glue where appropriate.
- Sand down any rough edges to prevent splinters and apply a weather-resistant finish to protect the wood.
- Test the mobility of the bench, ensuring it rolls smoothly and locks in place.
By following these steps, you’ll create a functional mobile potting bench that can be easily moved around your garden or patio, enhancing your gardening experience with its practical design. Remember that while the blueprint provides a basic structure, you can always customize the dimensions and features to suit your specific needs and preferences.
4. Foldable Potting Bench for Small Spaces
For gardeners with limited space, a foldable potting bench is an ideal solution. It combines the functionality of a full-sized potting bench with the convenience of a space-saving design that can be tucked away when not in use.
Space-Saving Features
- Compact Design: Occupies minimal space when folded, perfect for small patios, balconies, or storage sheds.
- Fold-Down Work Surface: Provides a sturdy area for potting when in use and folds away to free up space.
- Hanging Wall Mount: Can be mounted on a wall, doubling as a shelf or storage unit when the work surface is folded up.
- Lightweight Construction: Easy to maneuver and store without the need for heavy lifting.
These features make the foldable potting bench a smart choice for those who need to maximize their outdoor living area while still enjoying the benefits of a dedicated space for gardening tasks.
Detailed Folding Mechanism and Build Steps
- Frame and Legs:
- Construct a simple rectangular frame for the work surface using 2×4 lumber.
- Attach two legs to one side of the frame using hinges. These legs will fold under the work surface.
- Work Surface:
- Cut a piece of plywood or lumber to fit the frame and secure it to the top, creating the potting surface.
- Ensure the surface is smooth and properly attached to the frame with hinges.
- Mounting System:
- Install a sturdy French cleat or a similar mounting system on the wall where the bench will be located.
- Attach the corresponding piece to the back of the potting bench frame.
- Folding Support:
- Attach a wooden brace to the underside of the work surface with a hinge. This brace will swing out to support the work surface when in use and fold flat against the underside when not in use.
- Alternatively, use metal brackets that can lock in place when extended and fold down when not needed.
- Assembly:
- Ensure all hinges and supports are securely attached and operate smoothly.
- Sand all edges and apply a protective finish to the wood.
- Installation:
- Mount the bench on the wall using the French cleat or mounting system, making sure it is level and secure.
- Test the folding mechanism to ensure the work surface and legs extend and retract easily.
By following these instructions, you’ll have a foldable potting bench that not only saves space but is also functional and convenient for gardening in smaller areas. The foldable design allows you to enjoy the full benefits of a potting bench without sacrificing valuable outdoor space.
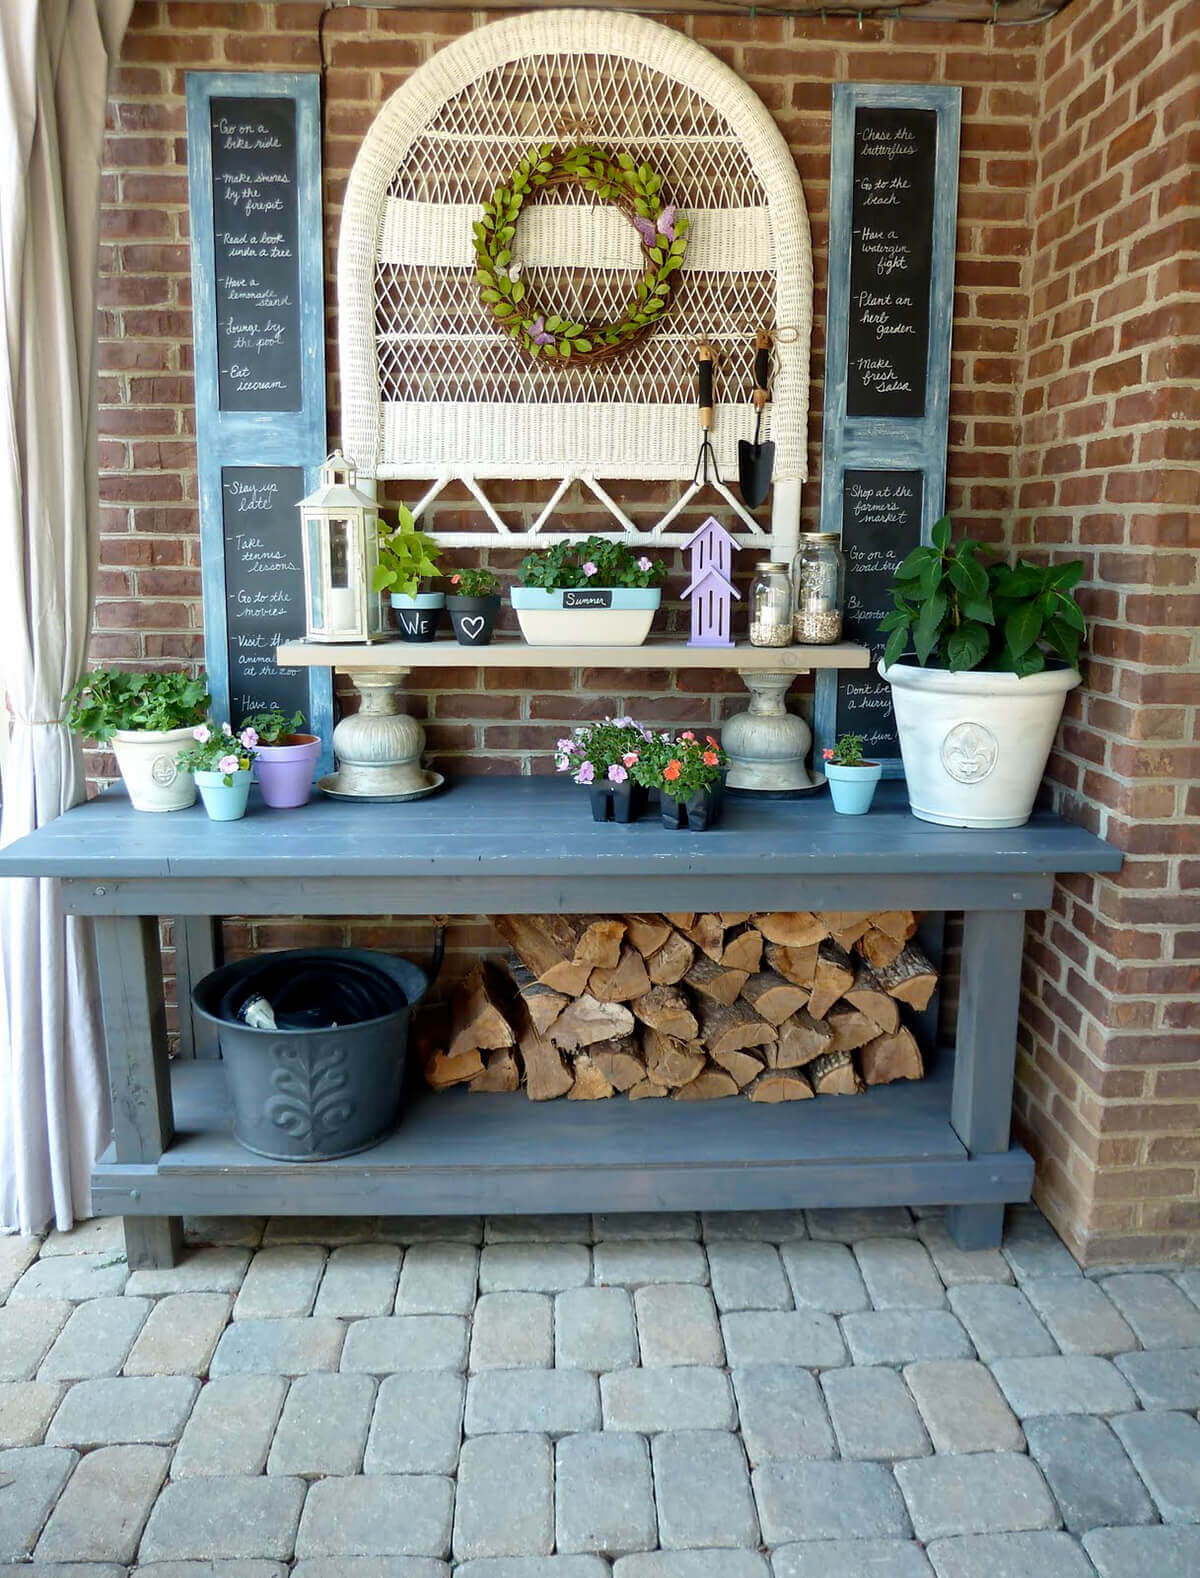
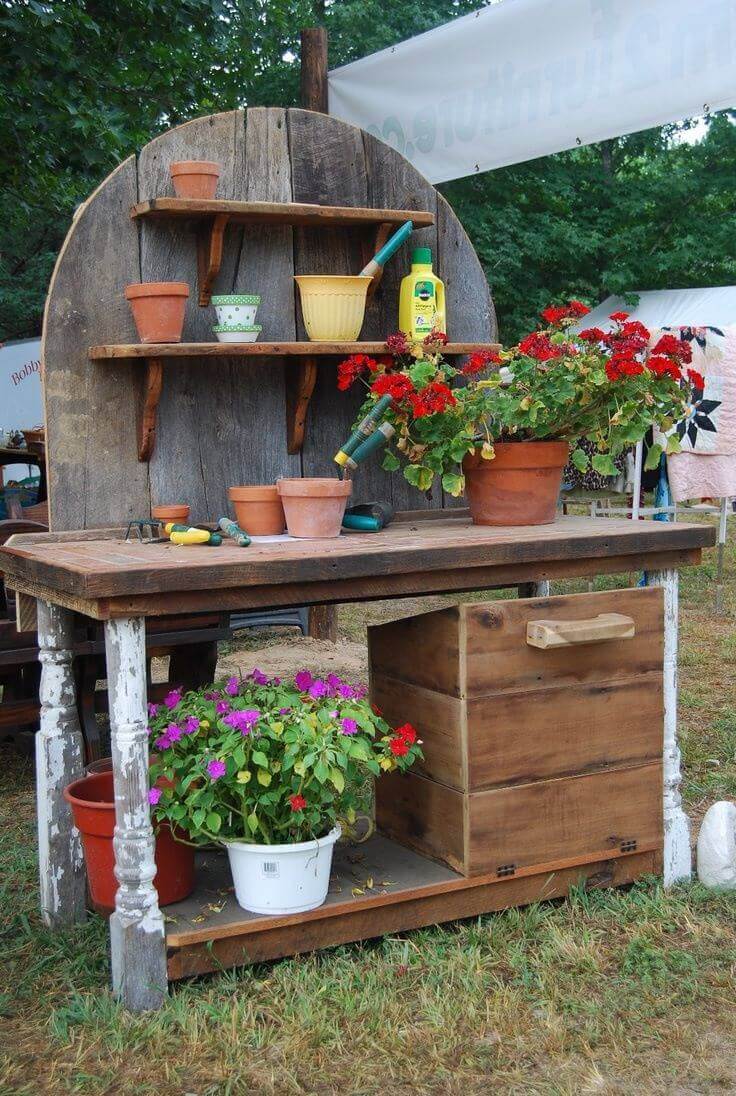
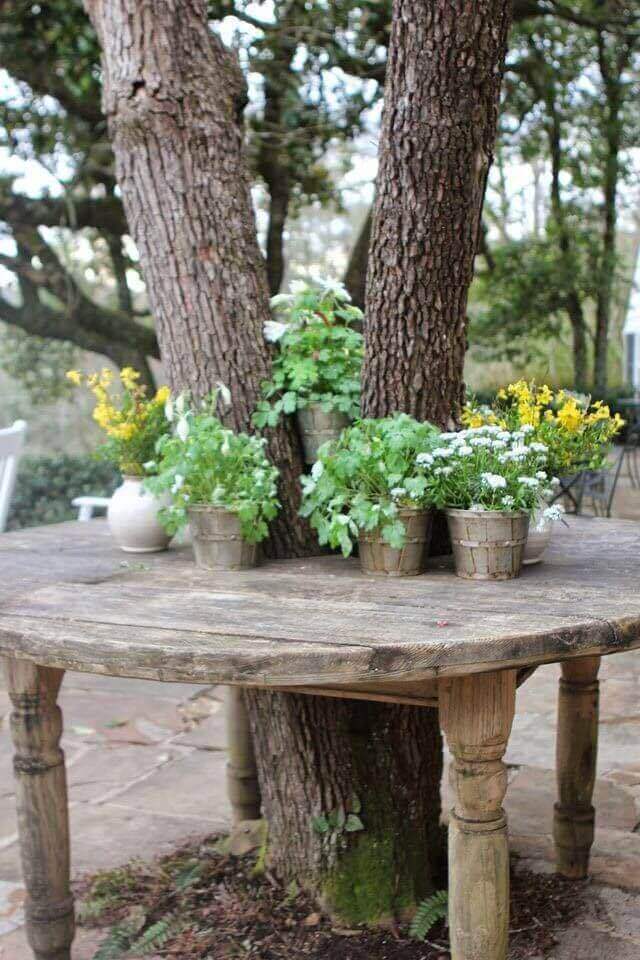
Customization and Personalization
Creating a potting bench that reflects your personal style and meets your specific gardening needs can make the time you spend in your garden even more enjoyable. Here are some ideas for customizing and personalizing your potting bench.
Ideas for Personalizing Your Potting Bench
- Engraved Nameplate or Sign: Add a wooden nameplate or a decorative sign with your name or a favorite gardening quote.
- Themed Decorations: Choose a theme for your garden and decorate your bench accordingly, with motifs such as butterflies, flowers, or herbs.
- Tool Organizers: Personalize the arrangement of your tools with custom holders or outlines painted onto the bench to designate a spot for each tool.
- Custom Handles and Knobs: Replace standard hardware with unique handles and knobs that match your personal style.
Adding Hooks, Shelves, and Drawers
- Hooks: Screw in a variety of hooks on the side or back of the bench to hang gardening gloves, aprons, or tools.
- Shelves: Add additional shelving above or below the main work surface for storing pots, soil, and other supplies.
- Drawers: If you’re handy with woodworking, build in drawers for hidden storage, or attach pre-made drawers under the work surface.
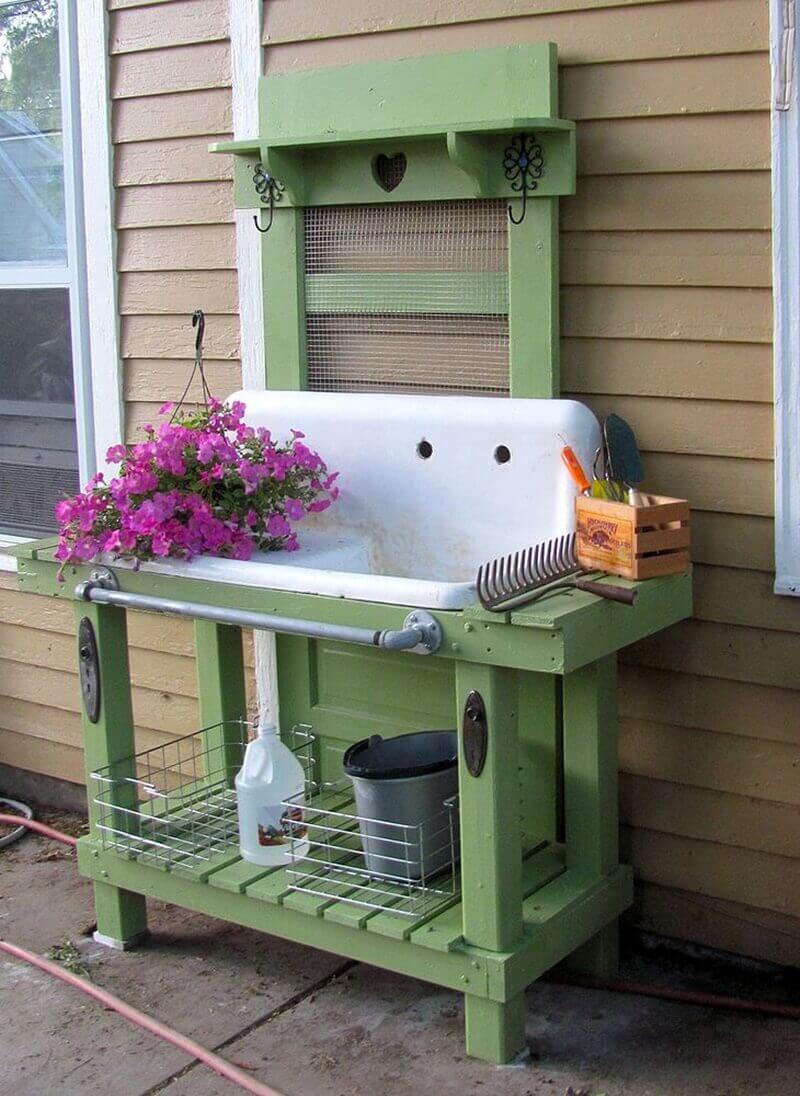
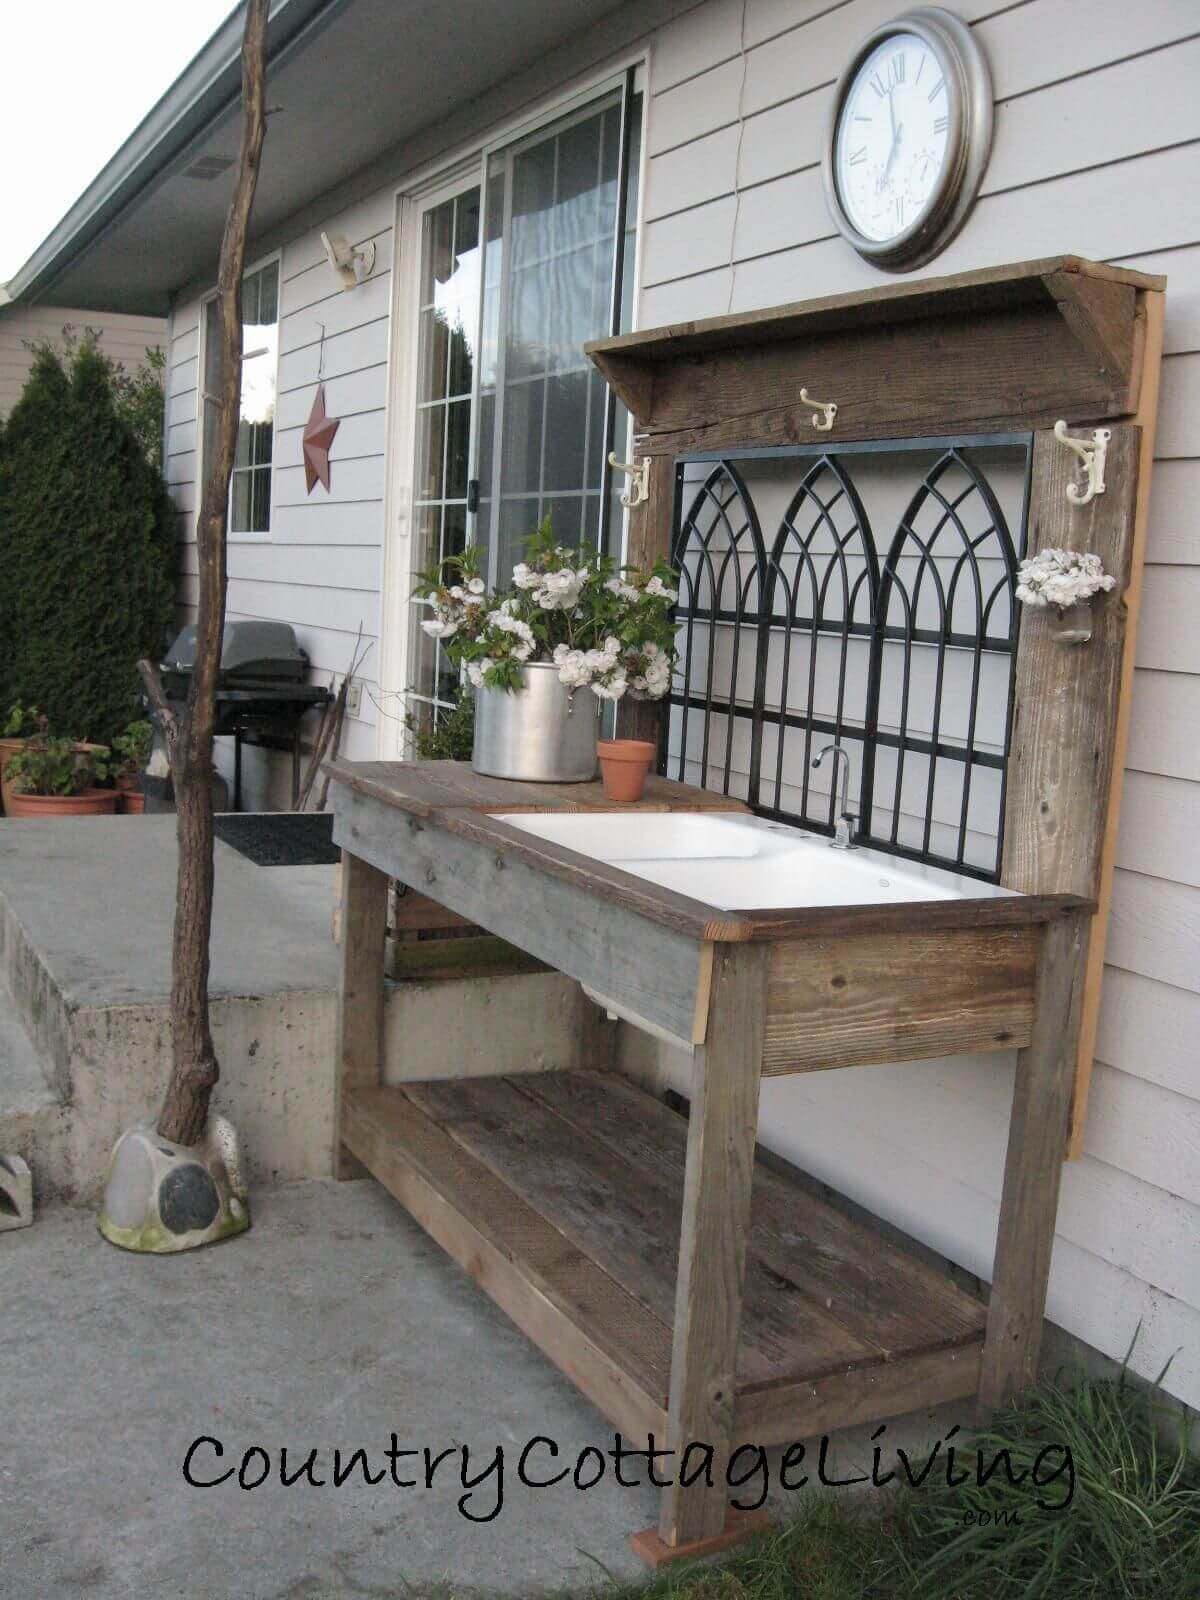
Incorporating a Sink or Water Reservoir
- Sink: Install a simple basin with a drain into the work surface for washing tools or hands. You can use a repurposed kitchen sink or a plastic tub.
- Water Reservoir: Attach a rain barrel or a water container with a spigot under or beside the bench for easy watering.
Selecting Finishes and Paint Colors
- Finishes: Choose a wood stain that complements your outdoor space, or apply a clear sealant to preserve the natural look of the wood.
- Paint Colors: Select paint colors that blend with your garden or go bold with bright, cheerful colors. Consider using outdoor paint for durability.
By incorporating these customization options, your potting bench will not only be a functional piece of your gardening routine but also a reflection of your personality and style. Whether it’s through artistic touches, practical additions, or both, your potting bench can become a centerpiece of your garden that is uniquely yours.
Source: littlevintagenest.com
Source: hgtv.com
Source: diyprojects.ideas2live4.com
Source: karenz.nl
Never Enough Thyme

Source: onmyporch.blogspot.com

Source: refreshliving.us
Source: nyubadminton.info
Source: funkyjunkinteriors.net
Source: ourfifthhouse.com
Source: pinterest.com.au


Source: marybethstimeforpaper.blogspot.com
Source: realitydaydream.com
Source: hometalk.com
Source: dishfunctionaldesigns.blogspot.com


Source: itsfashion.club

Source: Etsy
Maintenance and Care for Your Potting Bench
To ensure your potting bench remains a durable and attractive workspace for years to come, it’s important to perform regular maintenance and care. Here are some tips for preserving the wood and materials, establishing seasonal maintenance routines, and protecting your bench from the elements.
Tips for Preserving Wood and Materials
- Regular Cleaning: Keep the bench clean by regularly sweeping off soil and plant debris. Wipe down surfaces with a mild soap and water solution as needed.
- Wood Treatment: Apply a wood preservative or sealant annually to protect against rot, insects, and weather damage. Choose a product suitable for the type of wood and the environmental conditions of your area.
- Rust Prevention: If your bench has metal parts, check them periodically for rust. Treat any rusty spots with a rust inhibitor and touch up paint if necessary.
Seasonal Maintenance Routines
- Spring Preparation: At the start of the gardening season, inspect your bench for any winter damage. Tighten any loose screws or bolts, and sand down rough spots before sealing or painting.
- Summer Care: During the growing season, keep the bench clean and dry. If your bench is mobile, move it to shaded areas during extreme heat to prevent wood warping.
- Fall Cleanup: As the season winds down, clean the bench thoroughly and store any removable accessories indoors. Cover the bench with a waterproof cover or move it to a sheltered location if possible.
- Winterizing: If the bench will be exposed to snow and ice, apply an additional coat of sealant before the cold weather sets in. Make sure the bench is covered or stored in a dry place to prevent moisture damage.
Protecting Your Bench from the Elements
- Location: Place your bench in a location where it is protected from harsh weather, such as under a canopy or inside a shed when not in use.
- Covers: Use a waterproof and UV-resistant cover to shield your bench from rain, snow, and sun. Make sure the cover fits snugly and is secured to prevent it from blowing away.
- Elevation: Keep the legs of the bench off the ground by placing it on pavers or concrete blocks. This prevents the legs from sitting in moisture, which can lead to rot.
By following these maintenance tips and routines, you can protect your potting bench from wear and tear, extending its life and keeping it as a functional and beautiful part of your garden. Regular care will preserve the bench’s structure and appearance, ensuring that it remains a central part of your gardening activities for many seasons.
Conclusion
Building and maintaining a potting bench can significantly enhance your gardening experience by providing a dedicated space for all your planting, potting, and gardening tasks. Whether you choose a classic design, a bench with built-in storage, a mobile version, or a foldable model for small spaces, the key to a successful project lies in careful planning, customization to fit your needs, and regular maintenance.
Remember to select materials that will withstand the elements, design your bench with functionality in mind, and don’t shy away from adding personal touches that reflect your style. By incorporating features like hooks, shelves, drawers, or even a sink, you can create a potting bench that is not only practical but also a joy to use.
Maintenance is just as important as construction when it comes to ensuring the longevity of your potting bench. By keeping it clean, treating the wood, and protecting it from harsh weather, your bench will remain sturdy and inviting year after year.
With the information and tips provided in this article, you’re now equipped to build a potting bench that will make your gardening more organized, efficient, and enjoyable. So roll up your sleeves, gather your tools and materials, and get ready to create a gardening centerpiece that will serve as a testament to your love for nurturing growth.
Appendix
Troubleshooting Common Issues During Construction
Problem: Wood Splitting
- Solution: Pre-drill holes before inserting screws, especially near the ends of boards. Choose the correct screw length and ensure it’s not too long for the thickness of the wood.
Problem: Bench Wobbling
- Solution: Check that all legs are cut to the same length and the ground where the bench stands is level. Add diagonal braces between the legs for extra stability.
Problem: Difficulty Attaching Hardware
- Solution: Ensure you have the correct size and type of screws, bolts, and nuts for your materials. Use a wrench or ratchet set for tight and secure fittings.
Problem: Paint or Stain Not Adhering
- Solution: Sand the wood thoroughly before applying any finish, and make sure the wood is dry and clean. Apply a primer if necessary before painting.
Problem: Wood Rot or Insect Damage
- Solution: Use naturally rot-resistant wood like cedar or redwood, or treat the wood with a preservative. Keep the bench dry and off the ground when possible.
Resources for Materials and Tools
Local Hardware Stores:
- A convenient source for tools, hardware, and sometimes lumber. Staff can often provide advice and may offer cutting services.
Lumber Yards:
- Offer a wide variety of wood types and sizes. Staff can help you select the best wood for outdoor use and may offer custom cutting services.
Online Retailers:
- Great for finding specialty hardware, tools, and sometimes bulk materials. Often provide customer reviews which can help in selecting high-quality products.
Home Improvement Centers:
- One-stop-shops for tools, materials, paint, and hardware. They also often provide guides and DIY workshops.
Reclaimed Materials Suppliers:
- An eco-friendly option for sourcing wood and other materials. Reclaimed wood can add character and history to your potting bench.
Gardening Centers:
- They may carry a selection of pre-made potting benches, which can provide design inspiration or even parts like sinks and soil bins.
When sourcing materials and tools, it’s important to consider the quality, durability, and suitability for outdoor use. Investing in good materials and proper tools can make the construction process smoother and ensure that your potting bench stands the test of time.