30 Creative Outdoor Christmas Decoration Ideas for Your Yard and Porch
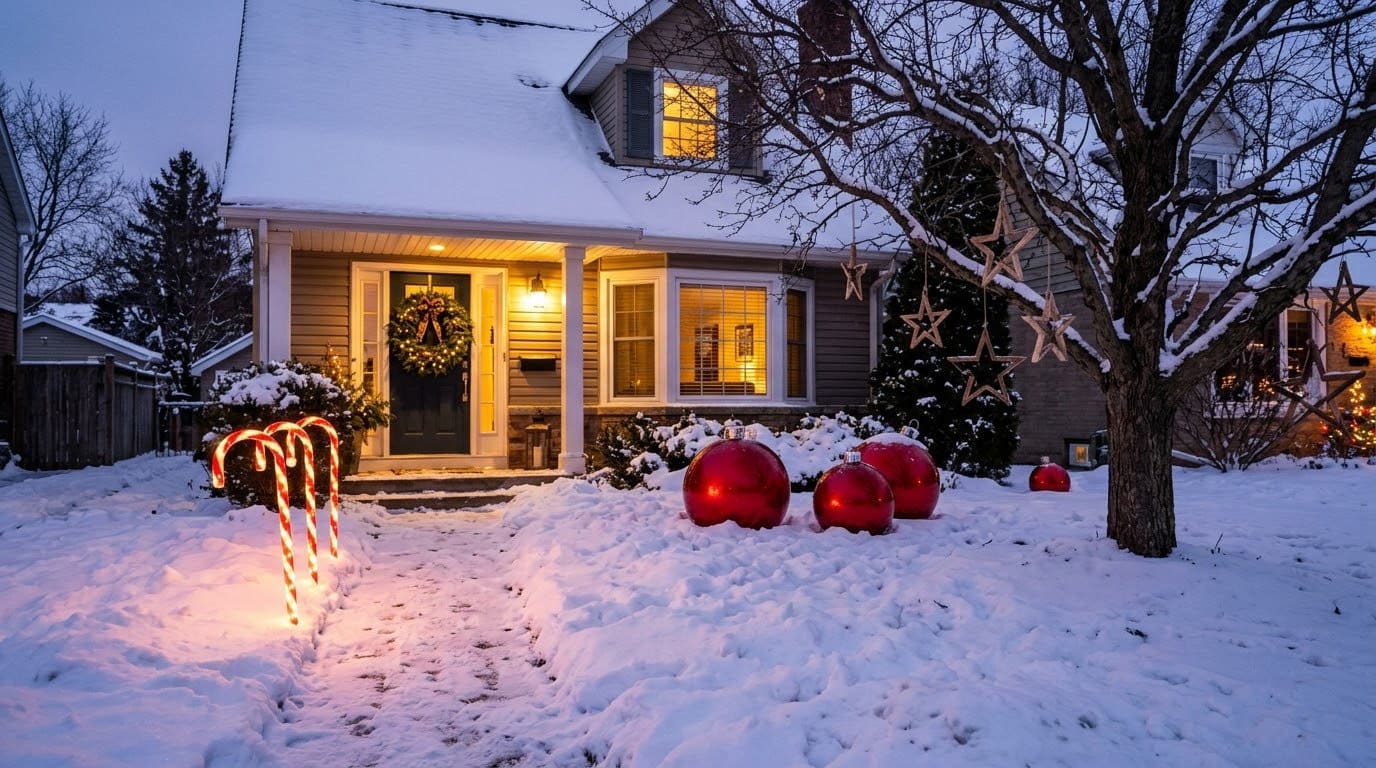
The best outdoor Christmas decor mixes a few big focal pieces with small touches, and every piece needs to handle wind, rain, and snow.

Never miss an update — choose FarmFoodFamily as your preferred source on Google.
How it works: Tap the button below to open Google's settings page, then check the box next to FarmFoodFamily.
Tap the checkbox to turn it blue — that's how you know it's set.
The best outdoor Christmas decor mixes a few big focal pieces with small touches, and every piece needs to handle wind, rain, and snow.
Products We Recommend
This post contains affiliate links. We may earn a commission on qualifying purchases at no extra cost to you.

Rebar Stakes Ground Anchors, 12 Inch, 16-Pack
Steel stakes to anchor lawn figures, signs and cutouts against wind.
Shop Now
Heavy Duty UV Resistant Zip Ties, 14 Inch, 100 Pack
UV-resistant ties to fasten decor to stakes, frames and fences.
Shop Now
Outdoor Flameless Waterproof Candles with Remote and Timer, 4 Pack
Battery candles for lanterns and log holders, with no open flame.
Shop NowYour yard is a big canvas. It is also an open stage for weather. Wind tips figures over, rain peels paint, and snow weighs down anything flimsy.
The good news is that many of the best outdoor pieces cost very little. A few boards, some PVC pipe, or a pile of old crates can fill a lawn.
Below you’ll find 30 ideas, from a crate gift train to hanging snowflakes. You’ll also find a material guide, tips for anchoring decor, and the mistakes to skip.
How Do You Decorate Outdoors for Christmas?
Start with two or three big focal pieces. Giant ornaments, a pair of candy canes, or a wooden star work well. Place them where the street and the front door can both see them.
Big pieces give the display its shape, and small ones fill the gaps.
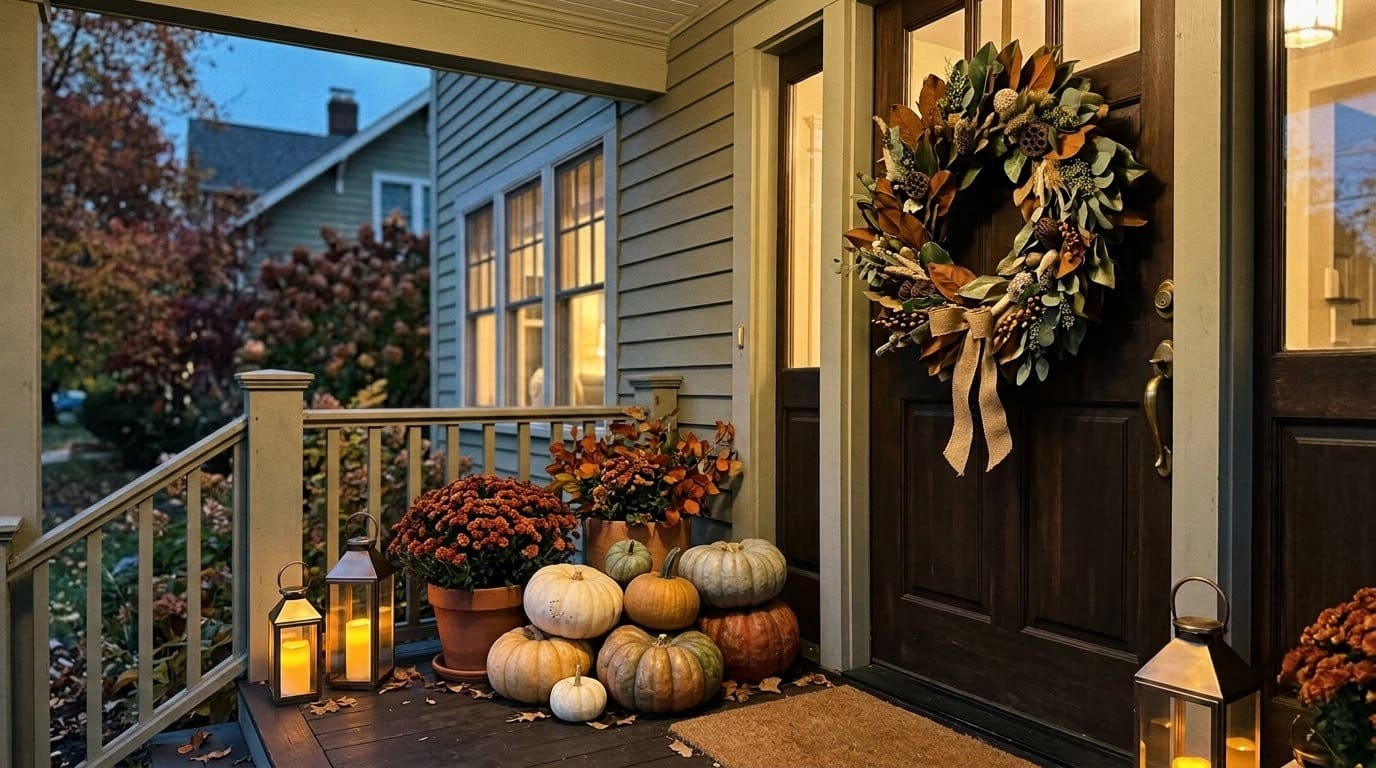
Add small touches near the entry. A wreath, a planter, and a few lanterns make the walk to the door feel warm. Odd numbers, such as three planters or five lanterns, look more natural than pairs.
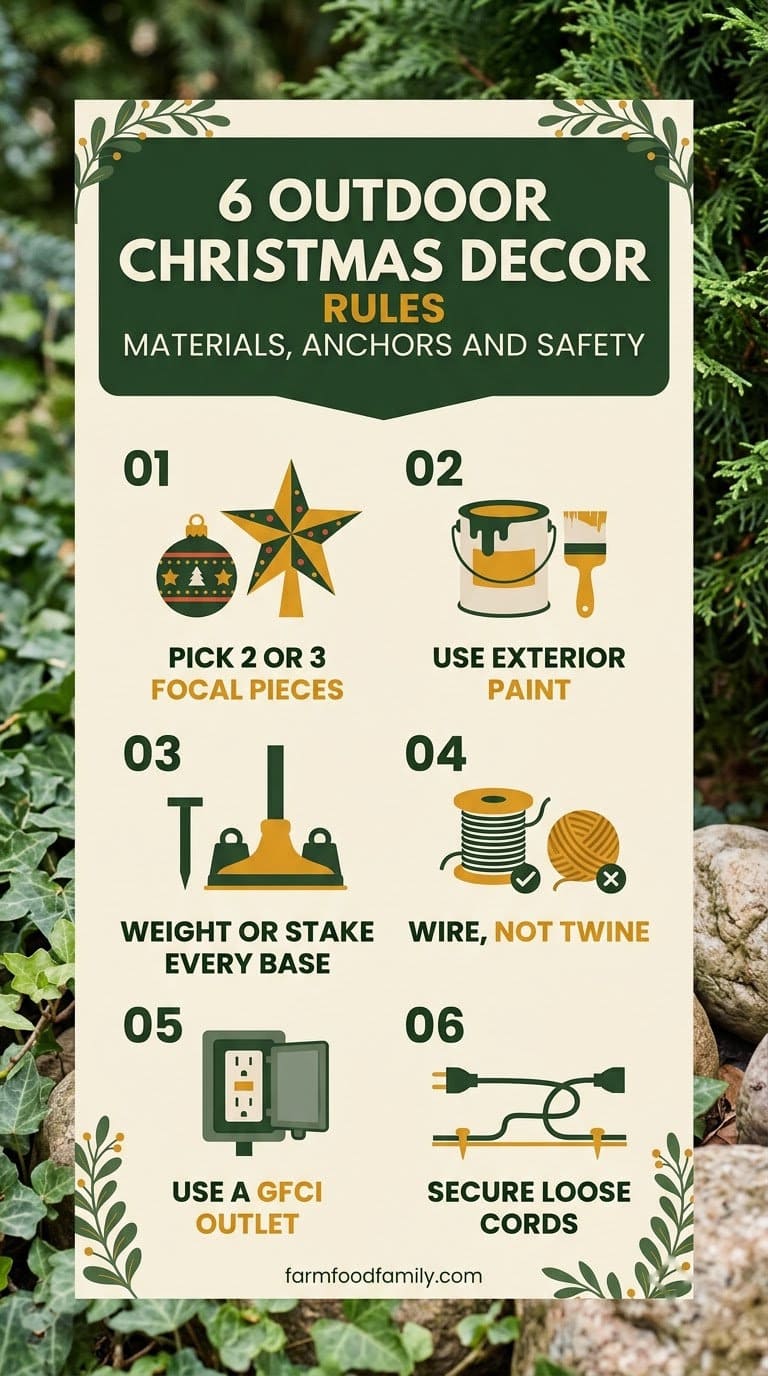
Choose materials that handle weather, such as treated wood, exterior paint, PVC, and outdoor-rated lights. Anchor every piece with stakes or weight, since wind is the main test.
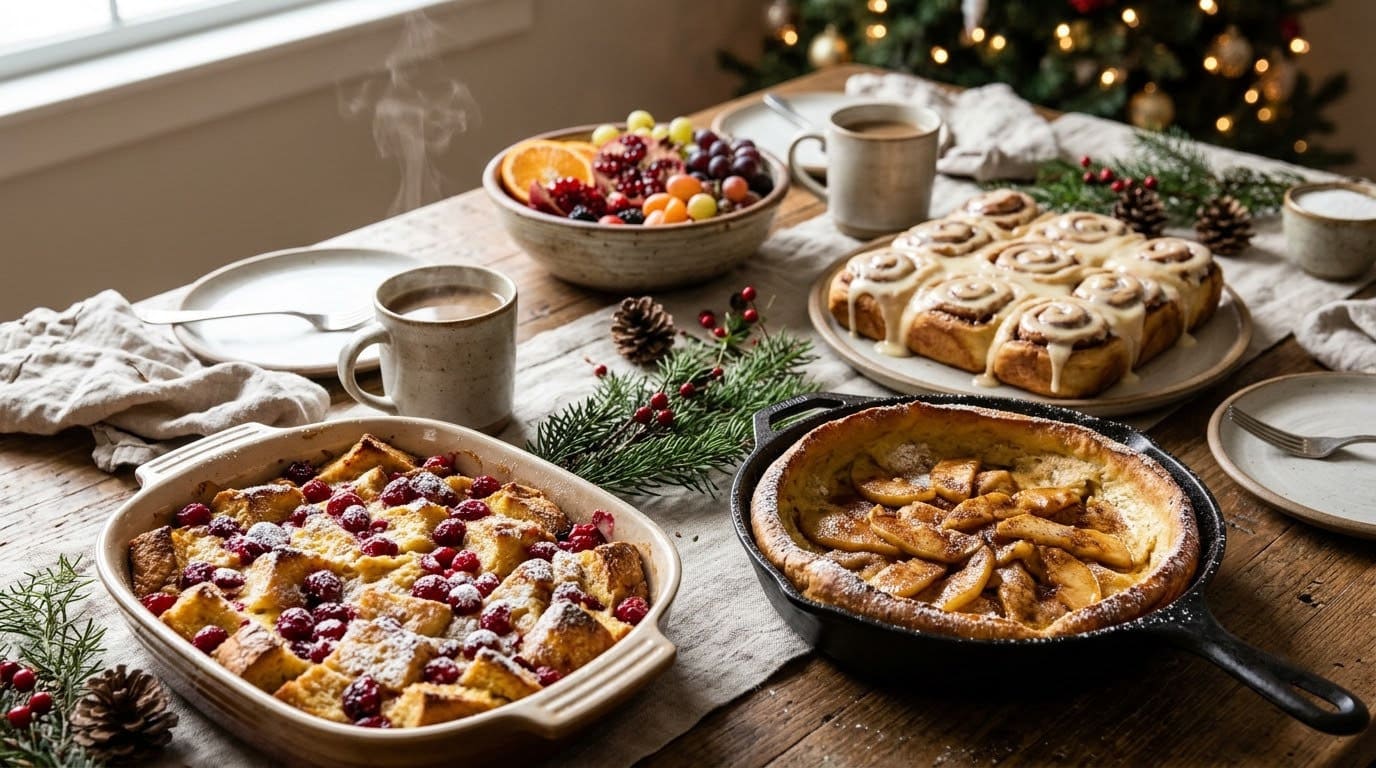

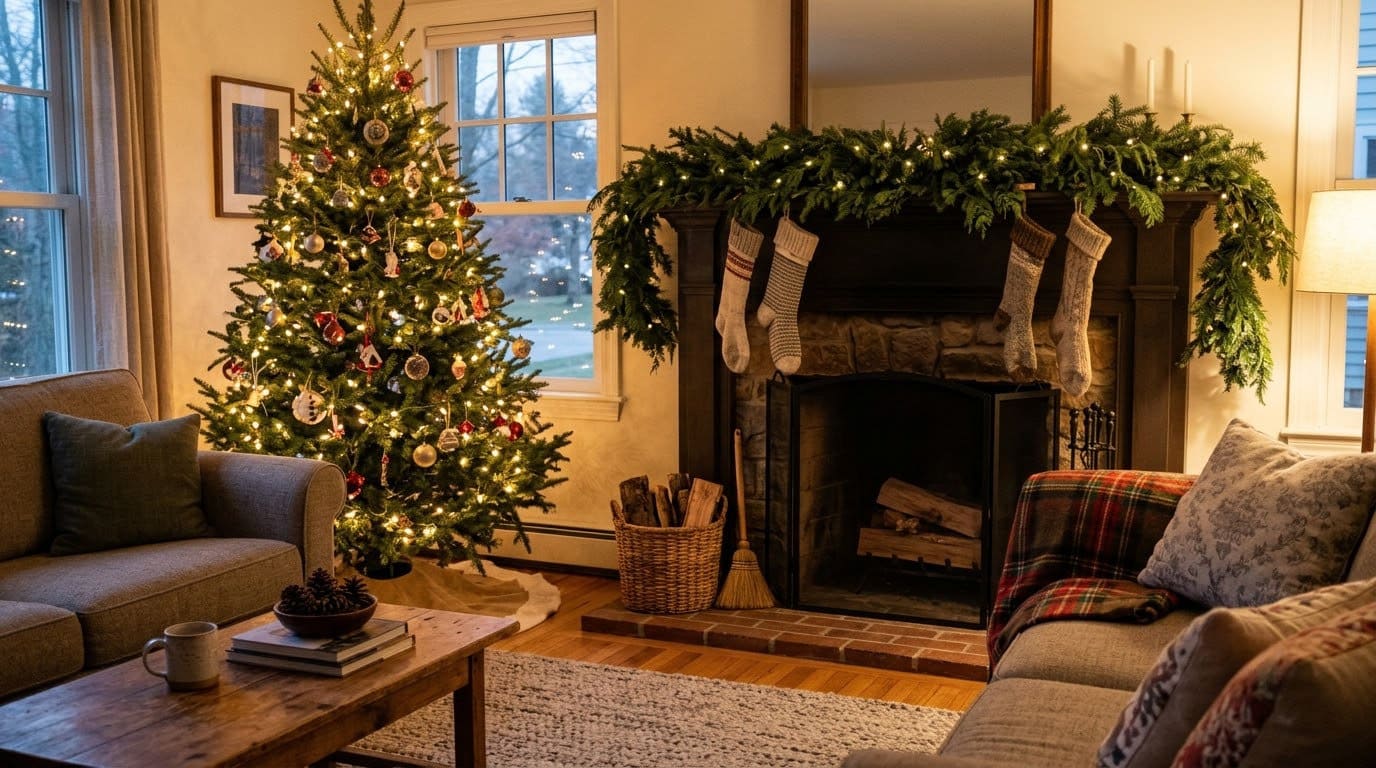
Keep the color story to two or three shades. Then plug in lights on a GFCI outlet, and set a timer so the display turns on at dusk.
Which Materials Last Outdoors?
Weather decides what survives. This table is our own planning guide.
| Material | Best for | Weather risk |
|---|---|---|
| Treated pine or plywood | Stars, signs, trees | Seal edges so water can’t soak in |
| PVC pipe | Candy canes, frames | Needs primer for plastic before paint |
| Exterior spray paint | Wood, PVC, plastic | Thin coats peel in snow |
| Faux greenery | Wreaths, garland | Fades in strong sun |
| Fresh greenery | Planters, swags | Dries out in a few weeks |
| Paper and cardstock | Short-term pieces | Soaks through in rain |
Paper pieces belong under a porch roof. Everything else can live in the yard if it’s sealed and anchored.
How Do You Anchor Decor Against Wind?
Weight the base. A bag of gravel, a bucket of sand, or a few rocks inside the base keeps a tall piece upright.
Stake anything light. Use a metal ground stake or a length of rebar, and tie the piece to it with zip ties or wire.
Hang with wire, not string. Heavy gauge wire holds up in cold and wind, while twine can fray and snap.
Check your setup after every storm. A quick walk-around saves a lot of broken pieces.
How Do You Keep Outdoor Displays Safe?
Use lights rated for outdoor use, and plug them into a GFCI outlet. The Consumer Product Safety Commission also says to check each cord for cuts or fraying.
Steel stakes to anchor lawn figures, signs and cutouts against wind.
Shop NowThis post contains affiliate links. We may earn a commission on qualifying purchases at no extra cost to you.
Keep connections off the ground and covered from rain. Run cords along edges, so no one trips on them.
Skip open flames outdoors near greenery. Battery candles give the same glow with no risk.
Our guide to outdoor Christmas light ideas covers spacing and power in more depth.
30 Creative Outdoor Christmas Decoration Ideas
1. Crate Gift Train
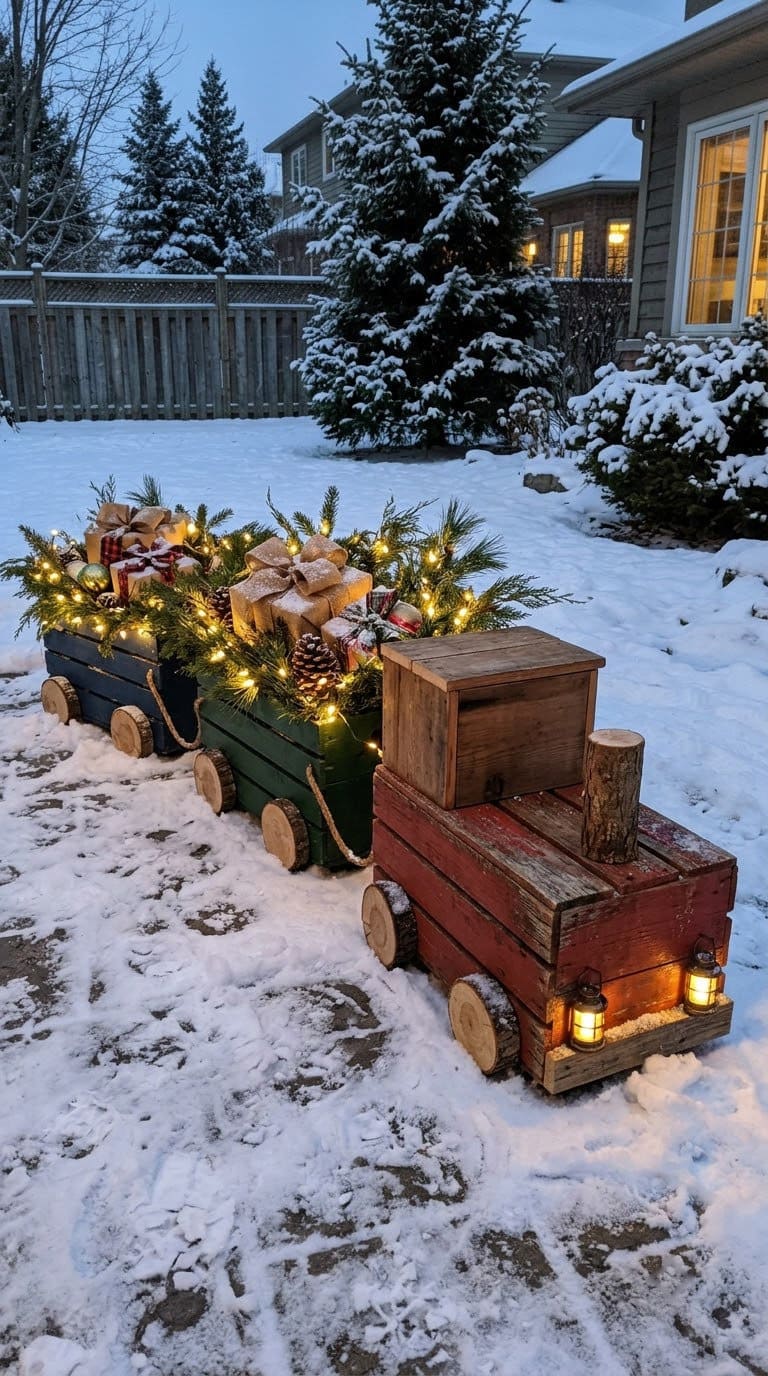
Stack wooden crates in a row to look like train cars full of gifts. Paint each crate a different color, then fill it with wrapped boxes.
Add fairy lights inside each crate. Keep the train under a porch roof or tarp, since cardboard gifts soak up rain.
2. DIY Giant Paper Plate Lollipops
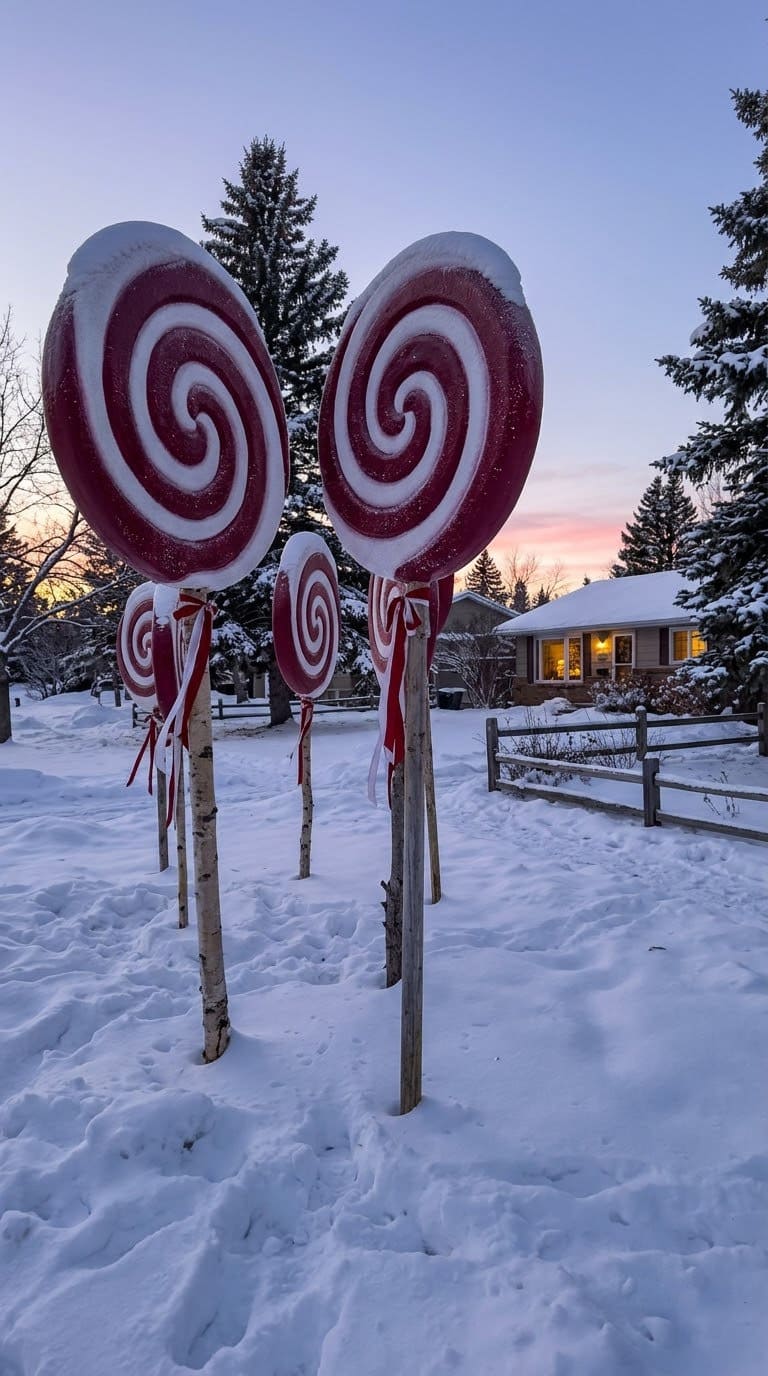
Cut large circles from plywood or foam board and paint a bold swirl on each. Mount each circle on a wooden stake or a thick dowel.


Paper plate versions are cheap for a short display. Use exterior paint on wood if the lollipops will face snow.
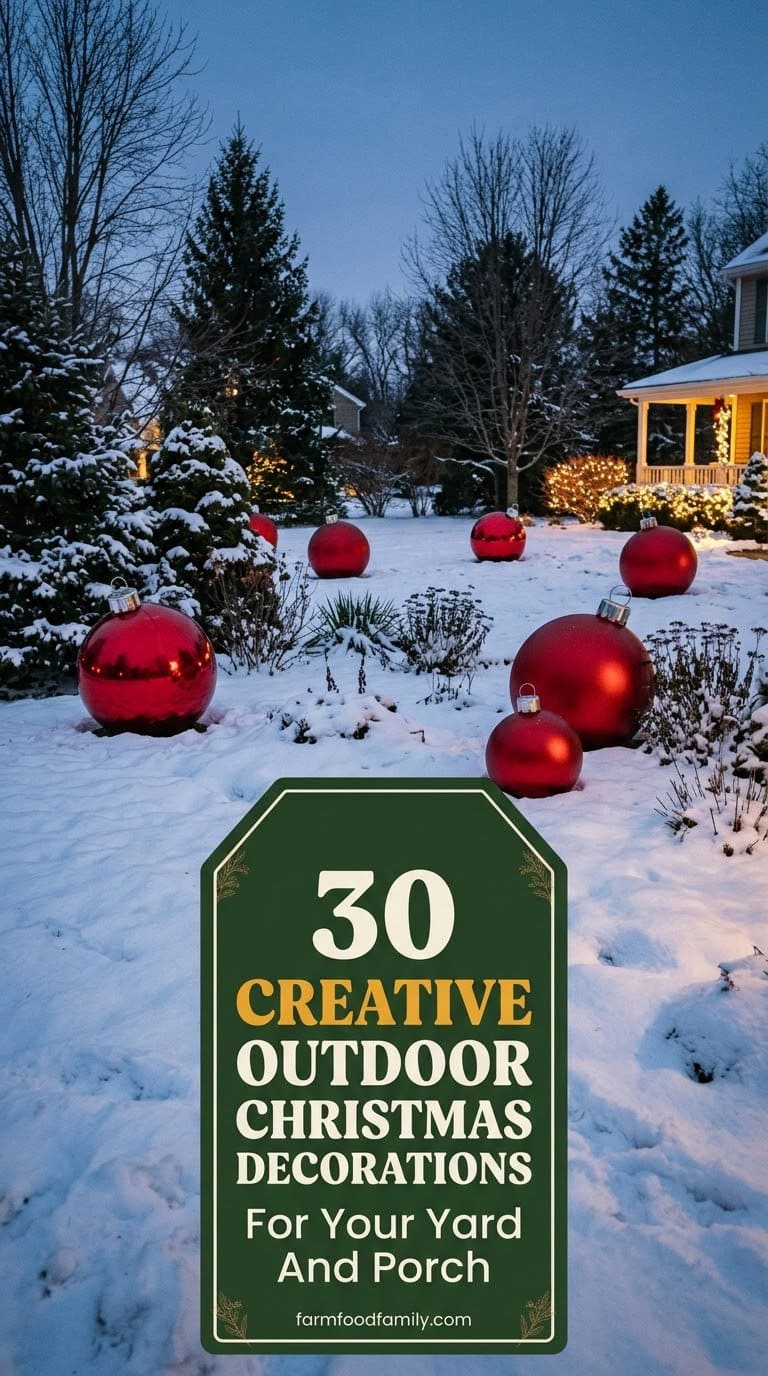
3. Giant Christmas Ornaments
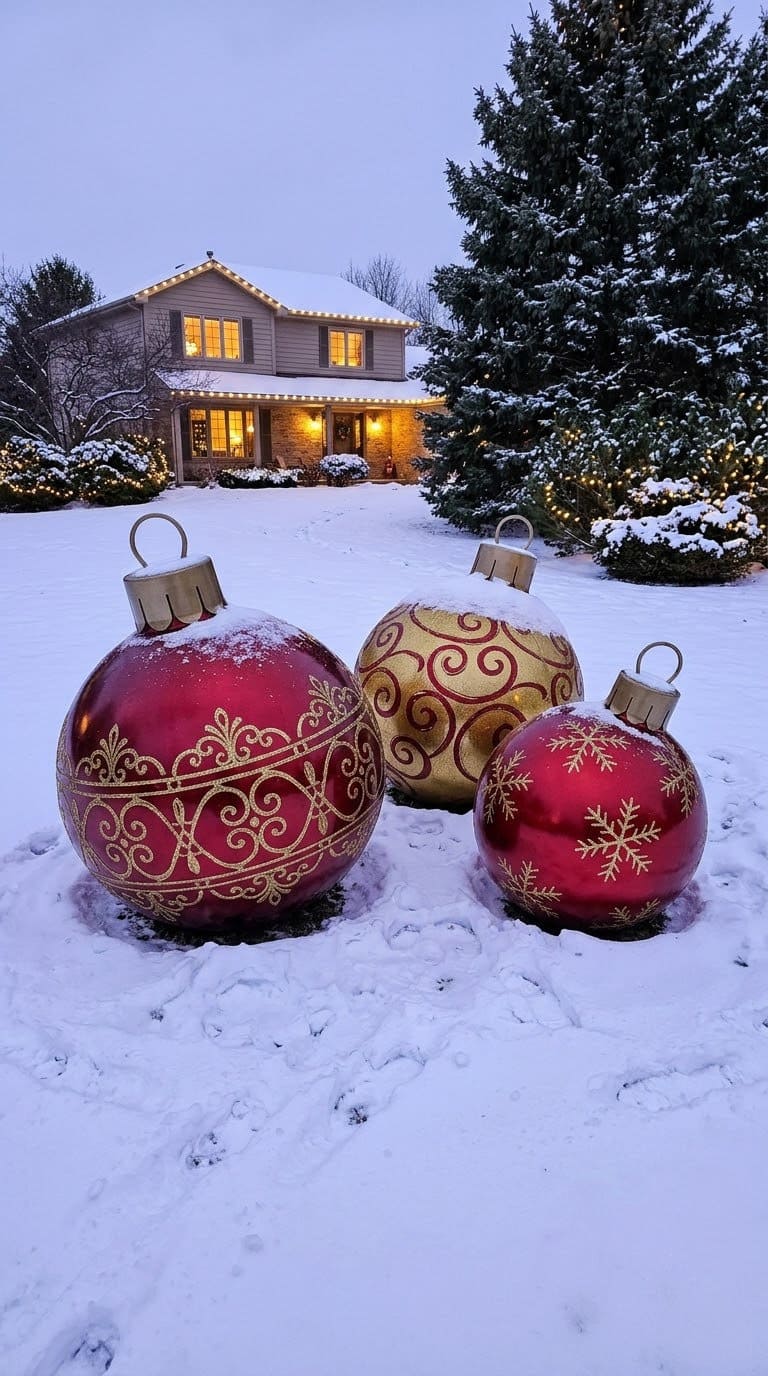
Big ornaments look striking on the grass. One easy method glues a round cake pan upside down on a play ball for the cap, then adds a ribbon loop. Use strong glue like E6000 for rainy or snowy weather.
Set each ornament on a ring of rocks, so wind can’t roll it. Group three in different sizes for the best effect.
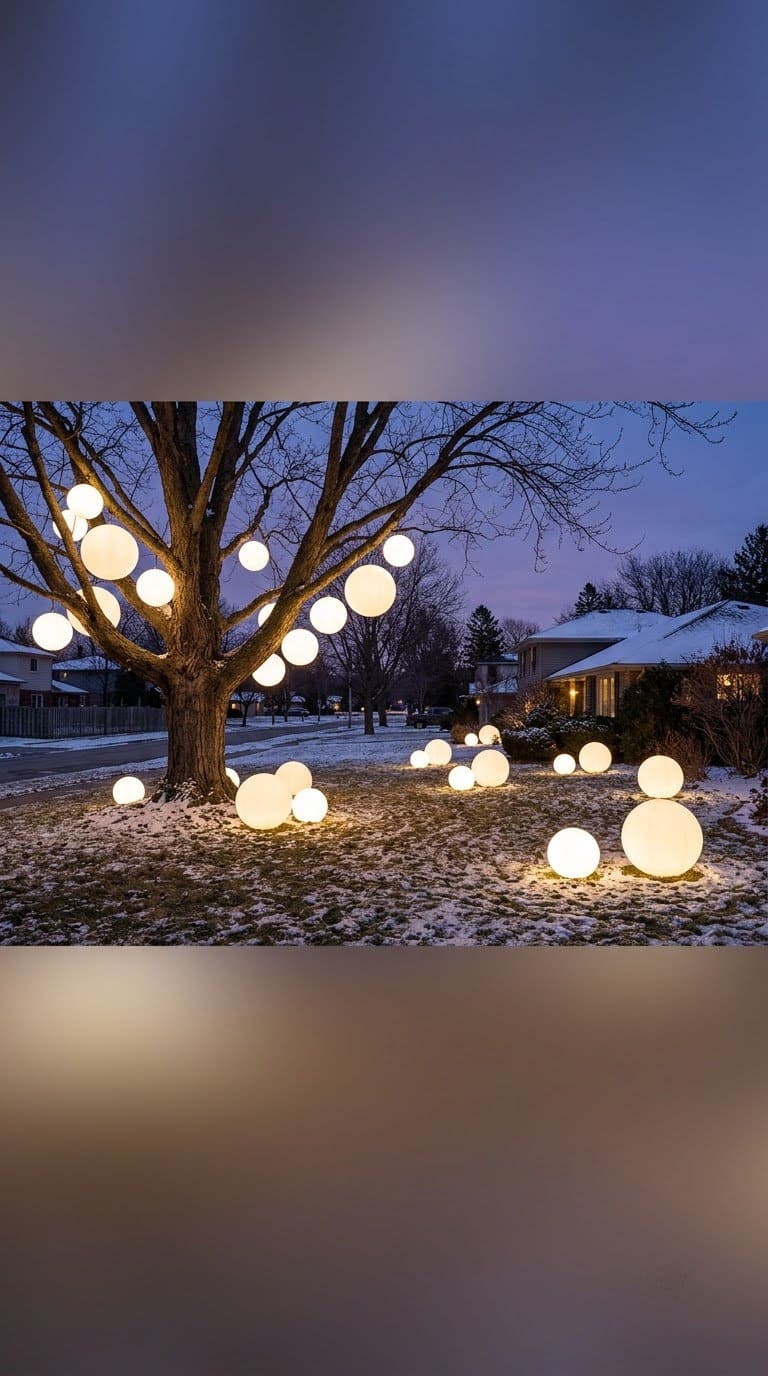
4. Giant Light Balls
Wrap a round wire frame with mini lights to make a glowing sphere. Hang a few from tree branches, or set them on the lawn.
Use a frame from chicken wire or a large wire basket. Fasten the lights with zip ties, and cap the plug end in a covered outlet box.
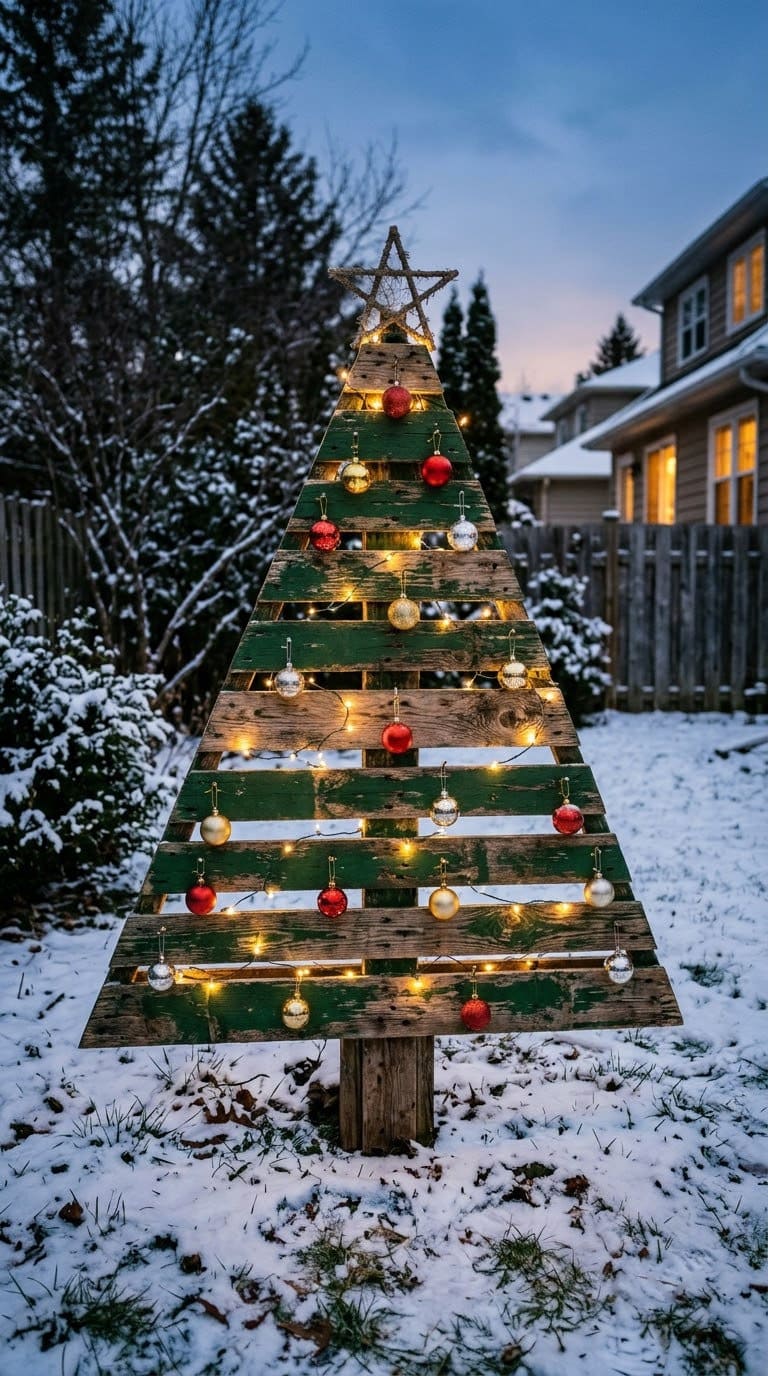
5. Pallet Christmas Tree
Stand a wood pallet on end and cut the slats into a tree shape. Paint it green or leave it natural, then add ornaments and a star.
Brace the back with a stake driven into the ground. Sand the edges to avoid splinters.
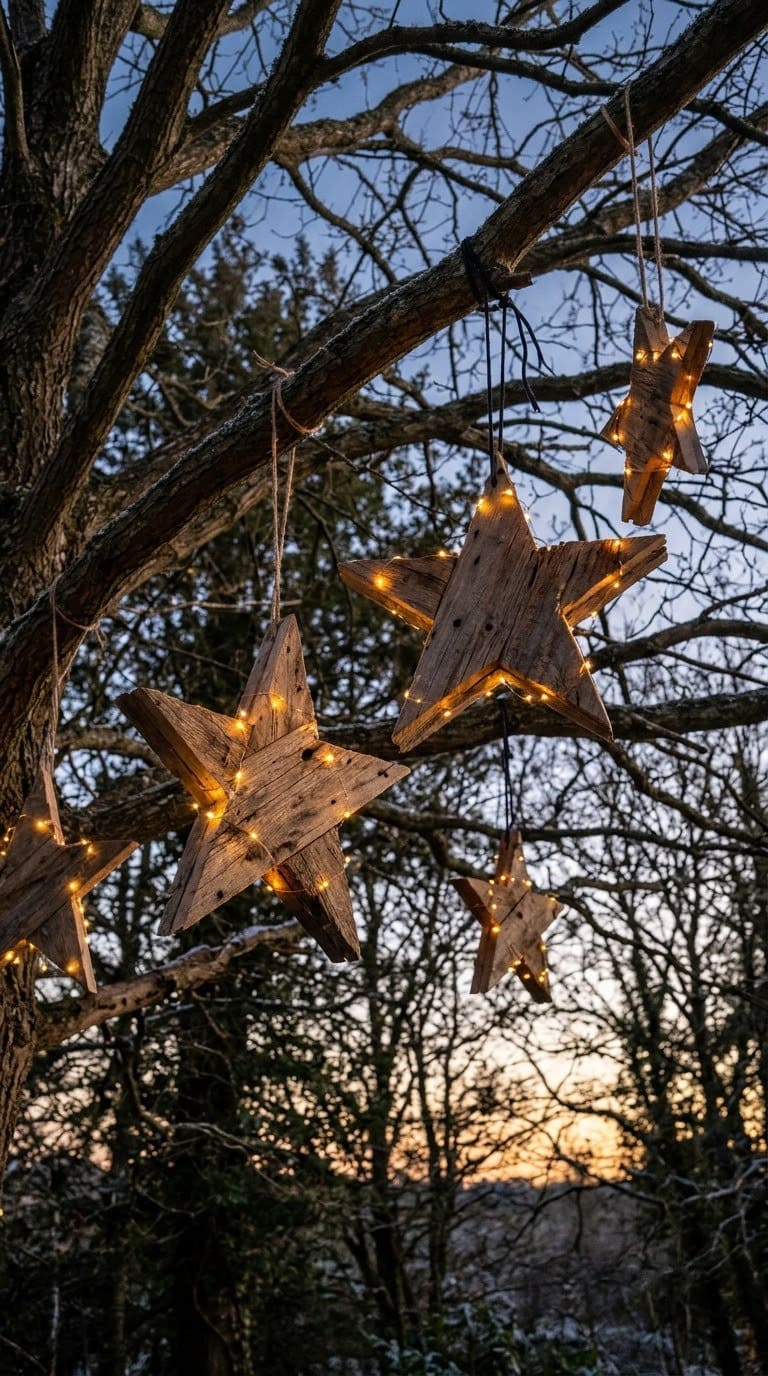
6. Wooden Stars in Trees
Build stars from 1×2 pine boards joined with wood screws, then staple a light strand to each. Duke Manor Farm makes 8-foot stars from five 8-foot boards, and 4-foot stars from the same boards cut in half.
Hang them with heavy gauge wire from a sturdy branch. Hide the cords along the trunk.
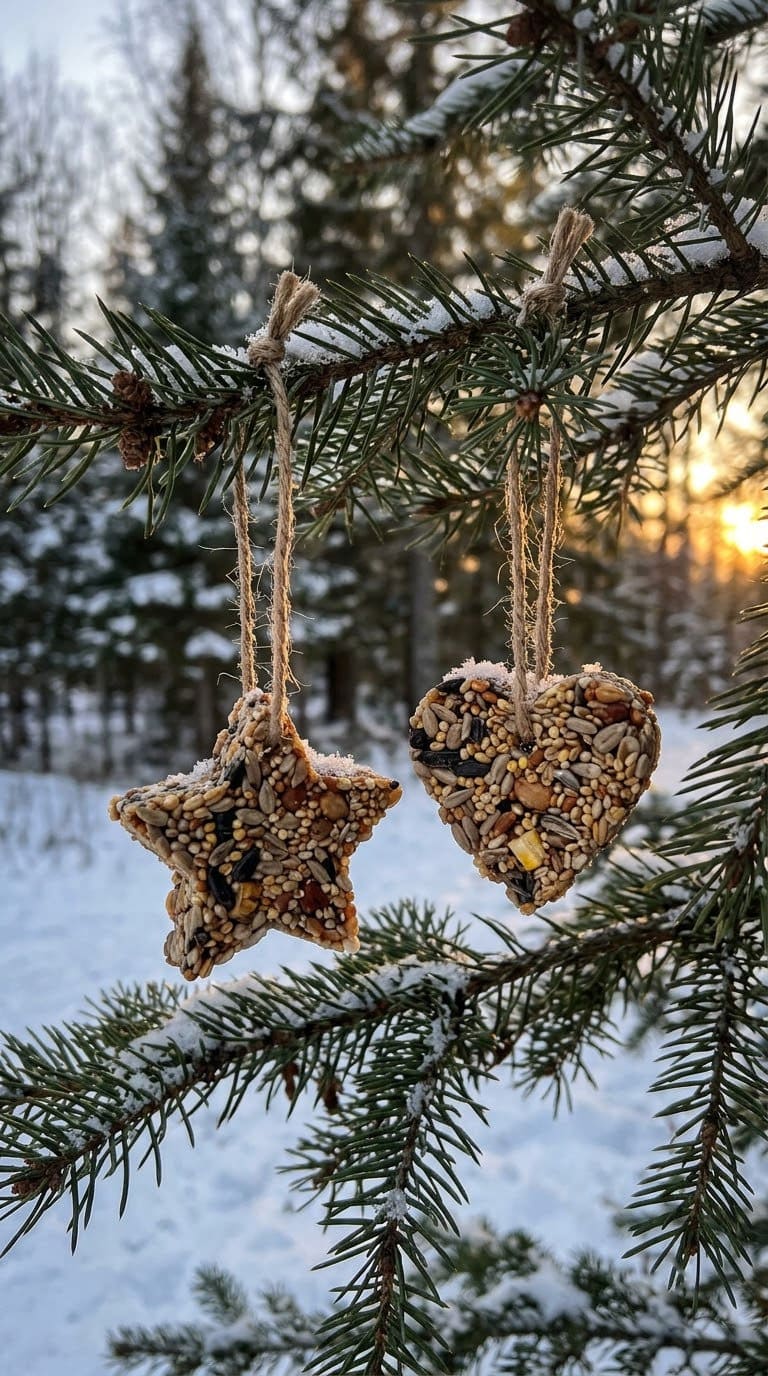
7. Birdseed Ornaments
These feed birds and decorate at the same time. Knuckle Salad mixes flour, water, gelatin, corn syrup, and birdseed, then presses the mix into cookie cutters with a straw to make a hanging hole.
Let them harden for a day or two, and flip them once. Hang them from tree branches or a porch rail with twine.
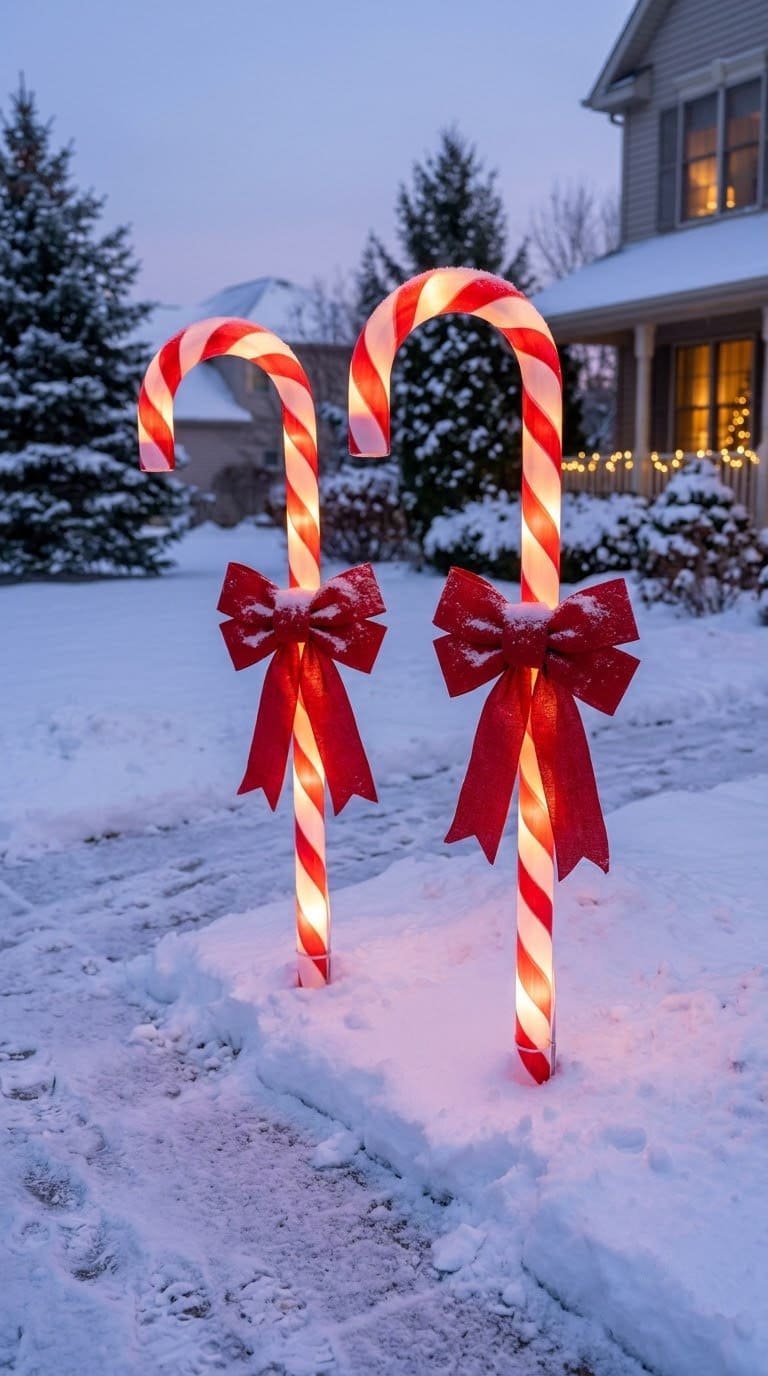
8. Lighted Candy Canes
Build candy canes from PVC pipe, an elbow, and a P-trap. DIY Show Off sands the pipe, adds primer for plastic, paints white, tapes red stripes, and pushes a string of 35 lights through a hole at the base.
A drain base filled with rocks keeps each cane steady. Finish with a bow.
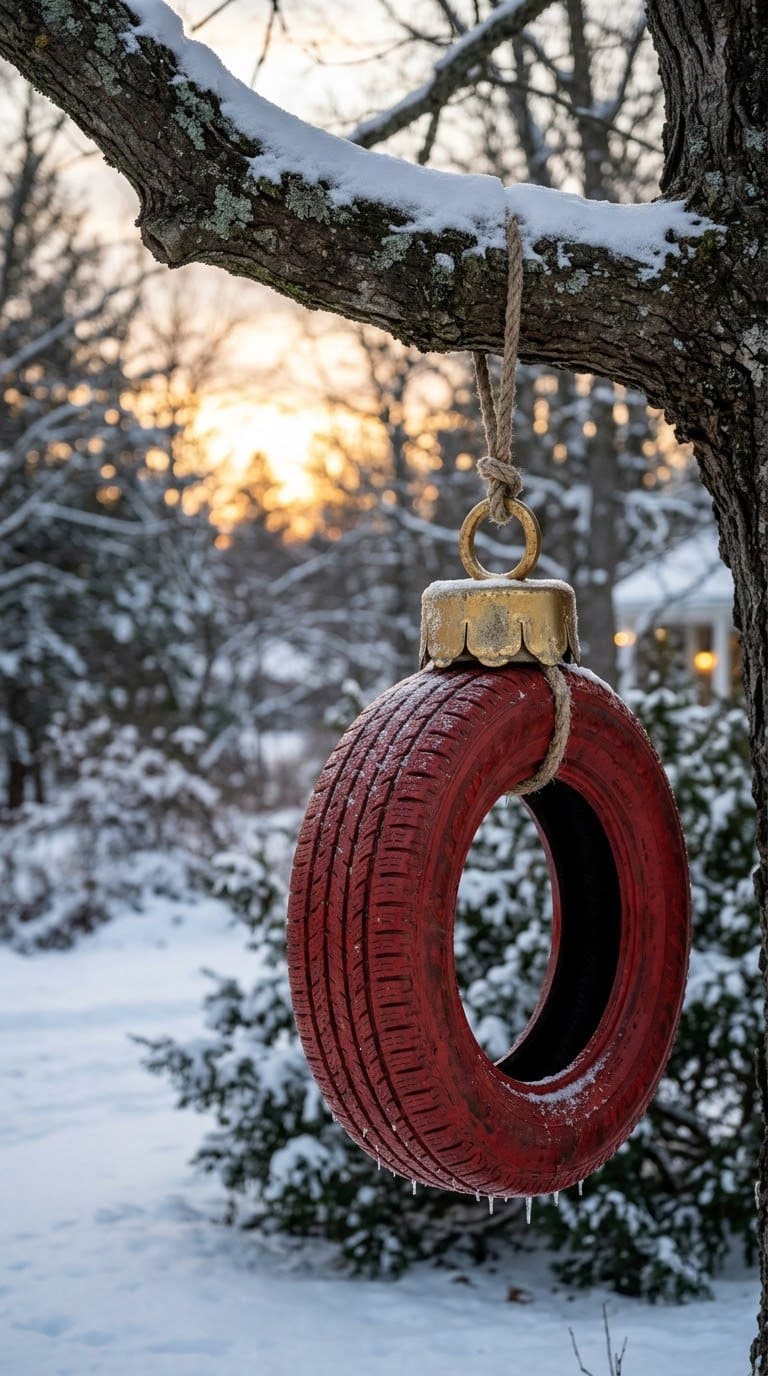
9. Tire Ornaments
Old tires can become giant ornaments. Clean the tire, then paint it with exterior paint in a bright color and add a cap at the top.
Hang it from a sturdy limb with a thick chain, or stand it upright against a fence. Never hang one from a thin branch.
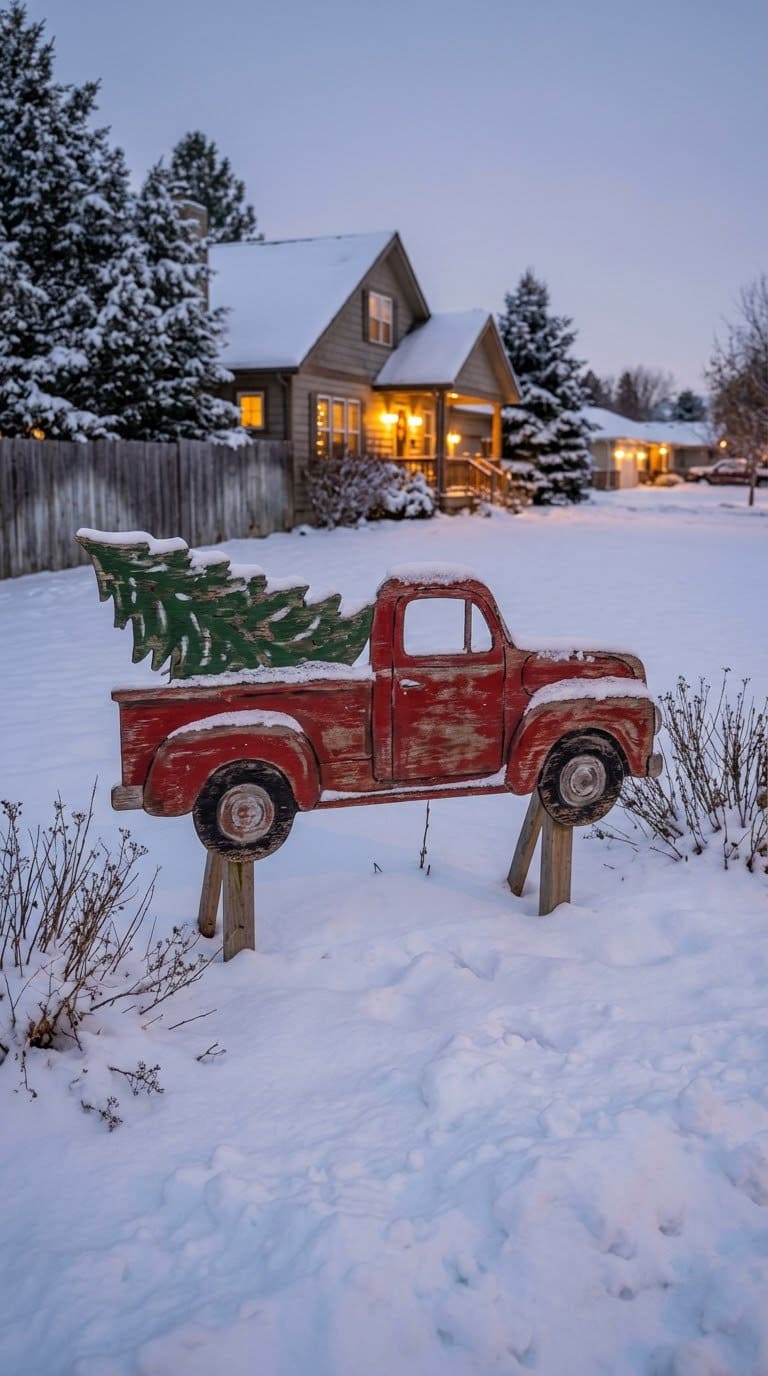
10. Red Truck Sign
A plywood cutout of a red truck with a tree in the bed is a farmhouse favorite. Trace the shape on a sheet, cut it, and seal both sides.
Mount it on two stakes at the edge of the lawn. Add a string of lights across the tree.
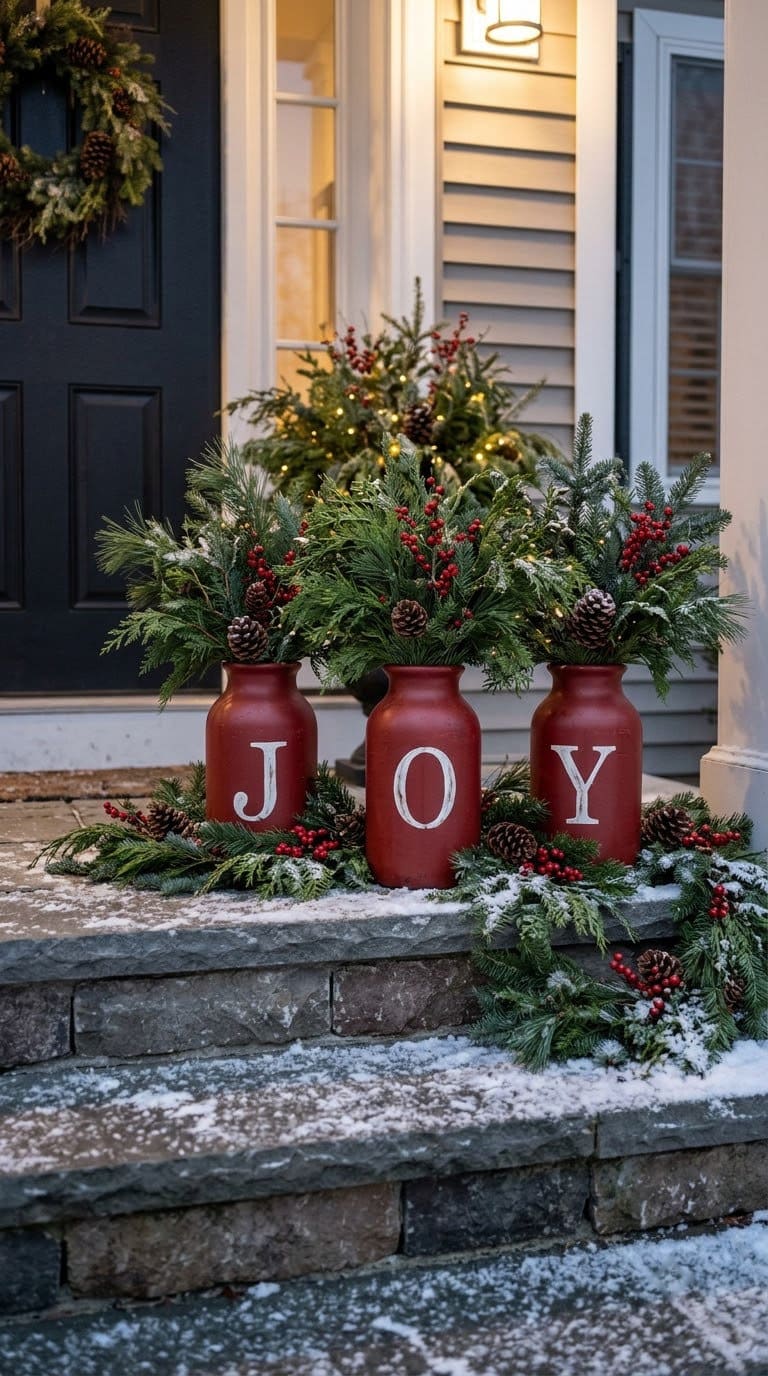
11. JOY Vase Display
Paint three hurricane vases red, then glue a white wood letter to each to spell JOY. Fill each vase with florist foam and winter picks.
Line the three along the front steps. Use exterior matte paint, and stuff plastic bags inside the vases for balance.
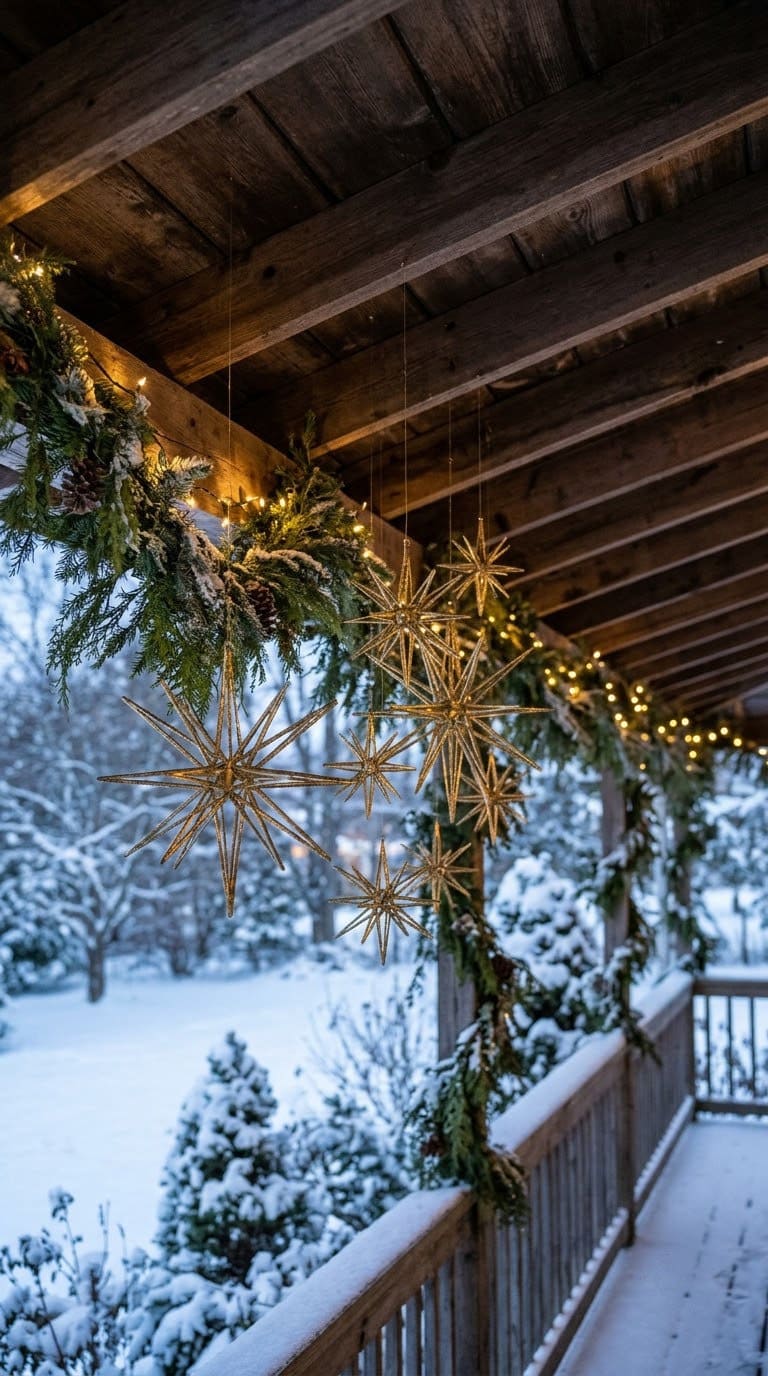
12. Starburst Ornaments
Build a starburst from wooden dowels or skewers glued at the center. Paint it gold or silver, and hang it from a porch ceiling or tree.
Use exterior glue and wire the joints for strength. Mix sizes for a playful cluster.
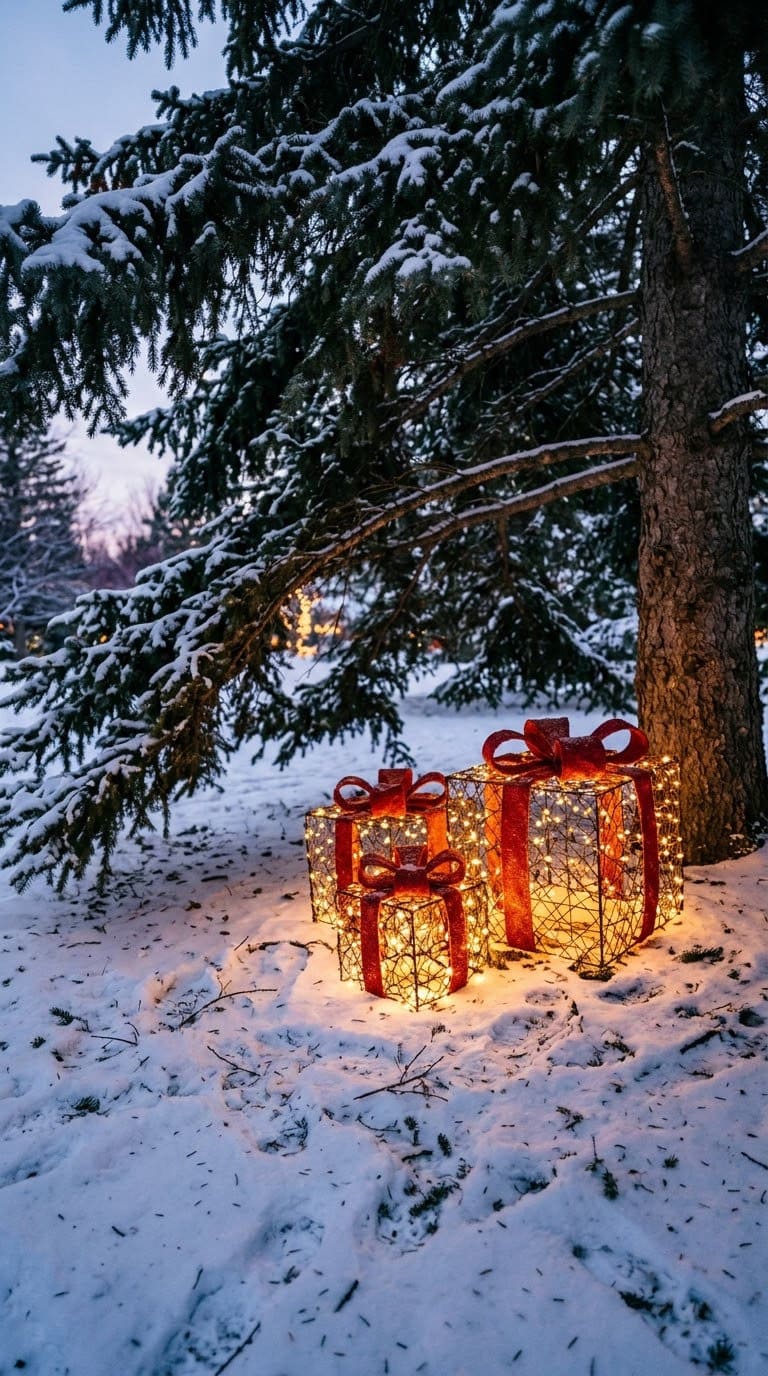
13. Lighted Gift Boxes
Wrap a wire cube frame in lights, and add a bow on top. Set several at different sizes under a tree or along the porch.
Wire frames shed rain and let the lights glow through. Light a few from inside with battery strings.
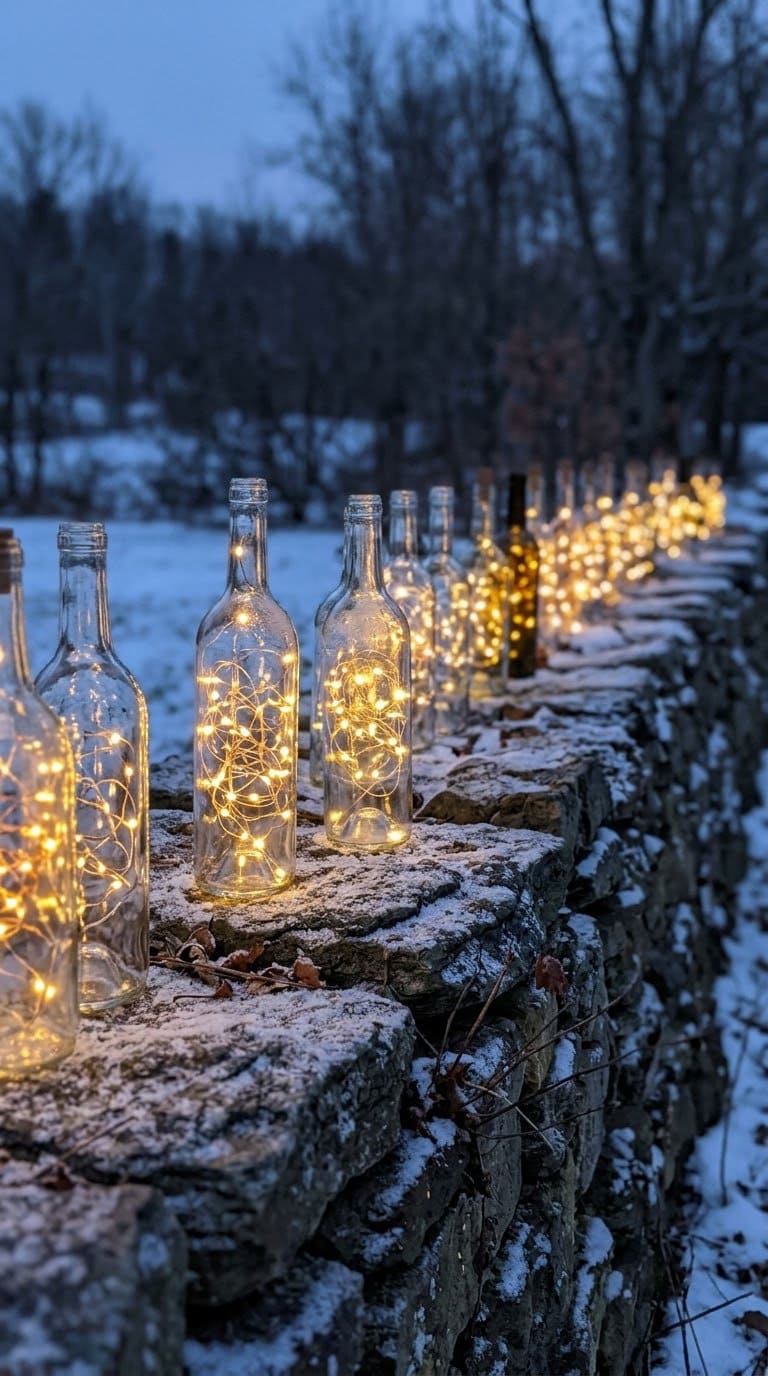
14. Glass Bottle Lights
Drop a battery string of mini lights into a clear glass bottle and cork the neck. Line several bottles on a ledge or along a wall.
The glass spreads the glow softly. Pick bottles with thick walls, and avoid cracks in cold weather.
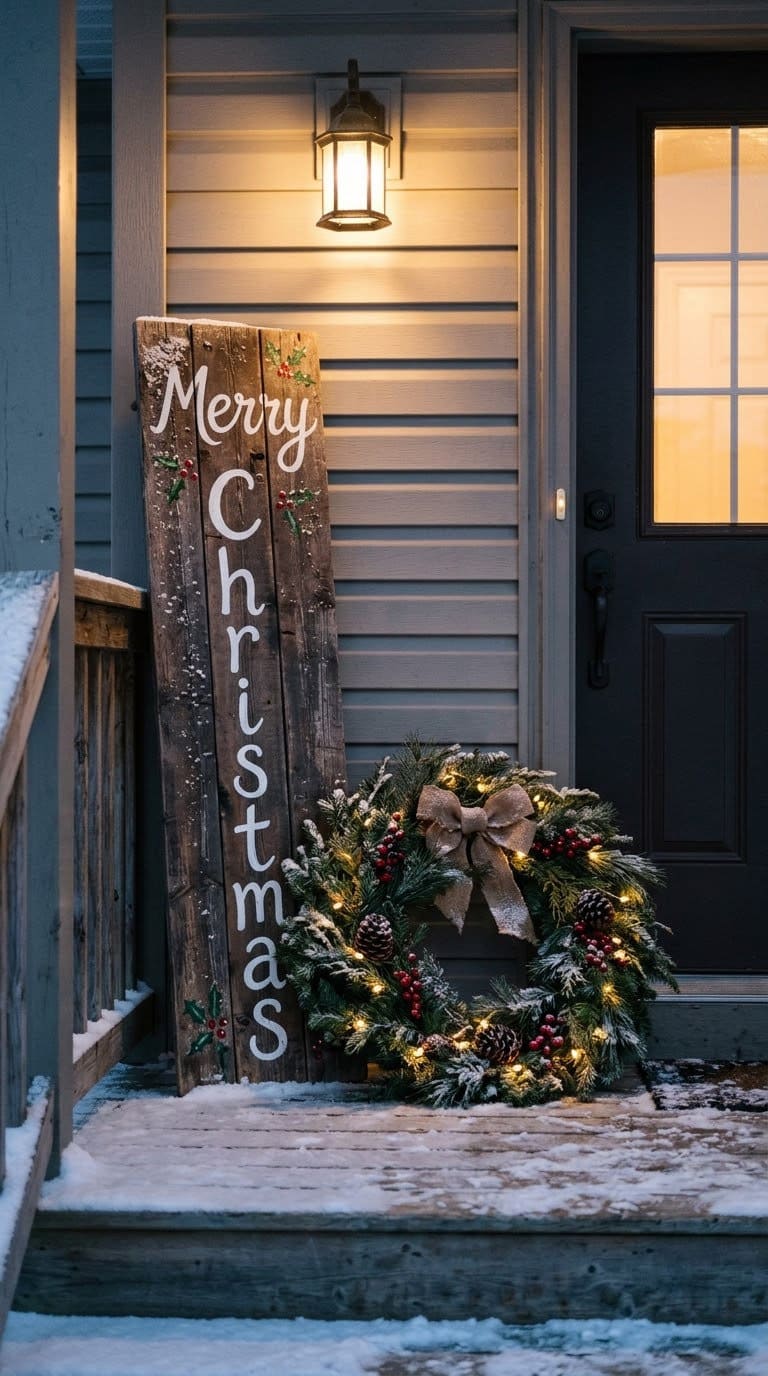
15. Hand-Painted Welcome Sign
Paint a wood board with a greeting like “Merry Christmas” in a bold script. Seal it with outdoor varnish, then lean it by the door.
Use a stencil for clean letters. Hang a ribbon bow or greens at one corner.
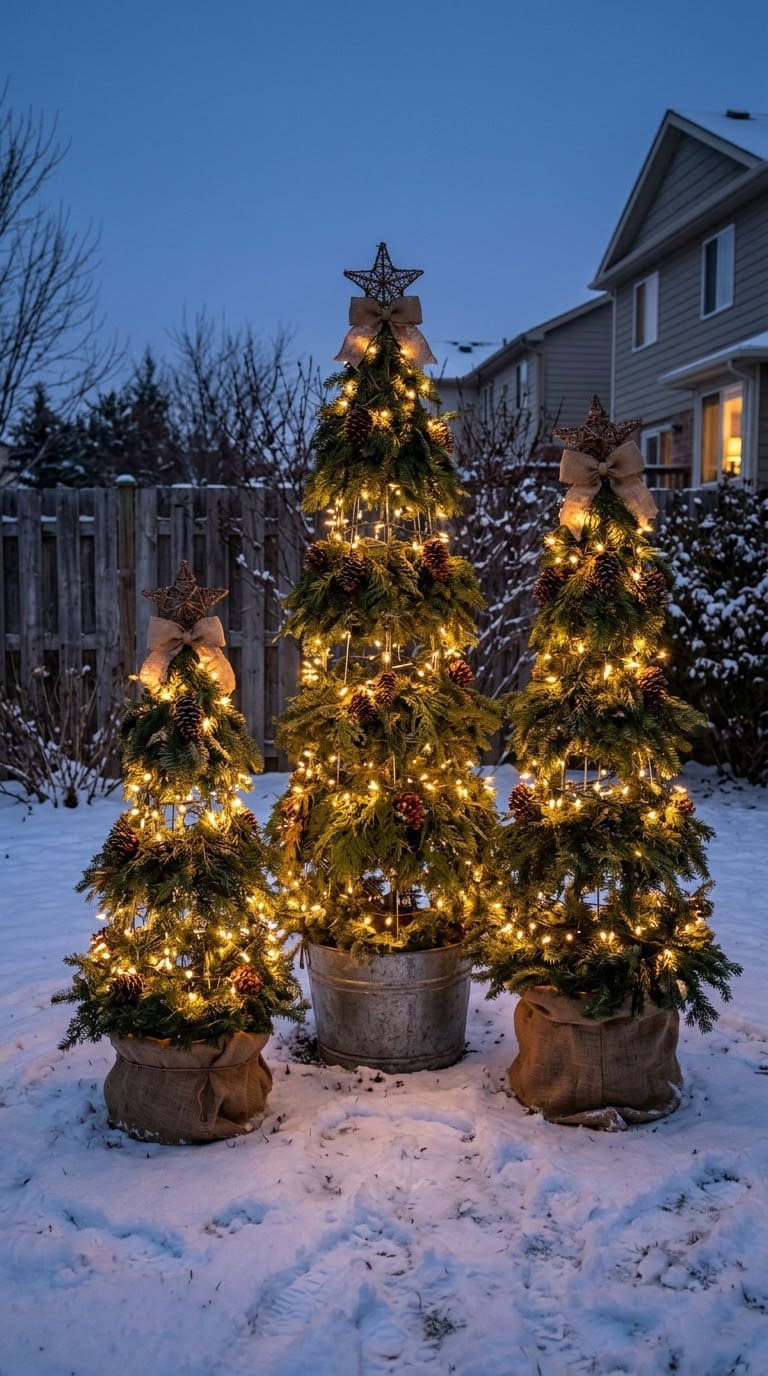
16. Tomato Cage Trees
Tomato cages make tiered trees fast. Two Twenty One cuts three 54-inch cages into trees of about 50, 36, and 30 inches, then wraps each in wired garland and mini lights.
The cage stakes push straight into the ground. Add a bow to each top.
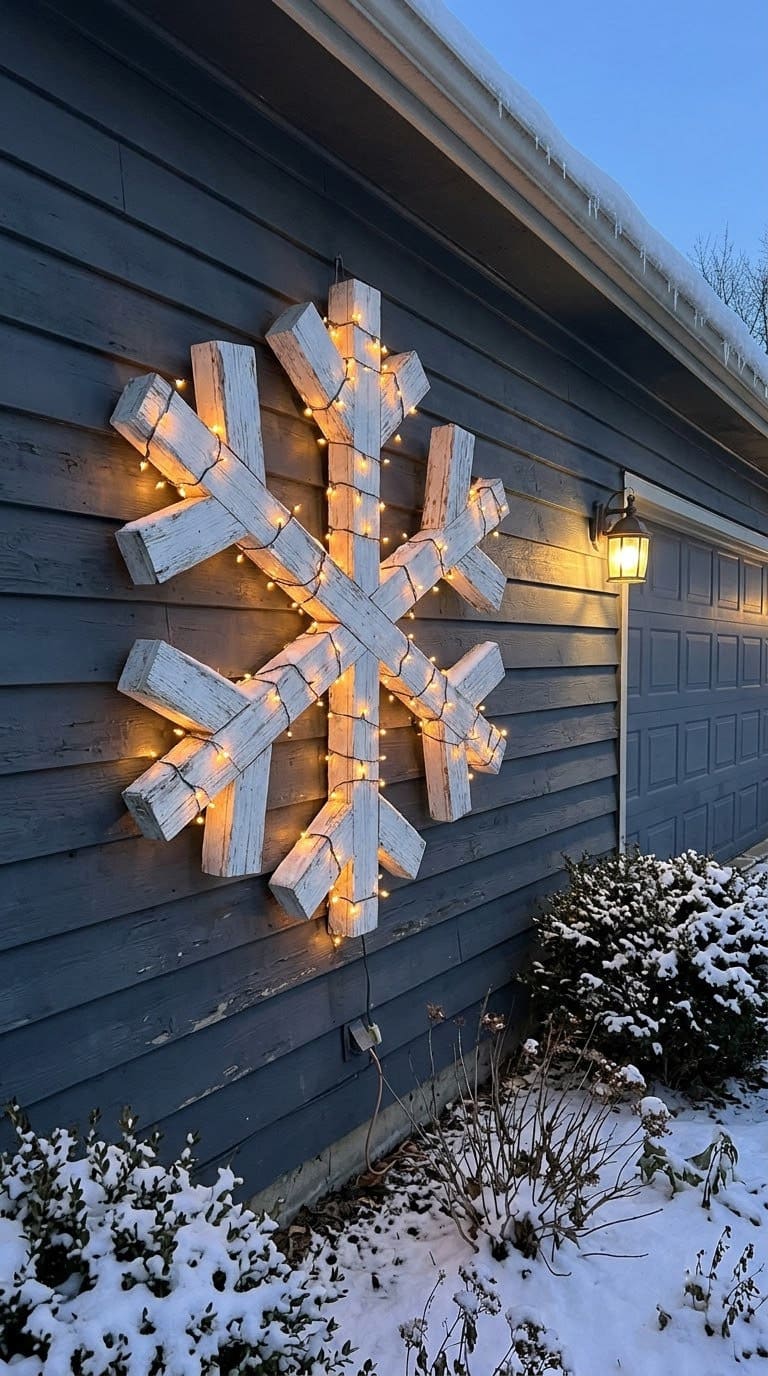
17. Giant Snowflake
Build a snowflake from six lengths of wood joined at the center. Paint it white and add glitter paint for sparkle.
Hang it on the garage or a fence with wire. Light it with a strand of white lights along the arms.
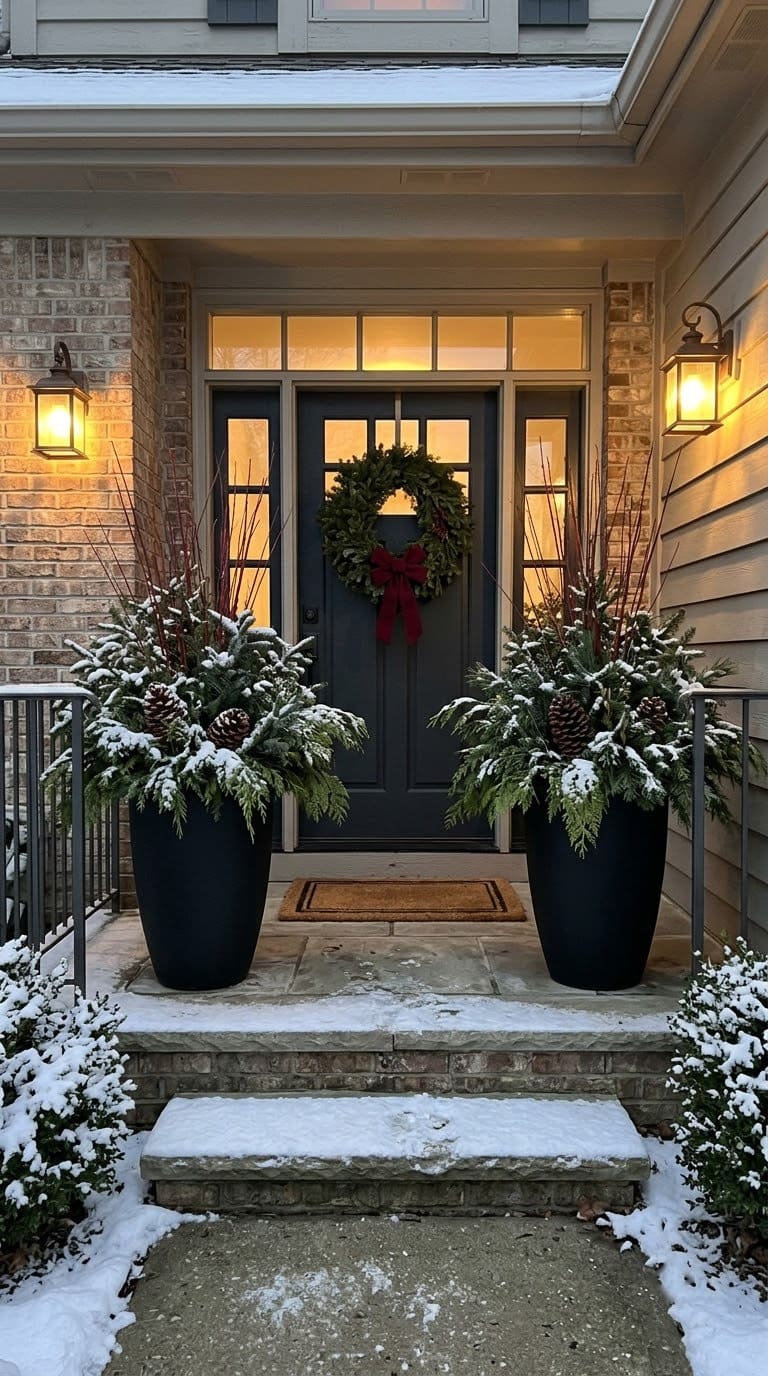
18. Holiday Planters
Fill pots with evergreen boughs, pinecones, and red twigs. Tall pots at the door look especially welcoming.
Our outdoor Christmas planter ideas show how to build a full pot step by step.
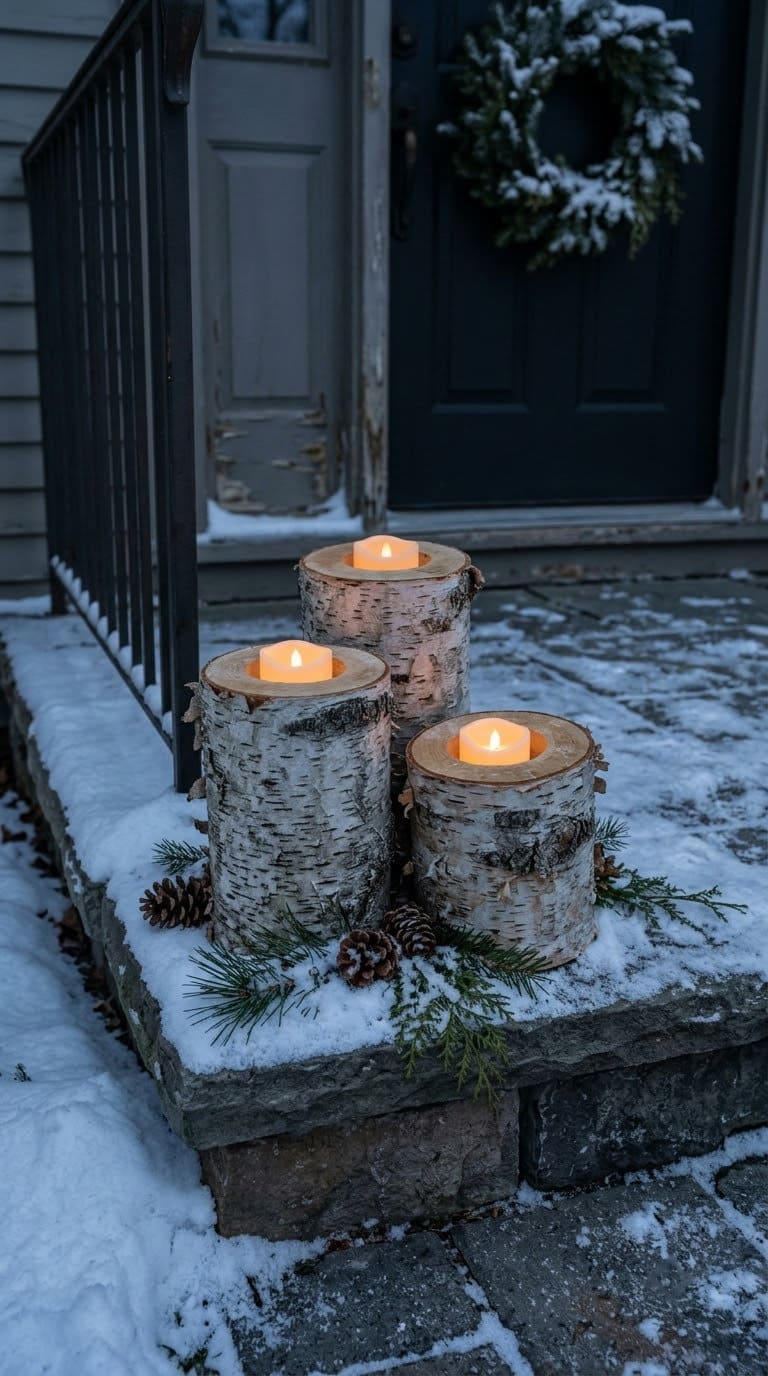
19. Log Candle Holders
Drill a shallow hole in a short log and set a battery candle inside. Group three logs of different heights on a step.
Battery candles give the glow with no risk near wood. Add a sprig of greens at the base.
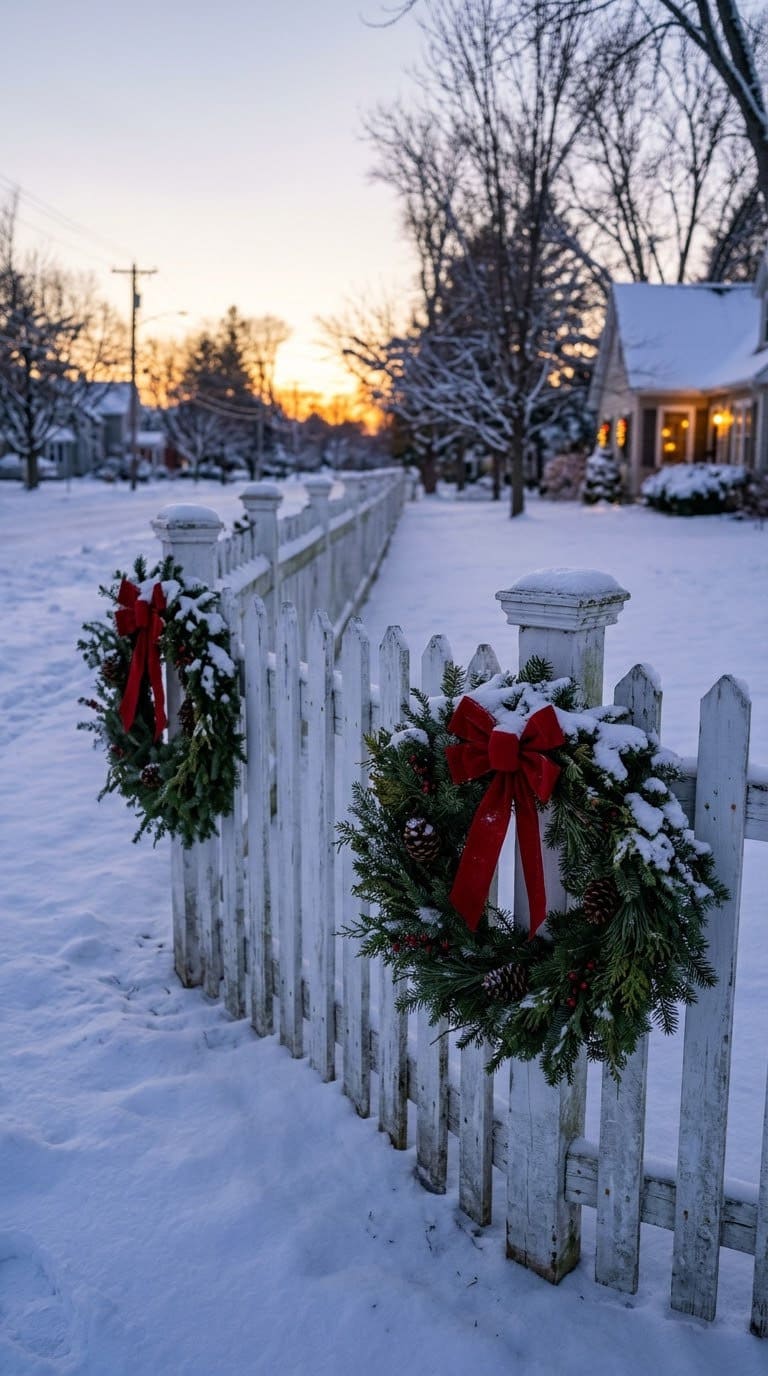
20. Wreaths on the Fence
Hang a wreath on each fence post or gate. A matching bow on each ties the look together.
Wire each wreath through the back. Our Christmas wreath ideas have more styles to try.
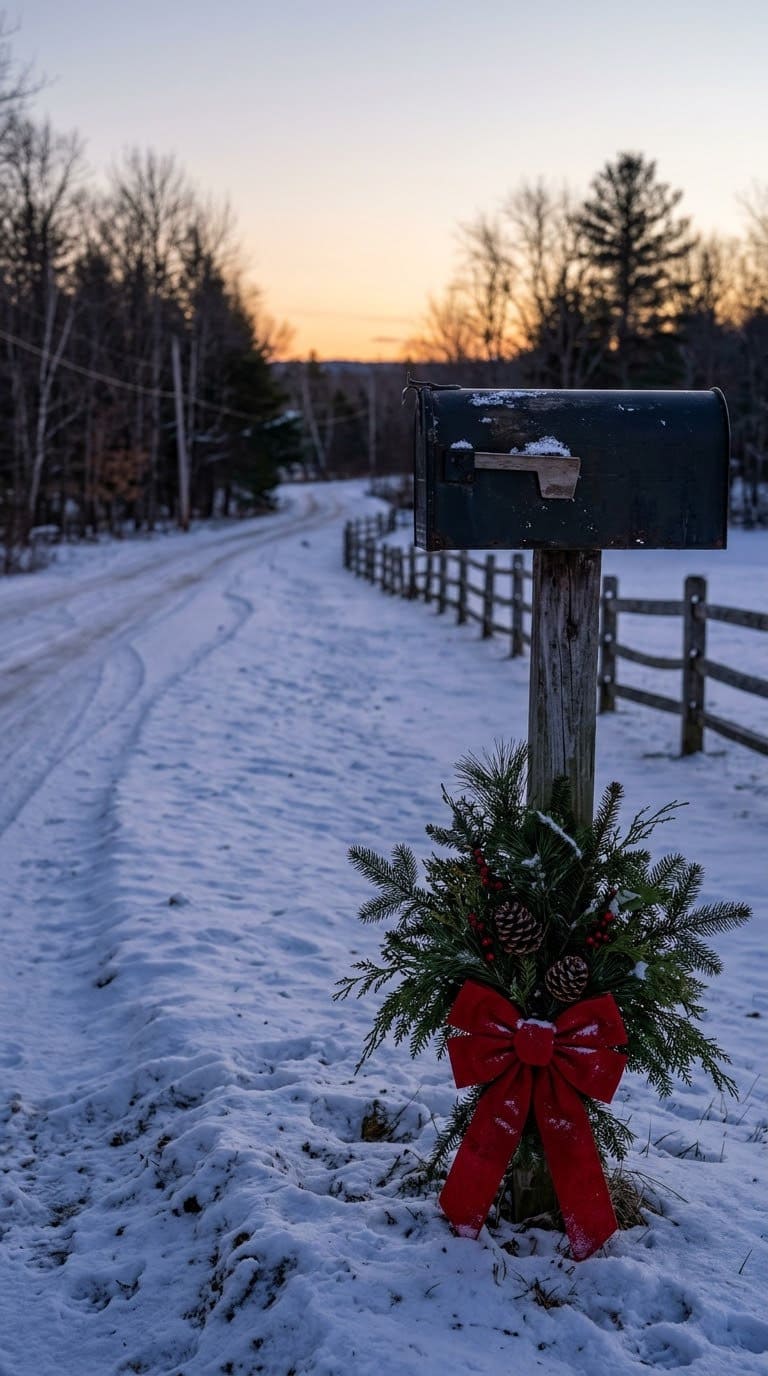
21. Mailbox Swag
A small swag of greens with a bow turns the mailbox into a festive stop. Tie it around the post, and leave the box door free.
Check carrier rules first. Our mailbox decor guide covers what is allowed.
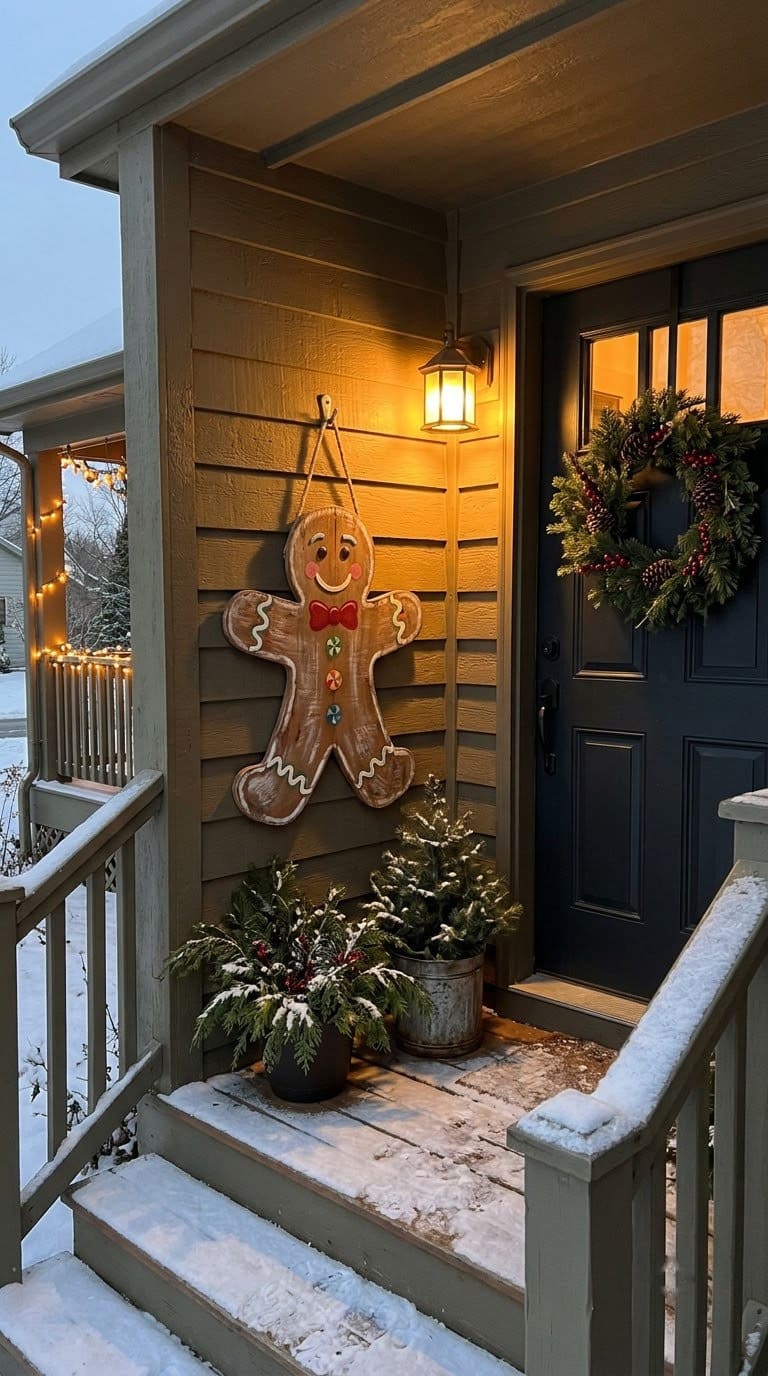
22. Gingerbread Man Door Decor
Cut a gingerbread man shape from sheet metal or plywood. Paint on a smile and white icing lines, and hang it on the door or porch wall.
Seal wood on both sides to keep it from warping. Add red button cutouts for fun.
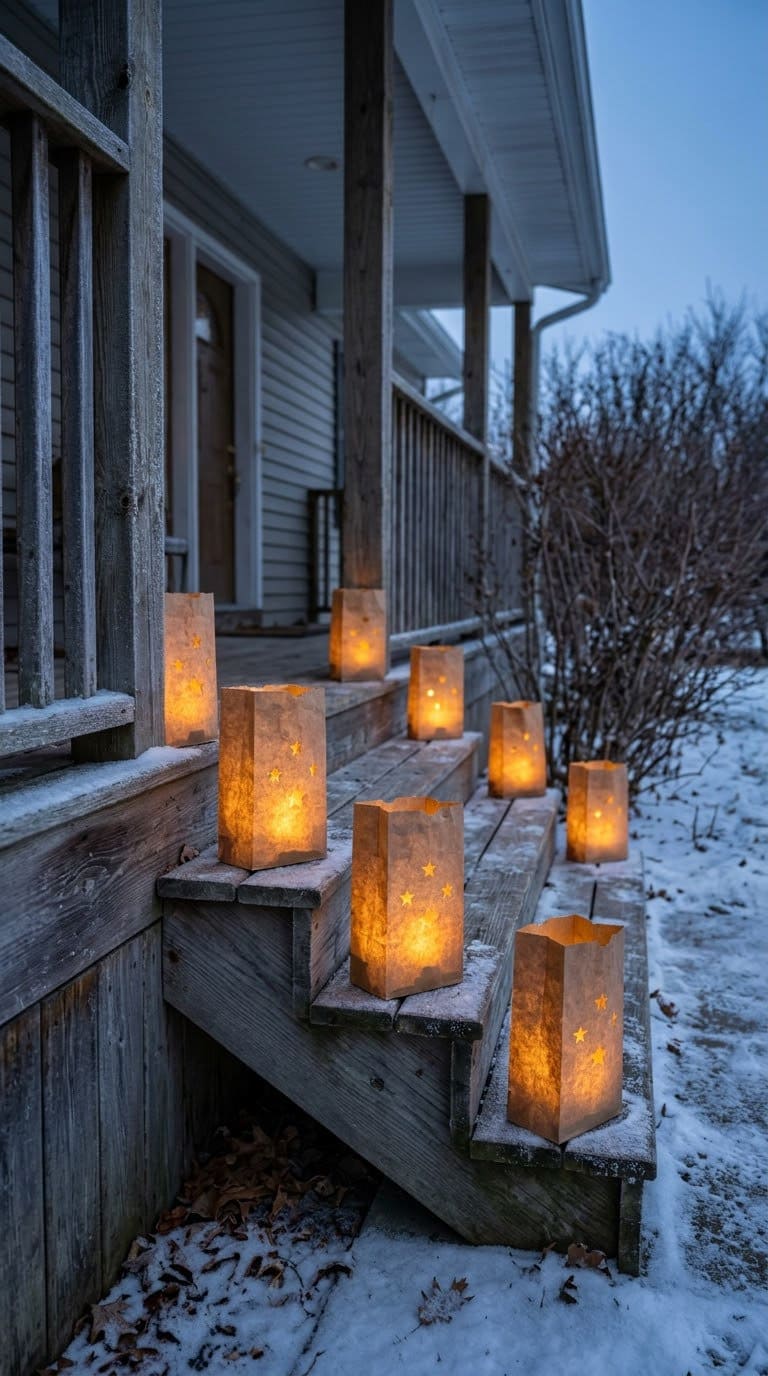
23. Paper Bag Lanterns
Cut a pattern in a paper bag, drop in a battery tea light, and line the bags along a path. They glow warm and cost almost nothing.
Use them only on dry nights, and set them on a tray or under cover. Rain turns them to mush.
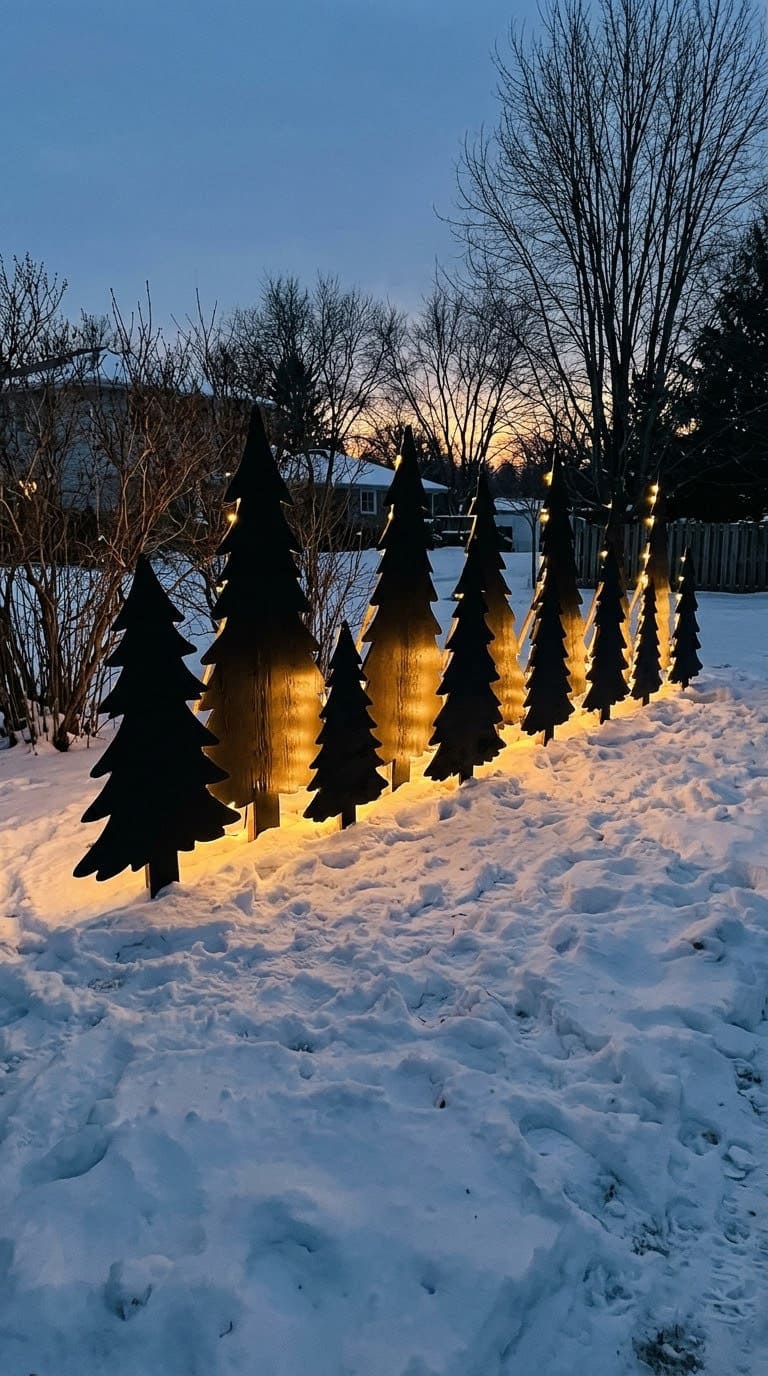
24. Silhouette Trees
Cut tree shapes from plywood and paint them black. Place a row of them in the yard, with lights behind them.
The shapes read well from the road. Stake each one firmly.
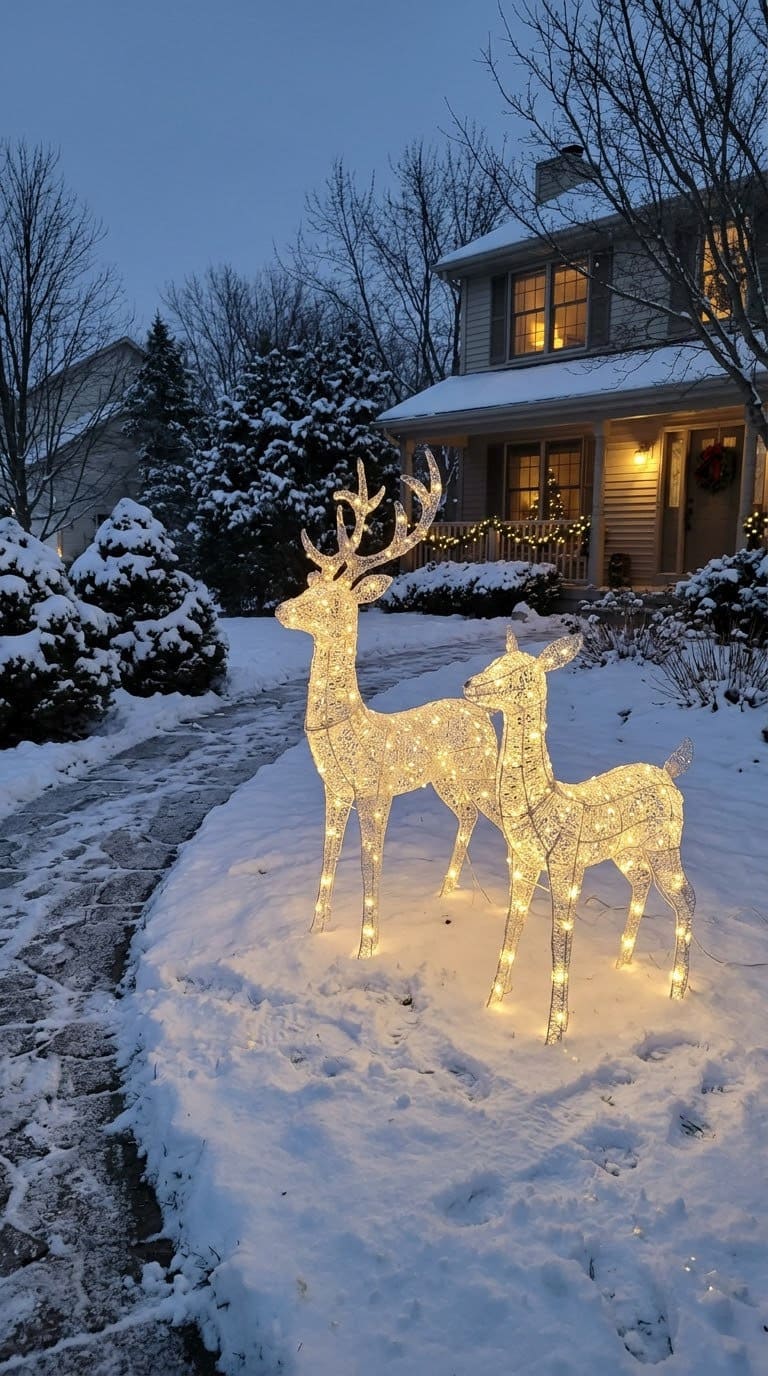
25. Lighted Reindeer
Set a lit reindeer pair near the walk. LED versions hold up better in wet weather.
Anchor each with ground stakes. Keep the plug on a covered GFCI outlet.
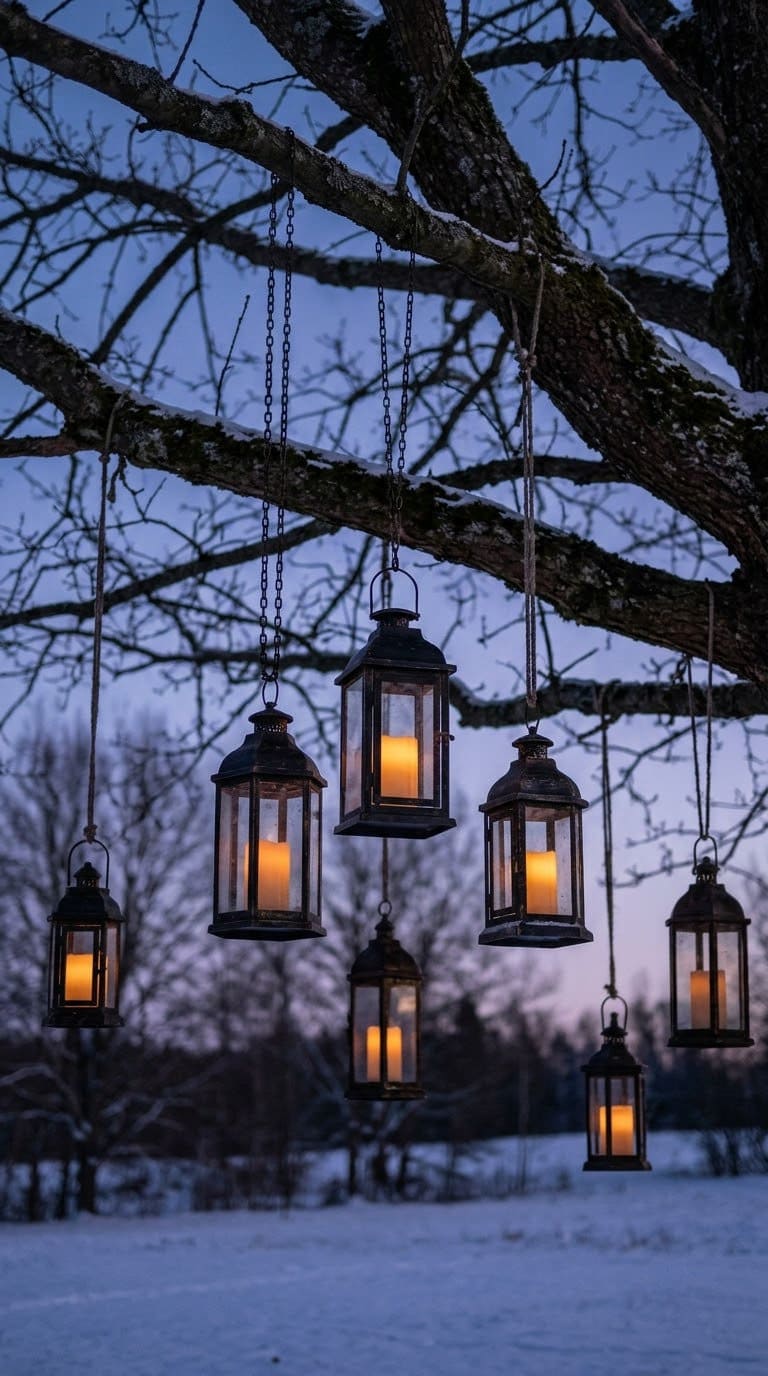
26. Hanging Lanterns
Hang lanterns from a tree branch or a shepherd’s hook. Fill each with a battery candle and a sprig of greens.
Vary the heights, so the group feels relaxed. Use lanterns with a closed top to keep rain out.
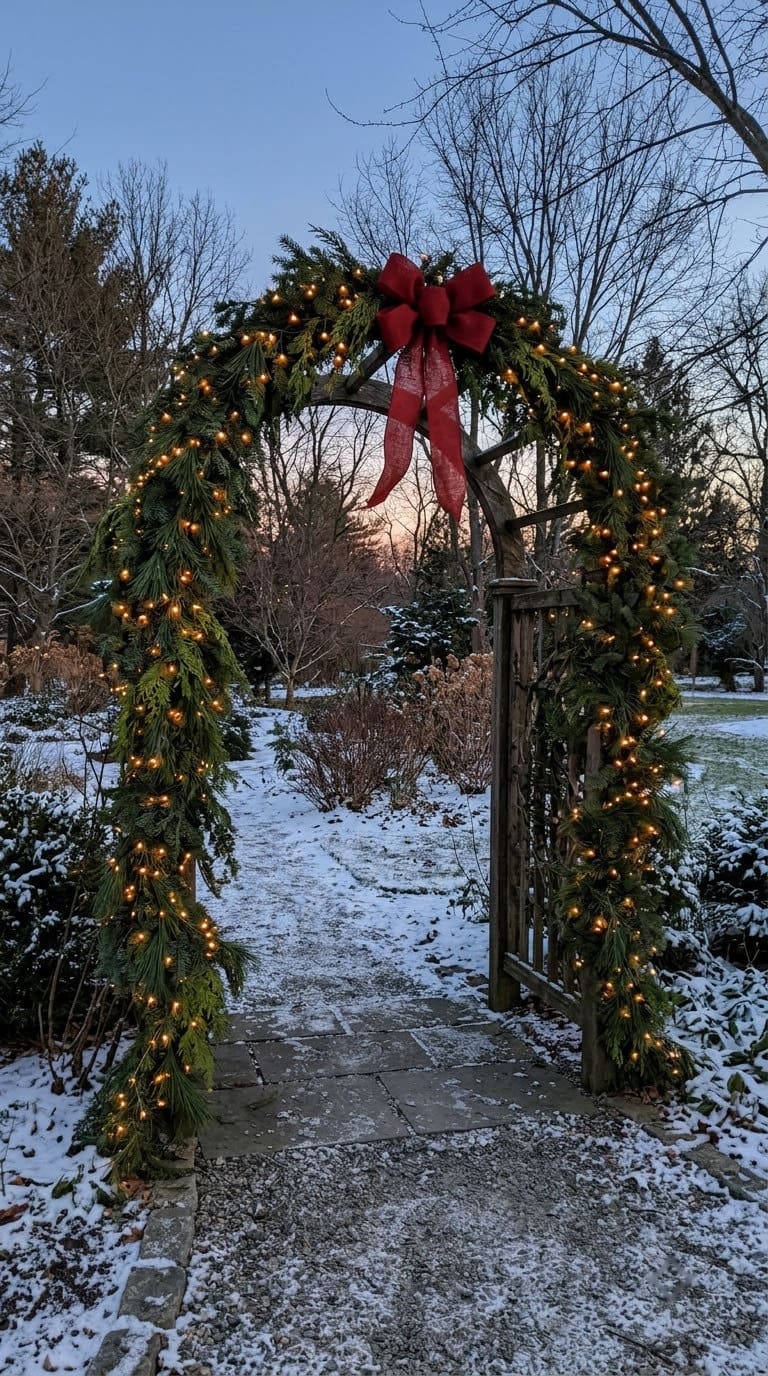
27. Garland-Wrapped Arbor
Wind garland up both sides and across the top of an arbor. Add lights and a bow at the center.
Secure the garland with wire at each crossbar. An arbor makes a nice frame for a photo.
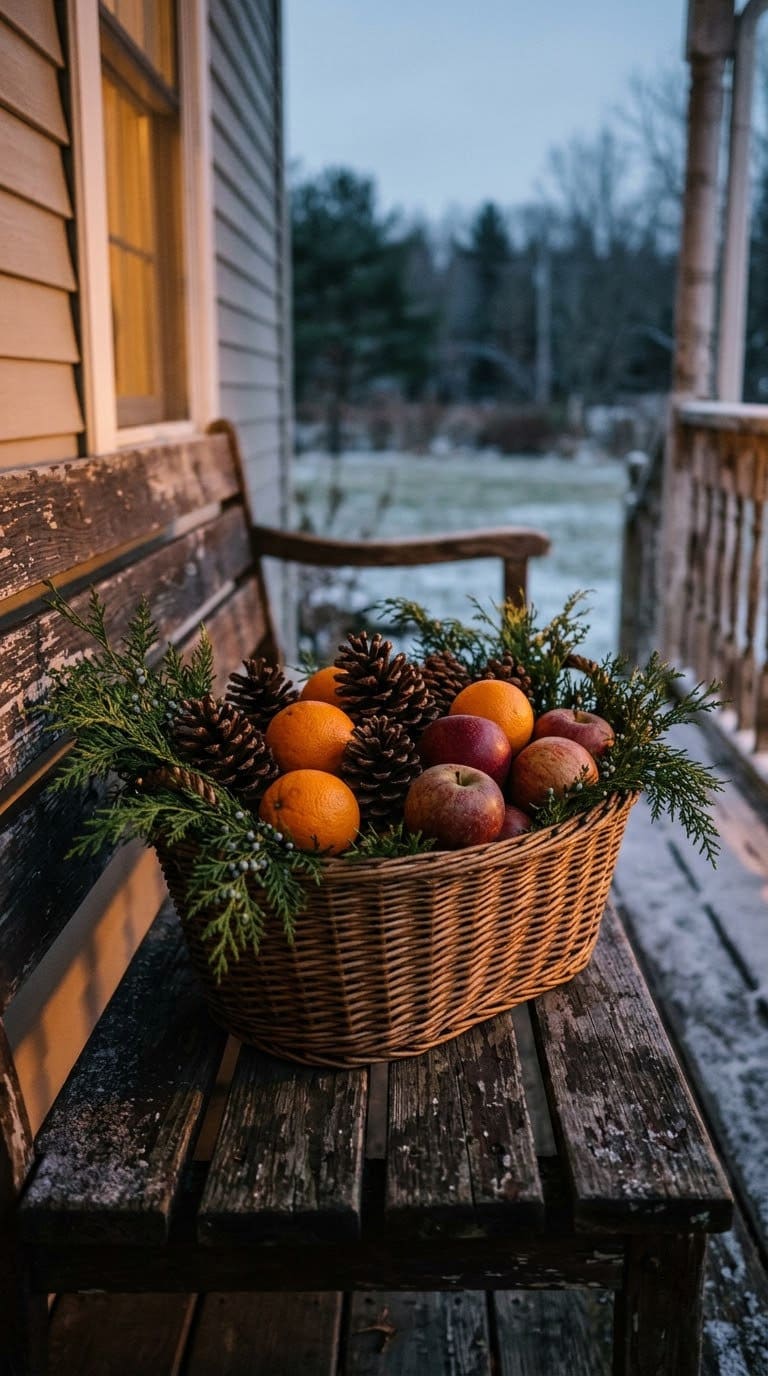
28. Pinecone and Fruit Baskets
Fill a basket with pinecones, oranges, and apples. Tuck in a few sprigs of cedar.
Citrus lasts well in cold weather. Place the basket by the door or on a bench.
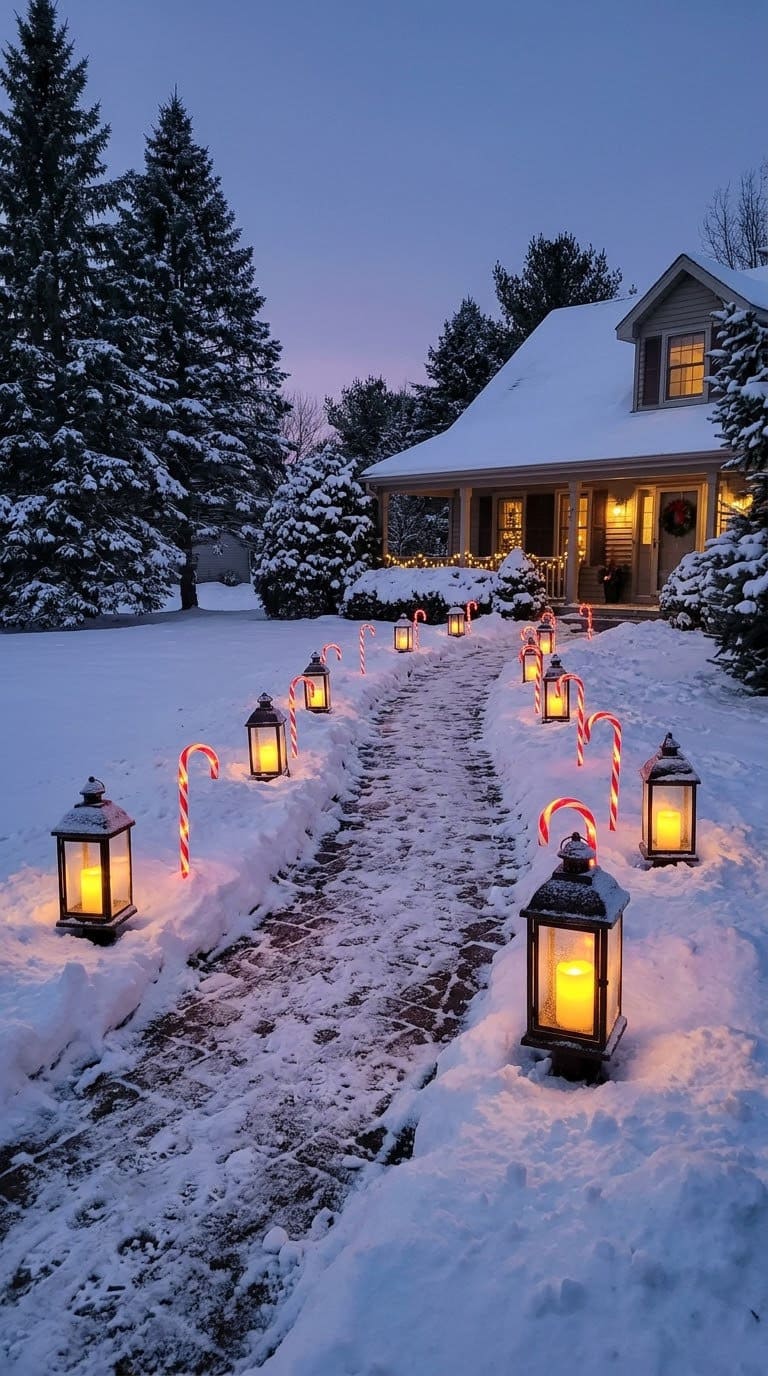
29. Pathway Markers
Line the path with lanterns, candy cane stakes, or small trees. Space them every few feet, so the walk feels guided.
Solar stakes save wiring. Pick spots that get full sun by day.
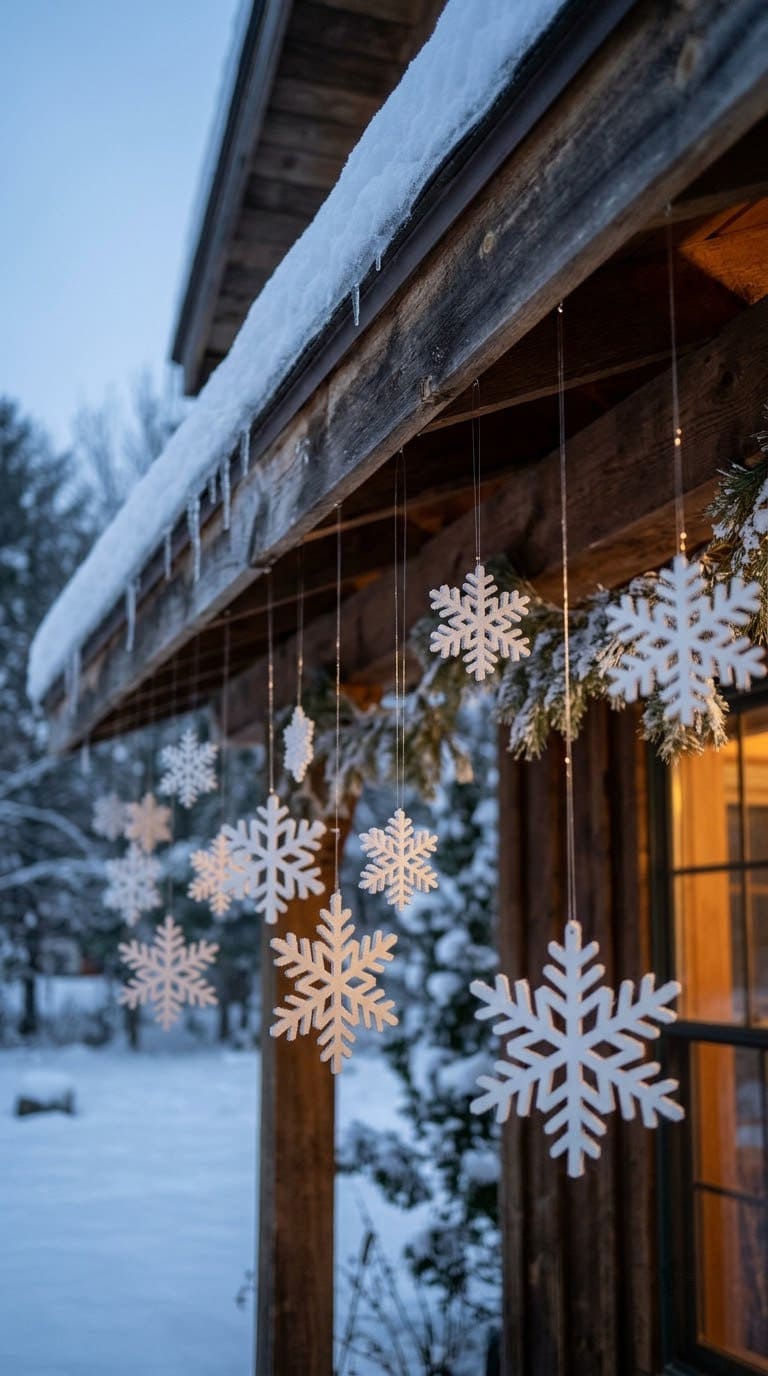
30. Hanging Snowflakes
Cut snowflakes from cardstock or white craft foam, then hang them from a porch roof with clear fishing line. They spin in a breeze and cost almost nothing.
Foam lasts longer than paper in damp weather. Hang them at different lengths for depth.
Common Mistakes to Avoid
Skipping the anchor is the top mistake. A gust can flatten a display in one night.
Using indoor paint or glue lets pieces peel in the first rain. Pick exterior products.
Hanging heavy pieces on thin branches can snap the limb. Use a thick branch or a post.
Overloading one outlet is a fire risk. Spread the load across circuits.
Forgetting to take decor down in spring leaves faded pieces. Store them dry.
FAQs
How can I make the outside of my house look Christmassy?
Decorate your outside space with colourful lights, fairy lights on trees and shrubs, outdoor tree lights or rope lighting to outline the shapes of windows. Keep it simple. Don’t have too much going on or you’ll lose that all-important festive feel! If your house is relatively plain, get a big statement inflatable snow man or santa to get people talking!
Choose festive lighting to outline the different areas of your house. For example, you could have fairy lights around your porch or outside your house number. You can even put them in plants for extra interest! Choose lights to suit the style of your home i.e. traditional or modern, and don’t forget to hang some Christmas cards in your window.
Remember, the inside of your house is just as important as the outside! Get it looking spick and span by removing present boxes from under your bed and put them everywhere so they look like presents ready for Santa, create a breakfast bar with festive ingredients, such as mince pies and cranberry sauce and make sure you have enough seating for your guests!
How do you weatherproof Christmas decorations outside?
Outdoor Christmas decorations are always a popular choice, but sometimes the weather can make it difficult to show off your festive lights without them shorting out or becoming damaged in some way. However, with the right equipment and a little bit of know-how, you can weatherproof your Christmas lights and protect them from the elements. Here’s what you need to do:
Each light set should consist of three wires – a black or white wire which is the ground, a green or copper wire which is the grounding conductor and an uninsulated or insulated wire which is the hot or switched wire.
Start by examining each light set and wrapping a piece of electrical tape around any that have frayed or bare wires. If you can, take them down from where they’re hanging and give them a quick mend – otherwise you’ll need to put them away somewhere safe before continuing with your outdoor lighting project.
How long should you store outdoor Christmas lights?
I’ve been getting this question a lot lately. Last year I was asked for the first time, and it seems to be becoming more common… People are wondering whether or not they can store their Christmas lights outside, if they are weatherproofed. The answer is no, probably not. But there are some caveats.
When should you store your outdoor Christmas lights?
When should you take a set of Christmas lights out of storage? When the first cold temperatures arrive, typically around early November. If your display is all LED or other low voltage lighting, then it’s even later in the year because you will have to wait for dark to test them and see if they work.
You should store your lights indoors, in a climate controlled environment. They should not be stored outside if you expect temperatures below freezing. If you do store them outside the following things could happen:
Lights could fail to light as they may short out or corrode (frozen water is no good for batteries) The cords and plugs could get brittle and crack, especially if they are plastic. Cords may be chewed by animals looking for insulation or nesting material (birds).
If you expect to have cold temperatures where your lights will be stored, make sure the cords are not touching the ground. If they do, prop them up off of it or put something underneath the cords to protect them. This will help ensure that water won’t collect on the cord and cause it to short out or corrode.
It’s more of a hassle, but you can store your lights indoors in an unheated garage or basement if you know that there won’t be any cold temperatures where your Christmas display is located.
How do you make large outdoor Christmas baubles?
The most important things you need to make outdoor Christmas baubles is: space, dedication and a bit of courage. The preparation phase itself can be long and arduous as well as time-consuming, but the creation process is generally fun and will give you a great feeling of achievement when it’s finished. Be prepared for some bumps in the road, though. The first time you make Christmas baubles may take up to 24 hours, so be sure to allow yourself enough free time and energy for the entire process.
The materials needed are simple: water balloons, a basin of similar size to the finished bauble, string (25 meters per ball), heavy-duty scissors, one meter of metal wire and modeling clay for sticking the two parts together.
There are several approaches to making large outdoor Christmas baubles: You can both fill and tie balloons or just fill them, you can blow up the balloons yourself or use industrial pumps, etcetera. We chose to blow them up ourselves because we were only making a few and it required very little physical effort. For smaller projects you could also use small pumps, but of course that is not an option for making larger objects.
Step 1: Preparation
We first cut 25 meters of string into two pieces, put one piece aside, then measured 50 cm from one end of the remaining length of string, tied the end of the balloon to it and began filling. After about 100 balloons were filled we turned them all upside down in a large basin and left them there for 24 hours so they could deflate evenly.
Next we gathered up all of our “expanded” balloons, cut off their necks with a sharp knife and pulled out the rubber. After this we cut the tops and bottoms off each balloon so that they were left as large, round pieces of rubber.
Step 2: Shaping
Each piece was rolled up as tightly as possible around the metal wire and dipped into modeling clay at two places approximately three centimeters from either end, which would prevent them from slipping off under the pressure of the next stage. This process can be quite time-consuming and we recommend taking a break every 10 minutes or so in order to keep your hands healthy and pain-free. After four hours of rolling and dipping we had 16 clay-covered balls with tubes in them, which we then filled with air using an industrial pump (the kind that is used to fill tires), letting the air enter through the tubes. They were then left for another 24 hours so that they could properly inflate.
Step 3: Finalizing
The clay molds are then carefully removed, taking care not to rip the rubber apart since this would spell the end of your project. The balls are first separated, then the metal wire is cut off and we were left with our large Christmas baubles.
Step 4: Painting
They had to be painted, of course. The painting process following this pattern: stenciling (two layers), sanding (if necessary) and varnishing (two layers). We let the paint dry for a few days before we put the string inside and hung them up on a tree.
The result is a very festive outdoor Christmas decoration that not only looks great but which no one else will have, providing you with a unique piece to decorate your yard or balcony. We hope that soon it will be warm enough in most places for these large outdoor Christmas baubles to be hung outside, but until then they will give their best in storage in some dark corner in your garden shed.
How do I protect outdoor Christmas decorations from rain and snow?
Use exterior paint and sealer on wood and PVC. Keep paper, cardboard, and fabric pieces under a porch roof.
How do I keep outdoor decorations from blowing away?
Weight the base with gravel or sand. Stake light pieces into the ground, and tie them on with wire or zip ties.
What are cheap outdoor Christmas decoration ideas?
Wood crates, PVC candy canes, pallet trees, and birdseed ornaments cost little. Most use scrap materials.
When should I put up outdoor Christmas decorations?
Many people start after Thanksgiving. Put the lights up earlier while the weather is still mild.
Are battery candles safe outside?
Yes. They give a warm glow with no flame. Choose a set rated for outdoor use or keep them under cover.
Conclusion
Let us know if this list helps with your outdoor Christmas decor. Write a comment sharing your thoughts and which idea you liked the most. The outside of your house is what everyone sees first of your home, so make it look good this holiday season!
Never miss an update — choose FarmFoodFamily as your preferred source on Google.
How it works: Tap the button below to open Google's settings page, then check the box next to FarmFoodFamily.
Tap the checkbox to turn it blue — that's how you know it's set.