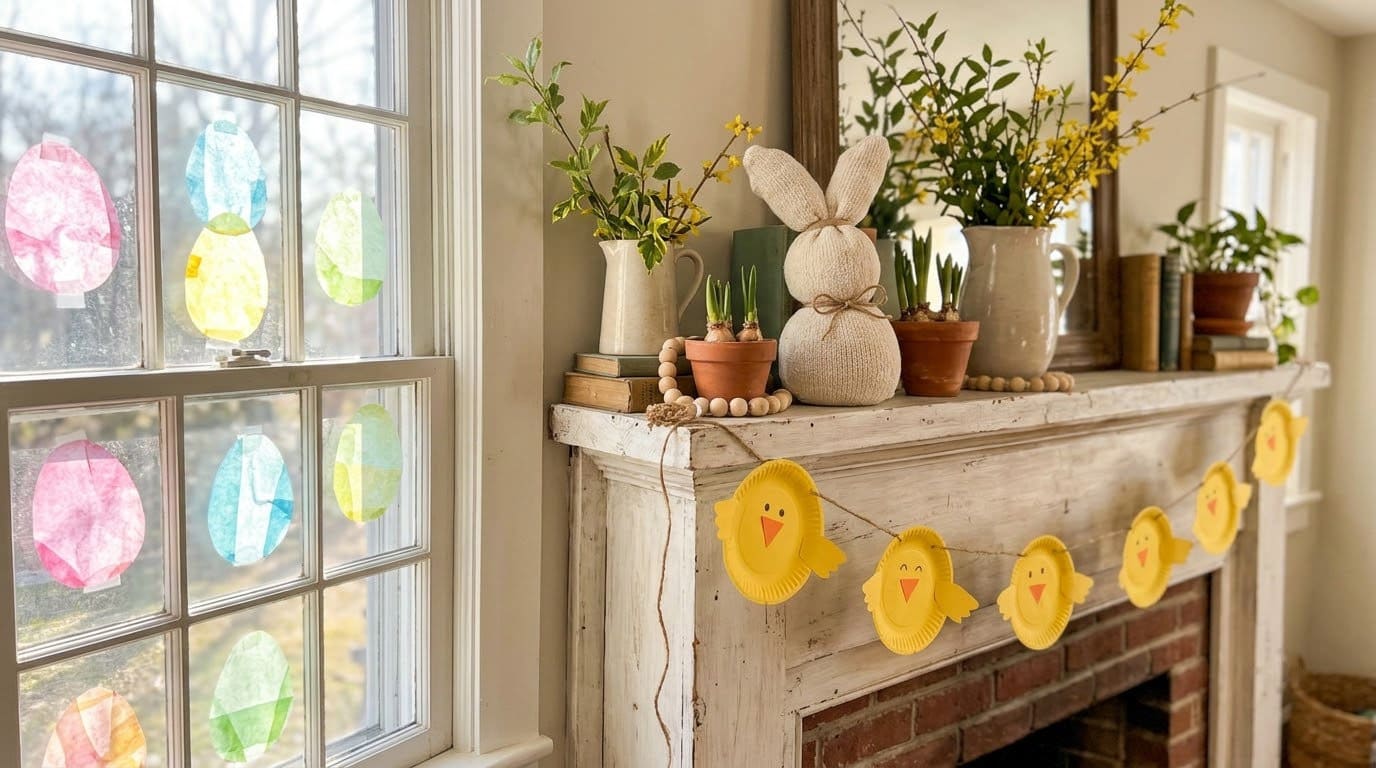
11 Adorable Easter Crafts for Kids That Double as Spring Decor
These kid-made Easter crafts turn paper, socks and pine cones into mantel, window and table decor, as long as you match each project to your child’s age and check the small parts first.

Never miss an update — choose FarmFoodFamily as your preferred source on Google.
How it works: Tap the button below to open Google's settings page, then check the box next to FarmFoodFamily.
Tap the checkbox to turn it blue — that's how you know it's set.
These kid-made Easter crafts turn paper, socks and pine cones into mantel, window and table decor, as long as you match each project to your child's age and check the small parts first.
Products We Recommend
This post contains affiliate links. We may earn a commission on qualifying purchases at no extra cost to you.

Apremont 100 Piece 6 Inch Jumbo Wooden Craft Sticks
Natural 6-inch jumbo sticks, sturdy enough for the bunny puppets in idea 3.
Shop Now
Crayola Washable Kids Paint (6ct)
A washable paint set sold for ages 3+, good for the plate chicks and the handprint bunny.
Shop Now
Chell Clear Contact Paper, 17.5 in x 5 ft
A clear adhesive roll for the tissue paper window eggs in idea 4.
Shop NowThe best Easter crafts for kids use cheap supplies, finish in under an hour, and end up somewhere in your home. We picked 11 that kids can make and you can actually display, from a chick garland to a sock bunny shelf sitter.
Match the craft to your child’s age first. Toddlers do best with big shapes, tissue paper and paint. But kids 5 and up can handle cutting, weaving and folding.
Watch the small stuff. Googly eyes, pom poms, buttons and marshmallows are choking risks for little kids. Swap in stickers, drawn eyes and paper dots for anyone under 3.
Keep egg-shaped decor made of paper, wood or plastic. Save hard-boiled eggs for eating, and chill them fast. Every craft below ends with a spot to display it, so the work doesn’t land in a drawer.
Before You Start: Match the Craft to the Age
Easter crafts go wrong in two ways. The craft is too hard, so the adult ends up making it. Or the craft has tiny parts a toddler can put in their mouth.
The table below gives you a quick match. Use it to pick ideas and to decide which supplies to hide.
| Age | Best materials | Skip or swap | Good picks below |
|---|---|---|---|
| 1 to 2 years | Washable paint, tissue paper, big paper shapes | Googly eyes, pom poms, buttons, small beads | Handprint bunny, tissue paper window eggs |
| 3 to 4 years | Glue sticks, safety scissors with help, stickers | Hot glue, marshmallows, loose small trims | Paper plate chicks, craft stick puppets |
| 5 to 7 years | Cutting, folding, simple weaving | Hot glue guns, sharp tools | Woven baskets, paper bag masks, egg carton chicks |
| 8 years and up | Sewing-free fabric crafts, supervised hot glue | Anything with loose batteries | Sock bunny, pine cone bunnies, jar luminaries |
Here’s a simple home test for small parts. If an item fits completely inside a toilet paper tube, keep it away from a child under 3.


The U.S. Consumer Product Safety Commission uses the same idea. Its small parts cylinder approximates the size of the fully expanded throat of a child under three.
Check your paint and glue too. The Art and Creative Materials Institute says to look for its AP Seal on creative products for kids in sixth grade or younger, and never give those kids a product with the CL Seal.
1. Paper Plate Chick Garland
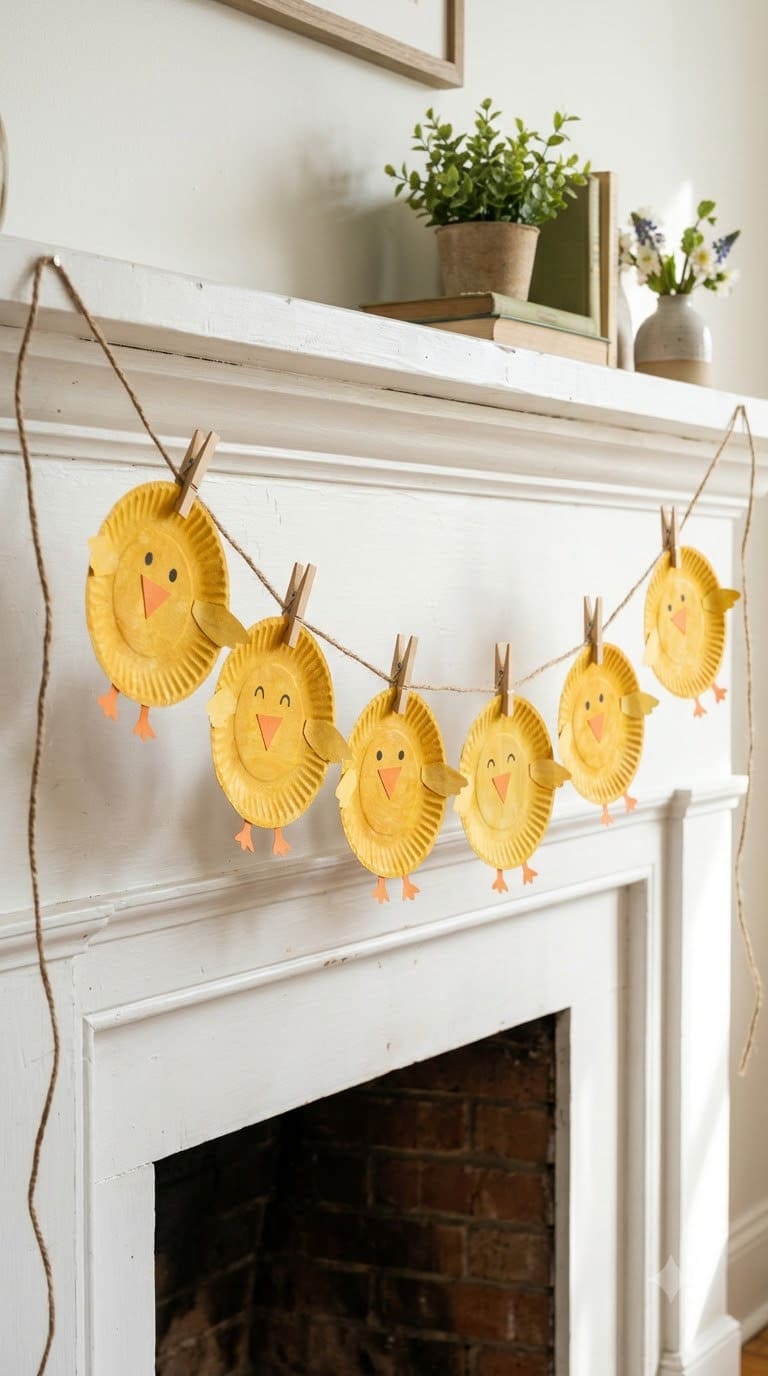
A row of fluffy yellow chicks looks great across a mantel or window frame. Each chick takes about 10 minutes, so six chicks make a garland in an afternoon. This one works for ages 3 and up.
You need: 6 small paper plates (7 to 9 inches), yellow washable paint, orange construction paper, yarn or baker’s twine, glue stick, and a black marker.
- Have your child paint the back of each plate yellow. Let them dry for about 30 minutes.
- Cut a small orange triangle for each beak. Cut two orange feet and two small wings from scraps.
- Glue on the beak and wings. Draw the eyes with a marker instead of gluing on googly eyes.
- Punch two holes in the top of each plate and thread twine through. Space the chicks about 6 inches apart.
Where it goes: hang it across a mantel, a bookshelf edge or a window. A 6-chick garland covers about 4 feet with the spacing above.
Quick tip: let kids use sponges or crumpled paper to paint. The uneven texture looks like fluff.
2. Egg Carton Chicks in a Nest Centerpiece
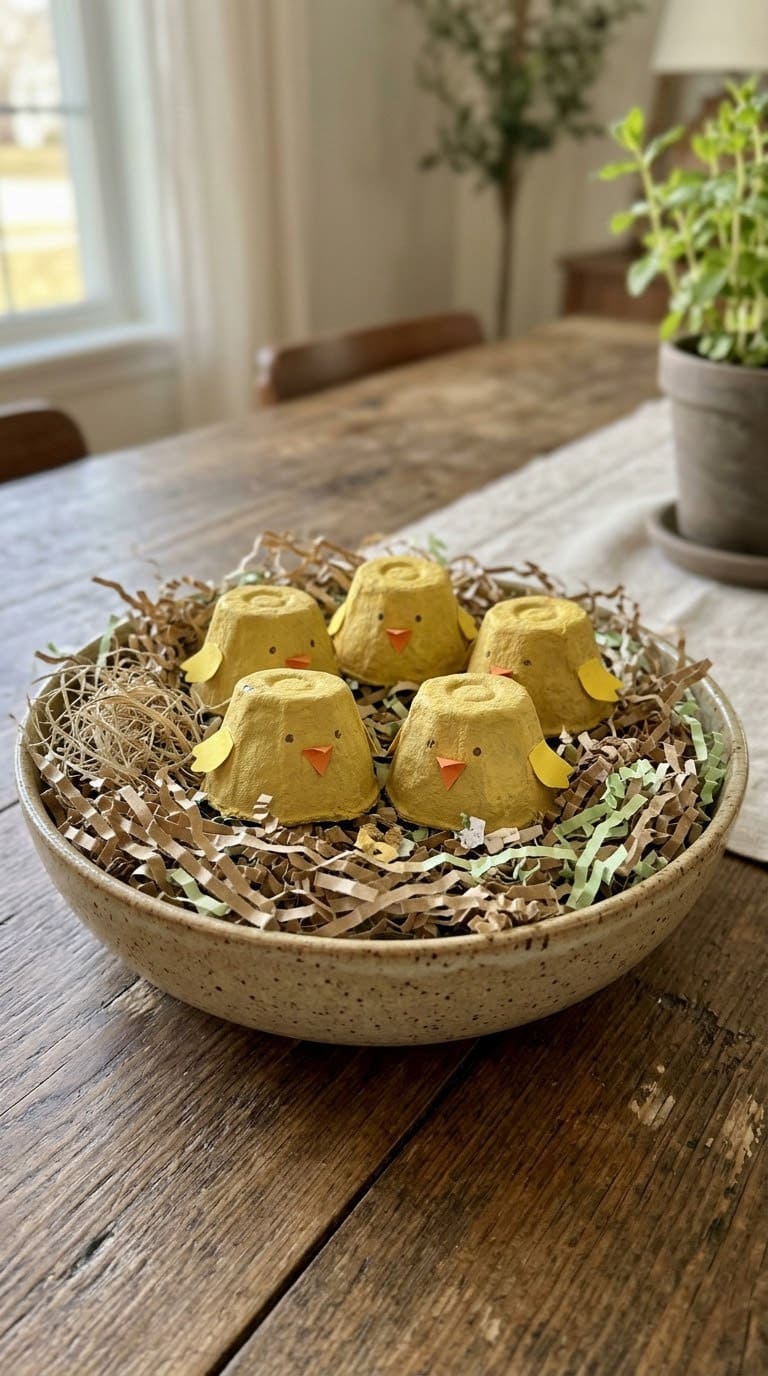
Egg cartons are free, and the cups make perfect chick bodies. This is a good group craft for ages 5 and up. Younger kids can paint while an adult cuts.
You need: a cardboard egg carton (not foam), yellow paint, orange paper, a shallow bowl, and shredded paper or dry grass for the nest.
Natural 6-inch jumbo sticks, sturdy enough for the bunny puppets in idea 3.
Shop NowThis post contains affiliate links. We may earn a commission on qualifying purchases at no extra cost to you.
- Cut the cups apart. An adult should trim the rough edges.
- Paint each cup yellow, inside and out. Let it dry for 30 to 45 minutes.
- Fold a small orange paper triangle in half and glue it on as a beak. Draw the eyes.
- Set the chicks in a bowl lined with shredded paper.
Where it goes: the middle of a table. Pair it with the egg and flower ideas in this guide to Easter centerpieces that stay pretty and pet-safe.
Quick tip: use cardboard cartons only. Foam cartons crumble under paint and shed tiny bits.
3. Craft Stick Bunny Puppets
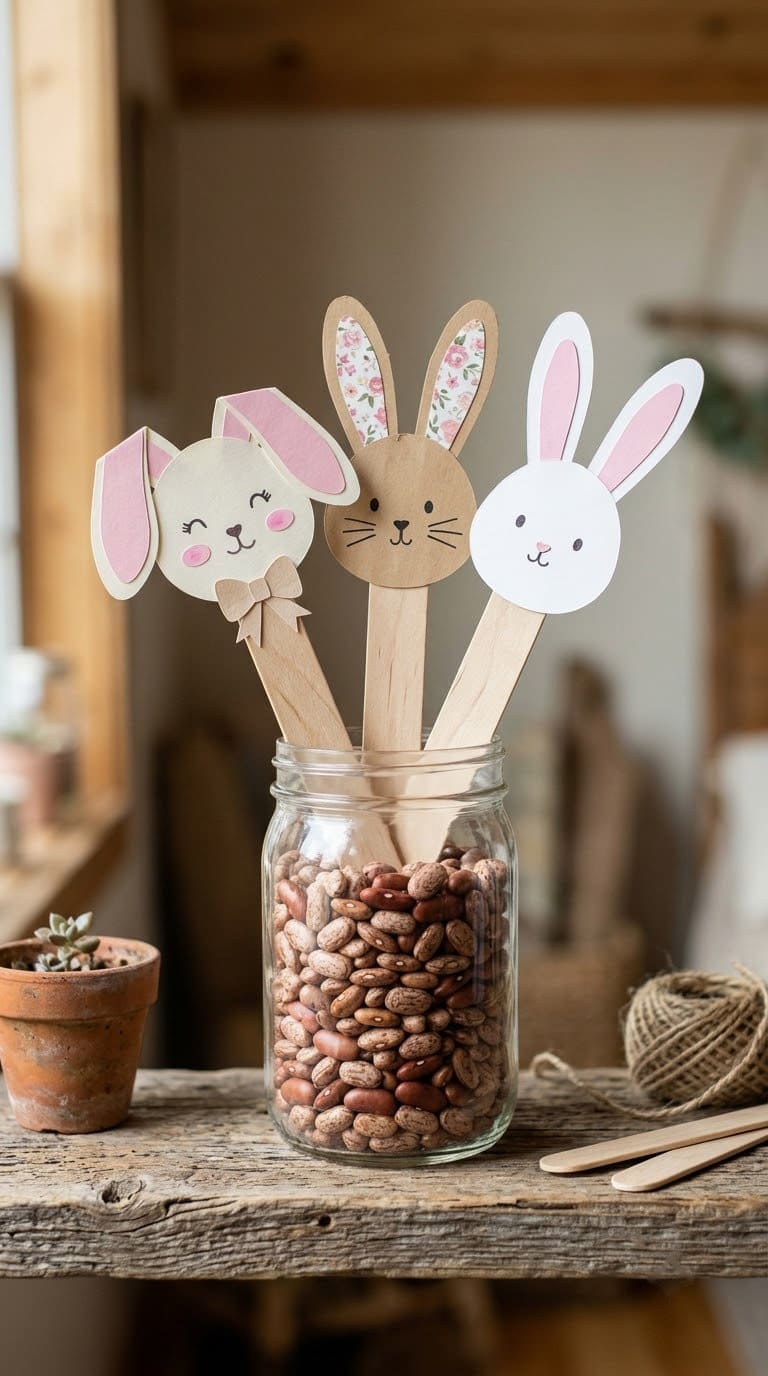
Bunny puppets give kids a toy and a decoration in one. Stand them in a jar of dried beans or a small pot, and they become a cute shelf display. This one fits ages 3 and up.
You need: jumbo craft sticks, white and pink paper, glue stick, markers, and a jar or small pot.
- Cut a white oval for the face and two long ears. Cut smaller pink insides for the ears.
- Glue the ears and face onto the top of a craft stick.
- Draw the eyes, nose and whiskers.
- Make a few in different colors so the group looks like a bunny family.
Where it goes: a shelf, a kitchen windowsill or a tray on the coffee table.
Quick tip: use jumbo sticks. Regular ones snap when kids push them into a jar.
4. Tissue Paper Window Eggs
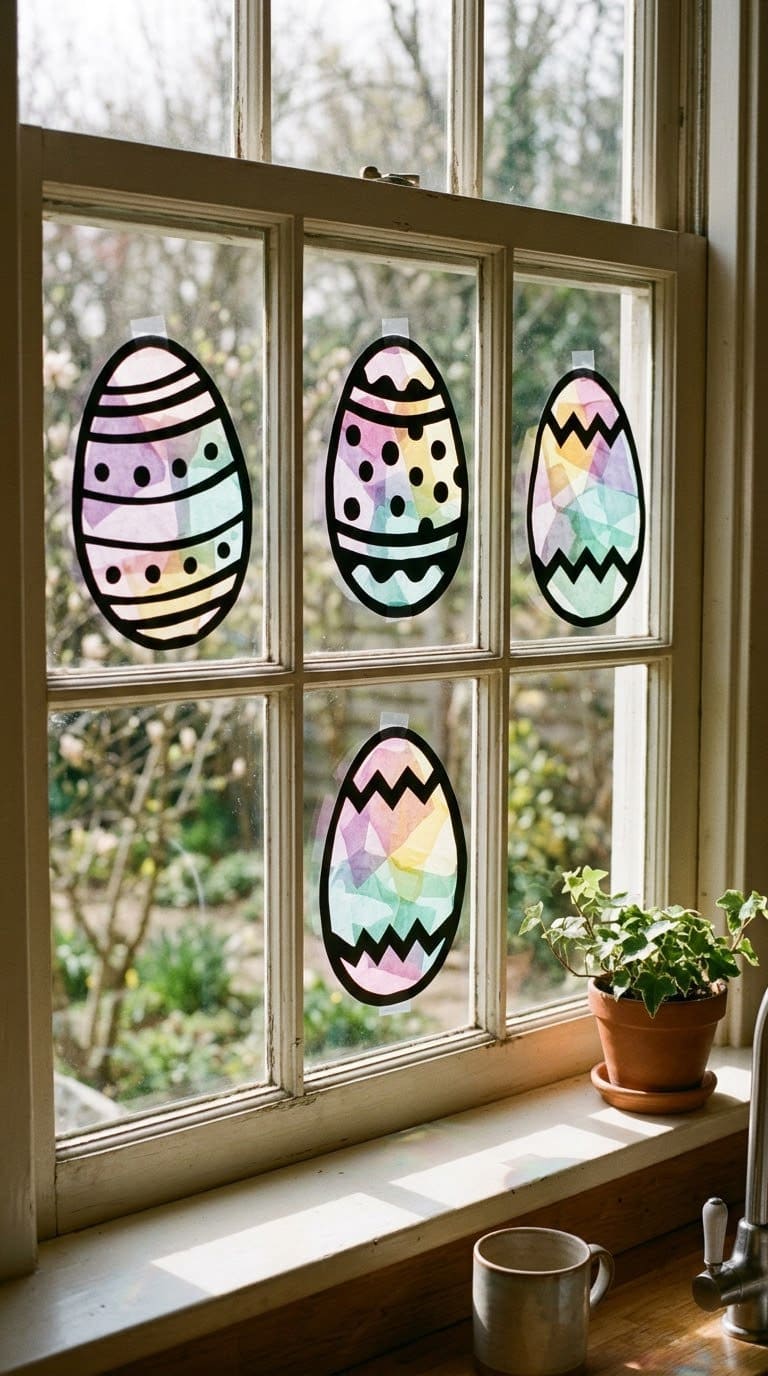
This craft is the best pick for toddlers. It uses no scissors, no small parts and no mess beyond sticky fingers. The finished eggs glow like stained glass when the sun comes through.
You need: clear self-adhesive contact paper, tissue paper in spring colors, construction paper, and tape.


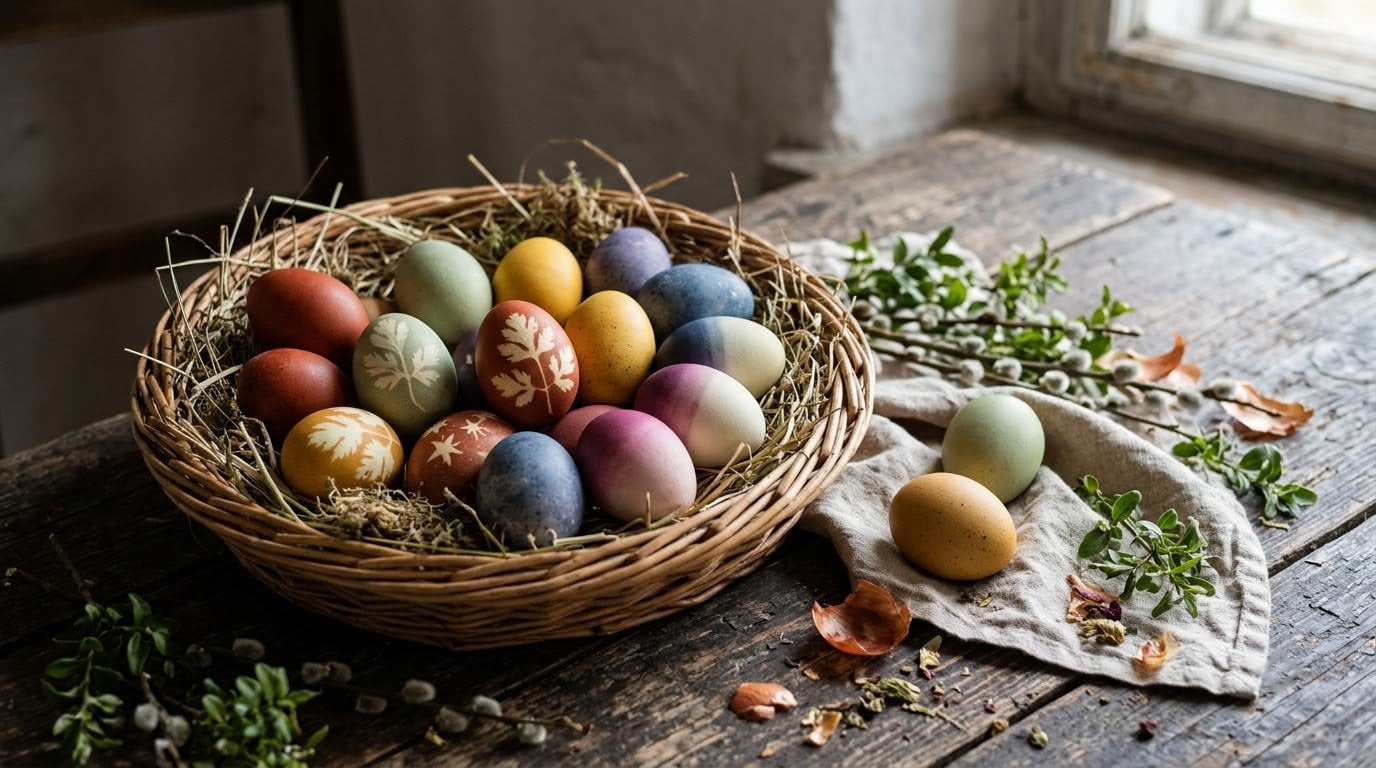
- Cut an egg shape from construction paper. Cut out the middle so you have an egg-shaped frame.
- Stick a square of contact paper, sticky side up, to a table with tape.
- Let your child press torn tissue paper pieces onto the sticky side.
- Cover with a second piece of contact paper, or press the paper egg frame on top. Trim the edges.
Where it goes: stick it right on a window. Three to five eggs at different heights look best.
Quick tip: tear the tissue instead of cutting it. Torn edges blend softly and make the colors glow.
5. Handprint Bunny Keepsake
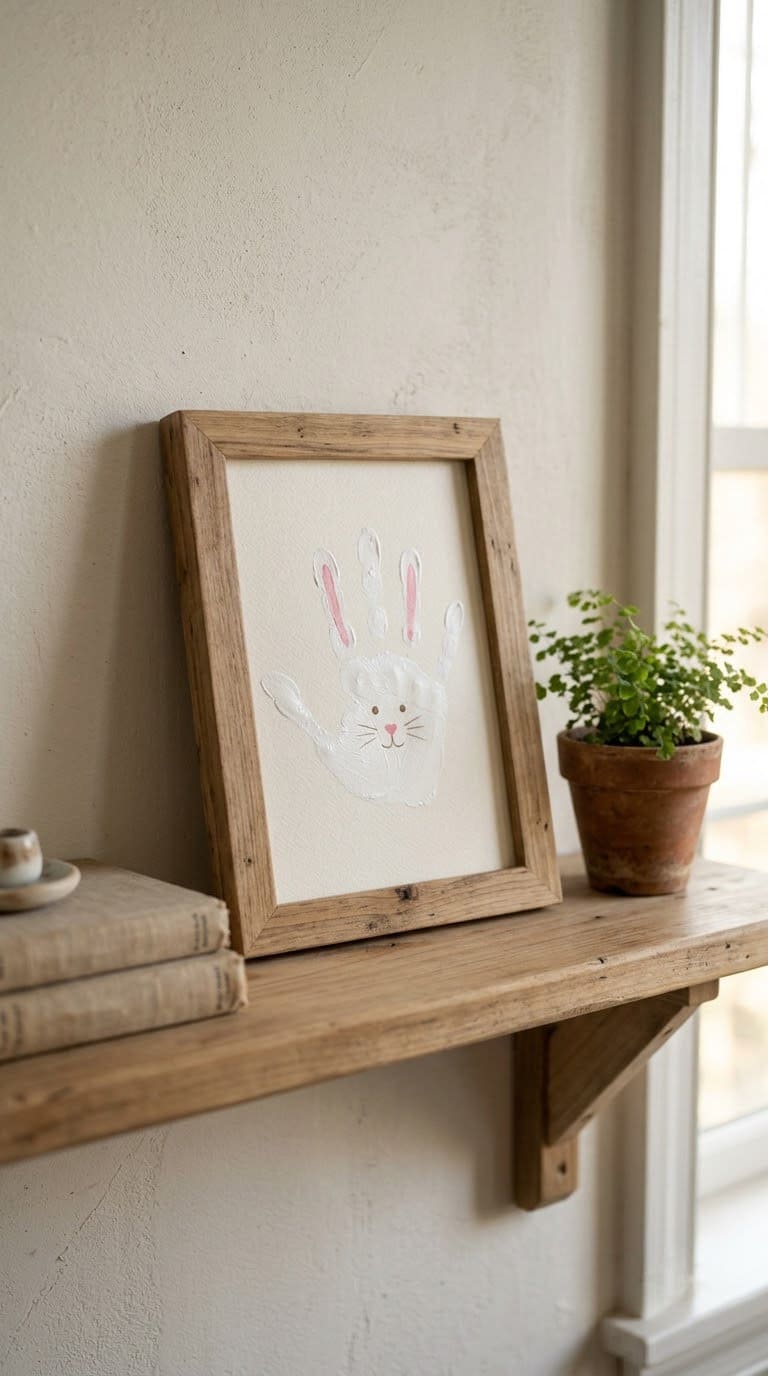
A handprint bunny is a decoration you’ll want to keep. Your child’s hand becomes the bunny’s ears, so it only works while the hand is small. Ages 1 and up, with an adult doing the painting.
You need: washable white or gray paint, a sheet of heavy paper or a small canvas, a marker, and a frame.
- Paint your child’s palm and fingers. Press two fingers up as ears, with the thumb tucked in.
- Press the hand firmly onto the paper, then lift straight up.
- Let it dry, then draw a face and a small pink nose below the ears.
- Write the year and your child’s age on the back.
Where it goes: a small frame on a shelf. Each year, you can add a new one and make a row.
Quick tip: check for the AP Seal on the paint. Little hands go straight to little mouths.
6. Pine Cone Bunnies
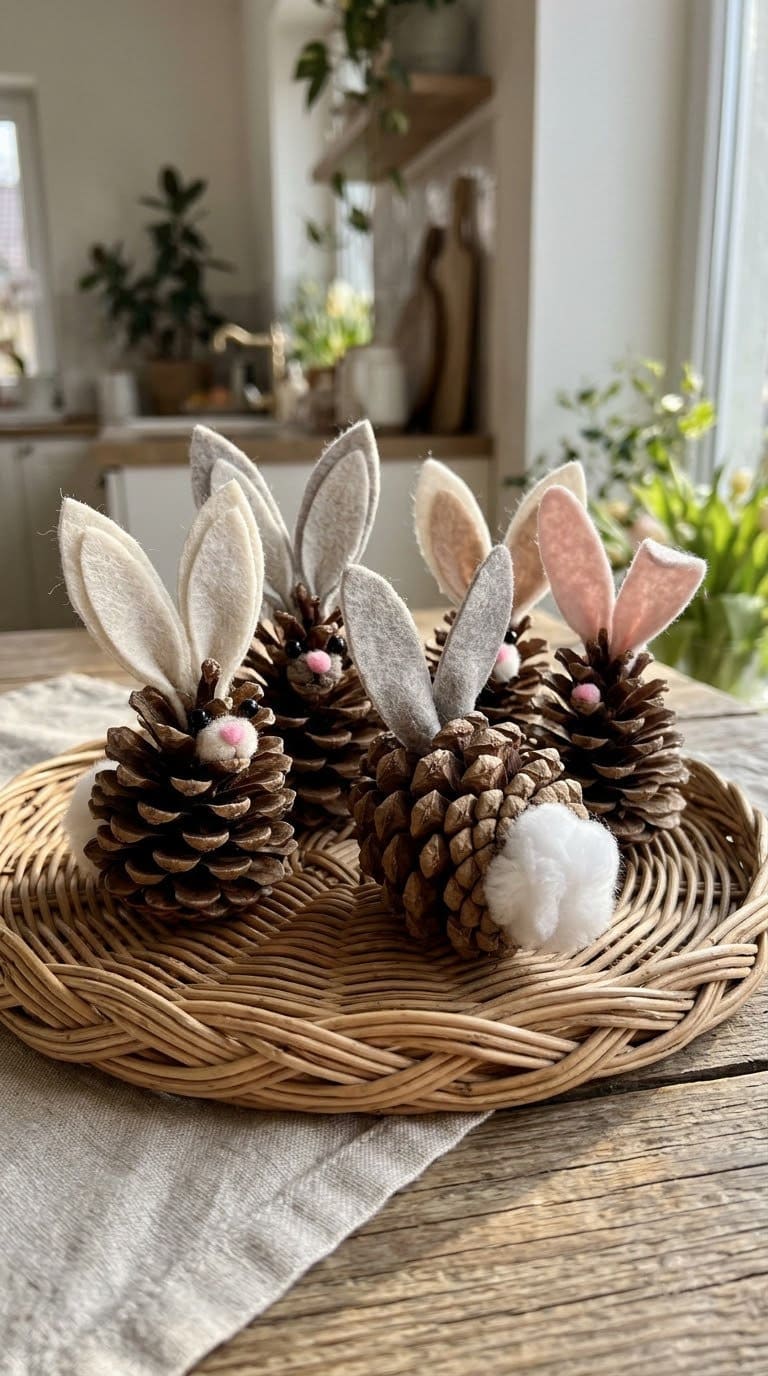
Pine cones make natural, sturdy bunny bodies. They look best grouped on a table runner or a garden bench. This is a craft for ages 8 and up, because the best glue for pine cones is hot glue.
You need: small pine cones (3 to 4 inches tall), cotton balls, pink and white felt, a hot glue gun for an adult, and a black marker.
- Shake the cones outdoors and let them air out so no bugs or sap come inside.
- Cut two ears from felt. Fold a small pink piece into each ear.
- An adult glues the ears at the top and a cotton ball tail at the back.
- Kids draw or glue the face on the front.
Where it goes: a woven tray, a porch step or a garden bed. If you like natural projects, our spring garden crafts for kids has more ideas that work outside.
Quick tip: younger kids can decorate with markers or stickers while an adult handles the glue.
7. Paper Bag Bunny Masks
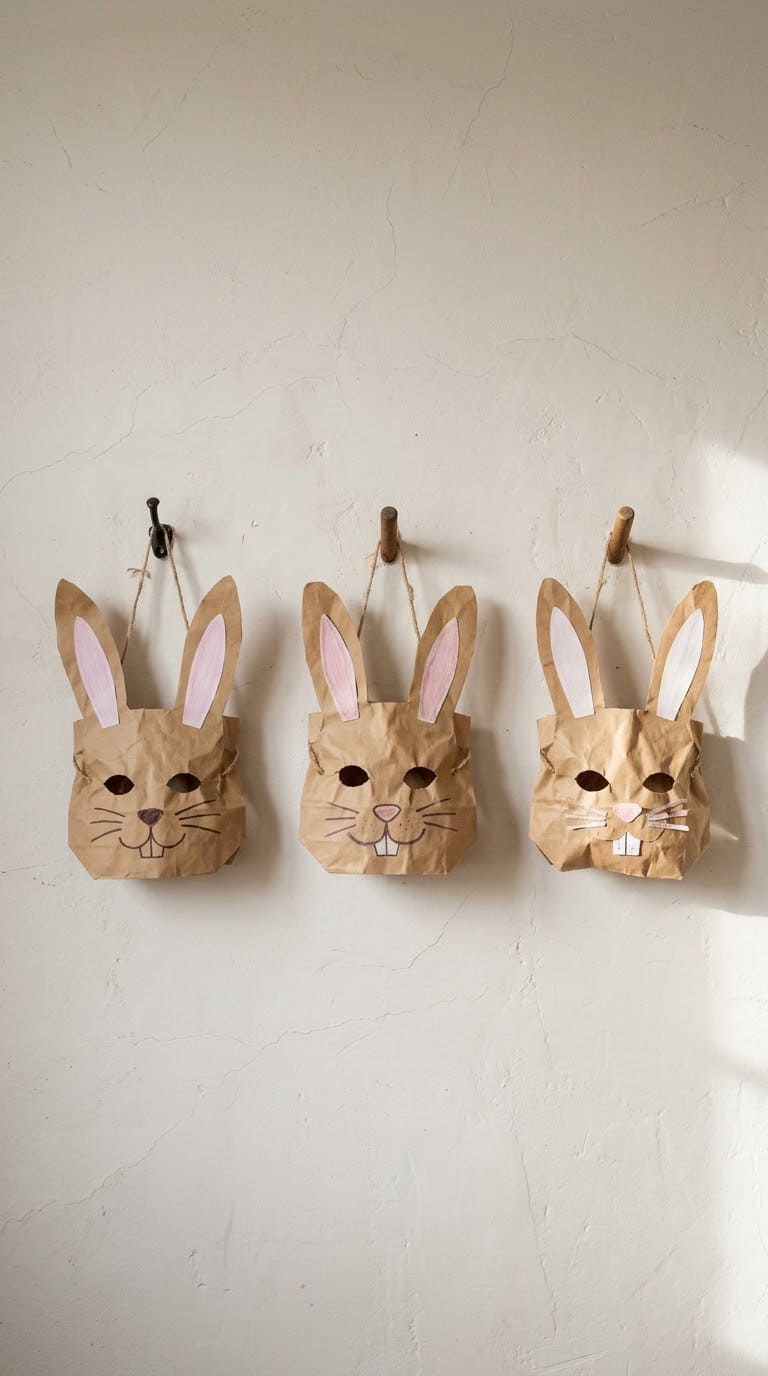
Kids love wearing a bunny mask for an egg hunt. After the hunt, the masks hang on a wall like a row of friendly faces. This is a craft for ages 5 and up.
You need: brown paper lunch bags, white and pink paper, crayons or markers, a glue stick, and craft sticks.
- Flatten a bag and cut out two eye holes about 1.5 inches wide. An adult should mark the spot first.
- Glue on tall paper ears.
- Decorate with a nose, whiskers and spots.
- Tape a craft stick to the back as a handle.
Where it goes: hang the masks on a wall with removable hooks. Our wreath ideas can fill the space around them.
Quick tip: use a handle, not an elastic or string. Kids can hold it up to their face and drop it when they’ve had enough.
8. Woven Paper Baskets
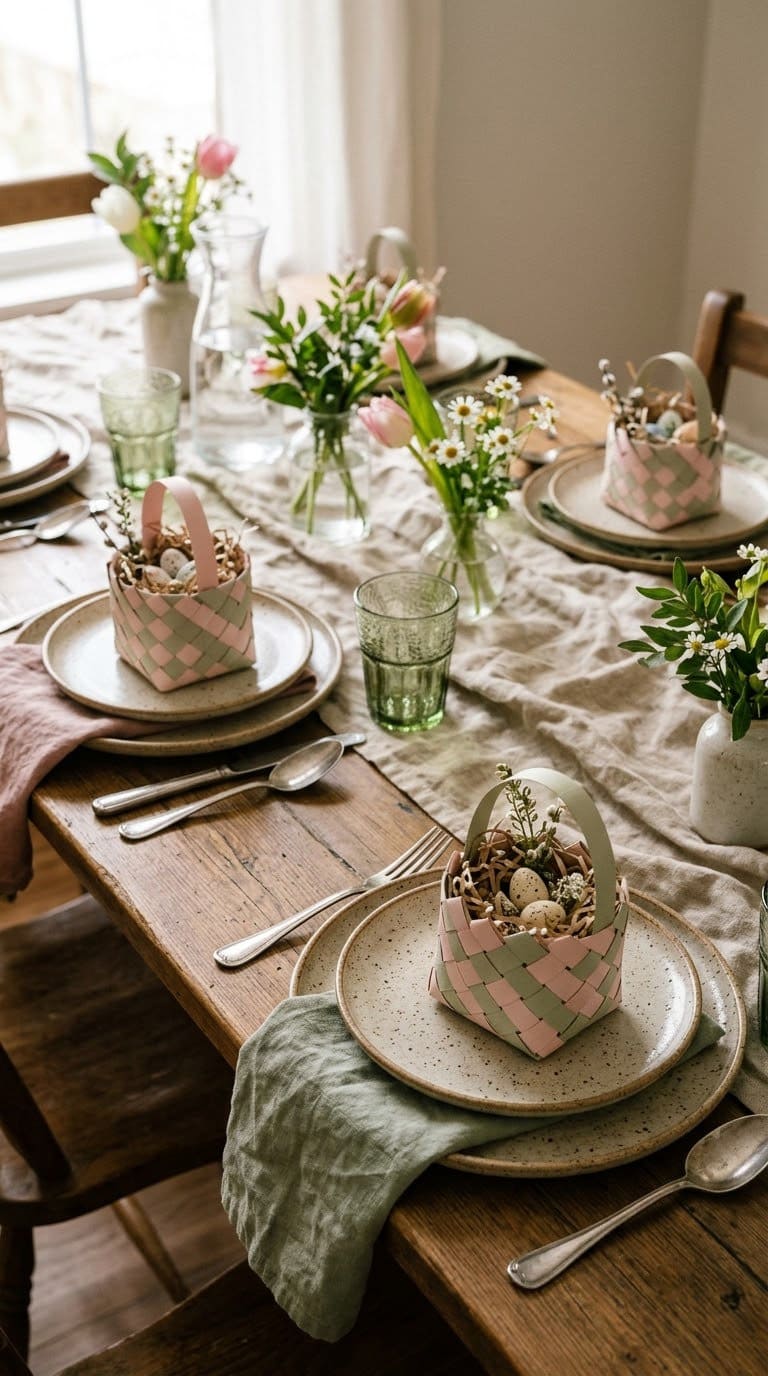
Woven baskets look like a small art project and make great place cards or treat holders. They take patience, so this is best for ages 6 and up. And it’s a fun way to use up spare construction paper.
You need: two colors of construction paper, scissors, glue, and a strip of paper for the handle.
- Fold one sheet in half. Cut slits from the fold up to about 1 inch from the edge, spaced about 1 inch apart.
- Cut strips of the second color, about 1 inch wide.
- Weave a strip over and under through the slits. Alternate each row.
- Roll the sheet into a cone or glue the sides into a small box. Add a handle.
Where it goes: one at each table setting. Fill them with paper eggs, not candy, for the youngest kids.
Quick tip: if weaving frustrates your child, have them glue the strips flat. The result still looks like a basket.
If you want a sturdier version, check out our Easter basket ideas.
9. Sock Bunny Shelf Sitter
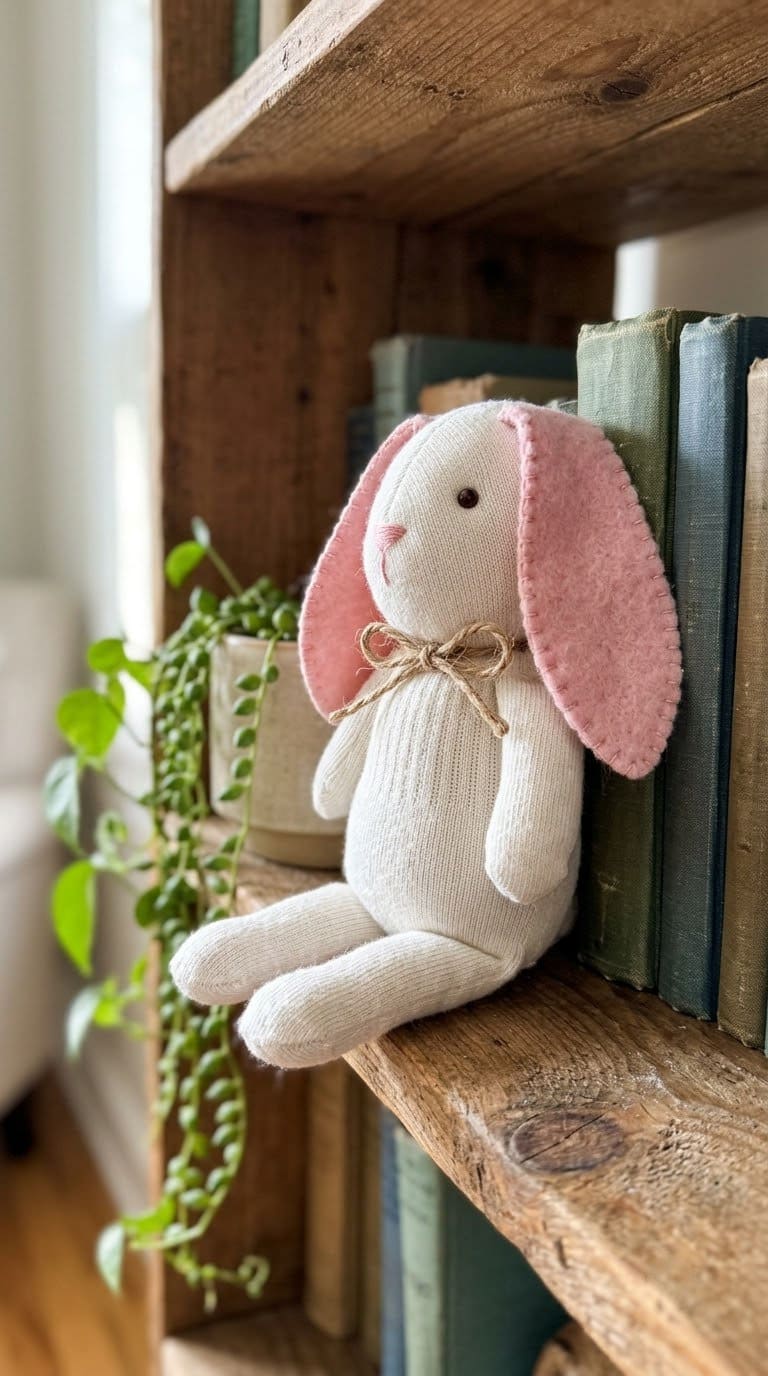
A sock bunny needs no sewing, and it looks soft and handmade. Fill it with rice and it sits upright on a shelf. This one is for ages 8 and up, or younger kids with help.
You need: one clean white tube sock, about 1 to 2 cups of uncooked rice, two rubber bands, pink felt, and a cotton ball.
- Fill the foot of the sock with rice until it’s round. Tie off the top with a rubber band.
- Cut the upper part of the sock into two long pieces. Those are the ears.
- Fold a piece of pink felt inside each ear and tack it with fabric glue.
- Add a second rubber band at the neck. Glue on the cotton ball tail.
Where it goes: a bookshelf or the end of a bed. Knot the sock tightly. For homes with toddlers, skip this one or sew the opening closed.
Quick tip: use an old sock with no holes. Rice sneaks out of tiny tears.
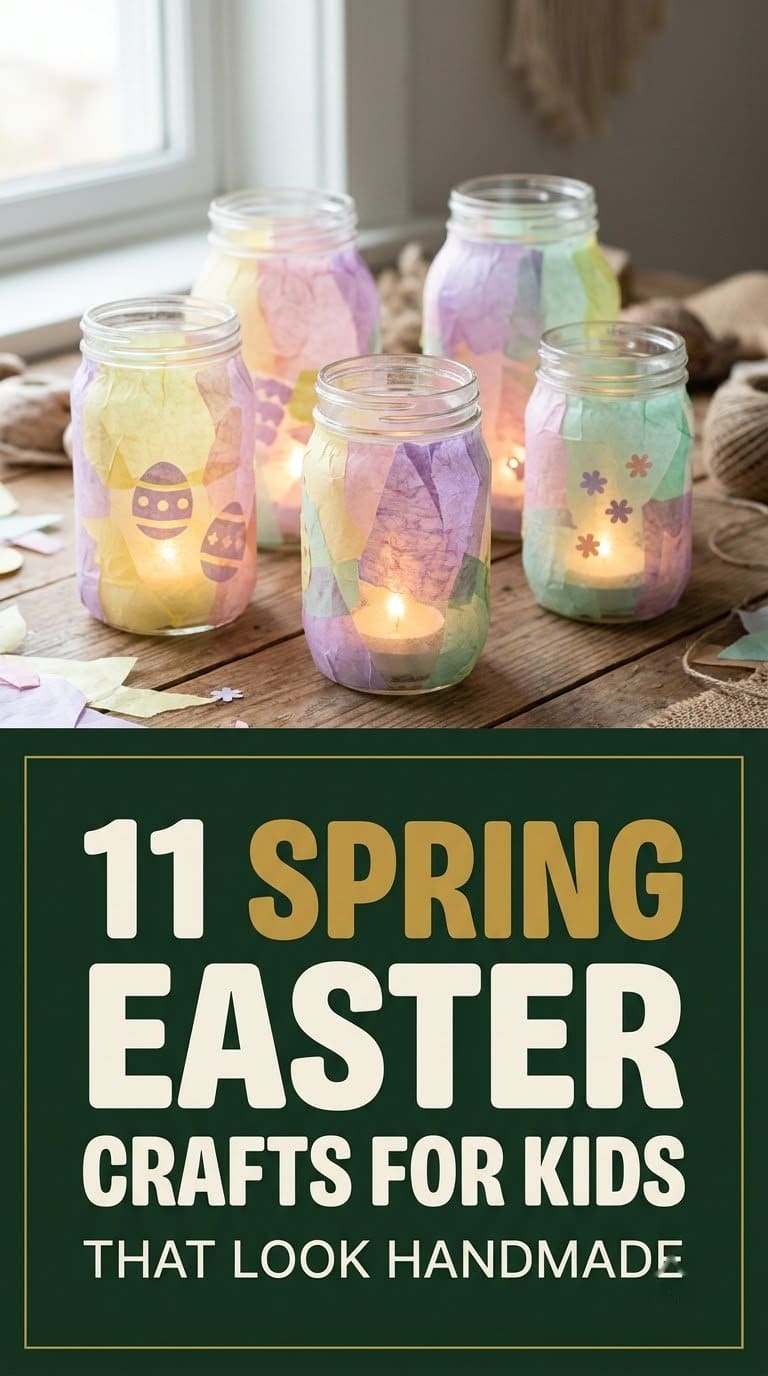
10. Tissue Paper Mason Jar Luminaries
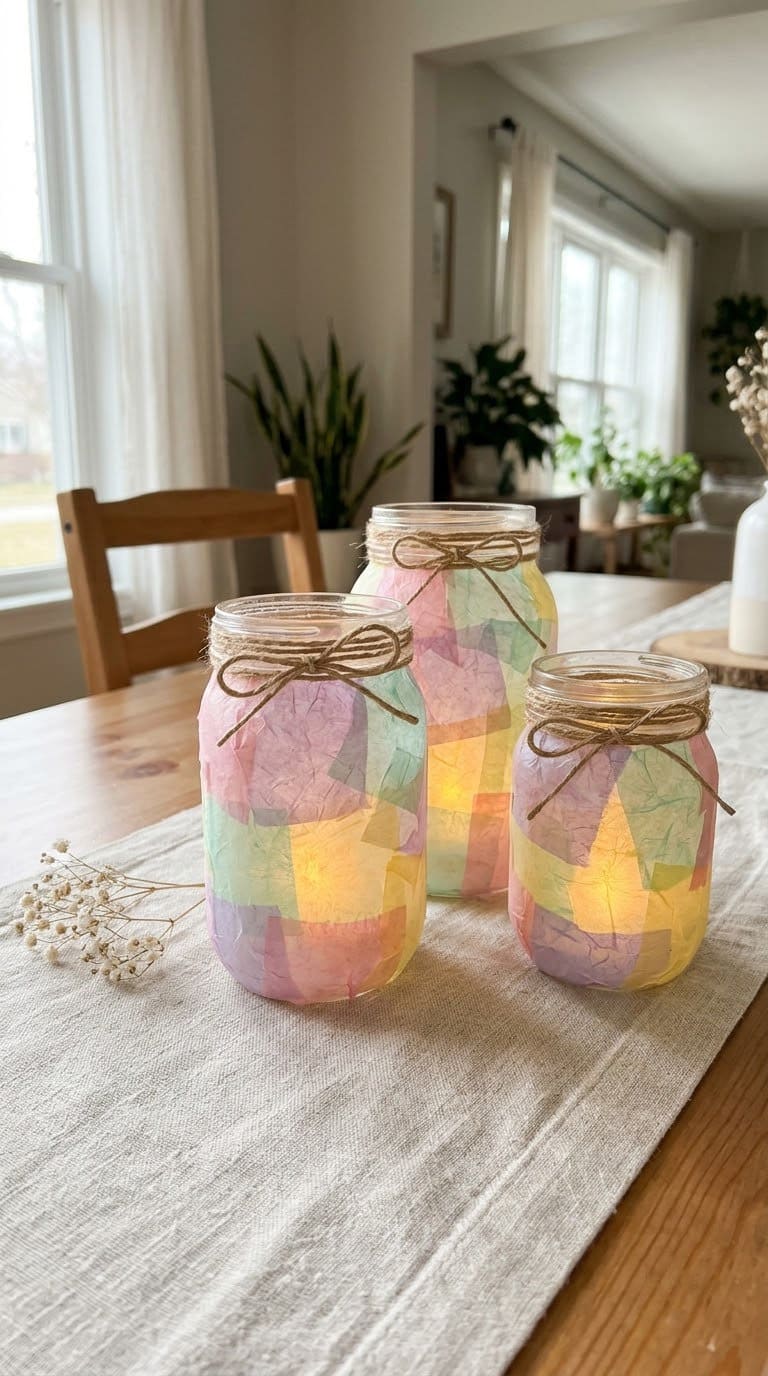
Mason jars with tissue paper glow softly in the evening. They work as table decor and a nice spot for a battery light. This is a craft for ages 6 and up, with an adult handling the lights.
You need: clean glass jars, white glue or decoupage glue, tissue paper in spring colors, a paintbrush, and a flameless LED light.
- Tear tissue paper into small pieces.
- Brush glue on the jar, press on a piece, and brush more glue over the top.
- Cover the whole jar and let it dry overnight.
- Place a battery LED light inside.
Where it goes: a dining table or a porch. Use flameless lights only.
Battery warning: the American Academy of Pediatrics lists button and lithium coin batteries as choking hazards that can also cause internal burns if swallowed. Pick lights with a secured battery door and keep them out of toddler reach.
Quick tip: use white tissue for a glowing look, or mix in pastel pieces.
11. Marshmallow Bunny Cupcake Toppers
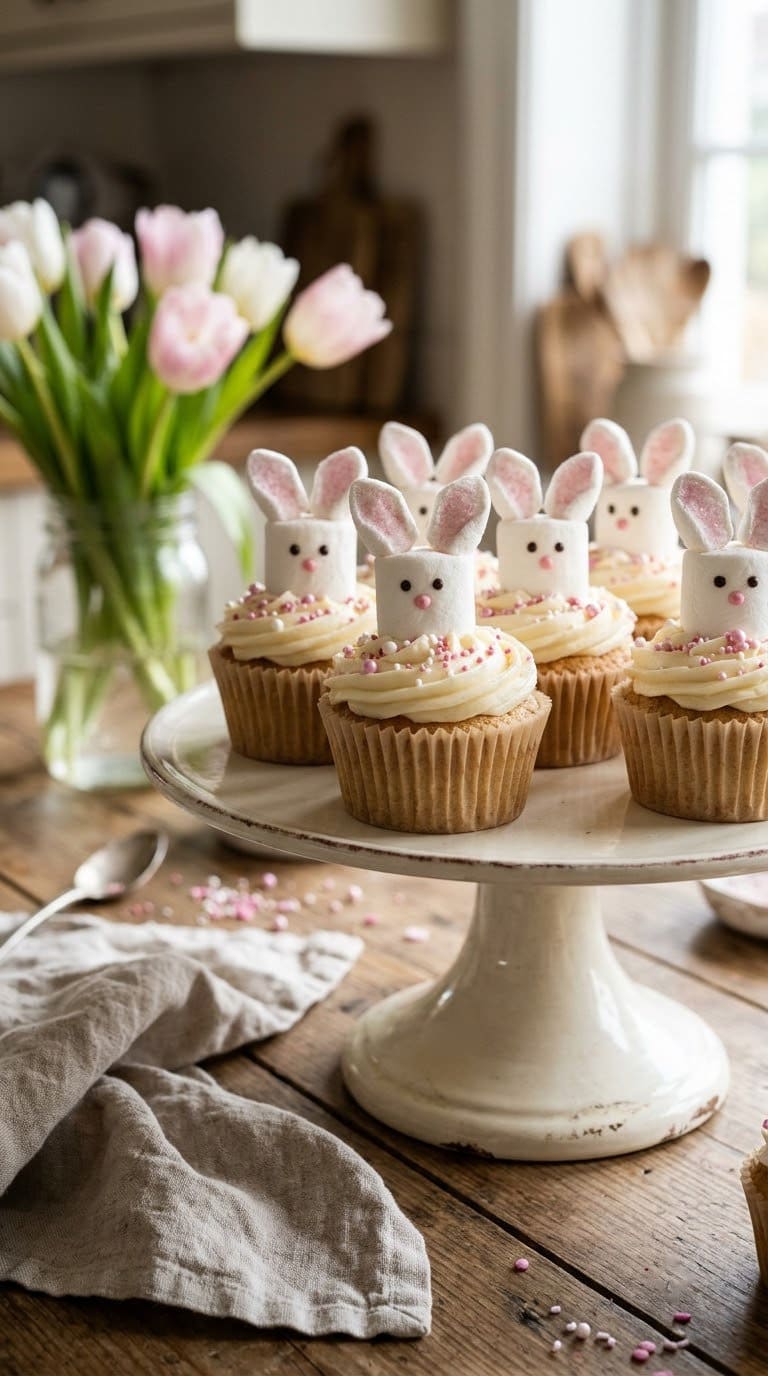
This one’s a treat as well as a craft. Marshmallow bunnies sit on top of cupcakes and look sweet on a dessert table. They suit ages 4 and up, and you’ll need to supervise.
You need: large marshmallows, pink sprinkles or icing, scissors, and a plate.
- An adult snips each marshmallow diagonally to make two ears, leaving the base connected.
- Press the cut sides in sugar or pink sprinkles.
- Dot on a face with icing.
- Set each bunny on a frosted cupcake.
Where it goes: a dessert table with your Easter egg decorating projects.
Age note: the AAP lists marshmallows among foods to avoid or modify for young children, and says to keep dangerous foods from children until 4 years of age or older, depending on development. For a toddler, make the same bunny out of paper.
Quick Comparison: Which Craft Fits Your Day?
Here’s how the 11 crafts compare. Use it to pick a project for the time and ages you have.
| Craft | Age | Time | Mess level | Display spot |
|---|---|---|---|---|
| Paper plate chick garland | 3+ | 45 min plus drying | Medium | Mantel, window |
| Egg carton chicks | 5+ | 1 hour | Medium | Table |
| Craft stick puppets | 3+ | 20 min | Low | Shelf |
| Tissue paper window eggs | 1+ | 20 min | Low | Window |
| Handprint bunny | 1+ | 15 min | High | Frame |
| Pine cone bunnies | 8+ | 30 min | Low | Porch, tray |
| Paper bag masks | 5+ | 30 min | Low | Wall |
| Woven baskets | 6+ | 30 min | Low | Table |
| Sock bunny | 8+ | 20 min | Low | Shelf |
| Mason jar luminary | 6+ | 30 min plus drying | Medium | Table |
| Marshmallow bunnies | 4+ | 20 min | Medium | Dessert table |
How Do You Decorate With Kids’ Easter Crafts?
Kids’ crafts look best when you group them. A single paper chick can look lost on a big mantel, but six of them in a row look planned.
Pick one color rule for the whole house. Yellow and white, or pink and green, makes mixed crafts look like a set. Then give each craft a home: garland on the mantel, eggs on the window, puppets on a shelf, and baskets at the table.
Rotate the pieces if your child makes many. Keep three or four out, and pack the rest in a flat box. That way the decor stays fresh and the best ones last until next year.
What About Real Eggs?
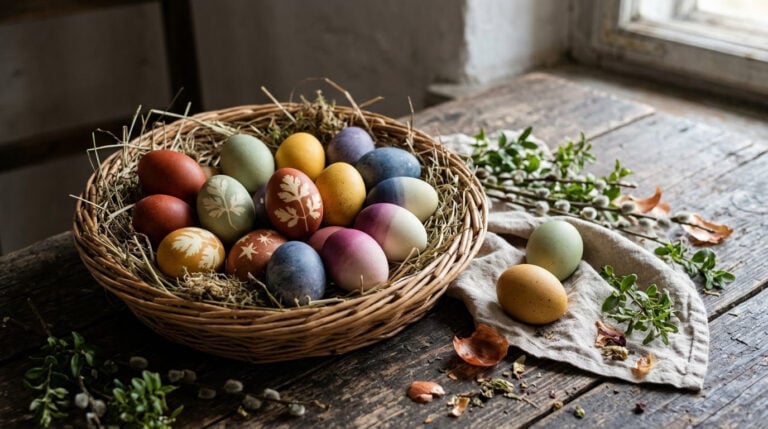
Real eggs are fine for a craft you plan to eat or toss after the weekend. They are a poor choice for decor you want to keep. Use plastic, wooden or paper eggs for anything that stays on display.
If your kids do decorate hard-boiled eggs, follow Sarah Sowders, a Family and Consumer Sciences Extension Agent with N.C. Cooperative Extension.
She says cooked eggs should be cooled below 70°F within 2 hours, refrigerated after coloring, and never dyed if the shell is cracked. For full dye steps, see our guide to dyeing Easter eggs with food coloring.
Common Mistakes to Avoid
Picking a craft that’s too old for the kid. If an adult ends up doing most of the work, the child learns less and loses interest fast. Use the age table at the top and drop down a level if your child is tired or restless.
Leaving small parts within reach. Googly eyes, buttons and pom poms look harmless on a craft table. Keep them in a closed box until it’s time to use them, and only give them to children old enough to know not to taste them.
Using eggs for keepsake decor. Real eggs spoil, crack and smell. Keep them for eating, and use paper or plastic eggs for the display.
Skipping the label on paint and glue. Choose paints with the AP Seal for kids in sixth grade and younger. Skip anything with a CL Seal.
Using candy as filler. Hard candy, jelly beans and marshmallows are risky for younger kids. Use paper eggs or stickers in craft baskets.
A One-Weekend Easter Craft Plan
You can finish most of this list in one weekend. Here’s how we’d split it.
Friday evening (20 minutes): Gather supplies. Put paint, paper plates, egg cartons and glue in one bin. Cut the contact paper and egg frames for the window eggs.
Saturday morning (1 hour): Paint the plate chicks and egg carton cups. Do the handprint bunny while the paint is fresh. Let everything dry while you take a break.
Saturday afternoon (1 hour): Finish the chicks and put up the garland. Make the craft stick puppets and the paper bag masks.
Sunday morning (30 minutes): Stick the window eggs on the glass. Set the table with woven baskets and mason jar luminaries. Bake and decorate the marshmallow bunnies last, with an adult in charge.
FAQ
What are easy Easter crafts for toddlers?
Tissue paper window eggs and handprint bunnies are the easiest. Both use big shapes, washable paint and no small parts. Skip googly eyes and pom poms until your child is past the mouthing stage.
How long do these Easter crafts take?
Most take 15 to 30 minutes of hands-on time. Paint and glue add drying time, so plan for an hour or two between steps. The paper plate chicks and mason jars need the longest.
Are googly eyes safe for kids?
They’re small parts, so keep them away from children under 3. For older kids, supervise and store them out of reach. Drawn or sticker eyes work just as well.
What can I use instead of candy in Easter baskets?
Use paper eggs, stickers, small books or craft supplies. For babies and toddlers, avoid marshmallows, hard candy and anything small enough to fit in a tube. Our Easter basket ideas page has more options.
Can I use real eggs for Easter crafts?
Yes, if you plan to eat or toss them soon. Cool them quickly, refrigerate them after coloring and skip any cracked shells. For decor that stays up, use plastic, wooden or paper eggs.
Related Posts
Never miss an update — choose FarmFoodFamily as your preferred source on Google.
How it works: Tap the button below to open Google's settings page, then check the box next to FarmFoodFamily.
Tap the checkbox to turn it blue — that's how you know it's set.