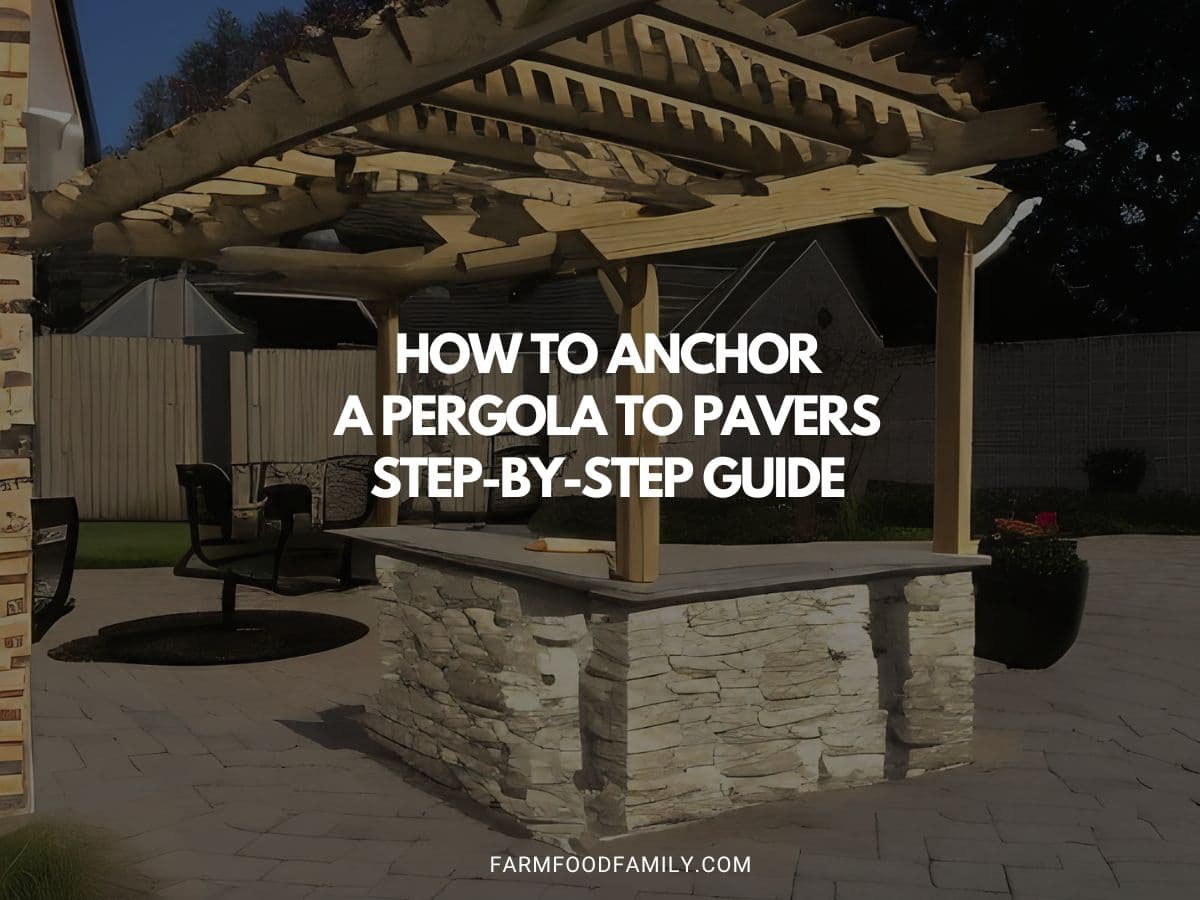
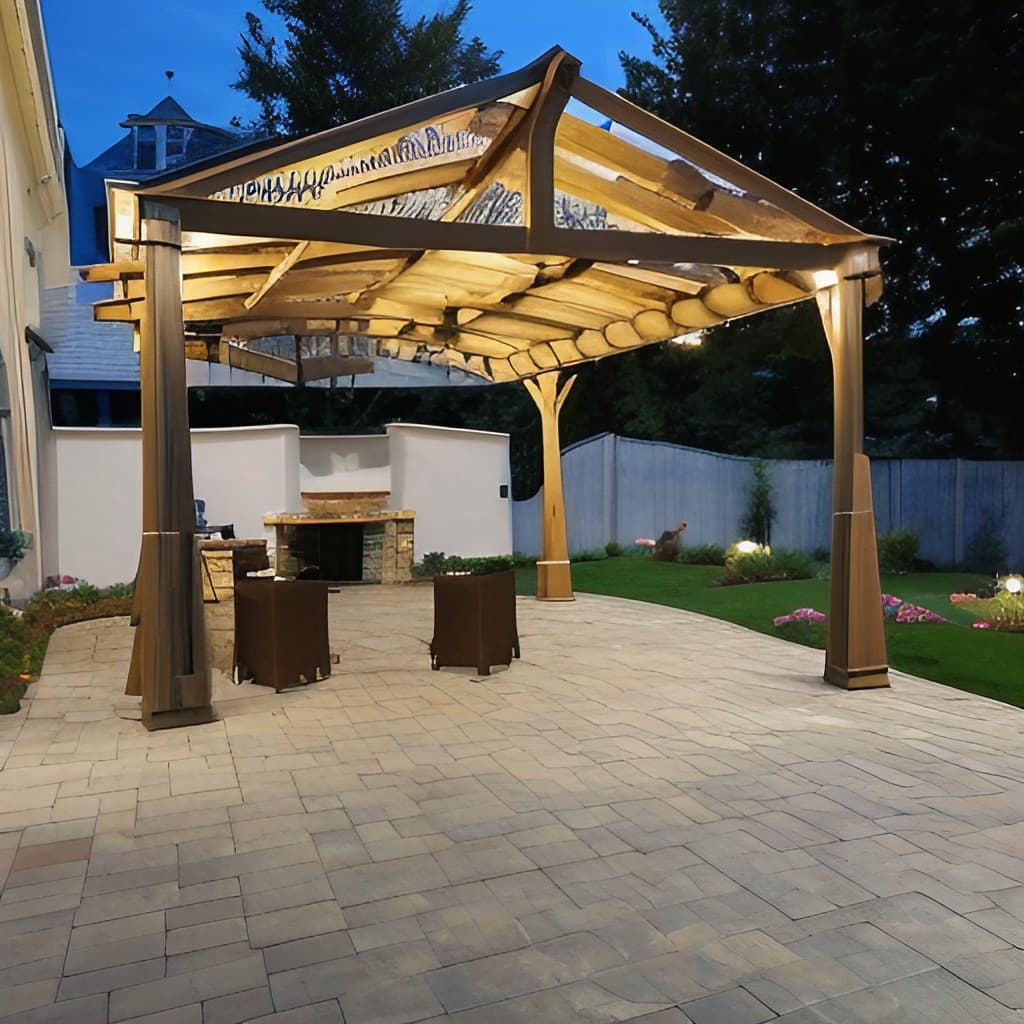
How to Anchor a Pergola to Pavers: Step-by-Step Guide
A pergola is an outdoor garden feature forming a shaded walkway, passageway, or sitting area of vertical posts or pillars that usually support cross-beams and a sturdy open lattice. Often adorned with climbing vines or flowers, it provides a relaxing and beautiful addition to any landscape.
However, just as important as its aesthetic appeal is the structural integrity of the pergola. Proper anchoring is crucial to ensure that your pergola stands firm against wind and other elements, providing a safe and stable area for relaxation or entertainment.
This article aims to guide you through the process of anchoring a pergola to pavers, a popular choice for many homeowners due to the flexibility and durability they offer.
We’ll cover everything from understanding the necessary tools and materials, preparing the pavers, installing the pergola posts, to finally anchoring the pergola to the pavers.
Whether you’re a seasoned DIY enthusiast or a beginner, this guide should help you navigate the process with ease and confidence.
Understanding Pergolas and Pavers
A pergola, also known as an arbor, is an outdoor structure that can dramatically transform your backyard or garden, creating a versatile space that serves both functional and aesthetic purposes.
Made of sturdy materials such as wood, metal, or vinyl, pergolas are typically characterized by a series of vertical posts or pillars supporting cross-beams and a lattice.

One of the main features that distinguish pergolas from other outdoor structures is their open-roof design, which allows sunlight to filter through while providing a certain degree of shade. This design makes them an ideal choice for those who want to enjoy the warmth of the sun without being directly exposed to its rays.
Pergolas have a variety of uses. Here are a few:
- Shade Provider: Although they don’t provide full coverage like a gazebo or patio, pergolas offer a comfortable amount of shade, making them an ideal spot for outdoor dining or lounging.
- Outdoor Decoration: With their distinctive architectural design, pergolas can enhance the visual appeal of your garden or backyard. They can be adorned with climbing plants, hanging pots, or even string lights to create a charming and inviting ambiance.
- Garden Framework: Pergolas serve as excellent frameworks for climbing plants. Vines such as wisteria, ivy, or grapes can be trained to climb up and over the pergola, creating a beautiful, living canopy.
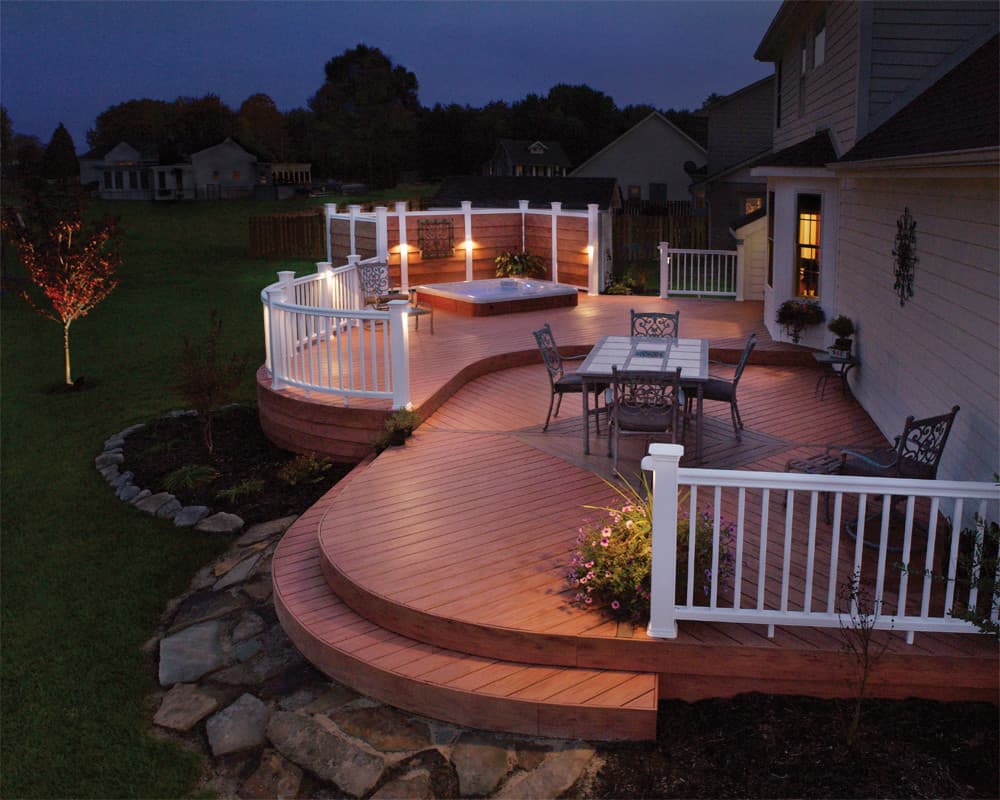
- Defined Outdoor Space: By anchoring a pergola to pavers, you can create a defined outdoor room. Whether it’s an outdoor kitchen, a lounge area, or even a hot tub enclosure, a pergola can add structure and definition to these spaces.
- Increased Property Value: Finally, a well-built and aesthetically pleasing pergola can increase the value of your property. It’s a desirable feature for many homebuyers, making it a worthy investment.
Necessary Tools and Materials
To successfully anchor a pergola to pavers, you’ll need the following tools and materials:
- Pergola Kit or Materials: Whether you buy a pre-made kit or build from scratch, you’ll need the main components of a pergola: vertical posts, cross beams, and lattices. These will form the basic structure of your pergola.
- Concrete Pavers: These are the hard stones or bricks where your pergola will be anchored. They provide a solid and stable base for your pergola, preventing it from tipping over or being swept away by strong winds.
- Masonry Drill Bit: This is used to drill holes into the pavers. The size of the drill bit should match the size of the anchors you’ll be using.
- Concrete Anchors or Bolts: These will secure your pergola’s posts to the pavers. They are designed to grip the inside of the drilled holes tightly, ensuring a strong and sturdy connection.
- Wrench or Ratchet: This tool is used to tighten the nuts on the anchors or bolts, securing the pergola posts in place.
- Level: This will help ensure that your pergola posts are perfectly vertical. An uneven pergola is not only visually unappealing but also structurally unstable.
- Tape Measure: Essential for accurate measurements when positioning your pergola posts and drilling holes.
- Pencil or Marker: For marking the spots where you’ll drill holes.
- Safety Goggles and Gloves: Safety should always come first when handling tools and performing construction tasks. These will protect your eyes from flying debris and your hands from potential injuries.
Preparing the Pavers
Proper preparation of the pavers is crucial to ensure a stable and secure foundation for your pergola. Follow these steps:
- Choose the Right Location: Before you start, decide where you want to place your pergola. Consider factors like sunlight exposure, view, and proximity to your house or other structures.
- Clean the Pavers: Use a broom to sweep away any debris from the pavers. If they’re particularly dirty, you might want to use a power washer or a garden hose. This ensures a clean working area and helps the anchors grip better.
- Layout the Pergola Posts: Position your pergola posts on the pavers where you want them to be. Use a tape measure to ensure they are evenly spaced and aligned.
- Mark the Drill Points: Once you’ve positioned the posts, mark the drill points on the pavers. You can use a pencil or marker for this. Be sure to mark the points precisely where the holes in the pergola posts match up with the pavers.
- Check the Marks: Before you start drilling, double-check your marks. Measure the distances between the marks and the edges of the pavers to ensure they’re in the right places.
- Prepare Your Drill: Equip your drill with a masonry bit that matches the size of your concrete anchors. Make sure the drill is set to “hammer” mode if it has one, as this will make drilling into the pavers easier.
Remember, the key to a stable and secure pergola is a well-prepared base. Take your time in this step, double-check everything, and make sure you’re comfortable with where everything is before moving on to the next steps.
Installing the Pergola Posts
Once your pavers are prepared, it’s time to install the pergola posts. Follow these steps:
- Drill Holes into Pavers: Using the marks you made as a guide, drill holes into the pavers. Make sure to drill straight down and not at an angle. The depth of the holes should be equal to the length of your concrete anchors.
- Insert the Anchors: Place the concrete anchors into the drilled holes. They should fit snugly; if they’re too loose, you may need to use a larger drill bit and bigger anchors.
- Position the Pergola Posts: Place the pergola posts over the anchors, aligning the holes in the base of the posts with the anchors.
- Secure the Posts: Thread the bolts through the holes in the pergola posts and into the anchors. Tighten them using a wrench or ratchet until the posts are securely anchored to the pavers.
- Check the Alignment: Use a level to check that the posts are perfectly vertical. If they’re not, adjust them as necessary before the anchors are fully tightened.
- Repeat for All Posts: Repeat this process for each of the pergola posts.
Safety Precautions:
- Always wear safety goggles and gloves when drilling and handling tools.
- Be aware of your surroundings and make sure the area is clear of other people and pets before starting to drill.
- Ensure you have a stable footing when using power tools.
- Do not force the drill. Let the tool do the work to avoid damaging the pavers or the drill bit.
- Keep your hands and feet clear of the drill bit at all times.
Anchoring the Pergola to the Pavers
Once your pergola posts are installed and aligned, the final step is to anchor them securely to the pavers. Follow these steps:
- Drill Holes in the Pergola Posts: If your pergola posts don’t already have holes for the anchoring bolts, you’ll need to drill them. Use a drill bit that matches the size of your bolts and drill straight through the center of the base of each post.
- Align the Posts over the Anchors: Position the pergola posts over the concrete anchors so that the holes in the posts align with the anchors.
- Insert the Bolts: Thread the bolts through the holes in the pergola posts and into the concrete anchors. Make sure the bolts go all the way through and emerge on the other side of the post.
- Tighten the Bolts: Using a wrench or ratchet, tighten the bolts until they’re secure. Don’t overtighten, as this could damage the pergola posts or the pavers.
- Check for Stability: Give the pergola a gentle shake to check its stability. If it wobbles, you may need to tighten the bolts further.
- Attach the Remaining Pergola Components: Once the posts are securely anchored, you can attach the cross-beams, lattices, and any other components of your pergola according to the manufacturer’s instructions or your own design.
With your pergola now securely anchored to the pavers, you can enjoy a safe and stable outdoor feature that will enhance your backyard or garden for years to come.
Finishing Up
With the pergola firmly anchored to the pavers, you’re almost done with the project. Here are a few finishing steps:
- Double-Check Everything: Go through each post and make sure the bolts are tight and secure. Check the overall stability of the pergola.
- Add Decorative Elements: This is where you can let your creativity shine. Consider adding climbing plants, hanging flower pots, string lights, or outdoor furniture to enhance the appeal of your pergola.
- Seal the Wood (if applicable): If your pergola is made of wood, consider applying a sealant to protect it from the elements. This will prolong its lifespan and keep it looking good for years to come.
- Clean Up: Don’t forget to clean up! Dispose of any debris or leftover materials properly, and store your tools safely.
Maintenance Tips
Maintaining your newly anchored pergola is crucial to ensure its longevity. Here are some tips:
- Regularly Check the Anchors: Over time, the anchors and bolts may loosen due to weather conditions or use. Regularly check them and tighten if necessary.
- Clean Your Pergola: Dirt and debris can accumulate on your pergola, so regular cleaning is important. For wooden pergolas, use a mild soap and water solution. For metal or vinyl pergolas, a simple hose-down should suffice.
- Inspect for Damage: Regularly inspect your pergola for any signs of damage or wear and tear. Repair or replace parts as necessary.
- Reapply Sealant: If your pergola is wooden, reapply a sealant every few years to maintain its appearance and durability.
Related: How To Build A Garage Pergola: A Step-by-Step Guide
Conclusion
Anchoring a pergola to pavers is a key step in creating a stable, durable, and safe outdoor structure. By carefully preparing the pavers, installing the posts, and securing them with concrete anchors, you can ensure that your pergola will stand firm against the elements and provide a comfortable and appealing space for relaxation and entertainment.
While the process may seem daunting at first, with the right tools, materials, and a bit of patience, it’s a project within the reach of most DIY enthusiasts. Not only will you add value and beauty to your property, but you’ll also gain the satisfaction that comes from creating something with your own hands.
Remember, the key to a successful project is preparation. Take the time to plan out your project, gather your materials, and understand each step before diving in. And most importantly, don’t forget to prioritize safety at all times.
With your newly anchored pergola, you can look forward to many enjoyable days spent outdoors, whether you’re hosting a backyard party, enjoying a quiet afternoon with a good book, or simply soaking up the beauty of your garden.
So why wait? Start planning your pergola project today!