How to Change a Whole-House Water Filter
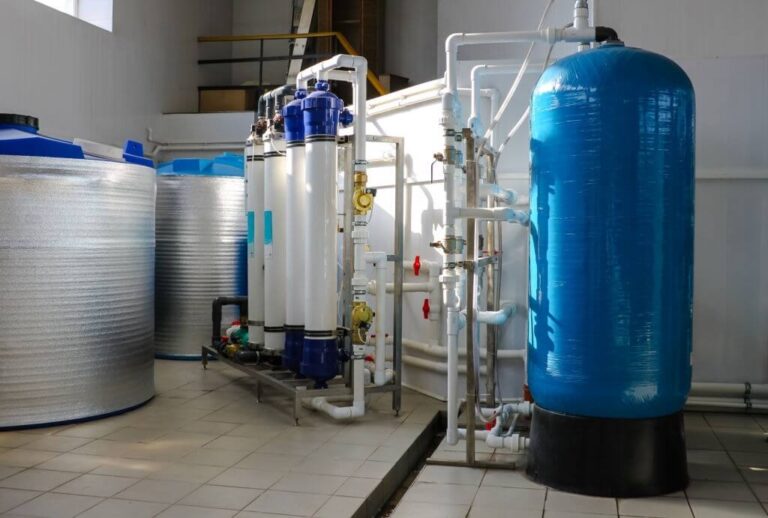
A whole-house water filter is a great way to improve overall water quality. Not only does a filter system improve the taste of the water in your home, it also removes harmful bacteria, contaminants, and other disease-causing germs.
However, like most appliances, a whole-house water filter requires maintenance to avoid clogging up. An easy way to ensure your water filter performs at its best is to replace the cartridge on time. In this guide, we’ll cover why and how to change a whole-house water filter cartridge yourself without a plumber.
Why Change Your Whole-House Filter?
Installing a whole-house water filter is relatively simple; however, it could stop functioning if you don’t regularly replace its filter stage or stages. Furthermore, when left to fester, bacteria and mold can also become a huge problem.
As clogging occurs, the build-up of chemicals and pollutants can damage the filter. This can also result in lowered water flow and pressure in pipes. While sometimes water manages to flow through as expected, there is a potential threat of health issues if you ingest these contaminants.
The overall quality of your water depends on the effectiveness of the water filter in question. Not changing the filter cartridge on time furthers the damage caused to the system, eventually resulting in one that stops working entirely.
Related: 7 Reasons To Have Filtered Water In Your Home
Tools and Supplies List
To save time, set out all the tools and accessories needed well in advance. Replacing a whole-house water filter only takes a few minutes if you are well prepared. Here’s what you need.


- Make sure to pick a replacement cartridge catered to your whole-house water filter. There are a variety of filtration systems, so, just pick the right cartridge built for your filter.
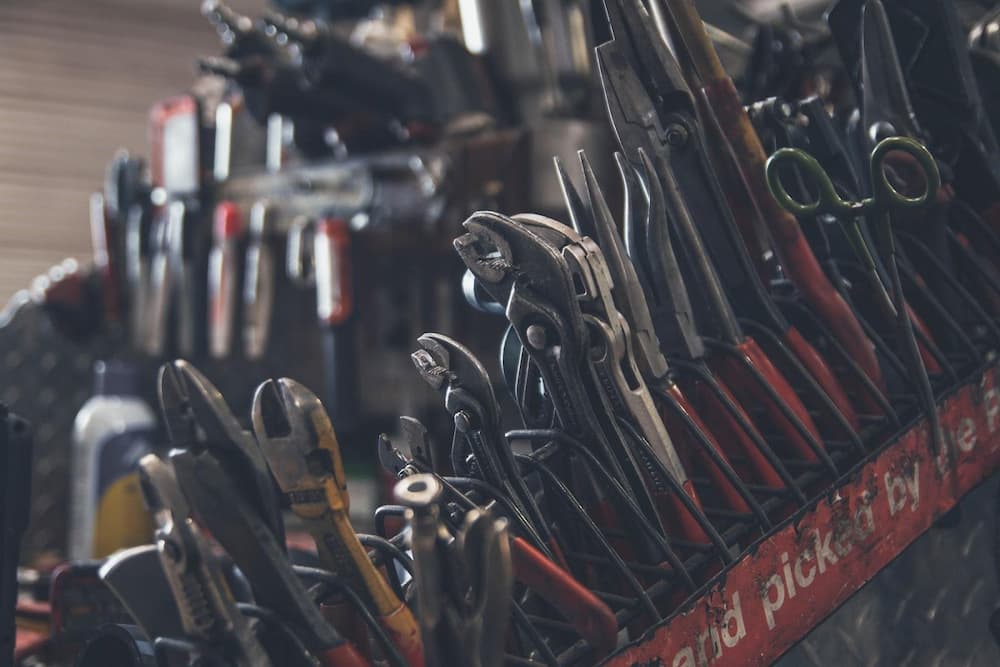
- To unscrew the device, you will need a wrench, this typically is a part of the kit and comes with the package when you buy the filtration system.
- Grab an empty bucket and place it under the filter to prevent spills. Remember, you won’t have clean water available during the process, so fill up two extra buckets in advance.
- Use one of these to make soapy water which you will need to clean the inside of your whole-house water filter. In addition, household bleach is optional. It can remove any bacteria the soap can’t.
- Also, always remember to use gloves and goggles to protect yourself from water splashes. The water could potentially be contaminated or contain solid residue that can result in injury.
Step-By-Step Guide to Replace Your Whole-House Water Filter Cartridge
Before you begin, place the empty bucket under the water filter. Then, completely shut off the main water supply of your house at the valve or main feed. If you have an outer valve, be sure to switch that off, too.
Then, push the red knob carefully to relieve pressure and remove excess water by running your nearest faucet. Then, get ready for action.
- Remove the outer-casing of your whole-house water filter using the wrench and take out the O-ring. Check the O-ring carefully. Is it still in good shape or is it worn out and needs to be replaced?
- Use soapy water or bleach to clean the ring if still intact. Using silicon grease, be sure to lubricate the O-ring to ensure it does not soften or get damaged. If it feels damaged, replace it before placing it back in its groove.
- Remove the old filter cartridge and dispose of it in the empty bucket. Then, using a little bit of bleach and soapy water, clean the inside of the filter housing at it is prone to bacteria. Next, thoroughly rinse with clean water. Finally, wash the casing gently to avoid damaging it and leave it to dry.
- Locate the standpipe in the housing of your home water filter system. This circular device with a short rubber mouth resembles a pipe and sticks out of the casing of your water filter. It is also known as a water port.
- Place the replacement cartridge inside the housing, making sure it aligns with the standpipe in the center.
- Next, screw the casing of the new cartridge onto the cap, making sure it is still in the middle of the standpipe. Don’t screw it on too tight, or it could break.
To turn the water back on, turn the valve or inlet back to its initial position. It is essential to do so with caution, turning slowly; otherwise, a sudden increase in water pressure can damage your whole-house water filtration unit.
Check thoroughly for any leaks, tightening loose connections immediately. Before using faucet water, leave them running for a few minutes to remove air and any dirt or residue left behind from the filter change process.
How Frequently Should You Replace a Whole-House Water Filter?
Several factors affect the durability of your whole-house water filter. Depending on the size and type, the quality of the water may end its lifespan sooner. If the water contains very high levels of sediments, metal content, hardness, and other impurities, you may have to replace your whole-house water filter sooner than anticipated.
However, on average most filters can last up to six months at a time; sediment pre-filters require persistent changes, while on the contrary, carbon filters last longer before needing to be replaced. Post-filters can sometimes last up to a year!
Look for physical indicators like cloudy or odd-tasting water; these could be hints that your filter is clogged and has exceeded its lifespan. Also, check the old cartridge when replacing it for visible signs of wear and tear. If it looks damaged or worn out, change the next one earlier. Also, check the instruction manual that came with the whole-house water filter for special instructions or indicators as every model is different.
Extra Tips
Before whole house water filter installation or filter cartridge replacement, always test the water. Without knowing the contaminants present within, it can be challenging to select a proper course of treatment. Furthermore, always buy a filter cartridge with twice the flow rate as desired. This ensures the cartridge lasts longer and effectively continues to remove contaminants.
Also, if you are unable to find a filter wrench, you can use adjustable pliers. However, to avoid damage, always wrap a soft rag around the casing of the whole-house water filter, or it could break.
Leaks after replacement are usually caused by the O-ring. To fix this problem, either turn the faucets on or close the water valve to stop the flow. Then, make sure the ring is tightly secured within its groove.
A Fairly Simple Process
So, are you feeling confident enough to change your own whole-house water filter without the help of a plumber?
As long as you are careful and use protective clothing like gloves, the process of fixing your water filter problems should be fairly straightforward and quick. Changing a whole-house filter cartridge doesn’t take much time or requires complicated tools.
Ensure your family and you are free from water-borne disease and constantly consuming the highest quality of clean water. However, if you feel uncomfortable changing the filter yourself, feel free to get a certified professional to help you. In addition, if cartridges are replaced incorrectly, whole-house water filters can lead to other water issues and, eventually, you may need to replace the entire filter system.