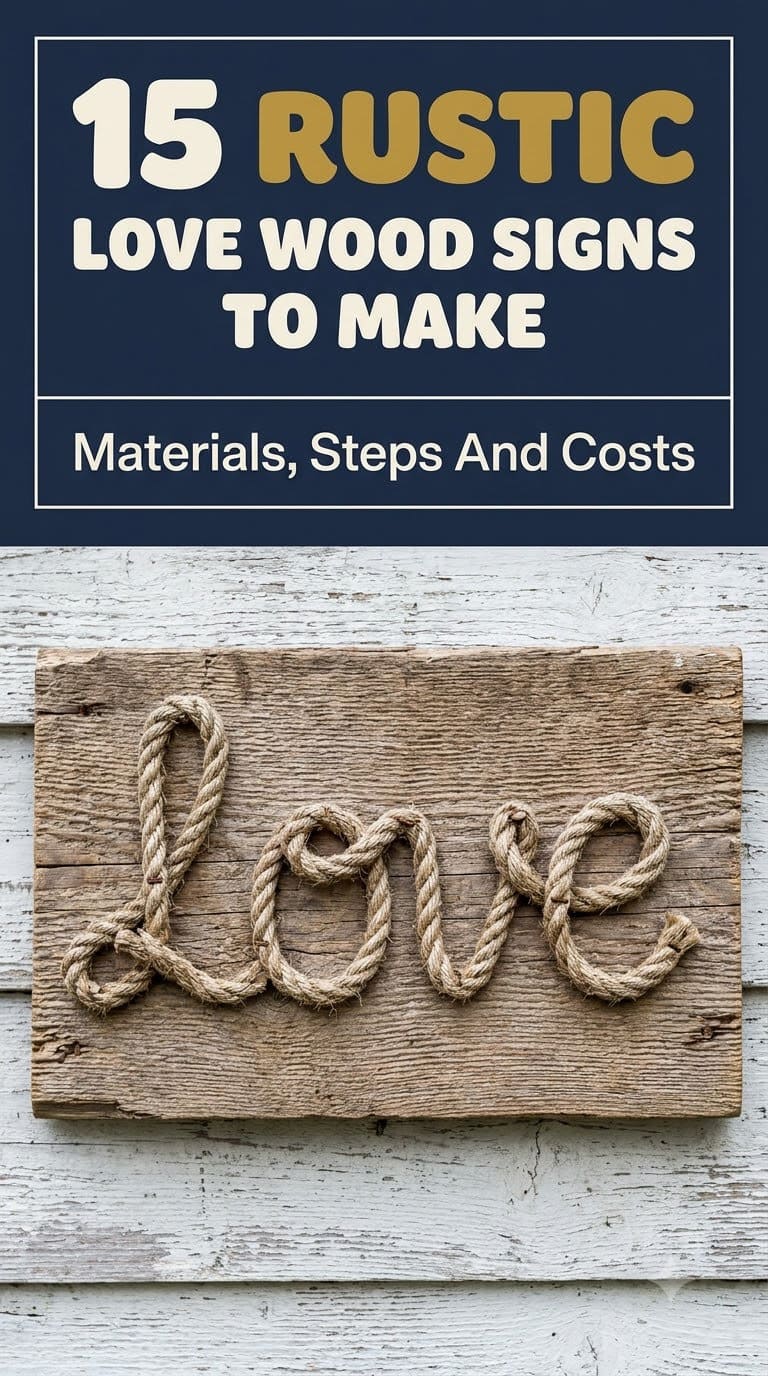
15 Rustic LOVE Wood Signs to Make, With Materials, Steps and Costs
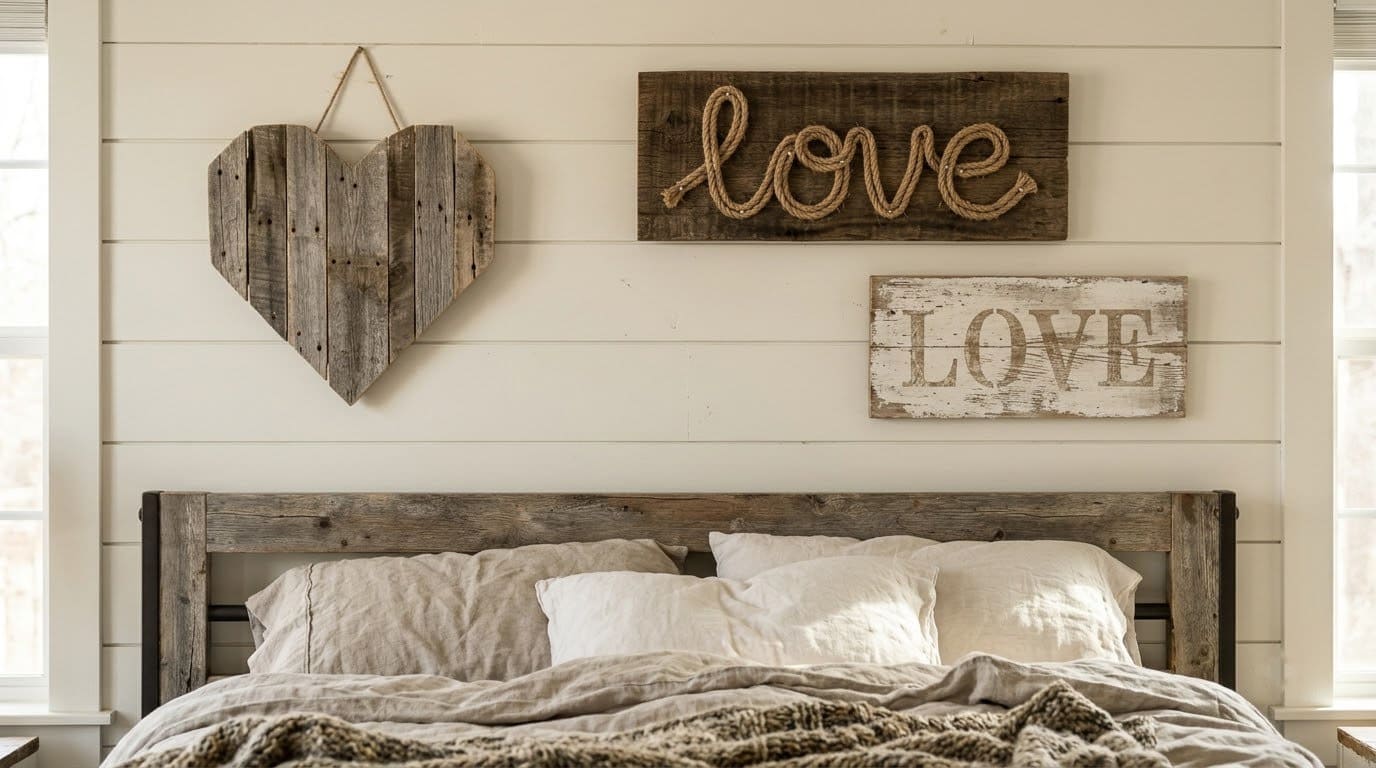
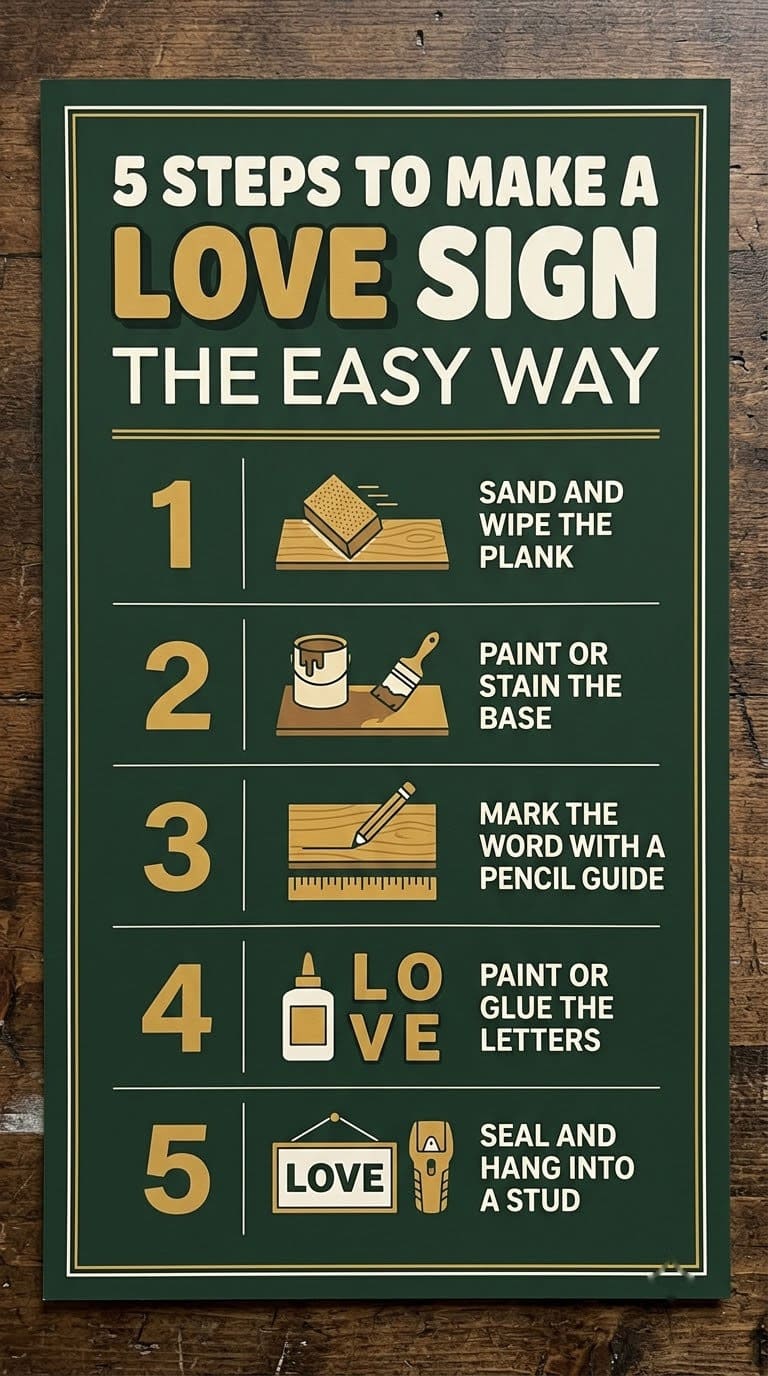
You can make a rustic LOVE sign from a plank, a pallet or a ball of rope in an afternoon, as long as you choose safe wood, seal it well and hang it into a stud.

Never miss an update — choose FarmFoodFamily as your preferred source on Google.
How it works: Tap the button below to open Google's settings page, then check the box next to FarmFoodFamily.
Tap the checkbox to turn it blue — that's how you know it's set.
You can make a rustic LOVE sign from a plank, a pallet or a ball of rope in an afternoon, as long as you choose safe wood, seal it well and hang it into a stud.
Products We Recommend
This post contains affiliate links. We may earn a commission on qualifying purchases at no extra cost to you.

Natural Jute Twine 328ft 3mm, 3Ply Twisted Thick Twine Rope
Thick jute twine for the rope letters in ideas 2 and 3. Press it into hot glue a few inches at a time.
Shop Now
50 Pack Large Sawtooth Picture Hangers (Black, Supports 50 lbs)
Sawtooth hangers for the back of a finished plank sign. Use two on a wide sign and screw into a stud when you can.
Shop Now
Hot Glue Gun with 30 Glue Sticks, 20W Mini Hot Melt Gun Kit
A mini glue gun for rope letters and trim. Glue cools almost at once, so work in short runs.
Shop NowA rustic love sign is a plank with a word on it, finished to look worn and warm. You can paint the letters, glue down rope, burn them in or build each letter from found objects.
Most signs take an afternoon, and the wood often costs very little. You do not need special tools, only a brush, a saw or a glue gun, and a little patience. Each idea below lists the parts, the steps and a risk to avoid.
Pick your wood with care. The PHS pallet guide says to use only pallets stamped HT, which means heat treated, and to avoid MB, which means methyl bromide fumigation. The EPA says homes built before 1978 are more likely to have lead-based paint.
Answer 4 quick questions and get matched to the exact fix for your yard — drainage, budget, layout, or something else entirely.
Take the Free QuizThis guide gives 15 signs, each with materials, steps, a watch-out and our verdict. It also covers lettering methods, finishes, hanging, safety rags and gift ideas.
What Is Wrong With a Plain List of Love Wood Signs?
Most lists show 30 shop photos with a link to a store. You can’t make a sign from a photo, and half of those listings are gone.
We cut the list to 15 signs that you can build. Where a tutorial still loads, we took the sizes and costs from it. Where it doesn’t, we give our own plan and say so.
Which Lettering Method Should You Use?
Pick the lettering method before you pick the wood. Each method gives a different look and needs different skills.

| Method | Look | Skill | Best for |
|---|---|---|---|
| Painted freehand | Soft, handmade | Medium | Script words and hearts |
| Painted with a stencil | Crisp, even | Low | Block LOVE letters |
| Rope or twine, glued down | Textured, raised | Low | One-word signs |
| Found-object letters | Quirky, chunky | Medium | Kitchen or porch signs |
| Chalk or paint pen | Easy to change | Low | Seasonal or kids’ signs |
One tutorial found that vinyl stencils did not stick to freshly stained boards. The writer traced and painted the letters by hand instead. If you stain first, let the wood dry fully, or trace the letters in pencil and paint them.
Most yard problems trace back to one specific, fixable cause. Find yours in 4 quick questions.
Take the Free QuizOur rule: do a test on a scrap board first. The scrap shows how the paint and wood will behave.
How Do You Hang a Heavy Sign?
A wood sign is heavier than it looks. Hang it into a wall stud when you can. Use a sawtooth hanger for light signs and two D-rings for heavy ones.
A second option is a hang strip. One tutorial screws two screws into the back of the sign and hooks it onto a metal transition strip fixed upside down on the wall. The strip can stay on the wall, so you can swap signs for each season.
Our rule: if the sign weighs more than a small picture, use two anchors.
31+ Rustic LOVE Wood Signs Because Love Is All You Need
1. The Simple Plank LOVE Sign

Source: Etsy
Start with one plank and four letters. Sand the wood lightly and wipe off the dust. Brush on a base coat, let it dry and paint the letters in a darker or lighter shade.
Thick jute twine for the rope letters in ideas 2 and 3. Press it into hot glue a few inches at a time.
Shop NowThis post contains affiliate links. We may earn a commission on qualifying purchases at no extra cost to you.
Materials: a plank about 24 to 36 inches long, a wide brush, craft paint, a stencil or painter’s tape, sandpaper and a sealer. Those sizes are our starting plan, so change them to fit your wall.
Steps: sand the plank, paint the base, mark a center line, paint the letters, sand the edges for a worn look, then seal the sign.
The average homeowner spends $616/year on yard fixes that don't address the real problem. Find out what yours actually is — before you spend another dollar.
Take the Free QuizPair with: a wreath of dried flowers.
But watch out: letters that drift off the line. Draw a light pencil guide and measure from the center out.
Our take: the best sign for a first project. It looks good in any room.
2. A Reclaimed Fence Plank Rope Sign
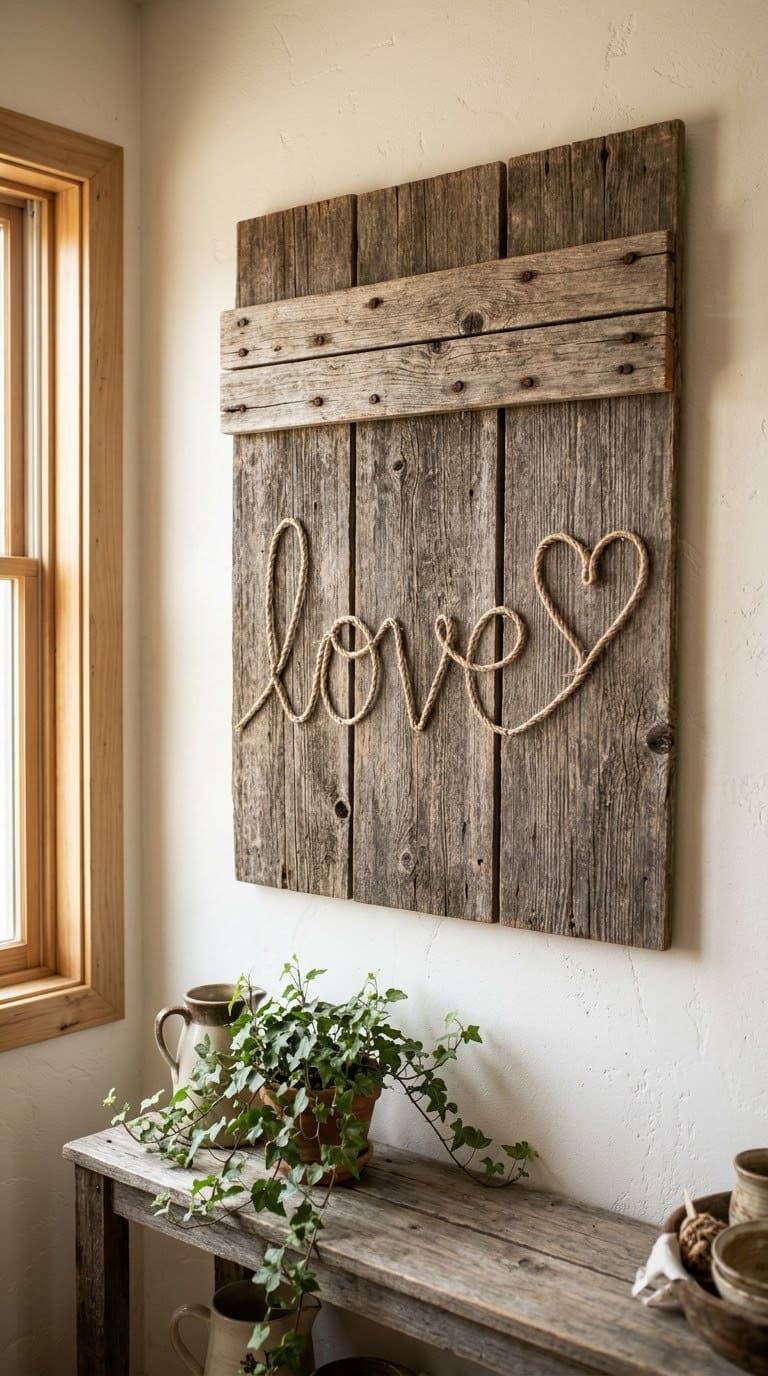
Funky Junk Interiors builds this from three loose reclaimed fence planks. Two support boards across the top join them. The word is drawn in chalk, traced with hot glue and filled with heavy twine, ending in a heart.
Sketch your word first on paper in one continuous script, with no sharp corners. Chalk it onto the wood. Glue a few inches at a time and press the twine down fast, because hot glue cools almost at once.
Screw the whole sign to the wall or a headboard. The writer didn’t seal the rope and said it held tight without sealant. A thicker board is fine, but use longer screws.

Pair with: a plain bed or a gallery wall.
Watch out: old fence wood. Check for peeling paint and splinters, and wear gloves when you handle the planks.
Our take: our favorite for a bedroom. It looks like a high-end sign for the price of twine.
Get the tutorial at Funky Junk Interiors.
3. A Jute Rope LOVE Sign With a Hang Strip
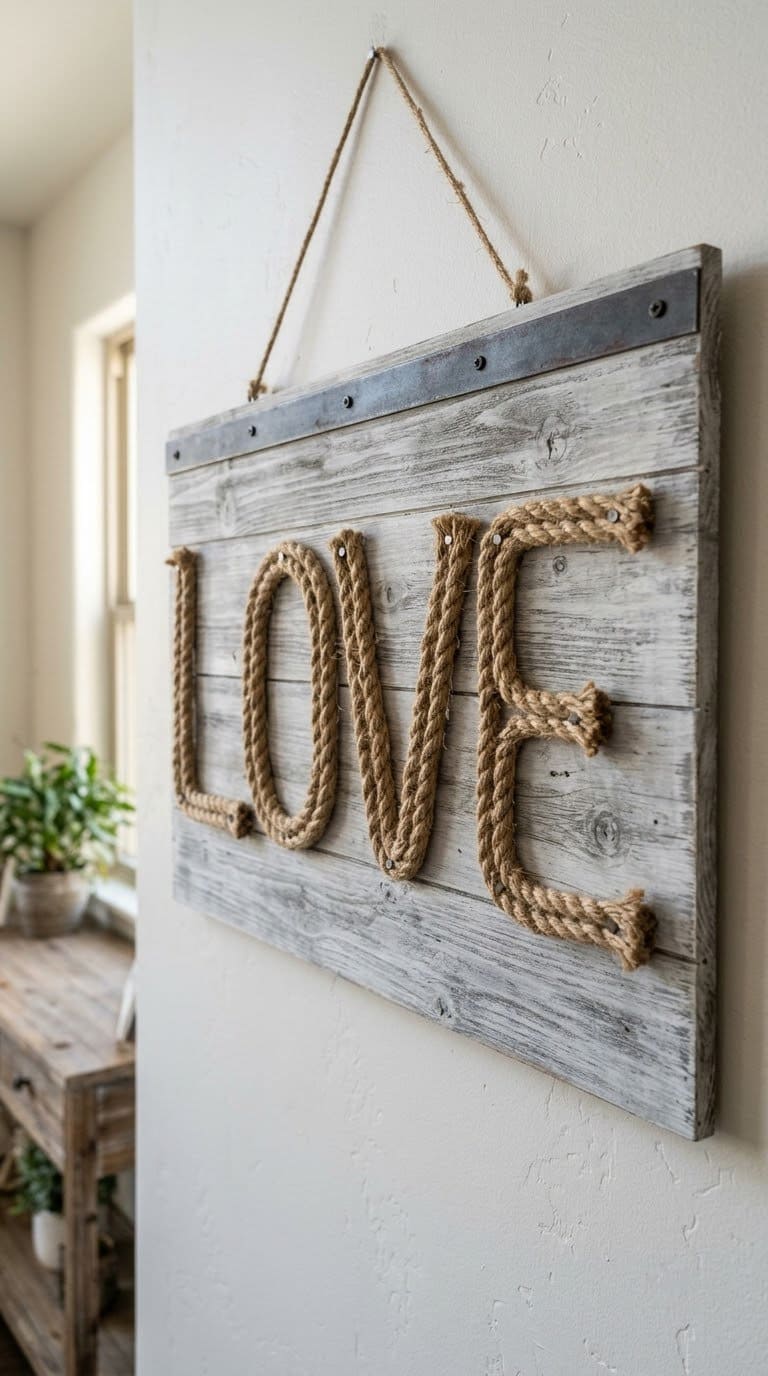
Hymns and Verses paints a board light silvery gray, then white-washes it. The rope letters are made in a separate step. Write the word on waxed paper, dip jute rope in a glue paste and lay it over the letters.
The paste is 1/4 cup cornstarch, 3 tablespoons water and one full bottle of wood glue. Wear disposable gloves and weigh the rope down until it hardens. Then nail the finished word to the board with small finish nails.
The whole sign costs about $21 and takes about an hour of work, plus drying time. The hang strip is a metal transition strip from the flooring aisle.
Pair with: a mirror or a shelf below.
But watch out: drips. Run the rope through your gloved fingers so the glue doesn’t run down, and put the rope on waxed paper that you can peel off.
Our take: a clever method that gives sharp letters. The hang strip is the best part.
Get the tutorial at Hymns and Verses.
4. A Pallet Slat Heart Wall Art
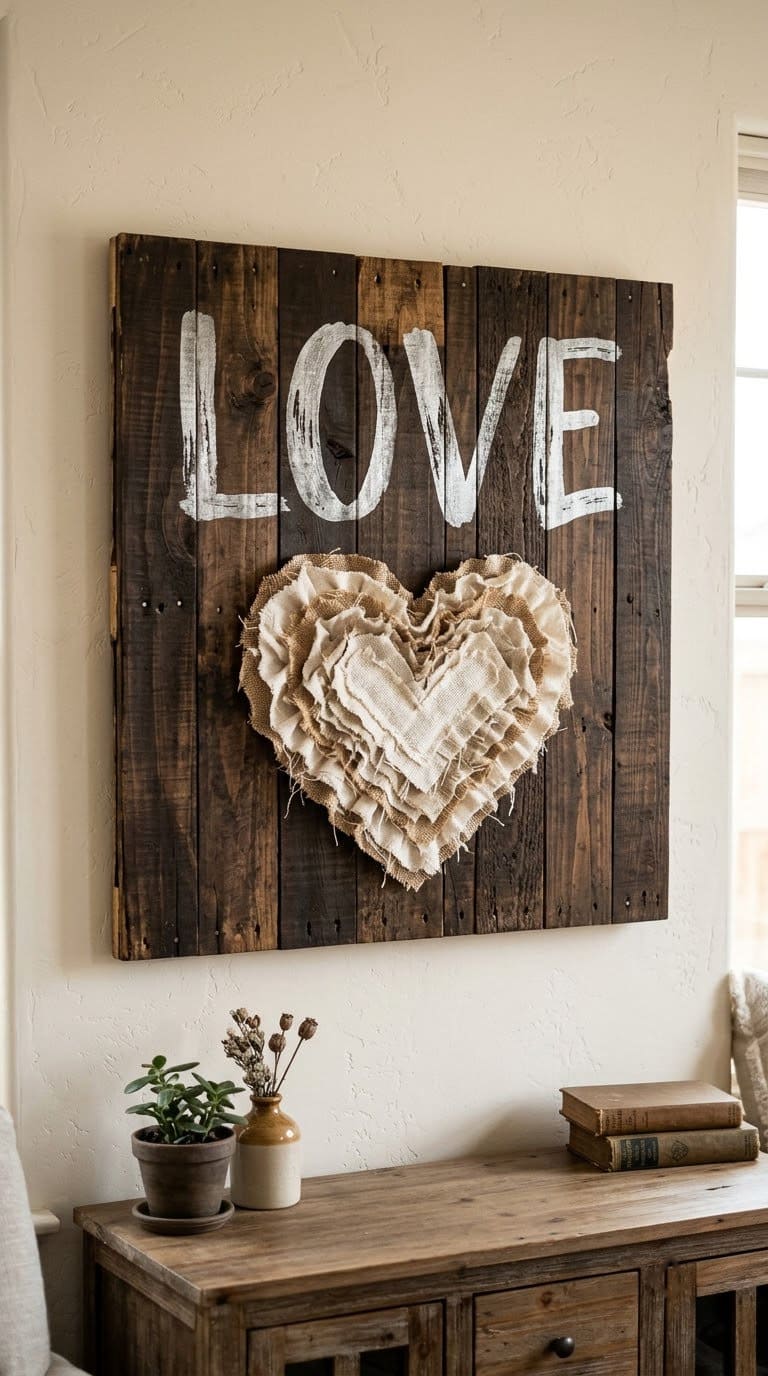
Infarrantly Creative builds a slatted square from nine 1×2 furring strips, each 8 feet long. Cut two frame pieces at 26 inches and two at 32 inches.
Then cut 22 slats at 28 inches. Leave a gap about as wide as a nickel between the slats.
Glue and nail the frame, then nail on the slats. Brush on wood conditioner first, then stain, so the pine doesn’t turn blotchy. Don’t sand or patch it, because the rough look is the point.
The letters are traced, primed and painted silver. Then they are lightly sanded so the wood shows through.
A heart with ruffled trim goes on with hot glue. The writer says the whole project cost about $9.
Pair with: a string of warm white lights.
Watch out: wet stain rags. Oil-based stains can heat up and ignite when they are piled. Hang the rags flat outdoors until they dry, or put them in a metal container with a lid.
Our take: our best use of cheap lumber. You get a pallet look without a pallet.
Get the tutorial at Infarrantly Creative.
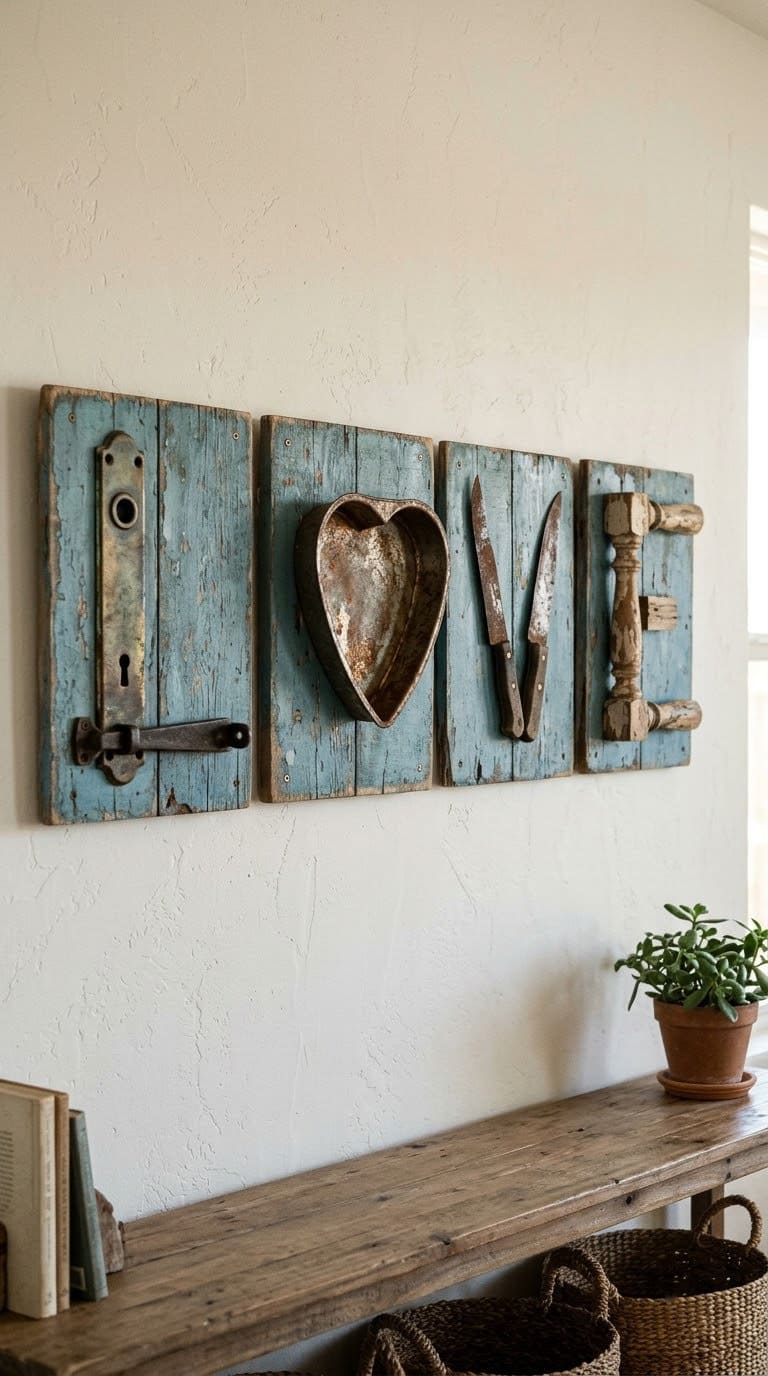
5. L-O-V-E Found Object Letters
Beyond the Picket Fence mounts each letter on its own board. The L is a door plate with a deadbolt slide.
The O is a rusted heart-shaped pan. The V is two knives, and the E is a cut spindle with three clothespins.
Cut scrap wood into loose squares and paint them blue. Sand the edges and darken them with wax.
Then attach each object. Hang the boards in a row, touching, or scatter them.
The writer couldn’t rust the pan with salt, vinegar or peroxide, so she used a paint-based rust method. Drilling the knives was hard, and three drill bits broke.
Pair with: a mix of vintage frames.
But watch out: sharp knives. Use old, dull ones, and cover the points with a thick glue bead or tape.
Our take: our quirkiest idea. Each board can hang anywhere, so you can rearrange them.
Get the tutorial at Beyond the Picket Fence.
Painted and Carved Signs
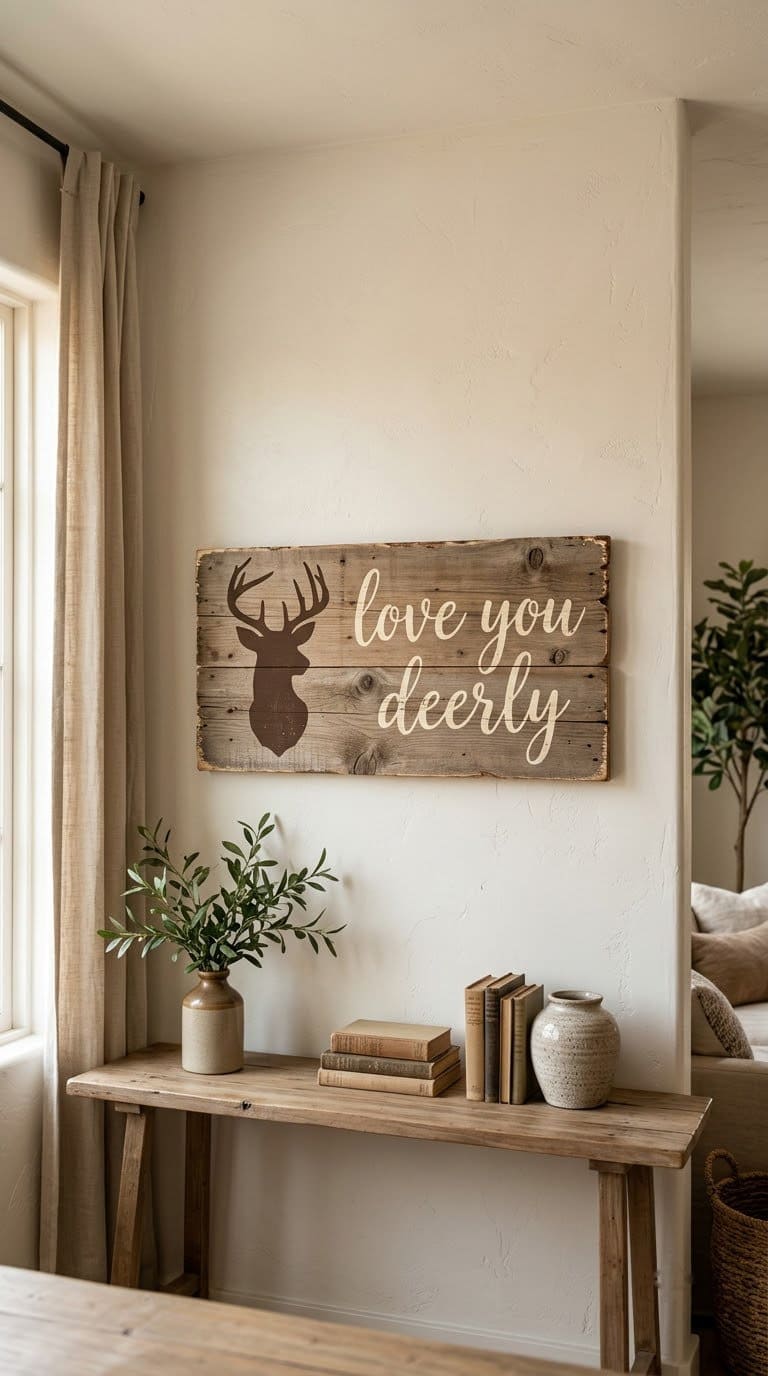
6. Love You Deerly
Cut a deer head silhouette from a thin plank or plywood. Paint it dark brown, and add the words “love you deerly” in a cream script beneath. Add a small heart where the antlers meet.
Materials (our plan): a plank about 18 inches wide, plywood for the deer, paint, a jigsaw and a stencil. Trace the deer from a printed outline, then cut with a jigsaw.
Steps: print and enlarge the outline, trace, cut, sand the edges, paint, letter, seal.
Pair with: a cabin or lodge style room.
Watch out: jigsaw cuts on thin wood tear. Put painter’s tape on the cut line and let the blade do the work.
Our take: a witty gift for a hunter or a camper. Use a tight pun, and keep the letters simple.
7. A Shabby Chic Whitewash Sign
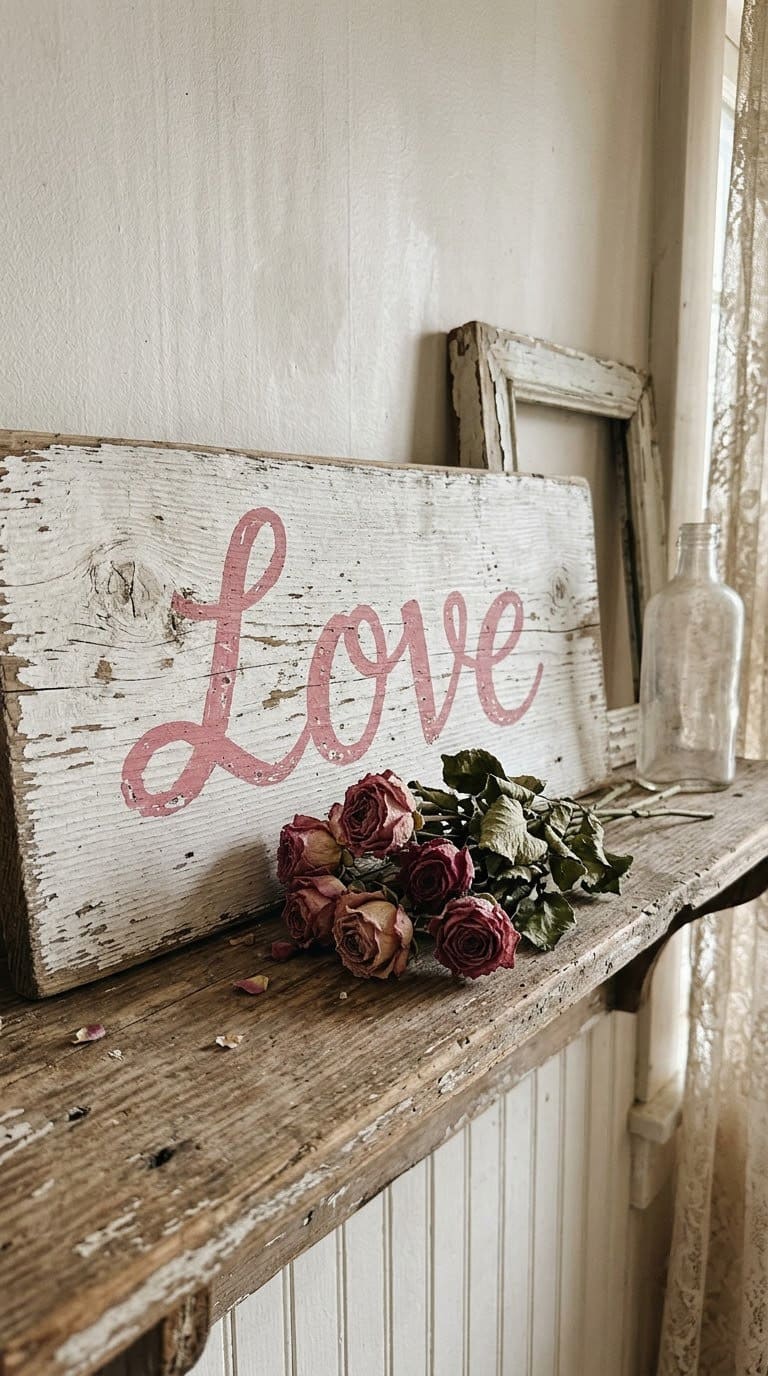
Brush a plank with watery white paint so the grain shows. Rub with sandpaper until it looks worn. Paint the word in a soft pink or gray, and sand again at the edges.
Materials (our plan): a plank, white paint, water, a rag, sandpaper and a sealer. Mix one part water with one part paint for the wash.
Steps: wash the board, wipe off extra paint, let it dry, letter the word, distress with sandpaper, seal.
Pair with: lace and dried roses. For related decor, see our farmhouse interior design ideas.
But watch out: paint on a dark knot bleeds through. Put a coat of shellac primer on knots before you paint.
Our take: a safe, soft style that fits any bedroom. We could not open the original tutorial, so this is our own method.
8. A Hand-Painted Love Arrow Sign
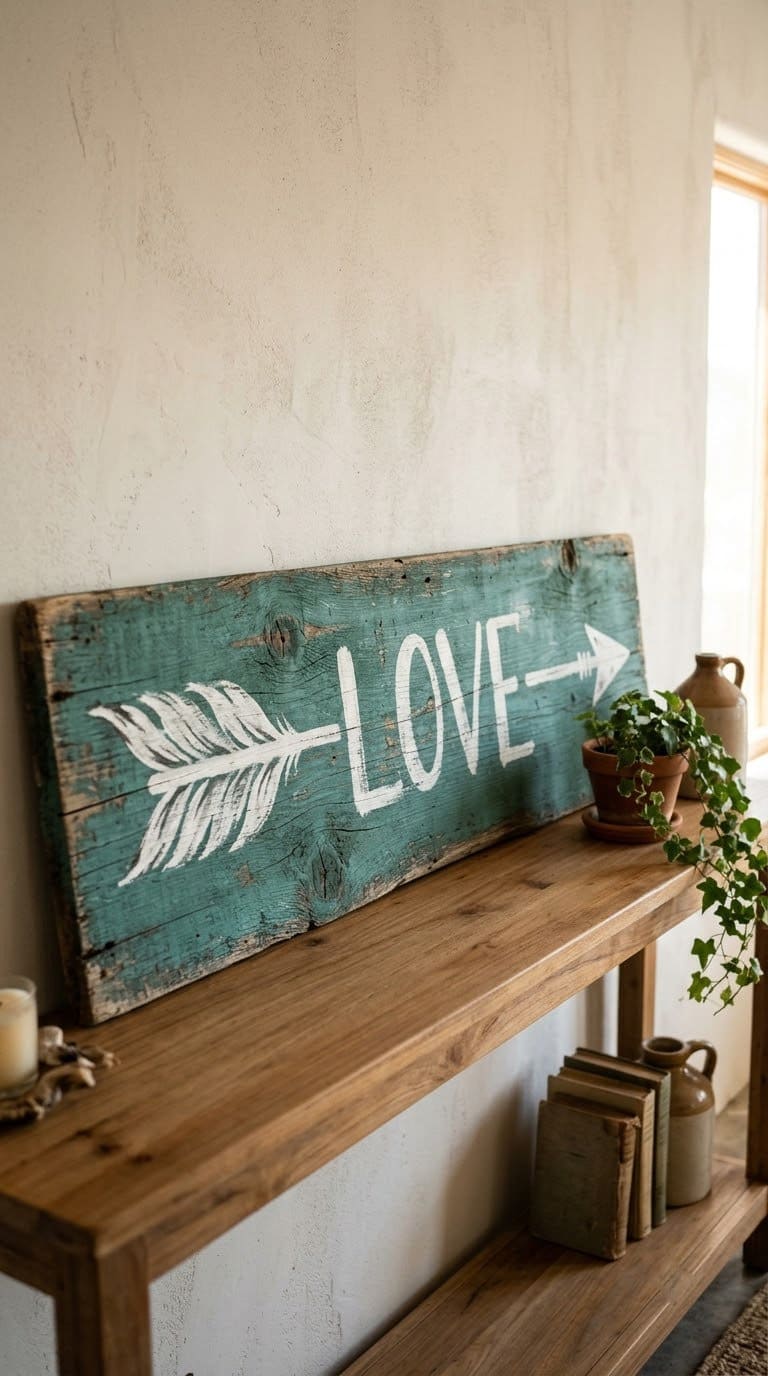
Paint a long plank in a solid color. Draw an arrow across it with a ruler. Letter LOVE above or below the arrow, and add feather tips at the end.
Materials (our plan): a plank about 10 by 40 inches, craft paint, a ruler and a flat brush. A long, narrow board looks right for an arrow.
Steps: paint the base, mark the arrow’s line, paint the shaft and the head, add feather marks, letter the word, seal.
Pair with: a long wall above a sofa or a bed.
Watch out: an arrow that tilts. Mark both ends with a level before you paint.
Our take: a clean, modern-rustic look. It also reads well from across a room.
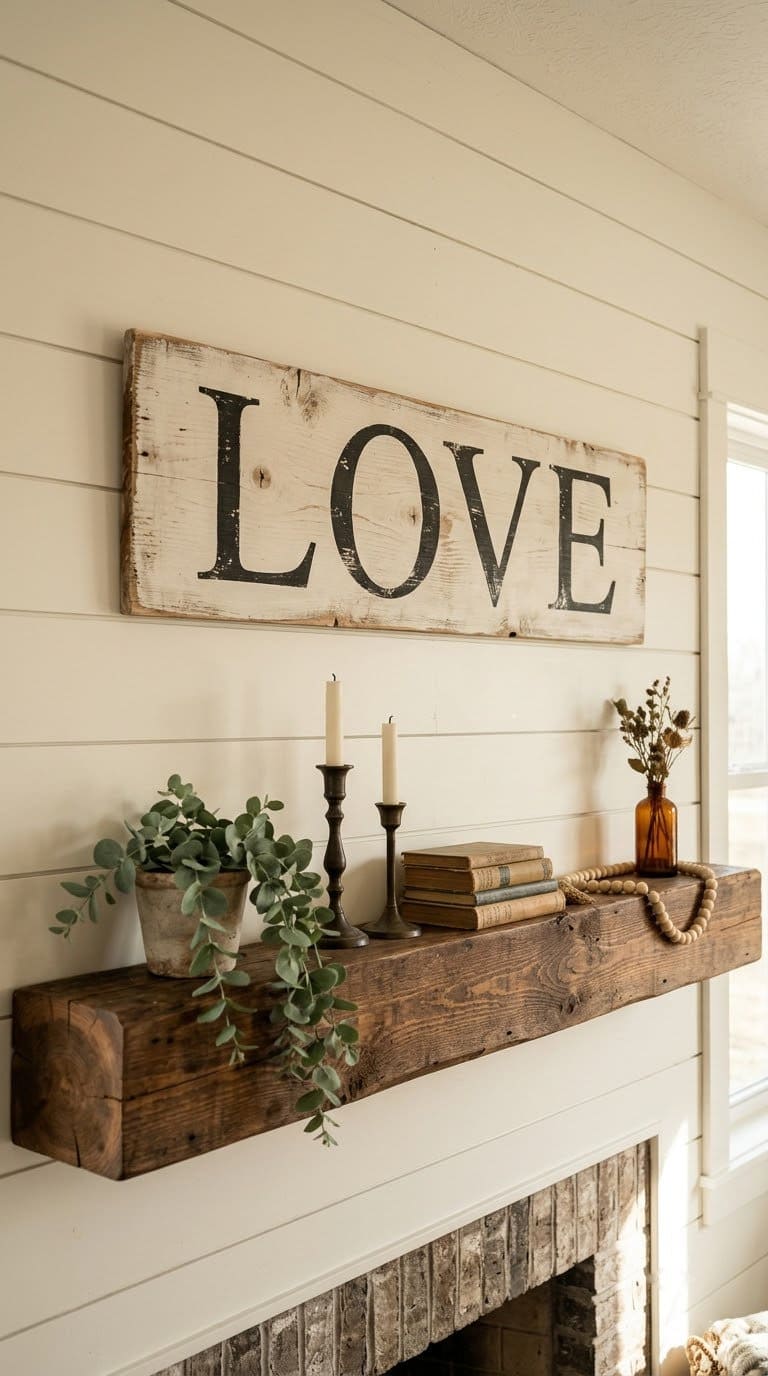
9. A Farmhouse-Inspired LOVE Sign
Choose a base in warm white or soft gray, and paint the letters in black or deep green. Use a simple serif type, and keep the spacing wide. Finish with light sanding to show the wood.
Crafts by Courtney describes a farmhouse-style love sign meant to stay up all year, made easier than most signs. The page gives no sizes or steps, so we give our own plan.
Materials (our plan): a plank, white paint, black paint, a stencil, a foam brush and a sealer. Dab paint through a stencil with a foam brush, so it doesn’t bleed under the edges.
Pair with: a shiplap wall or a mantel.
But watch out: too much distressing. A few worn spots look charming, and a chewed edge looks messy.
Our take: the one most buyers want. A year-round sign saves you a trip to the attic.
See the inspiration at Crafts by Courtney.
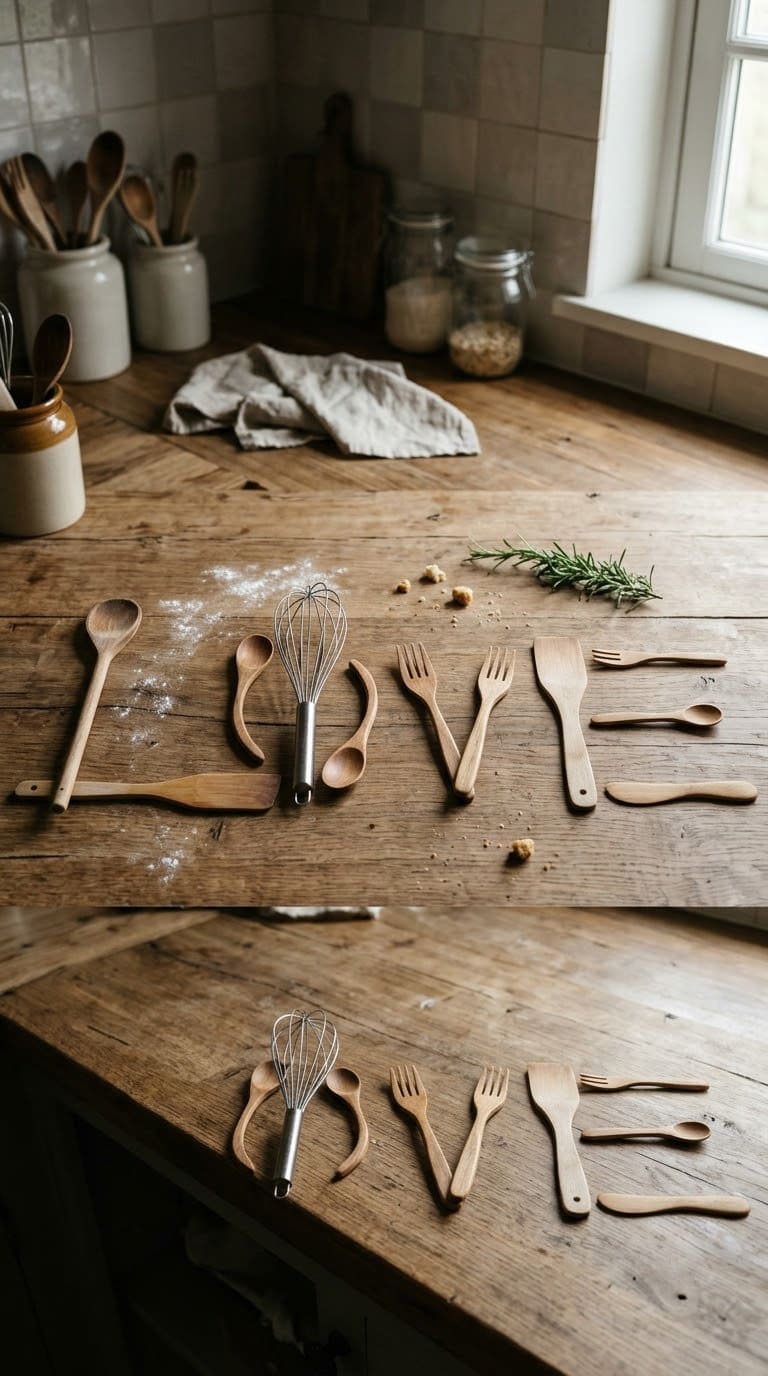
10. Kitchen Utensil Love Letters
Mix and match old kitchen utensils to spell LOVE. A wooden spoon can make an L, a rolling pin an I, and forks a V. Glue the pieces onto a board, and write the word with a paint pen if the shapes need help.
Materials (our plan): a board, mixed vintage utensils, strong glue or screws and paint. Use cheap thrift pieces.
Steps: lay out the letters, mark the board, glue or screw each piece, let it cure, hang it.
Pair with: a kitchen shelf or a breakfast nook.
Watch out: loose utensils fall. Use screws for the heavy ones, and let glue cure for a full day.
Our take: a cute kitchen idea. Use pieces you no longer cook with.
Personal and Gift Signs
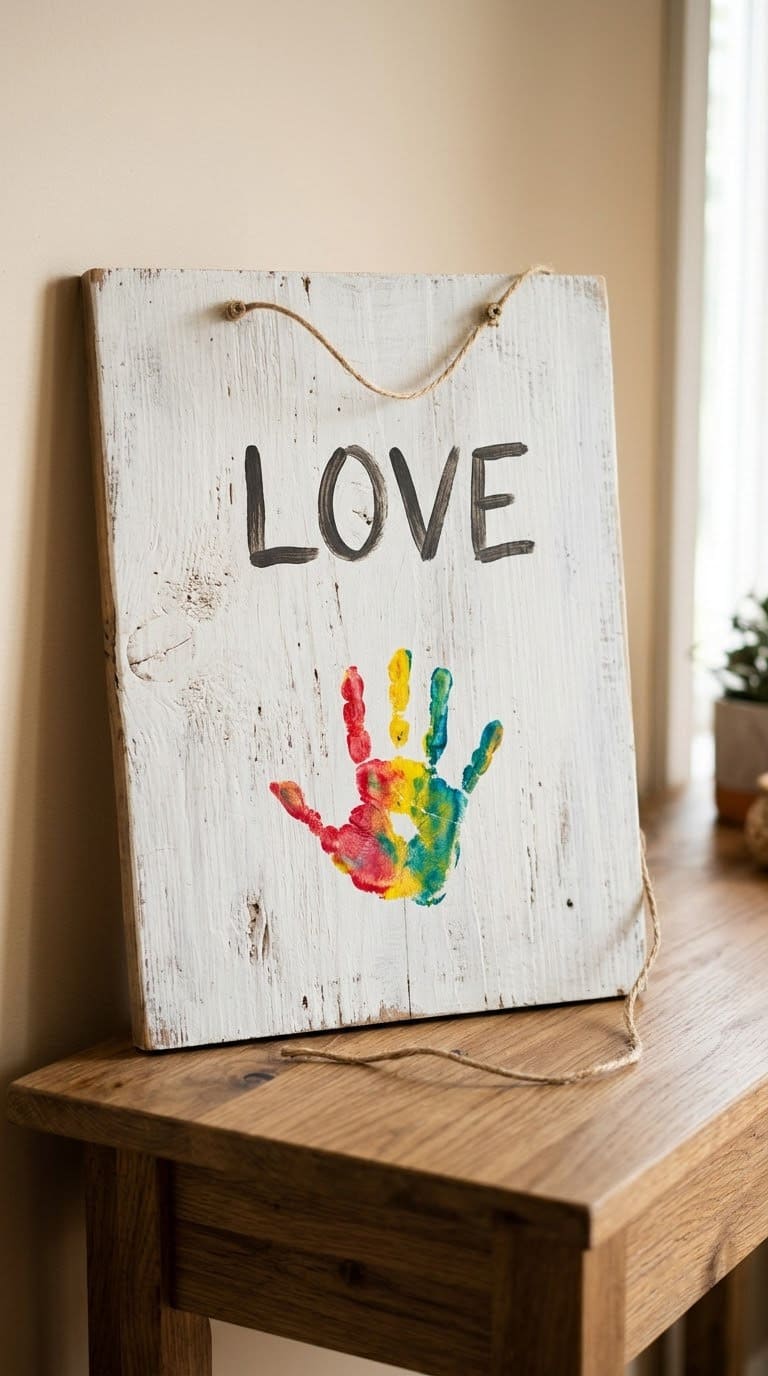
11. A Family Hand and Footprint Sign
Press a child’s hand or foot onto a painted board to make a keepsake. Letter LOVE, or the child’s name, above the print. Add the date on the bottom.
Materials (our plan): a plank, washable non-toxic paint, a baby wipe, a brush and a sealer. Practice on paper first.
Steps: paint the base, let it dry fully, brush paint on the hand, press it down, lift straight up, clean the skin, add the words.
Pair with: a family photo wall.
But watch out: paint on skin and in mouths. Use paint labeled non-toxic and washable, and wipe small hands right away.
Our take: our best gift for grandparents. Keep it by the front door.
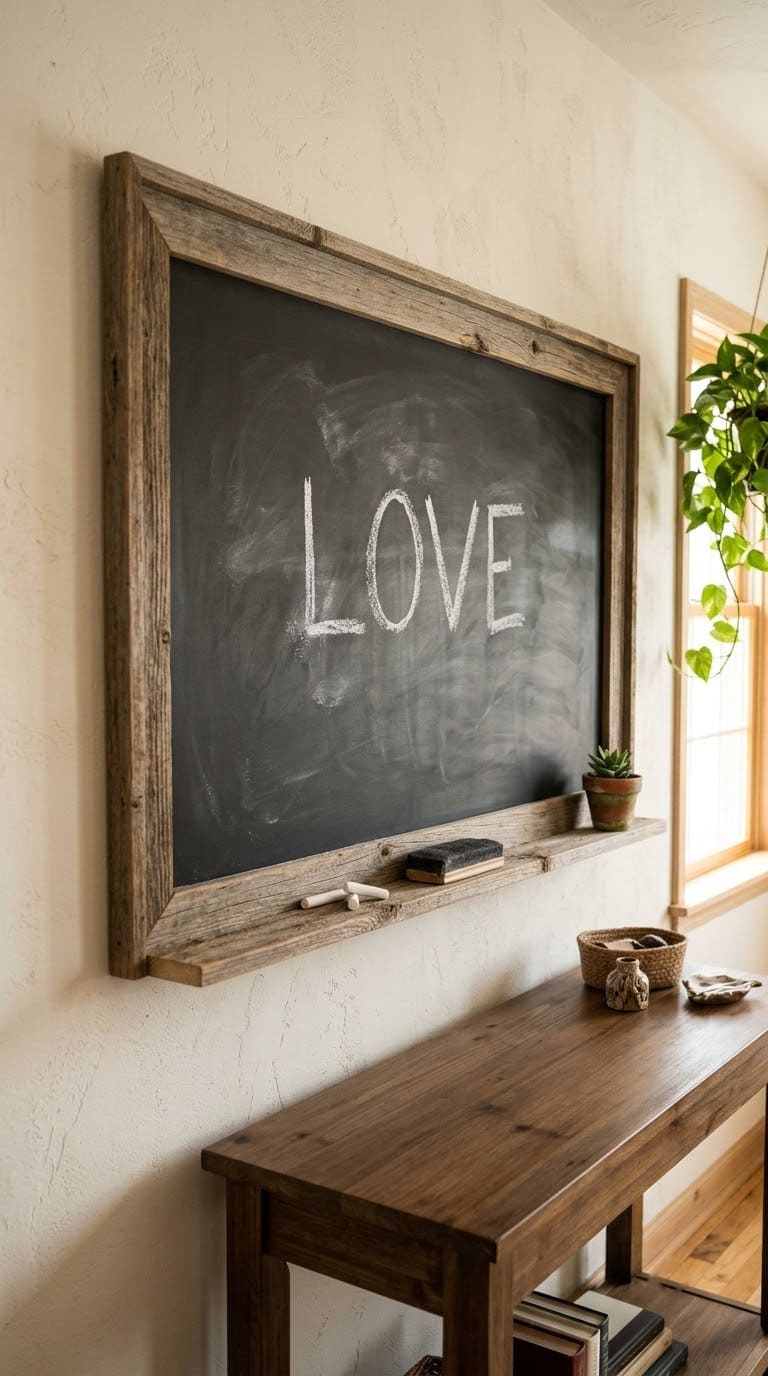
12. A Chalk Wall Accent
Paint a plank with chalkboard paint, and frame it in rustic wood. Write LOVE in chalk, and change the message with the season. Add a small shelf for a chalk tray.
Materials (our plan): a plank, chalkboard paint, a foam roller, chalk and a frame. Season the board by rubbing chalk over it and wiping it off before the first use.
Pair with: a row of hooks for keys.
Watch out: smudges. Spray the finished writing with a clear fixative if you want it to last.
Our take: the easiest to update. Kids can write their own notes.
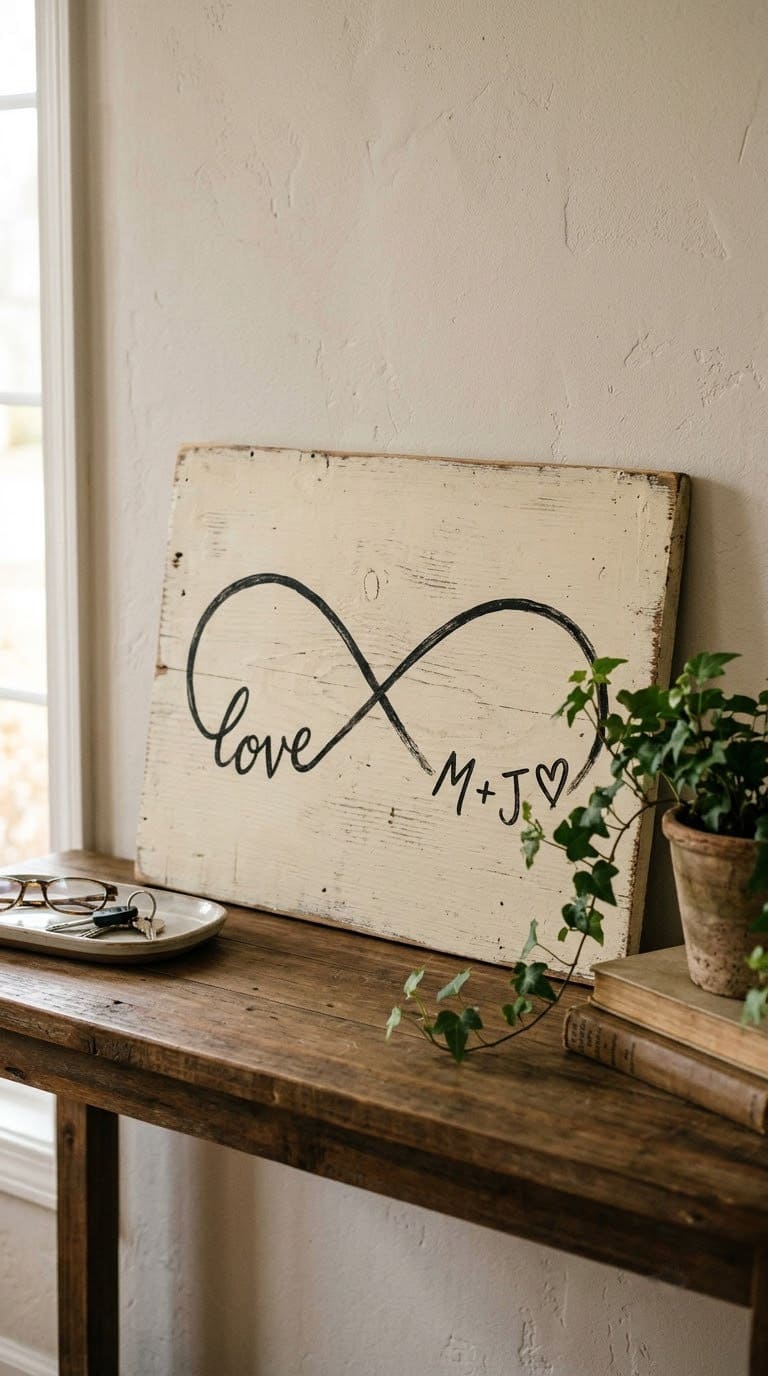
13. A Love Infinity Sign
Paint a plank cream and draw an infinity symbol in black. Add two names or initials inside the loops. Finish with a small heart.
Materials (our plan): a plank, cream paint, black paint pen, a pencil and a sealer. You can also bend thin wire into the symbol and nail it down.
Steps: paint the base, pencil the symbol, trace with a paint pen, add the names, seal.
Pair with: a bedroom dresser.
But watch out: lopsided loops. Trace a plate or a bowl to guide each loop.
Our take: a lovely anniversary gift. It reads as modern and sweet.
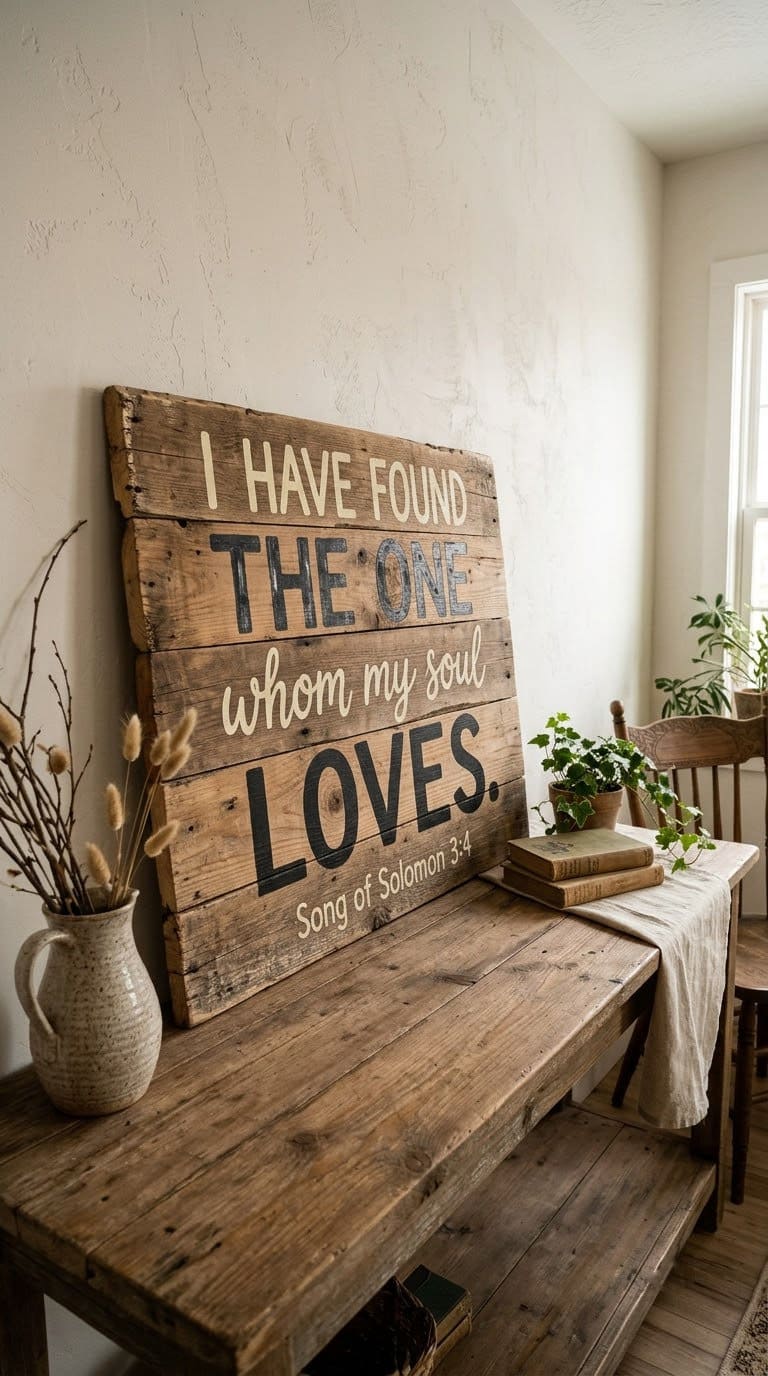
14. A Scripture or Quote Plank
Choose a short line you love. 1 Corinthians 13 is a common choice, as is a line from a poem in the public domain. Break the line into short rows and letter them in different sizes.
Materials (our plan): a plank, paint, a stencil set and a ruler. Plan the layout on paper first, then trace it onto the wood.
Steps: draw the layout, paint the base, transfer the lines, paint each row, seal.
Pair with: a hallway wall.
Watch out: copyright. Song lyrics and modern poems are usually protected. Use a verse, a proverb or your own words if you plan to sell the sign.
Our take: a meaningful gift. The big word draws the eye and the small lines reward a close look.
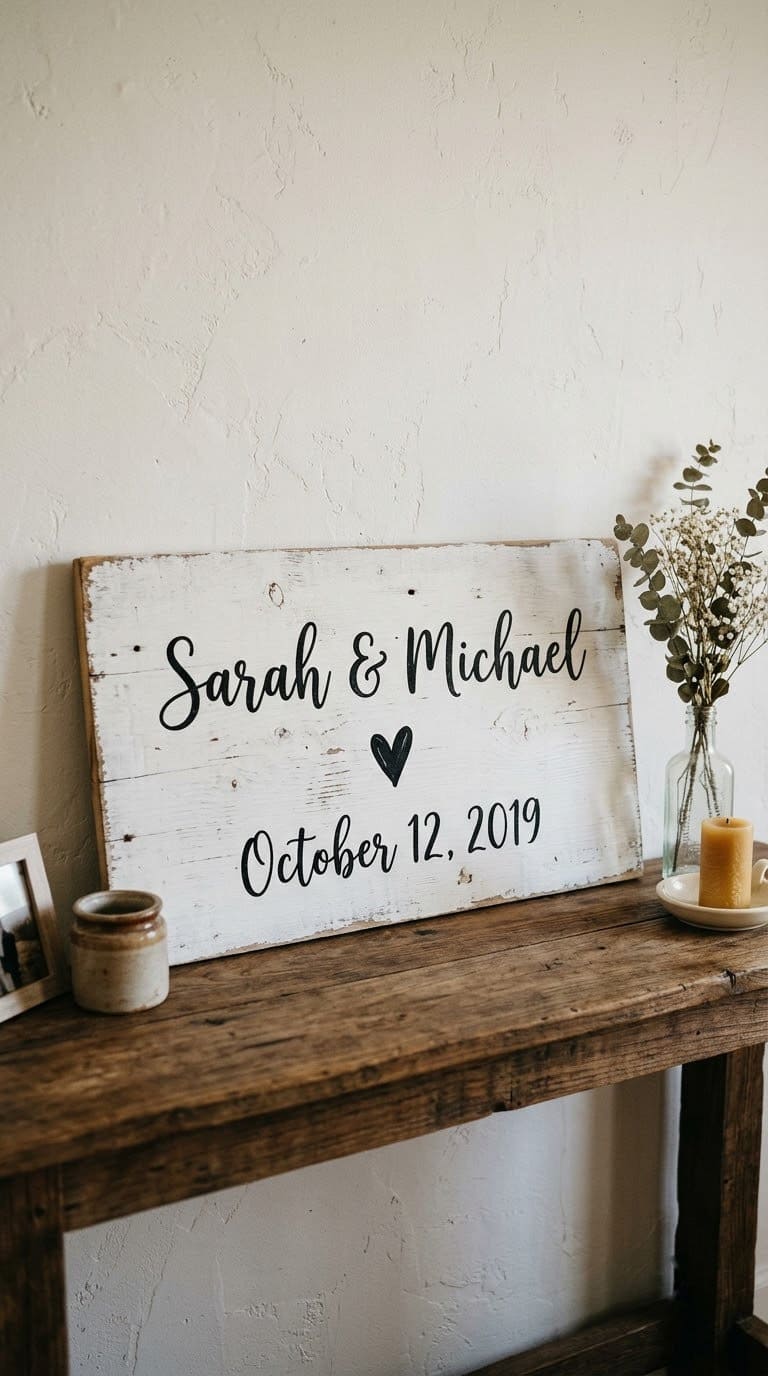
15. A Wedding or Anniversary Date Sign
Letter two names and a date on a plank. Add a small heart between the names. Hang it above the bed or give it as a gift.
Materials (our plan): a plank, white paint, black paint, a stencil or paint pen and a sealer. Use a date format you like, such as the month and year.
Steps: paint the base, pencil the layout, letter the names, add the date, seal, add hardware.
Pair with: a framed wedding photo.
But watch out: spelling errors. Check every name and number before you paint, and have a second person read it.
Our take: the best gift on the list. A sign with real names means more than a store-bought one.
How Do You Finish and Seal a Wood Sign?
Seal every sign that hangs indoors, and use an exterior finish for a porch sign. A clear sealer protects paint and keeps the wood from drying out. Let each coat cure before you hang it.
Test any stain or sealer on a scrap first. Stain can turn blotchy on pine, so use a wood conditioner as the Infarrantly Creative tutorial does. Work in a ventilated space.
Oil-based stains and finishes need extra care. SafetyNow, a safety training group, says linseed oil, oil-based stains, varnishes and polyurethane are prone to spontaneous ignition.
A soaked rag heats as it oxidizes, and a pile traps that heat. Spread rags flat outdoors until dry, or store them in a metal container with a lid.
Our rule: use water-based paint and sealer when you can. They dry fast and clean up with water.
Is Old Wood Safe to Use?
Check the wood before you cut it. Pallets carry a stamp, and you want HT, which means heat treated.
The same guide says MB means methyl bromide fumigation and lists vomiting, dizziness, convulsions and blisters as effects of exposure. Skip any pallet with an MB stamp, with no stamp or with oil stains.
Old fence boards, doors and barn wood may carry lead paint. That agency says paint in good condition is usually not a problem, and that sanding creates the danger. If the paint is peeling and the wood comes from a house built before 1978, choose different wood.
Our rule: when in doubt, buy new wood. A pine board costs little and has no history.
What Are the Best Gift and Placement Ideas?
Match the sign to the place. A short, clean sign suits a bedroom or a hallway.
A bold, large sign suits a living room wall. A small sign works on a shelf.
For gifts, add the recipient’s names or a date. Wrap the sign in kraft paper and tie it with twine. For related projects, see our DIY pallet sign ideas and DIY Valentine’s Day heart crafts.
Our rule: add a hang strip or a French cleat, so the sign is easy to swap.
What Will It Cost, and How Long Will It Take?
Prices vary by store and region, so use these tiers.
| Tier | What it covers | Typical time |
|---|---|---|
| Free to cheap | Rope sign ($21 in one build), pallet-style slats ($9 in another), found-object signs | An afternoon |
| One weekend | Painted plank signs, arrow sign, hand and footprint, infinity | 1 to 2 days with drying |
| Bigger project | Carved or cut shapes, multi-board signs, custom gift sets | A few days |
Start with the cheap tier. Add the cut shapes after you master painting letters.
Common Mistakes to Avoid
Skipping the scrap test. Test paint and stain on a spare board.
Using MB-stamped pallets. Choose HT or buy new wood.
Piling oily rags. Spread them flat outdoors until dry.
Hanging a heavy sign on one nail. Use studs or two anchors.
Painting before the stain dries. Wet wood makes paint peel.
FAQ
What are rustic love wood signs? Wood signs with the word love, finished to look warm and worn.
How do I make a rustic love sign? Paint or sand a plank, add the word with paint or rope, then seal it.
What wood is best for a love sign? Pine is cheap and easy to paint. Reclaimed wood adds character, but check it for safety.
How do I hang a wood sign? Use a stud when you can, plus a hang strip or two D-rings.
Are pallets safe for signs? Use pallets stamped HT, and skip any with an MB stamp or stains.
Related Posts
Never miss an update — choose FarmFoodFamily as your preferred source on Google.
How it works: Tap the button below to open Google's settings page, then check the box next to FarmFoodFamily.
Tap the checkbox to turn it blue — that's how you know it's set.