20 Easy DIY Patio Decoration Projects Anyone Can Make, Step by Step
You can decorate a patio with projects you make yourself, and the safe way is to start small, pick sturdy materials, check old wood and paint, and keep cords and water in check.

Never miss an update — choose FarmFoodFamily as your preferred source on Google.
How it works: Tap the button below to open Google's settings page, then check the box next to FarmFoodFamily.
Tap the checkbox to turn it blue — that's how you know it's set.
You can decorate a patio with projects you make yourself, and the safe way is to start small, pick sturdy materials, check old wood and paint, and keep cords and water in check.
Products We Recommend
This post contains affiliate links. We may earn a commission on qualifying purchases at no extra cost to you.

Magicfly Outdoor Acrylic Paint, 30 Colors, 60 ml with 3 Brushes
Outdoor acrylics for pots, signs, small furniture and murals. For big surfaces like a picnic table or floor, buy a larger can of exterior paint and sealer.
Shop Now
ASRINIEY 4 inch Caster Wheels, Set of 4, Dual Locking Swivel
Locking wheels for the pallet coffee table. Lock all four when the table is in place.
Shop Now
KKOYING Leather Work Gloves, Reinforced Cowhide, Puncture and Cut Resistant
Thick gloves for sanding, pulling nails from pallets and handling rough wood. Pick your size from the listing.
Shop NowYou don’t need a big budget or pro skills to make a patio feel special. You need a weekend, a few basic tools and a good idea.
This guide gives you 20 DIY patio projects. Each one is written in plain steps.
You’ll see what you need, how long it takes, how to build it and how to keep it looking good. There’s no jargon, and no project needs special training.
Answer 4 quick questions and get matched to the exact fix for your yard — drainage, budget, layout, or something else entirely.
Take the Free QuizIf you want help with layout and budget first, see our small patio decorating ideas on a budget.
Quick Answer
Start with one easy project, like painting a table or hanging lights. Learn what you enjoy, then try a bigger build.
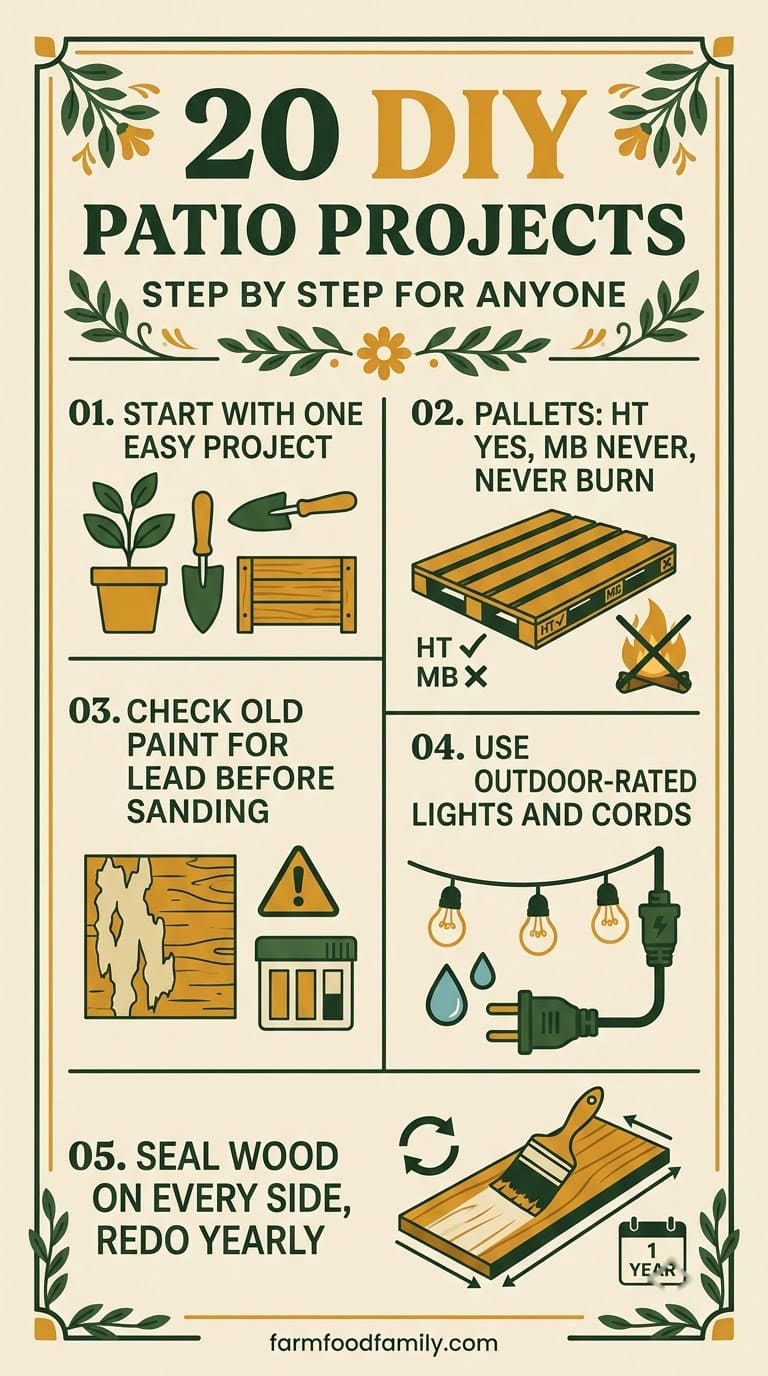
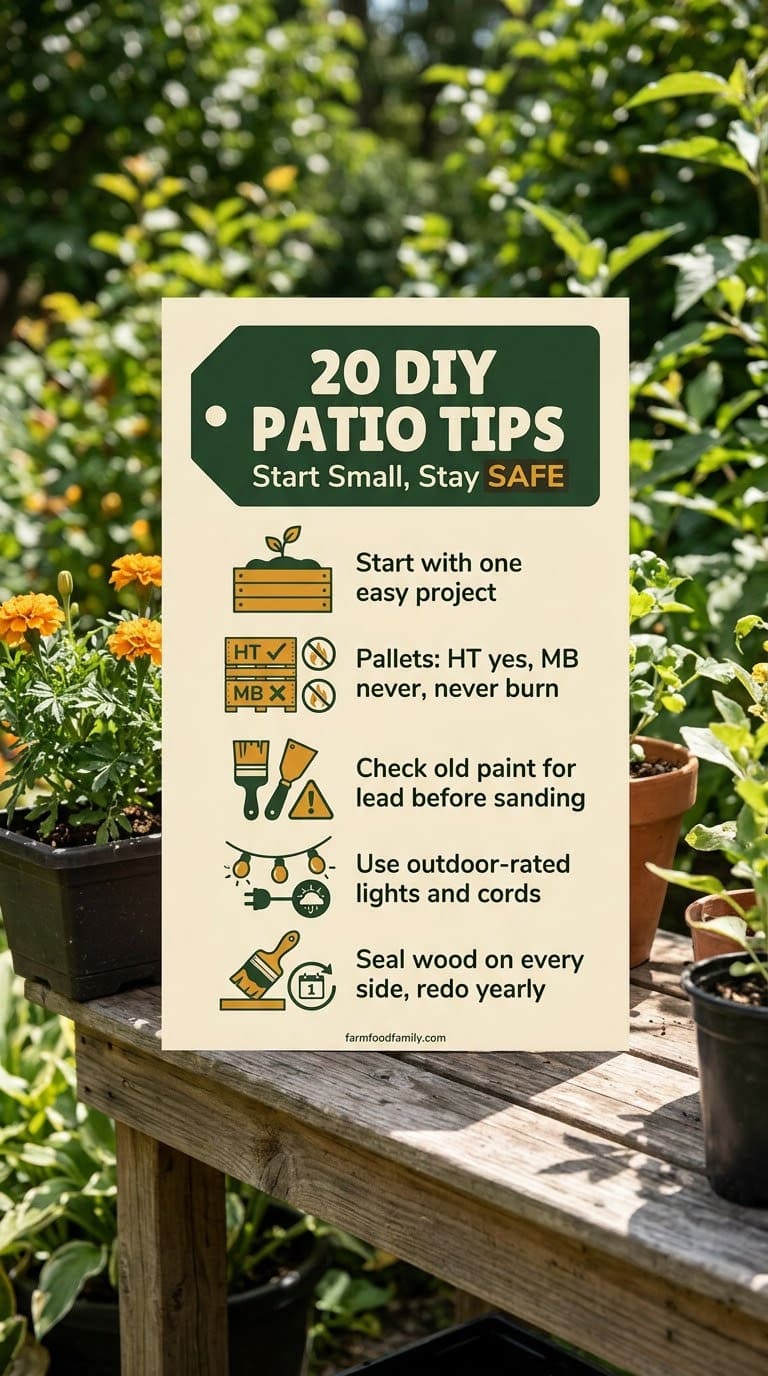
Be careful with pallets. UC ANR says heat-treated pallets, stamped HT, are generally safe. Penn State Extension says never to use pallets stamped MB for any home project, and never to burn them.
Use paint and sealer made for outdoors. Keep cords dry and use lights made for outside.

But don’t rush. Measure twice, wear gloves and take breaks.
Most yard problems trace back to one specific, fixable cause. Find yours in 4 quick questions.
Take the Free QuizSeal wood on every side, and paint it with an outdoor product. Check old paint for flaking before you sand it. Keep lights and cords dry and made for outdoor use, and give yourself a full weekend for bigger builds.
Finish with a quick safety check. Wiggle every bench and table, and test every light before you invite friends over.
What Do You Need Before You Start?
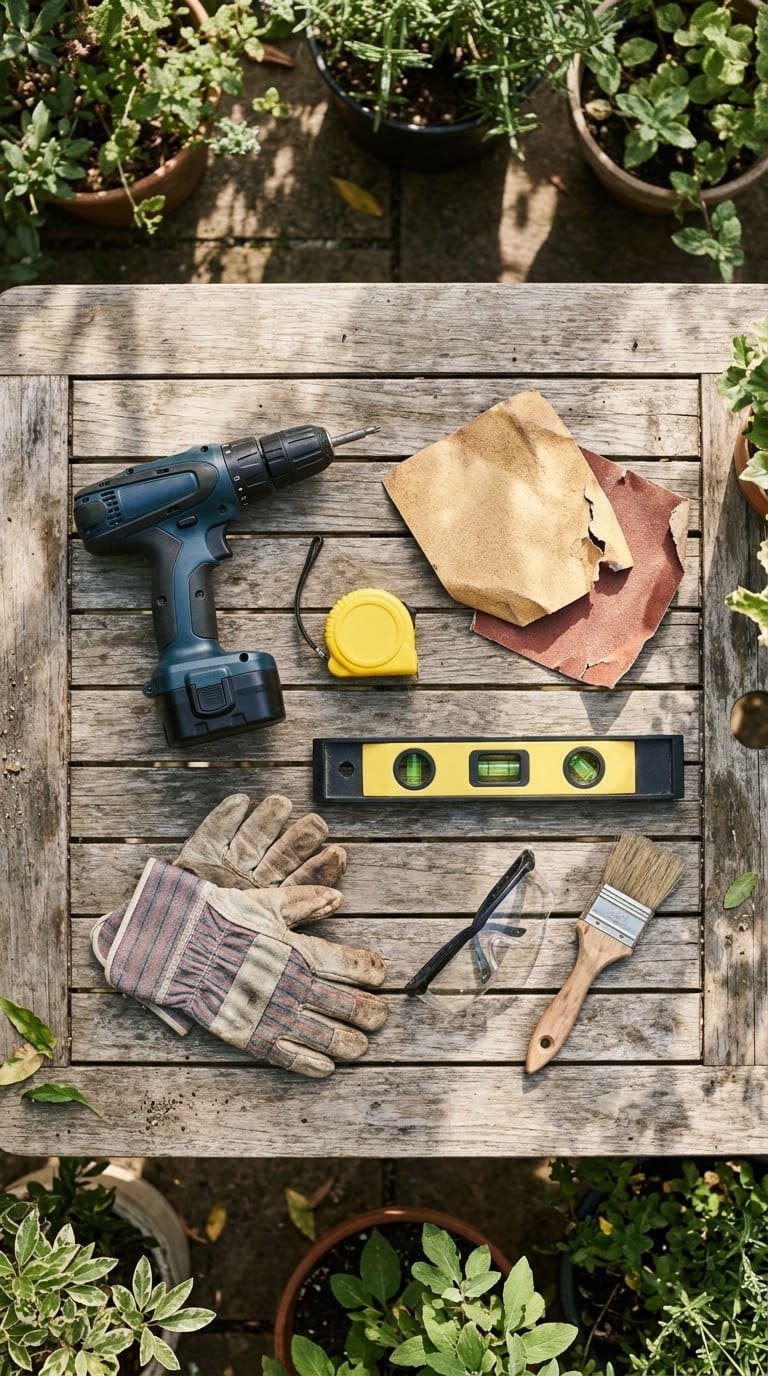
Most projects in this guide use the same short list. You may already own most of it.
- Tape measure and pencil. For marking and checking.
- Drill or screwdriver. A cordless drill makes everything faster.
- Sandpaper. To smooth rough wood and metal.
- Level. To keep shelves and tables straight.
- Gloves and safety glasses. To protect your hands and eyes.
- Outdoor paint and sealer. Made for weather, not indoor use.
- Exterior screws. They resist rust better than regular ones.
Our take: borrow tools you don’t own. Many hardware stores and libraries lend them.
How Do You Pick Your First Project?
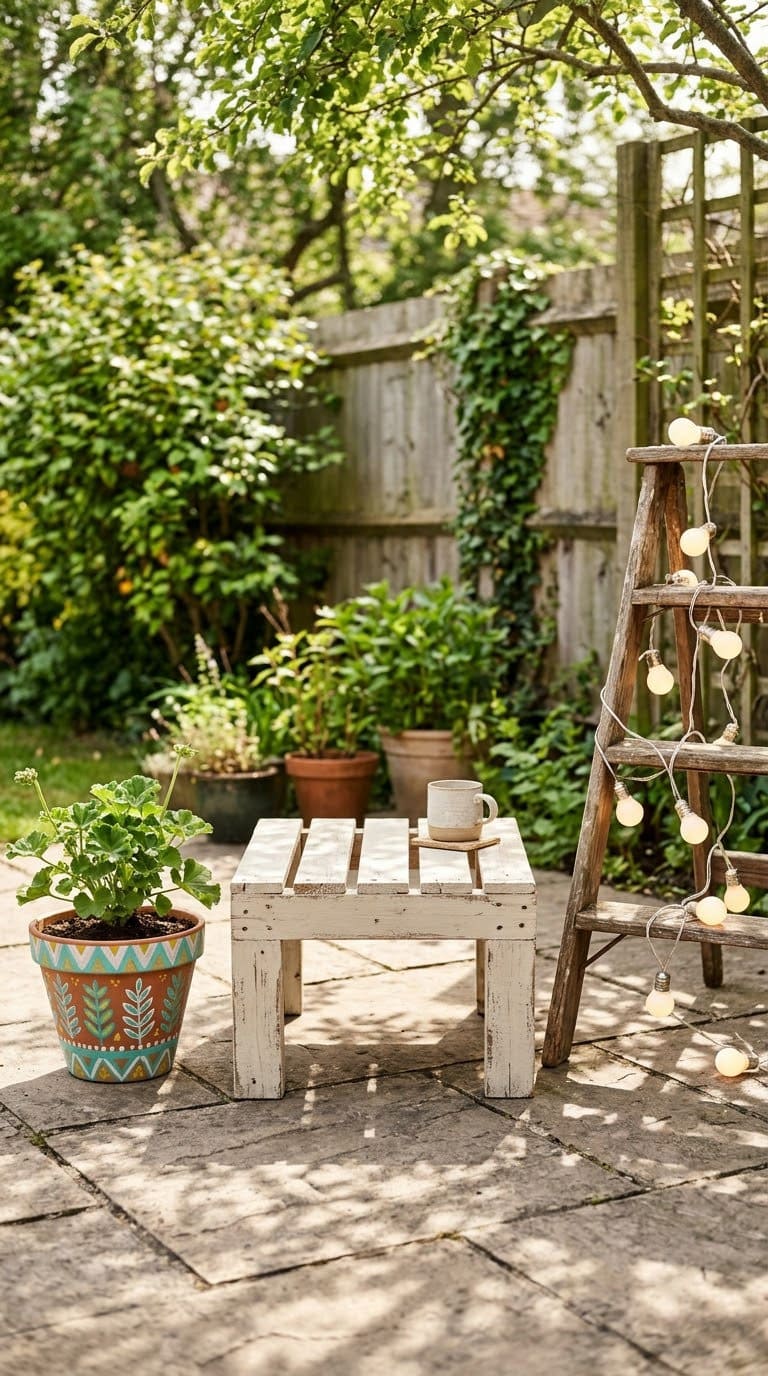
Pick by time and skill. The table below sorts all 20 projects into groups.
| Group | Time | Projects |
|---|---|---|
| Quick wins | About an hour | Lantern jars, painted pots, curtains, string lights |
| Afternoon builds | A few hours | Bike planter, teapot fountain, stump seats, crate planter, stepping stones |
| Weekend builds | One or two days | Pallet bench, coffee table, picnic table makeover, shade sail, movie screen |
Our take: do one quick win first. It builds confidence and instantly changes how the patio feels.
How Do You Stay Safe While You Build?
Outdoor acrylics for pots, signs, small furniture and murals. For big surfaces like a picnic table or floor, buy a larger can of exterior paint and sealer.
Shop NowThis post contains affiliate links. We may earn a commission on qualifying purchases at no extra cost to you.
A few habits prevent most DIY injuries.
- Wear gloves and glasses. Splinters and flying dust are the most common problems.
- Work outside or in fresh air. Paint and sealer fumes are stronger indoors.
- Check old paint. The EPA says old or worn lead paint creates chips and dust. It advises wet-cleaning and wetting a surface before sanding. If a piece has flaking paint, skip it.
- Wash your hands. The EPA says to wash after handling anything that may contain lead.
- Check your tools. Keep cords away from water and blades sharp.
- Take breaks. Mistakes happen when you’re tired.
Our take: if you’re unsure about an old piece, use it only as decoration. Don’t sit on it or put food on it.
The average homeowner spends $616/year on yard fixes that don't address the real problem. Find out what yours actually is — before you spend another dollar.
Take the Free Quiz20 DIY Patio Decoration Projects
1. Painted Picnic Table Makeover
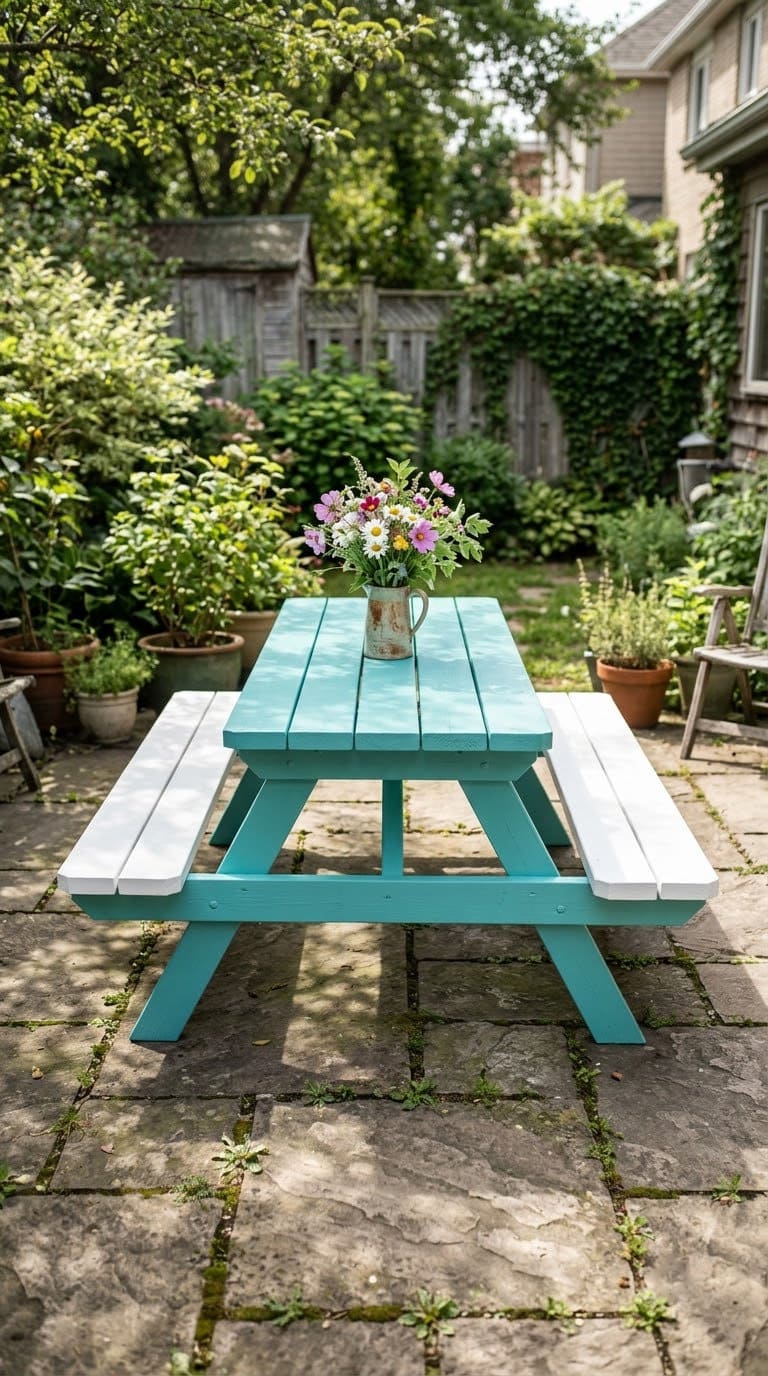
A fresh coat of paint can turn an old table into the center of your patio.
- Skill and time: Easy, a weekend.
- What you need: Sandpaper, a wire brush, exterior primer, two colors of exterior paint, a brush or roller and sealer.
- Step 1: Clean the table with soapy water and let it dry.
- Step 2: Sand off loose paint and rough spots. Wipe away the dust.
- Step 3: Paint on a coat of primer. Let it dry.
- Step 4: Paint the table top and benches in your colors. Add a second coat.
- Step 5: Seal with a clear outdoor sealer.
- Make it last: Touch up chips each spring.
- Watch: Old paint. If the old paint is chipping, check it for lead before sanding. The EPA says to wet the surface first.
Our take: pick two colors only. A bold top and a calm base looks smart without extra effort.
2. Pallet Bench With Cushions
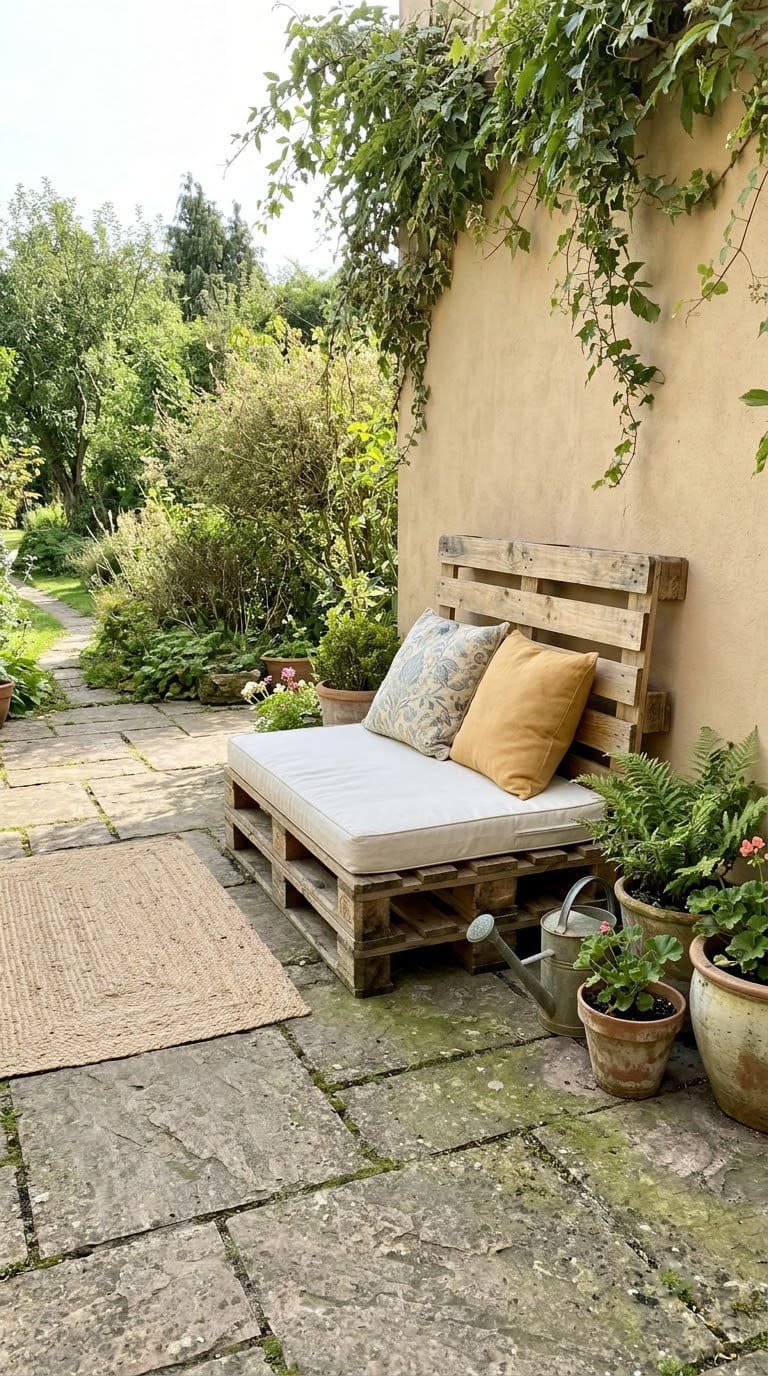
A pallet bench is cheap, sturdy and easy to build.
- Skill and time: Medium, a weekend.
- What you need: Two HT-stamped pallets, sandpaper, exterior screws, sealer and a cushion.
- Step 1: Check the stamp. Use HT only. Skip MB and unmarked pallets.
- Step 2: Sand every surface until it feels smooth. Pull out rusty nails.
- Step 3: Stack one pallet flat for the seat. Stand the other upright for the back and screw them together.
- Step 4: Seal the wood and let it dry.
- Step 5: Add a cushion in outdoor fabric.
- Make it last: Bring cushions in when it rains.
- Watch: Chemicals and splinters. Penn State Extension says never to use MB pallets or burn them, and to wear thick gloves.
Our take: never take pallets from a business without asking. Penn State advises the same.
3. Pallet Coffee Table With Wheels
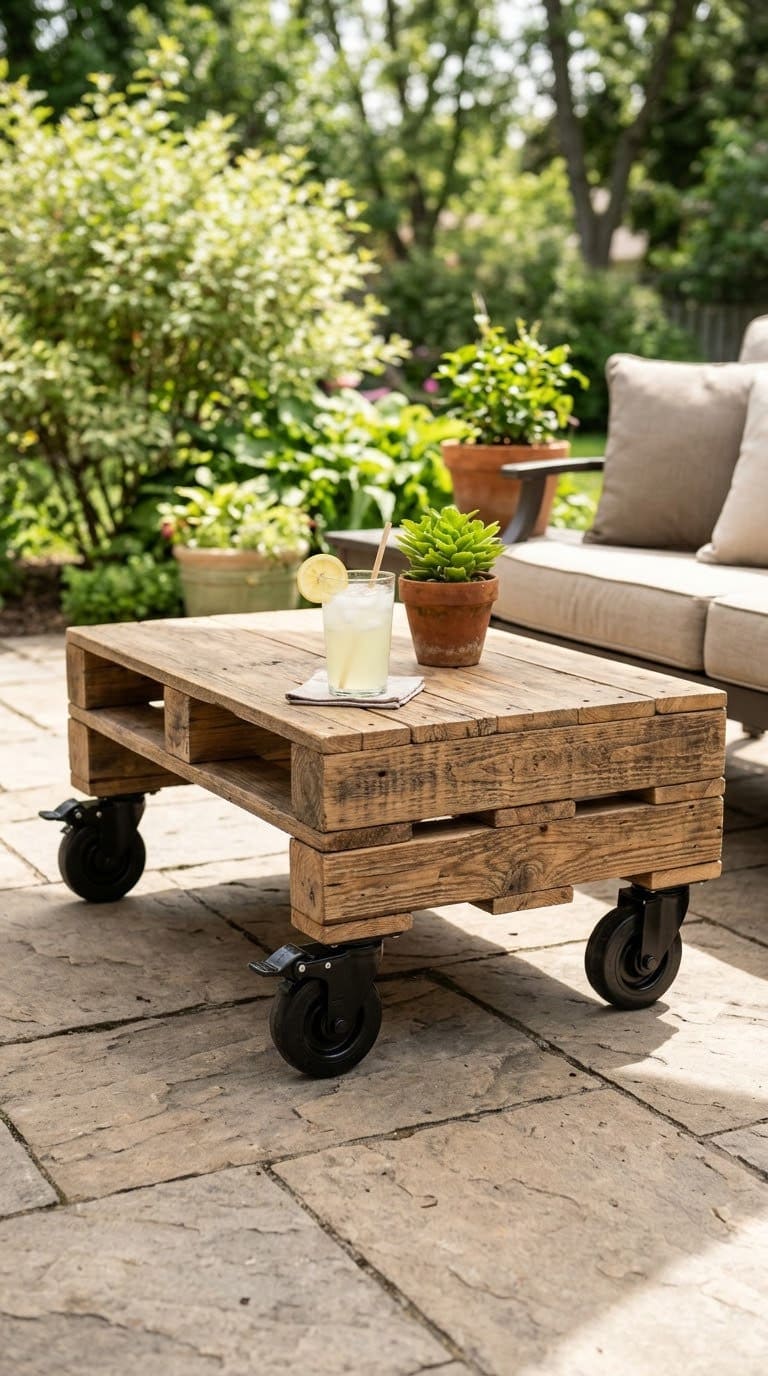
Wheels make a table you can roll anywhere.
- Skill and time: Medium, an afternoon.
- What you need: One HT-stamped pallet, four locking casters, sandpaper, screws and sealer.
- Step 1: Sand the pallet well, top and bottom.
- Step 2: Flip it over and screw one caster into each corner.
- Step 3: Flip it back and seal the wood.
- Make it last: Lock the wheels when it is in place.
- Watch: Rolling and tipping. Use locking wheels and keep the load light.
Our take: add a sheet of tempered glass on top if you want a flat surface for drinks.
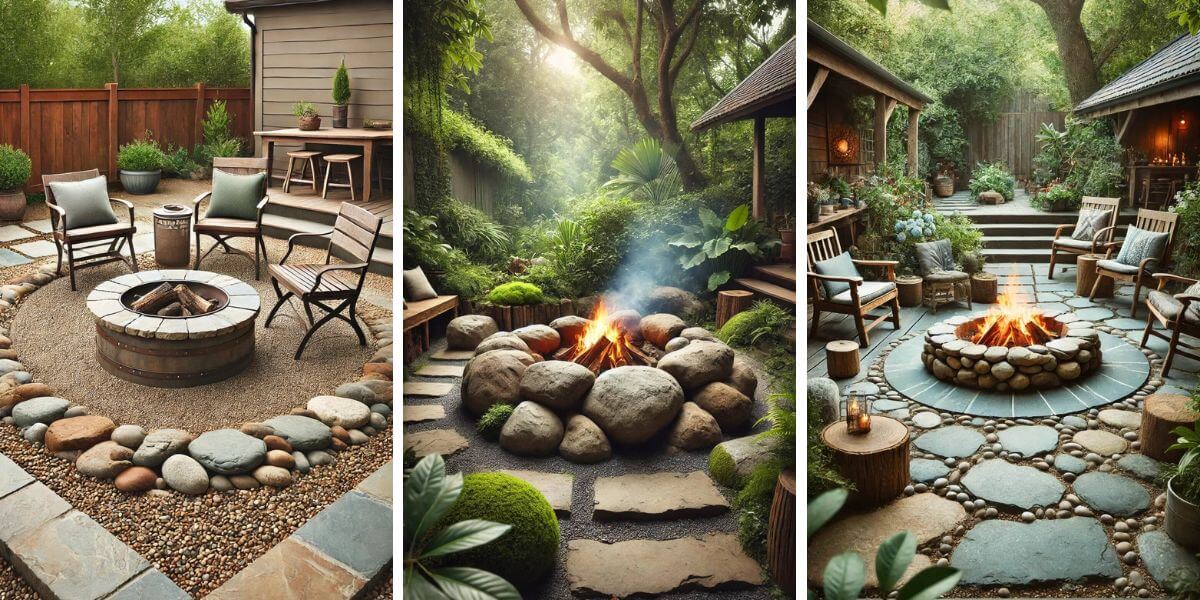


4. Tree Stump Seats and Side Tables
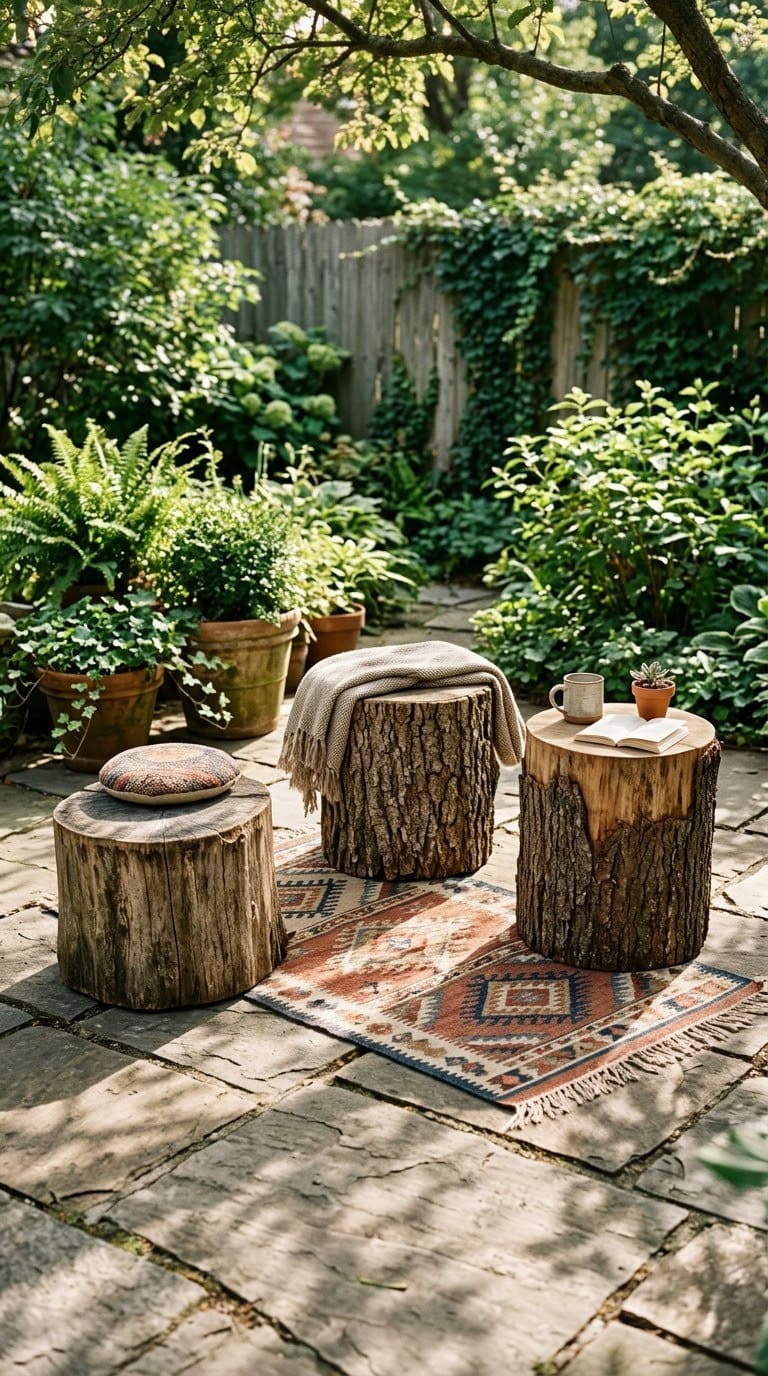
Stumps are free, sturdy and look natural.
- Skill and time: Easy, an hour.
- What you need: Dry stump sections, sandpaper, outdoor sealer and felt pads.
- Step 1: Cut the top flat, or ask a tree service for flat cuts.
- Step 2: Sand the top and edges until smooth.
- Step 3: Seal the top and bottom to slow rot.
- Step 4: Set them on level ground, and add felt pads if they sit on a hard patio.
- Make it last: Re-seal every year or two.
- Watch: Bugs and rot. Check the wood each season and keep it off wet soil.
Our take: vary the heights. Tall stumps make side tables, and short ones make seats.
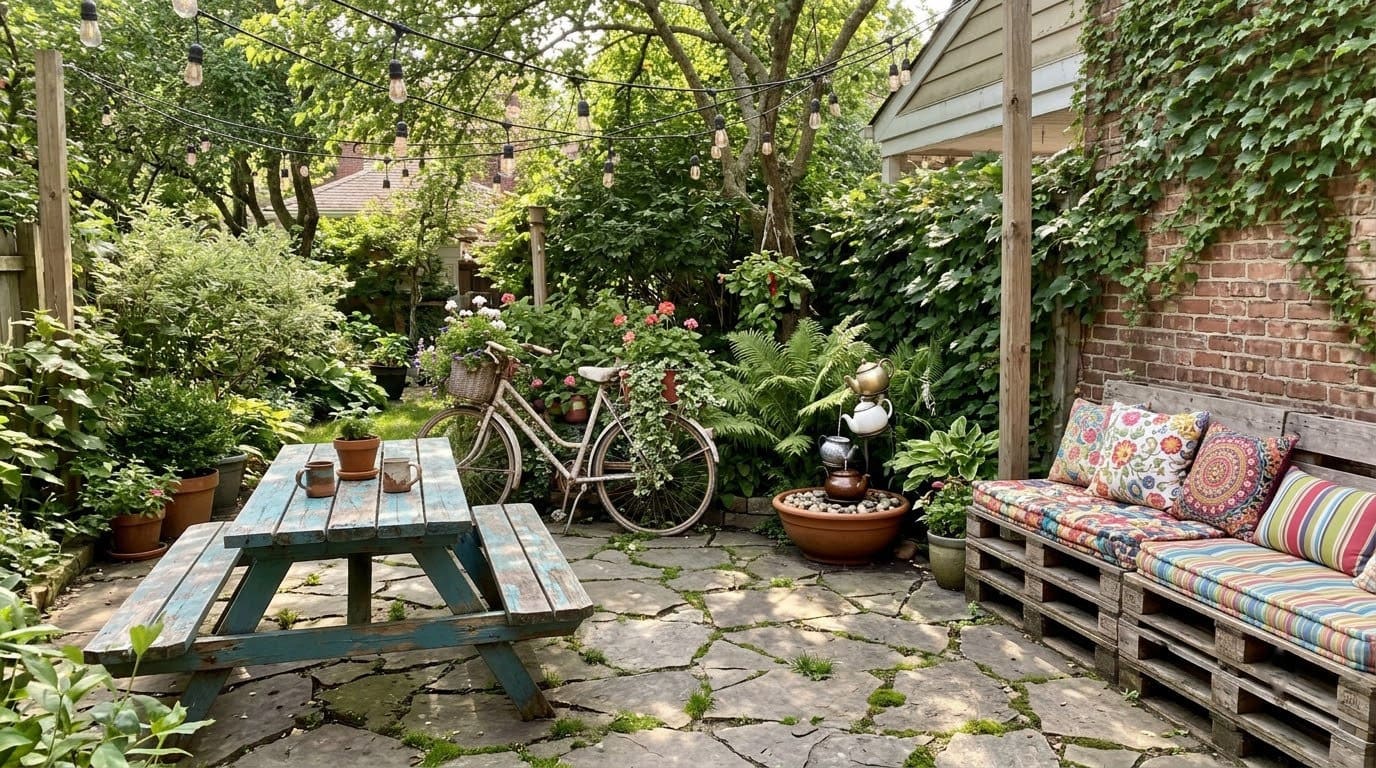
5. Bike Planter
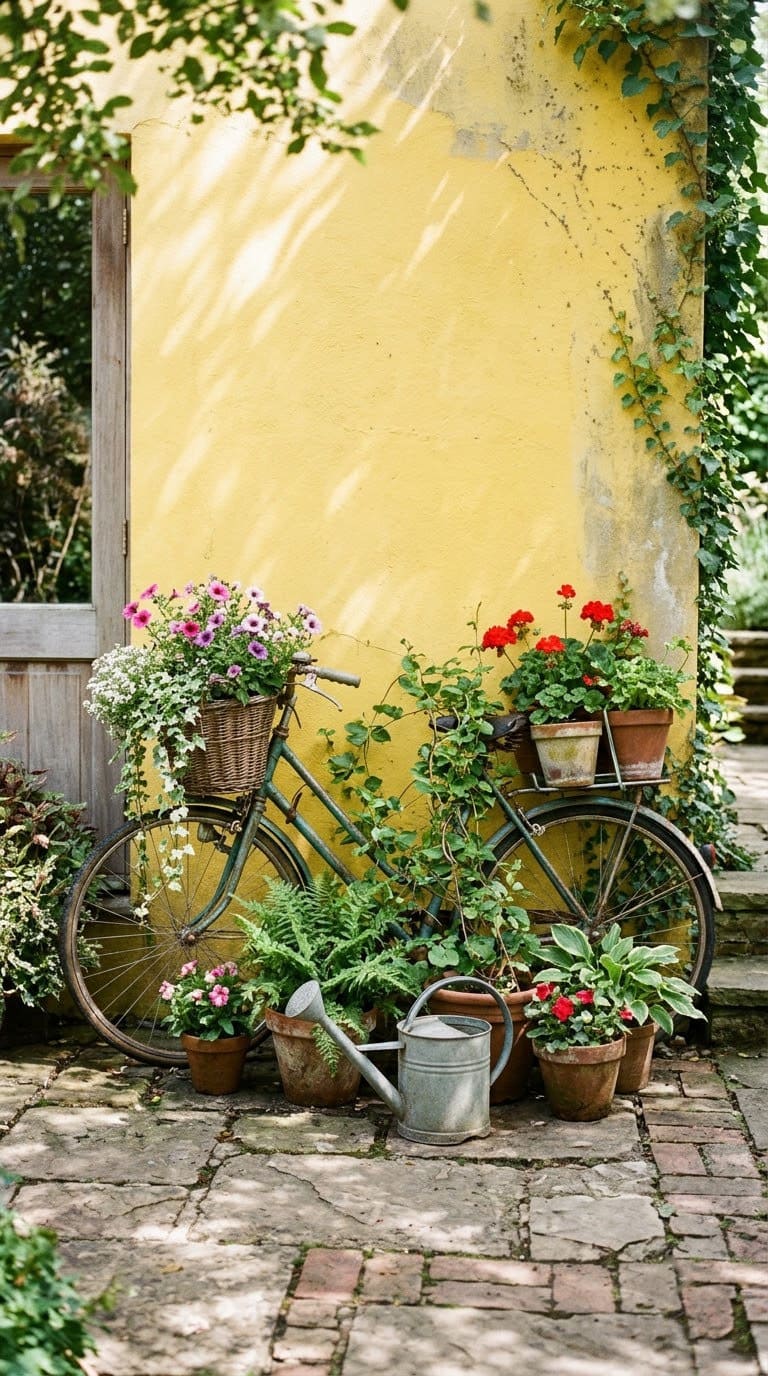
An old bike makes a fun planter and needs no building skill.
- Skill and time: Easy, an afternoon.
- What you need: An old bike, spray paint or exterior paint, a basket or pots, potting mix and flowers.
- Step 1: Wipe the bike clean and sand loose rust.
- Step 2: Paint it in one bold color.
- Step 3: Add a basket on the front and wire a pot on the rack.
- Step 4: Poke drainage holes in each container, then plant.
- Make it last: Lean it against a wall so it can’t fall.
- Watch: Tipping and sharp parts. Brace it, and cover sharp bolts.
Our take: pick flowers that trail over the sides. They hide the basket and look lush.
6. Teapot Fountain
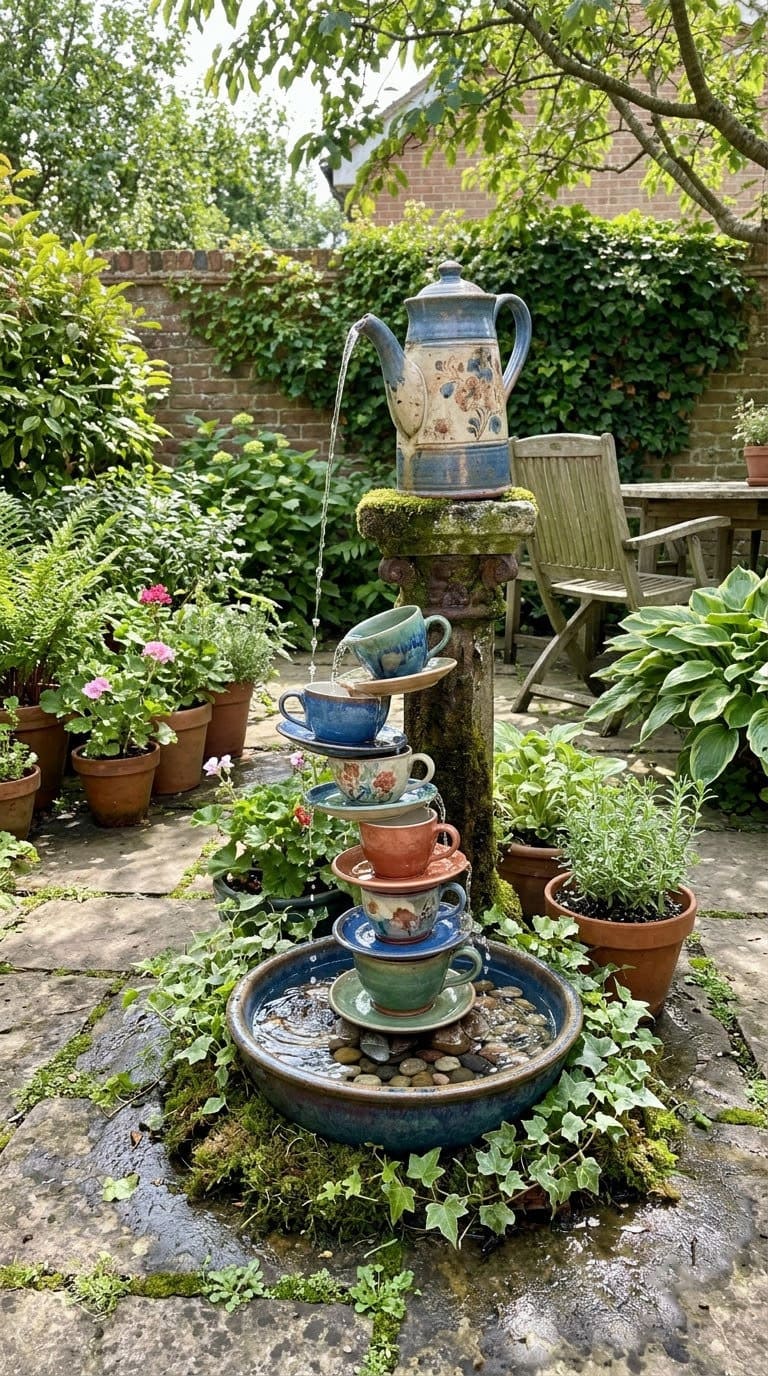
A small fountain adds sound and calm.
- Skill and time: Medium, an afternoon.
- What you need: An old teapot and cups, a small pump, tubing, a large bowl and a stone base.
- Step 1: Set the bowl on a level base and place the pump inside.
- Step 2: Run the tube up through the teapot and secure it.
- Step 3: Stack the teacups so the water flows from one to the next.
- Step 4: Fill the bowl and plug in or switch on the solar pump.
- Make it last: Clean the pump filter each month.
- Watch: Standing water. The CDC says to empty and scrub items that hold water once a week. Moving water helps, but check it often.
Our take: use a solar pump so no cord crosses your patio.
7. String Lights Without a Pergola
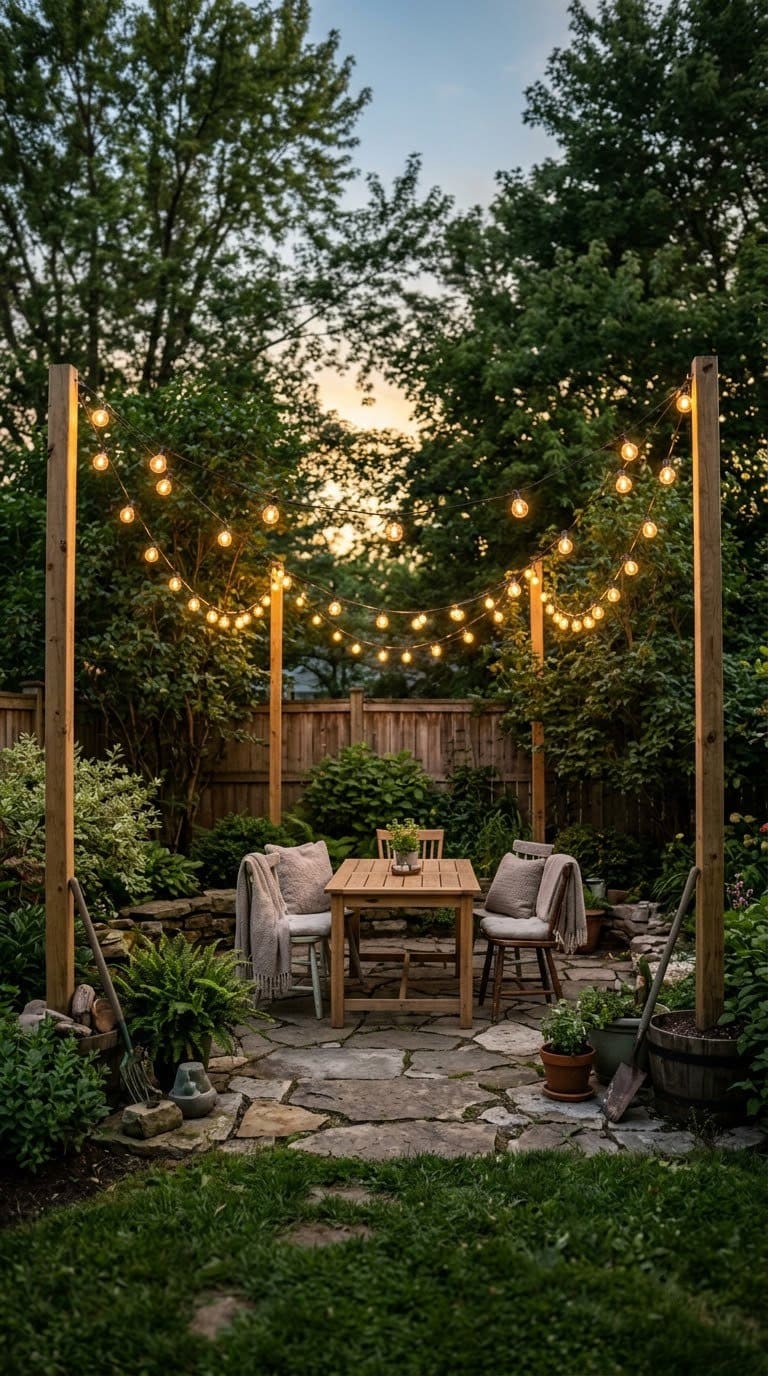
You don’t need a pergola to hang lights. Two posts will do.
- Skill and time: Medium, an afternoon.
- What you need: Two sturdy posts or tall planters, concrete or a heavy base, strong wire, hooks, outdoor lights and a timer.
- Step 1: Set each post in a heavy planter or a bucket of concrete and let it cure.
- Step 2: Add a hook near the top of each post.
- Step 3: Stretch a steel wire between the hooks and pull it taut.
- Step 4: Clip the lights to the wire, leaving a gentle curve.
- Make it last: Take the lights down in a big storm.
- Watch: Cords and bad bulbs. The CPSC says to use lights tested by a recognized lab and to throw away sets with frayed wires or cracked sockets.
Our take: use warm white lights on a timer. They look good and save power.
8. Hanging Flower Box
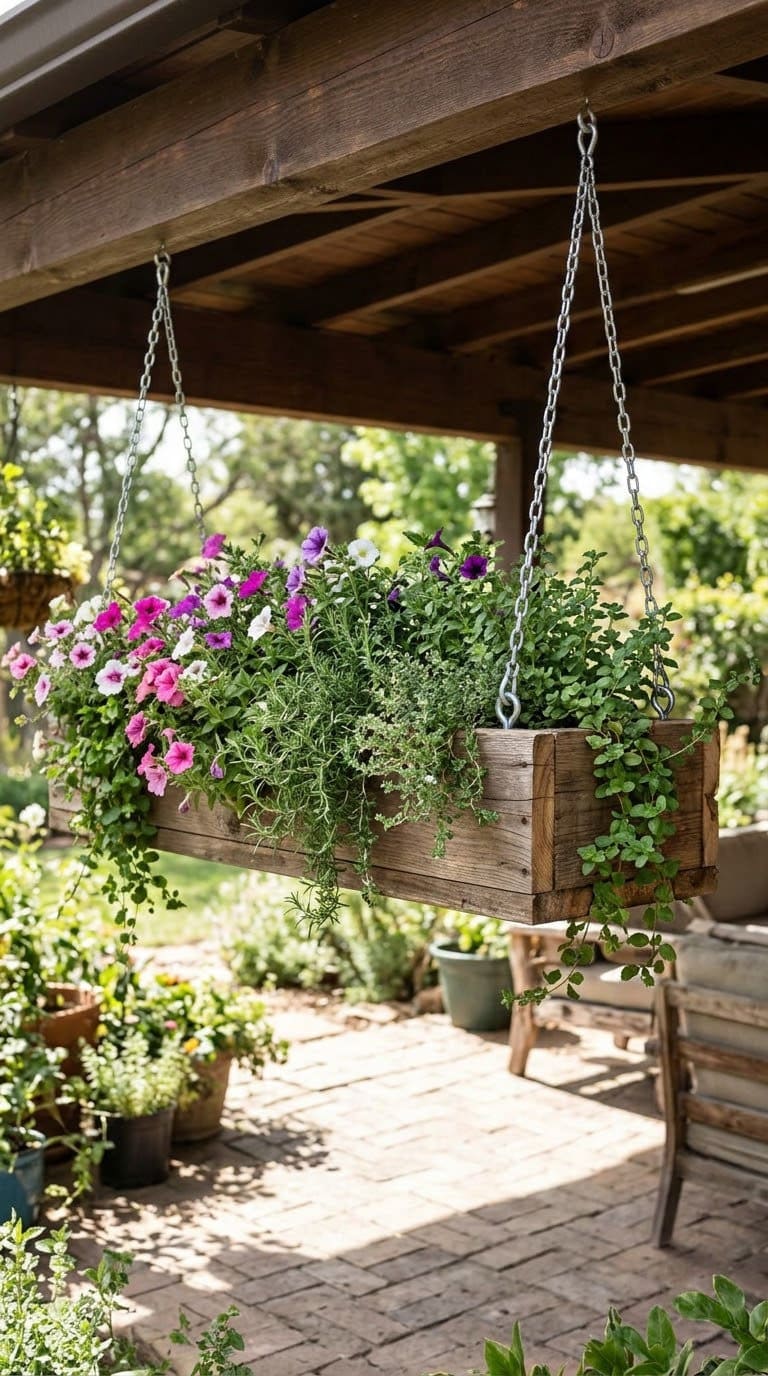
A hanging box adds color without using floor space.
- Skill and time: Medium, an afternoon.
- What you need: Cedar or fence boards, screws, sealer, chain or rope, hooks and potting mix.
- Step 1: Cut four sides and a base, and drill drainage holes in the base.
- Step 2: Screw the box together and seal the wood.
- Step 3: Attach chain at each end and hang from strong hooks in a beam.
- Step 4: Fill with soil and plant.
- Make it last: Water daily in summer, since hanging boxes dry fast.
- Watch: Weight. A wet box is heavy, so use hooks rated for it.
Our take: choose cedar for plants you eat, because treated wood isn’t a good fit for food plants.
9. Hammock Corner
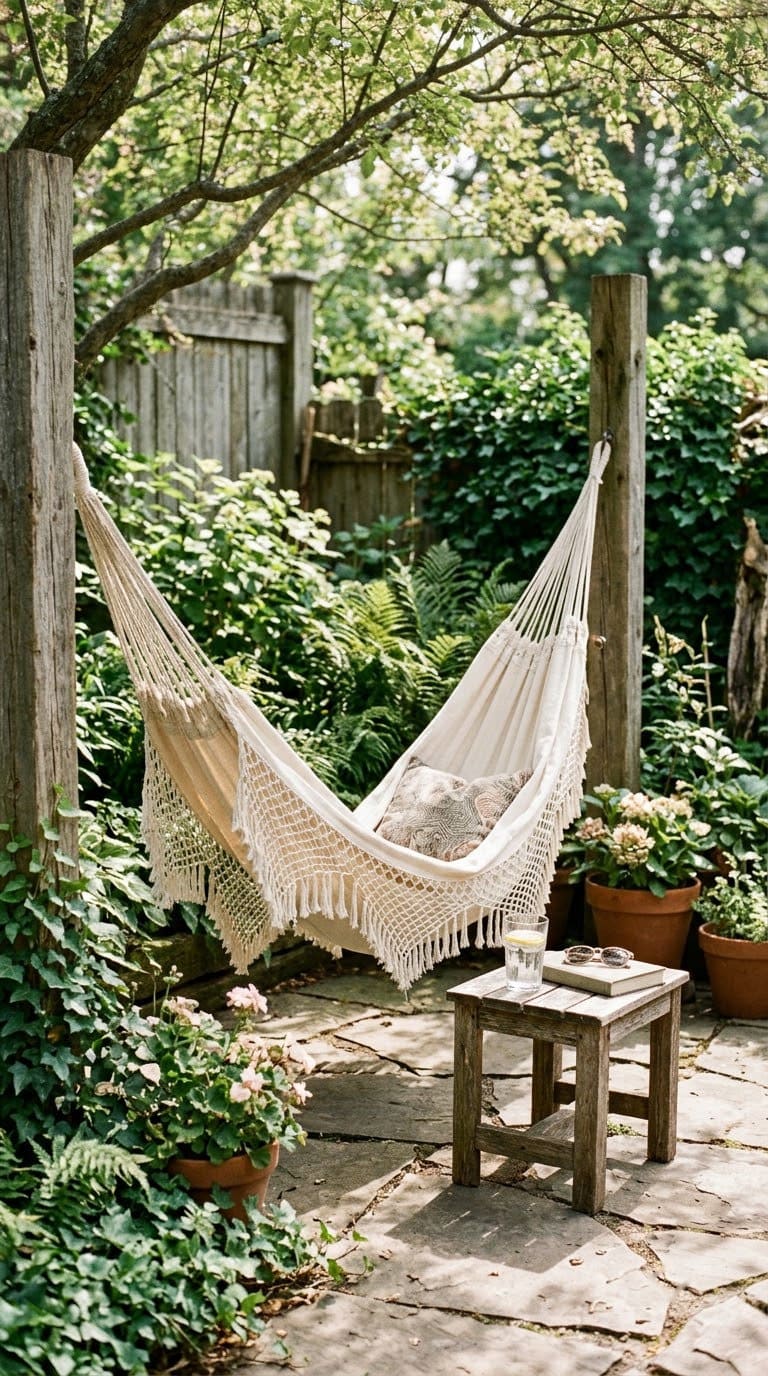
A hammock turns a small corner into a retreat.
- Skill and time: Easy to medium, an hour.
- What you need: A hammock, a stand or two solid posts and strong hanging straps or hooks.
- Step 1: Choose two supports far enough apart for your hammock.
- Step 2: Fix straps or hooks at the height the hammock’s instructions say.
- Step 3: Hang the hammock and test it with low weight first, then add your weight slowly.
- Make it last: Bring it indoors in rain and winter.
- Watch: Weak anchors. Use hardware rated for a person, and never hang from a thin railing.
Our take: a stand costs more than tree straps but protects your trees and your walls.
10. Stenciled Patio Floor
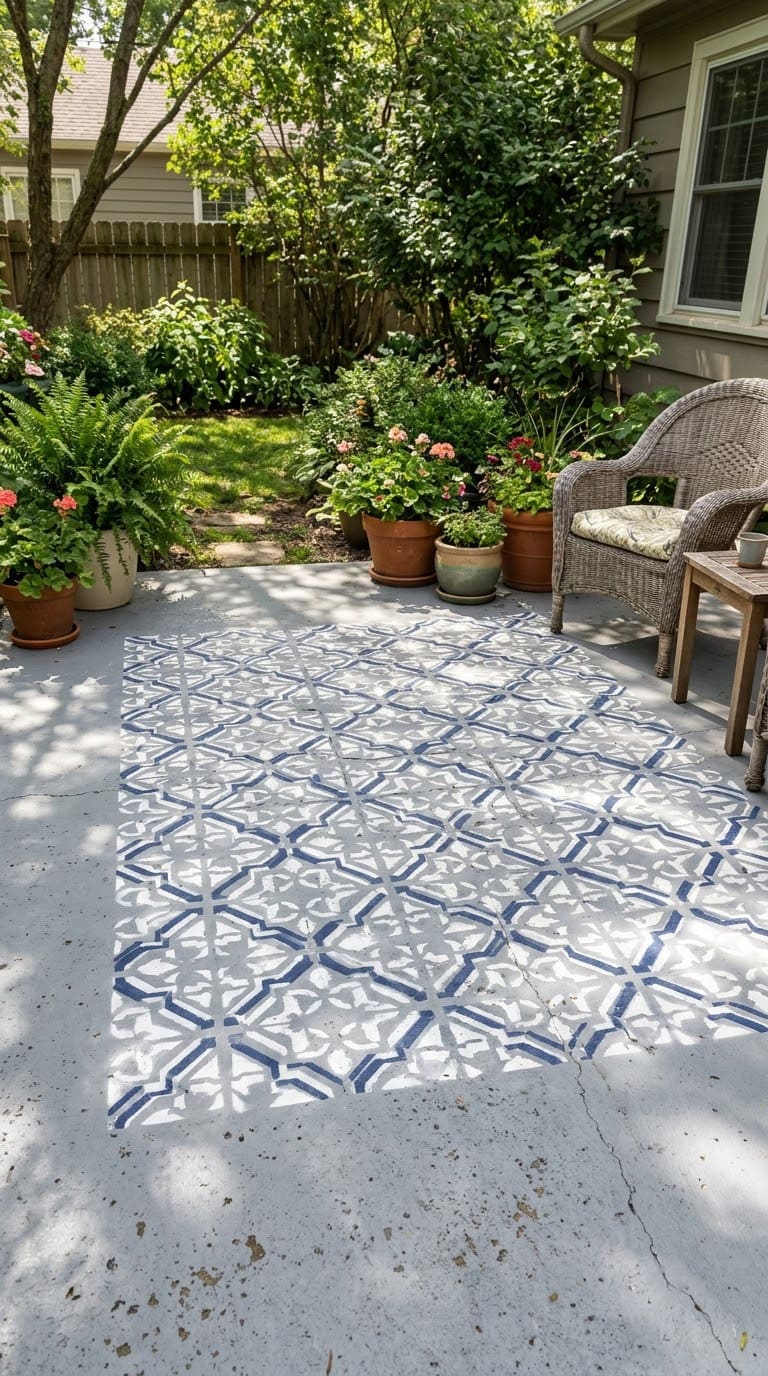
Paint can turn a bare slab into a rug.
- Skill and time: Medium, a weekend.
- What you need: Concrete cleaner, masonry paint, a stencil, painter’s tape, a roller and sealer.
- Step 1: Scrub the slab and let it dry for a day or two.
- Step 2: Paint a base coat and let it dry.
- Step 3: Tape the stencil down and roll on the pattern color.
- Step 4: Lift the stencil, move it and repeat.
- Step 5: Seal with an outdoor floor sealer.
- Make it last: Re-seal every year or two.
- Watch: Slippery paint. Add a non-slip additive to the sealer.
Our take: keep the pattern simple. Big shapes and two colors forgive small mistakes.
11. Drop Cloth Outdoor Curtains
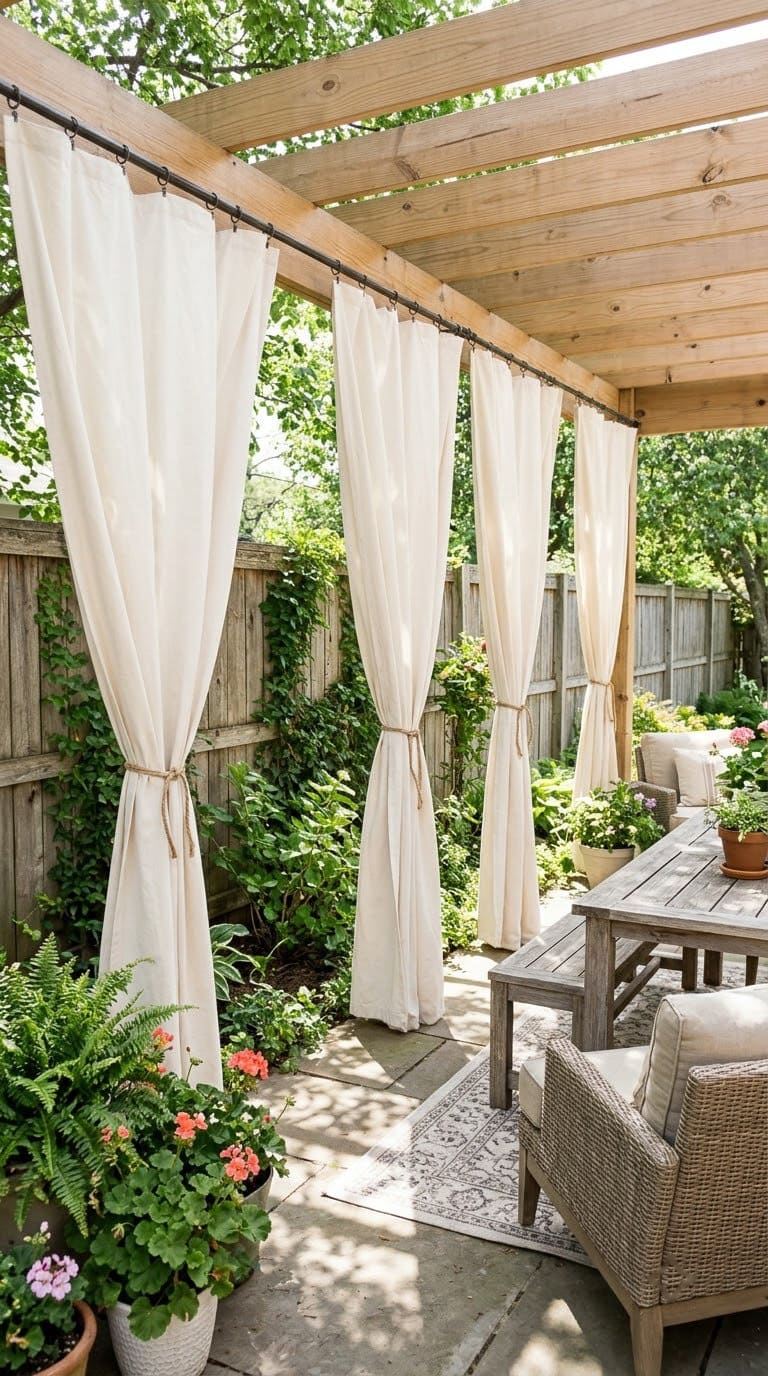
Curtains add privacy and softness.
- Skill and time: Easy, an hour.
- What you need: Canvas drop cloths, a sturdy rod or wire, curtain rings or clips and tie-backs.
- Step 1: Hem the drop cloth, or leave the raw edge for a casual look.
- Step 2: Clip or sew rings along the top.
- Step 3: Hang the rod on brackets and slide the curtain on.
- Make it last: Wash them each season and tie them back in storms.
- Watch: Mildew and wind. Dry them fully before storing.
Our take: pick a light color. It keeps the patio bright and open.
12. Mason Jar Lanterns
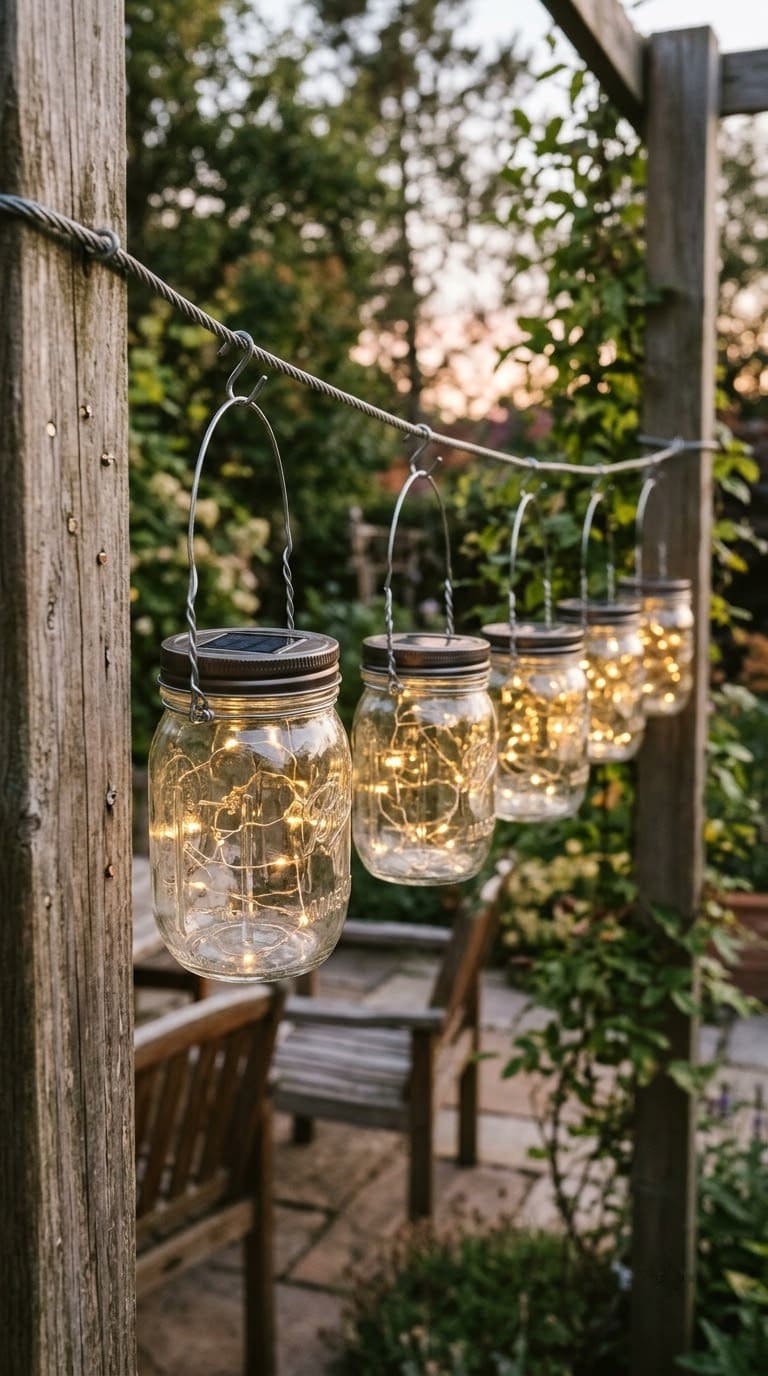
Jar lanterns are a classic quick win.
- Skill and time: Easy, an hour.
- What you need: Mason jars, solar lids, wire and hooks.
- Step 1: Wrap wire around the jar neck and twist it tight.
- Step 2: Leave a loop on top for hanging.
- Step 3: Screw on the solar lid.
- Step 4: Hang from hooks at different heights.
- Make it last: Wipe the solar panel clean now and then.
- Watch: Glass and shade. Hang them above kid height, in sun for the panel. See our DIY garden lantern ideas.
Our take: use jars of one size so the row looks neat.
13. Cinder Block Planter Bench
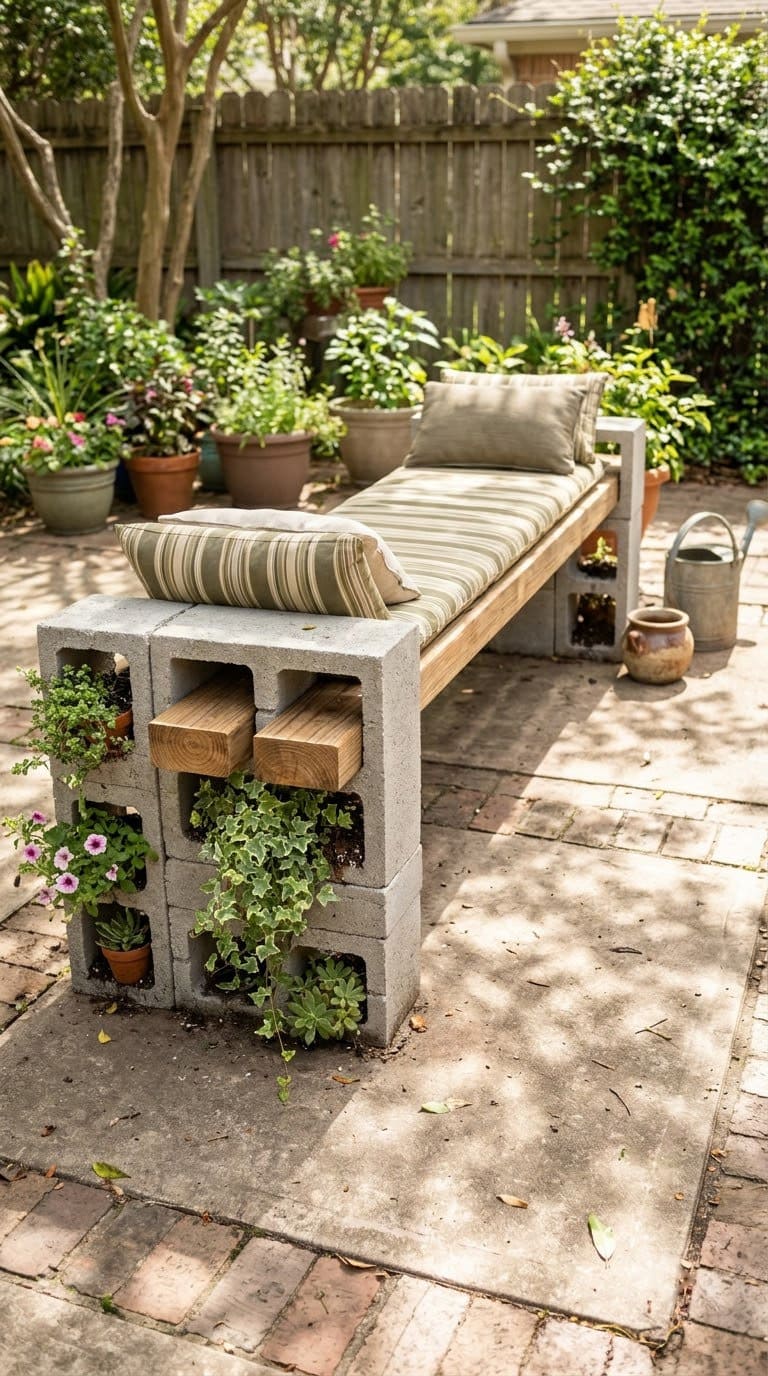
Cinder blocks are cheap, heavy and need no cutting.
- Skill and time: Easy, an afternoon.
- What you need: Cinder blocks, two or three planks, potting mix, small plants and a cushion.
- Step 1: Choose a flat spot and level the ground.
- Step 2: Stack the blocks in two columns, holes facing up.
- Step 3: Lay the planks across the top and secure with construction adhesive.
- Step 4: Fill the holes with soil and plant them.
- Make it last: Seal the planks yearly.
- Watch: Weight and tipping. Keep the stack low and stable.
Our take: use trailing herbs in the holes. They smell nice when you sit down.
14. Wooden Crate Herb Planter
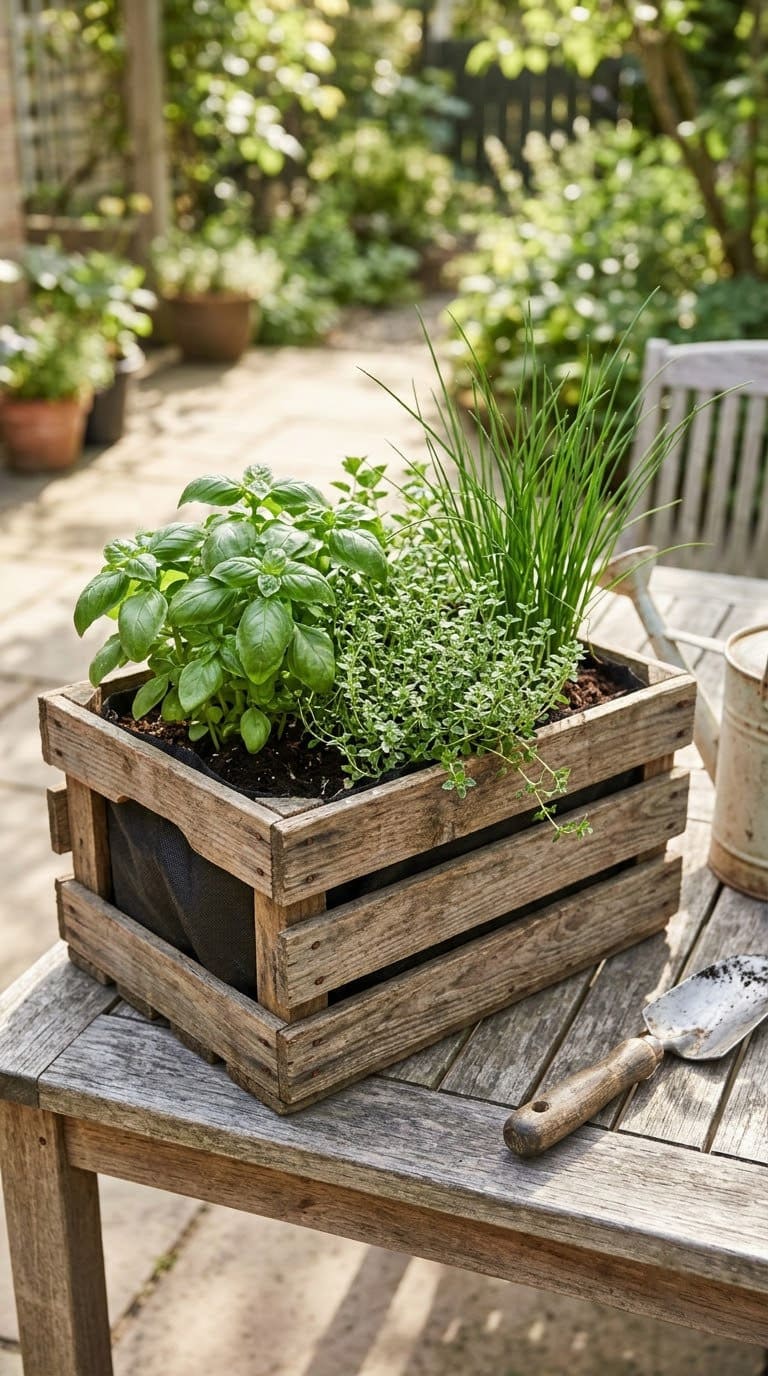
A crate is a pre-made planter box.
- Skill and time: Easy, an hour.
- What you need: A wooden crate, landscape fabric or burlap, drainage gravel, soil and herbs.
- Step 1: Seal the wood, and let it dry.
- Step 2: Line the inside with fabric, leaving drainage gaps at the bottom.
- Step 3: Add a layer of gravel, then soil.
- Step 4: Plant herbs, and water well.
- Make it last: Lift the crate off the ground so the bottom doesn’t rot.
- Watch: Rot and soggy soil. Add holes if the box has none.
Our take: put it near the door. You’ll snip herbs more often.
15. Color-Blocked Clay Pots
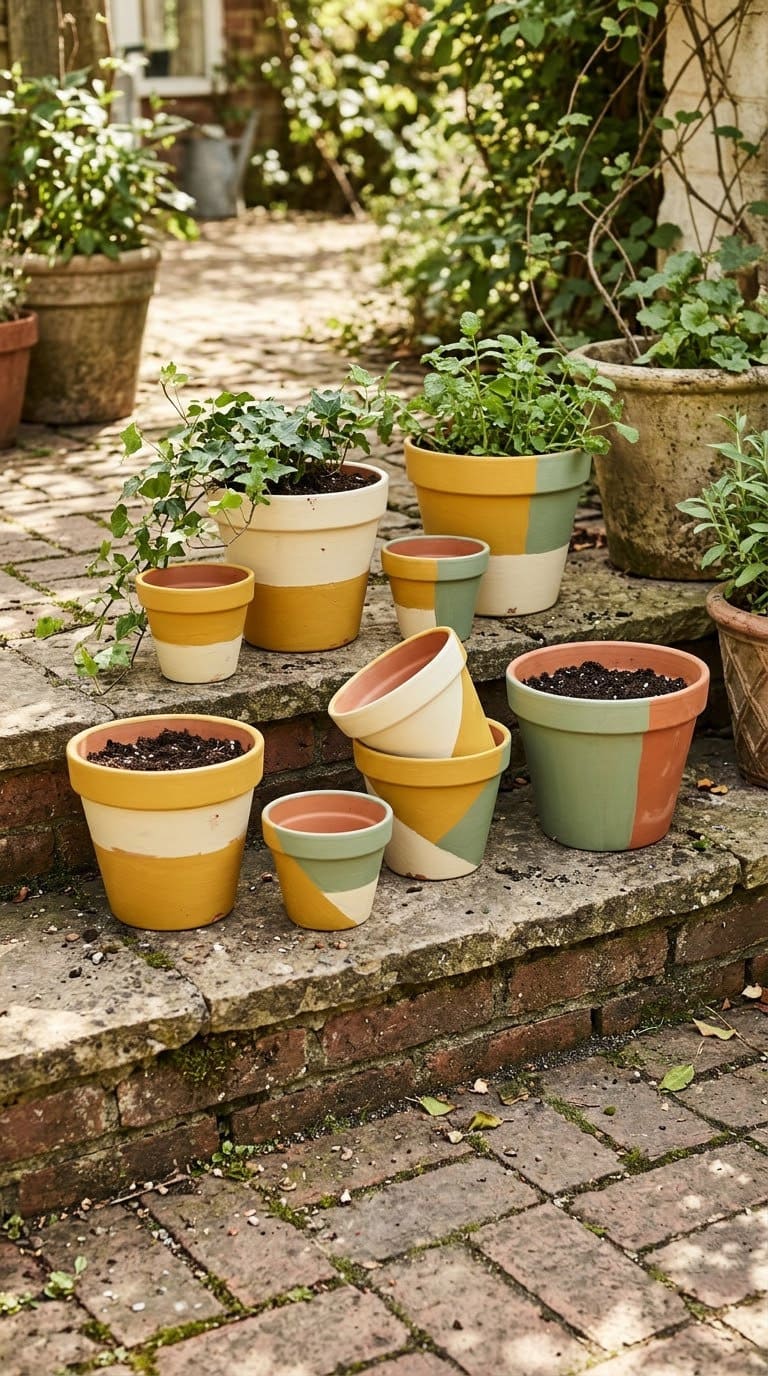
Paint makes cheap pots look custom.
- Skill and time: Easy, an hour.
- What you need: Clay pots, painter’s tape, outdoor paint and sealer.
- Step 1: Wipe the pots clean and let them dry.
- Step 2: Tape off the area you want to keep bare.
- Step 3: Paint the exposed part and remove the tape while the paint is slightly wet.
- Step 4: Seal the outside of the pot.
- Make it last: Don’t paint the inside, so the clay can breathe.
- Watch: Peeling paint on wet clay. Let the pot dry completely first.
Our take: group three to five pots in the same color family. It looks planned.
16. Pebble Stepping Stones
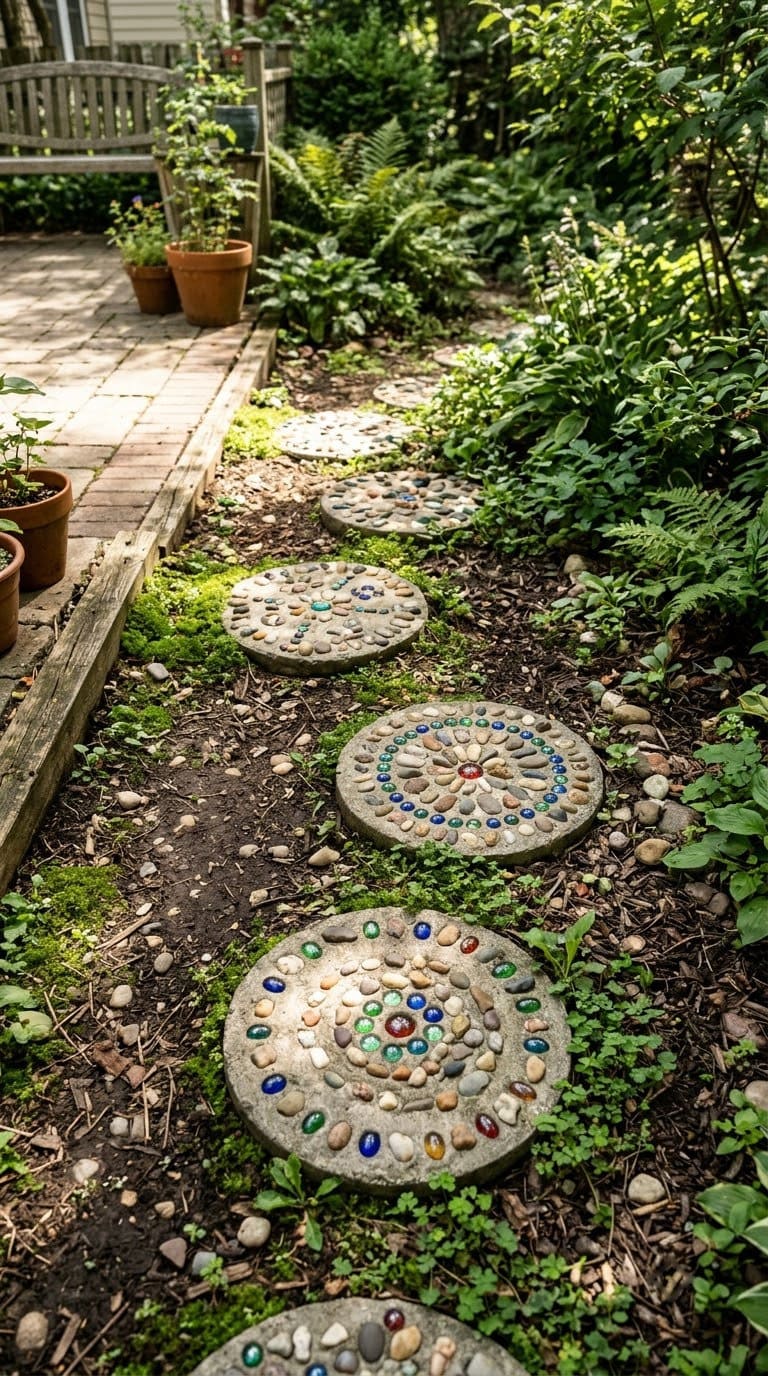
These are a great project to do with kids.
- Skill and time: Easy, a day plus drying time.
- What you need: Quick-set concrete, a round mold or tray, gloves, a dust mask and pebbles.
- Step 1: Wear gloves and a dust mask while mixing concrete.
- Step 2: Pour the mix into the mold and tap out bubbles.
- Step 3: Press pebbles into the top before it sets.
- Step 4: Let it cure fully, then remove it from the mold.
- Make it last: Seal the surface.
- Watch: Dust and wet concrete on skin. Rinse it off promptly.
Our take: let each family member make one. It turns a path into a memory.
17. Shade Sail
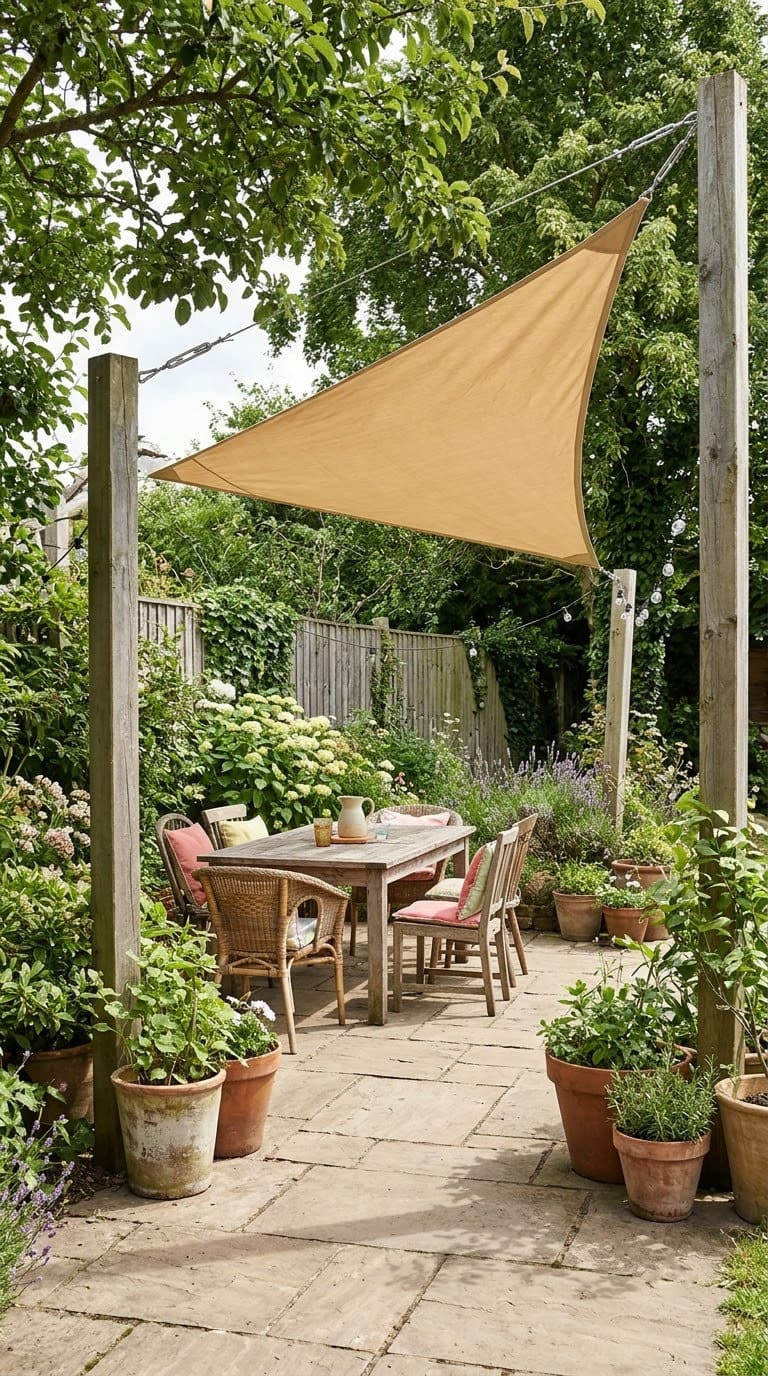
A sail shade is a cheap way to cool a hot patio.
- Skill and time: Hard, a weekend.
- What you need: A shade sail, three or four strong anchor points, turnbuckles and stakes or post bases.
- Step 1: Choose anchor points that can take a pull. Do not use a thin fence.
- Step 2: Set posts in deep, firm footings, or attach to the house frame.
- Step 3: Attach the sail and tighten the turnbuckles until the fabric is taut.
- Step 4: Angle one corner lower so rain runs off.
- Make it last: Take it down in high winds.
- Watch: Wind and failed anchors. If you aren’t sure, hire a pro for the posts.
Our take: for permanent options, see our patio awning ideas.
18. Outdoor Movie Screen
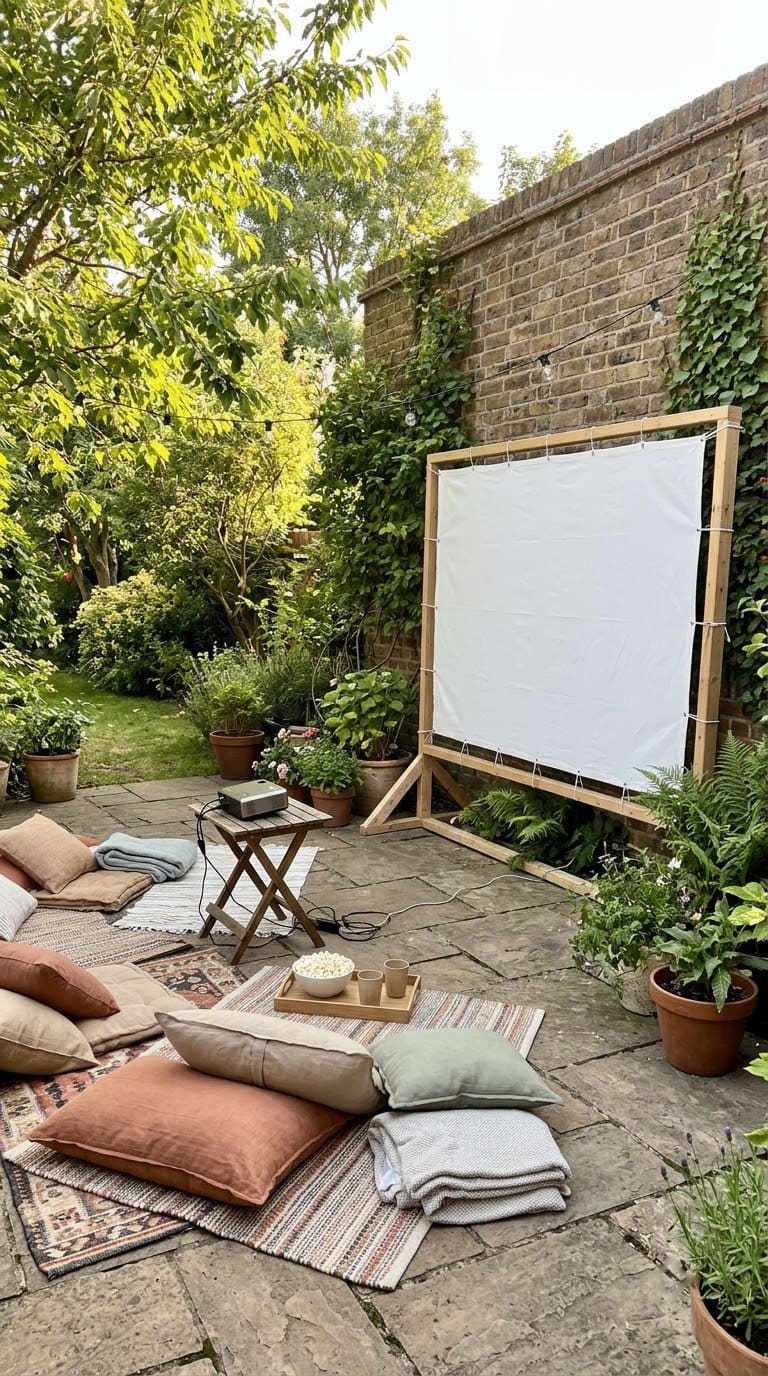
Make movie nights at home.
- Skill and time: Medium, an afternoon.
- What you need: A white sheet or blackout fabric, a simple frame, clips or staples and a projector.
- Step 1: Build a frame from four boards and join the corners.
- Step 2: Stretch the fabric tight over the frame and fasten it.
- Step 3: Hang or prop the frame against a wall.
- Step 4: Set up the projector and test at dusk.
- Make it last: Store the fabric indoors.
- Watch: Cords and tripping. Run cords along the wall, away from walkways.
Our take: keep the audience seats low so no one blocks the view.
19. Teacup and Wine Bottle Bird Feeders
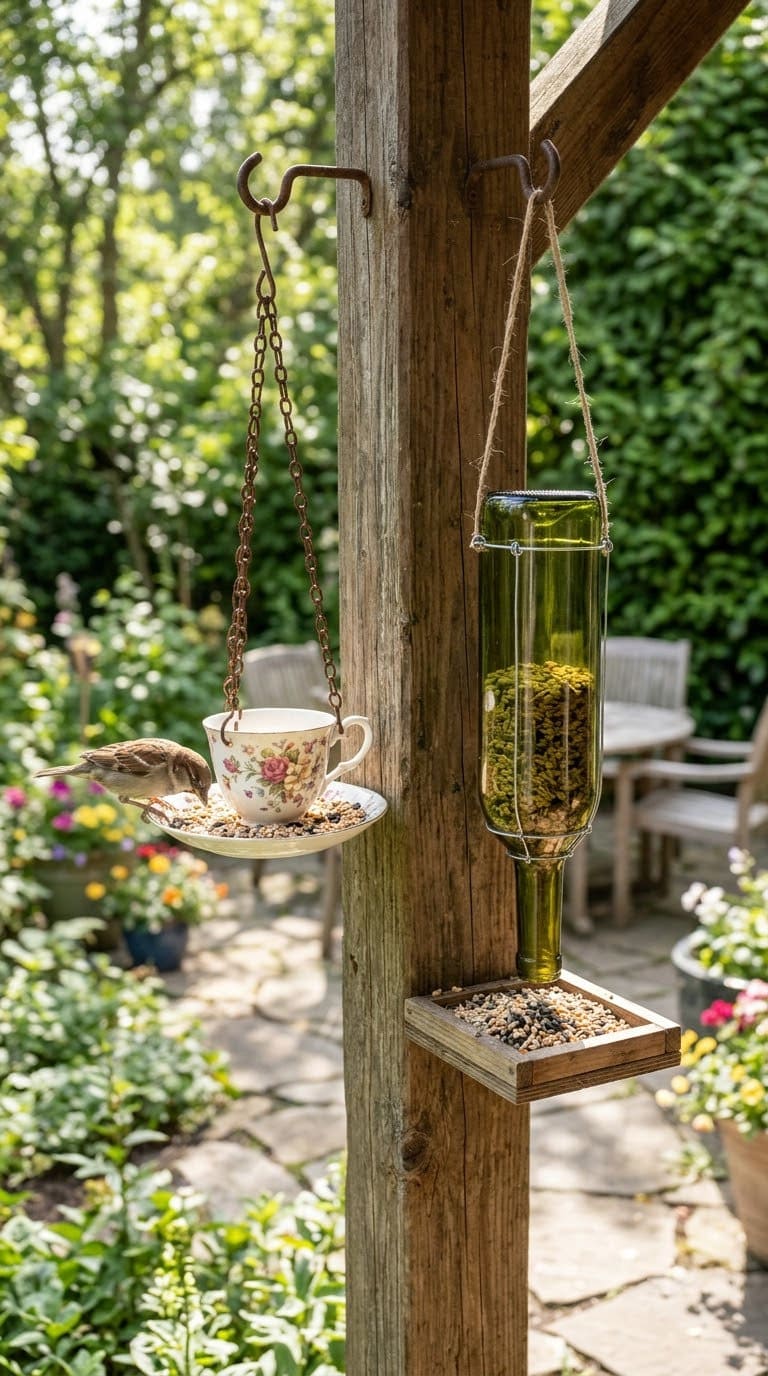
Birds add life to a patio.
- Skill and time: Easy, an hour.
- What you need: A teacup and saucer, strong outdoor glue, a chain or wire and seed.
- Step 1: Glue the cup to the saucer and let it cure fully.
- Step 2: Loop the chain under the saucer for hanging.
- Step 3: Hang from a post, and fill with seed.
- Make it last: Wash the feeder often so it stays clean.
- Watch: Dirty feeders and glass. See our wine bottle bird feeder ideas and our DIY bird bath ideas for cleaning tips.
Our take: put the feeder away from windows. Birds can strike glass.
20. Painted Wall Mural
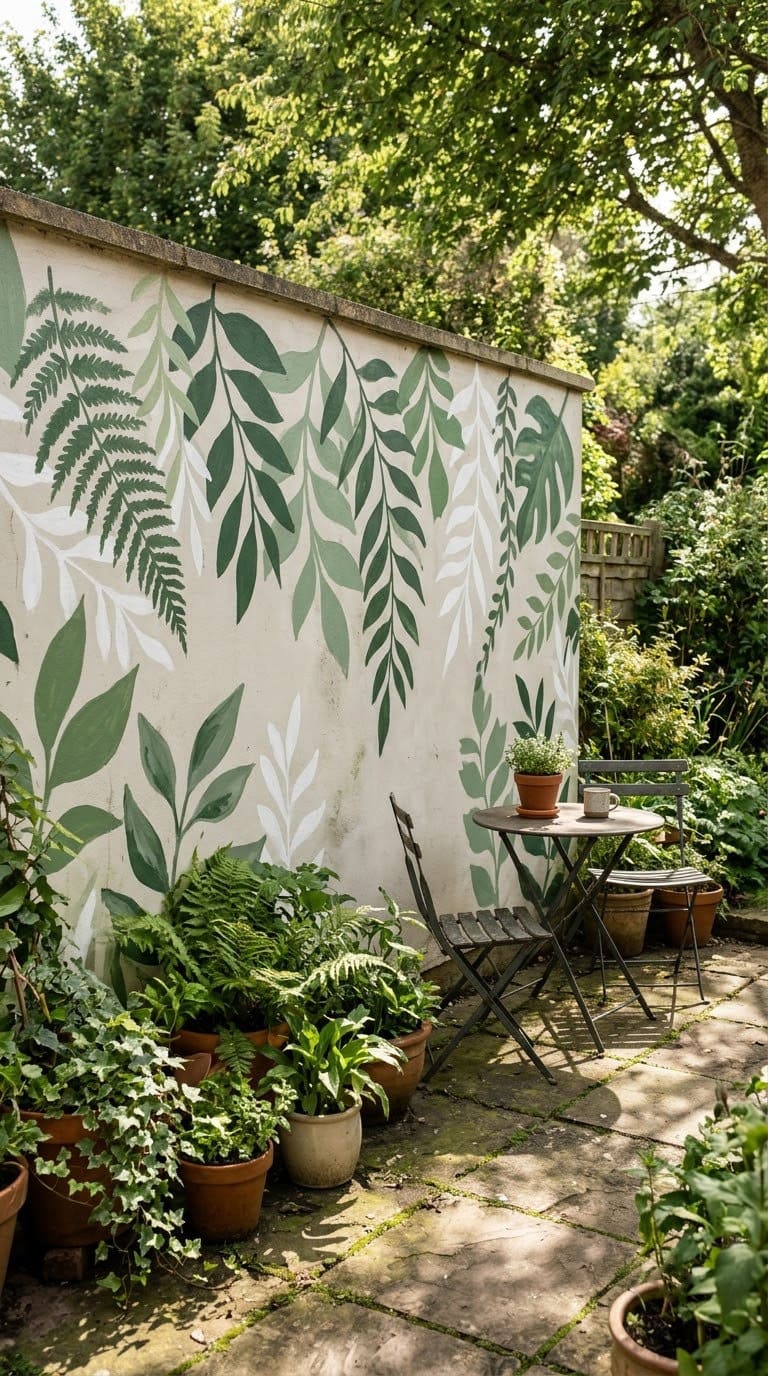
A mural turns a plain wall into the star of your patio.
- Skill and time: Medium, a weekend.
- What you need: Masonry or exterior paint, brushes, a pencil or chalk, painter’s tape and a sealer.
- Step 1: Clean the wall and let it dry.
- Step 2: Sketch the design with chalk. Keep the shapes large and simple.
- Step 3: Paint in sections, starting with the biggest color areas.
- Step 4: Add details and let the paint dry.
- Make it last: Seal and touch up each spring.
- Watch: Rental rules. Ask your landlord or HOA first.
Our take: choose leaves, stripes or circles. They’re easy and look good at any skill level.
How Do You Make DIY Projects Last Outdoors?
Weather is the biggest enemy. A few habits help.
- Use exterior paint, sealer and screws.
- Seal wood on all sides, including the bottom.
- Keep wood off wet ground.
- Store cushions, fabric and lights indoors in winter.
- Touch up paint every year.
Our take: set a reminder for spring. A 15-minute check saves a lot of repairs.
What Mistakes Should You Avoid?
Most problems come from skipped prep and the wrong materials.
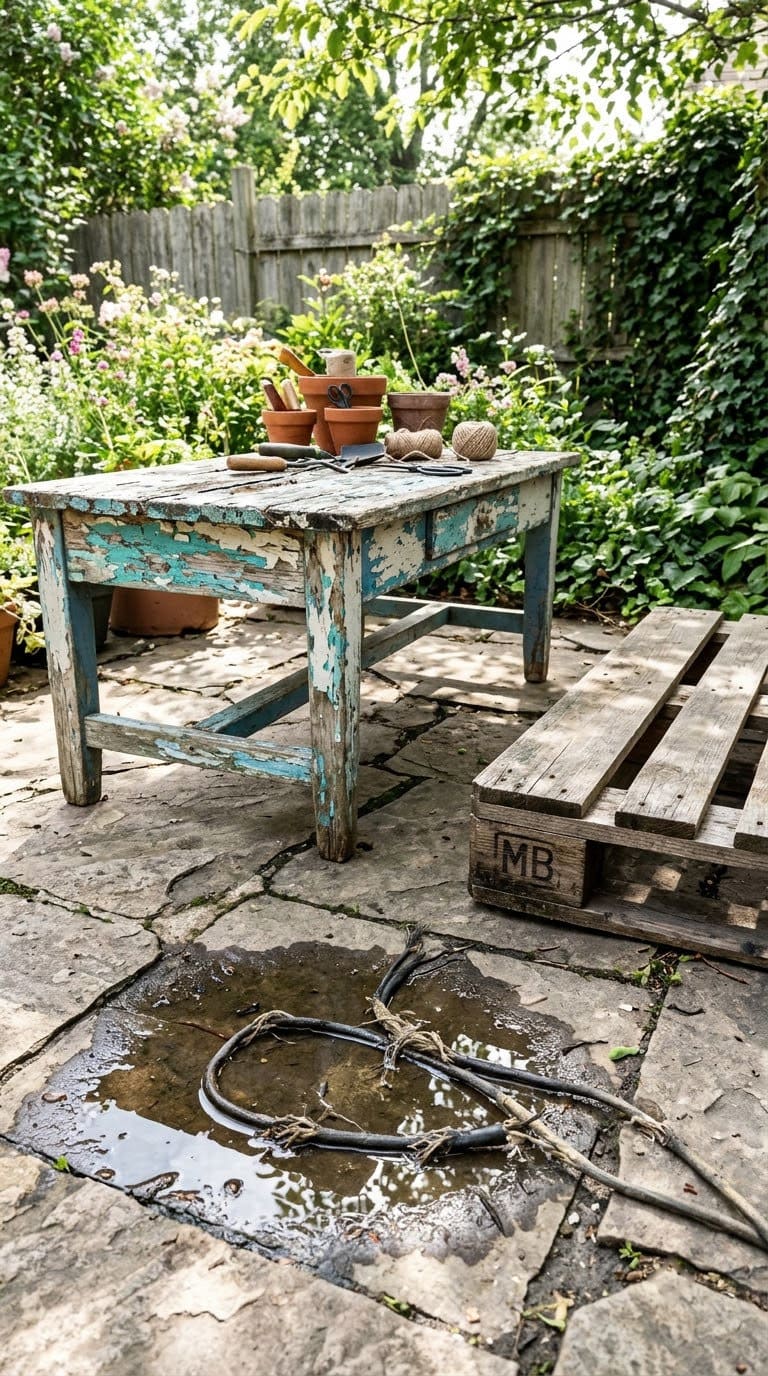
- Skipping the prep. Clean and sand before painting.
- Wrong pallets. Avoid MB and unmarked ones.
- Old paint. Skip pieces with flaking paint.
- Indoor materials outside. Use outdoor-rated items.
- Bad anchors. Use hardware rated for the weight.
- Starting too big. Start with a quick win.
Frequently Asked Questions
What is the easiest DIY patio project for a beginner?
Mason jar lanterns, painted pots or a simple string light setup. Each takes about an hour, needs few tools and gives a big payoff.
Is it safe to use pallets for patio furniture?
Yes, if they are stamped HT. UC ANR says heat-treated pallets are generally safe, and Penn State Extension says never to use or burn MB pallets.
How do I protect DIY wood furniture outside?
Seal it on every side, keep it off wet ground and re-seal every year or two. Use exterior screws and paint.
Can I decorate a rented patio?
Yes. Stick to movable projects, like pots, curtains, stump seats and a pallet table.
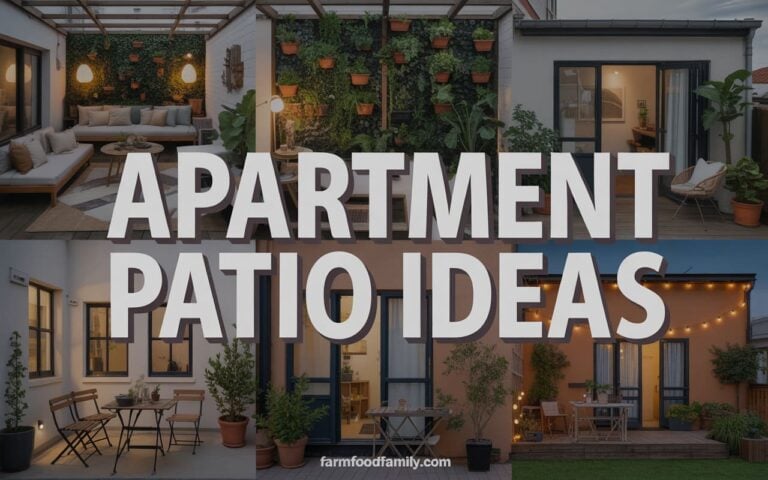
Ask first before painting walls or floors. See our apartment patio decorating ideas for more renter-friendly ideas.
Your DIY Patio Plan
- Week 1: Pick one quick win and gather supplies.
- Week 2: Build it, then enjoy it for a few days.
- Week 3: Choose an afternoon project, like a bike planter or stump seats.
- Week 4: Plan a weekend build, like a pallet bench or a shade sail.
- Every spring: Check, clean and re-seal.
Start small, pick safe materials and build one thing at a time. That is how a plain patio becomes yours.
Never miss an update — choose FarmFoodFamily as your preferred source on Google.
How it works: Tap the button below to open Google's settings page, then check the box next to FarmFoodFamily.
Tap the checkbox to turn it blue — that's how you know it's set.