20 Rustic DIY Farmhouse Table Ideas, With Lumber Lists, Costs and Plain Steps
You can build a farmhouse table in a weekend from pine boards and pocket screws, even if you have never built furniture, as long as you size it to your room and let the finish cure.

Never miss an update — choose FarmFoodFamily as your preferred source on Google.
How it works: Tap the button below to open Google's settings page, then check the box next to FarmFoodFamily.
Tap the checkbox to turn it blue — that's how you know it's set.
You can build a farmhouse table in a weekend from pine boards and pocket screws, even if you have never built furniture, as long as you size it to your room and let the finish cure.
Products We Recommend
This post contains affiliate links. We may earn a commission on qualifying purchases at no extra cost to you.

General Tools Woodworking Pocket Hole Jig Kit, All-In-One Aluminum with Carrying Case
A pocket hole jig for joining table boards with angled screws. Practice on scrap pine before you drill the real parts.
Shop Now
WORKPRO 6-Pack Bar Clamps for Woodworking, 6 inch and 12 inch F Clamps
Clamps to hold boards flat and edge to edge while you screw them. Use a face clamp to keep the top even.
Shop Now
Minwax Polycrylic Protective Wood Finish, Clear Ultra Flat, 1 Quart
A water-based clear coat for painted bases and benches. Apply thin coats and let each cure fully before use.
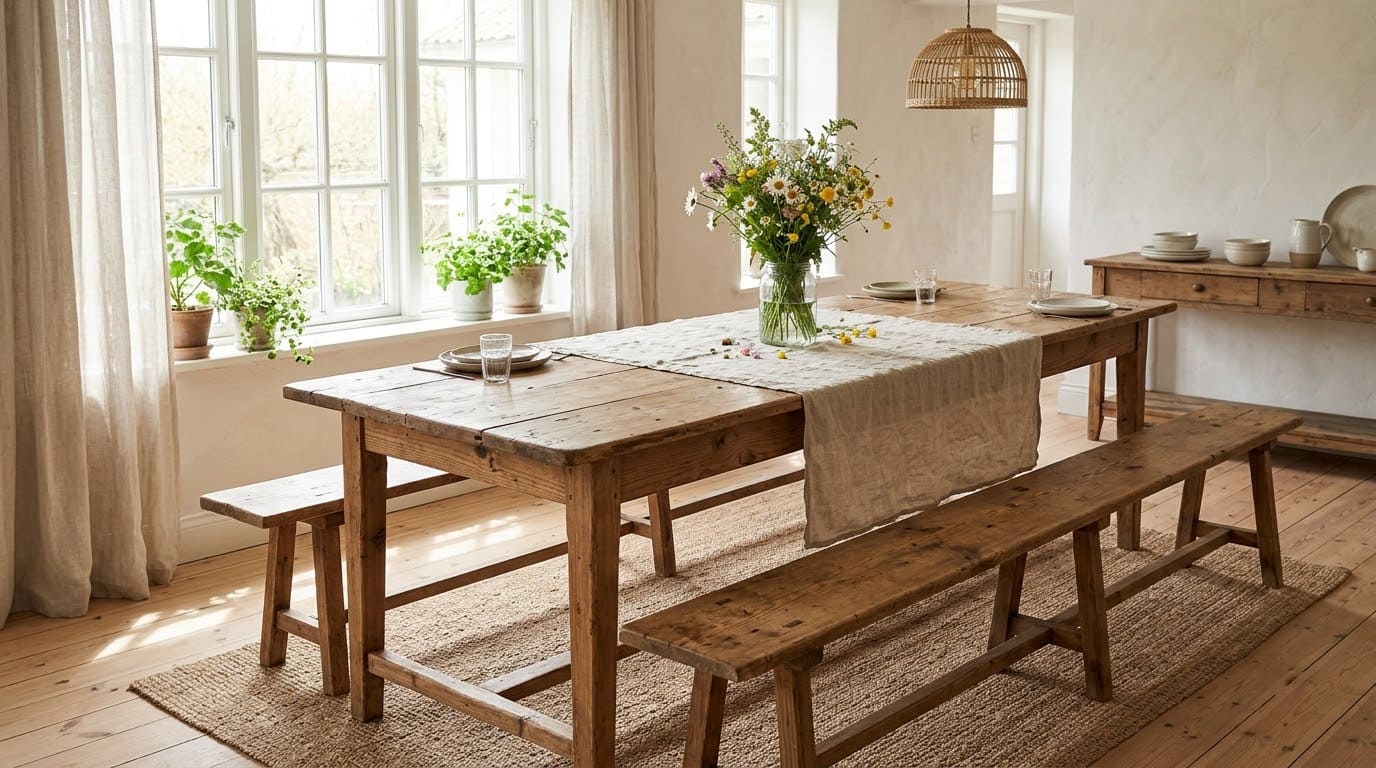
Shop NowA farmhouse table is a thick wooden top on sturdy legs, with a plain, chunky look. It suits a family because it is simple, strong and easy to repair.
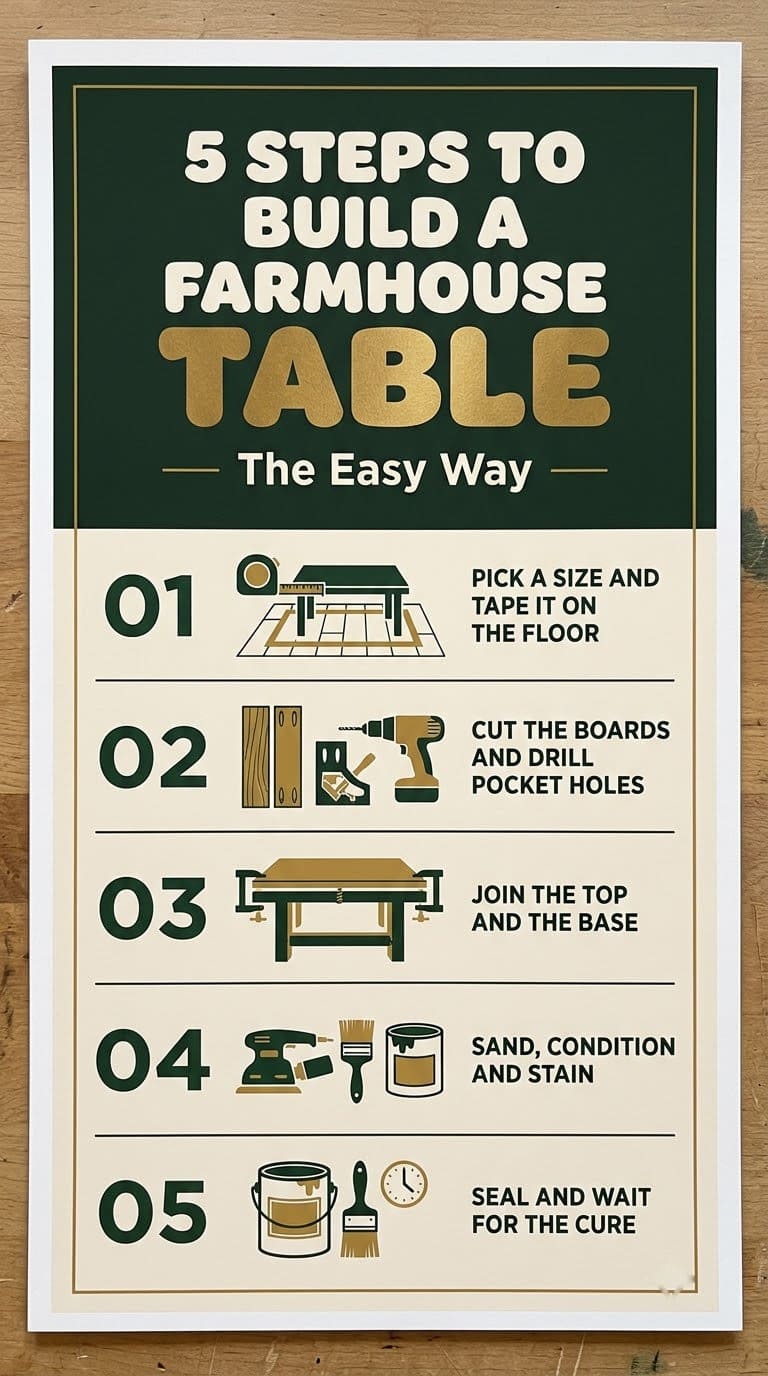
Most DIY versions use pine boards from a home center. You cut the boards, join them with pocket screws, sand the wood, add a stain, and seal it with a clear coat.
Plan the size before you buy lumber. Mathis Home says to allow 24 inches of table length per person, and at least 36 inches of space around the table. Popular Woodworking says the rule of thumb for a full finish cure is 30 days at room temperature.
Answer 4 quick questions and get matched to the exact fix for your yard — drainage, budget, layout, or something else entirely.
Take the Free QuizThis guide gives 20 table projects in plain steps, with lumber lists, costs and a watch-out for each. It also has a short glossary, a size chart, a finishing guide and a safety section.
What Is Wrong With a Plain List of DIY Farmhouse Tables?
Most lists show 20 photos and a link to someone else’s plan. Many of those plans use words like “apron” and “pocket hole” and never explain them.
We wrote each project so a first-time builder can follow it. Where a tutorial gave exact sizes, we use them and name the source. Where it didn’t, we give our own plan and say so.
What Do the Building Words Mean?
You only need to learn a few words. Here they are in plain English.


| Word | What it means |
|---|---|
| Top | The flat surface you eat on |
| Apron | The frame of boards just under the top that holds the legs together |
| Breadboard end | A cross board on each end of the top that keeps the boards flat |
| Pocket hole | An angled hole drilled with a small jig, so a screw can join two boards |
| Kreg jig | The small tool that drills pocket holes |
| 2×4, 2×6, 2×8 | Common pine board sizes. The actual size is smaller than the name |
| Acclimate | Let the boards sit in your house for a few days before you build |
| Cure | The time a finish needs to harden fully, even after it feels dry |
Lumber is smaller than its name. A 2×6 is about 5.5 inches wide, and one builder noted that a 2×8 can measure about 7.25 inches. Measure your actual boards before you cut.
Most yard problems trace back to one specific, fixable cause. Find yours in 4 quick questions.
Take the Free QuizOur rule: write every cut on the board with a pencil before you saw it. Mark twice and cut once.
How Big Should Your Table Be?
Pick the size first, then the project. These numbers are for a rectangular table.
| Seats | Table length | Notes |
|---|---|---|
| 4 | About 48 to 60 inches | A round table about 36 to 42 inches wide also works |
| 6 | About 60 to 72 inches | A round table about 42 to 54 inches wide works |
| 8 | About 72 to 96 inches | A round table about 54 to 60 inches wide works |
The standard table height is 28 to 30 inches, and 30 is the most common. Rectangular tables are usually 36 to 40 inches wide. Leave 10 to 12 inches between the seat and the underside of the table, and at least 7 inches between the apron and the seat.
Allow at least 36 inches around the table where people sit or walk. Use 42 to 48 inches on busy paths, such as the way to the kitchen. A side with no foot traffic can have 24 inches.
Our rule: tape the table size on the floor with painter’s tape. Walk around it before you buy any lumber.
What Tools and Supplies Do You Need?
You can build most of these tables with a small kit. Borrow what you don’t own, or ask the store to cut the boards for you.
The basic kit:
A pocket hole jig for joining table boards with angled screws. Practice on scrap pine before you drill the real parts.
Shop NowThis post contains affiliate links. We may earn a commission on qualifying purchases at no extra cost to you.
- A drill and a pocket hole jig
- A saw (a miter saw is easiest, and a circular saw also works)
- A tape measure, a pencil and a square
- Clamps
- Sandpaper in 80, 120 and 220 grit, or a sander
- Safety glasses and ear protection
One tutorial recommends a face clamp to keep the top boards even while you screw them. Another says to use the straightest, cleanest boards you can find. Let the boards rest in your home for a few days before you start.
Our rule: buy 10 percent more screws and sandpaper than you think you need.
The average homeowner spends $616/year on yard fixes that don't address the real problem. Find out what yours actually is — before you spend another dollar.
Take the Free QuizBeginner Table Builds
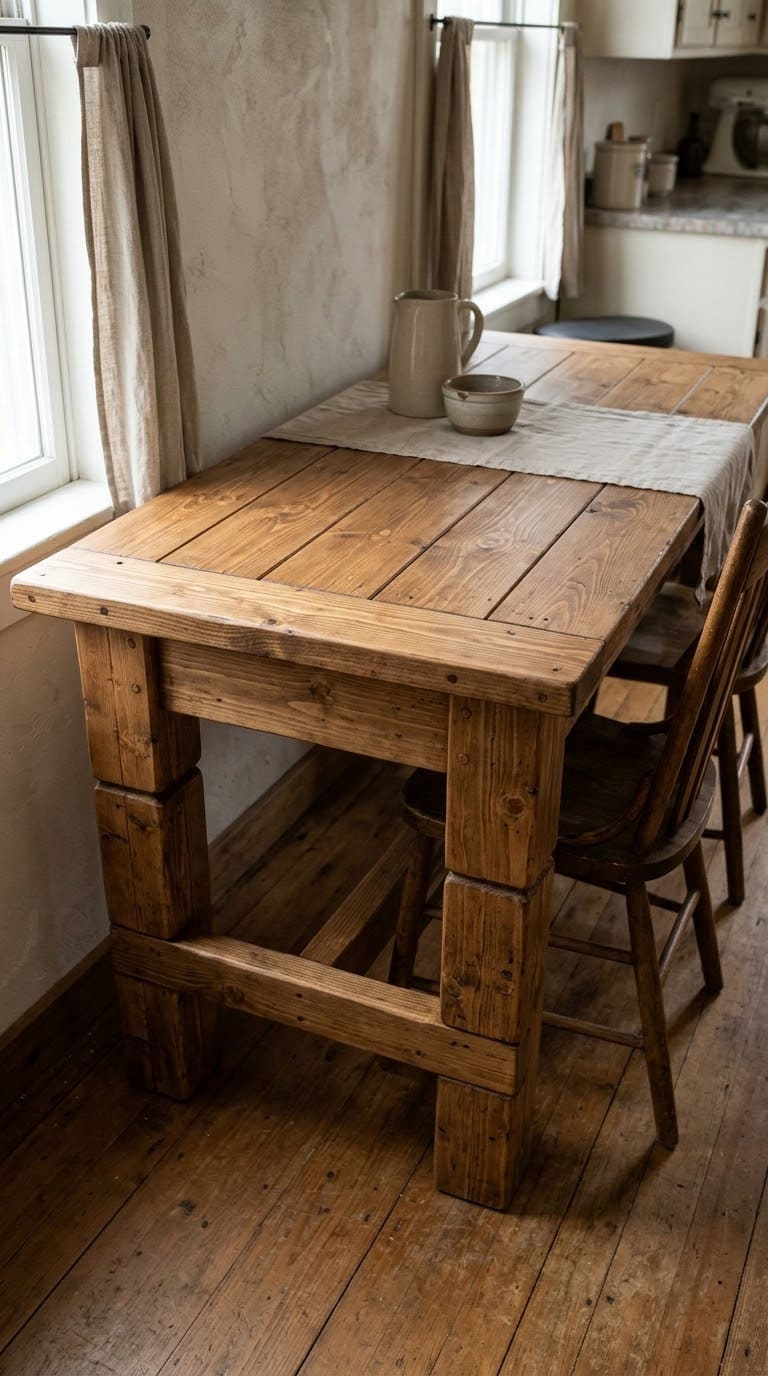
1. The $51 Budget Farmhouse Table
This is the cheapest build on our list. The finished table is 60 inches long, 29 inches wide and 30 inches high. It seats four.
You need:
- 2 boards, 2×4 by 12 feet
- 2 boards, 2×4 by 10 feet
- 2 boards, 2×8 by 10 feet
- 1 board, 2×8 by 8 feet
- Wood dowel plugs, 2.5 inch pocket screws and furniture glides
Steps:
- Cut four 2×8 top boards at 45.5 inches, and glue and screw them side by side.
- Add a 29-inch 2×8 board across each end as a breadboard.
- Build an apron frame from 2×4 boards, with two long pieces at 54 inches and two short pieces at 25 inches.
- Make each leg from two stacked 2×4 boards cut at 29 inches.
- Sand, stain, then attach the legs and the top to the apron.
- Seal with polyurethane, and add furniture glides.
The blog Boxy Colonial lists the lumber and hardware at $51.17 in total. The writer said the table wobbled at first, and two extra screws from underneath fixed it.
Watch out: the notched legs. But notching a leg is tricky for a beginner, so use a leg kit or extra screws if you are not sure.
Our take: our top pick for a first build. It proves a solid table can cost less than a family night out.


See the full post at Boxy Colonial.
2. The Husky Farmhouse Dining Table
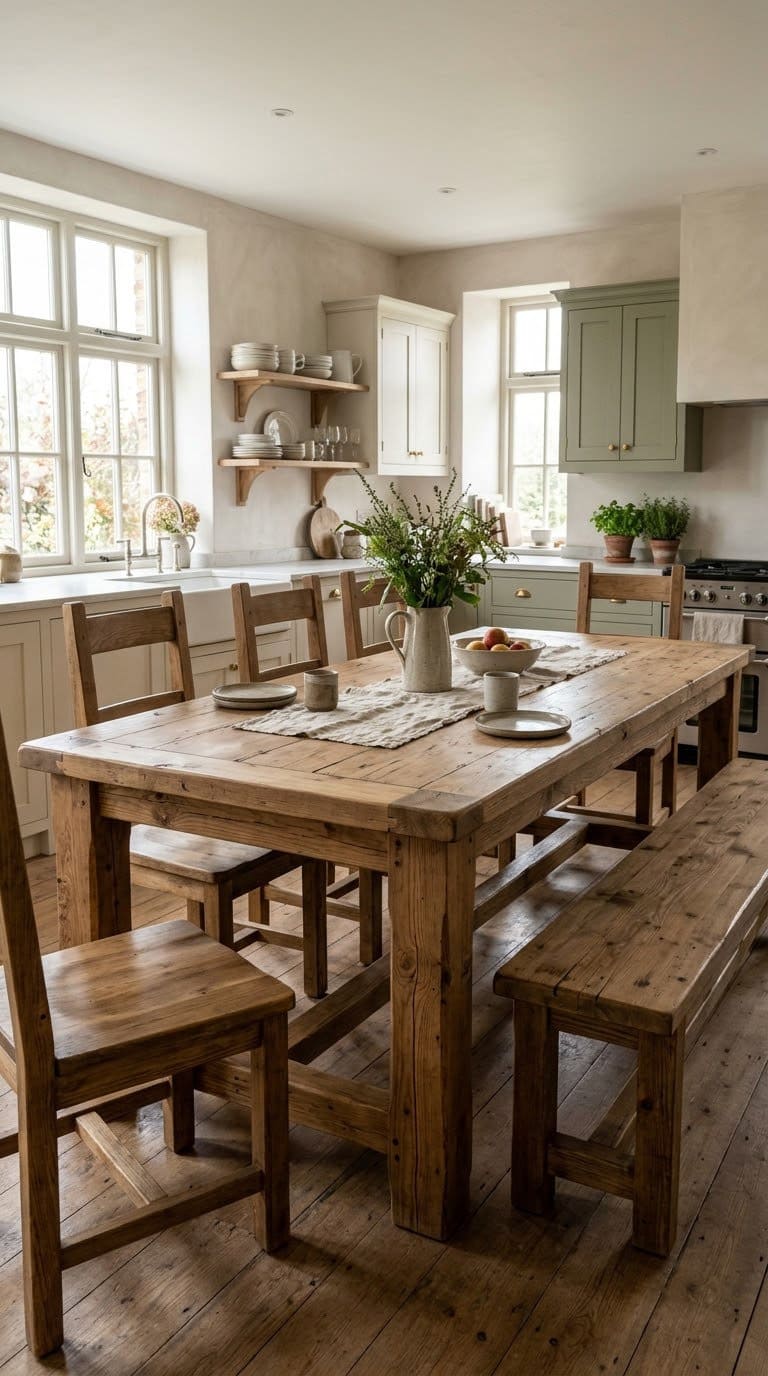
Rogue Engineer builds this table from construction-grade pine, and it needs 7 boards of 2×6 by 8 feet, 3 boards of 2×4 by 8 feet and four square legs. The writer says it is a weekend project, with a few hours of work each day.
Join the top boards with 2.5 inch pocket screws, and back the screws out a quarter turn so the wood can move with the seasons. The writer sands to 80, 120 and then 220 grit before staining. A friend with no power tool experience helped build it.
Steps:
- Cut the base parts with a miter saw, and drill pocket holes.
- Assemble the base.
- Clamp and screw the top boards together.
- Sand the top in good light.
- Stain a test board, then the whole table.
- Seal with a water-based polyurethane.
Watch out: sanding in the dark. The writer’s first two stain attempts failed after sanding in bad light and rain, so the table was re-sanded and restained.
Our take: a good second project. The plan is clear and the table is big enough for a family.
See the full post at Rogue Engineer.
3. An 8-Foot Farmhouse Table and Bench Set
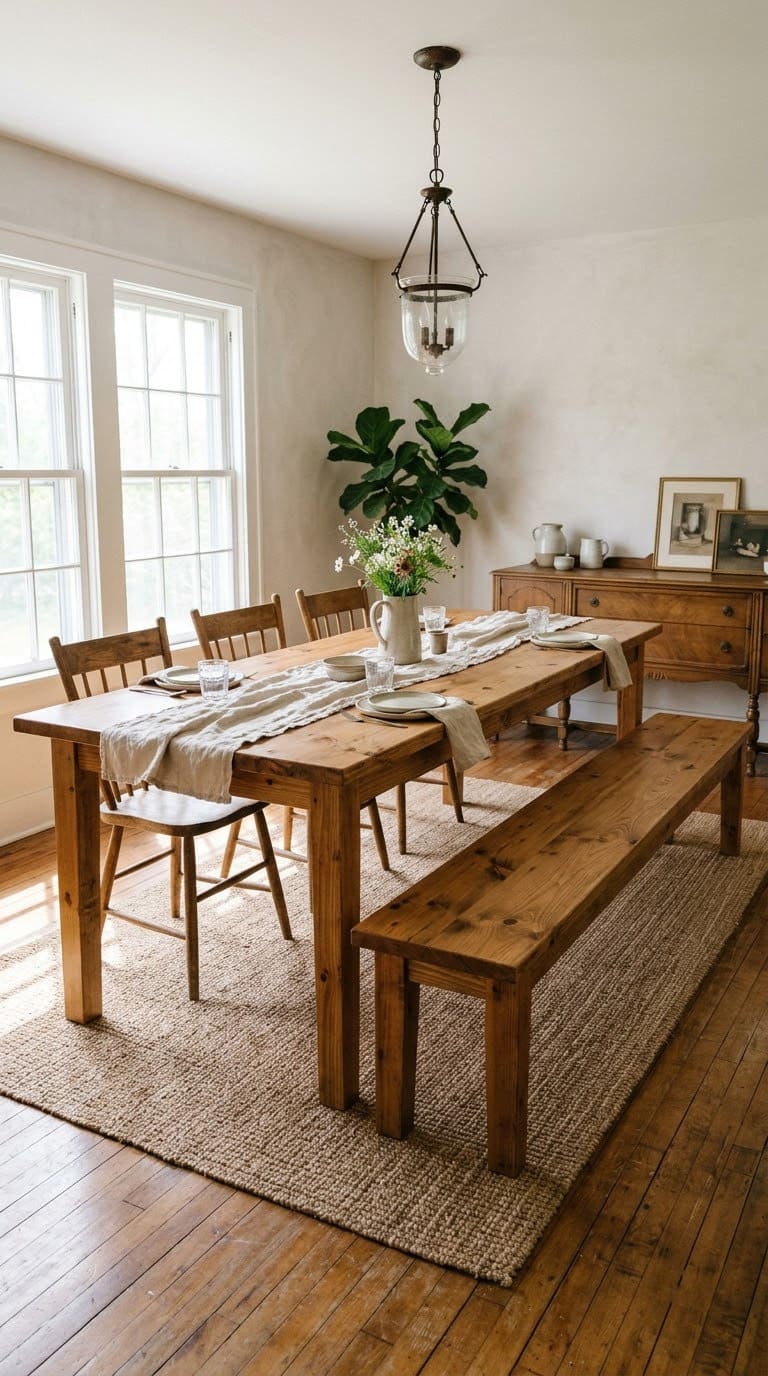
Honeybear Lane builds a table about 8 feet long and 37 to 38 inches wide. It uses 5 boards of 2×6 by 8 feet, one 2×8 by 8 feet, 2 posts of 4×4 by 8 feet and five 2×4 boards. The writer says the lumber and hardware came to under $75.
The table seats about 9 comfortably, with 4 people on the bench. The writer found the notches the scariest part and used a small saw tool to cut them. If you don’t have one, a chisel can knock out the waste.
Steps:
- Follow Ana White’s free plan, and lengthen the top boards.
- Drill pocket holes and build the base.
- Cut the notches, and practice on scrap wood first.
- Finish the top and the base separately.
- Assemble the table upside down on the floor.
- Seal with several coats of polyurethane.
Watch out: breadboard ends. They have little support, so add metal braces. The writer also found a soft-touch varnish wore badly, and chose polyurethane instead.
Our take: the best pick for a big family. If your top gets painted, caulk the gaps between boards so crumbs don’t get stuck.
See the full post at Honeybear Lane.
4. A Reclaimed Wood Farmhouse Table
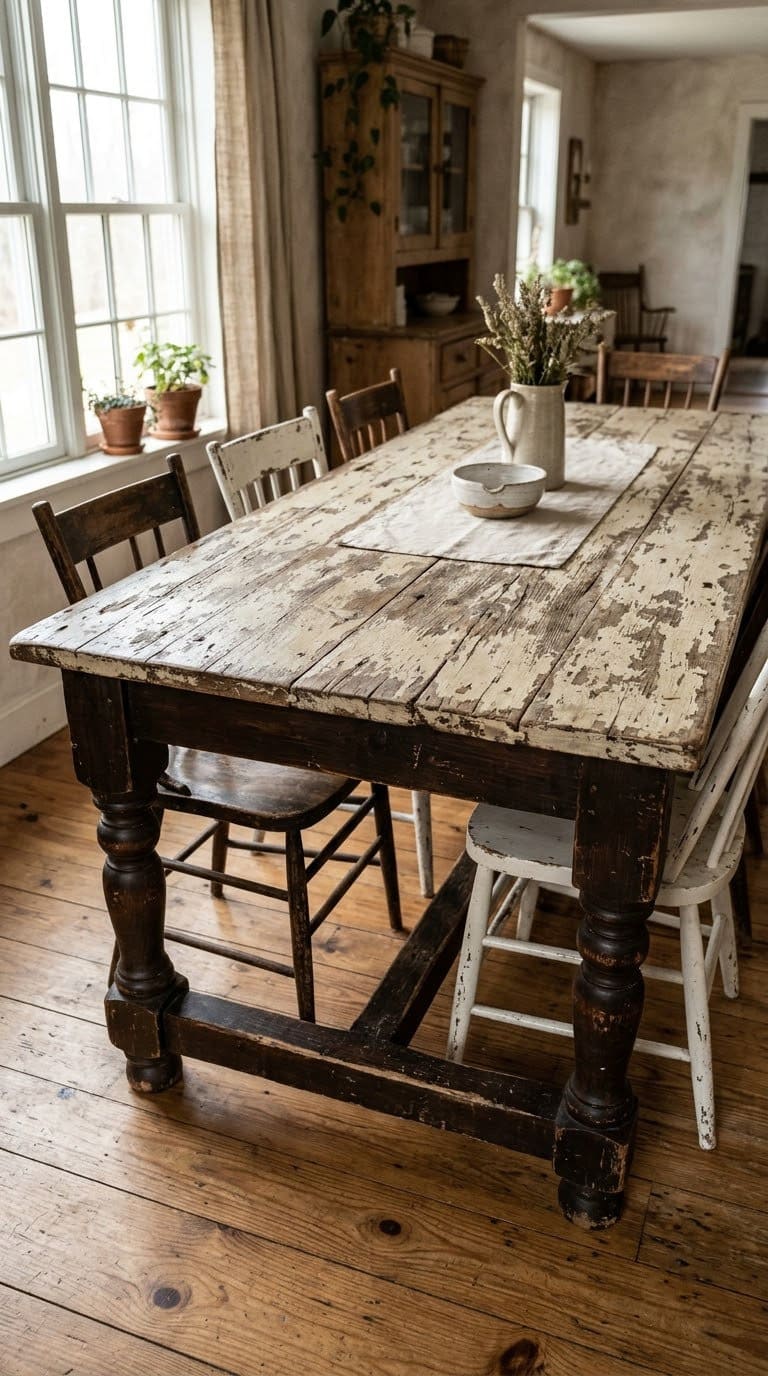
Table and Hearth builds a table from reclaimed “chippy paint” lumber found locally. The writer used Ana White’s plan, and changed the top to fit the boards. Assembly took about one evening.
The top gets two coats of wood sealer. The base gets solid deck stain and spar urethane. Use exterior screws on the braces if the table might go outside.
Steps:
- Pick a free plan, and adjust the top to your boards.
- Build the top with pocket holes.
- Cut and notch the legs, and practice on scrap.
- Stain the base before you assemble it.
- Seal the top with two coats of sealer.
- Assemble and finish the base.
Watch out: old paint. The EPA says homes built before 1978 are more likely to have lead-based paint. If your boards are chippy and old, ask a pro to test them, or choose new lumber.
Our take: a great look for little cash. Check that chairs fit, because armchairs may hit the apron.
See the full post at Table and Hearth.
5. A Barn Board Plank Table
Decor and the Dog builds the base from four table legs, three 1×4 boards and three 2×4 boards. The top uses six 1×7 barn boards. The long aprons are 82 inches, and the short ones are 30.25 inches.
Five 2×4 supports, each 38 inches long, go across the base at marks 10.5, 25.5, 40.5, 55.5 and 70.5 inches along the long apron. The top boards are nailed or screwed down, then planed and sanded smooth.
Steps:
- Attach the 1×4 aprons to the legs with pocket screws and glue.
- Add the five 2×4 supports.
- Paint or stain the base.
- Fasten the top boards, one at a time.
- Plane and sand the top.
- Stain and seal.
Watch out: warped boards. The writer says some barn boards are bent, and large clamps help pull them straight.
Our take: a nice table for a stylish, flat top. A belt sander works if you don’t have a planer.
See the full post at Decor and the Dog.
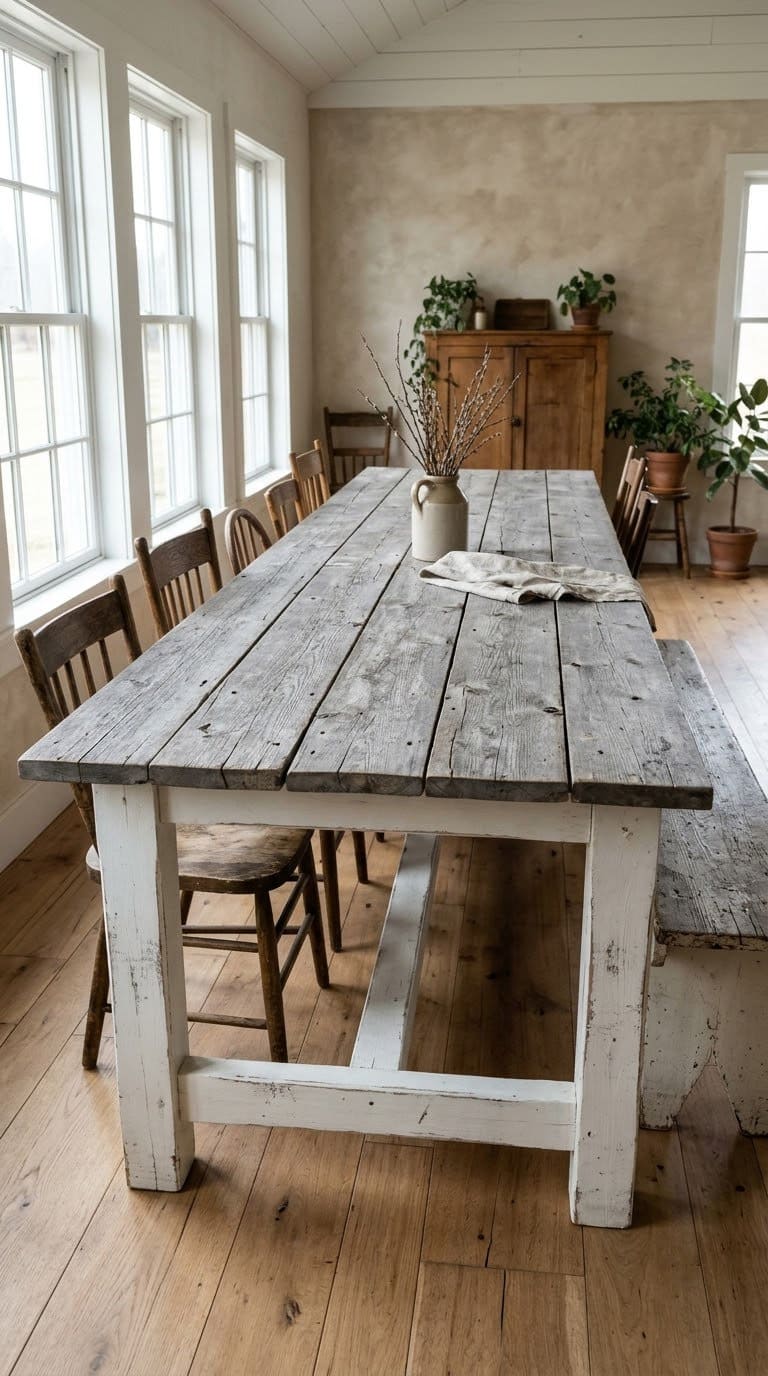
6. A Modern Farmhouse Table and Benches
Erin Spain’s table top is about 81 inches long and 44 1/8 inches wide. The top has one 2×12, two 2×10 boards and two 2×8 boards, each 69 3/4 inches long. Two 2×6 breadboard ends, each 44 1/8 inches long, close the ends.
The base uses an angled X shape. The stain is a custom mix of Minwax Classic Gray and Special Walnut, with three coats of satin wipe-on polyurethane. The 4-foot benches are a “perfect beginner woodworking project,” according to the writer.
Steps:
- Build the X base from two 50-inch beams and 27-inch cross braces.
- Assemble the top boards.
- Add the breadboard ends.
- Build the benches.
- Sand, then use a wood conditioner.
- Stain and seal.
Watch out: lumber sizes. Lumber is rarely exactly the listed size, so plan for small gaps, and have wood filler on hand.
Our take: a clean, modern look. Make the benches first if you are nervous.
See the full post at Erin Spain.
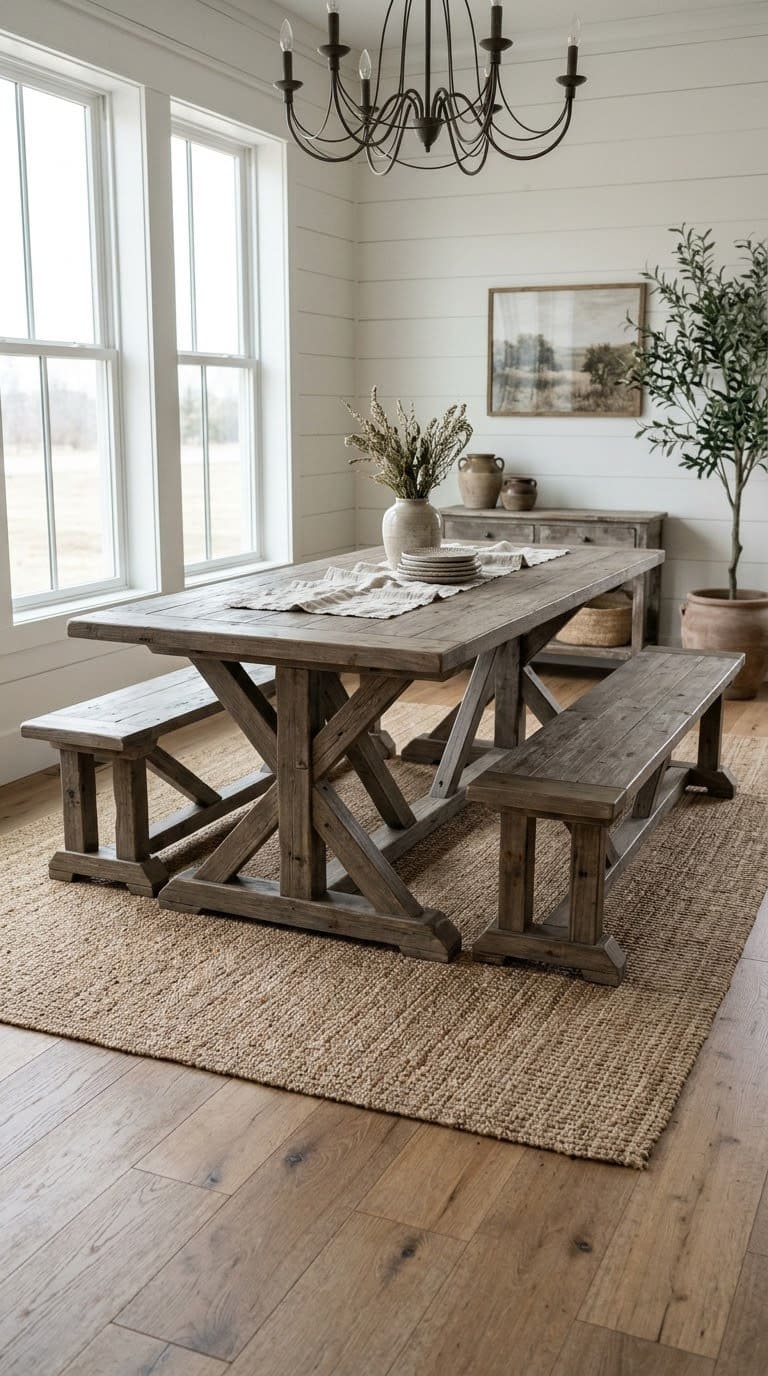
7. An X-Brace Farmhouse Table
The Crafty Blog Stalker rips regular pine boards down to 8 inches wide for the top. The base is an X shape that holds the top up. A metal pipe is shown as a support beam.
The blog links to full plans, so we can’t give you a cut list. The tips are useful, though. Add a 2×4 brace under the center of the top, and let the X base reach under all the top boards.
Steps (our summary):
- Rip the top boards to 8 inches wide with a table saw or ask the store to do it.
- Build the X base from the plan.
- Attach a center brace.
- Fasten the top to the base.
- Sand and stain.
- Seal.
Watch out: weak edges. A commenter says outer boards can snap if people lean on them, so support all boards.
Our take: a good choice if you like a bold shape. The X base also gives room for legs.
See the full post at The Crafty Blog Stalker.
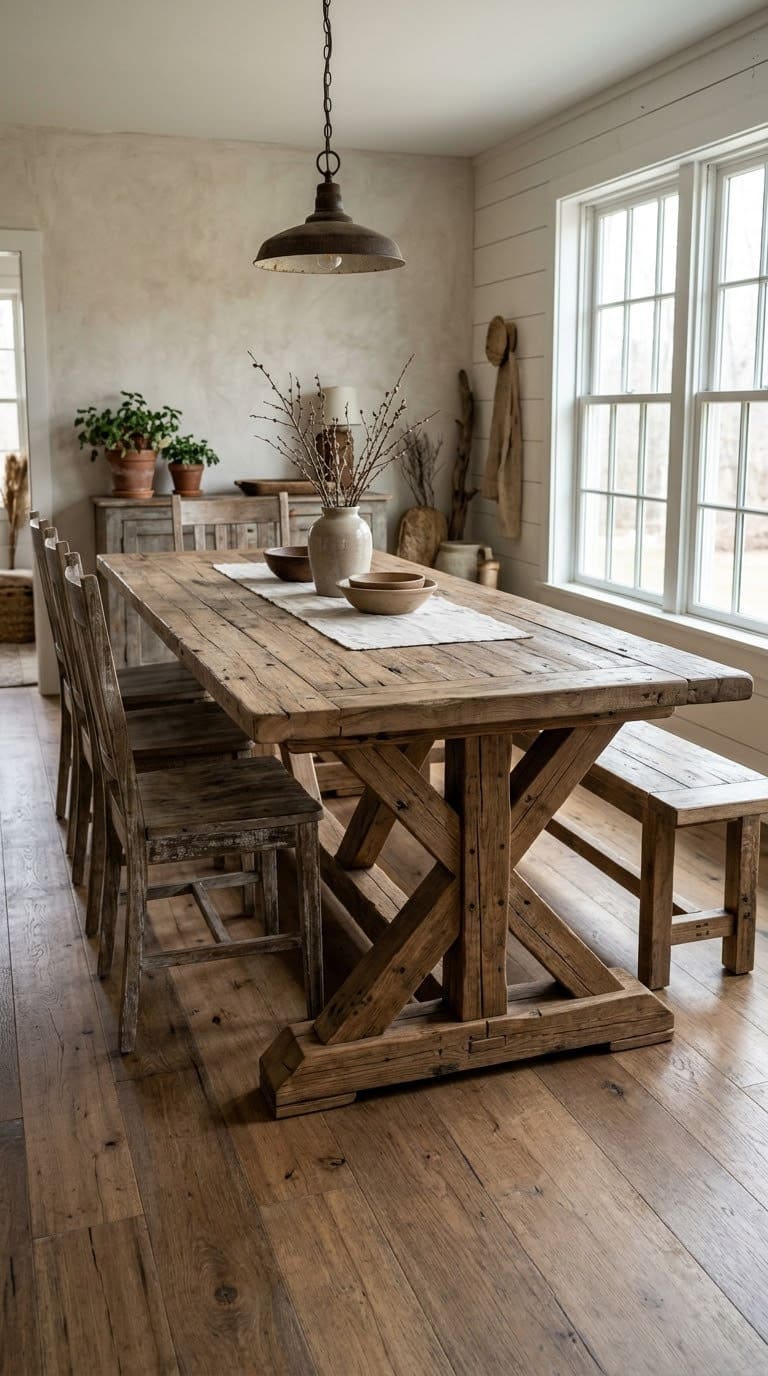
8. A 94-Inch Angled-Leg Table
Leap of Faith Crafting builds Ana White’s Rekourt table, about 94 inches long and 44 inches wide. It seats 6 comfortably and has fit 8 people. The legs are 2×4 boards cut at 30 degrees, and the top uses 2-inch-thick boards.
Pocket holes join the boards, and a Kreg jig worked on 2-inch wood without changing the setting. The base is painted with chalk paint. The top gets wood conditioner, dark walnut stain, a weathered gray glaze and three coats of urethane.
Steps:
- Drill pocket holes in the top boards.
- Join the boards with screws.
- Cut the legs at 30 degrees.
- Sand the top.
- Assemble the legs and top in the room where the table will sit.
- Paint the base and finish the top.
Watch out: weight. The tabletop is heavy, and the writer hurt her toe when she tried to flip it alone. Ask a friend to help.
Our take: a showpiece table. Build it in the room where it will stay, because it is hard to move.
See the full post at Leap of Faith Crafting.
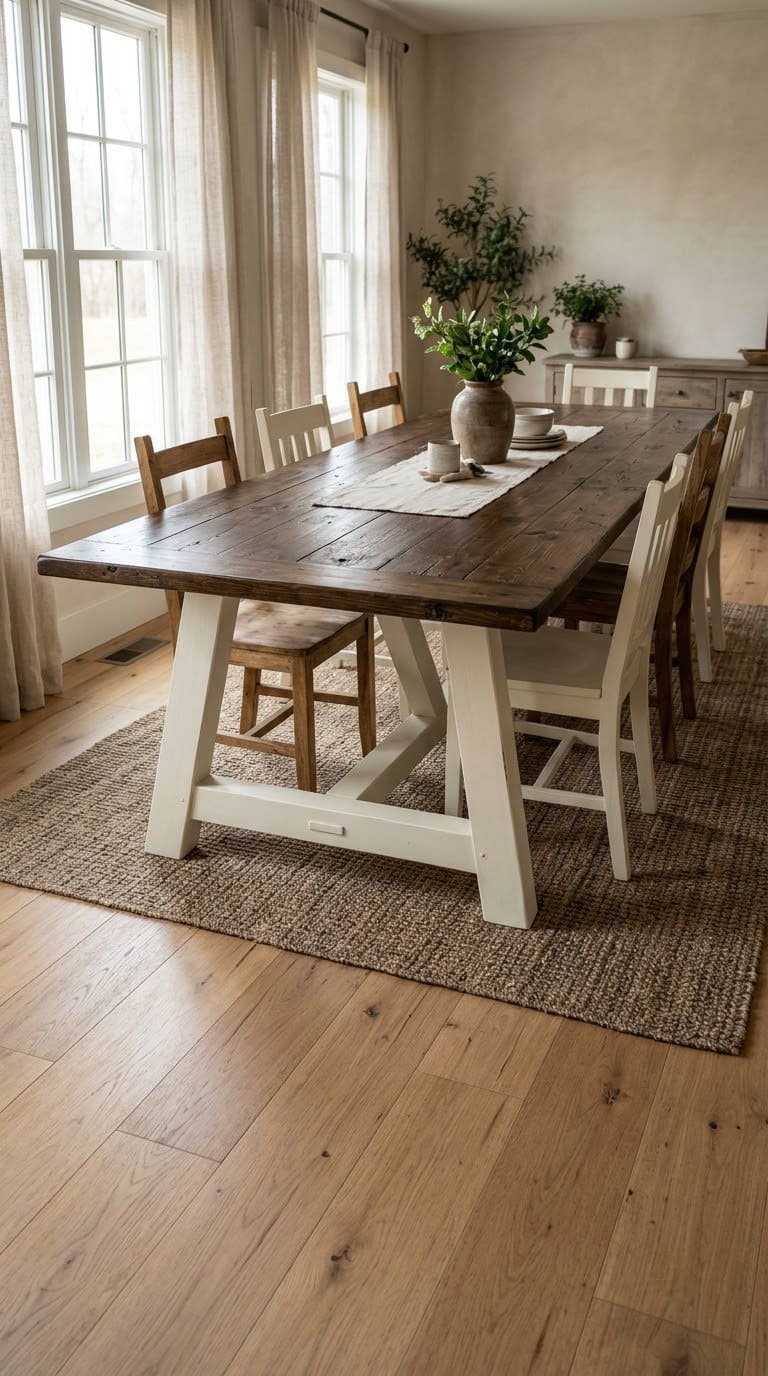
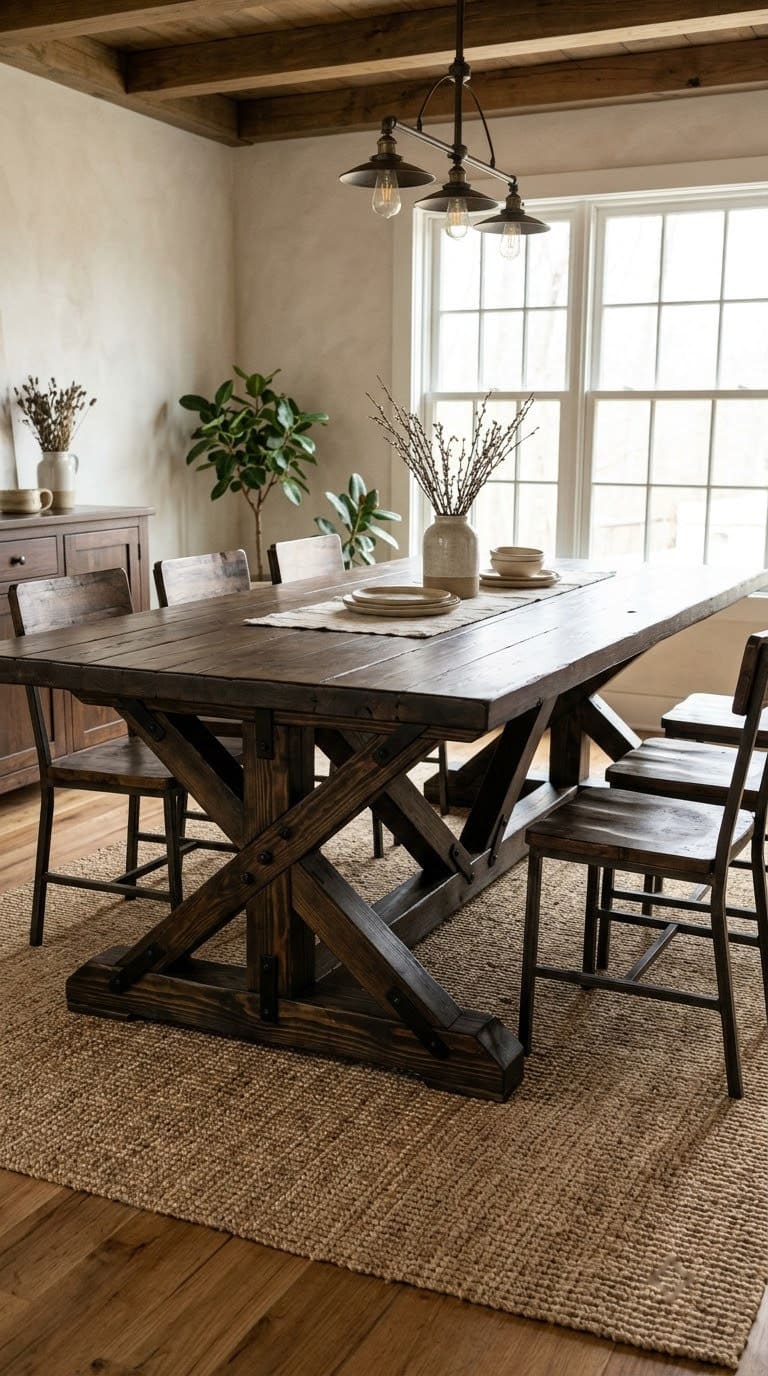
9. A Truss-Beam Dining Table
Delightfully Noted built a table inspired by a Restoration Hardware design, as a first woodworking project. The plans came from Ana White. The writer shares tips instead of steps.
The best tips are simple. Read the whole plan and the comments first.
Cut all the wood and label each piece in pencil. Test the stain on scrap wood, because the color changes with wood type and soak time.
Steps (our summary):
- Read the plan twice.
- Cut all parts and label them.
- Drill pocket holes where the table needs support.
- Assemble the frame.
- Fill holes and sand.
- Test, then stain.
Watch out: filled holes. Wood filler can show through dark stain. Test it first.
Our take: a great reason to try. The writer skipped wood glue, because it made the pieces slip.
See the full post at Delightfully Noted.
10. A Pallet Top Table
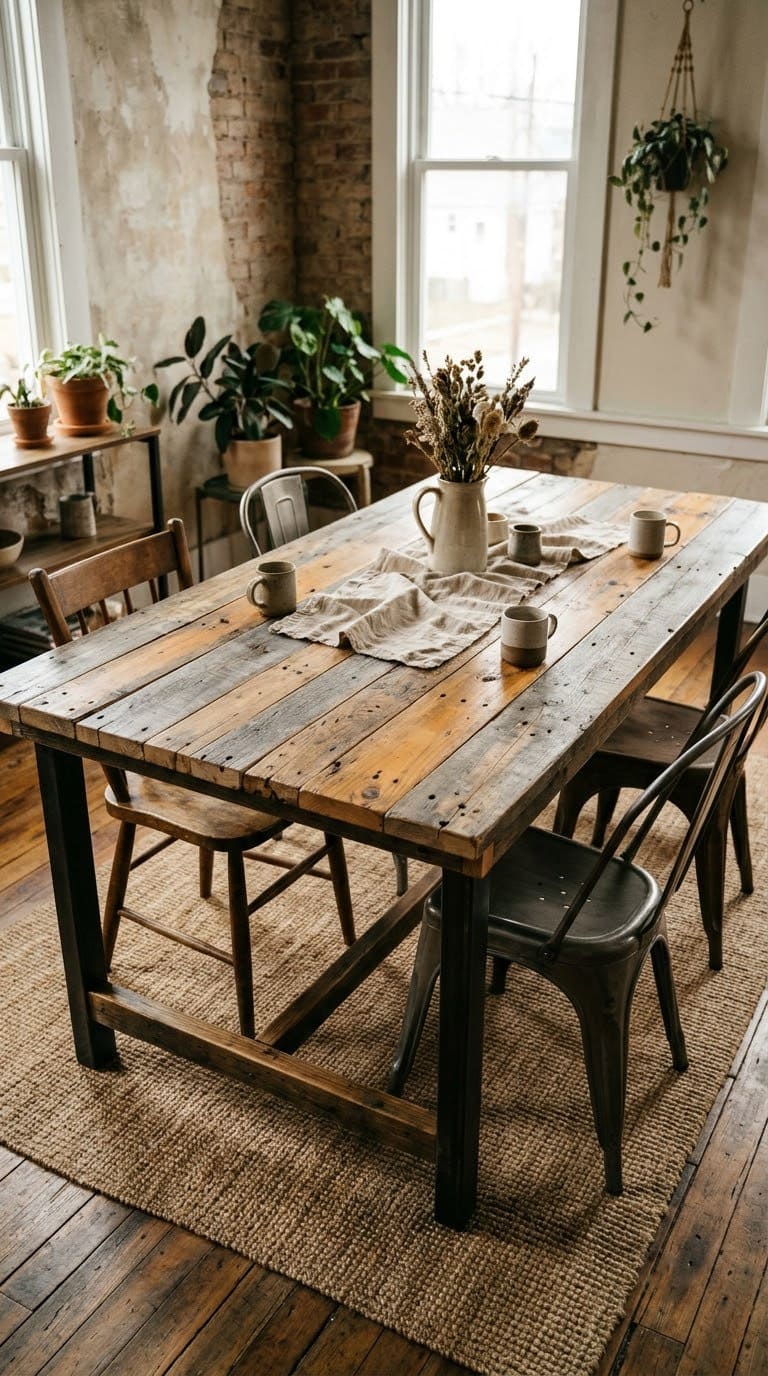
A pallet table is the cheapest way to get the rustic look. Hometalk’s version takes about 4 hours and is rated medium difficulty. Take the pallets apart, save the nails, lay out the boards, and cut the ends even with a saw.
The writer prefers a rustic look because small nicks and dings look intentional. The work made a lot of sawdust indoors, so work outside if you can.
Steps:
- Take the pallets apart carefully.
- Save the nails.
- Lay the boards out to find the best layout.
- Mark the length on each side.
- Cut the ends even.
- Sand and seal.
Watch out: dangerous pallets. PHS says HT means heat treated, and MB means methyl bromide fumigation. Use only HT pallets for DIY, and skip any with MB or no stamp.
Our take: our best idea for a porch or a play room. Seal the top well, because bare pallet wood holds crumbs.
See the full post at Hometalk.
Other Shapes and Sizes
These next ideas are our own plans. We list suggested sizes, so change them to fit your room.
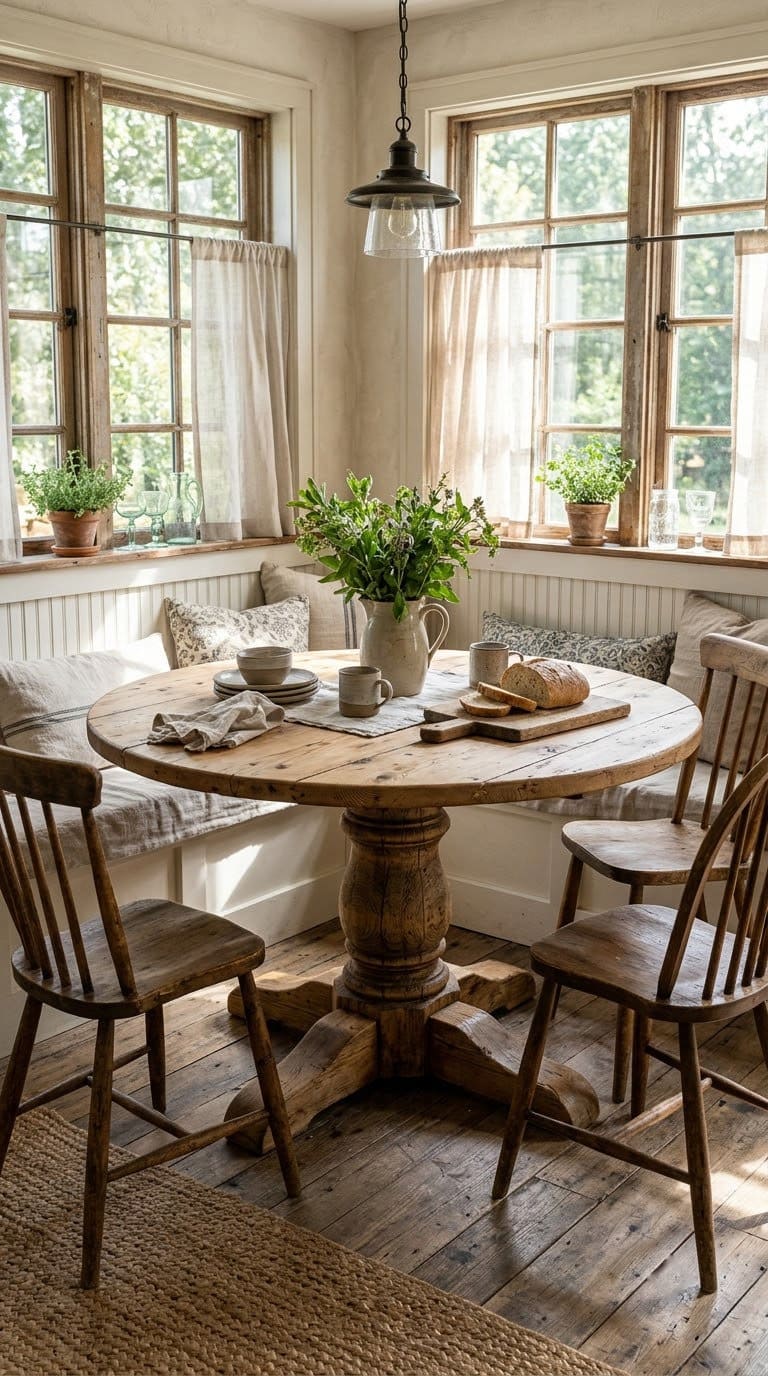
11. A Round Farmhouse Table
A round table fits a small dining area and lets everyone see each other. A top about 42 to 54 inches across seats 6, according to the size chart earlier. Glue and clamp boards edge to edge into a square, then cut a circle with a jigsaw.
You need (our plan):
- Pine boards, such as 2×6, glued into a square panel
- A pedestal or four legs
- A jigsaw and a string-and-pencil compass
- Sandpaper and a sealer
Steps:
- Glue and clamp the boards into a square.
- Tie a pencil to a string and draw a circle.
- Cut the circle with a jigsaw.
- Sand the edge smooth.
- Attach the base.
- Stain and seal.
Watch out: heavy tops tip a thin base. Pick a wide pedestal or sturdy legs.
Our take: a great fit for a nook. We could not open the original round table tutorial, so this is our own plan.
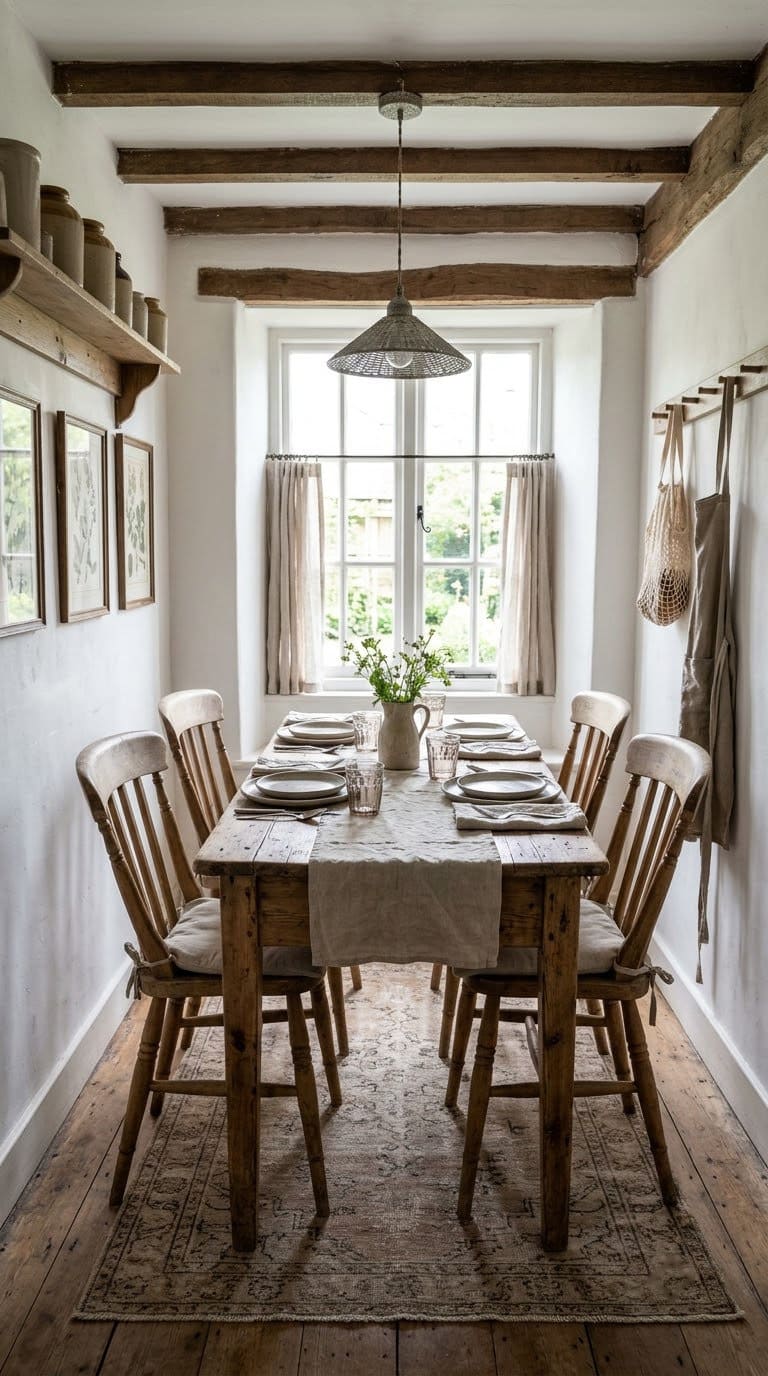
12. A Narrow Farmhouse Table
A narrow table works in a small room or a long hallway. A 30-inch wide top still seats two on each side, but it leaves less room for dishes. Keep the length at 60 to 72 inches.
You need (our plan):
- Pine boards, such as 2×6 and 2×4
- Pocket screws and glue
- Stain and sealer
Steps:
- Make a top 30 inches wide from five 2×6 boards.
- Build a simple 2×4 apron.
- Add four legs.
- Join the top to the apron.
- Sand and stain.
- Seal.
Watch out: crowding. Standard rectangular tables are 36 to 40 inches wide, so test your plates and a platter on the top before you cut.
Our take: a smart choice for a small space.
13. A Farmhouse Coffee Table
Use the same style for a lower table. Cut the legs to about 16 to 18 inches, and keep the top about 20 by 40 inches. For more about sizes, see our guide to coffee table dimensions.
You need (our plan):
- Pine 2×4 and 2×6 boards
- Pocket screws
- Stain and sealer
Steps:
- Cut the top boards to 40 inches.
- Join them with pocket holes.
- Build an apron from 2×4 boards.
- Add four short legs.
- Attach the top.
- Sand and seal.
Watch out: sharp corners. Round the corners with sandpaper if kids are around.
Our take: a quick one-day project. For more ideas, see our farmhouse coffee table ideas.
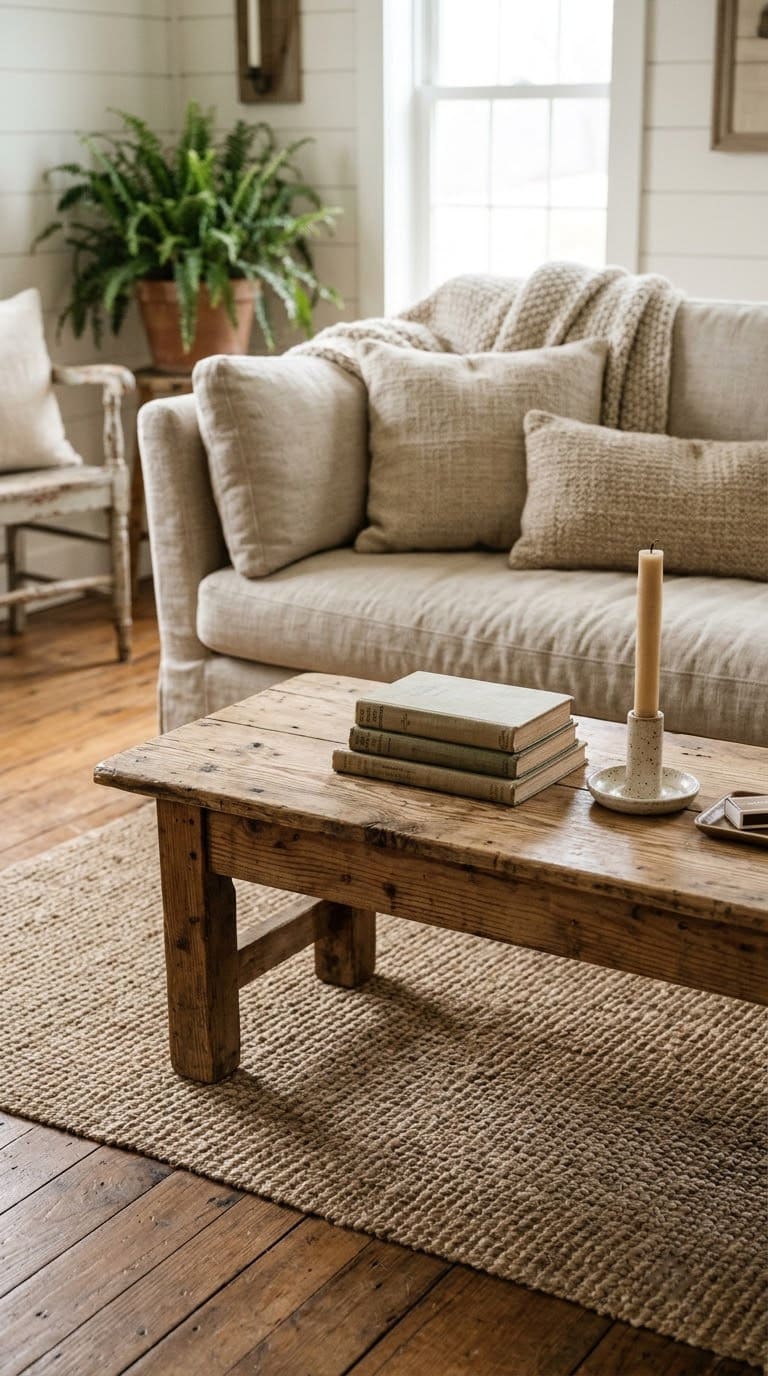
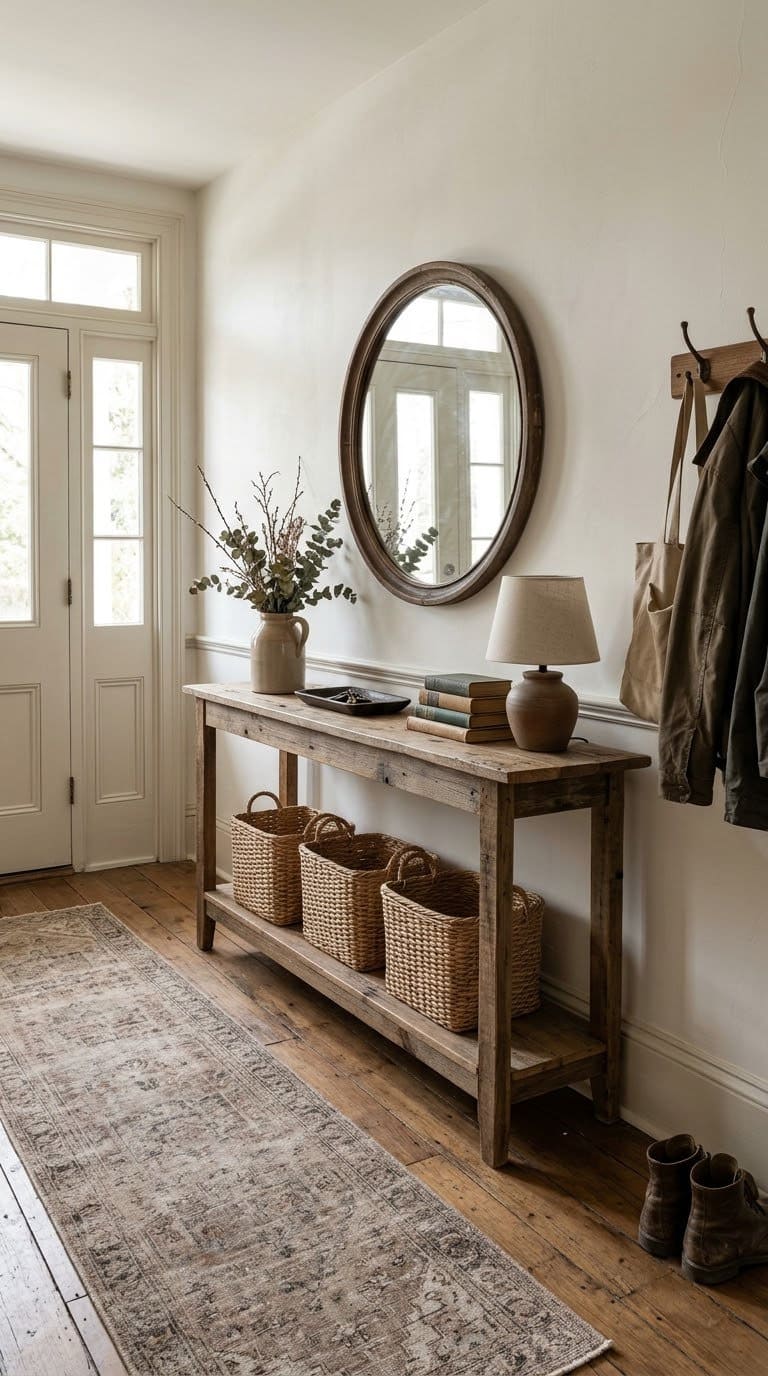
14. A Farmhouse Console Table
A console table sits against a wall in an entry or behind a sofa. Make it about 12 to 14 inches deep, so it doesn’t block the walkway. Add a lower shelf for baskets.
You need (our plan):
- Pine boards, such as 1×6 and 2×2
- Pocket screws
- Stain and sealer
Steps:
- Build the top from 1×6 boards.
- Make a frame of 2×2 legs and rails.
- Add a lower shelf.
- Attach the top.
- Sand and stain.
- Seal.
Watch out: tipping. Anchor a tall console to the wall if kids are around.
Our take: a beginner project that adds a lot of charm. Keep it simple.
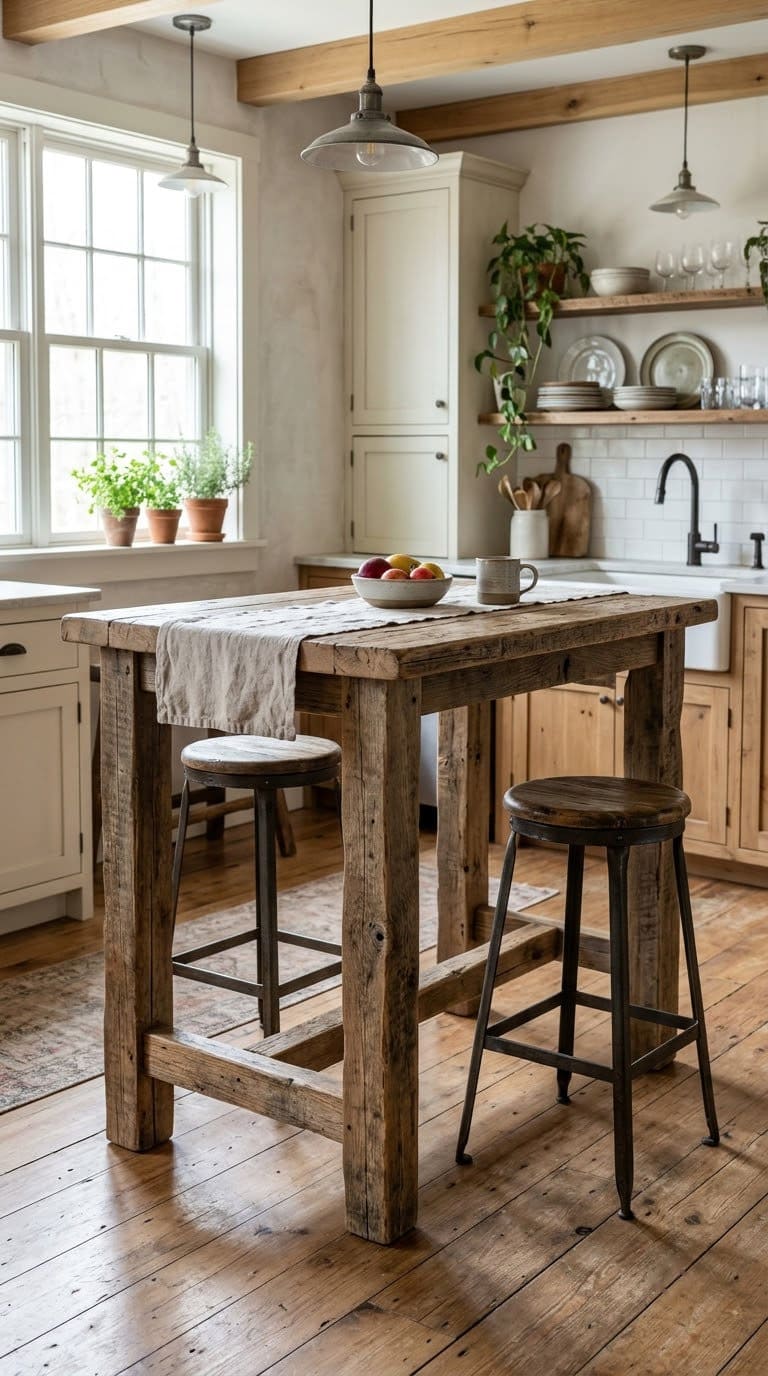
15. A Counter-Height Farmhouse Table
A counter-height table is taller, at about 36 inches. It works as a kitchen island or a bar table. Use thicker legs for stability.
You need (our plan):
- Pine 4×4 legs
- 2×4 aprons and 2×6 top boards
- Pocket screws and glue
- Stain and sealer
Steps:
- Cut four 4×4 legs to about 35 inches.
- Build an apron of 2×4 boards.
- Add a lower rail for footrests.
- Make a top of 2×6 boards.
- Join all parts.
- Sand and seal.
Watch out: the wrong stools. Counter stools are about 24 to 26 inches tall, so check the seat height before you build.
Our take: our best idea for an open kitchen.
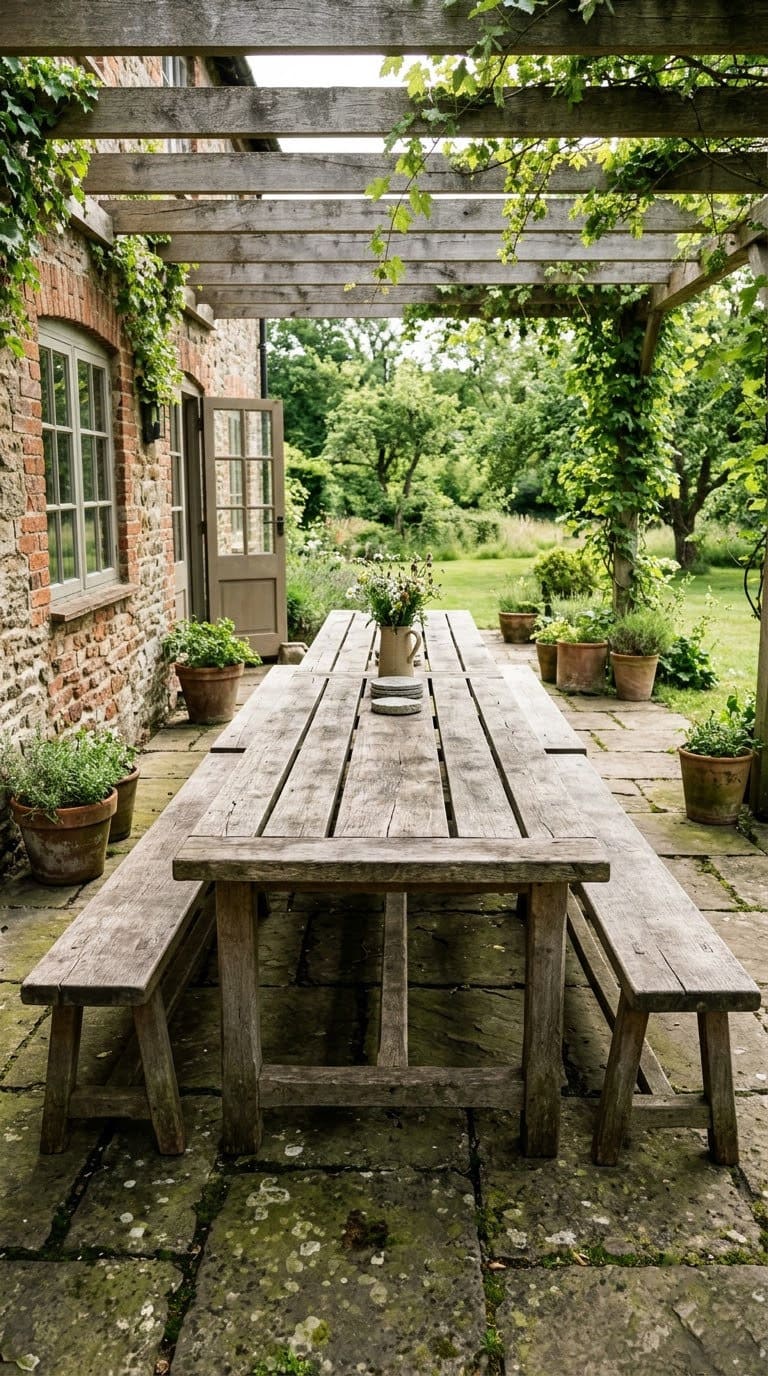
16. An Outdoor Farmhouse Table
An outdoor table needs outdoor materials. Use exterior screws, deck stain and a spar urethane. Table and Hearth used exterior deck screws on the braces and spar urethane on the base.
You need (our plan):
- Cedar or treated pine boards
- Exterior deck screws
- Deck stain and spar urethane
- A wood sealer for the end grain
Steps:
- Cut the boards and sand them.
- Seal the end grain.
- Build the base and the top.
- Stain the pieces.
- Assemble with exterior screws.
- Seal with spar urethane.
Watch out: standing water. Leave gaps between top boards so water can drain. For benches, see our outdoor DIY benches.
Our take: a great patio table. Cover it in winter.
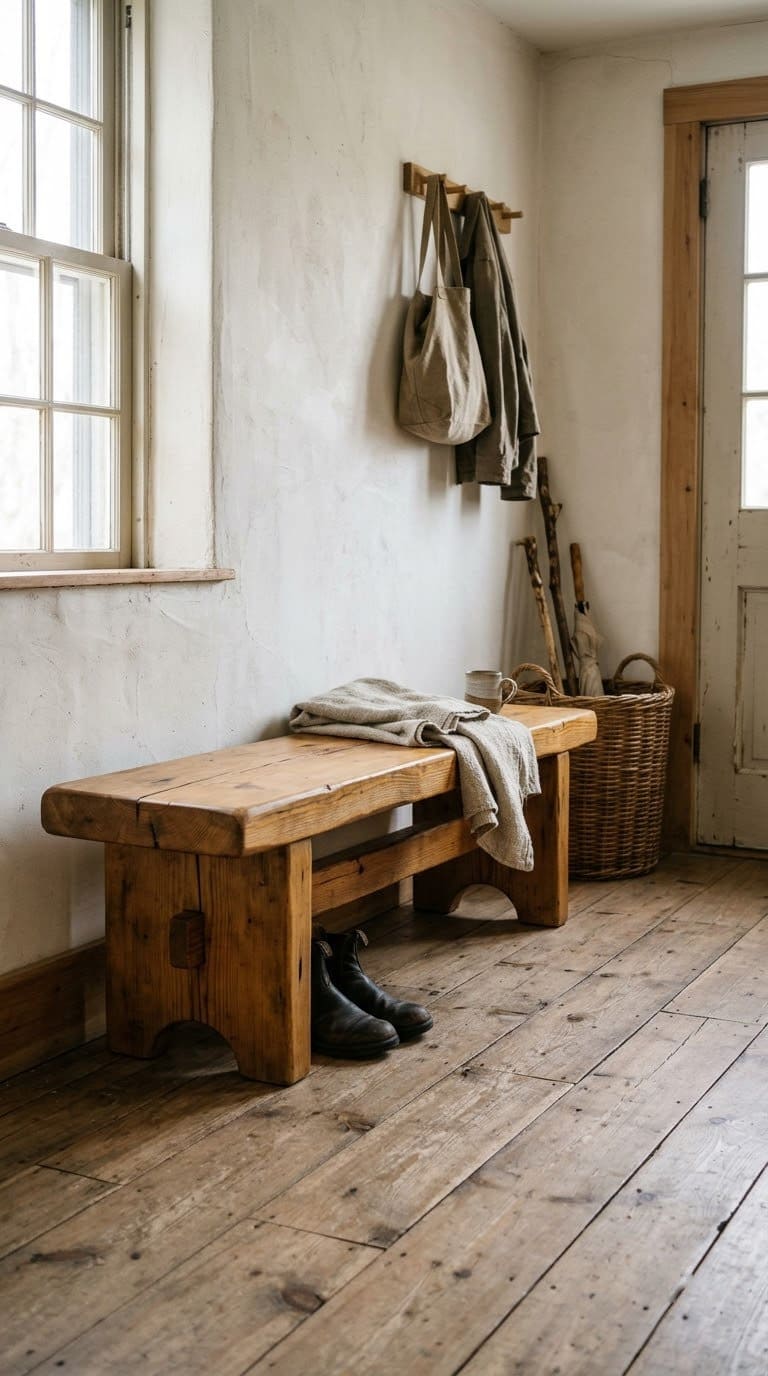
17. A Farmhouse Bench
A bench is the easiest way to practice. Honeybear Lane used two 2×8 boards for the seat. A reader found two 2×6 boards were too narrow and needed a center 2×4, so the writer said the plan should have called for 2×8 boards.
You need (our plan):
- Two 2×8 boards for the seat
- 2×4 boards for the legs and rails
- Pocket screws
- Stain and sealer
Steps:
- Cut the seat boards to 4 feet.
- Join them with a 2×4 under the middle.
- Build the leg frames.
- Join the frames with rails.
- Attach the seat.
- Sand and seal.
Watch out: wobble. Add a brace between the legs.
Our take: a quick, cheap project. Build two, and tuck them under the table.
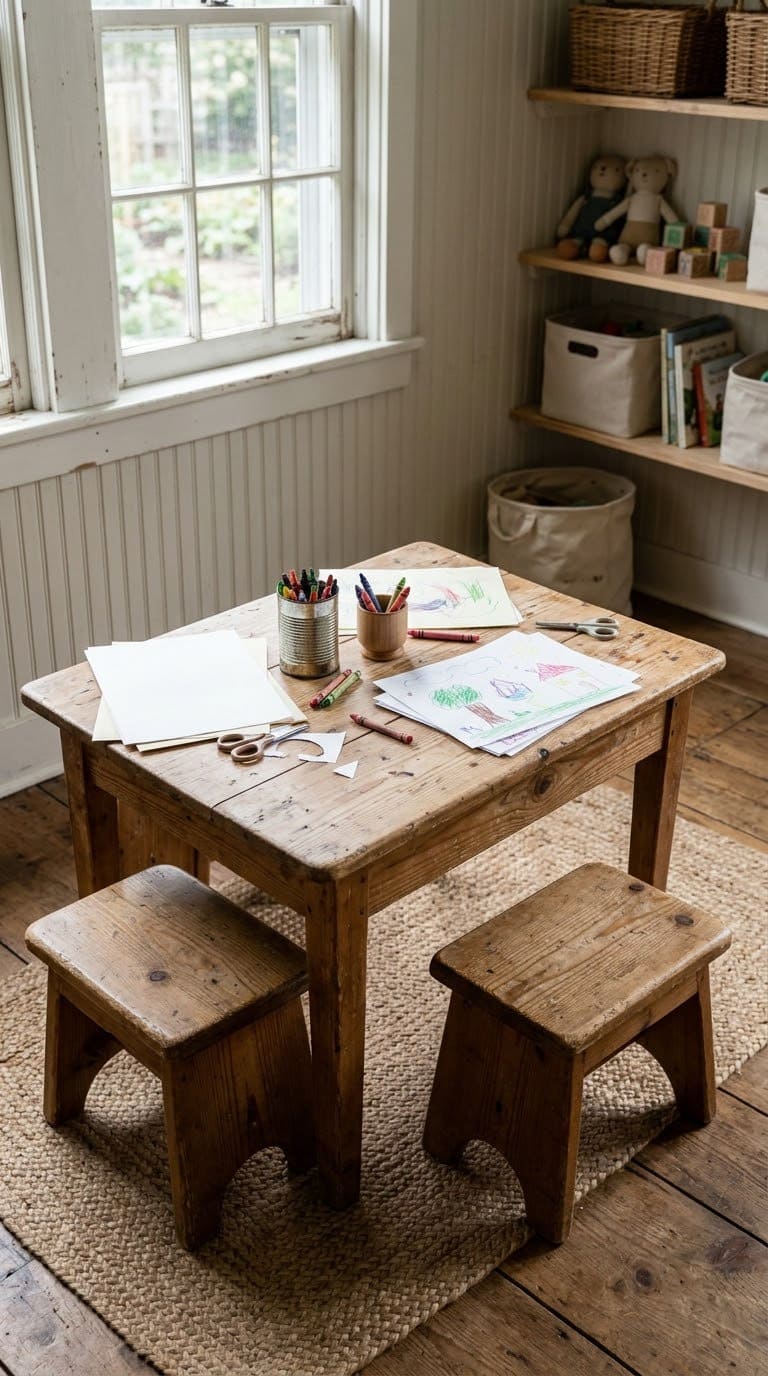
18. A Kids’ Farmhouse Craft Table
A kids’ table is a small version of the same design. Make it about 20 inches tall, and 24 by 36 inches across. Round all corners and use a water-based finish.
You need (our plan):
- Pine 2×4 and 2×6 boards
- Pocket screws
- Water-based stain and sealer
Steps:
- Cut the top boards at 36 inches.
- Join them.
- Build a short apron and legs.
- Join the top to the base.
- Round the corners and edges.
- Seal with two or three coats.
Watch out: finish smells. Let the table cure outside or in a garage before kids use it.
Our take: a sweet gift. Add a roll of paper at one end.
Finishing and Refinishing Ideas
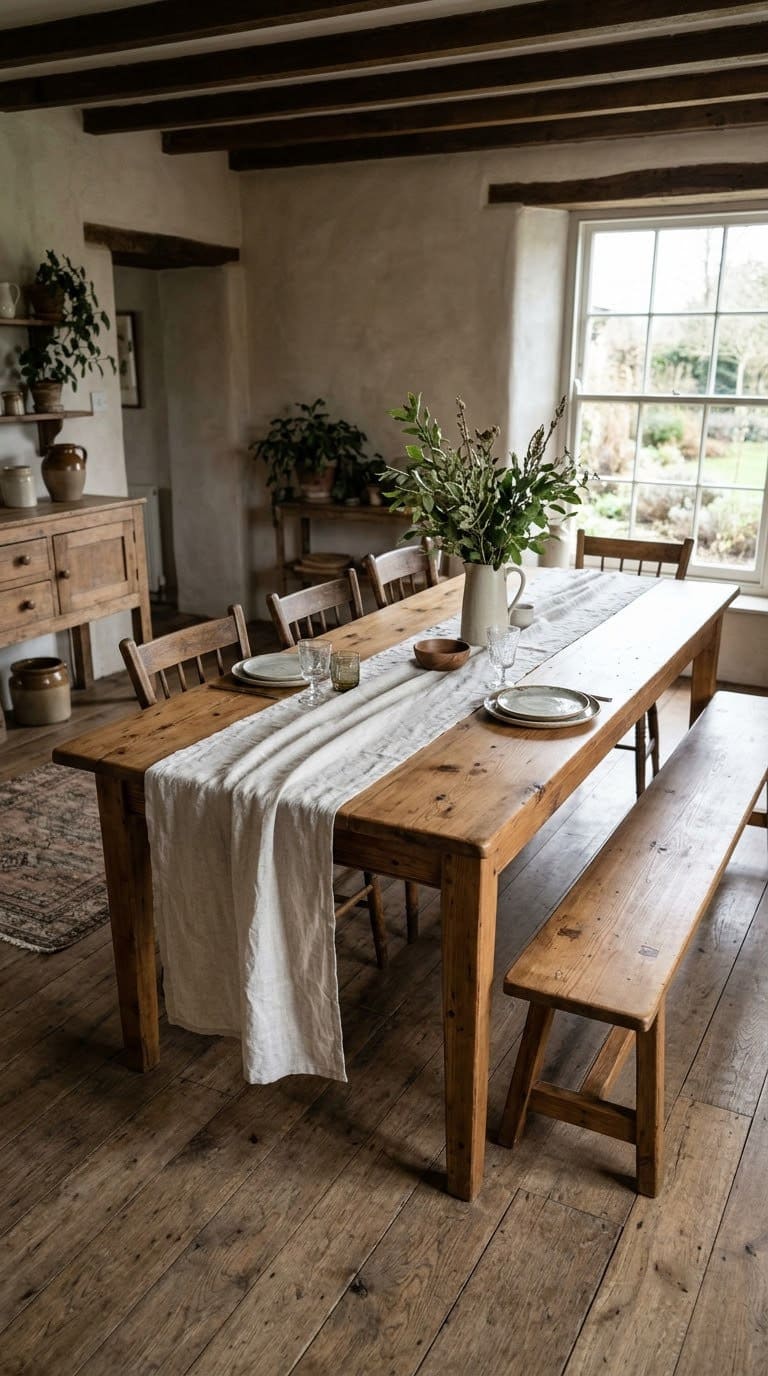
19. Refinish an Old Farmhouse Table
You can update a table you already own. Lehman Lane trimmed about 3.5 inches from each side of a table and cut the leaves to match. Then the top was sanded to bare wood and given one coat of satin polyurethane.
The writer says two or three coats would have protected the table better. A water-based finish was chosen because it dries quickly and has low odor. A belt sander clogged with old varnish, so use an orbital sander.
Steps:
- Clean the table and remove loose paint.
- Sand to bare wood.
- Wipe off all dust.
- Apply two or three coats of finish.
- Let it dry between coats.
- Wait for the cure.
Watch out: tacky finish. A finish can feel sticky after heavy use if it has not cured.
Our take: our favorite way to save money. Skip trimming unless the size is a problem.
See the full post at Lehman Lane.
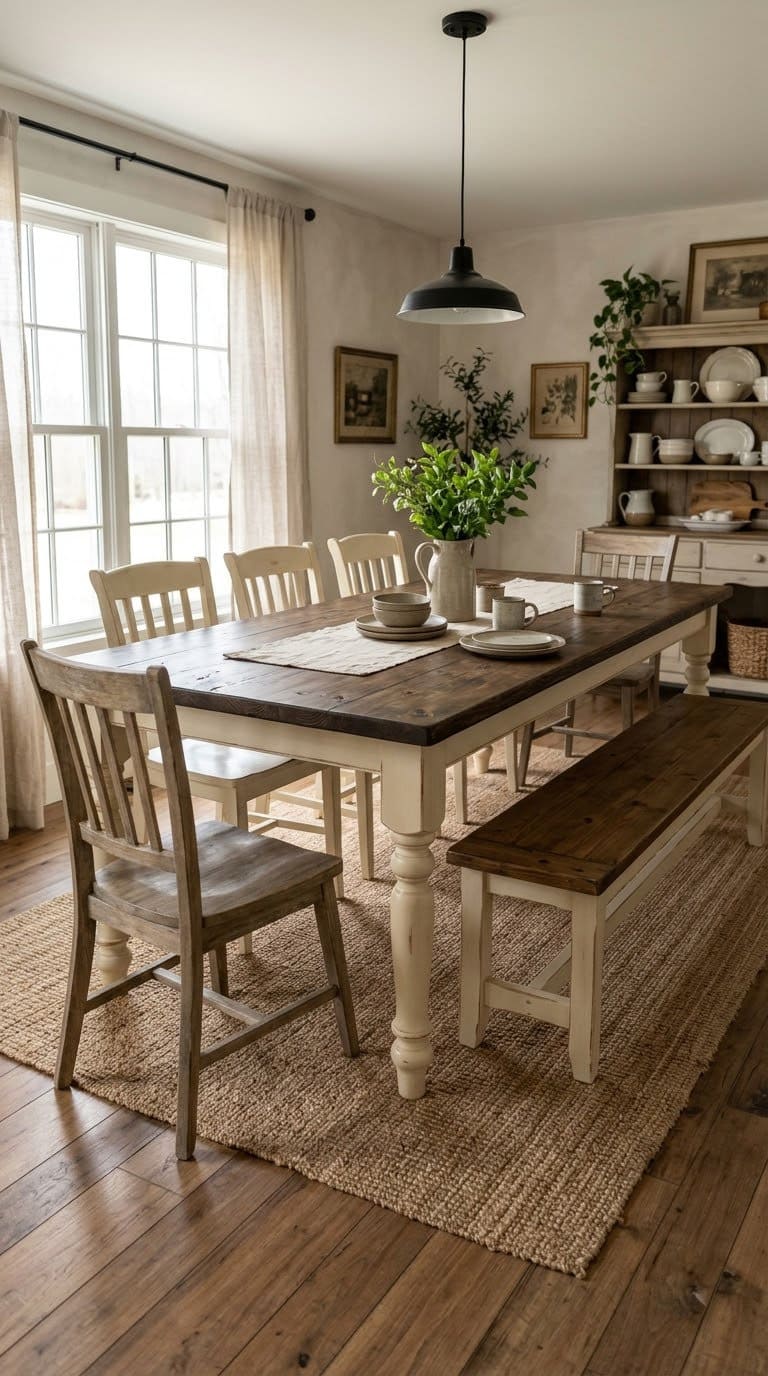
20. A Two-Tone Table: Painted Base, Stained Top
A painted base and a stained top is a classic farmhouse look. Leap of Faith Crafting paints the base with chalk paint and seals it with polycrylic. The top gets wood conditioner, dark walnut stain and three coats of urethane.
Honeybear Lane’s top wore badly in about a year with whitewash and dark walnut stain. The writer repainted with chalk paint, caulked the cracks and added about five coats of polyurethane.
Steps:
- Sand the table.
- Paint the base in two thin coats.
- Seal the base.
- Apply wood conditioner to the top.
- Stain, then wipe off extra.
- Add three to five coats of polyurethane.
Watch out: rushing. Let each coat dry before you add the next.
Our take: the easiest way to get a magazine look. Test your colors on scrap wood.
How Do You Finish a Table the Right Way?
Finishing takes longer than building. Plan a few days. Sand with 80, then 120, then 220 grit, and wipe off all the dust.
Use a wood conditioner on pine before staining, so the color goes on evenly. Test every stain and sealer on a scrap piece first. Finish with at least three coats of polyurethane, and sand lightly between coats.
Finishing expert Bob Flexner says all finishes are food-safe once they have cured, and that polyurethane varnish presents no known hazard. The same article warns that no finish is food safe until it has fully cured, and that the rule of thumb is 30 days at 65 to 75 degrees F. Use placemats and wait before you put hot pots or heavy platters on the table.
Our rule: wait a week before you eat at the table, and a month before you scrub it.
What Safety Rules Should You Follow?
Wear safety glasses and ear protection when you cut and sand. Clamp the board before you drill or saw. Tie back long hair, and keep your hands away from the blade.
Work in a place with fresh air when you stain and seal. Spread oily rags flat outside until they dry, because some stains can heat up in a pile. Use only heat-treated pallets, and test old painted wood for lead before you sand it.
Get help lifting a finished top. Tops are heavy, and one builder hurt a toe lifting alone.
How Do You Fix Common Problems?
A wobbly table is the most common problem. Add a brace or two screws per leg from underneath. Check the floor, too, and add felt glides if the floor is uneven.
Warped boards can be pulled flat with big clamps. Gaps between boards can be filled with caulk if you paint the top. Blotchy stain on pine means you skipped the wood conditioner next time.
What Will It Cost, and How Long Will It Take?
Prices vary by store and region, so use these tiers.
| Tier | What it covers | Typical time |
|---|---|---|
| Under $100 | The $51 budget table, the pallet table, the bench | A weekend |
| $100 to $300 | Husky table, 8-foot table and bench, round and outdoor tables | A weekend plus finishing |
| Bigger project | The 94-inch angled-leg table, counter-height table, truss-beam table | A few weekends |
Start with the cheap tier. Add a bench or two when you love the table. For more table ideas, see our guide to farmhouse table ideas.
Common Mistakes to Avoid
Buying lumber before you plan the size. Tape the size on the floor first.
Skipping the wood conditioner on pine. The stain turns blotchy.
Rushing the finish. Sand, seal and wait for the cure.
Using old painted wood without a test. Check for lead.
Lifting a finished top alone. Ask for help.
FAQ
How much does it cost to build a farmhouse table? One build cost $51.17 in lumber and hardware, and another cost under $75.
What wood is best for a farmhouse table? Pine boards from a home center are cheap and easy to work with.
How big should a farmhouse table be? Allow 24 inches of table length per person, and 36 inches of space around it.
How long should I wait before using the table? A finish takes about 30 days to cure fully at room temperature.
Can a beginner build a farmhouse table? Yes. Start with the budget table or a bench, and use a pocket hole jig.
Related Posts
- Extendable Dining Table Buying Guide
- Should You Put a Rug Under a Dining Table?
- Cinder Block Bench Ideas
Never miss an update — choose FarmFoodFamily as your preferred source on Google.
How it works: Tap the button below to open Google's settings page, then check the box next to FarmFoodFamily.
Tap the checkbox to turn it blue — that's how you know it's set.