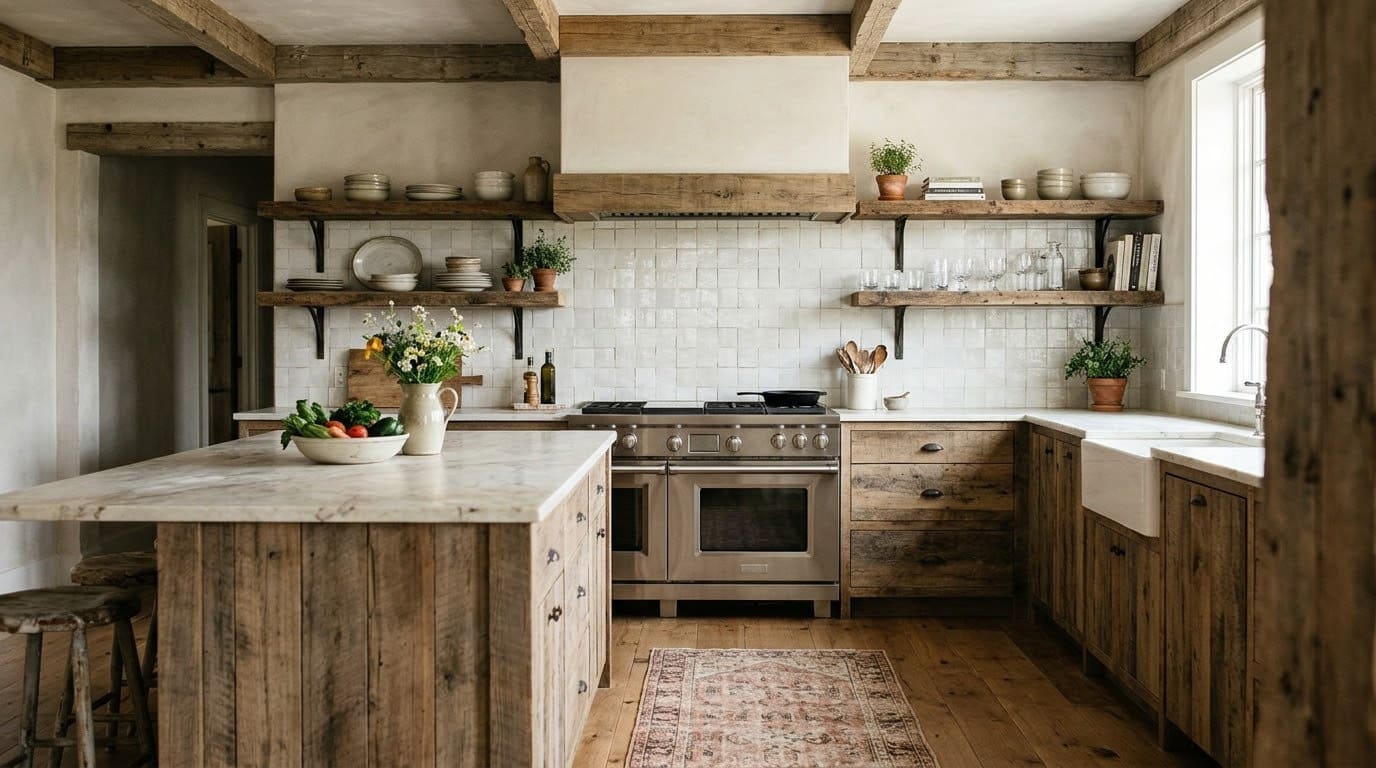
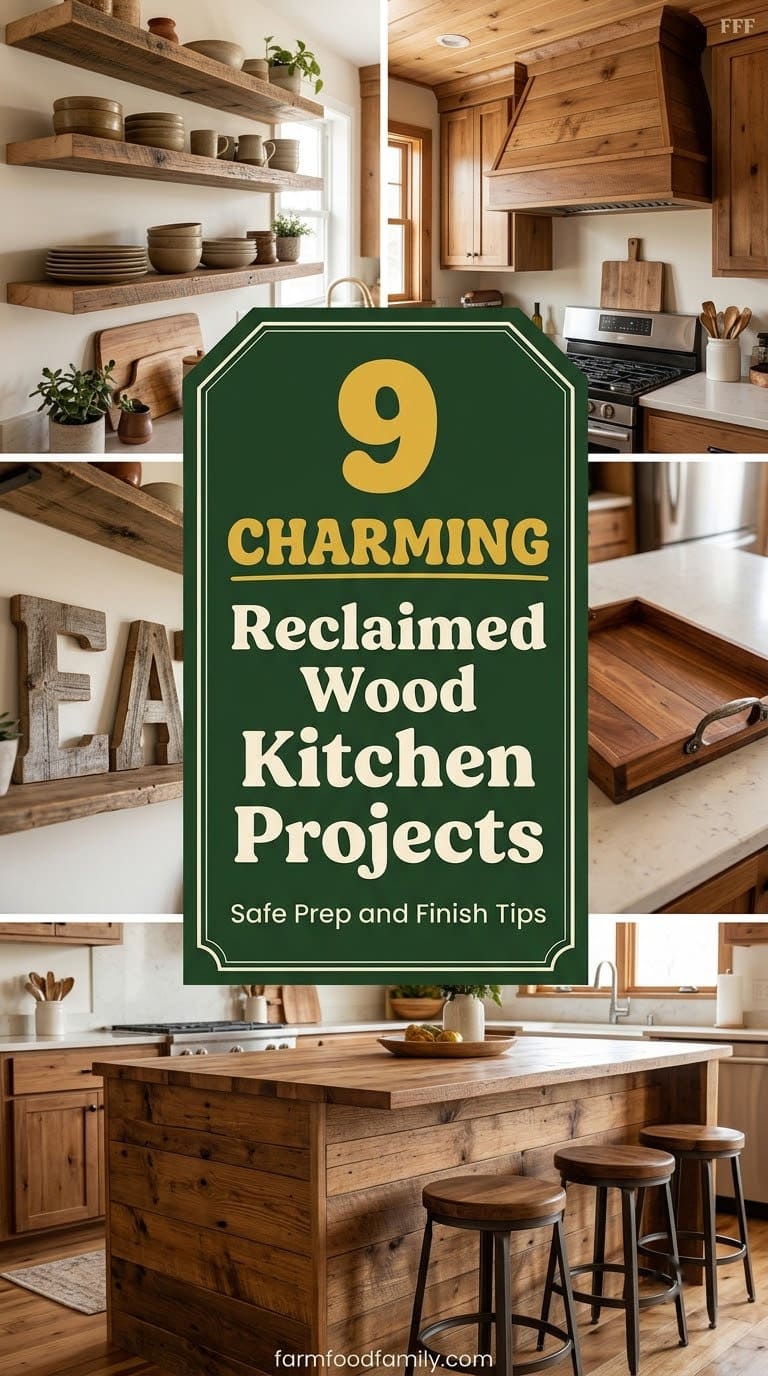
9 Charming Reclaimed Wood Kitchen Projects That Are Safe to Cook Around
Reclaimed wood gives a kitchen warmth that new lumber can’t fake, as long as you test for lead, pull the hidden nails and keep wood well clear of the stove.

Never miss an update — choose FarmFoodFamily as your preferred source on Google.
How it works: Tap the button below to open Google's settings page, then check the box next to FarmFoodFamily.
Tap the checkbox to turn it blue — that's how you know it's set.
Reclaimed wood gives a kitchen warmth that new lumber can't fake, as long as you test for lead, pull the hidden nails and keep wood well clear of the stove.
Products We Recommend
This post contains affiliate links. We may earn a commission on qualifying purchases at no extra cost to you.

AAwipes Lead Test Swab Kit, 60 Swabs
Swab kit for checking old paint on salvaged boards. Kits can be unreliable, so assume lead is present in old painted wood.
Shop Now
Zircon MultiScanner A200 Stud Finder
Finds studs and metal so shelves, pot racks and beams anchor into framing.
Shop Now
Kate Naturals Mineral Oil for Cutting Boards, 12 oz
A food-grade oil for serving trays and cutting boards. Reapply as the wood dries.
Shop NowReclaimed wood is easy to love and easy to get wrong. The boards look gorgeous, but they come with a history.
Old paint can hide lead. Hidden nails can wreck a saw blade. And a wood hood over a stove can turn into a fire risk if the clearances are off.
This guide covers nine kitchen projects with the prep, the finish and the safety checks that most photo galleries skip.
Answer 4 quick questions and get matched to the exact fix for your yard — drainage, budget, layout, or something else entirely.
Take the Free QuizQuick Answer
Prepare the wood before you plan the project. Test any painted board for lead, scan for hidden nails and set aside anything that smells of chemicals or oil.
Choose the finish by where the wood lives. Anything that touches food needs an oil finish that you can reapply, since a film finish can chip into a meal. Wall and shelf wood can take a tougher sealer.
Keep wood away from heat. Sources disagree on how much space a wood hood needs above a cooktop, with numbers from 24 to 36 inches. Follow your cooktop and hood manuals, and ask your local building official.
Use pallet wood with care. Look for the HT stamp and avoid MB stamps or unmarked pallets, especially near food.



When a board fails any check, move on. Good reclaimed wood is easy to find, and a rejected plank costs far less than a health or fire problem.
Most yard problems trace back to one specific, fixable cause. Find yours in 4 quick questions.
Take the Free QuizWhich Project Fits Your Skill?
Pick by risk and effort. This table sorts the nine builds below.
| Project | Time | Skill | Budget tier | Main risk |
|---|---|---|---|---|
| 1. Floating open shelves | One afternoon | Beginner | Low | Sagging if not anchored |
| 2. Hanging pot rack | One afternoon | Beginner | Low to mid | Weight on the ceiling |
| 3. Plank-clad island | One weekend | Intermediate | Mid | Moisture and wear |
| 4. Wood range hood cover | Two weekends | Advanced | Mid to high | Fire clearance |
| 5. Plank accent wall | One weekend | Beginner | Low to mid | Grease near the stove |
| 6. Serving tray | One evening | Beginner | Lowest | Food-contact finish |
| 7. EAT sign or letters | One evening | Beginner | Lowest | Pallet wood safety |
| 8. Faux box beams | One weekend | Intermediate | Mid | Weight and anchoring |
| 9. Spice ledge | One hour | Beginner | Lowest | Splash near the sink |
Prep First: Make Reclaimed Wood Safe to Use
Every project below starts here. Do these four checks before you cut a single board.
Check 1: Test for lead
Homes built before 1978 may have lead paint. Blogger Beth Bryan tested a salvaged piece with a swab kit by scraping through every paint layer and swabbing the exposed spot. Red means lead.
A commenter on her post who teaches lead-safe work practices says swab kits failed in class demonstrations and advises assuming lead is present.
Treat any painted old board that way. Wear gloves, eye protection and a dust mask, cut outdoors and wash up afterward. When in doubt, skip painted boards for kitchen use.
Check 2: Scan for hidden metal
Nails, staples and wire hide inside old boards. A handheld metal detector helps, but expect to find one the hard way anyway.
Pull what you find with a nail puller and mark the spots. Use a cheap blade for the first cuts.
Swab kit for checking old paint on salvaged boards. Kits can be unreliable, so assume lead is present in old painted wood.
Shop NowThis post contains affiliate links. We may earn a commission on qualifying purchases at no extra cost to you.
Check 3: Reject chemical or oily wood
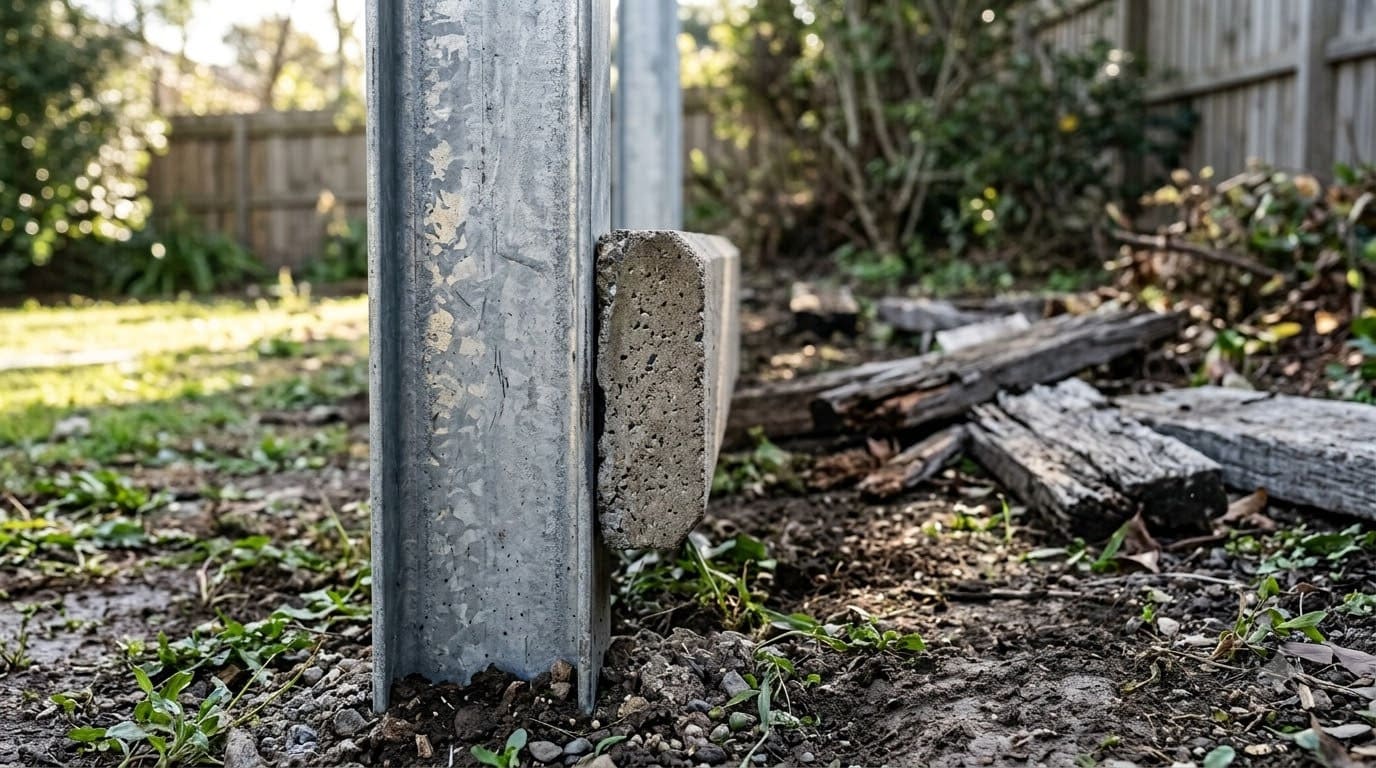
Skip any board that smells of fuel, creosote or oil when you cut it. Railroad ties and utility poles are never for indoor use. A board that’s unusually heavy may be wet, and one that’s unusually light may have internal rot.
Check 4: Read pallet stamps
Pallet wood is popular for kitchen signs and shelves. The stamp tells you how it was treated.
The average homeowner spends $616/year on yard fixes that don't address the real problem. Find out what yours actually is — before you spend another dollar.
Take the Free QuizMaat van Uitert, author of a book on sustainable chicken keeping, explains the codes. HT means heat treated, with the core held at 56 degrees Celsius for softwoods or 60 for hardwoods for 30 minutes. MB means methyl bromide, which she says to avoid, especially around food.
She also notes an unmarked pallet can’t be judged.
The 9 Best Reclaimed Wood Kitchen Projects
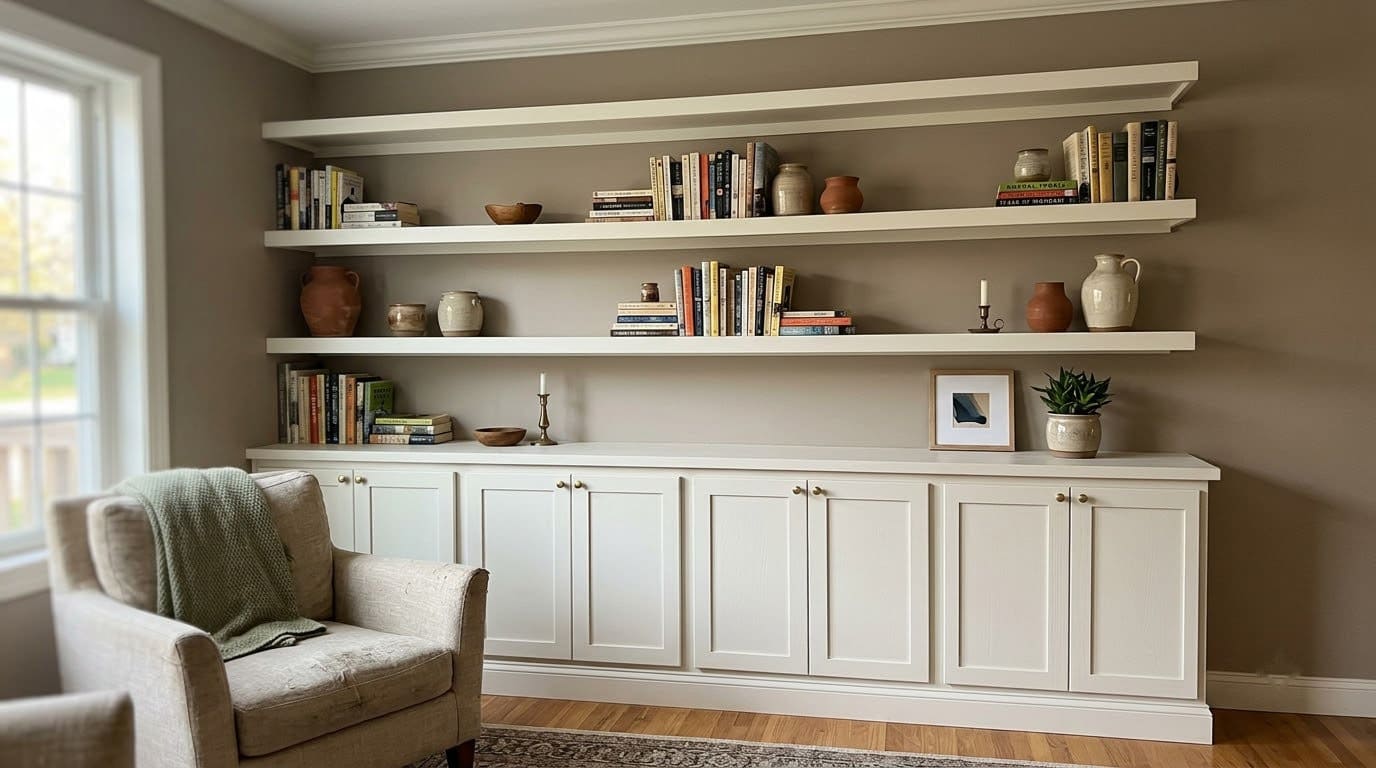
1. Floating Open Shelves
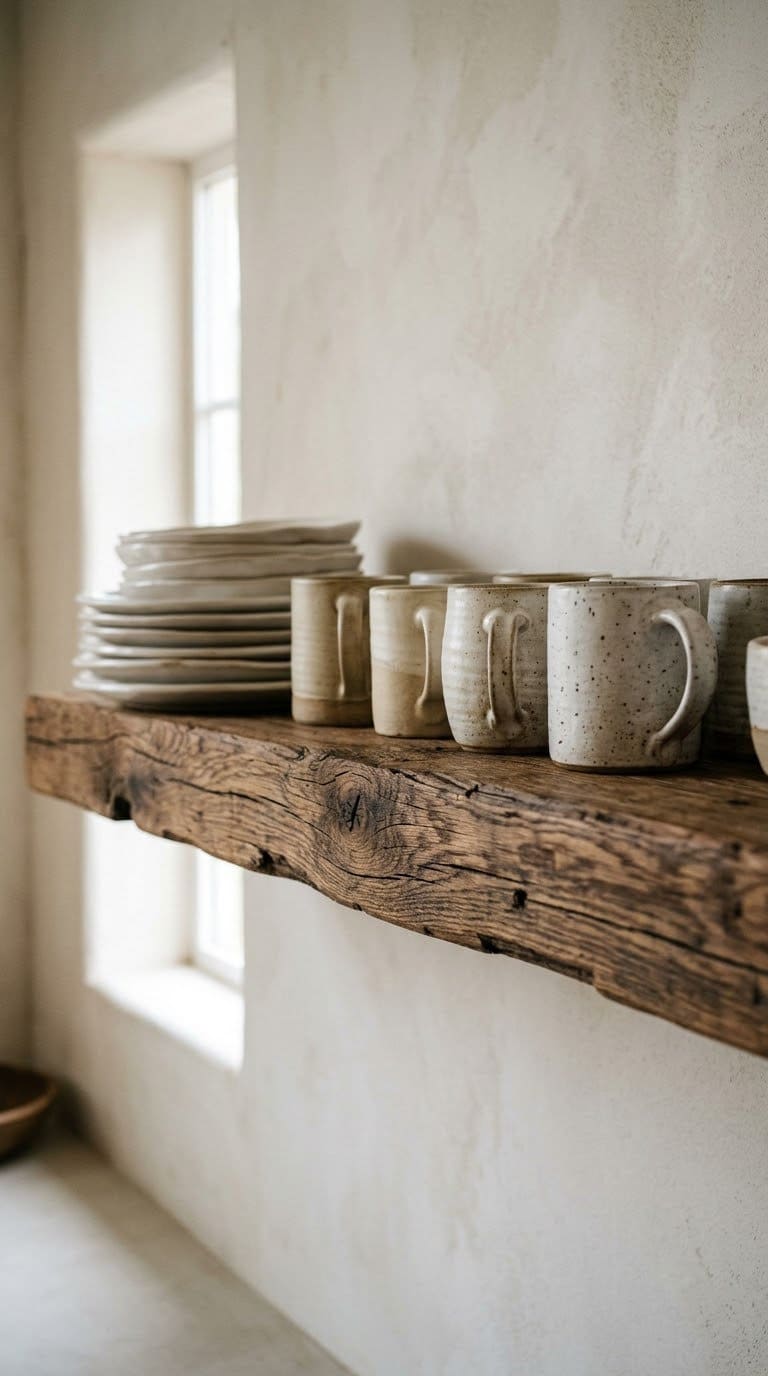
Open shelves are the easiest way to add reclaimed wood. They also show off your dishes.
Use a thick board so it doesn’t bow under a stack of plates. Our guideline is at least 1.5 inches thick for a shelf spanning a few feet, but heavier loads need thicker wood and closer brackets. Anchor brackets into studs, not drywall alone, and test with weight before you load it up.
Seal with a wipe-on polyurethane or a hardwax oil, since dishes won’t touch the wood directly. Keep shelves a safe distance from the stove, as grease settles on them fast. For more layouts, see the guide to pallet shelf ideas.
Quick tip: put your heaviest items on the lowest shelf and keep the top shelf for light pieces. If a shelf has a visible crack or a knot near the middle, flip it so the flaw faces up and glue a hidden brace underneath.


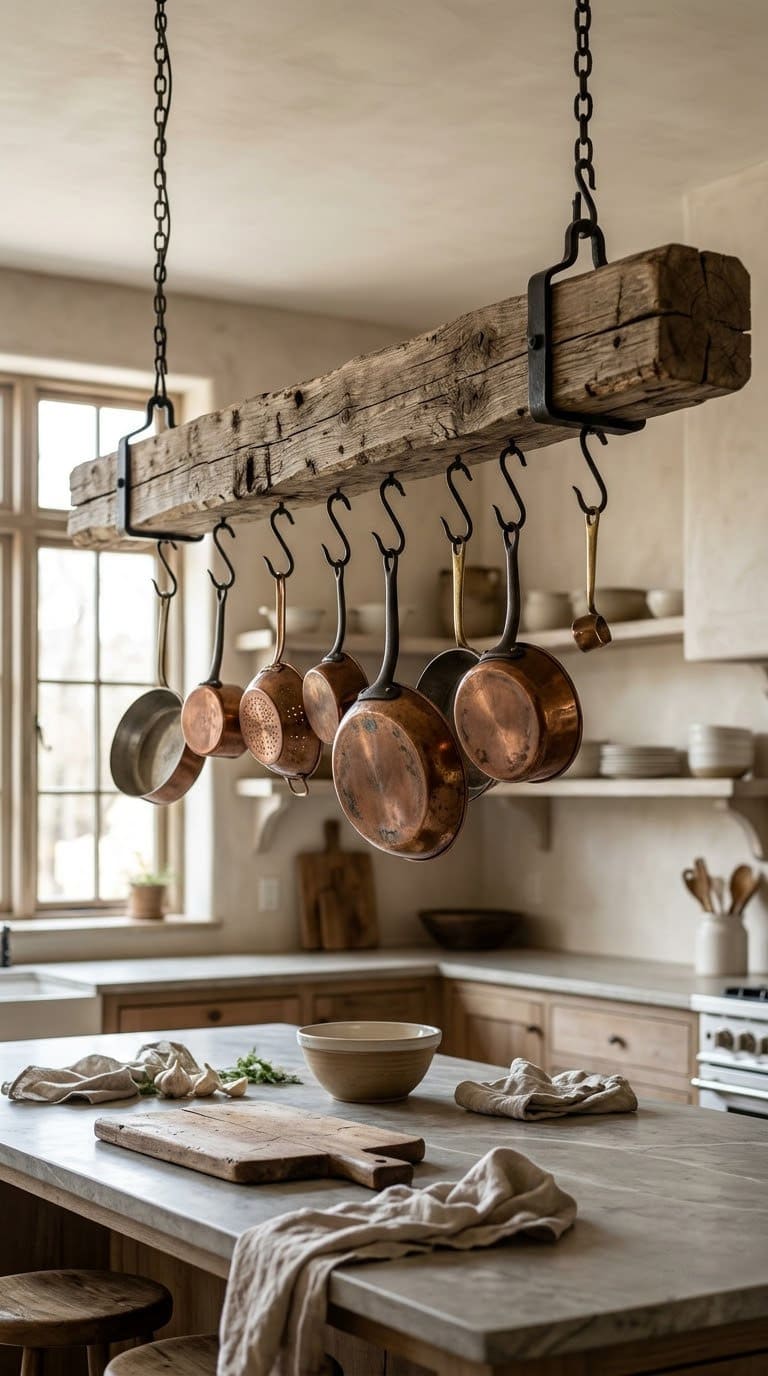
2. A Hanging Pot Rack
A rack made from a single beam and hooks puts heavy pans within reach. It also frees cabinet space.
Hang it from ceiling joists, not drywall. Cast iron is heavy, so plan for a load far above what you think you’ll use. Find the joists with a stud finder and use lag screws rated for the load.
Quick tip: weigh your heaviest pans on a bathroom scale before you plan the hook count. Add the weights up, then pick hardware rated well above the total. Hang the rack a little higher than eye level so you don’t bump your head.
Space the hooks so pans don’t bang together. Keep the rack away from the stove’s direct heat and grease plume.
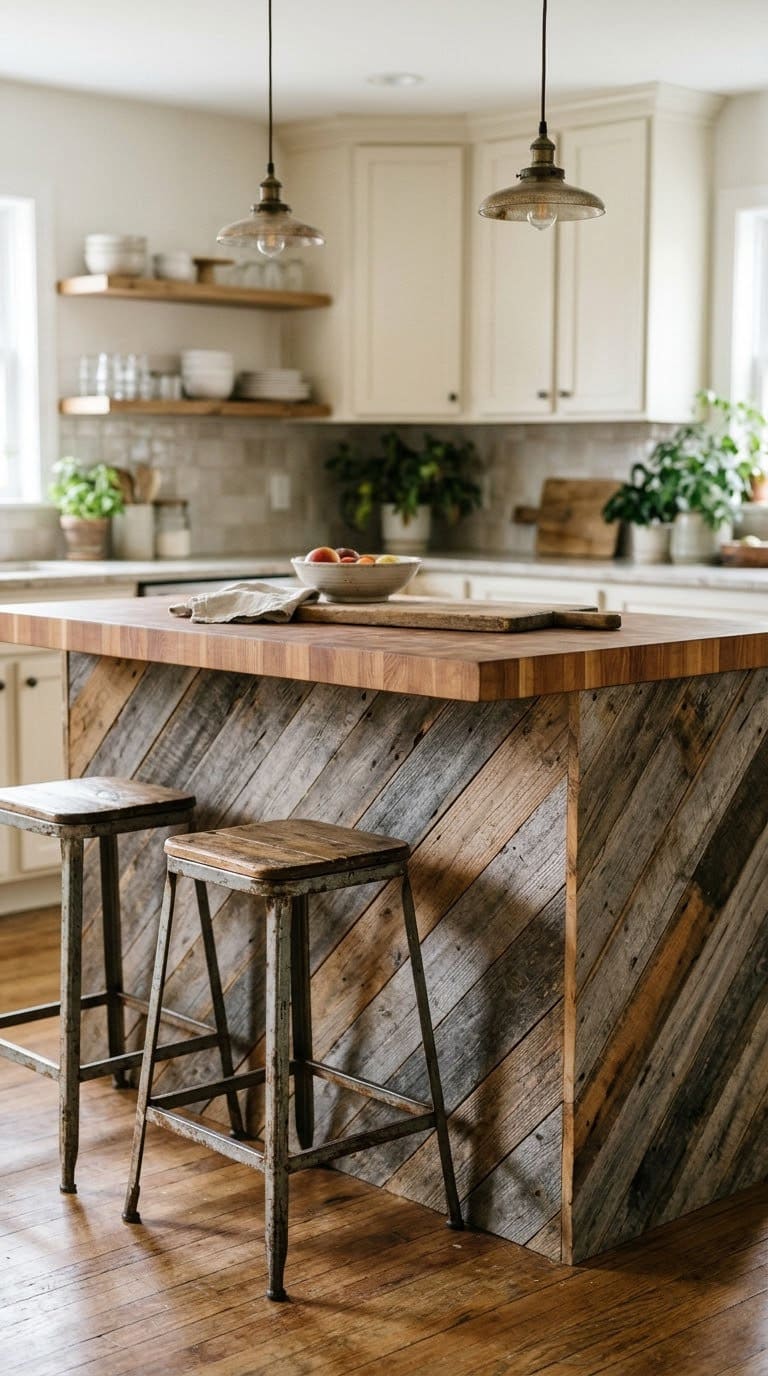
3. A Plank-Clad Kitchen Island
You can wrap an existing island in reclaimed boards without building a new one. A diagonal pattern adds energy.
Attach thin planks to a plywood skin with construction adhesive and finish nails. Cut each end at the same angle and dry-fit a row before you glue. Seal the lower edges well, since mops and spills hit them.
Quick tip: leave a small gap between the planks and the floor, then cover it with a trim piece. That keeps mop water from wicking up into the end grain, which is where wood drinks most.
Wood on the sides of an island rarely touches food, so a tough sealer works. For the top, use a separate food-safe surface. Browse rustic DIY kitchen island ideas for shapes and sizes.
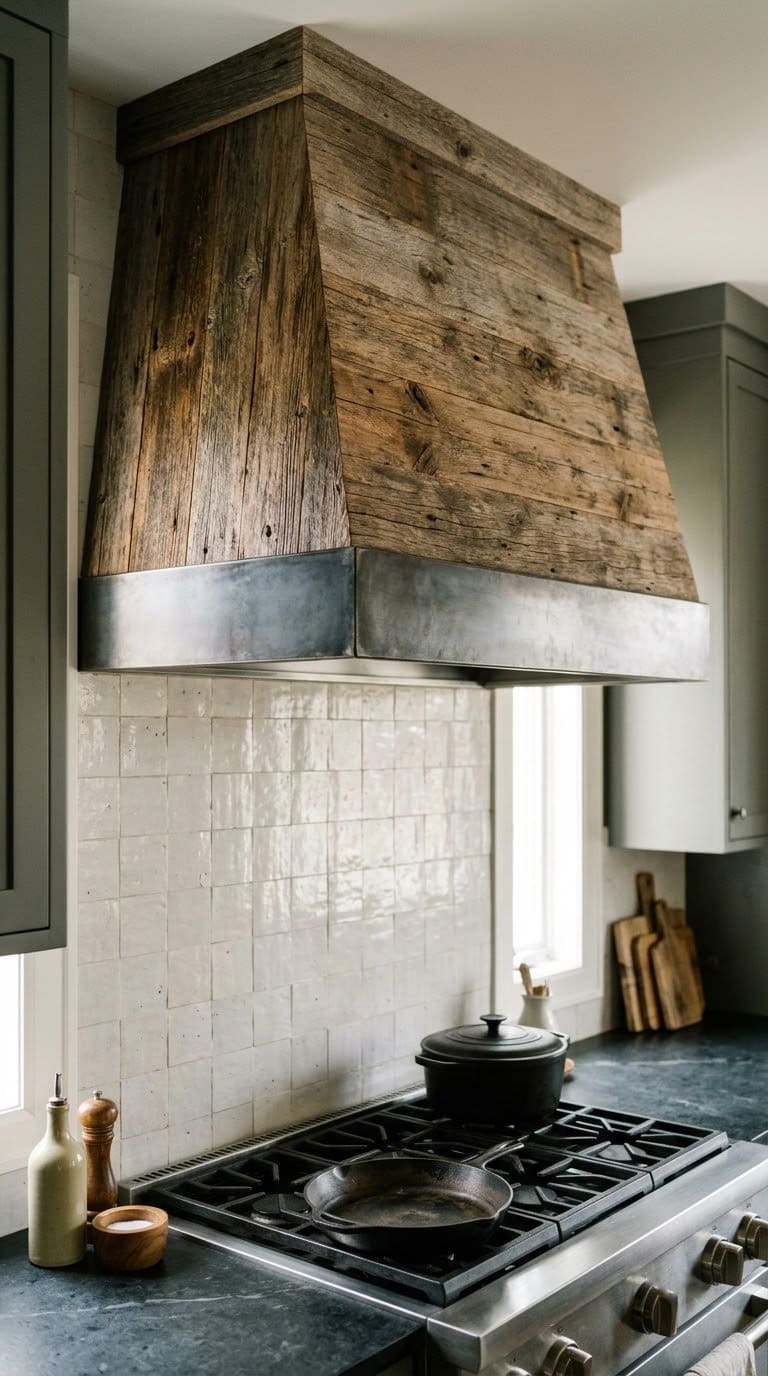
4. A Wood Range Hood Cover
This is the showpiece, and it’s the project with the most risk. A wood shell over a hood only works with a proper insert and enough clearance.
Sources disagree on the distance. This table shows the range.
| Source | Number |
|---|---|
| Fire code, per forum posts | 30 inches to combustible surfaces |
| Liner makers for wood enclosures | 27 inches in one forum report, 36 inches in a manual cited in search |
| Wood hood rule of thumb | 24 inches with a metal bottom, one unverified post |
| High-output gas ranges | Up to 36 inches, one forum post |
A WoodWeb thread shows how mixed this gets, including the story of a wooden enclosure that caught fire after a pan overheated. The posters note that range specs take precedence over liner specs.
Don’t guess.
Read your cooktop manual and your hood or liner manual, then ask your local building official which number applies. Line the inside with metal, and consider hiring a pro.
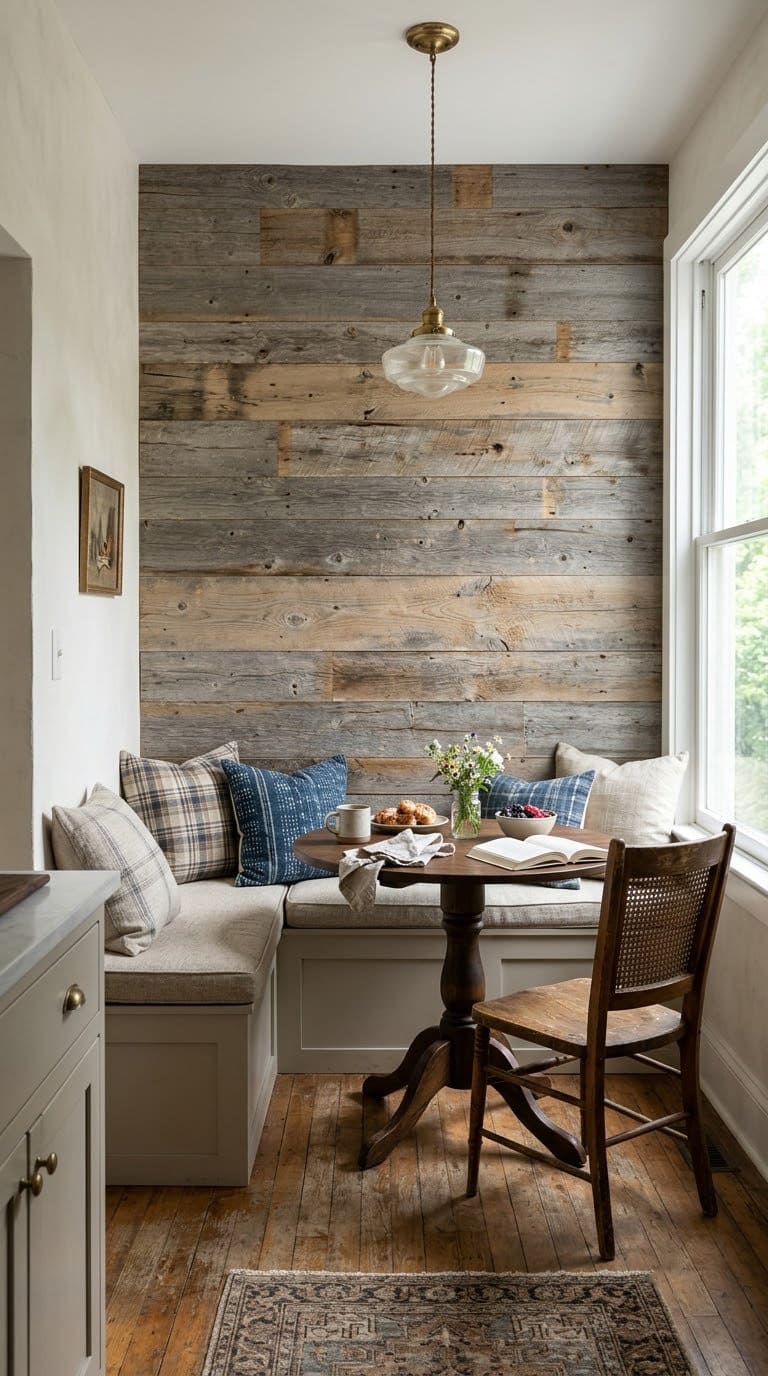
5. A Plank Accent Wall
A plank wall can warm up a breakfast nook or a dining wall. Keep it out of the splash zone.
Let the boards sit in the room for about a week before you install them, so they adjust to the air. That’s our rule of thumb. Start from the bottom, check level on the first row and use a nail gun into studs.
Quick tip: mix boards from several bundles as you go, so dark and light planks spread evenly across the wall. Stagger the joints by at least a foot or so, our own guideline, so the seams don’t line up in a stripe.
Grease clings to bare wood near the stove. Seal the boards, and keep the wall away from the cooking area. For a nearby backsplash, see farmhouse kitchen backsplash ideas.
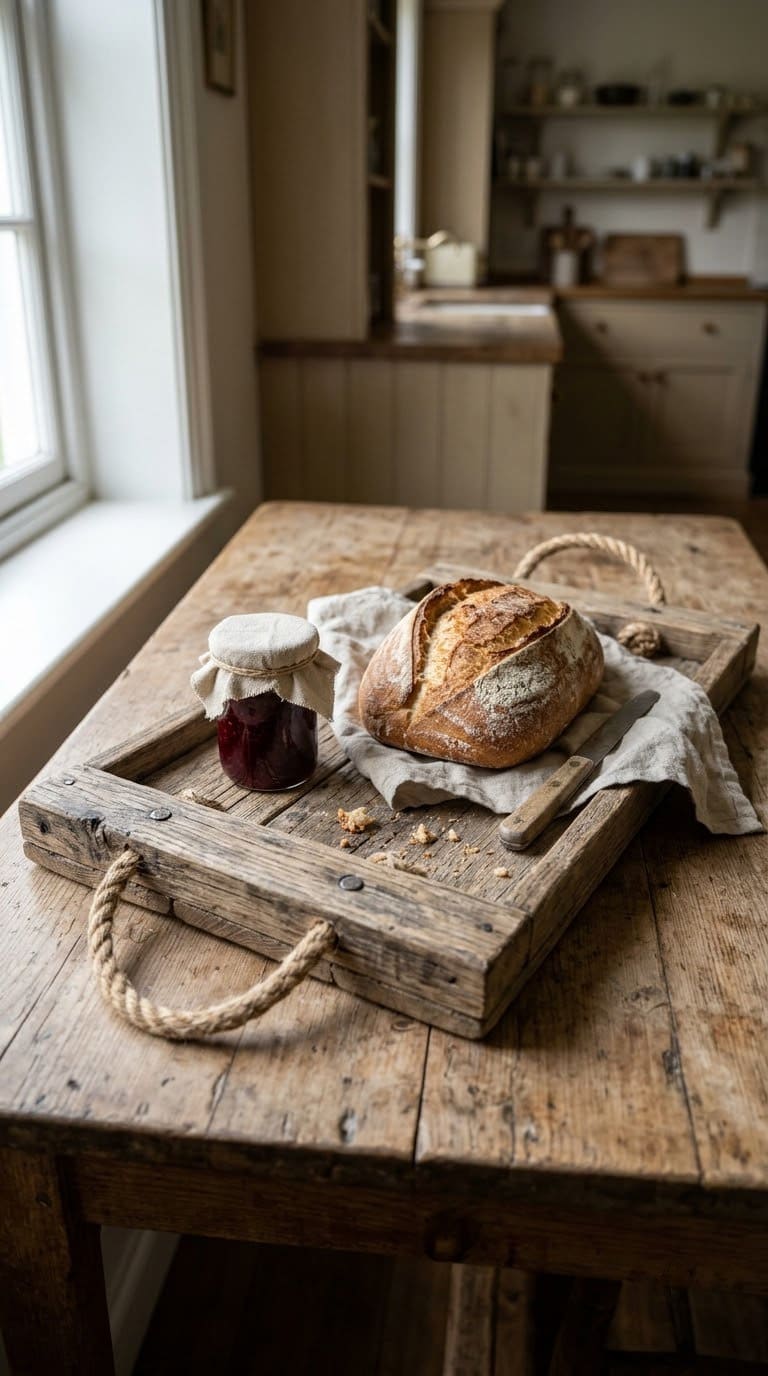
6. A Reclaimed Wood Serving Tray
A tray is the safest first project. It’s small, cheap and the finish is simple.
Cut two end handles and a base from clean, dry wood. Sand through several grits until it feels smooth. Skip pallet wood and painted boards for anything that touches food.
Use a finish you can reapply.
Retail guides note a film finish can flake off and be eaten, so oils such as mineral oil are the usual choice for cutting boards. They need to be reapplied often.
Check your product’s label for food-contact claims.
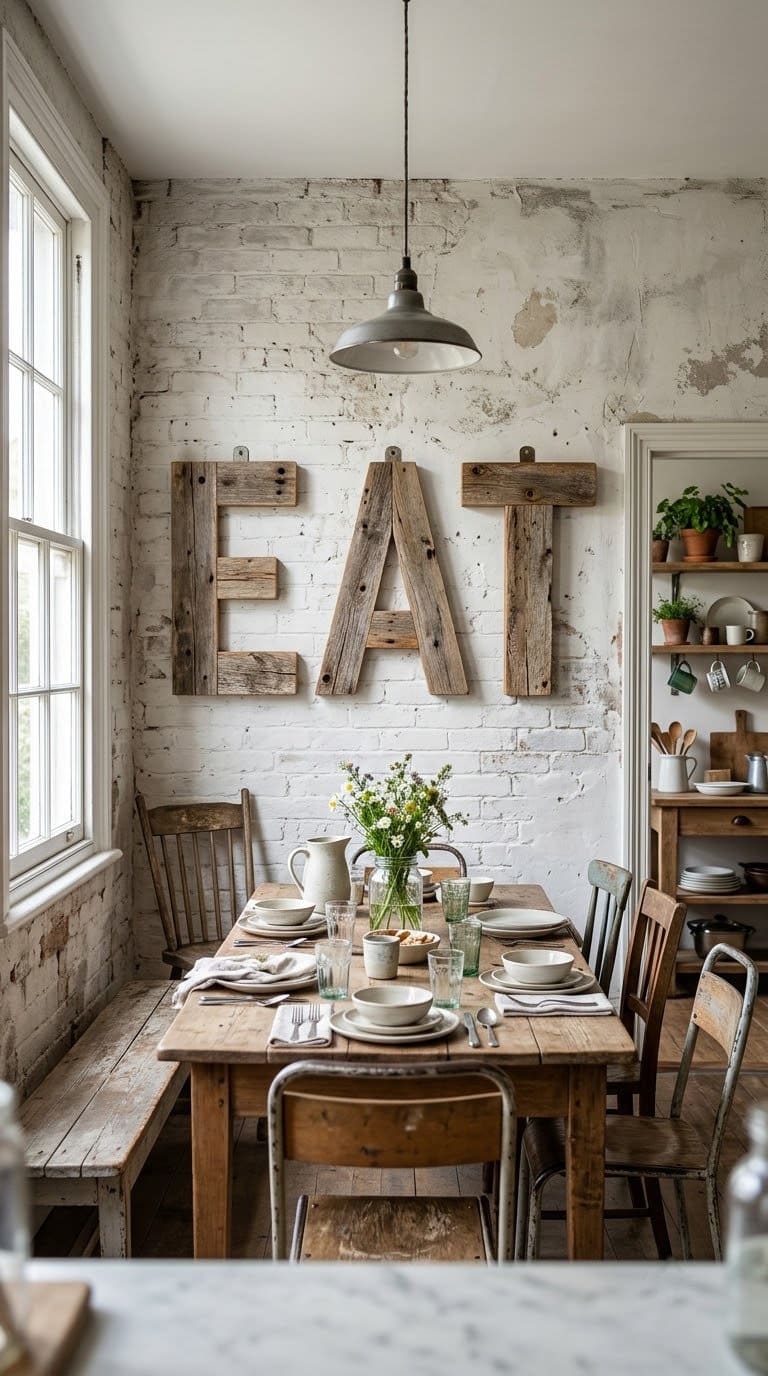
7. An EAT Sign or Wood Letters
Letters spell a message in a way that looks homemade. They’re a good use for scrap pallet boards.
Check the pallet stamp first. Use HT-stamped wood only. Cut the boards, cut the letters with a jigsaw and sand the edges.
Paint or stain the letters, then hang them on the wall. See more ideas in the guide to DIY pallet sign ideas.
8. Faux Box Beams
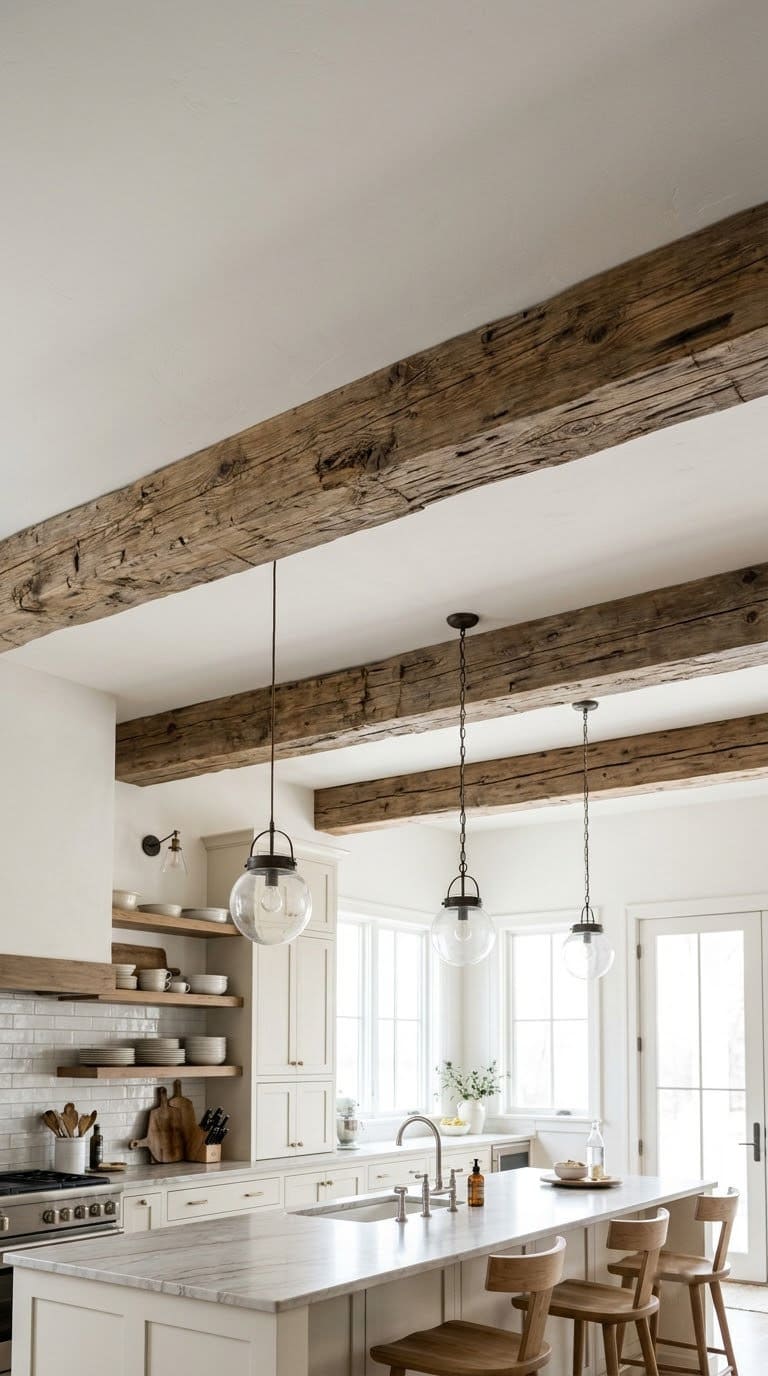
A box beam adds architecture without the weight of a real timber. You build a three-sided shell and fix it to the ceiling.
Use thin reclaimed boards for the sides and a lightweight frame inside. Screw the frame into ceiling joists, then attach the boards. Keep beams away from the stove and its grease plume.
Quick tip: build one short test beam on the floor first. It shows you how the boards meet at the corners and how heavy the finished piece is before you lift it.
A beam can also hold pendant lights. See pendant light designs for white and wood kitchens for pairings.
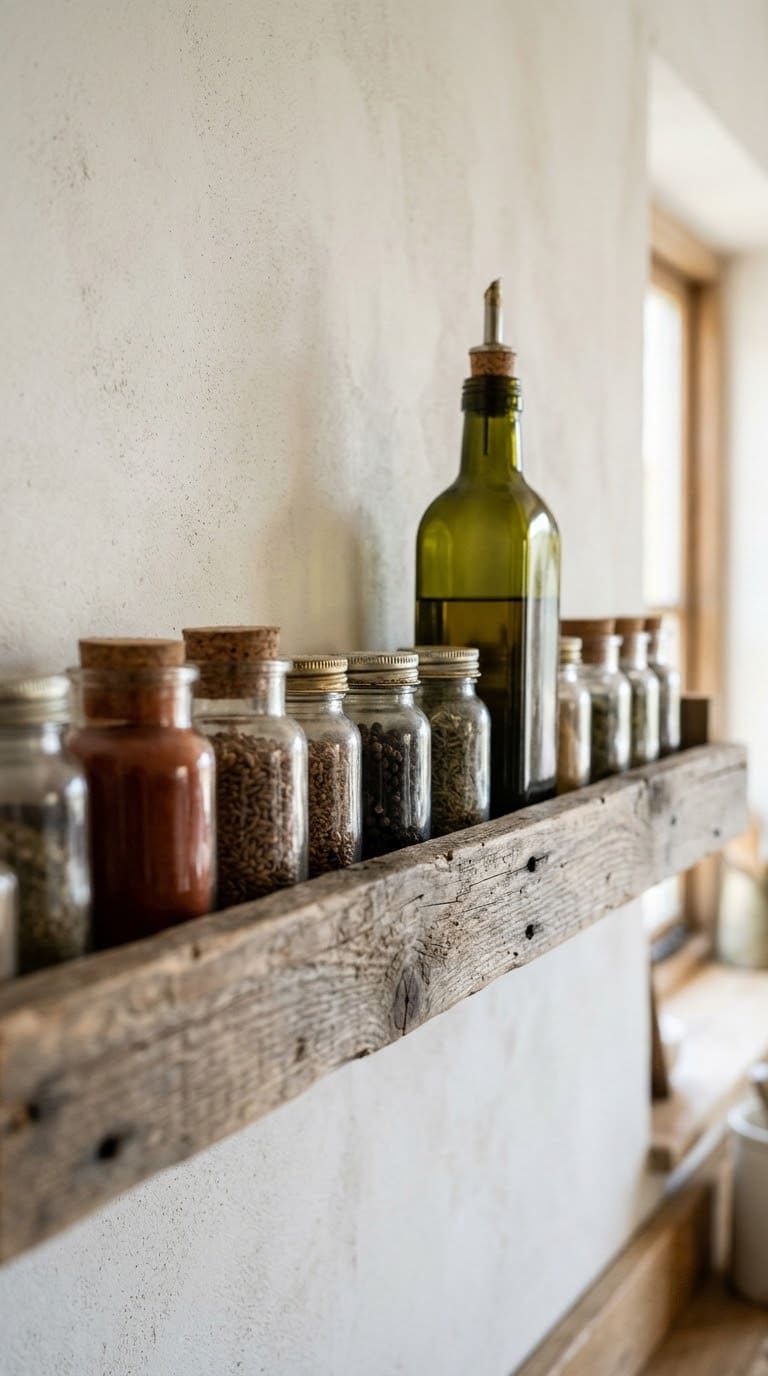
9. A Spice Ledge
A narrow ledge keeps oils and spices within reach of the cooktop. It’s quick and cheap.
Use a thin plank with a lip so jars don’t slide off. Mount it where steam and splatter will hit it, so seal the wood well. Keep it off the area right above the burners.
Wipe it after each cooking session. Grease and steam darken unsealed wood fast.
Quick tip: space the lip so your tallest bottle fits behind it with room to spare. Sand the lip’s top edge round so jars slide on and off without catching.
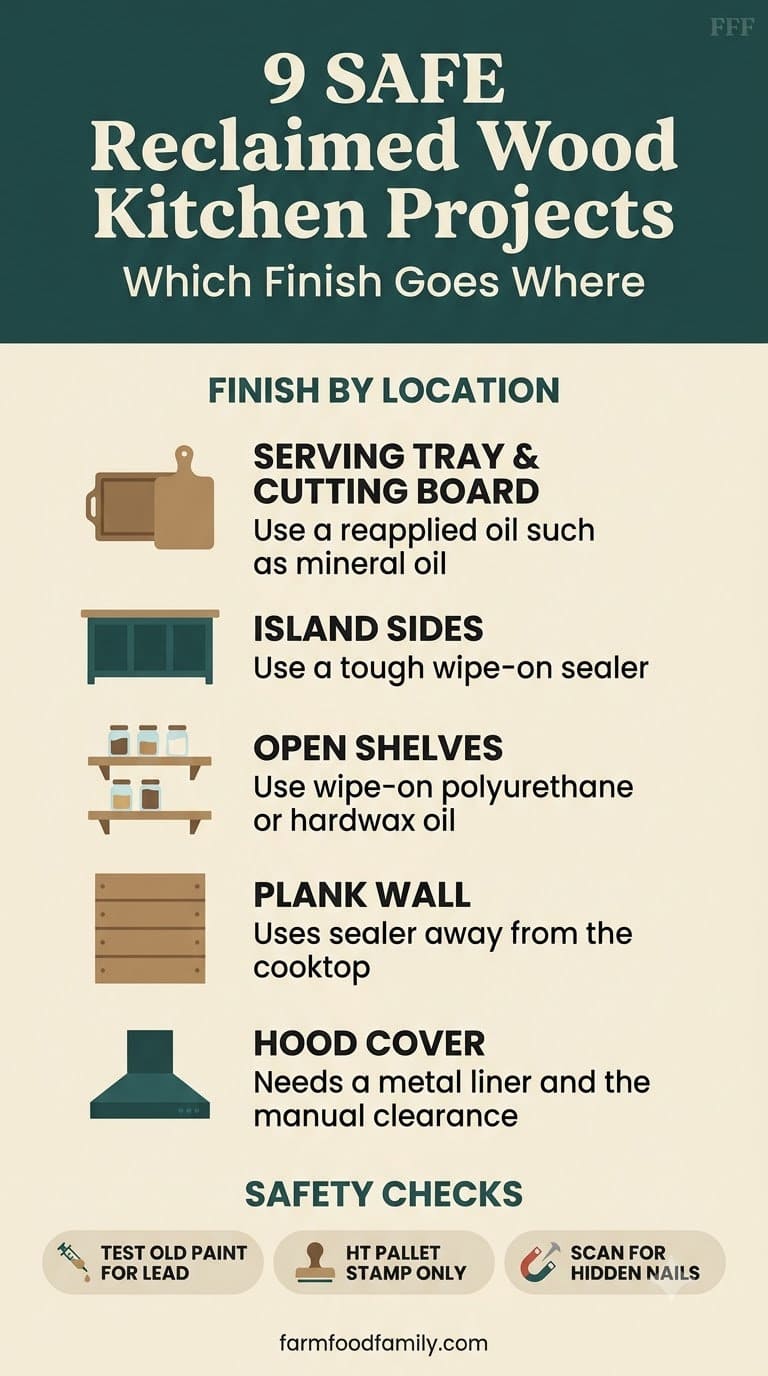
Which Finish Goes Where?
Match the finish to what touches the wood. This table pulls the advice together.
| Location | Contact | Finish approach |
|---|---|---|
| Serving tray, cutting board | Direct food contact | Reapplied oil such as mineral oil, check the label |
| Island side panels | Hands, mops, bumps | Tough wipe-on sealer |
| Open shelves | Dishes, grease | Wipe-on polyurethane or hardwax oil |
| Plank wall | Splatter and steam | Sealer, kept away from the cooktop |
| Hood cover | Heat | Metal liner inside, follow the manual |
Two cautions apply to all of them. Check each product label for its use and cure time. And sand lightly between coats, because a rough surface traps grease.
What to Ask the Seller
Buying from a salvage yard? A few questions save a lot of trouble.
Ask where the wood came from and how old the building was. Ask whether any faces were painted or stained, and whether it was stored outdoors. Ask if the yard has removed the nails, since many do not.
If the seller can’t answer, treat the boards as unknown. Test the paint, scan for metal and keep the wood away from food contact.
Quick Tips Before You Start
These small habits keep the work safe and clean.
Cut outdoors. Dust from old wood can spread through your house. Beth Bryan advises cutting outside when lead is a concern, and washing clothes and hands afterward.
Mark the studs first. Draw the stud lines on the wall before you hang shelves, beams or a plank wall. It saves you from drilling the same wall twice.
Dry-fit everything. Lay out planks on the floor before you glue or nail. Old boards vary in thickness, so you’ll need to match them.
Plan the order. Do the dusty work first, then seal, then hang. Finish the oil and wax last, so dust doesn’t stick.
Common Mistakes to Avoid
Most reclaimed wood problems start with a skipped check.
Skipping the lead test. Old paint can hide lead, and sanding spreads the dust.
Using pallet wood without reading the stamp. MB-marked and unmarked pallets aren’t safe for food areas.
Putting wood too close to the stove. Wood hoods and shelves need clearance and a metal liner.
Using a film finish where food touches. A film can flake. Use a reapplied oil.
Skipping the stud finder. Heavy shelves and racks need real framing behind them.
Where to Find Reclaimed Wood
Salvage yards, building deconstruction sales and online marketplaces all sell reclaimed boards. Ask where the wood came from and when. A barn from 1900 is a different story than a 1970s house.
Ask whether it has painted faces. Buy a little extra and check every board before you cut.
Also ask about the delivery length. Long beams and shelf boards are awkward to move, and a short board you can lift alone is easier to test, cut and carry into the kitchen.
FAQ
Is reclaimed wood safe for kitchens?
It can be, after checks. Test painted boards for lead, remove nails and reject boards with chemical smells.
What finish is food safe on reclaimed wood?
Mineral oil and similar oils are the usual pick for cutting boards and trays. Retail guides warn that film finishes can flake. Always check the label.
How far should a wood range hood be from the stove?
It depends. Sources range from 24 to 36 inches, so follow your cooktop and hood manuals and ask your building official.
Can I use pallet wood in the kitchen?
Only HT-stamped pallets, and avoid them for anything that touches food.
How do I test reclaimed wood for lead?
Scrape through all paint layers and use a swab kit. Kits can be unreliable, so assume lead is present in old painted wood.
Related Posts
Never miss an update — choose FarmFoodFamily as your preferred source on Google.
How it works: Tap the button below to open Google's settings page, then check the box next to FarmFoodFamily.
Tap the checkbox to turn it blue — that's how you know it's set.