If Your Backyard Is Narrower Than It Is Long, These 5 Zoning Tricks Change Everything
A backyard that’s narrower than it is long doesn’t need more width, it needs to stop reading as one long stretch, and zoning is the fastest way to do that.

Never miss an update — choose FarmFoodFamily as your preferred source on Google.
How it works: Tap the button below to open Google’s settings page, then check the box next to FarmFoodFamily.
Tap the checkbox to turn it blue — that’s how you know it’s set.
If your backyard is noticeably longer than it is wide, you’ve probably tried the usual narrow-yard fixes: a curved path, diagonal paving, taller plants along the fence. Those help. But there’s a separate problem for yards that are long as well as narrow. None of those general tricks solve it on their own.
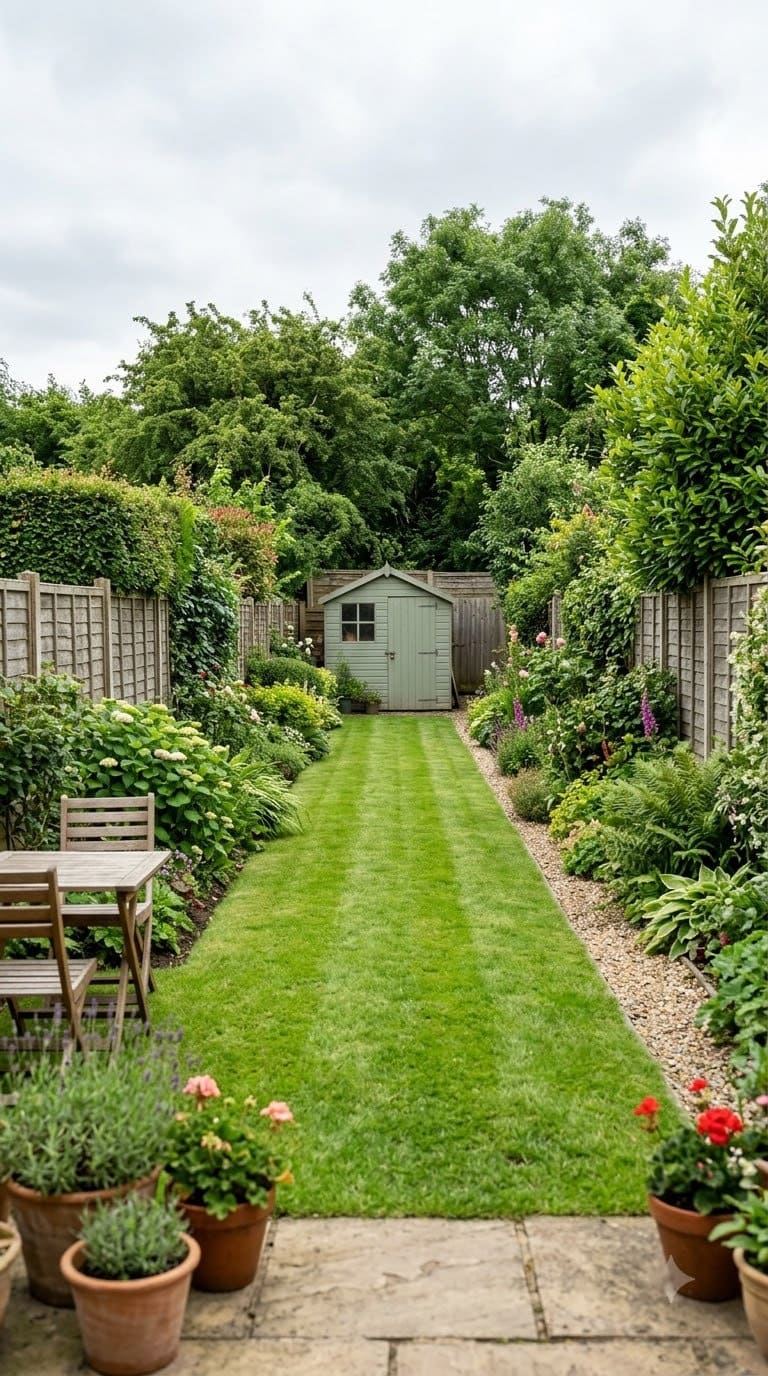
The problem is the whole yard reads as one continuous stretch. Zoning, dividing the length into distinct sections with their own purpose, is the move that actually breaks that up. This isn’t the same as the general narrow-yard advice covered elsewhere. It’s specifically about what to do with the extra length once the width is already tight.
That distinction matters because most narrow-yard advice assumes the yard is short enough to take in at a glance. A 12-foot-wide, 25-foot-long yard and a 12-foot-wide, 70-foot-long yard have the same width problem, but only the second one has enough length to actually divide into separate rooms. If your yard is genuinely long, not just narrow, zoning is the lever that does the most work, more than any single material choice or plant selection ever will.
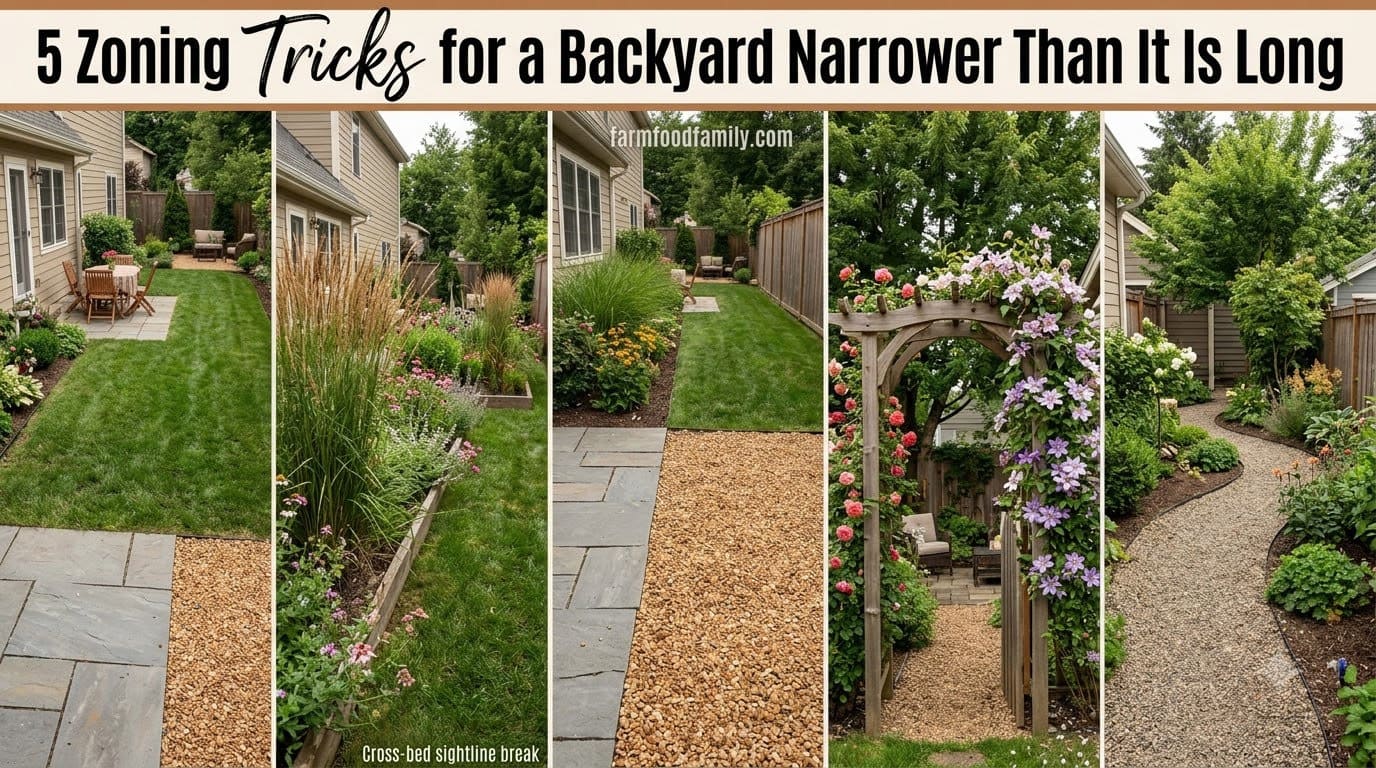
Quick Answer: A backyard that’s narrower than it is long needs to be divided into distinct zones, not just decorated along its length. Five tricks make this work. Split the yard into 3 zones sized by how they’ll actually be used, not equal thirds. Break the sightline with wide cross-beds instead of solid walls. Mark every zone change with a material shift, paving to gravel to decking, instead of a hard divider that eats into scarce width. Add one “compression and release” threshold, a narrowed passage like an arbor, gate, or flanking containers, before each zone opens up. And route the path off-center with at least one deliberate turn instead of straight down the middle. Garden designers Edmund Jackson and Amy Martin both build their real long-narrow-garden layouts around these same zoning principles.
At a Glance: The 5 Zoning Tricks
| # | Trick | What It Does |
|---|---|---|
| 1 | Size zones by use, not equal thirds | Gives each section a real purpose instead of an arbitrary chunk of length |
| 2 | Break sightlines with wide cross-beds | Stops the eye from reading the full length in one glance |
| 3 | Mark zone changes with material, not walls | Signals a new “room” without closing off the sightline entirely |
| 4 | Add a compression-and-release threshold | Builds anticipation before each zone opens up |
| 5 | Route the path off-center with a turn | Slows the pace of movement instead of rushing straight through |
Trick #1: Size Zones by Use, Not Equal Thirds
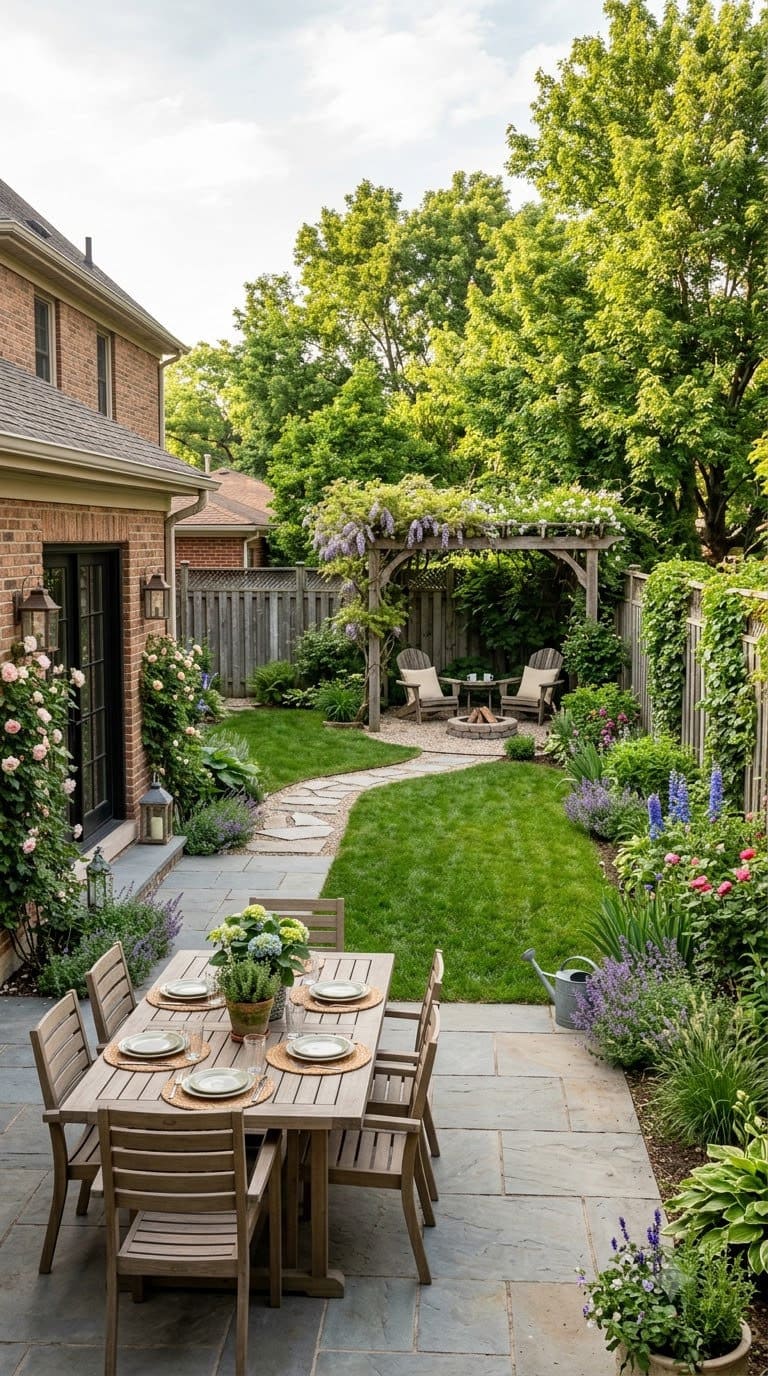
The instinct when zoning a long yard is to divide it into equal sections, three even thirds, evenly spaced. That’s the wrong starting point. A zone’s size should match how often and how it’s actually used, not how neatly it divides the total length.

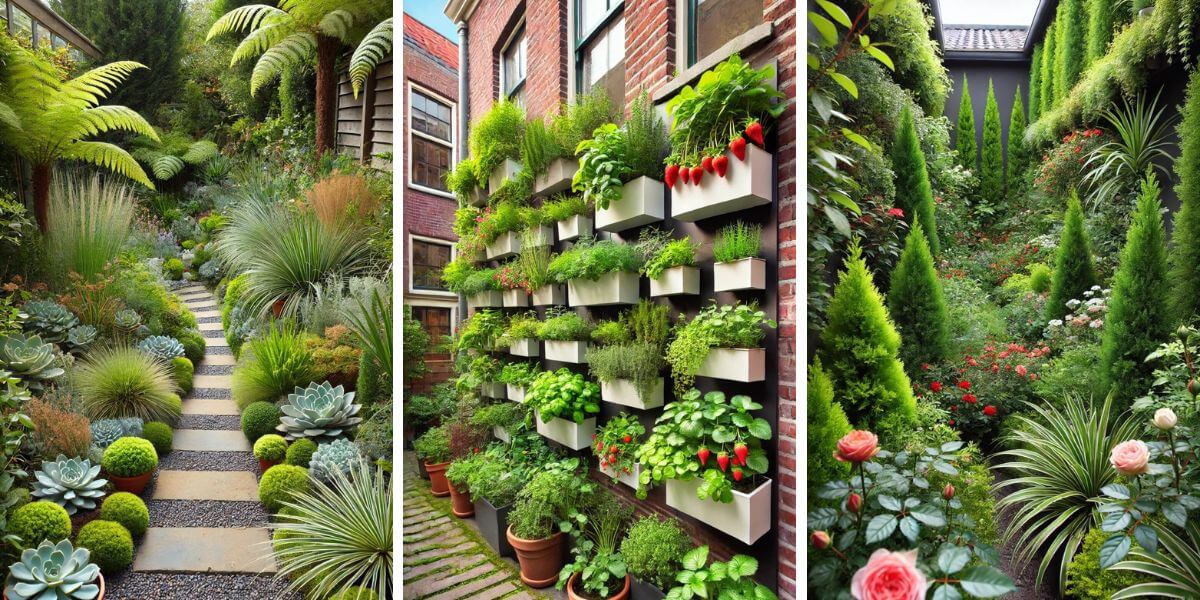
The most common real-world pattern has three parts. A near-house zone for daily use: dining, quick access. A middle transition area, which can be as simple as open lawn. And a destination zone at the far end for whatever gets used less often but matters more when it does: a fire pit, a quiet seating spot, a vegetable garden. The near-house zone usually deserves the most square footage, since it gets used the most. Not an equal third.
Answer 4 quick questions and get matched to the exact fix for your yard — drainage, budget, layout, or something else entirely.
Take the Free QuizQuick tip: Before you draw anything, track how you actually use the space for two weeks. Note where you sit for coffee, where the kids play, where the dog goes first. That real pattern, not a tape measure divided by three, is what should decide each zone’s size. Most people are surprised how lopsided the real numbers are, often 50% near-house use, 30% destination, and just 20% in between.
Trick #2: Break Sightlines With Wide Cross-Beds, Not Walls
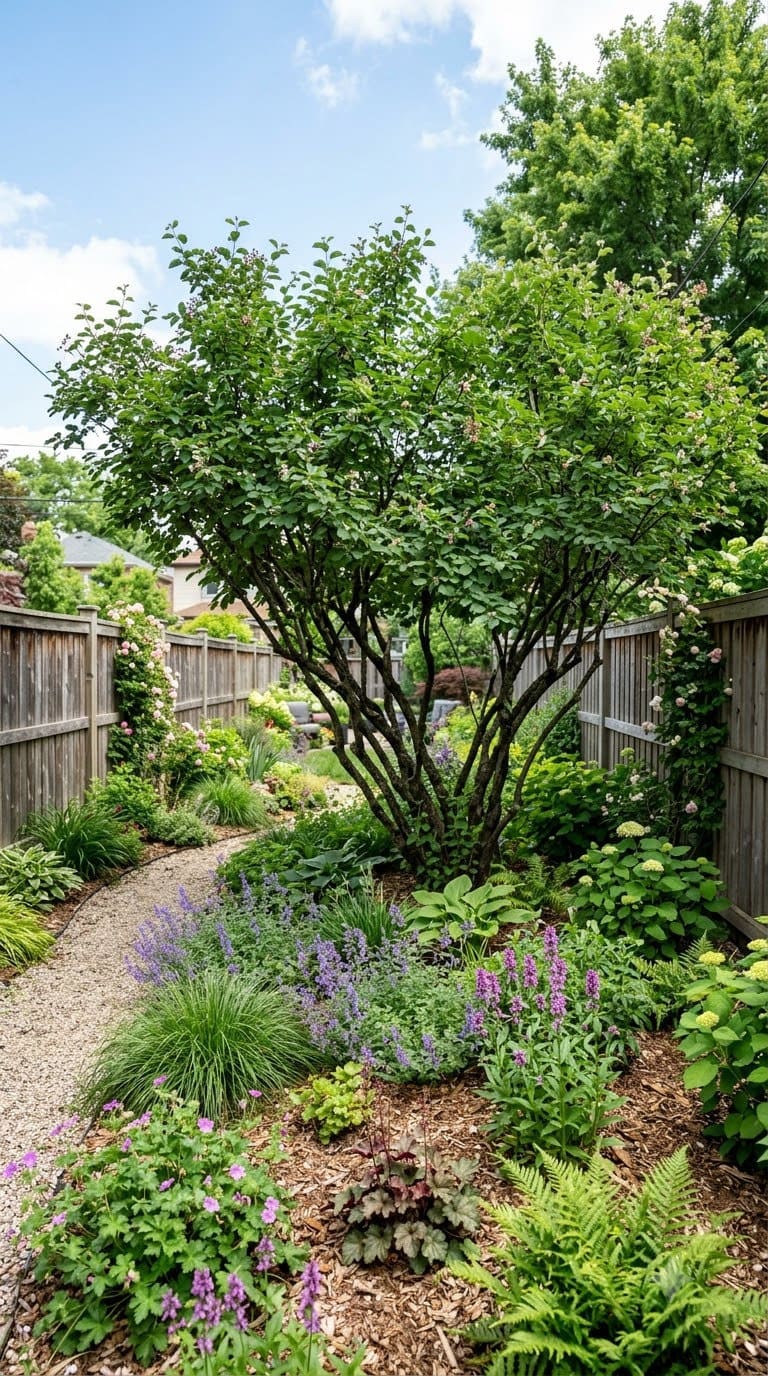
A solid divider, a wall, a tall fence panel, between zones in an already-narrow yard makes each section feel smaller than the same space undivided. But leaving the whole sightline open all the way to the back fence brings back the exact problem zoning is supposed to fix: seeing the whole yard in one glance.
The middle ground is a wide bed, planted with one or two specimen plants, crossing most (not all) of the yard’s width at a zone boundary. It interrupts the view down the length without fully blocking it. You get a hint of what’s beyond the bed, instead of a dead end or a wide-open runway.
Quick tip: Leave a real gap, not a token one, on at least one side of the bed. Two to three feet of open sightline past the planting is usually enough to keep the hint-of-more-beyond effect without turning the bed into an accidental wall. If you close the whole width, you’ve just rebuilt the “solid divider” problem with plants instead of lumber.
Trick #3: Mark Zone Changes With Material, Not Walls
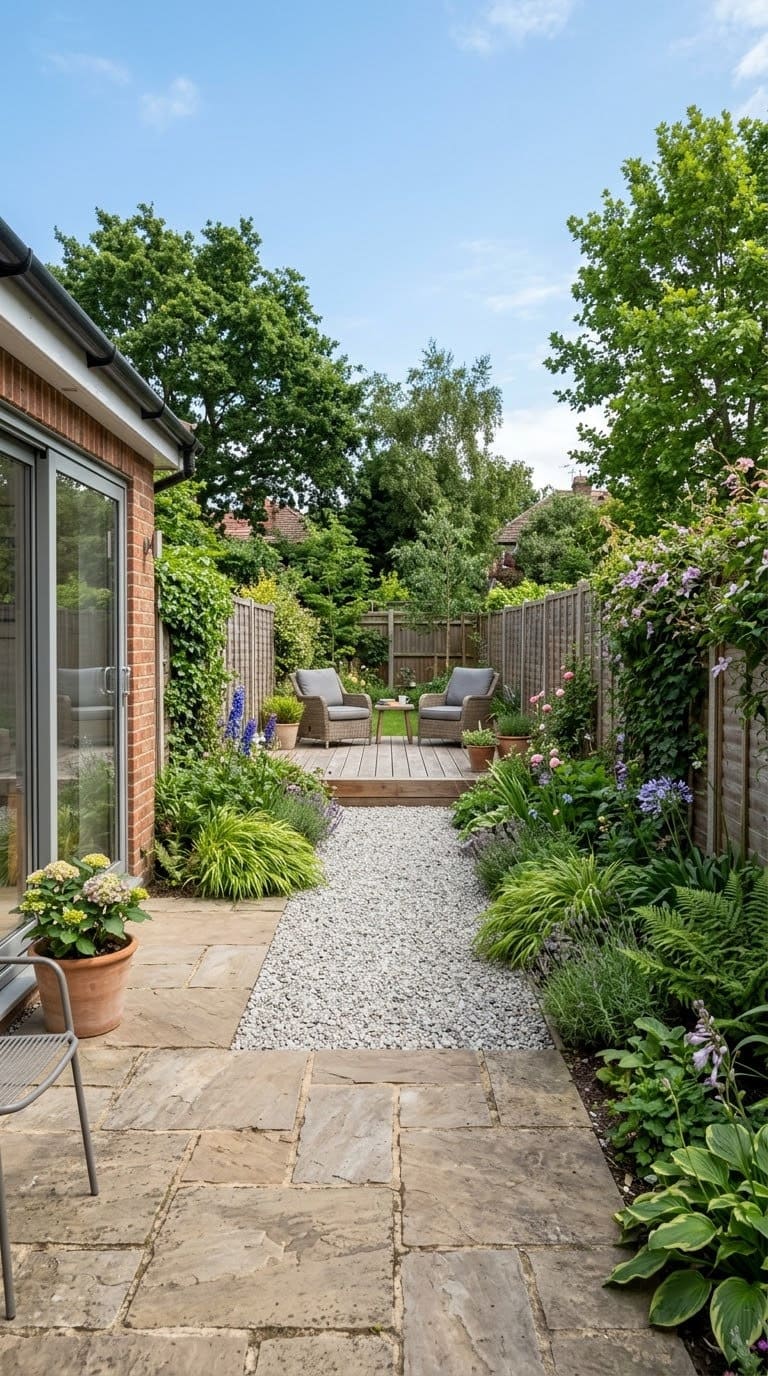
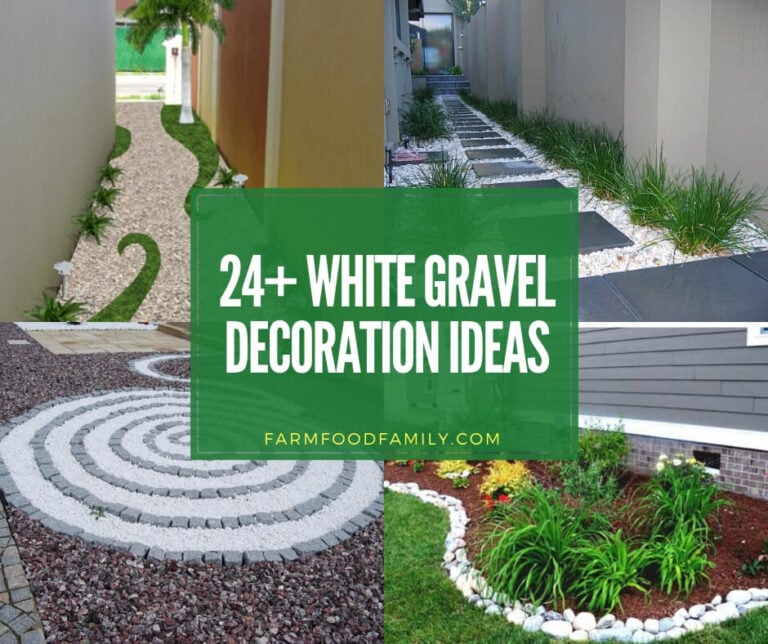
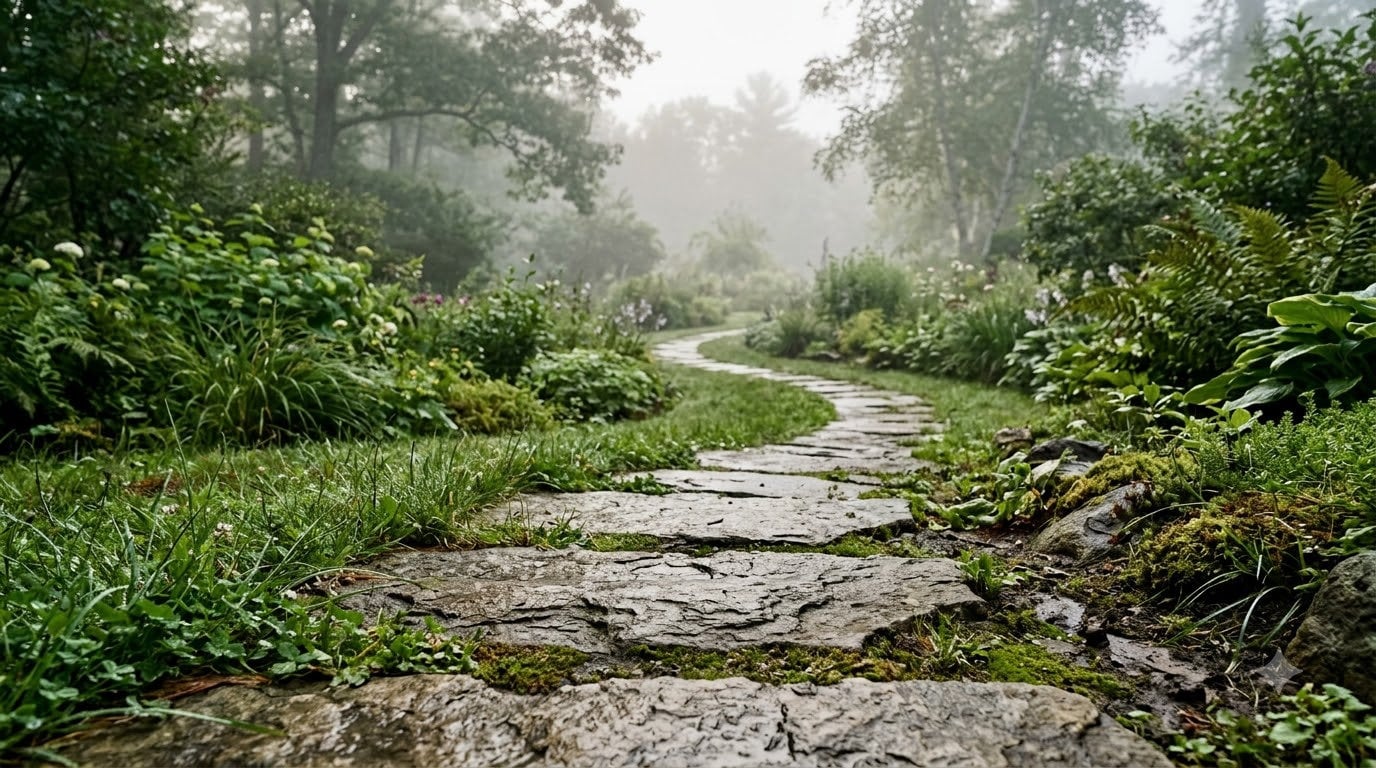
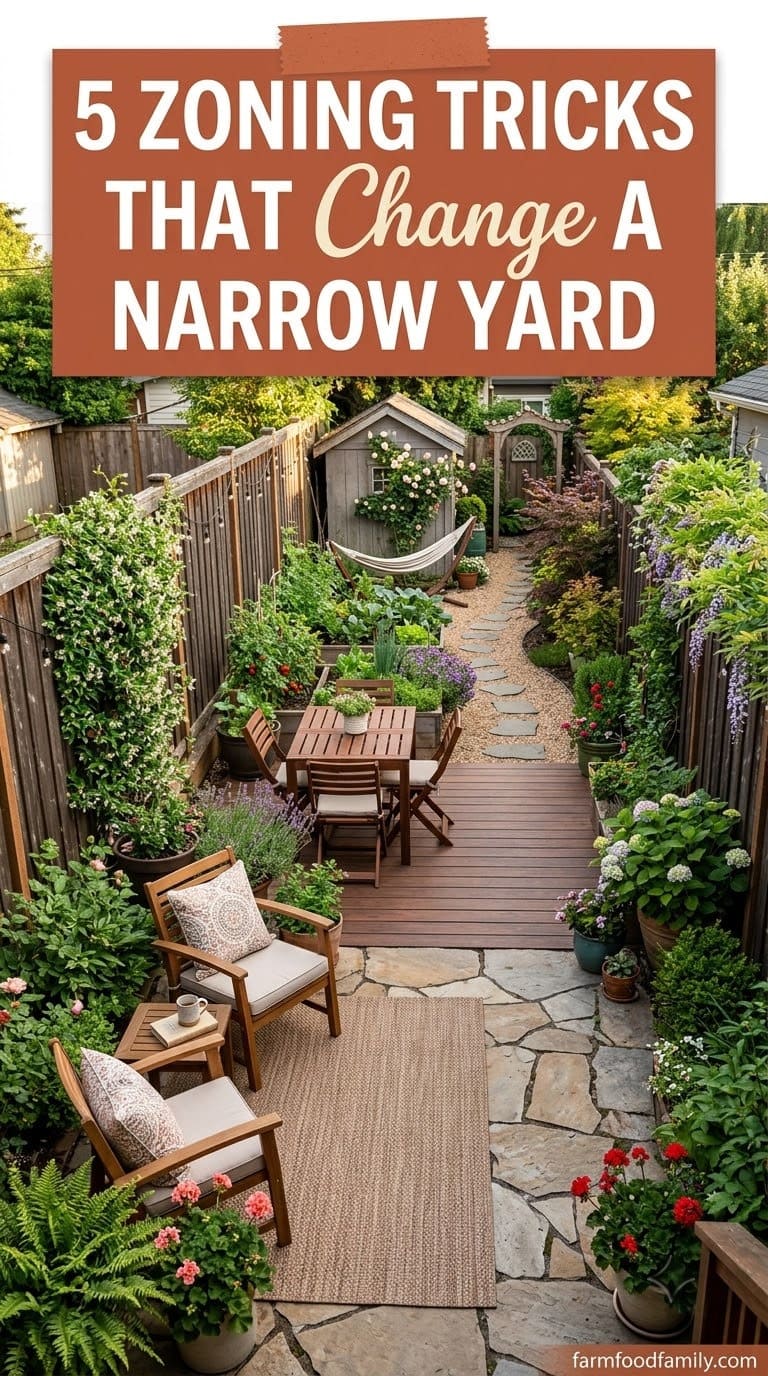
Boston designer Amy Martin uses planting-bed breaks and surface changes to interrupt a path’s route toward a destination feature, instead of relying on structures. The same logic scales to full zone transitions. Shift from stone paving near the house, to gravel through the middle, to timber decking at the far destination. Each material change reads as “you’ve entered a new part of the yard,” without a single wall going up.
This also solves a problem specific to narrow yards: any hard divider eats into width you don’t have to spare. A material change costs zero inches of clearance.
Quick tip: Keep the transition line straight and perpendicular to the yard’s length, not angled or wavy, so it reads as a deliberate boundary rather than an unfinished edge where two materials happened to meet. A simple steel or plastic edging strip buried flush with both surfaces keeps gravel from migrating onto pavers and keeps the line crisp for years instead of blurring within a season.
Most yard problems trace back to one specific, fixable cause. Find yours in 4 quick questions.
Take the Free Quiz
Directly solves Trick #4 (compression-and-release threshold between zones)
Shop NowThis post contains affiliate links. We may earn a commission on qualifying purchases at no extra cost to you.
Trick #4: Add a Compression-and-Release Threshold
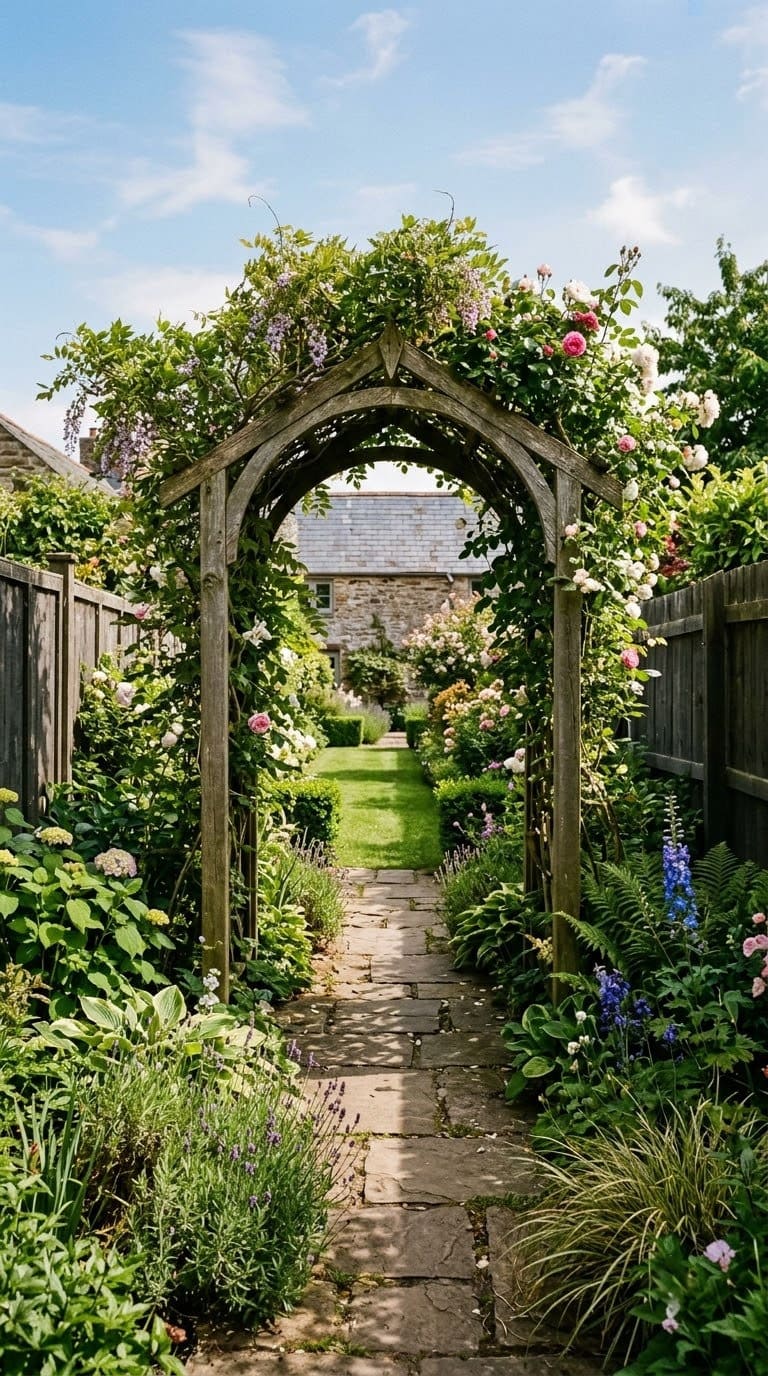
Landscape writers call this “compression and release.” It’s a narrowing or framing moment, an arbor, a gate, a pair of container plants flanking the path, that focuses attention right before the space opens back up. It’s the same trick a hallway doorway plays before a room opens up, just applied outdoors.
In a long narrow yard, this does double duty. It marks the zone boundary more clearly than a material change alone. And it builds a small moment of anticipation. The zone beyond feels like an arrival, not just “the next stretch of yard.”
Quick tip: Keep the threshold genuinely narrow, an arbor sized to the path width rather than the full yard width, so it actually reads as a passage and not just another overhead structure. If budget is tight, two matching planters flanking the path do almost the same job as a built arbor, at a fraction of the cost and with zero installation.
Trick #5: Route the Path Off-Center With a Turn
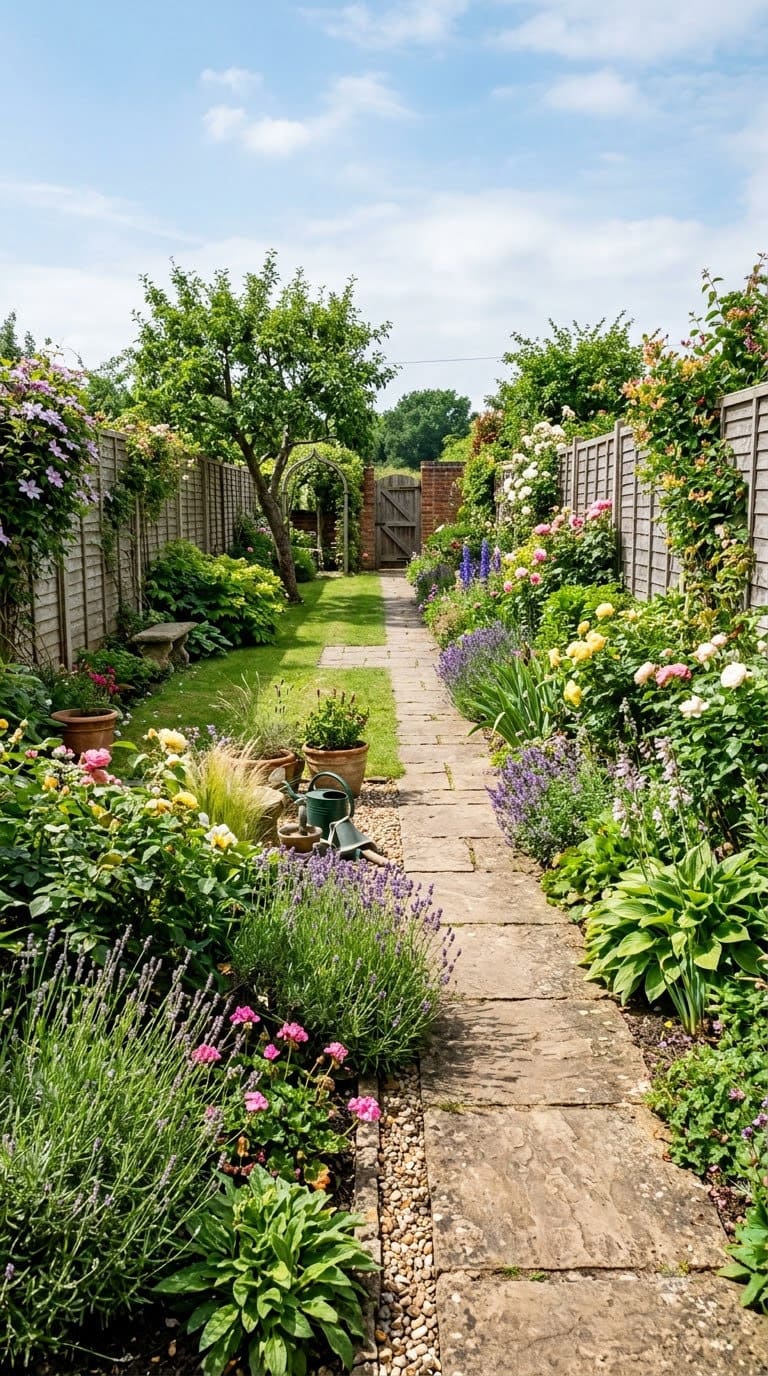
UK designer Edmund Jackson rejected a straight central path in his own long, narrow garden. Instead he built what he calls a “winding path” that dog-legs at right angles. It breaks the garden into a series of wide borders, with the path running along one side rather than straight down the middle.
A path with even one deliberate turn does three things a straight one can’t. It slows how fast you move through the space. It creates a corner that implies there’s more to see just out of view. And it naturally segments the yard into the same zones you’re already building with materials and thresholds, reinforcing the system instead of cutting across it.
Quick tip: One turn is usually enough in a genuinely narrow yard, a dog-leg near each zone boundary. Adding two or three turns in quick succession just recreates the choppy, fussy feeling that oversized zigzag beds cause elsewhere in small-space design. Place the turn where a threshold or material change already falls, so the path bend reinforces a boundary you’re building anyway instead of adding a fourth, unrelated design decision.
What Each Zoning Trick Actually Costs
None of these 5 tricks require a full landscaping budget, but it helps to know roughly where your money goes before you start.
A material transition (Trick #3) is usually the cheapest move on the list. A simple gravel strip between two zones, plus edging to keep it contained, runs a fraction of what a built wall or fence costs, and it’s a weekend project for most homeowners rather than a multi-day build.
A compression-and-release threshold (Trick #4) scales with how elaborate you get. A pair of matching planters flanking the path costs almost nothing beyond the containers themselves. A built arbor or gate costs more, but it’s still a small, contained structure compared to fencing off an entire zone.
The average homeowner spends $616/year on yard fixes that don't address the real problem. Find out what yours actually is — before you spend another dollar.
Take the Free QuizA wide cross-bed (Trick #2) mostly costs plant material and soil prep, not hardscape, which keeps it on the cheaper end as long as you resist the urge to fill it with mature, expensive specimens right away. A young, correctly chosen plant fills in over a season or two for far less than buying it already full-grown.
The path reroute (Trick #5) is the trick most likely to need a contractor if you’re removing existing hardscape to reroute it, but if you’re routing a new path from scratch, adding one turn costs no more in materials than building it straight. The design decision is free. It’s only expensive if you’re tearing something out first.
What We Learned Zoning Our Own Long Narrow Yard
Our backyard runs almost 70 feet back from the house on a lot barely 16 feet wide. For the first few years it was one continuous strip of lawn with a shed dropped at the far end, almost as an afterthought.
We split it into three real zones: a small dining patio near the house, open lawn in the middle, and a proper seating area at the back, not just “where the shed happens to be.” That changed how often we actually walked to the back of the yard. Before, the far end felt like a chore to reach. Now it feels like a destination. The only thing that changed was where the boundaries between sections landed.
We did the material transition first, since it was the cheapest and fastest of the five tricks, and honestly weren’t expecting much from it. It ended up doing more work than we planned for. The line where the patio stone gave way to gravel became the obvious spot to add the wide cross-bed a month later, and that same line was where we eventually put the arbor, so all three tricks stacked on the same boundary instead of competing for separate spots in the yard. If you’re only tackling one trick this season, start where Trick #3 naturally falls. Everything else tends to follow that line.
Frequently Asked Questions
How many zones should a long narrow backyard have?
Three is the most common workable number: a near-house zone for daily use, a middle transition area, and a destination zone at the far end. More than three in a genuinely narrow yard usually leaves each section too small to function.
Do I need fences or walls to zone a narrow yard?
No, and hard dividers usually make a narrow yard feel smaller since they eat into width you don’t have to spare. A change in paving material, a wide planting bed, or a level change signals a new zone without closing off the sightline.
Will a winding path make my narrow yard feel longer to walk or shorter?
Longer to walk, but that’s the point in a good way. A path with a turn slows the pace of movement and creates a sense of discovery, which reads as more generous than a straight path that shows the entire distance at a glance.
What’s the cheapest way to zone a long narrow backyard this weekend?
Change the ground material at one point along the yard’s length, even a simple strip of gravel between two lawn sections signals a zone change without any construction. Pair it with one wide planting bed crossing part of the width to break the sightline.
Should the near-house zone or the destination zone come first if I can only build one this year?
Build the near-house zone first. It gets used the most, year-round, and it’s the zone that makes the whole yard feel intentional from the moment you step outside. A far-end destination with no usable space near the house still leaves the middle stretch feeling like leftover land, while a well-built near-house zone alone already reads as a finished project.
Related Posts
- How to Landscape a Narrow Backyard: 8 Designer Tricks
- Narrow Backyard Ideas
- Long Narrow Backyard Ideas
Products We Recommend
This post contains affiliate links. We may earn a commission on qualifying purchases at no extra cost to you.
Thickened Rustproof Metal Garden Arch Trellis
Directly solves Trick #4 (compression-and-release threshold between zones)
Shop Now
Mulctun Natural Pea Gravel, 45 lb
Directly solves Trick #3 (material transition marking a zone change)
Shop Now
Outsidepride Mix Pampas Grass Seeds, 1,000 pcs, tall specimen ornamental grass
Directly solves Trick #2 (a genuine specimen plant for the wide cross-bed breaking the sightline)
Shop NowNever miss an update — choose FarmFoodFamily as your preferred source on Google.
How it works: Tap the button below to open Google's settings page, then check the box next to FarmFoodFamily.
Tap the checkbox to turn it blue — that's how you know it's set.