10 Clever DIY Built-In Shelves Living Room Hacks Using Stock Cabinets
Stock cabinets can become built-in shelves for a fraction of a carpenter’s quote, as long as you level the base, hide the gaps and anchor everything to studs.


Never miss an update — choose FarmFoodFamily as your preferred source on Google.
How it works: Tap the button below to open Google’s settings page, then check the box next to FarmFoodFamily.
Tap the checkbox to turn it blue — that’s how you know it’s set.
Custom built-ins look expensive because carpenters charge for time. And most of that time goes to things stock cabinets already solve. Stock cabinets skip most of that time, since the boxes come square, finished and ready to hang.
The catch is everything around the boxes. Floors slope, walls wave, and tall shelves tip if you skip the studs.
Below are 10 hacks that turn stock cabinets into built-in shelves. Each has real sizes, a budget note and the safety step people skip. We also cover paint that won’t peel, cords in a TV wall, and what it costs.
Want a gallery of finished looks first? Our built-in shelving ideas page has 80 of them. This guide is the how-to behind them.
Quick Answer
The cheapest built-in starts with 12-inch-deep wall cabinets set on a leveled 2×4 base, not deep base cabinets. Build the base first and level it once. Then drop the boxes on top.



Hide wall gaps with filler strips and trim. Top the run with a 3/4 inch plywood counter, then stack shelves above it.
Answer 4 quick questions and get matched to the exact fix for your yard — drainage, budget, layout, or something else entirely.
Take the Free QuizAnchor the whole unit into studs with 2-1/2 to 2-3/4 inch screws, as builder Mike Guertin advises. Check for hidden pipes first, since older homes may lack protective plates.
Fill every hole, prime with a bonding primer, and paint twice. Skipping primer is the mistake that makes paint peel off laminate.
Do that and a $950 project can replace a $5,200 quote, one DIYer reports. The steps below show how, in the order that avoids rework and keeps the cost low.
How Do You Plan the Layout?
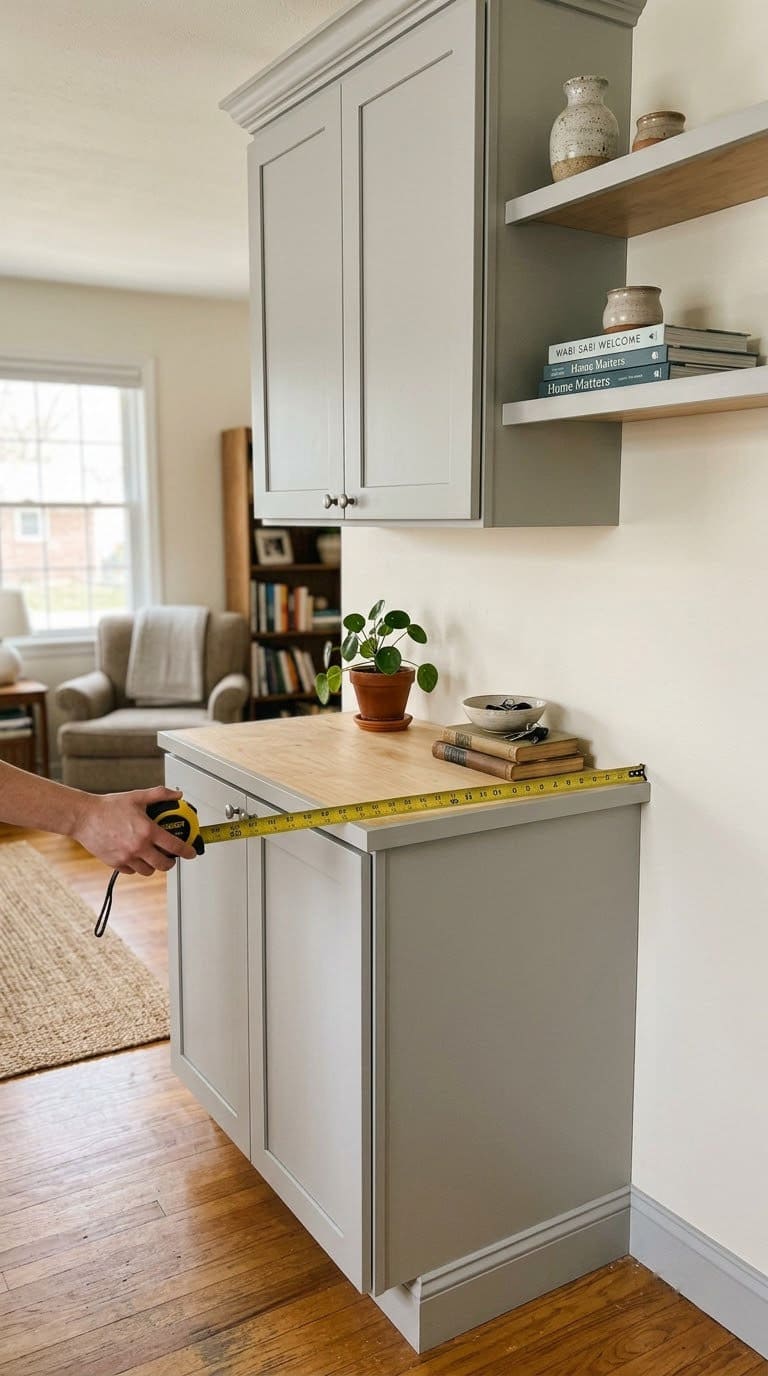
Start with the wall, not the cabinets. Measure the width, find every stud, and sketch the run.
Stock cabinets come in 3 inch width steps, so a wall rarely fits exactly. Angela Marie Made’s finished unit measured 94 inches tall, 100.5 inches wide and 17 inches deep, which is a good size to picture.
Fill the leftover inches with a filler strip at each end. But never cram cabinets tight against a wall, since Ken Geisen’s 1/4 inch gap keeps wavy walls from bowing the boxes.
Mark stud spots on the wall and the cabinet backs. Later you’ll drive screws through the hanging rail into wood, not just drywall.
Most yard problems trace back to one specific, fixable cause. Find yours in 4 quick questions.
Take the Free Quiz
The 2-3/4 inch screw length Mike Guertin prefers for anchoring cabinets into studs (idea 7). Low-profile heads sit flush, so they're easy to fill and paint over
Shop NowThis post contains affiliate links. We may earn a commission on qualifying purchases at no extra cost to you.
What Tools Do You Need?
Fewer than you’d think, and most homeowners already own half of them. Thrifty Decor Chick says the “must haves” are “a quality drill, level, stud finder and nail gun.”
Angela Marie Made also used a Kreg jig for pocket holes, a jigsaw for curved toe kicks, and wood glue. Rent a nail gun if you’ll only build once.
| Tool | Job |
|---|---|
| Drill and driver | Cabinet screws and pocket holes |
| Long level | Base and shelf tops |
| Stud finder | Anchor points |
| Nail gun or hammer | Trim and face frames |
| Jigsaw | Curves and notches for pipes |
Which Stock Cabinets Should You Buy?
Wall cabinets are the smart pick for most living rooms. They are 12 inches deep, so they don’t jut into the room. A retailer blog, FUFU&GAGA, says base cabinets run 34.5 inches tall and 24 inches deep, and both come in 3-inch width steps.
The same author, in a second article, prefers 30-inch-tall wall cabinets because “2-foot-deep” bases feel “massive and awkward.” We agree for most rooms, but a 24-inch base gives you more storage if you have the wall space.
| Cabinet type | Typical size | Best for | Watch out for |
|---|---|---|---|
| Wall cabinet | 12 in deep, 30 in tall | Slim living room runs | Needs a raised base |
| Base cabinet | 24 in deep, 34.5 in tall | Deep storage, TV walls | Juts into the room |
| Unfinished wood | Any | Painting | Needs primer |
| Laminate or thermofoil | Any | Speed | Paint may peel without prep |
Buy every cabinet from one retailer, and in one batch, so the finish and door style match. The Thrifty Decor Chick stock cabinet tutorial.
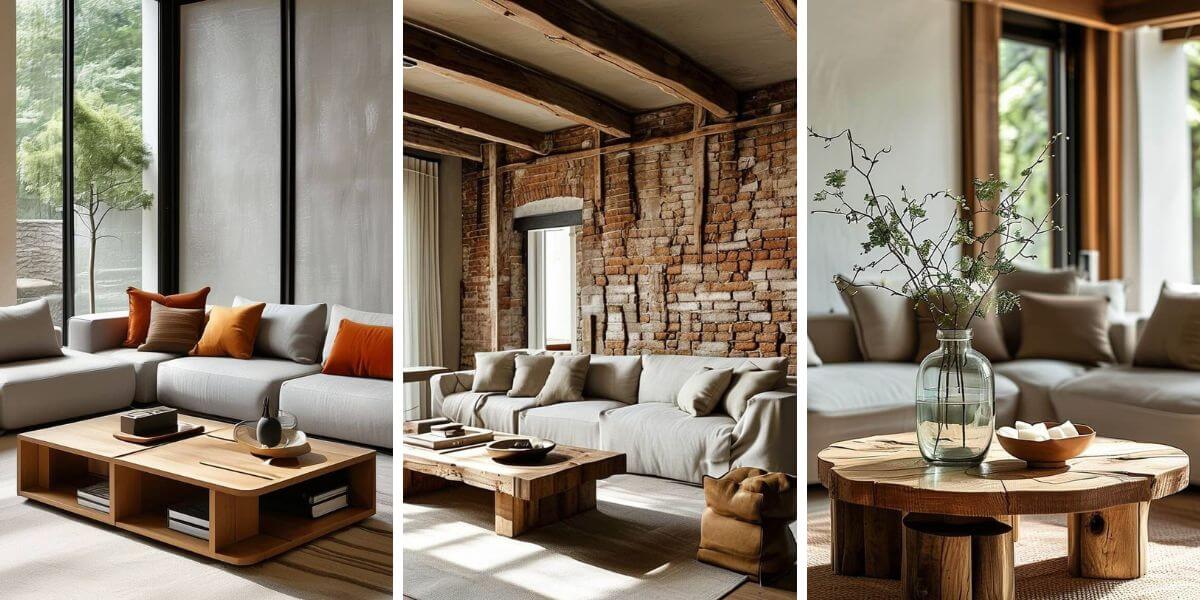
10 DIY Built-In Hacks Using Stock Cabinets
1. Use Wall Cabinets as the Base
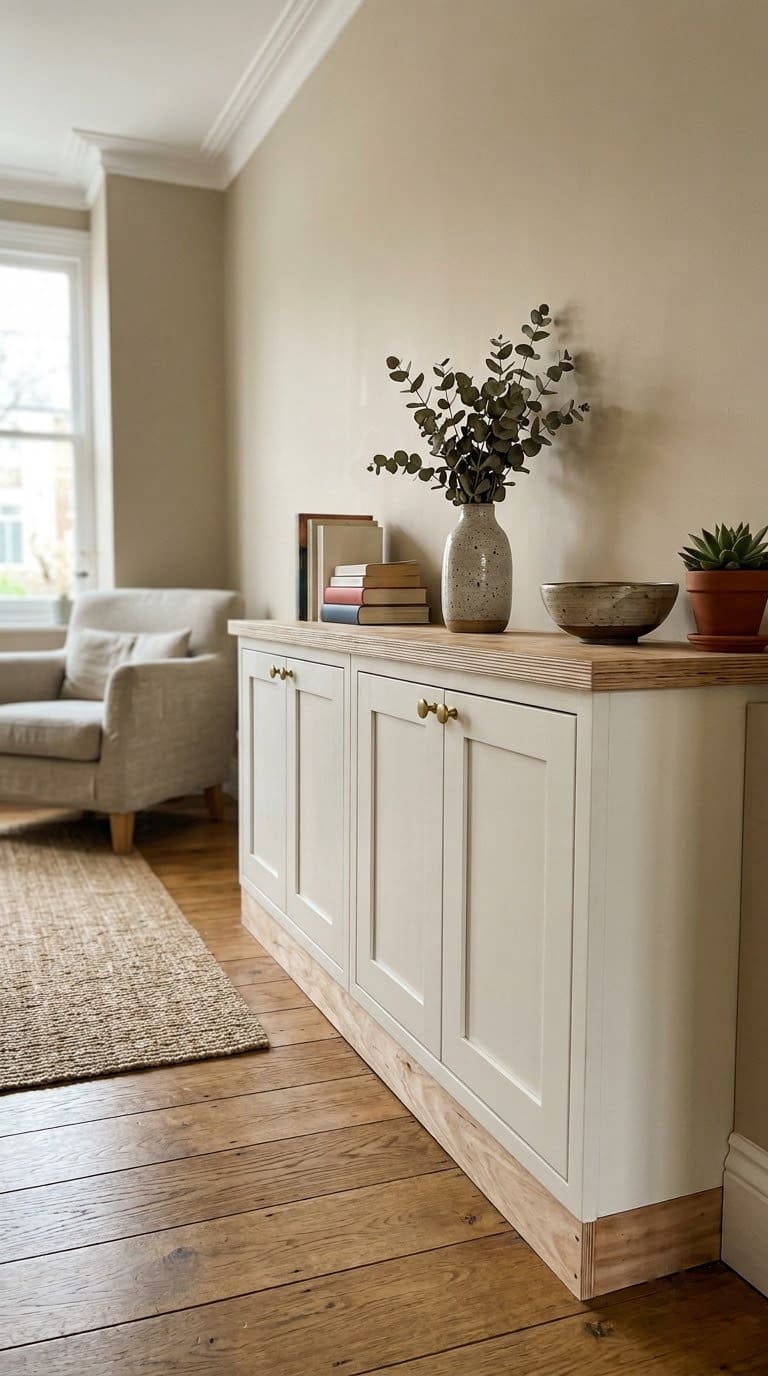
Flip the usual plan. Set 30-inch-tall, 12-inch-deep wall cabinets on the floor and treat them as base cabinets.
Thrifty Decor Chick notes they run about $100 each, which is a rough figure that varies by size. Raise them on a 4 inch base so the top lands near 34 inches. Budget: low to mid.


Pairs well with idea 2’s platform, which gives them that lift.
The average homeowner spends $616/year on yard fixes that don't address the real problem. Find out what yours actually is — before you spend another dollar.
Take the Free QuizOne viewer used IKEA kitchen uppers as the base. Billy bookcases went upside down on top.
Mixing brands works, but match the door style if you can. Our page of IKEA hack ideas has more starting points.
2. Build One Leveled Platform
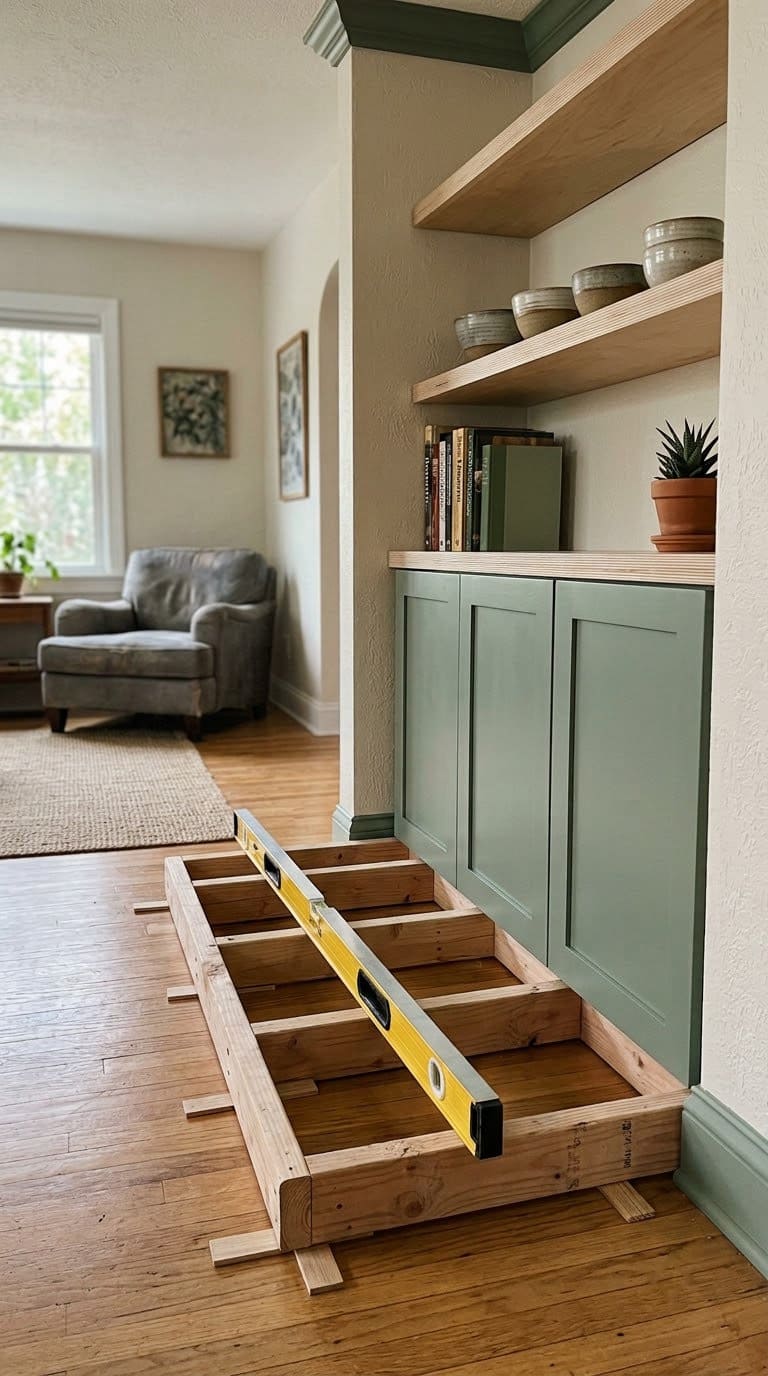
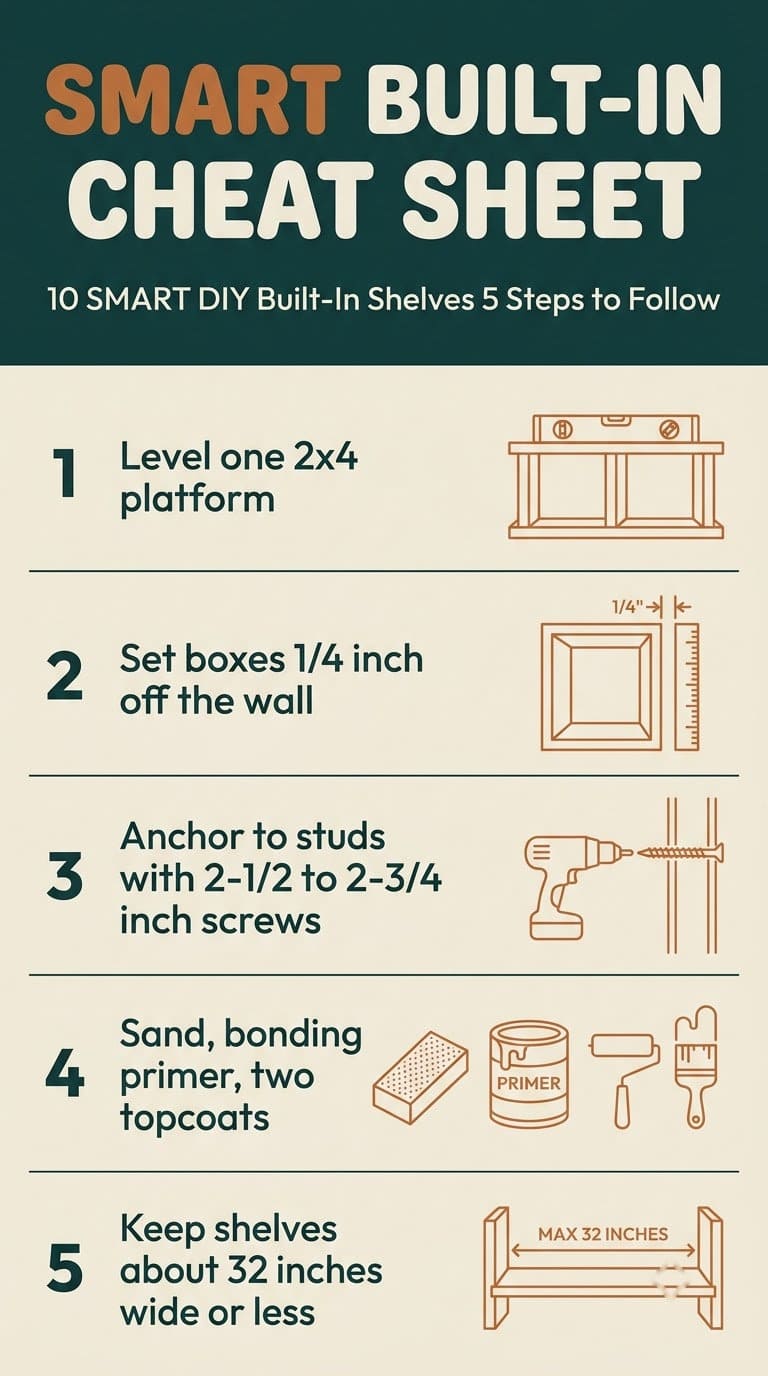
Don’t level each cabinet. Level one 2×4 frame, then set the boxes on it.
Ken Geisen builds cabinets for a living. In Family Handyman, Geisen calls this a platform base with “no toe-kick cutouts.”
Use a 4 inch tall frame to match a normal toe kick, and shim it at the floor’s high spot.
One viewer swears by a ledger board and plastic feet. A working cabinet maker in the same thread said leveling feet are accepted practice, so either route works.
Budget: low.
3. Handle Gaps With Filler Strips
Walls are never straight. Geisen says to set the boxes about 1/4 inch off the wall to handle out-of-plumb walls.
Bridge the gap with a painted filler strip. The retailer blog mentions 3 inch fillers, and larger gaps can take a custom-cut board.
Blue painter’s tape helps too. A viewer suggested marking the scribe line on tape so it shows up. Budget: low.
4. Top the Run With a Plywood Counter
A 3/4 inch plywood top with iron-on edge banding looks clean and costs little. Angela Marie Made stacked 3/4 and 1/2 inch plywood for a 1.25 inch thick top. That thickness reads as solid stone.
Let the top overhang the doors about 3/4 inch on the front and sides. That overhang is our habit, not a sourced rule. Budget: low to mid.
5. Cap the Shelf Span
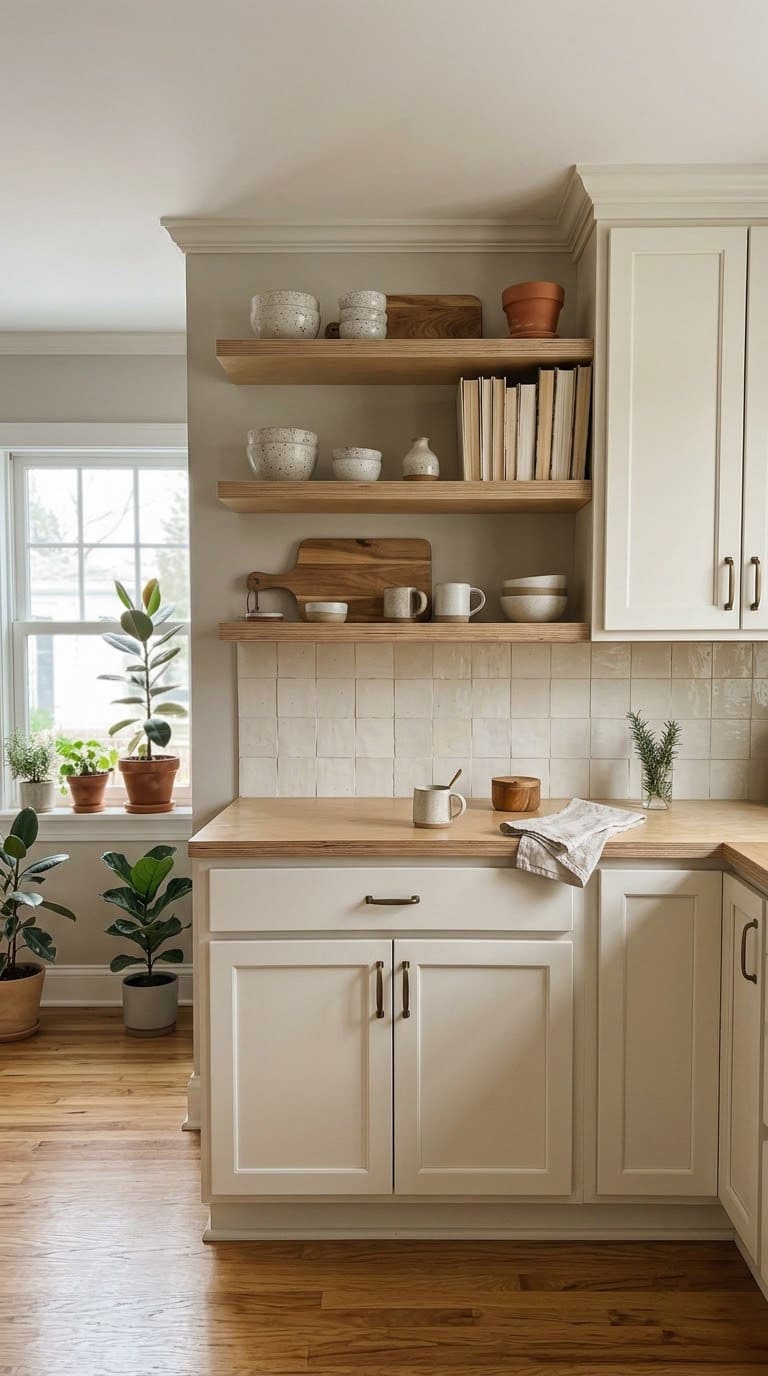
Shelves sag over long spans. One shelf guide, WoodCalcs, says 3/4 inch hardwood plywood spans about 32 to 36 inches with book loads.
Keep open shelves at or under 32 inches wide, or add a center support. A hardwood strip on the front edge stiffens the shelf.
That guide has no listed credentials, so treat its numbers as a guide, not a rule. Budget: low.
6. Hide the Screws
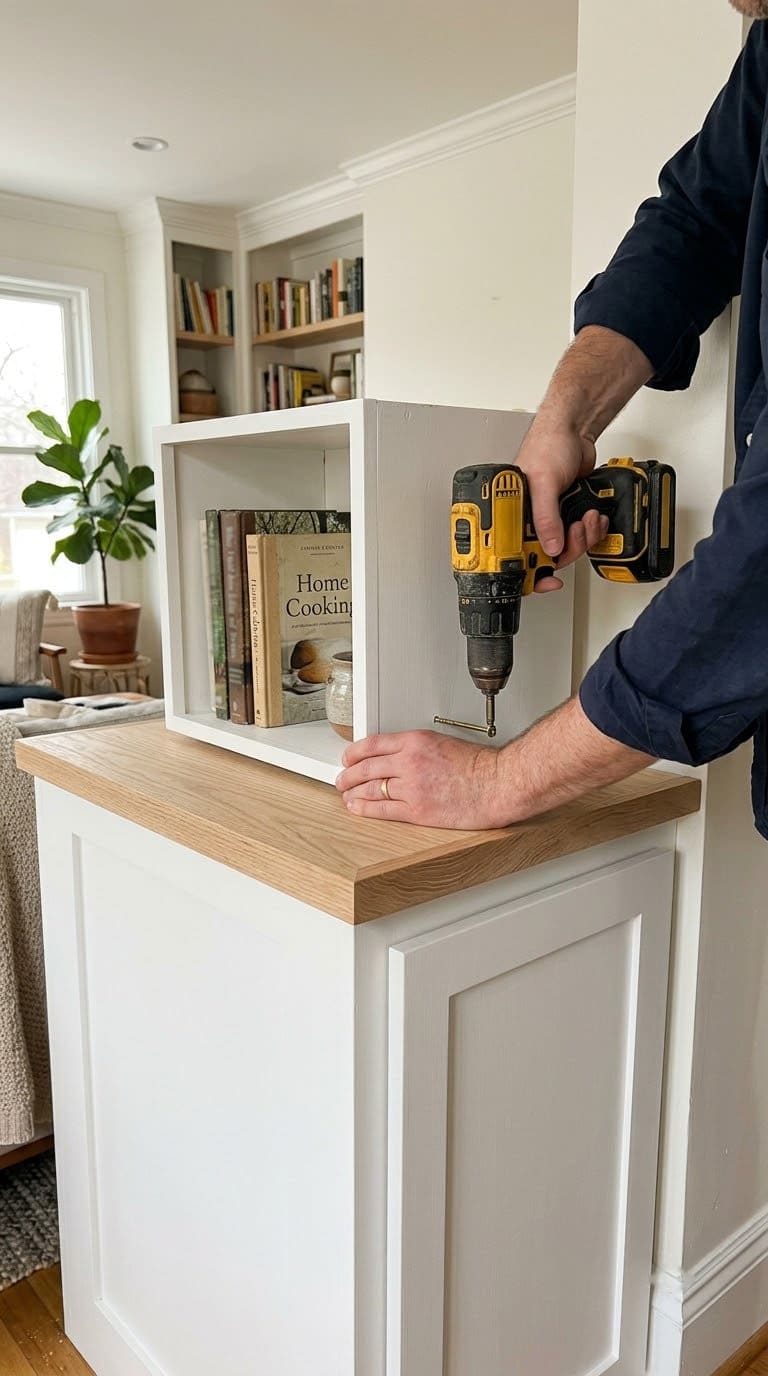
Geisen has a neat trick for shelf units. Set the unit on the cabinet top, slide it forward, drive screws through the shelf sides, then slide it back.
Screws end up hidden and the unit stays locked in place. Also use 1/2 inch plywood for cabinet backs where you can, since Geisen says it lets you “drive a screw through the back anywhere.” Budget: no extra cost.
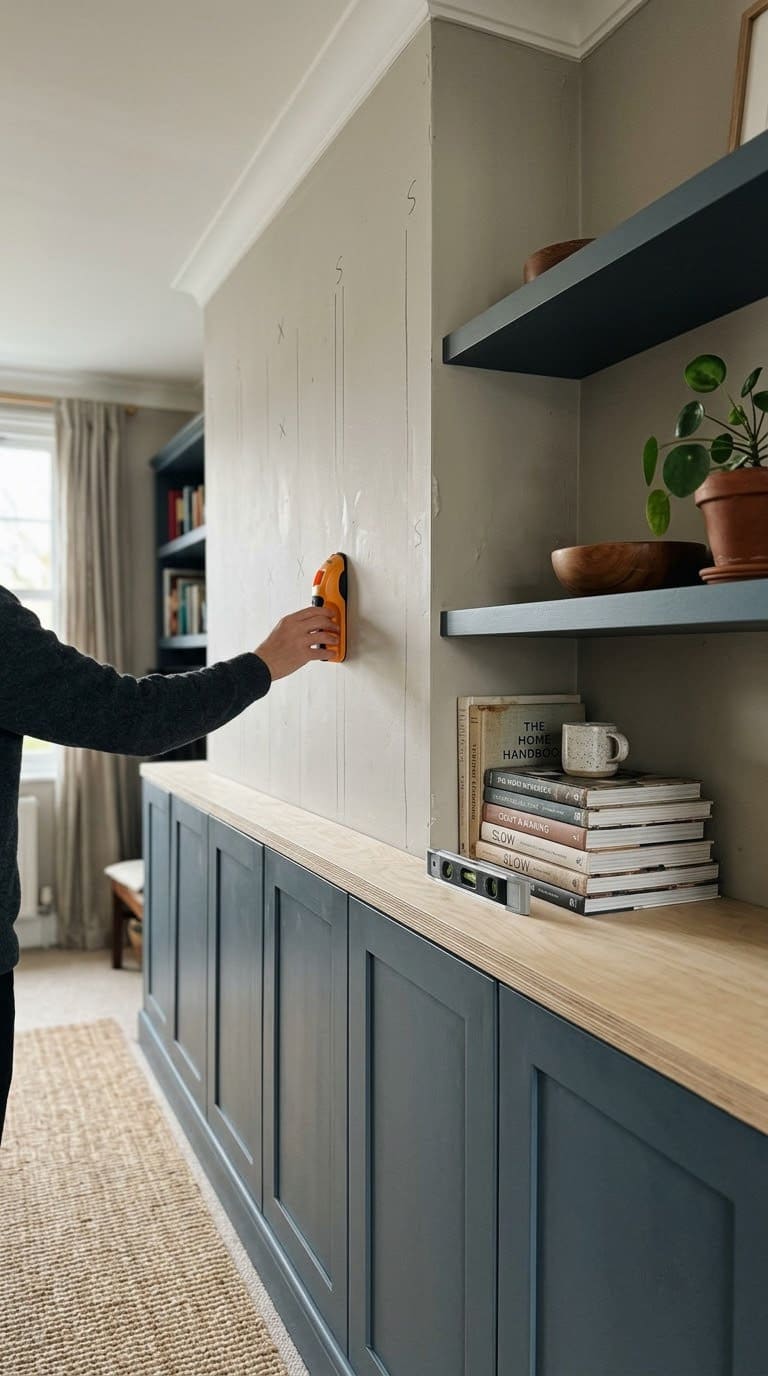
7. Anchor Everything to Studs
Skip this and it’s dangerous. The CPSC counted 459 child deaths from tip-overs between 2000 and 2018, and 93 percent were age 5 or younger.
Find studs with a stud finder, and mark them.
Builders disagree on screw length. Mike Guertin says in Fine Homebuilding that screws of 2-1/2 to 2-3/4 inches beat 3 inch ones. Those sink about 1-1/2 inches into the stud.
FUFU&GAGA says to use 3 inch screws.
We’d follow Guertin’s shorter length, since it leaves more margin for hidden pipes.
Budget: low.
8. Trim It Out
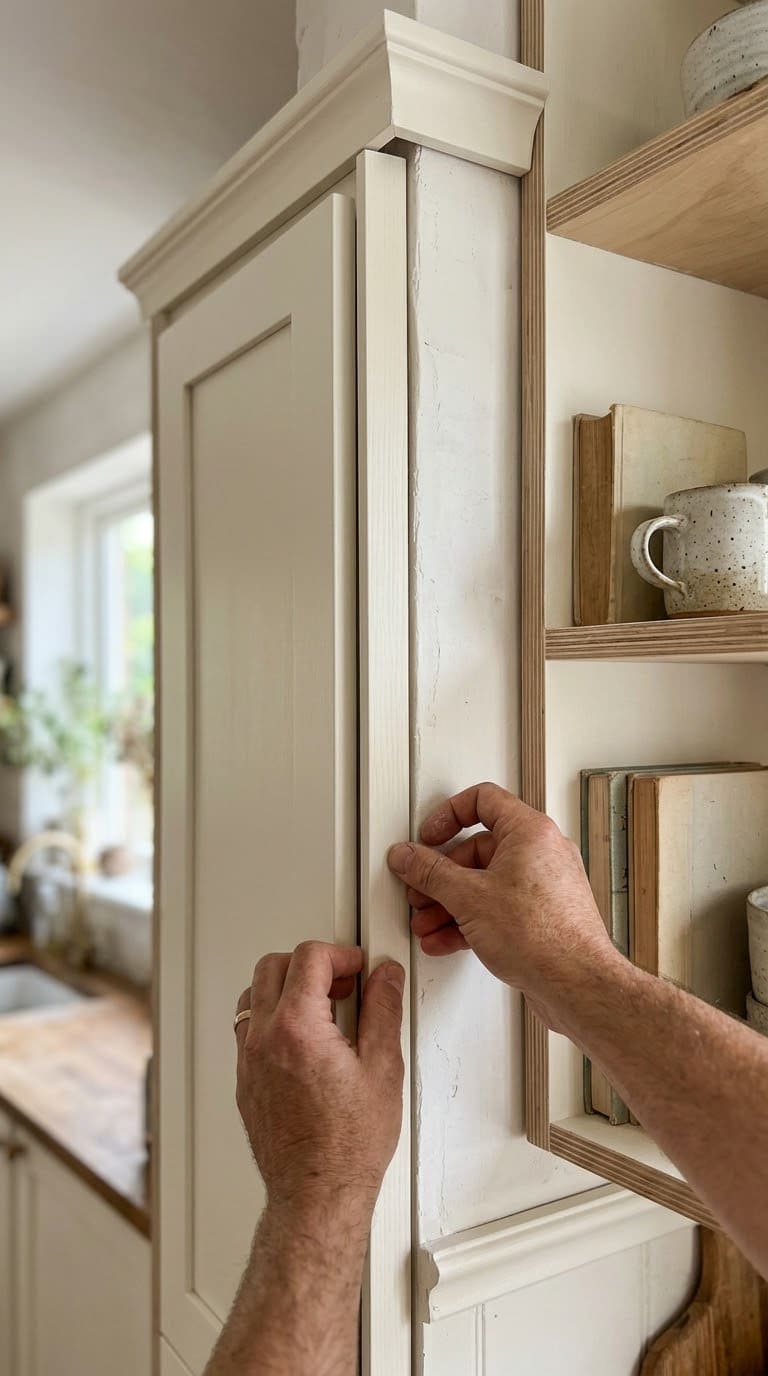
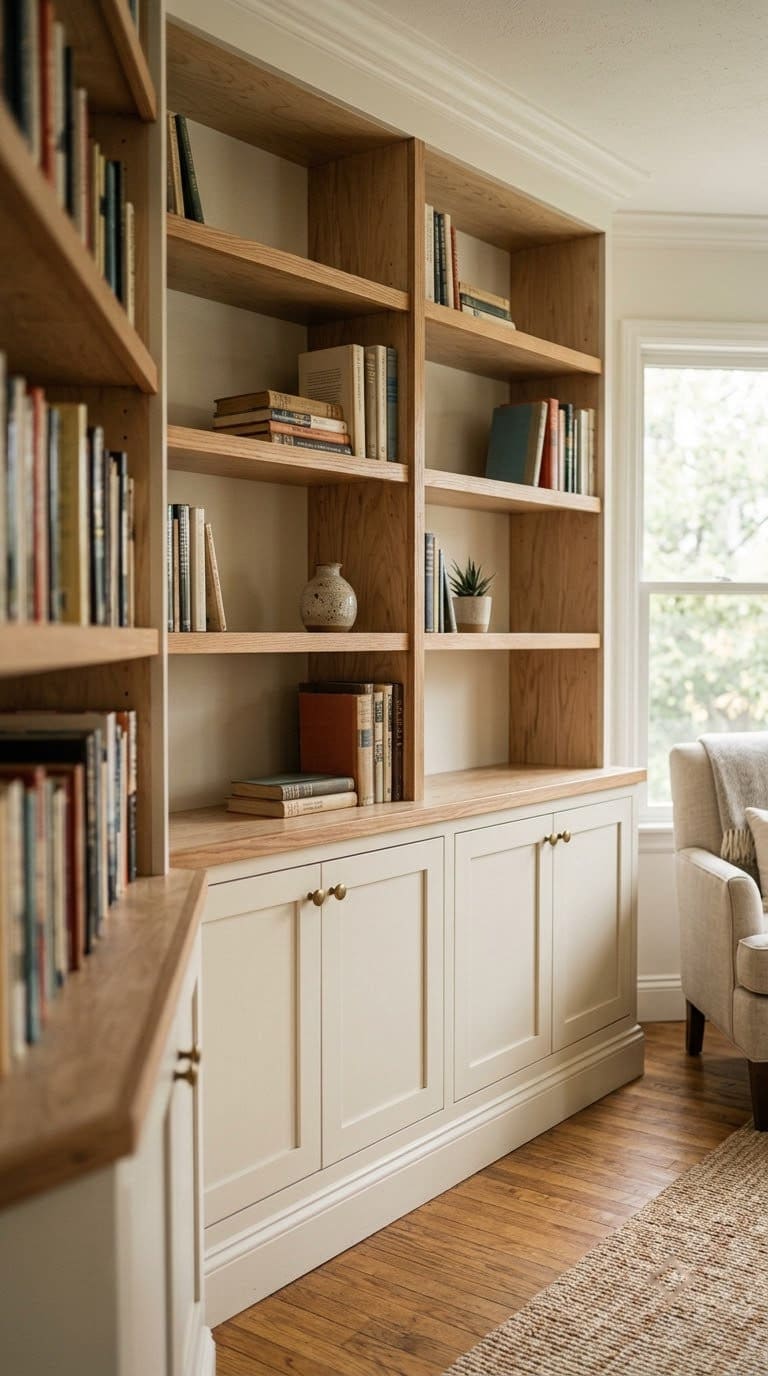
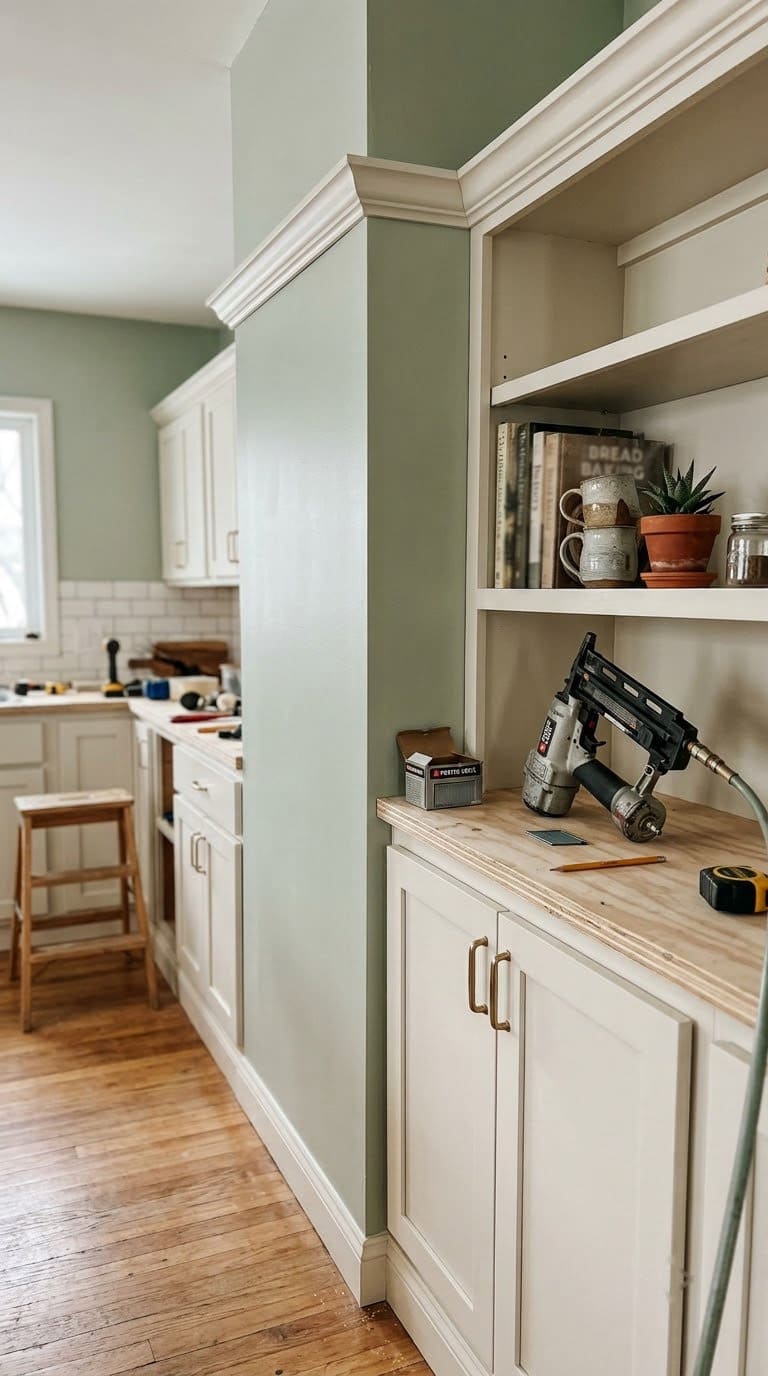
Trim is what makes stock look custom. Cover raw plywood edges with 1×2 face frame strips, and add crown molding on top and baseboard on the bottom.
Thrifty Decor Chick uses baseboard and side trim to finish the look. Fill nail holes, caulk the seams, then paint.
Use paintable caulk, and wet your finger to smooth each bead. Budget: mid, since trim adds up, but even a basic baseboard changes the look.
Pairs well with idea 3, since trim also hides small gaps.
9. Paint Laminate the Right Way
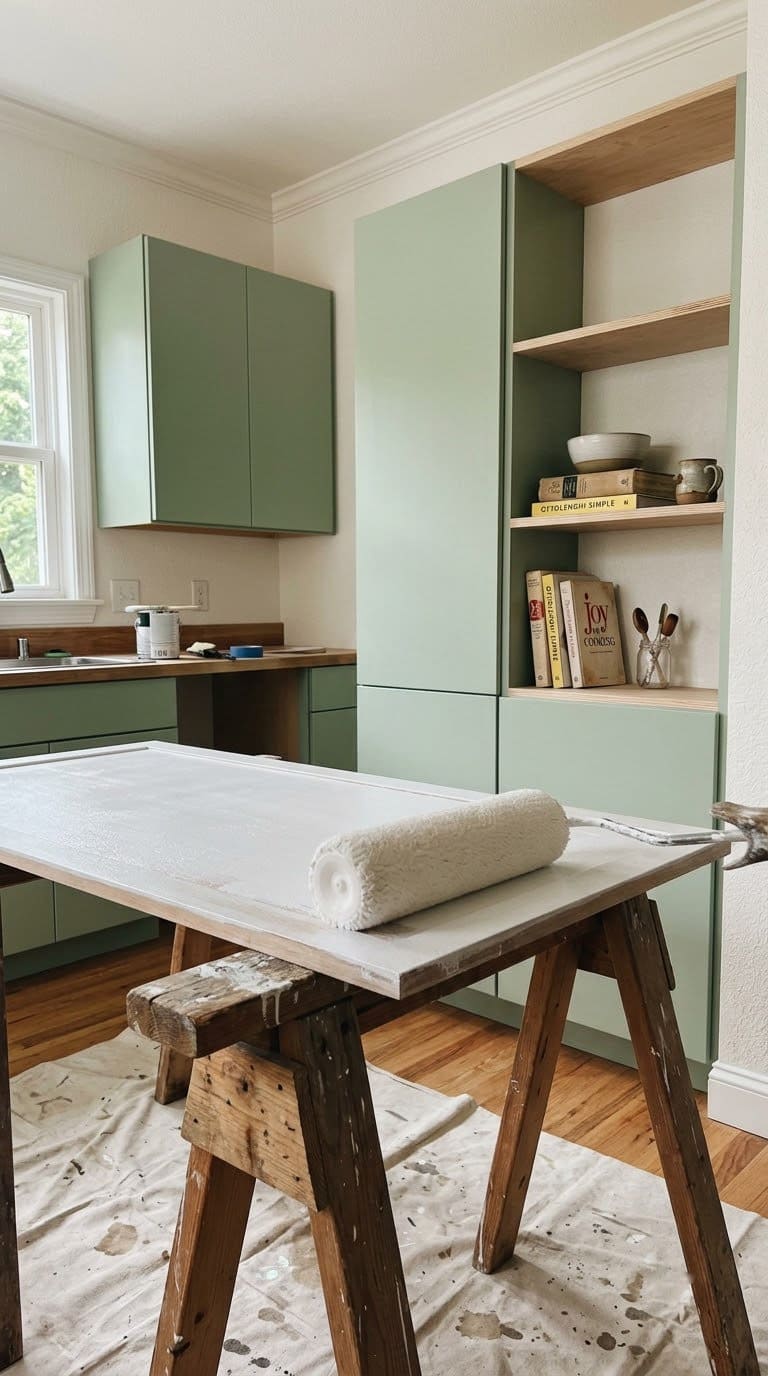
Cheap cabinets often have a laminate face, which sheds paint. Sherwin-Williams says to sand with 150-grit, then use a bonding primer like Extreme Bond Primer, and apply two topcoats at least four hours apart.
FUFU&GAGA used Zinsser BIN shellac primer and said the extra $40 is “the difference between a project that looks great for a month and one that looks great for a decade.” Different makers, same idea: prime properly. Budget: low to mid.
| Source | Primer named | Prep step |
|---|---|---|
| Sherwin-Williams | Extreme Bond Primer | Sand with 150-grit |
| FUFU&GAGA | Zinsser BIN | Fill seams first |
| Thrifty Decor Chick | Kilz | Prime laminate before painting |
10. Plan the Cords and TV Wall
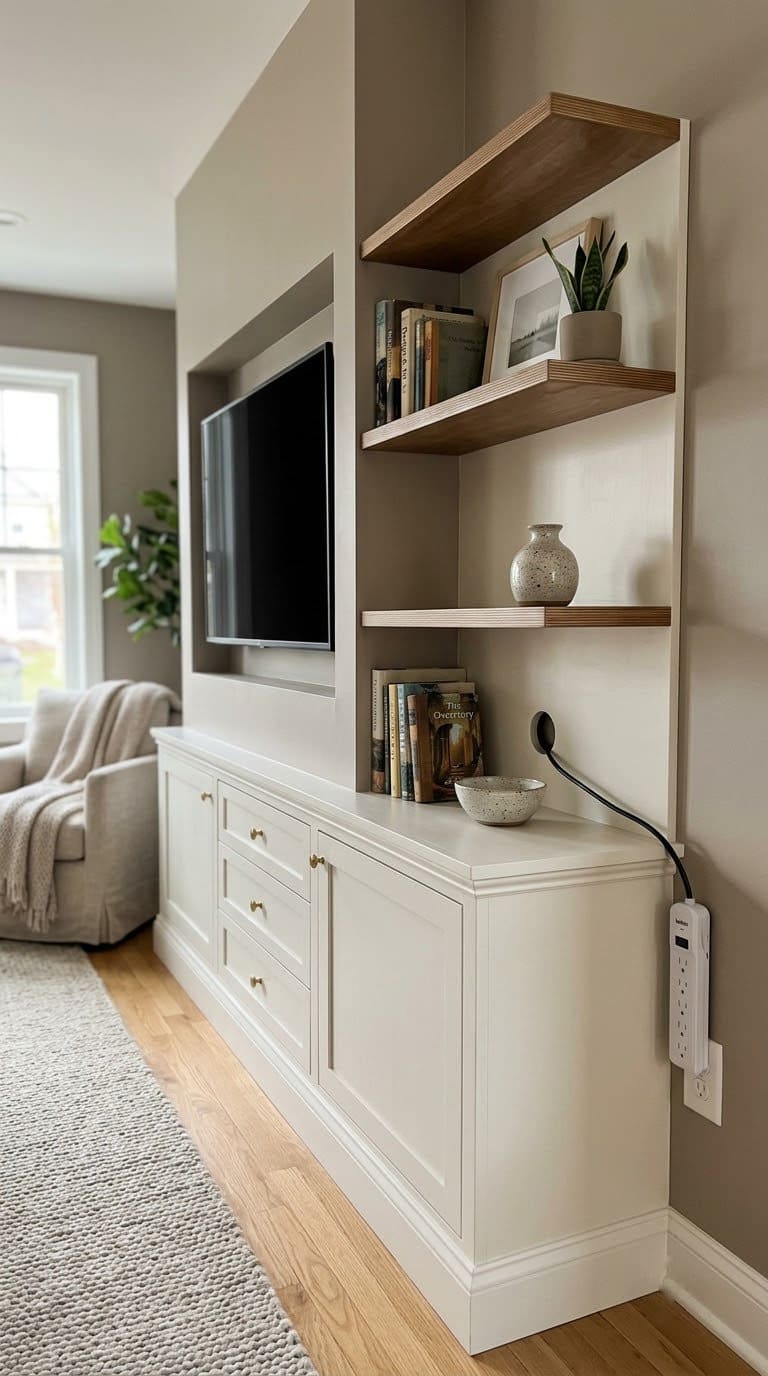
If a TV lives in the unit, plan power first. A Navy safety office warns about plugging strips into strips. It can overload a circuit and start a fire.
Use one approved strip, a longer cord, or ask an electrician about a new outlet. Leave the back open for airflow, and keep any box that gets warm out of a tight cabinet.
A cable pass-through hole about 2 inches wide lets cords run neatly, and a grommet cover keeps the edge clean.
Budget: low, or mid if an outlet is added.
What We Learned the Hard Way
Almost every problem starts at the floor. Under one leveling video, viewers argued over lasers, ledger boards and feet. The common thread was that a level base makes the rest easy.
Cost is the next surprise. Viewers of a wall-unit video shared quotes of $12k and $19k from pros for similar walls. DIYers report far lower totals, but those numbers leave out tool costs and your time, as one commenter pointed out.
The third trap is paint. The FUFU&GAGA author admits skipping wood filler on seams and skimping on primer, and had to redo work. If you’re new to building, start with idea 2 and idea 9, since those two decide how good the finish looks.
Is Your Built-In Safe?
Three things matter most. Tip-over, hidden pipes and materials.
For tip-over, the CPSC says “Anchor furniture to the wall.” Acting Chairman Robert Adler added that “any piece of furniture that could topple over and injure a child should be anchored.” Do it even if you have no kids, since guests do.
For hidden pipes, Guertin warns of finding “drywall screws driven neatly in a line up a PVC drain pipe.” Guertin says homes built before 2000 may lack protective plates, and suggests opening a viewing strip in the drywall to check.
For materials, the EPA says formaldehyde in plywood, MDF and particleboard can cause “irritation of the skin, eyes, nose, and throat.” Look for the TSCA Title VI label on panels and cabinets.
What If You Rent or Own an Older Home?
Renters should ask the landlord first. Tall shelves must be anchored, so drilling into studs is not optional. If the answer is no, choose a low cabinet run under 34 inches and skip the tall shelf unit.
Owners of older homes need one more check. Guertin says homes built before 2000 may lack protective plates around pipes and wires.
So open a small viewing strip in the drywall before you screw. It takes ten minutes and can save a burst pipe.
What Should Go on the Shelves?
Finish the build, then style it in layers. Our guide on how to decorate shelves covers spacing and grouping.
Keep heavy books on the lower shelves and light objects up high. That habit also lowers the tip risk.
Leave a little breathing room too. A shelf packed edge to edge looks cramped, and one empty third makes the wall feel designed.
What Does It Cost?
One DIYer reports about $950 for four cabinets, plywood, 2×4 framing, trim and paint, against a $5,200 carpenter quote, per FUFU&GAGA. That’s one project, so your total will differ. The tiers below are our own ballpark.
| Tier | What you buy | Rough spend |
|---|---|---|
| Low | 2 to 3 unfinished wall cabinets, plywood, 2x4s, primer, paint | Under $700 |
| Mid | 4 to 6 cabinets, trim, crown, hardware, a nail gun rental | $900 to $2,000 |
| Invest | Base cabinets, real wood face frames, a new outlet by an electrician | $2,500 and up |
Start with the low tier. You can add trim and doors later.
Your Two-Weekend Plan
Weekend one is prep. Measure the wall, find and mark studs, buy the cabinets, and assemble the platform. Level it with a long level.
Weekend two is the build. Set the boxes, screw them into the studs, add the top and shelves, then trim.
Paint the next week. Let primer harden before sanding, and give two topcoats time to dry between coats.
Frequently Asked Questions
Can you make built-ins from stock cabinets?
Yes. Stock cabinets come square and finished, so you only need a level base, trim, and studs to anchor them to.
How deep should DIY built-in cabinets be?
12 inches for wall cabinets, or 24 inches for base cabinets. Most living rooms suit 12, since 24 juts out.
How do you level stock cabinets on a sloped floor?
Build one 2×4 platform, shim it at the high spot, and level it. Then set the boxes on top.
What screws hold cabinets to studs?
Mike Guertin uses 2-1/2 to 2-3/4 inch screws, sunk about 1-1/2 inches into studs. Some makers use 3 inch screws, so follow your cabinet maker’s guide too.
Do built-in bookcases need to be anchored?
Yes. The CPSC says furniture such as bookcases should be anchored to the wall.
How do you paint laminate cabinets so the paint sticks?
Sand with 150-grit, use a bonding primer, and apply two topcoats. Sherwin-Williams names Extreme Bond Primer.
How wide can a shelf be before it sags?
WoodCalcs says 3/4 inch hardwood plywood spans about 32 to 36 inches under book loads. Add a center support or a front strip to stiffen it.
Is it safe to put a TV inside built-ins?
Yes, with airflow and safe power. Don’t plug strips into strips, and ask an electrician about a new outlet.
How much do DIY built-ins cost?
One DIYer reports about $950 versus a $5,200 quote. Our own tiers run from under $700 to $2,500 and up.
Related Posts
Products We Recommend
This post contains affiliate links. We may earn a commission on qualifying purchases at no extra cost to you.
GRK #8 x 2-3/4 Inch Low-Profile Cabinet Screws, 200 Count
The 2-3/4 inch screw length Mike Guertin prefers for anchoring cabinets into studs (idea 7). Low-profile heads sit flush, so they're easy to fill and paint over
Shop Now
Franklin Sensors FST902 ProSensor Stud Finder
The stud finder for idea 7 and the layout step. It marks stud edges across a wide area, so you can mark every anchor point before the cabinets go up
Shop Now
INSL-X Stix Waterborne Bonding Primer, 1 Quart
A bonding primer for the laminate prep in idea 9. It is made for slick surfaces, and it pairs with the sanding and two topcoats Sherwin-Williams describes
Shop NowNever miss an update — choose FarmFoodFamily as your preferred source on Google.
How it works: Tap the button below to open Google's settings page, then check the box next to FarmFoodFamily.
Tap the checkbox to turn it blue — that's how you know it's set.