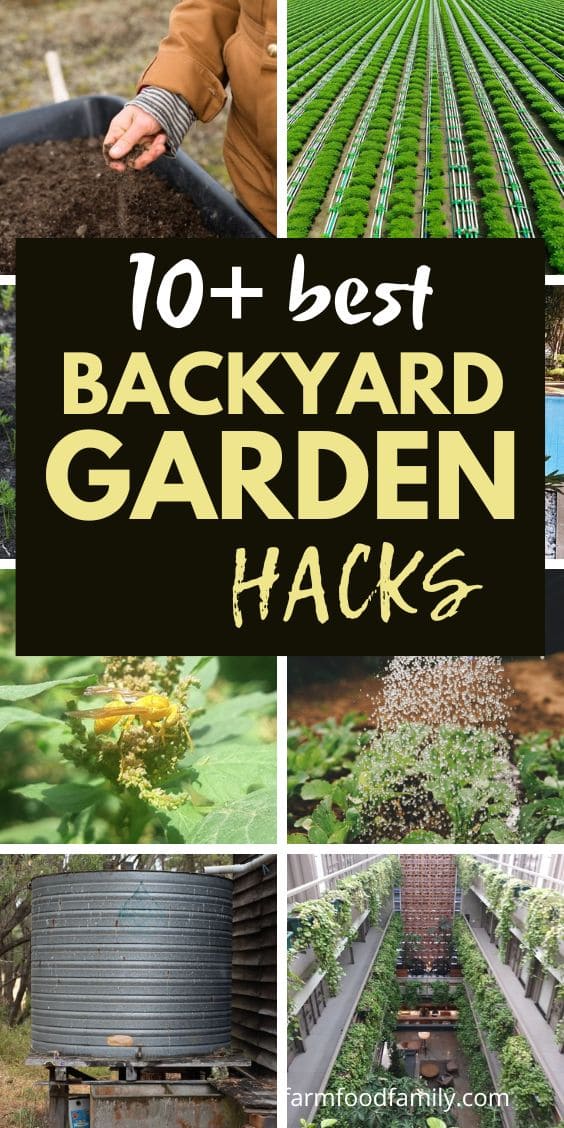
DIY Guide: 10 Essential Backyard Garden Hacks 2026
Got a tiny patch of green behind your house and not sure what to do with it? You’re not alone. Many folks see the rising interest in backyard gardens but think, “Hey, how do I get in on this?”
The good news is, you don’t need a green thumb the size of a cucumber to get started. And the benefits? Fresh veggies, blooming flowers, and a sweet spot to chill are just the beginning.
Now, let’s chat about Backyard Garden Hacks. These aren’t just tricks to make your plants happier; they crank up your garden’s efficiency, prettiness, and the goodies it gives back.
From squeezing the most out of every inch of soil to ensuring your petals and produce pop with the least work, these hacks are about working smarter, not harder.
Grab your garden gloves (or don’t, we’re not the boss of you), and let’s dig into making your backyard the envy of the block!
1. Maximizing Small Spaces
Vertical Gardening: Using Trellises, Wall Planters, and Hanging Pots
You might think you need a big yard to have a garden, but think again. Vertical gardening makes use of up-the-wall spaces where ground area is tight. This smart move lets you grow upwards. What can you do?
Hook up some trellises, throw in a few wall planters, and don’t forget those hanging pots. They’re not just space savers; they turn a plain wall into a lush tapestry of greens and blooms.
Plus, it’s darn convenient to pluck fresh herbs right from your kitchen wall. Vertical gardening isn’t just practical, it’s also a bit of a show-off, making any small space feel bigger and fresher.
Square Foot Gardening: Planning and Building a Small, Densely Planted Garden
Now, let’s talk about square foot gardening. This technique is a real game-changer if you’re looking to get the most bang for your buck out of every square inch of soil.
By dividing your garden into small square sections (typically 1×1 foot each), you can plan exactly what you plant in each square. This isn’t random; it’s about making sure every plant has its spot but doesn’t elbow its neighbor for space and nutrients.
It’s like a neat little neighborhood for your plants. This method not only maximizes efficiency but also makes managing your garden easier. You water, weed, and harvest in a snap because everything is compact and within arm’s reach. Plus, it looks super tidy, which is always a bonus.
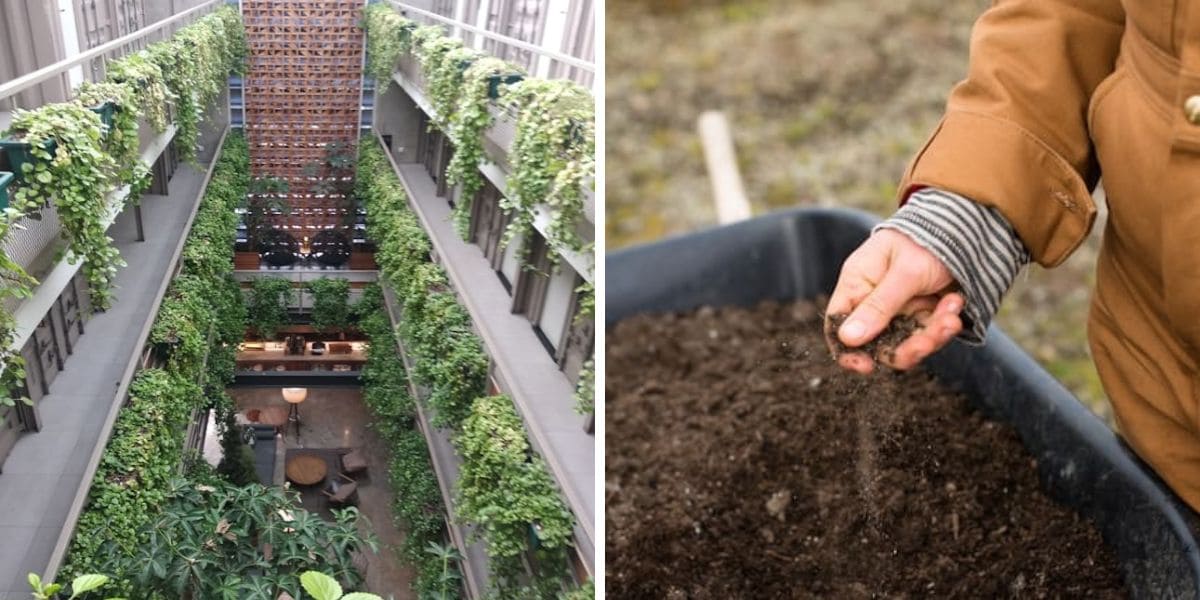
2. Improving Soil Quality
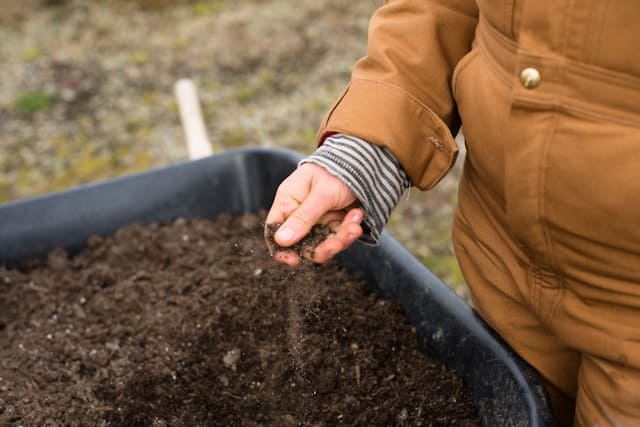
Composting: Turning Kitchen and Garden Waste into Nutrient-Rich Compost
So, you’ve got scraps from dinner and yard waste piling up. Instead of tossing them in the trash, why not turn that “trash” into treasure for your plants?
Composting is your go-to move here. It’s like cooking, but for the soil. You mix things like leftover veggies, fruit peels, and old leaves, and let nature do its thing. The result? Rich, dark compost that gives your soil a major nutrient boost.
It’s not just about feeding those hungry plants; it’s about bringing your soil back to life without needing store-bought stuff. Plus, it’s a win for the planet because you’re cutting down on waste big time. And don’t worry, it’s easier than it sounds. Just keep adding to the pile and turn it now and then. Check out this handy chart on what to toss in your compost bin:
| Yes Please | No Thanks | Why? |
|---|---|---|
| Fruit scraps | Meat or bones | Attracts pests |
| Veggie peels | Dairy | Smells bad as it breaks down |
| Eggshells | Oils | Slows down composting |
| Coffee grounds | Treated wood | Harmful chemicals |
Cover Crops: Growing Plants That Enrich the Soil During Off-Season
Ever think about giving your garden a little off-season job? That’s where cover crops come in. Think of them as the garden’s recharge phase.
Planting stuff like clover or winter rye isn’t just for looks. These plants are hard workers, grabbing nutrients from deep in the soil and bringing them up top where your next season’s veggies will need them.
They also keep the soil together, making sure it doesn’t just wash away with the rain. And when spring comes around? You just chop them down, and they give back to the soil, making it even richer. Here’s a quick guide to some cool cover crops you might wanna try:
| Cover Crop | Good For | Chop Down Time |
|---|---|---|
| Clover | Fixing nitrogen | Before flowering |
| Winter Rye | Preventing erosion | Early spring |
| Buckwheat | Quick cover | Before seeds mature |
Planting these isn’t just smart; it’s a small effort with big rewards. You’re not just waiting around for the next planting season; you’re actively improving your soil. Better soil means happier plants and more brag-worthy blooms and harvests. So, give it a go and watch your garden thrive come spring.
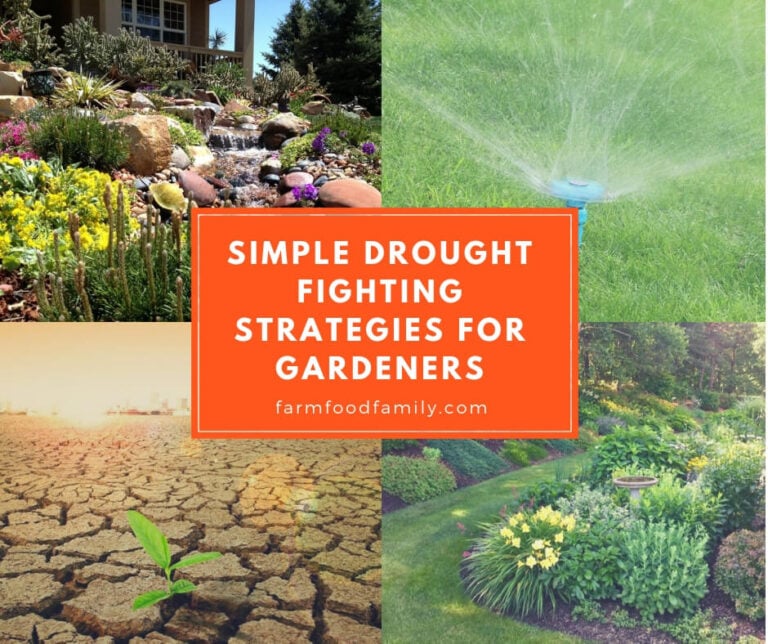
3. Water Conservation Techniques
Drip Irrigation: Installing a Simple, Water-Efficient Drip System
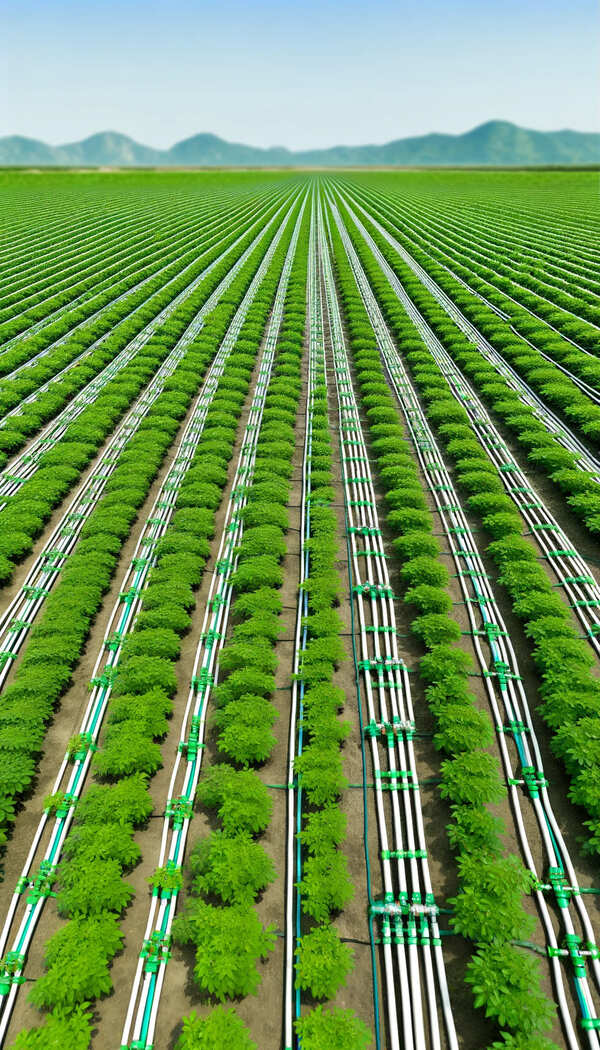
Tired of seeing water go to waste? Well, a drip irrigation system might just be what your garden is thirsty for. This setup is all about efficiency, delivering water directly to where your plants need it most—their roots.
It cuts down on evaporation and runoff, so you’re not just watering the dirt or the sidewalk. And guess what? It’s surprisingly simple to set up.
You lay down a network of tubes right by the base of your plants, connect it to your water source, and let it drip slowly.
This way, every drop goes a long way, making your water bill happier and your garden greener. It’s a smooth move for anyone looking to get serious about saving water and keeping their garden in top shape without the hassle.
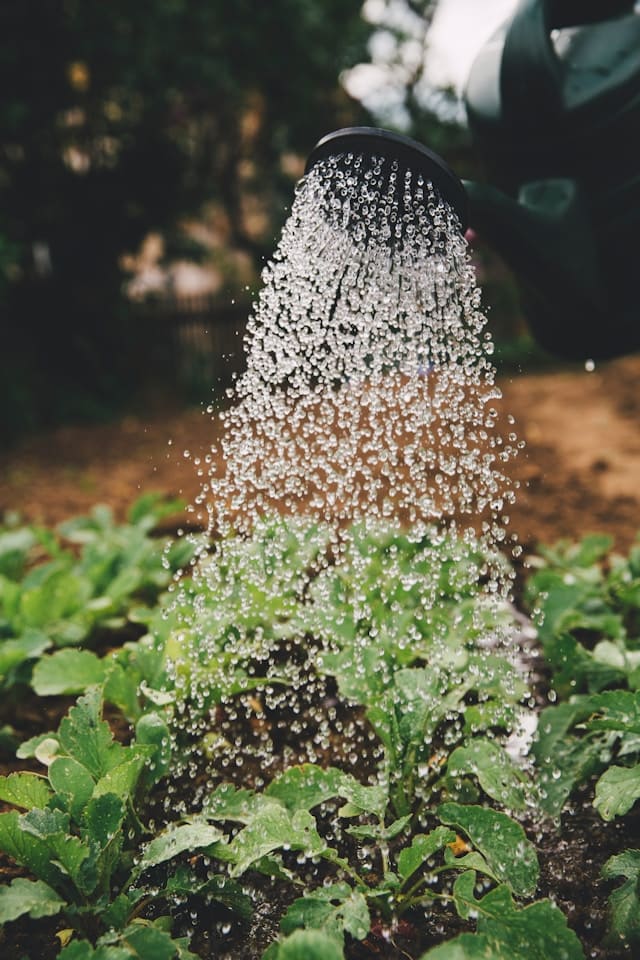
Rainwater Harvesting: Using Barrels to Collect and Store Rainwater for Garden Use
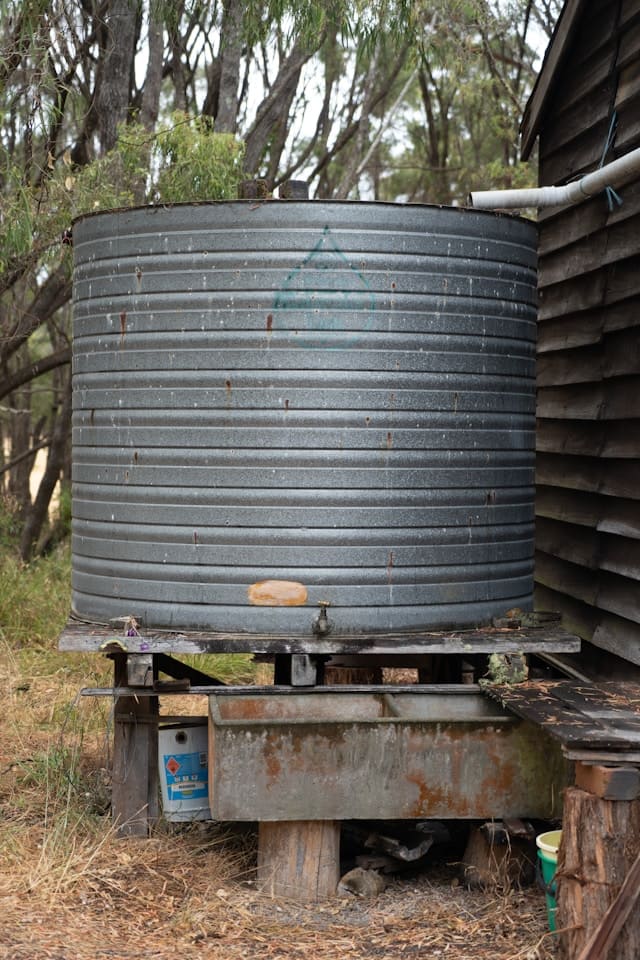
Now, if you’re up for catching some free water from the sky, rainwater harvesting is the way to go.


Grab yourself a barrel or two and hook them up to your gutter’s downspout. When it rains, you collect water that would otherwise just end up in the storm drain. It’s like having a mini reservoir for your garden.
Not only does this reduce your dependence on the hose, but rainwater is also better for your plants since it’s free of the salts and chemicals found in tap water. Here’s a quick rundown on setting it up:
| Equipment | Purpose | Benefit |
|---|---|---|
| Barrels | Collect and store rainwater | Reduces tap water usage, saves on bills |
| Downspout | Directs rainwater from roof to the barrel | Maximizes water collection |
| Filter | Keeps debris out of your stored water | Maintains water quality |
Using this water is straightforward—just scoop it out when your plants are thirsty, or set up a more sophisticated system to feed your drip lines.
Either way, your garden gets the drink it needs, and you cut down on your water use—a win-win for you and the environment. So, why not give your plants and pocketbook a break with this savvy water-saving tactic?
4. Pest Management
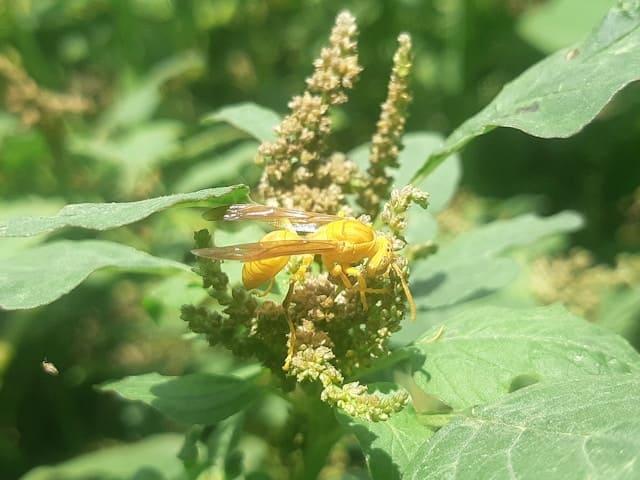
Natural Repellents: Using Plants and Homemade Sprays to Deter Pests
Say goodbye to those pesky garden invaders without harsh chemicals! Natural repellents are a safe and smart way to keep your greens happy and healthy. You can whip up a simple spray with ingredients like garlic, pepper, and soap, which are not fans of many insects.
Just mix them up with some water, and spray directly on the leaves. It’s like telling those bugs, “Not today, pals!” Plus, you can plant some guardian plants like marigolds or basil around the garden border.
These guys are like the bouncers at the club, naturally keeping the riff-raff away. It’s all about creating a barrier that makes pests think twice before munching on your plants.
Companion Planting: Growing Certain Plants Together to Naturally Repel Insects
Next up, let’s talk about companion planting, the buddy system for your garden. It’s pretty neat because certain plants, when grown next to each other, can help ward off pests or even improve each other’s growth.
Think of it like having a good neighbor who watches out for you. For example, planting garlic near roses can help keep those aphids away.
If you put basil next to your tomatoes, not only do you get great flavors close together, but the basil’s strong scent will also help keep tomato pests away. Here’s a quick look at some plant buddies that love hanging out together:
| Plant Buddy #1 | Plant Buddy #2 | Pest Repelled/Benefit |
|---|---|---|
| Tomatoes | Basil | Repels flies and mosquitoes |
| Carrots | Onions | Onions deter carrot flies |
| Cucumbers | Nasturtiums | Nasturtiums trap cucumber beetles |
5. DIY Garden Tools
Repurposing Household Items as Garden Tools
Who said you need to break the bank for effective garden tools? Nah, just take a look around your house—repurposing household items as garden tools is not only smart but also eco-friendly.
For instance, that old wooden spoon gathering dust in your kitchen drawer? It’s perfect for digging small holes or mixing soil in pots. Got an old fork?
It turns into a fantastic tool for loosening soil and aerating small plant beds. And don’t overlook those empty milk jugs; cut the bottoms off, and voila, you’ve got yourself some nifty scoopers for soil or compost.
This approach isn’t just about saving a few bucks; it’s about being resourceful and giving old items a new life in your garden. It’s a creative twist that adds a personal touch to gardening, making it more enjoyable and tailored to your needs.
Creating Your Own Seed Spreaders from Recycled Materials
Now, if you’re looking at evenly sowing those tiny, tricky seeds, making your own seed spreaders from recycled materials is a breeze and darn clever. You know those spice jars with perforated caps you’re about to throw out?
Clean one up, dry it, fill it with seeds, and you’ve got a perfect seed spreader that lets you distribute seeds evenly and with minimal fuss. It’s especially great for seeds that are too small to handle by hand without causing a big mess or wasting seeds. Here’s a quick DIY guide:
- Select a suitable container: Small jars with lids, like those from spices or grated cheese, work best.
- Clean the container: Make sure it’s dry and free from any old contents to avoid contamination.
- Fill with seeds: Don’t overfill; keep it manageable.
- Sow with control: Use the perforated lid to gently tap out seeds over your prepared soil.
This method not only recycles but also adds precision to your planting. It’s a handy hack that simplifies your gardening, reduces waste, and gets you thinking creatively about everyday items. Who knew a simple kitchen reject could turn into a gardener’s best friend? So next time, before you toss that jar, think about how it might just be the little helper you need in your garden.
6. Plant Propagation
Techniques for Propagating Plants from Cuttings
Getting more green without spending much green is totally doable with plant propagation from cuttings. It’s straightforward: snip a piece off a healthy plant, pop it in some water or moist soil, and watch the magic happen.
For example, herbs like basil and mint or houseplants like pothos can thrive from just a small stem cutting. Make sure your cutting has a few leaves and, if possible, cut just below a node (that’s where the leaf connects to the stem because that’s where new roots sprout from).
Stick ’em in a jar of water near a sunny window ledge, change the water every few days, and soon you’ll see roots growing. It’s like cloning your favorite plants—efficient and pretty darn cool.
Saving Seeds from Year to Year to Reduce Costs
Now, let’s not overlook the power of saving seeds from your garden’s bounty. It’s a bit like saving money for a rainy day but in gardening form. After your plants have bloomed and produced fruit, select some of the best to collect seeds from.
Tomatoes, peppers, beans, and peas are all prime candidates for seed saving. Here’s the kicker: make sure the plant isn’t a hybrid, as their seeds might not reproduce true to type. For most veggies, just scoop out the seeds, rinse them off, and let them dry on a paper towel.
Store them in a cool, dry place in labeled envelopes and plant them next season. This little trick cuts down on garden expenses and lets you keep growing the varieties you love, year after year. Plus, it’s a great way to ensure your garden is sustainable and self-reliant.
7. Season Extension
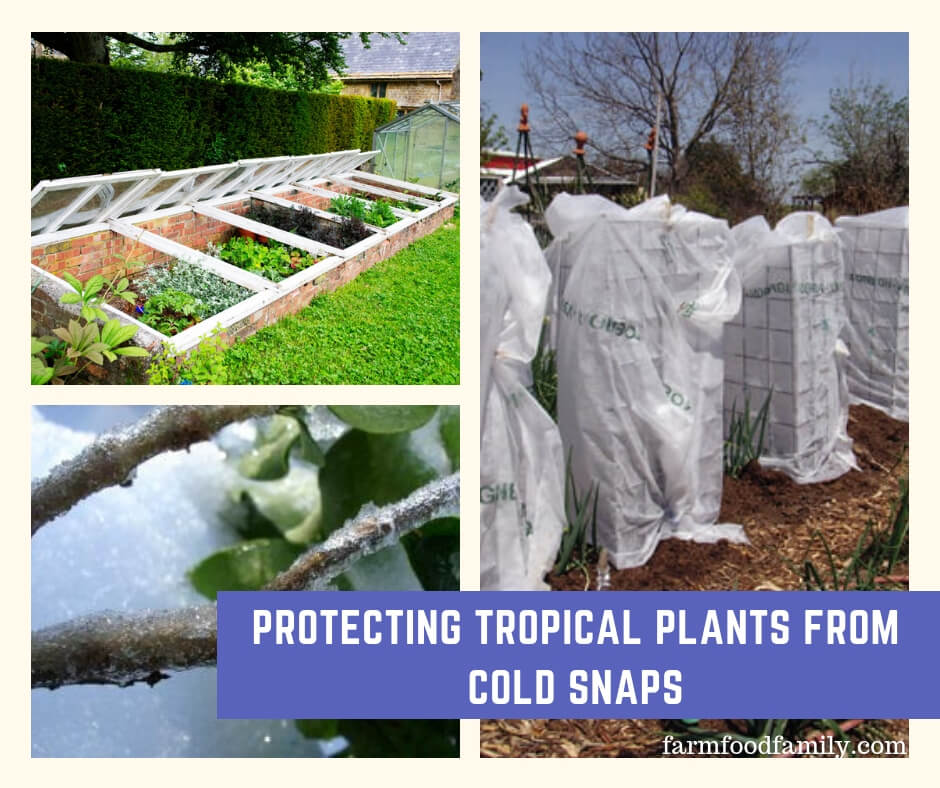
Using Cloches and Cold Frames to Extend the Growing Season
Dreaming of a garden that keeps on giving even when the chill sets in? Using cloches and cold frames can make that dream a reality, letting you stretch the growing season.
Cloches, like little glass or plastic domes, are perfect for covering individual plants, acting like mini greenhouses that trap warmth and protect from frost. They’re especially handy for giving young plants a cozy start.
Cold frames, on the other hand, are like small, ground-level greenhouses that shelter a bunch of plants at once. You can build one using old windows or transparent lids to let in light while shielding plants from cold snaps.
These setups aren’t just useful in the late fall; they can also get your seedlings started earlier in the spring. They create a snug environment that encourages growth even when the weather outside isn’t playing nice.
Tips for Early Planting and Late Harvesting
And how about getting a head start in spring or pushing the boundaries of fall? Tips for early planting and late harvesting can help you maximize your garden’s output. Starting your seeds indoors is a great way to kick things off early.
Use small pots or trays with seed starting mix, and keep them where it’s warm, with plenty of light—think sunny windowsills or under grow lights. When the seedlings are sturdy enough, transition them outside under a cloche or in a cold frame to acclimate them without shock.
For late harvesting, choose plants known for their resilience to cold. Root veggies like carrots and beets, and greens like kale, can handle a little frost.
And don’t forget to mulch! Adding a layer of mulch around your plants keeps the ground warmer and moister longer into the fall.
This approach not only extends your gardening joy but also cuts down on grocery bills by providing fresh produce well beyond the usual growing season. It’s about squeezing every bit of potential from your plot, no matter the weather.
8. Efficient Planting Hacks
Seed Tape: Homemade Seed Tapes for Perfect Spacing
Forget the fuss of trying to space tiny seeds accurately. Homemade seed tapes are a nifty trick to get your garden planted just right.
All you need is a roll of toilet paper, some flour paste, and your seeds. Here’s the lowdown: mix flour and water to make a paste, dab it on the toilet paper at the spacing your seed packets recommend, and place a seed on each dab.
Roll it up gently, and when you’re ready to plant, just lay the tape down in your garden bed, cover it with a bit of soil, and give it a good water. Voilà!
You’ve got perfectly spaced plants. This method is not only easy but also a huge time-saver, especially for those tiny seeds that are hard to handle. Plus, it reduces waste and ensures you’re not sowing more seeds than you need.
The Use of Biodegradable Planting Pots
Moving on to something a bit more earth-friendly, biodegradable planting pots. These are great for starting your seeds and are kind to the planet, too. Made from materials like peat, paper, or even cow manure, these pots can be planted directly into the soil when your seedlings are ready to face the outside world.
This means you can forget about the transplant shock that happens when you move plants from pot to plot. Your plants get a smoother transition, and the pot naturally breaks down, enriching the soil around it.
It’s a win-win for your garden and the environment. Plus, using biodegradable pots helps cut down on plastic waste, keeping your garden green in more ways than one.
9. Eco-Friendly Gardening
Organic Gardening Tips to Avoid Chemicals
Steering clear of chemicals in your garden isn’t just good for the earth, it’s great for your plants and your health too. Organic gardening is all about using natural methods to deal with pests and promote growth.
Start by enriching your soil naturally—compost is your best friend here because it’s full of nutrients and it improves soil structure without any synthetic stuff.
Mulching is another must-do; it keeps moisture in, suppresses weeds, and breaks down into nutritious matter for your plants. And when pests show up?
Opt for natural remedies like neem oil or insecticidal soap that are tough on bugs but gentle on everything else.
Remember, organic gardening isn’t just a set of actions, it’s a mindset that respects nature’s ways, encouraging a vibrant, sustainable ecosystem right in your backyard.
Attracting Pollinators with Specific Plants and Features
To turn your garden into a buzzing haven for helpful pollinators like bees, butterflies, and hummingbirds, attracting pollinators should be part of your gardening strategy.
Pollinators are crucial for helping many plants produce fruit and seeds. Plant native flowers—they’re not just pretty, they’re also the best choice for local wildlife because they’re adapted to your climate and local pollinators.
Flowers like lavender, cosmos, and sunflowers are big hits with bees and butterflies. Additionally, consider adding features like a water bath or a butterfly box to provide shelter and resources for pollinators.
By creating a welcoming environment for these creatures, you’re not only enhancing the beauty and health of your garden, but you’re also contributing to the conservation of wildlife and the promotion of biodiversity.
10. Decorative and Functional Edging
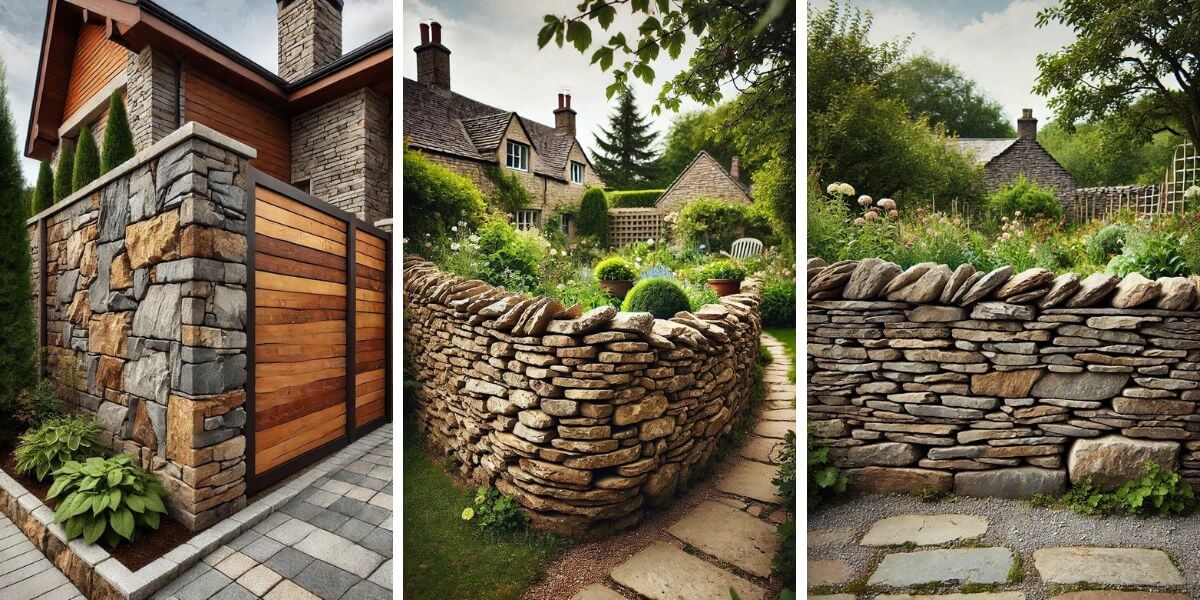
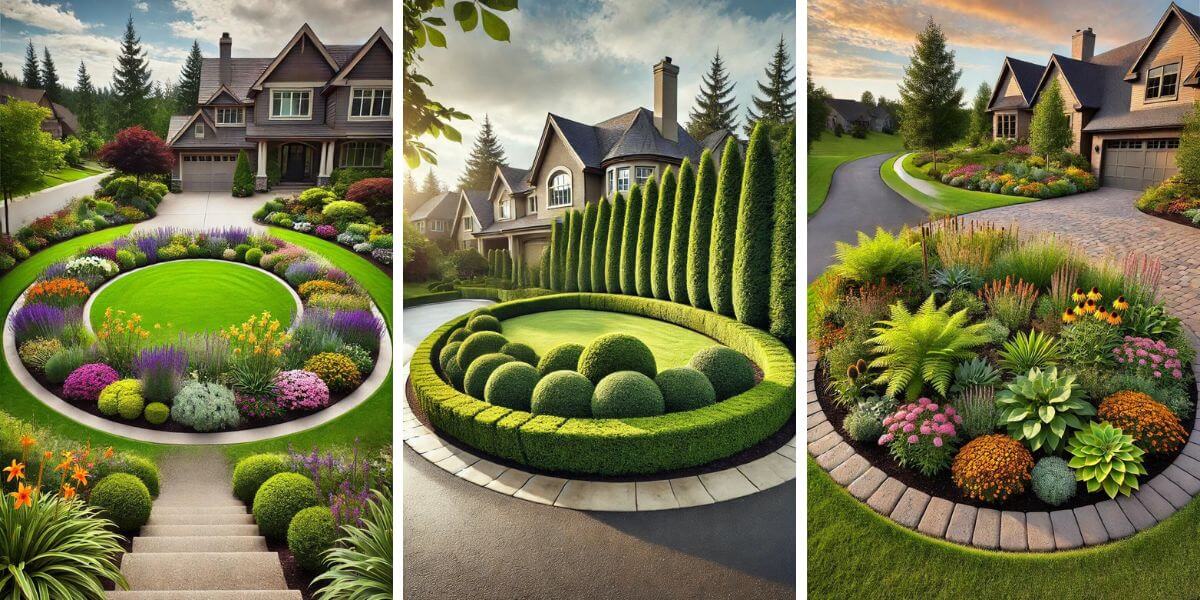
Natural Edging with Stones or Plants to Define Garden Spaces
Natural edging is a stylish and practical way to tidy up your garden by defining the borders and spaces. Using stones or plants as natural borders not only enhances the visual appeal of your garden but also helps in maintaining the structure of your garden beds.
Stones can be laid out to form a rigid, long-lasting border that keeps soil in place and pathways clear, helping to create a polished look.
Plant-based edgings, such as low-growing shrubs, ornamental grasses, or even perennial herbs, provide a softer, more organic boundary.
They can also serve as a living mulch, reducing weed growth and minimizing soil splash onto plant leaves during rains. This method of edging is not just about aesthetics; it also contributes to the health of your garden by improving water retention and reducing erosion.
Edible Borders with Herbs and Low-Growing Vegetables
Why not make your garden edges both beautiful and functional? Edible borders using herbs and low-growing vegetables turn the edges of your beds into productive spaces.
Plant herbs like thyme, oregano, or lavender for a fragrant border that you can also use in the kitchen.
Low-growing vegetables such as lettuce, spinach, and Swiss chard add a splash of color and texture while providing fresh produce just a few steps from your door.
This approach not only maximizes your gardening space but also encourages a more sustainable living by integrating food production into ornamental areas.
Edible borders are particularly useful in small gardens, where every inch counts, allowing you to enjoy a bounty of fresh herbs and veggies without compromising the beauty of your garden design.
Conclusion
We’ve journeyed through a diverse array of garden hacks designed to maximize space, enhance soil quality, conserve water, manage pests, and much more.
Each method we’ve explored offers a unique advantage, from vertical gardening that skyrockets your planting area to using homemade seed tapes for effortless, precise sowing.
These innovations aren’t just about beautifying your garden or growing more food—they’re about making gardening an easier, more joyful experience.
Now it’s your turn to put these ideas into action. Whether you’re building a cloche to extend the season, setting up a rainwater harvesting system to save on water bills, or planting herbs as edible borders for both charm and function, each step you take brings a new delight to your gardening adventures.
By adopting even a few of these garden hacks, you’ll find that your gardening becomes not only more productive but also more enjoyable. So, grab your tools (or make some new ones), and let’s make those garden dreams a lush, flourishing reality.
FAQs About Backyard Garden Hacks
What are the best plants for vertical gardening?
Vertical gardening is ideal for maximizing space and can include a variety of plants. For vegetables, consider climbing plants like tomatoes, peas, and beans. For decorative purposes, trailing plants such as petunias, ivy, and ferns work well. Herbs like basil and mint also thrive in vertical setups, making them both beautiful and practical.
How do I start composting at home?
Starting a compost pile is straightforward: Choose a dry, shady spot near a water source for your compost bin or pile. Mix green waste (vegetable peels, fruit scraps, coffee grounds) with brown waste (dry leaves, branches, paper). Keep the compost moist and turn the pile every few weeks to help the breakdown process. In a few months, you’ll have rich compost to use in your garden.
Can I use rainwater collected from my roof for gardening?
Yes, collecting rainwater is an excellent way to conserve water and is generally safe for gardening. However, if your roof is made of materials that might leach toxic chemicals, it’s best to avoid using this water on edible plants. Use collected rainwater primarily for ornamental plants or install a filtration system if you intend to water vegetables and fruits.
What are some natural ways to repel garden pests?
Natural pest control can be effective and environmentally friendly. Planting marigolds can deter beetles and nematodes, while garlic and chives can repel aphids. Neem oil and diatomaceous earth are other natural products that can protect your garden from pests without the use of harsh chemicals.
How do I make my own seed tape?
To make a seed tape, you’ll need toilet paper, flour, and water to make a paste, and your seeds. Lay the toilet paper flat, dab small amounts of paste in intervals according to the seed spacing requirement, and place a seed on each paste spot. Roll the paper gently, store it until planting, and then unroll the tape directly into your garden bed, covering it with soil. This method ensures even spacing and makes planting small, hard-to-handle seeds much easier.