
8 Timeless Terracotta Pot Ideas That Won’t Crack, Flake or Dry Out
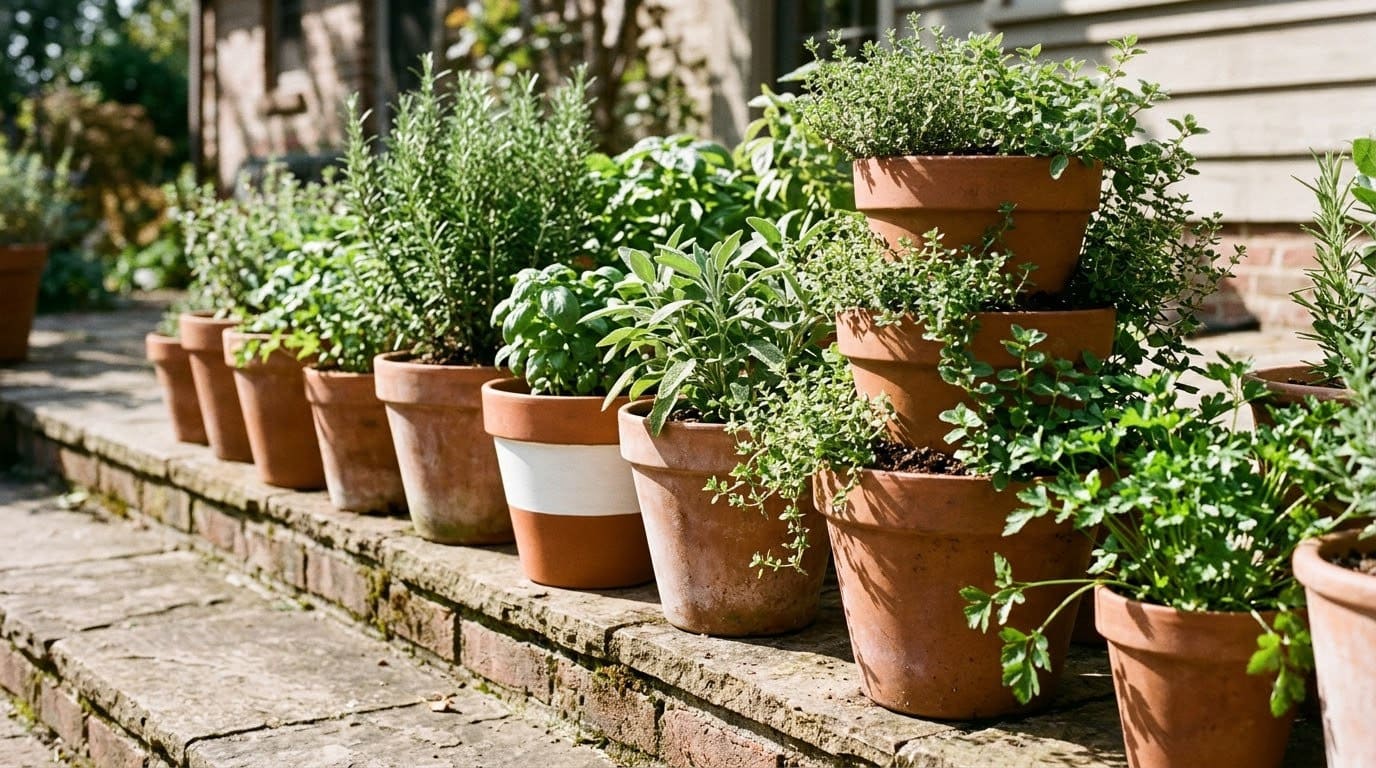
Terracotta pots look good with almost anything, as long as you soak them, seal the paint, drill them slowly and bring them in before the first hard freeze.

Never miss an update — choose FarmFoodFamily as your preferred source on Google.
How it works: Tap the button below to open Google's settings page, then check the box next to FarmFoodFamily.
Tap the checkbox to turn it blue — that's how you know it's set.
Terracotta pots look good with almost anything, as long as you soak them, seal the paint, drill them slowly and bring them in before the first hard freeze.
Products We Recommend
This post contains affiliate links. We may earn a commission on qualifying purchases at no extra cost to you.

6 Inch Terracotta Pots With Saucers, 4 Pack
Classic unglazed pots with drainage holes and matching saucers for herbs and succulents.
Shop Now
10-Piece Masonry Drill Bit Set
Carbide-tipped bits for drilling unglazed terracotta slowly. Keep the clay wet and use little pressure.
Shop Now
ScotchBlue Original Painter's Tape, 1 Inch
Clean-edge tape for painted bands on sealed terracotta pots.
Shop NowTerracotta is the easiest pot to love and the easiest to ruin. It’s cheap, it looks great and it breathes. Then a winter freeze splits it, paint peels off in sheets or a thirsty herb wilts in a day.
All three problems come from one fact. Unglazed clay is porous, so it takes in water, lets it out and moves heat and cold through the wall.
These eight ideas work with that fact. Each one covers the materials, the steps and the mistakes that wreck most terracotta projects.
Answer 4 quick questions and get matched to the exact fix for your yard — drainage, budget, layout, or something else entirely.
Take the Free QuizQuick Answer
Soak new pots before you plant, then expect to water more often. Bloomist explains that unglazed terracotta absorbs water through its walls, so potting mix dries faster than it would in plastic or glazed ceramic.
Protect pots in winter. Larry Hodgson, the Laidback Gardener, says clay pots can crack when absorbed water freezes, whether they hold soil or not. Sometimes a pot survives a first winter, but rarely two.
Seal before you paint. Moisture moving through bare clay pushes paint off and leaves white crusts.
Drill slowly. Go slowly, keep the clay wet and use a masonry bit for unglazed pots.

But the biggest fix is simple. Give every pot a drainage hole, and check the soil by finger before you water. Illinois Extension says plants in pots without holes face a greater risk of root rot.
Most yard problems trace back to one specific, fixable cause. Find yours in 4 quick questions.
Take the Free QuizWhich Idea Fits You?
Pick by time, skill and where the pot will live. This table sorts the eight builds below.
| Idea | Time | Skill | Budget tier | Main risk |
|---|---|---|---|---|
| 1. The soaked classic herb pot | 15 minutes | None | Lowest | Overwatering saucers |
| 2. Painted and sealed pots | One weekend | Beginner | Low | Paint peeling |
| 3. A tipsy pot tower | One afternoon | Intermediate | Low to mid | Cracked pots while drilling |
| 4. Hanging terracotta pots | One afternoon | Intermediate | Low | Weight and drilling |
| 5. A succulent and cactus trio | 30 minutes | None | Lowest | Too much water |
| 6. A saucer water dish | 10 minutes | None | Lowest | Mosquitoes in standing water |
| 7. Pot rim garden edging | One afternoon | Beginner | Low | Frost cracking |
| 8. A winter storage system | One hour | None | Free | Skipping it |
Before You Start: Four Terracotta Rules
Every project below depends on these. They take a few minutes and save a lot of cracked clay.
Rule 1: Soak new pots first
Sources recommend soaking an empty terracotta pot before planting, with timings from 30 minutes to overnight.
The clay then holds a reserve of water, instead of pulling it from the plant.
Rule 2: Water by feel
Bloomist’s watering guide says to water slowly and evenly until water flows from the drainage hole, then let the pot drain fully before it returns to its saucer. Before watering again, push a finger an inch or two into the mix. If it’s dry at that depth, water.
Rule 3: Always keep a drainage hole
University of Illinois Extension says containers with drainage holes are best and warns against over-potting. Move up only one pot size.
Rule 4: Plan for the first freeze
Hodgson’s winter pot guide calls clay pots among the most fragile in cold. Their permeable walls fill with moisture, and freezing water can crack the pot. He says terracotta should spend the winter indoors or in another frost-free spot.
Classic unglazed pots with drainage holes and matching saucers for herbs and succulents.
Shop NowThis post contains affiliate links. We may earn a commission on qualifying purchases at no extra cost to you.
The 8 Best Terracotta Pot Ideas
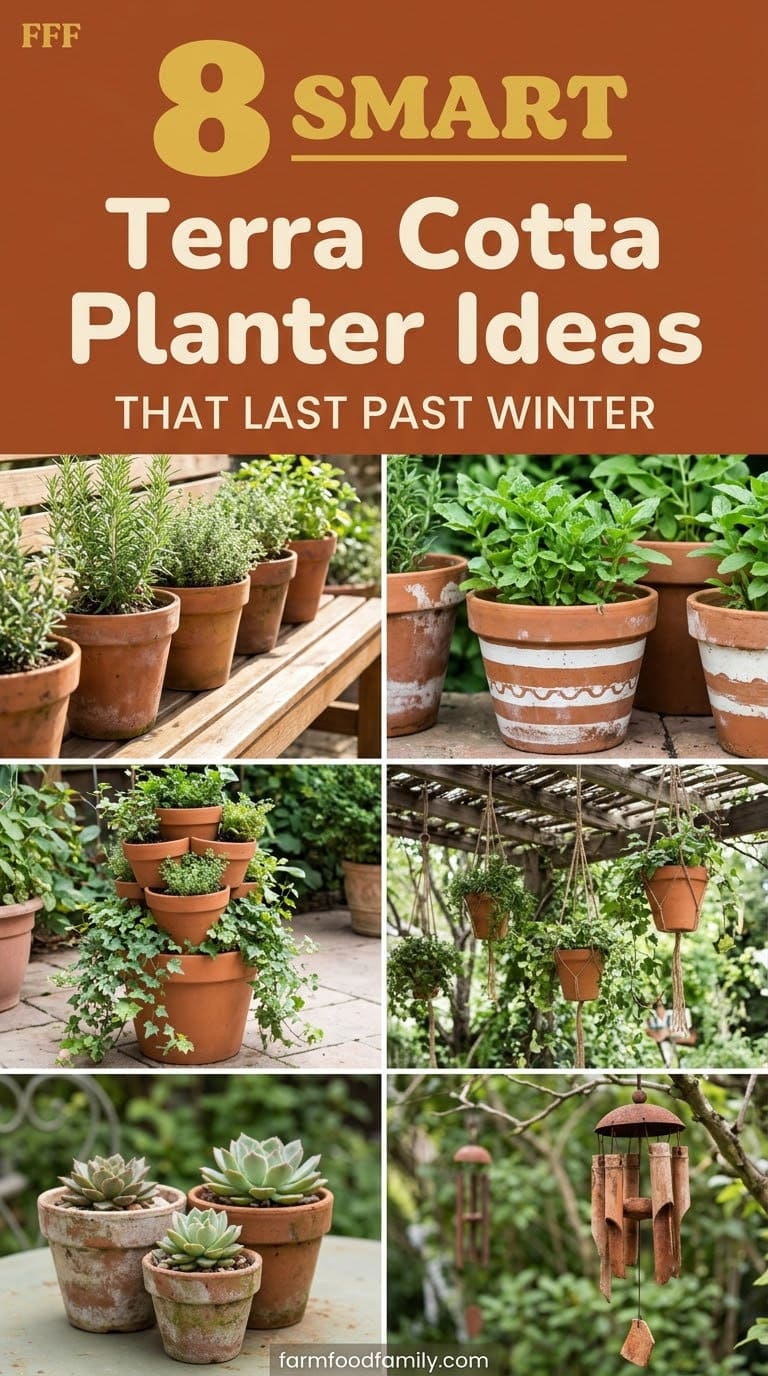
1. The Soaked Classic Herb Pot
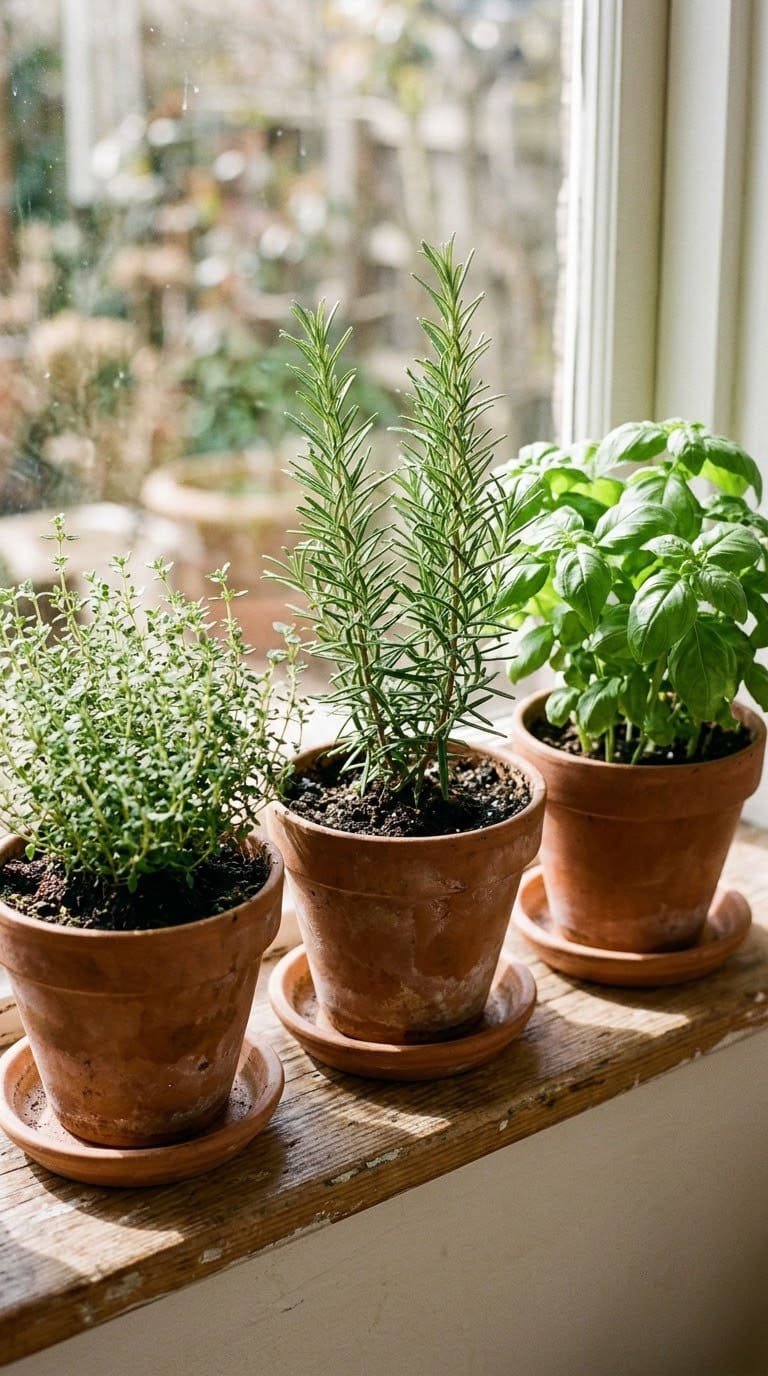
This is the simplest idea and the one most people get wrong. A plain pot with the right habits beats a fancy one.
Soak the pot, fill it with a fresh potting mix and plant one herb. Set it on a saucer, but empty the saucer so roots don’t sit in water. Check the soil by finger, as Bloomist advises.
The average homeowner spends $616/year on yard fixes that don't address the real problem. Find out what yours actually is — before you spend another dollar.
Take the Free QuizTerracotta suits herbs that like to dry out between waterings, such as thyme and rosemary. Thirstier herbs need more frequent watering. For more combinations, see the site’s guide to growing culinary herbs in pots.
Quick tip: turn the pot a quarter turn each week so every side gets light. Terracotta shows a pale waterline after watering, and that line tells you how fast the pot is drying.
2. Painted and Sealed Pots
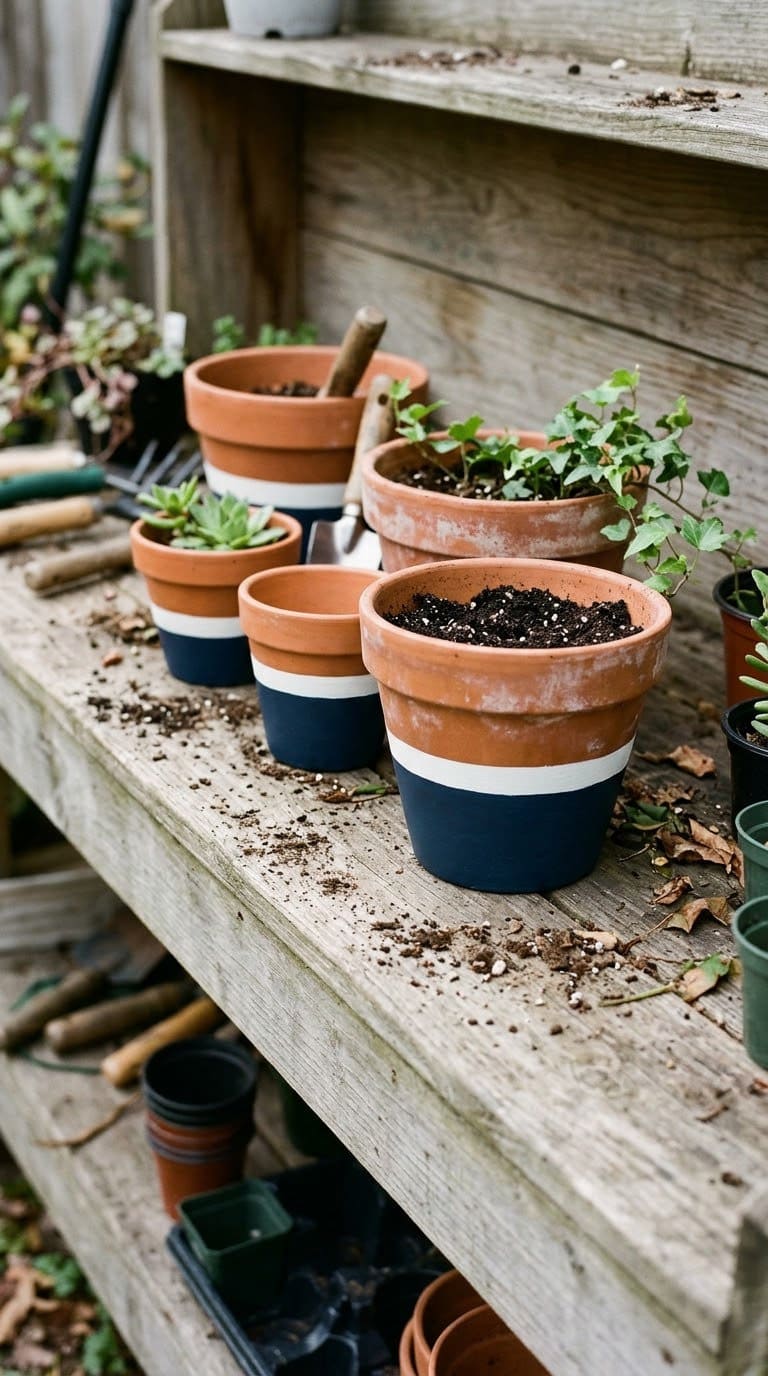
Painted pots look sharp, but most flake in a season. The cause is moisture moving through the clay.
Search results for a paint-maker’s terracotta guide suggest scrubbing off white salt crust with a vinegar soak and drying the pot for about 24 hours.
Then seal the inside and outside with a breathable masonry sealer.
Add a bonding primer on the outside and finish with 100 percent acrylic exterior paint.


Let it cure fully before planting.
Skip painting the inside. Paint there blocks the clay from breathing. Paint a test pot first, because a color that looks great wet can look dull when the clay dries.
Quick tip: use painter’s tape for crisp bands, and pull it while the paint is still slightly tacky so the edge doesn’t tear. Let each coat dry fully before you add the next. See more painting ideas in DIY clay pot garden craft projects.
3. A Tipsy Pot Tower
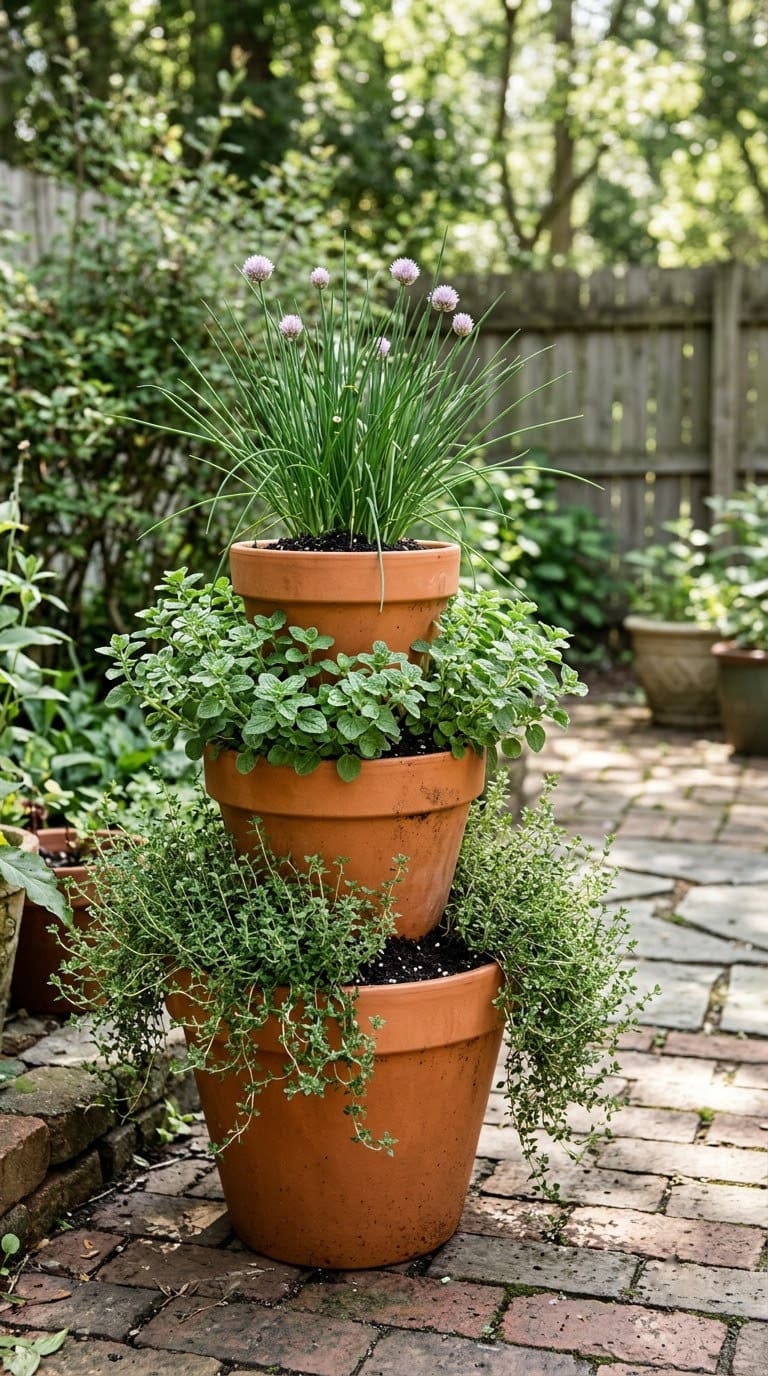
A stack of pots on a central rod makes a tiered herb tower. It takes little floor space.
A New Zealand Gardener tutorial stacks terracotta pots and saucers on a threaded rod with herbs in each pot.
The steps soak the saucers for about 30 minutes, drill with a masonry bit while adding water to keep the bit cool and seal pieces with terracotta sealer before assembly.
Drill slowly with as little pressure as you can. Use the lightest pots at the top. Mark the spot with a small pencil dot first, and lay masking tape over it to keep the bit from skating.
Quick tip: dry-stack the whole tower on the ground before you drill anything. A short test shows whether the pots nest at the right height and whether the rod clears each hole. For simpler stacks, see DIY flower tower ideas.
4. Hanging Terracotta Pots
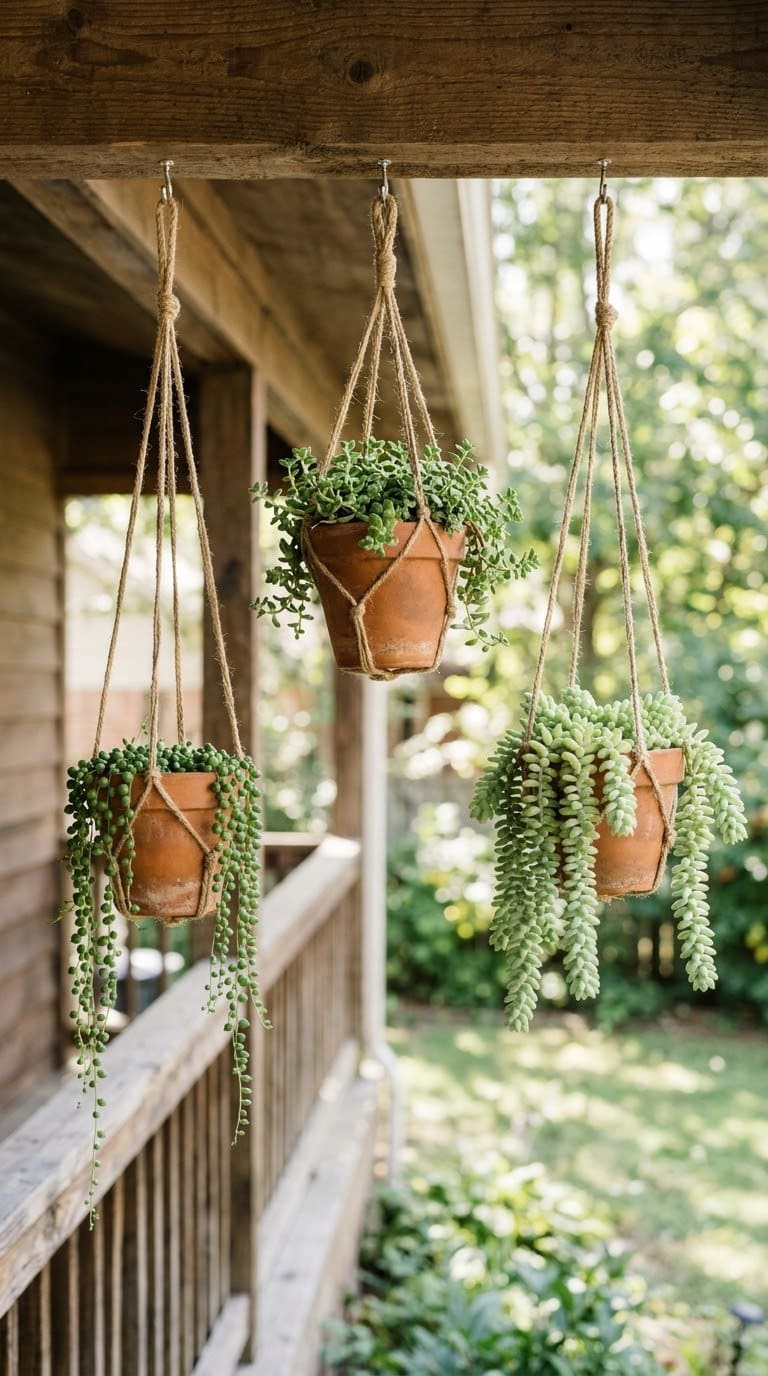
Hanging pots free up floor space and look sculptural. They’re also heavy, so plan the hardware.
Thread rope or chain through holes drilled near the rim, or use a metal pot hanger. Wet soil is heavy, so test the weight of one filled, watered pot on a bathroom scale before you hang it. Mount the hook into a joist or a beam, not drywall.
Terracotta dries fast when hung, because air moves around the whole pot. Check the soil often, and choose plants that can handle drying out. See more hanging options in front door flower pot ideas.
Quick tip: hang pots at different heights, with the heaviest at the lowest point. A staggered cluster looks intentional, and it keeps a heavy pot from swinging into a small one in the wind.
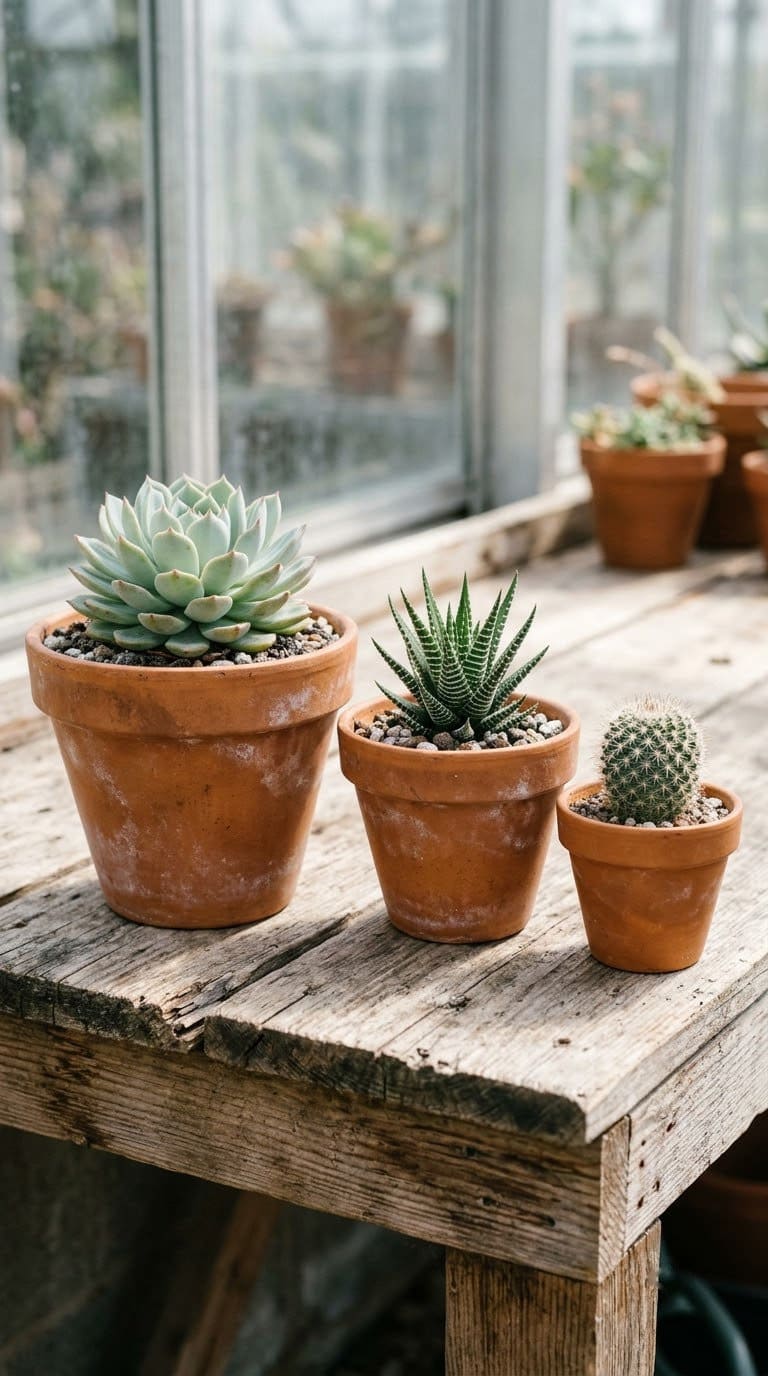
5. A Succulent and Cactus Trio
Succulents and cacti love terracotta. The porous walls dry out the mix quickly, which they prefer.
Choose three pots in graduated sizes. Fill each with a gritty cactus mix and plant one succulent per pot. Water only when the mix is dry through, and empty the saucer.
Because terracotta dries fast, these plants rarely rot. Rotation helps too, so move the trio near a window that gets bright light.
Quick tip: top-dress each pot with a layer of small gravel. It keeps the stem dry and gives the pots a finished look. For repotting steps, see how to repot succulents and the guide to succulent containers for indoor gardens.
6. A Terracotta Saucer Water Dish
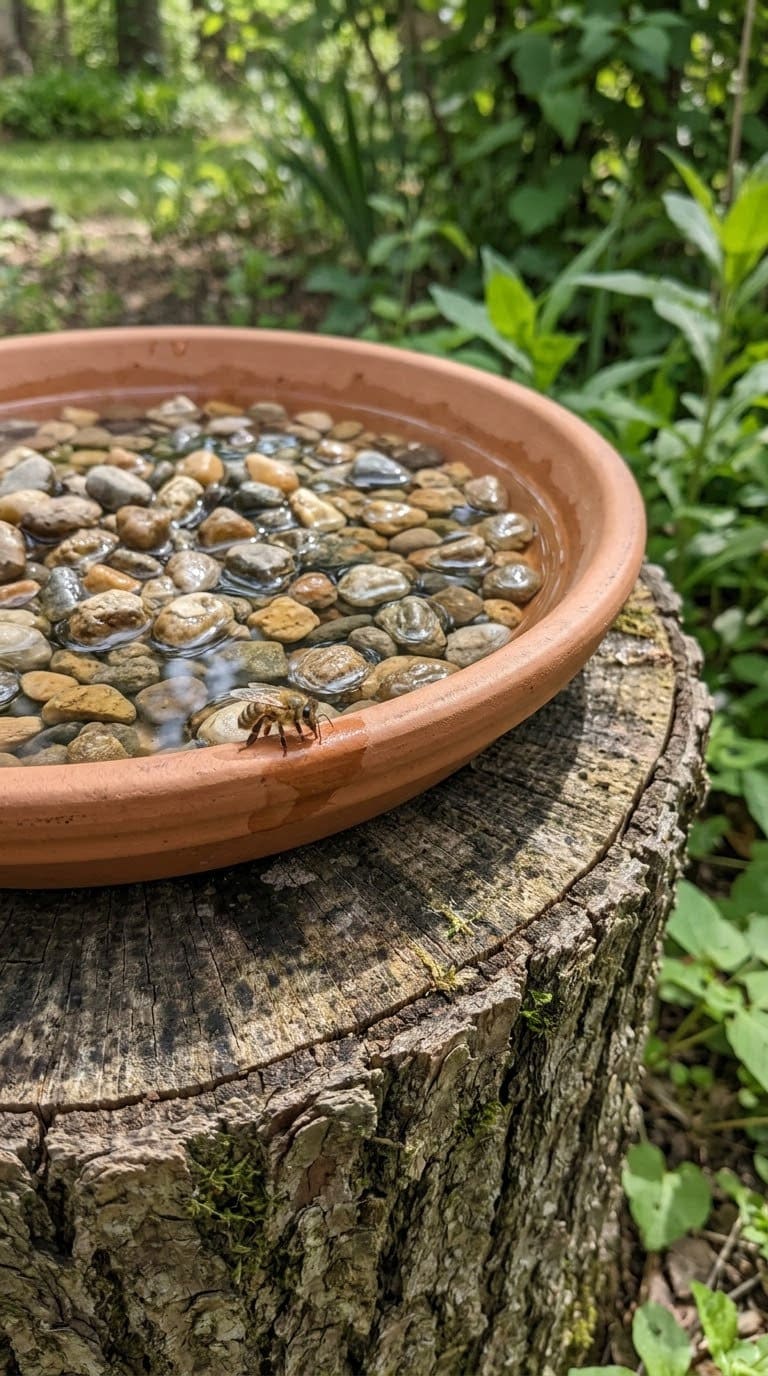
A large saucer filled with water gives birds and bees a place to drink. It’s the cheapest wildlife feature you can make.
Set a wide, shallow saucer on a stump or a stack of pots, and add a few stones so insects can land.
Refill daily with fresh water. Standing water can breed mosquitoes, so rinse and refill it every few days.
Because clay is porous, the saucer will slowly lose water, so check it often in summer.
7. Pot Rim Garden Edging
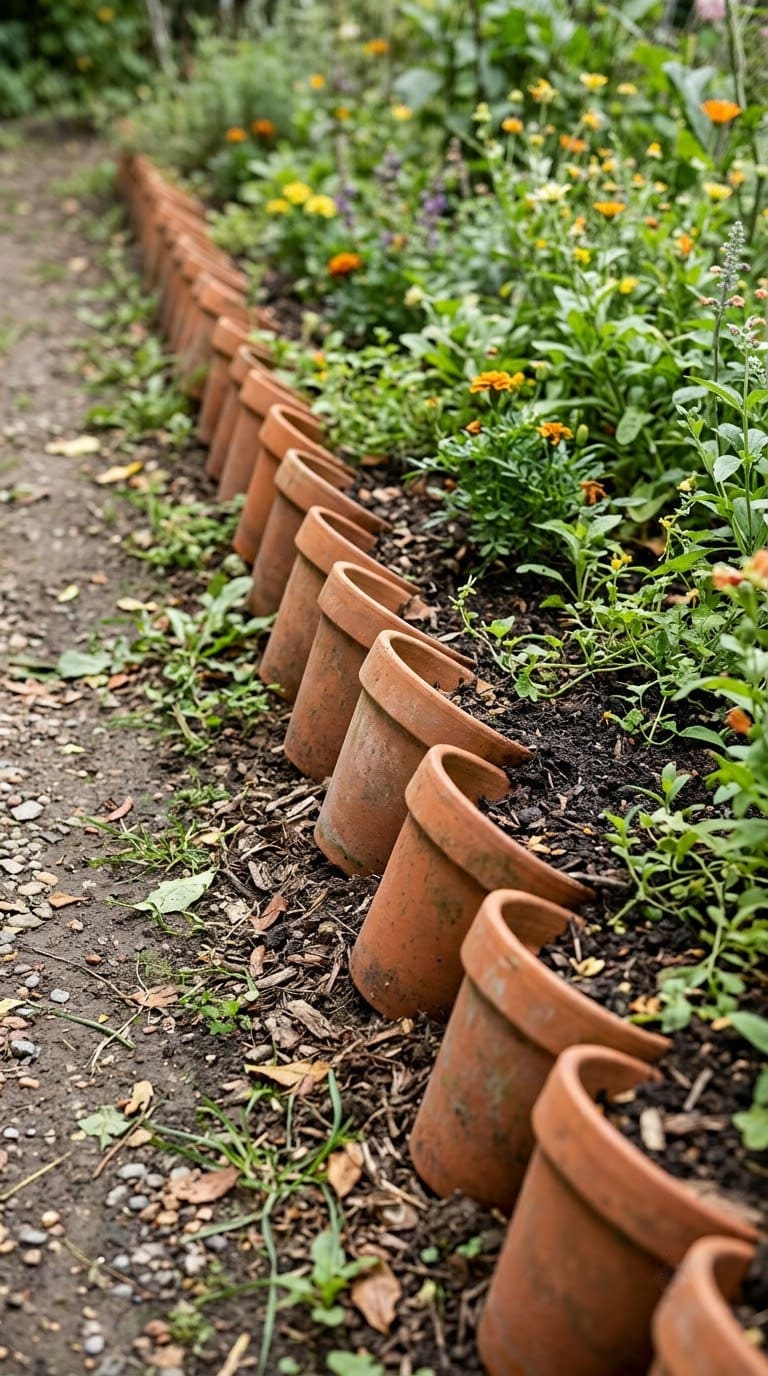
Upturned pot rims or whole pots half-buried along a bed make a quirky border. They’re cheap and quick.
Dig a shallow trench, set each pot or rim at the same height and backfill firmly. Match the pots so the line looks planned. Use only pots you won’t mind losing, because buried clay stays wet.
In freezing climates, buried terracotta can crack, as Hodgson warns about permeable clay. Treat this as a seasonal border and lift the pieces before winter, or use frost-proof edging instead. For other options, see low-budget DIY garden pot ideas.
8. A Winter Storage System
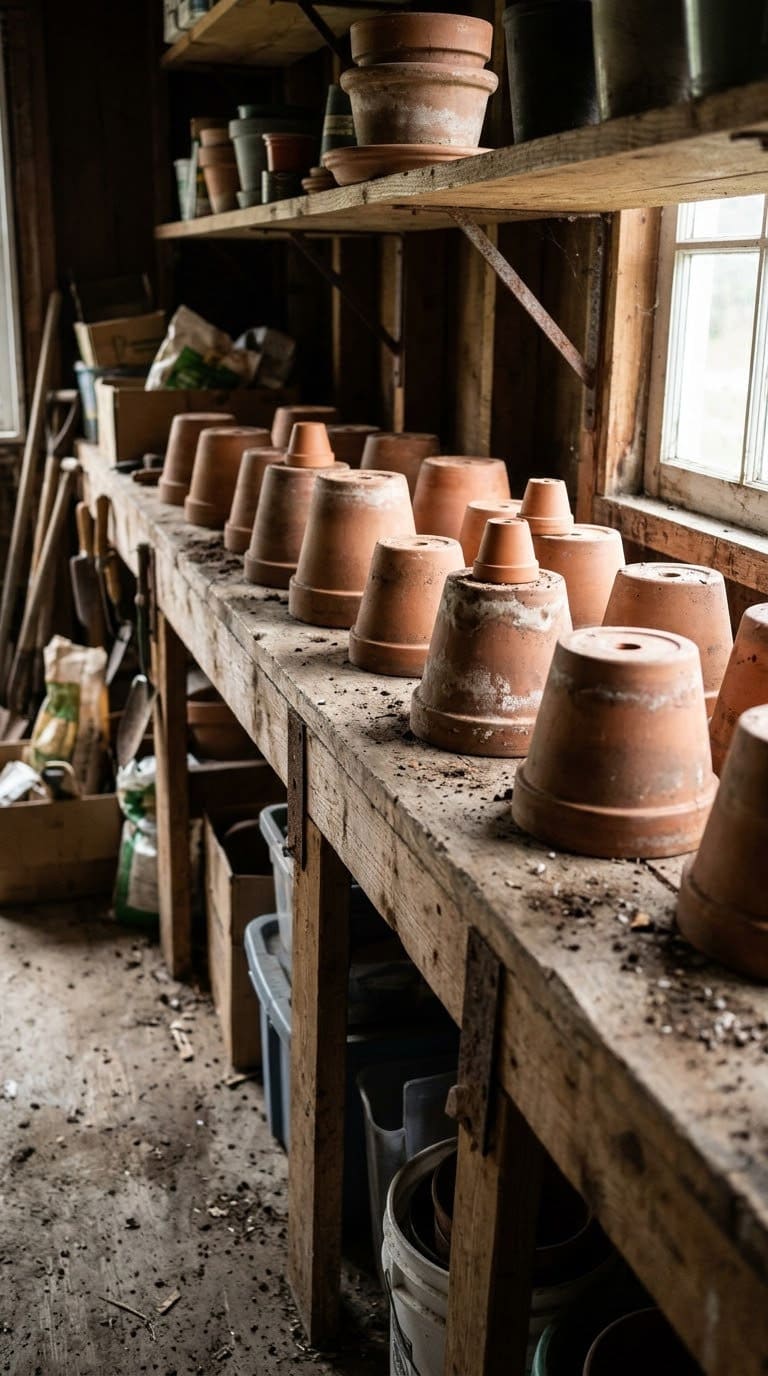
This isn’t a decoration, but it saves your whole collection. A good storage setup keeps pots alive for years.
Empty each pot, brush off soil and let it dry completely. Store pots upside down and unstacked in a garage, basement or shed that stays above freezing. Hodgson says terracotta should spend winter indoors or in a frost-free spot.
If pots must stay out, lift them off wet ground and keep rain from collecting in them.
Why Terracotta Dries So Fast
Understanding the clay explains most care rules. Bloomist notes that the potting mix dries faster in unglazed terracotta than in plastic or glazed ceramic.
That helps plants that like to dry between waterings. For plants that need steady moisture, you’ll water more often or slow evaporation with mulch on top of the soil.
Morning watering lets the mix soak before the day gets hot. Bottom watering, where the pot sits in a tray for a short time, also works with clay.
Choosing Plants for Terracotta
Match the plant to the pot. Terracotta pulls water out of the mix, so it suits some plants better than others.
Plants that prefer to dry slightly between waterings, such as succulents, cacti, thyme and rosemary, do well. Plants that want steady moisture, such as basil, ferns and many annuals, need more frequent watering or a mulch layer on top.
Group pots by water need. Put the dry-loving pots on one side of the patio and the thirsty ones near the hose. That way you water each group on its own schedule and avoid guessing.
Large pots hold more mix and dry slower than small ones. If you travel often, pick bigger terracotta pots for thirsty plants, and keep the small ones for succulents.
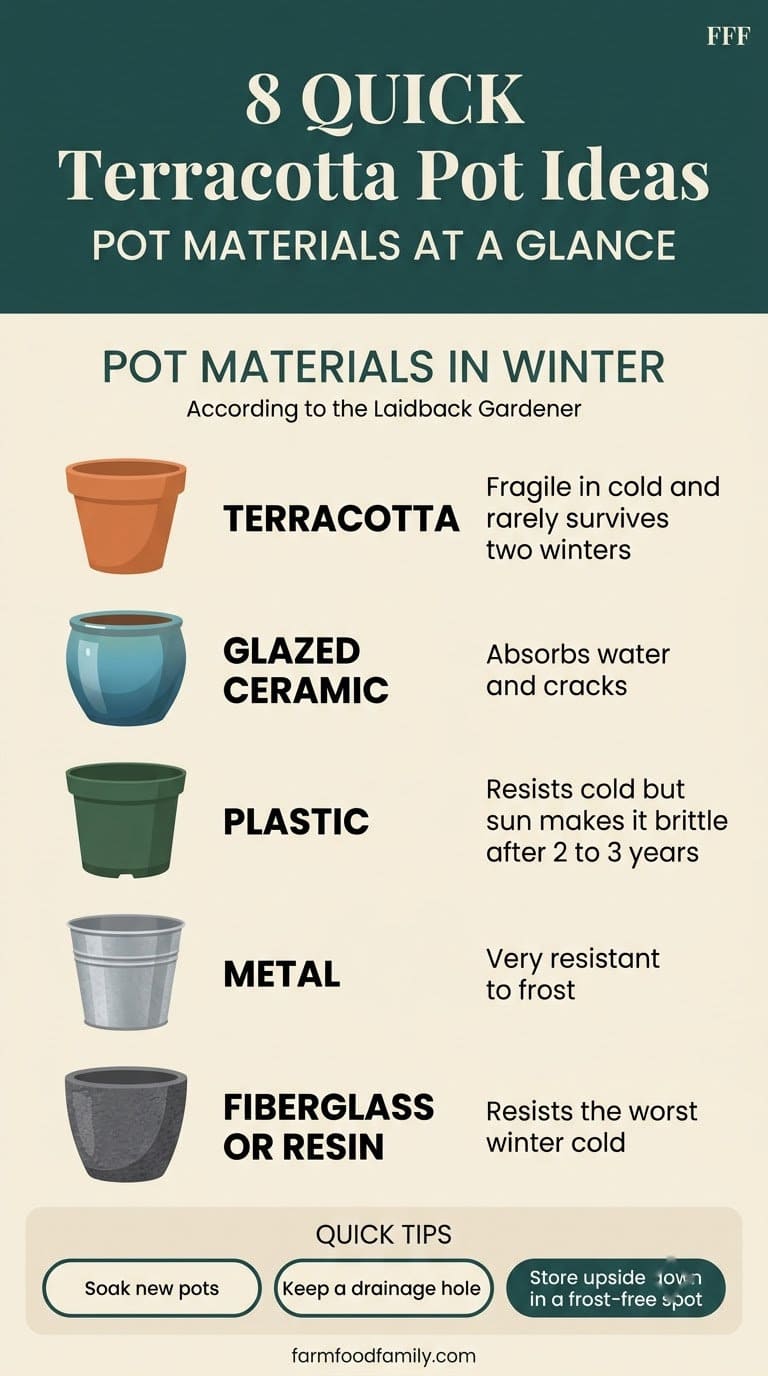
Terracotta Versus Other Pot Materials
Terracotta isn’t always the right choice. Hodgson’s winter guide compares the common pot types.
| Pot type | Winter behavior (per Hodgson) | Best use |
|---|---|---|
| Terracotta | Fragile in cold, rarely survives two winters outdoors | Herbs, succulents, seasonal color |
| Glazed ceramic | Often unglazed inside or underneath, so it absorbs water and cracks | Indoors or protected spots |
| Plastic | Resists cold, but sun makes it brittle after 2 to 3 years | Year-round budget pots |
| Metal | Very resistant to frost | Permanent outdoor displays |
| Fiberglass or resin | Resists the worst winter cold | Year-round statement pots |
If a pot will stay out all winter, choose a more frost-tolerant material. Keep terracotta for plants you can move. For cheaper year-round pots, see the guide to plastic flower pot ideas.
How to Clean White Crust and Moss
Old terracotta often grows a white crust or green film. It’s harmless to the plant, but it looks tired.
Search results suggest soaking the pot in a vinegar and water mix and scrubbing with a stiff brush. Rinse well and let it dry for a day before replanting.
Wear gloves, and never mix cleaners.
Some gardeners like the aged look. If you want to keep it, leave the crust and just brush off loose flakes.
A Quick Pot Inspection Routine
Check each pot once a month. Look for hairline cracks, flaking paint and white crust on the rim. Press gently on the rim to feel for any loose chip.
Replace a cracked pot before it fails, because a split pot can drop soil and plants without warning. A pot with a small chip can still work for cuttings or as decor.
Seasonal Care for Terracotta
Small seasonal habits extend pot life by years.
Spring: Soak new pots, check old ones for hairline cracks and replant in fresh potting mix.
Summer: Water by feel, and check pots more often in hot weather, since clay dries fast. Water in the morning.
Fall: Empty pots, brush them clean and let them dry completely before storage.
Winter: Keep pots in a frost-free spot, upside down and separated. If any must stay out, lift them off wet ground and keep rain out of them.
Cost Tiers at a Glance
Costs vary by region and supplier, so think in tiers.
| Tier | Projects |
|---|---|
| Lowest | Classic herb pot, succulent trio, saucer water dish, winter storage |
| Low | Painted pots, hanging pots, pot rim edging |
| Low to mid | Tipsy pot tower with a rod and sealer |
Pots themselves are cheap at garden centers and thrift stores. The extra cost is the sealer, paint and masonry bits, which you can reuse.
Common Mistakes to Avoid
Most failures trace back to the same few habits.
Leaving pots out in a hard freeze. Hodgson says even emptied clay pots can crack.
Painting bare clay. Paint without a sealer tends to peel.
Skipping drainage holes. Illinois Extension links them to root rot.
Over-potting. A pot that’s too big holds too much wet soil.
Drilling fast. Rushing cracks pots. Go slowly.
FAQ
Do terracotta pots need to be soaked before planting?
Sources recommend it. Soaking lets the clay take in water first, so it pulls less from the plant.
Why do terracotta pots crack in winter?
Hodgson explains that the clay is permeable, so moisture fills the spaces between particles. When it freezes and expands, the pot can crack.
Can I paint terracotta pots for outdoor use?
Yes, with a sealer and exterior acrylic paint. Seal first, and let the finish cure before you plant.
How often should I water a terracotta pot?
Check the soil an inch or two down, as Bloomist suggests. If it’s dry, water until it runs from the drainage hole.
What plants suit terracotta?
Plants that like to dry between waterings, such as succulents, cacti, thyme and rosemary.
Related Posts
Never miss an update — choose FarmFoodFamily as your preferred source on Google.
How it works: Tap the button below to open Google's settings page, then check the box next to FarmFoodFamily.
Tap the checkbox to turn it blue — that's how you know it's set.







I thought I have lots of cute decorations for my garden, but thanks to you now I have even more ideas. Now you are making me wish for the winter to go faster and it’s not even here yet lol. I can’t wait for the spring to add some more beauties to my garden. Thanks for sharing. I’m pretty sure I will use the inspiration.