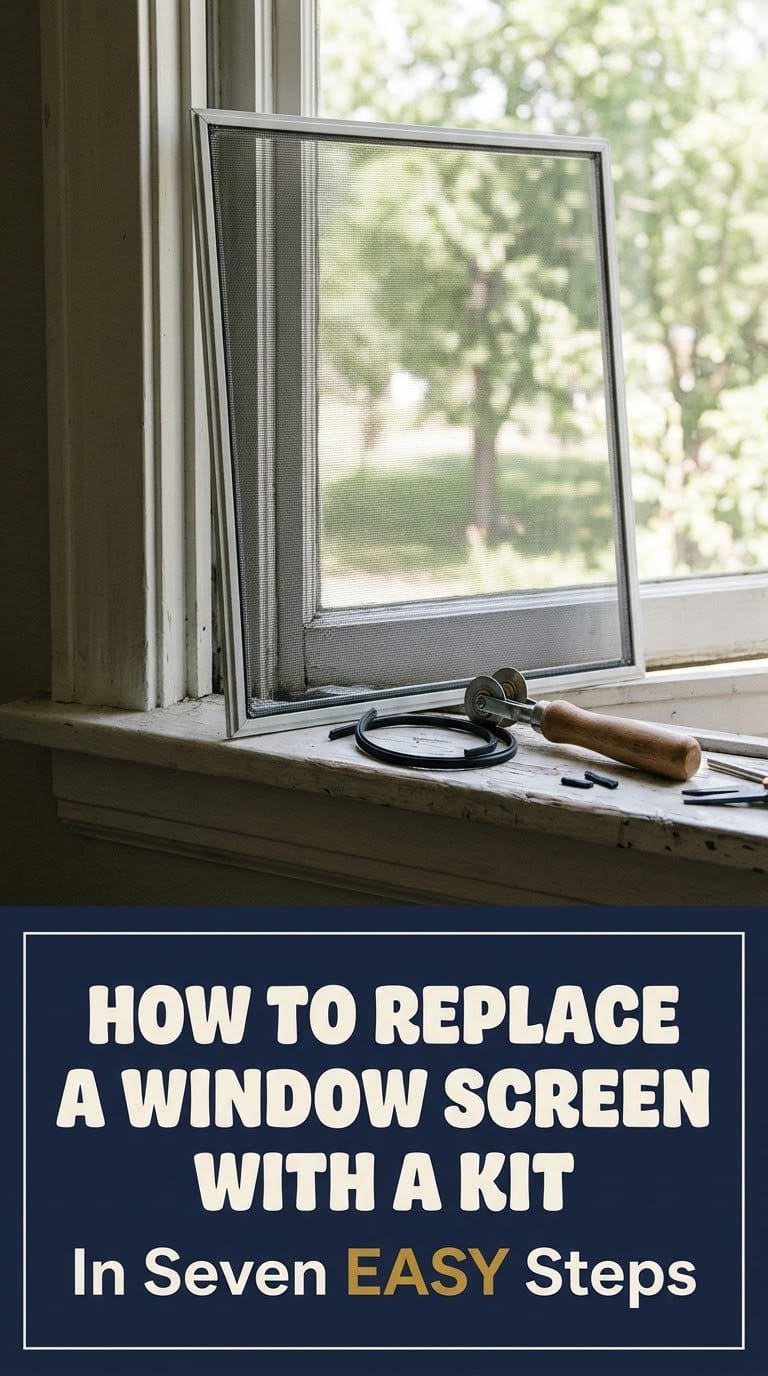
How to Replace a Window Screen With a Kit: 7 Steps That Actually Work (No Experience Needed)
A kit turns re-screening a window into an afternoon job, but careful measuring and gentle rolling decide how flat the screen turns out.

Never miss an update — choose FarmFoodFamily as your preferred source on Google.
How it works: Tap the button below to open Google's settings page, then check the box next to FarmFoodFamily.
Tap the checkbox to turn it blue — that's how you know it's set.
A kit turns re-screening a window into an afternoon job, but careful measuring and gentle rolling decide how flat the screen turns out.
To replace a window screen with a kit, measure the frame, pull out the old spline and mesh, lay the new mesh flat, press it in with a spline roller, and trim the excess. A kit works when the frame is straight and the corners are tight.
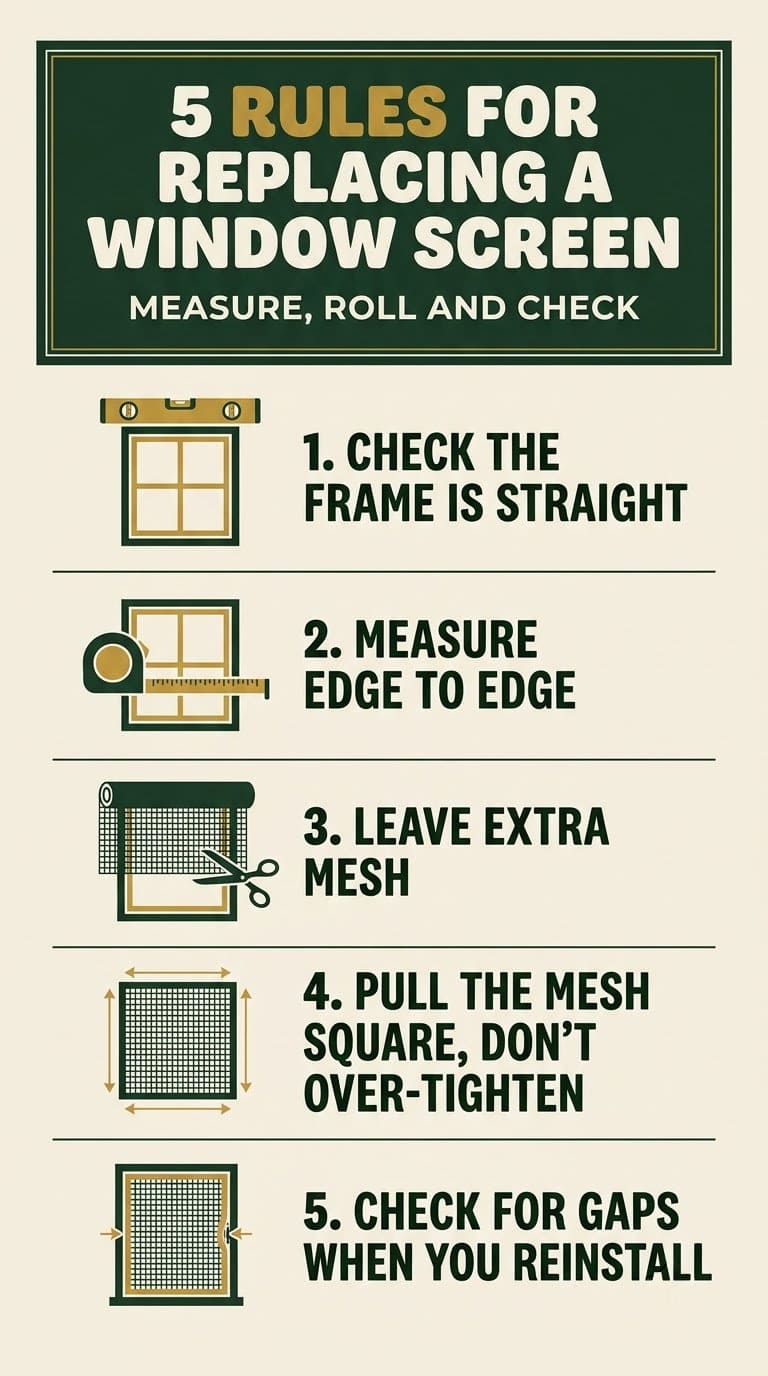
Leave extra mesh while you work, and pull it gently square instead of stretching it tight. Over-tightening is the most common reason a finished screen bows or ripples. Keep a short piece of the old spline so you can match its diameter to the groove.
Check the seal when you reinstall the screen. Penn State Extension says that keeping window and door screens in good repair prevents mosquitoes from entering homes without affecting pollinators outdoors.
If the frame is bent or corroded, buy a complete replacement screen instead of a kit.
A torn screen usually shows up at the worst moment: the first mild evening of the season, with a garden full of things you want to enjoy and a window that lets in every insect within range. Replacing the whole unit feels like overkill, and hiring someone for a single window feels worse. The good news is that re-screening a frame is one of the most forgiving home repairs there is.
The question most people type into a search bar is simple: How do you replace a window screen with a kit? The short answer is that a kit gives you the mesh, the spline that holds it in the frame and, depending on the kit, the frame pieces and corners, so the job comes down to measuring, pulling out the old material, pressing in the new and trimming the excess. The seven steps below cover it, with notes on the mistakes that cause most wavy, loose or crooked screens.
Step 1: Decide Whether a Kit Is the Right Fix
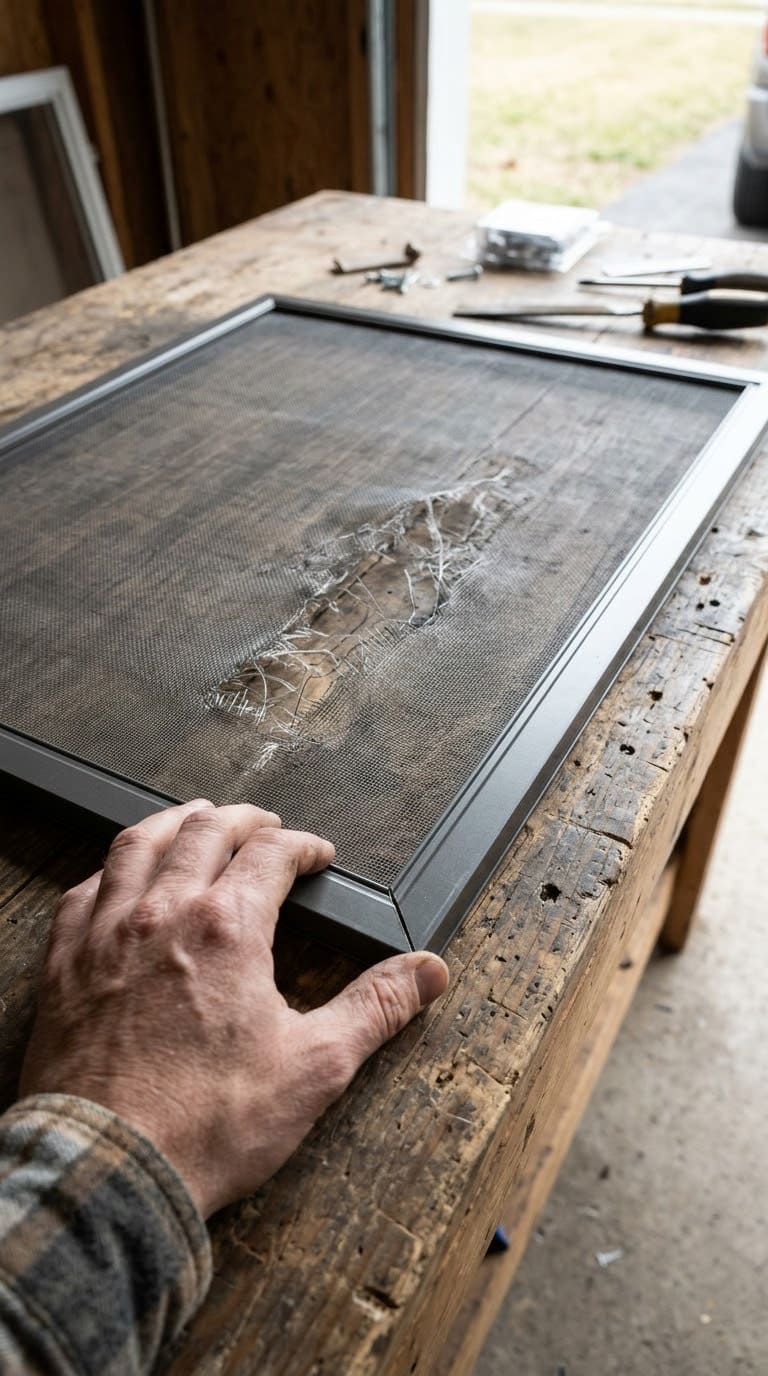
A kit makes sense when the frame is sound and only the mesh has failed. Check that the frame is straight, the corners are tight and the groove that holds the spline is clean. If the frame itself is bent or corroded, a complete replacement screen is the better repair. Quality Window Screen, a supplier and manufacturer of replacement window screens, solar screens, parts, tools and kits, sells both routes, which makes it a useful reference for comparing them.



Step 2: Measure the Frame, Not Your Memory
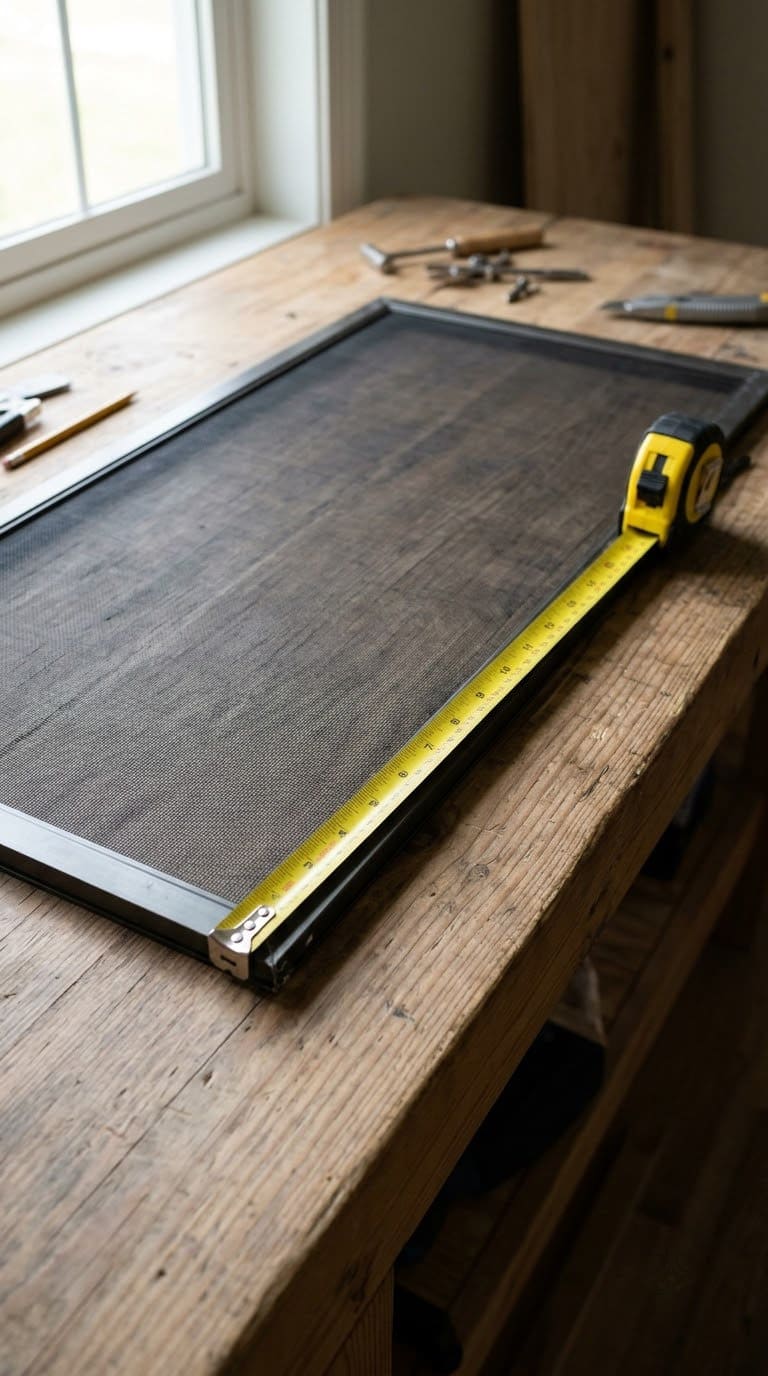
Measure the existing frame edge to edge, and write down width and height. Quality Window Screen publishes measuring guides by window type if you want a second reference. The University of Missouri Extension guide Simple Home Repairs: Screened Doors and Windows tells readers to measure the screened opening and, for screens attached to a frame, cut the new screening 6 inches longer and 3 inches wider than the opening so there is room to work. That guidance is written for older attached screens. But the principle carries over to kits: leave generous excess, because you can always trim and you can never add.
Step 3: Gather the Few Tools That Matter
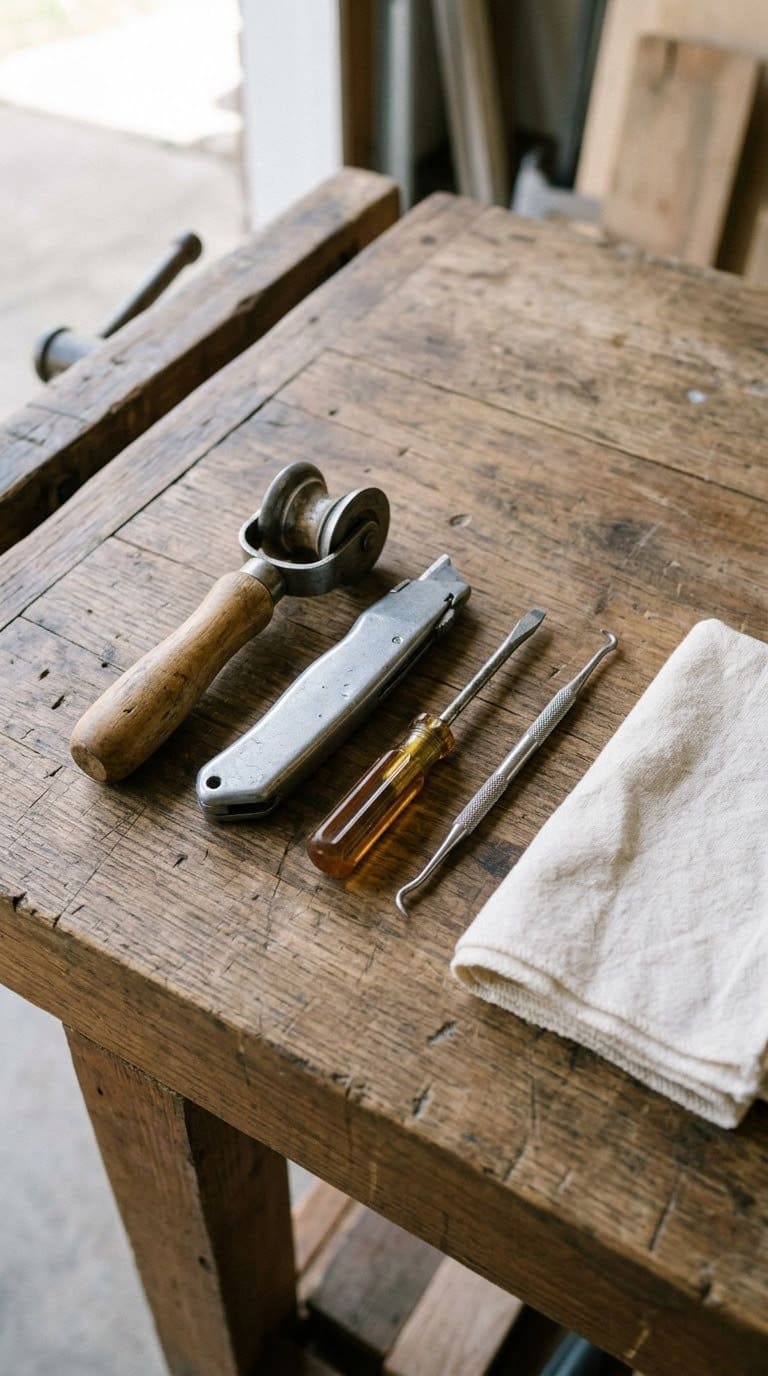
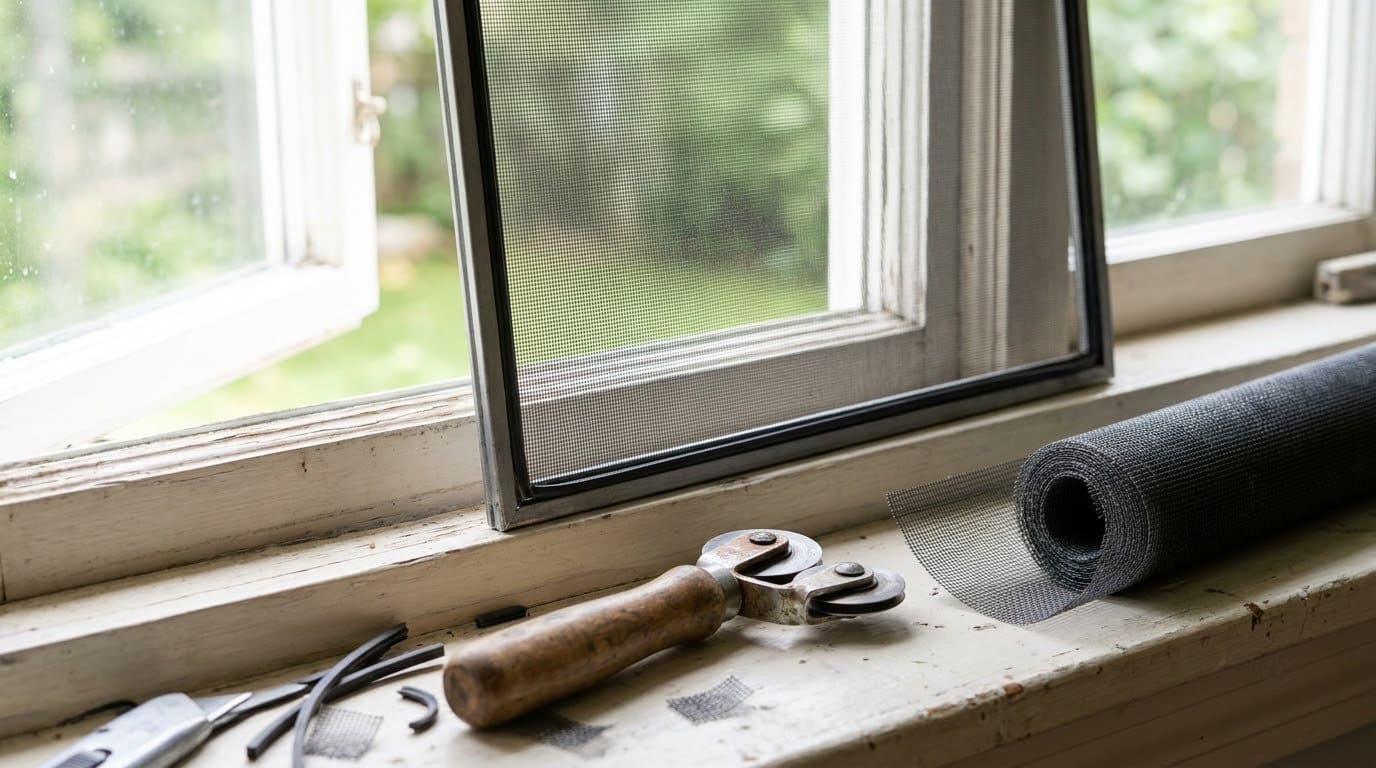
Most kits depend on a short list: a spline roller, a utility knife with a fresh blade, a flat work surface, a clean towel and a small screwdriver or pick for lifting the old spline. A spline roller is the one tool worth buying if you don’t own one, since it presses mesh and spline into the groove evenly. Quality Window Screen sells screening tools, spline, springs, clips and latches alongside its kits, so the whole project can come from one order.
Step 4: Remove the Old Screen and Spline
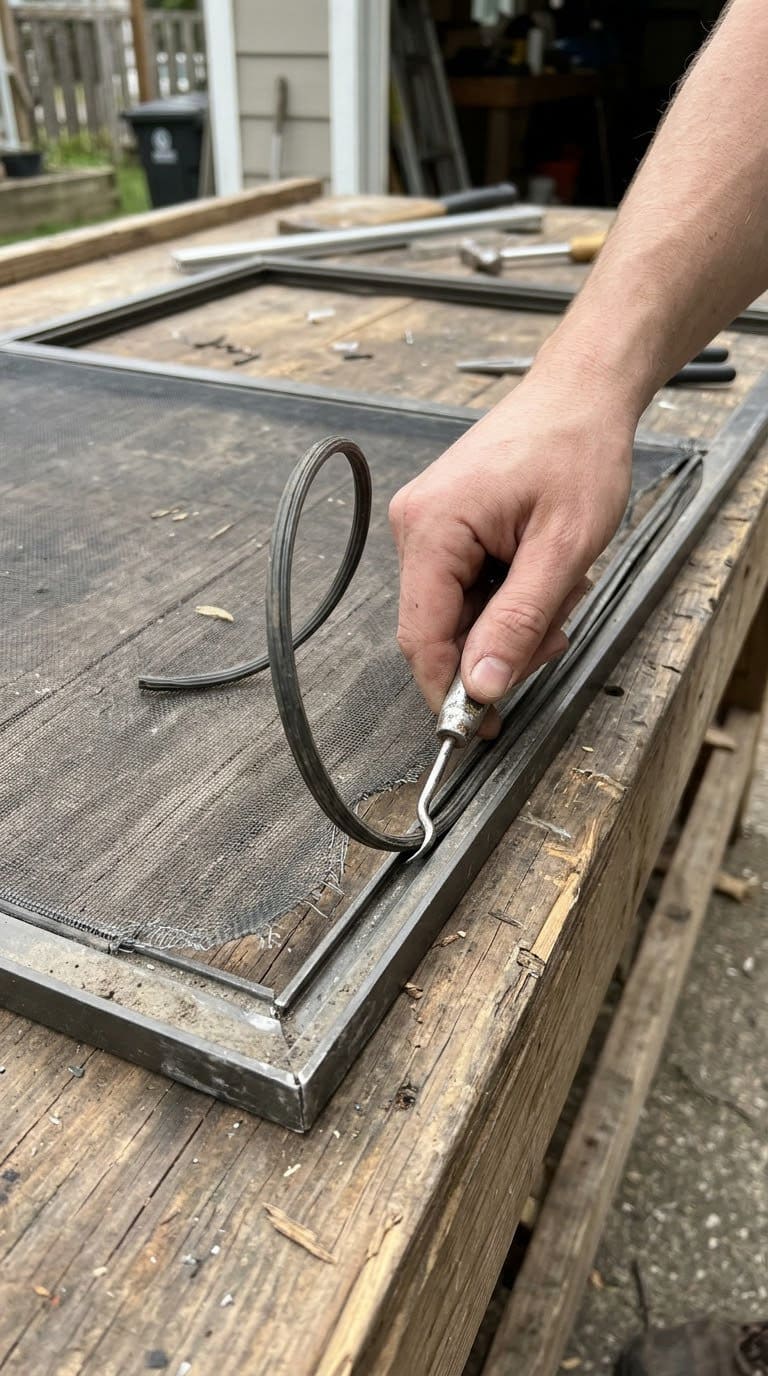
Lay the frame flat. Lift one end of the old spline with a pick and pull it out of the groove in a single strip, then peel away the old mesh. Keep a short piece of the spline: matching its diameter to the groove is the most reliable way to buy the right replacement. Check the frame while it is bare, and if the joints feel weak, the Missouri guide recommends reinforcing them with L-type or T-type braces.
Step 5: Lay the New Mesh Flat and Roll In the Spline
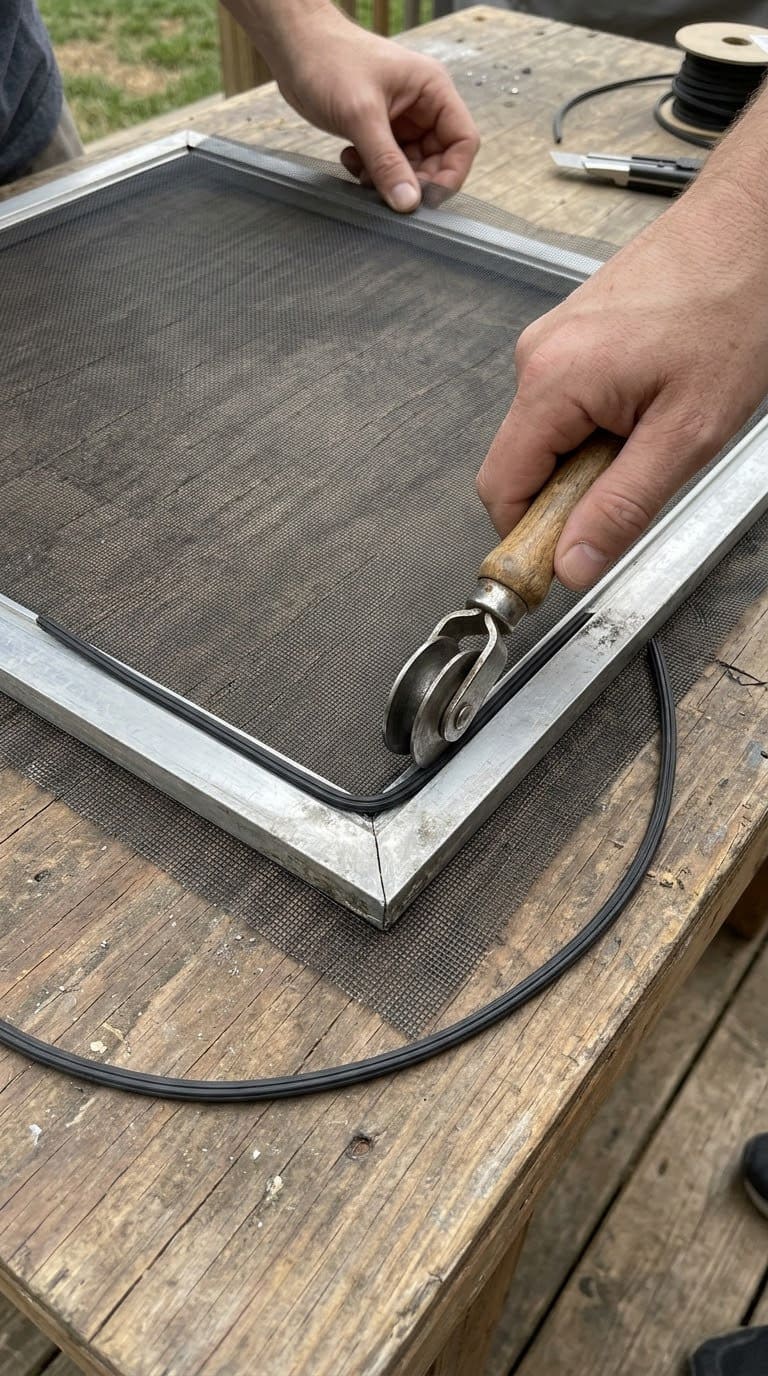
Place the new mesh over the frame with an even overhang on every side. Starting at one corner, use the roller to press the mesh into the groove, then lay the spline over it and roll it in. Work along one side at a time and pull the mesh gently square as you go, rather than stretching it tight. Over-tightening is the most common reason a finished screen bows inward or ripples.
Step 6: Trim, Test and Fix Waves
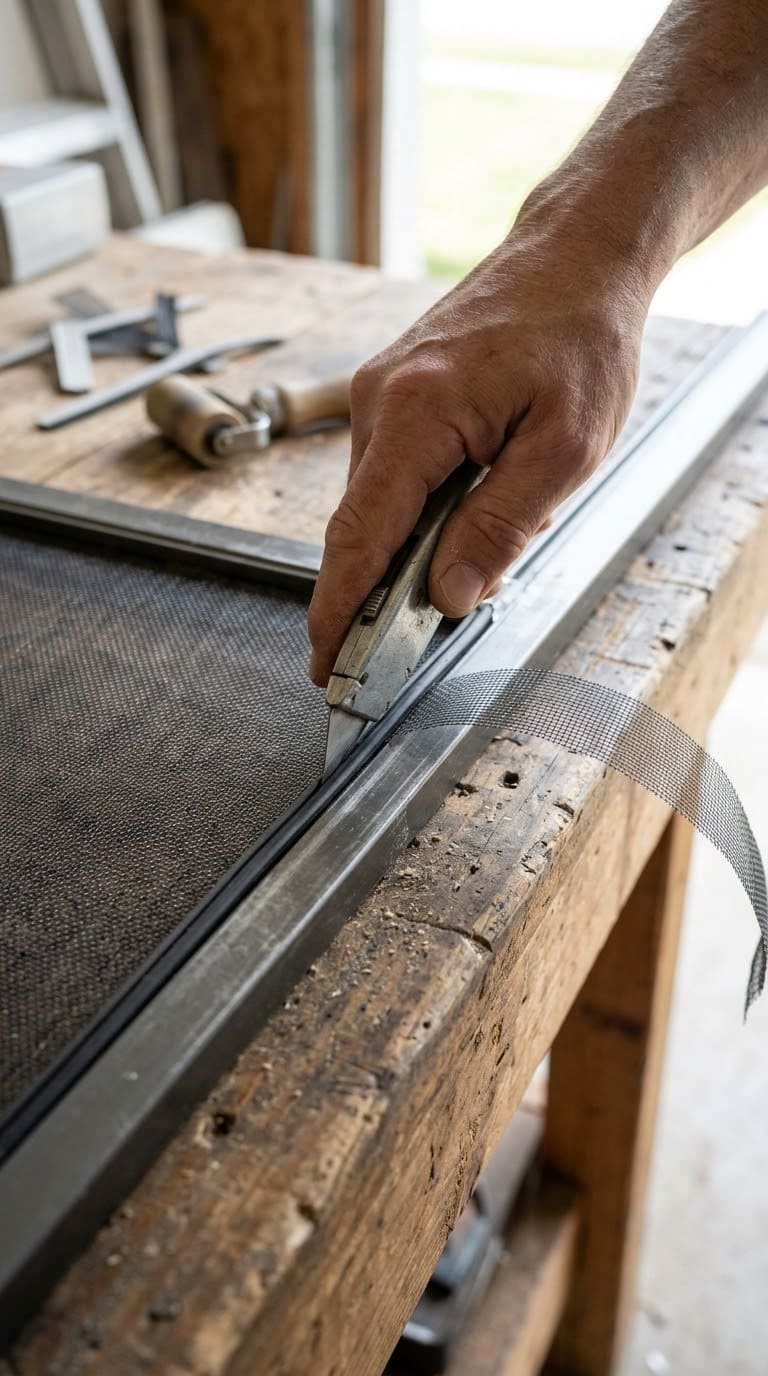
Run the knife along the outside edge of the spline, angling the blade away from the finished screen, and remove the excess. Press on the mesh with a flat palm: it should feel taut but not drum-tight. If ripples appear, pull the spline back out in that section and reseat it with gentler tension, which takes a minute and costs nothing.
Step 7: Reinstall and Check the Seal
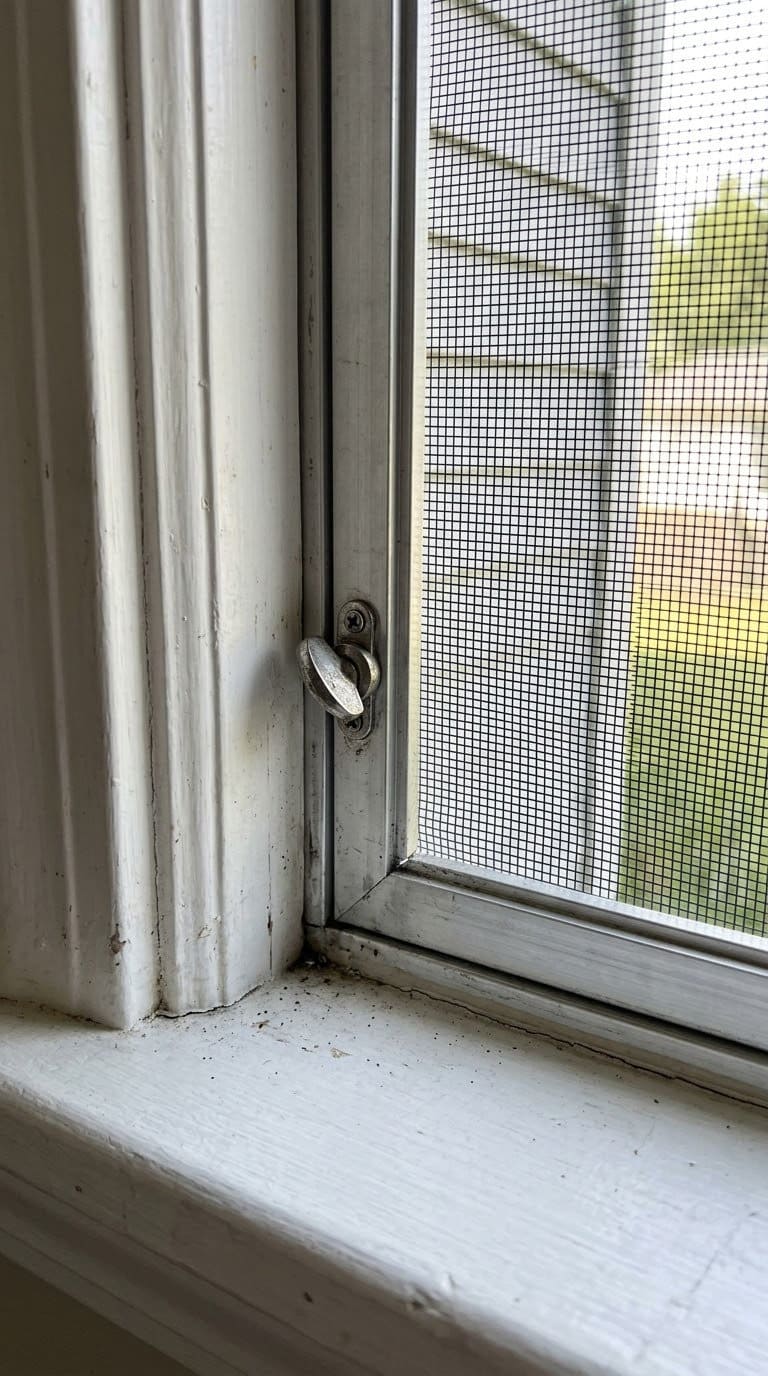
Put the screen back in the window and look for light along the edges. Gaps between the frame and the opening let insects slip around the screen, so confirm that clips, springs or latches hold it snugly. For a garden household, this step matters more than it seems. Penn State Extension notes in its guide to pollinator-friendly mosquito control that keeping window and door screens in good repair prevents mosquitoes from entering homes without affecting pollinators outdoors, which makes tight screens a quiet partner to a healthy yard.
Which Mesh Should the Kit Use?
Fiberglass mesh is flexible and the usual choice for everyday windows. Aluminum is stiffer and holds its shape. A finer no-see-um mesh suits areas with very small biting insects, and pet-resistant mesh is the better fit if claws are involved. Quality Window Screen offers fiberglass, aluminum, no-see-um and pet-resistant options, along with solar screens for sun-facing windows, so the mesh can be matched to the room rather than chosen once for the whole house.
Quick Answers to Common Questions
Can the old spline be reused? Only if it is still pliable. Brittle or flattened spline won’t hold, and new spline is inexpensive. How long does one window take? A first attempt usually takes longer than expected, mostly because of the careful rolling, but later windows go much faster. Is a patch ever enough? A small hole can be patched to bridge a season, but a sagging or sun-damaged screen is better re-screened.
The 7 steps at a glance
Use this table as a one-page plan before you start.
| Step | What to do | Key detail |
|---|---|---|
| 1. Decide on a kit | Check the frame is straight, corners are tight, and the groove is clean | A bent or corroded frame needs a complete replacement screen |
| 2. Measure | Measure edge to edge and write down width and height | Leave generous excess mesh |
| 3. Gather tools | Spline roller, utility knife, flat surface, towel, pick or screwdriver | The roller is the one tool worth buying |
| 4. Remove the old screen | Lift the old spline with a pick and peel away the mesh | Keep a short piece of old spline to match the diameter |
| 5. Roll in the new mesh | Press mesh into the groove, then roll in the spline | Pull the mesh square, don’t stretch it tight |
| 6. Trim and test | Cut along the outside edge of the spline | Taut, not drum-tight |
| 7. Reinstall | Look for light along the edges | Clips, springs or latches should hold it snugly |
Mesh types compared
| Mesh | Best for | Note |
|---|---|---|
| Fiberglass | Everyday windows | Flexible, the usual choice |
| Aluminum | Frames that need a stiffer screen | Holds its shape |
| No-see-um | Areas with very small biting insects | Finer weave |
| Pet-resistant | Homes where claws are involved | Tougher than standard mesh |
Common mistakes to avoid
Most wavy or loose screens come from a few avoidable errors. These come from the steps above.
- Measuring from memory instead of measuring the frame itself.
- Cutting the mesh with no extra, since you can trim but you can’t add.
- Buying the wrong spline instead of matching the diameter of the old piece.
- Reusing brittle or flattened spline, which won’t hold.
- Stretching the mesh tight while rolling, which makes the finished screen bow inward or ripple.
- Skipping the seal check, so gaps let insects slip around the edges.
- Trying to re-screen a bent or corroded frame that needs a complete replacement.
How do you fix a wavy screen?
Ripples usually mean the mesh was pulled too tight in one section. Pull the spline back out in that section and reseat it with gentler tension.
It takes about a minute and costs nothing. Press on the mesh with a flat palm afterward. It should feel taut, but not drum-tight.
Pair good screens with yard habits
Penn State Extension says weekly container checks target mosquitoes at their breeding stage. Mosquitoes lay eggs in stagnant water in clogged gutters, birdbaths, old tires, forgotten toys, and plant saucers.
Empty or clean those containers each week. Outdoor fans, gently moving, also help deter mosquitoes, which are weak flyers. Together with tight screens, these habits keep insects out without affecting the pollinators in your garden.
Your yearly screen check
A quick routine each spring keeps small problems from turning into emergencies.
- Look for pinholes, loose corners, and brittle mesh.
- Check that clips, springs, and latches still hold each screen snugly.
- Label each frame with its location and keep one old frame as a template.
- Re-screen the windows that see the most use first.
Keeping Screens in Shape Through 2026 and Beyond
Once the first screen is done, the rest of the house is easy to plan. Re-screen the windows that see the most use first, label each frame with its location, and keep one old frame as a measuring template for future orders. From there, a routine check each spring, looking for pinholes, loose corners and brittle mesh, turns repairs into small jobs rather than emergencies, and a supplier like Quality Window Screen can supply the spline, clips and tools for those touch-ups.



Replacing a screen takes more preparation than skill. Measure carefully, buy the right spline, and take your time with the roller. Quality Window Screen sells the measuring guides, mesh options, kits and small parts for the job, which helps first-timers in 2026.
Window Screen FAQs
Can I reuse the old spline?
Only if it is still pliable. Brittle or flattened spline won’t hold, and new spline is inexpensive.
How long does it take to replace one window screen?
A first attempt usually takes longer than expected, mostly because of the careful rolling. Later windows go much faster.
Is a patch ever enough?
A small hole can be patched to bridge a season. A sagging or sun-damaged screen is better re-screened.
What tools do I need to re-screen a window?
Most kits depend on a spline roller, a utility knife with a fresh blade, a flat work surface, a clean towel, and a small screwdriver or pick for lifting the old spline. The spline roller is the one tool worth buying if you don’t own one.
Which mesh should I choose?
Fiberglass is flexible and the usual choice for everyday windows. Aluminum is stiffer and holds its shape. Choose finer no-see-um mesh for very small biting insects and pet-resistant mesh if claws are involved.
Why does my new screen ripple or bow?
Over-tightening is the most common cause. Pull the spline out of the affected section and reseat it with gentler tension, so the mesh feels taut but not drum-tight.
Never miss an update — choose FarmFoodFamily as your preferred source on Google.
How it works: Tap the button below to open Google's settings page, then check the box next to FarmFoodFamily.
Tap the checkbox to turn it blue — that's how you know it's set.