30+ Spooktacular Halloween Living Room Ideas to Wow Your Guests
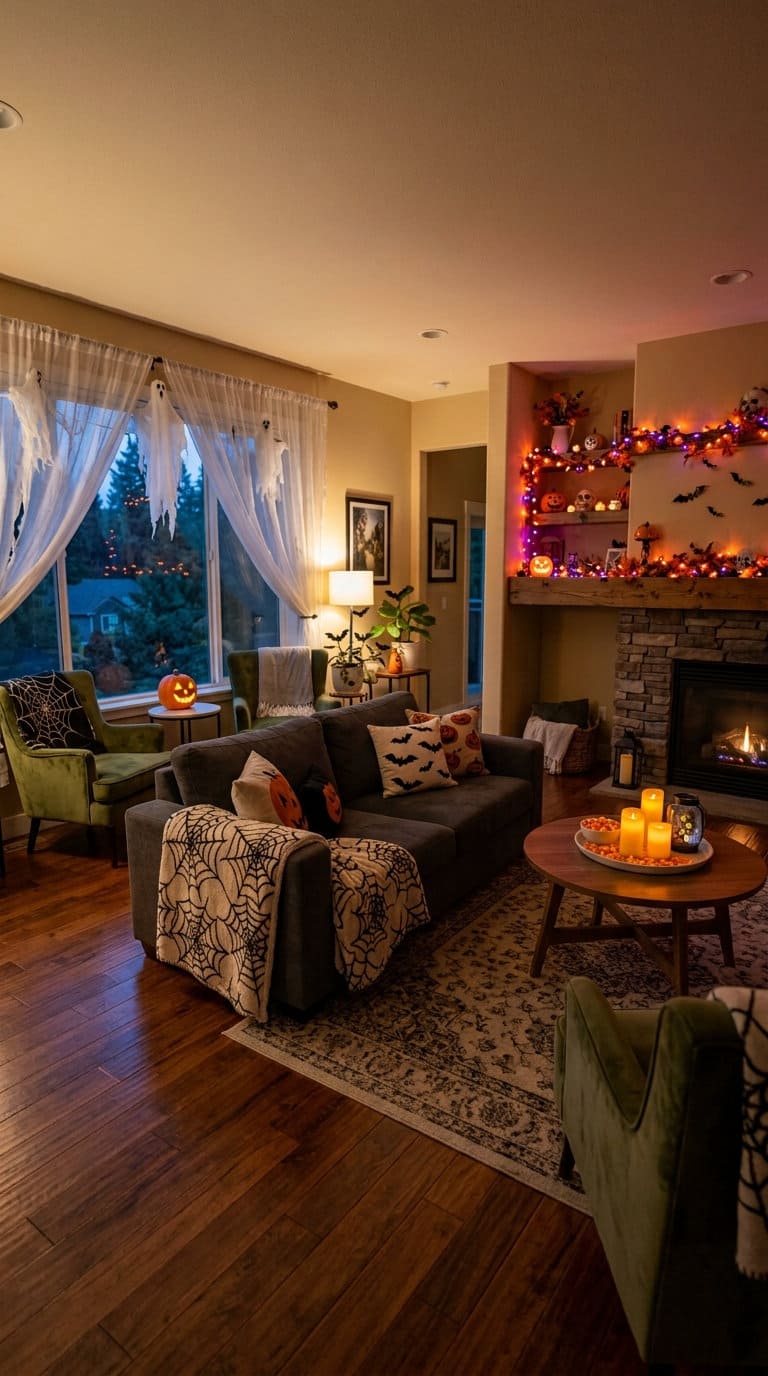
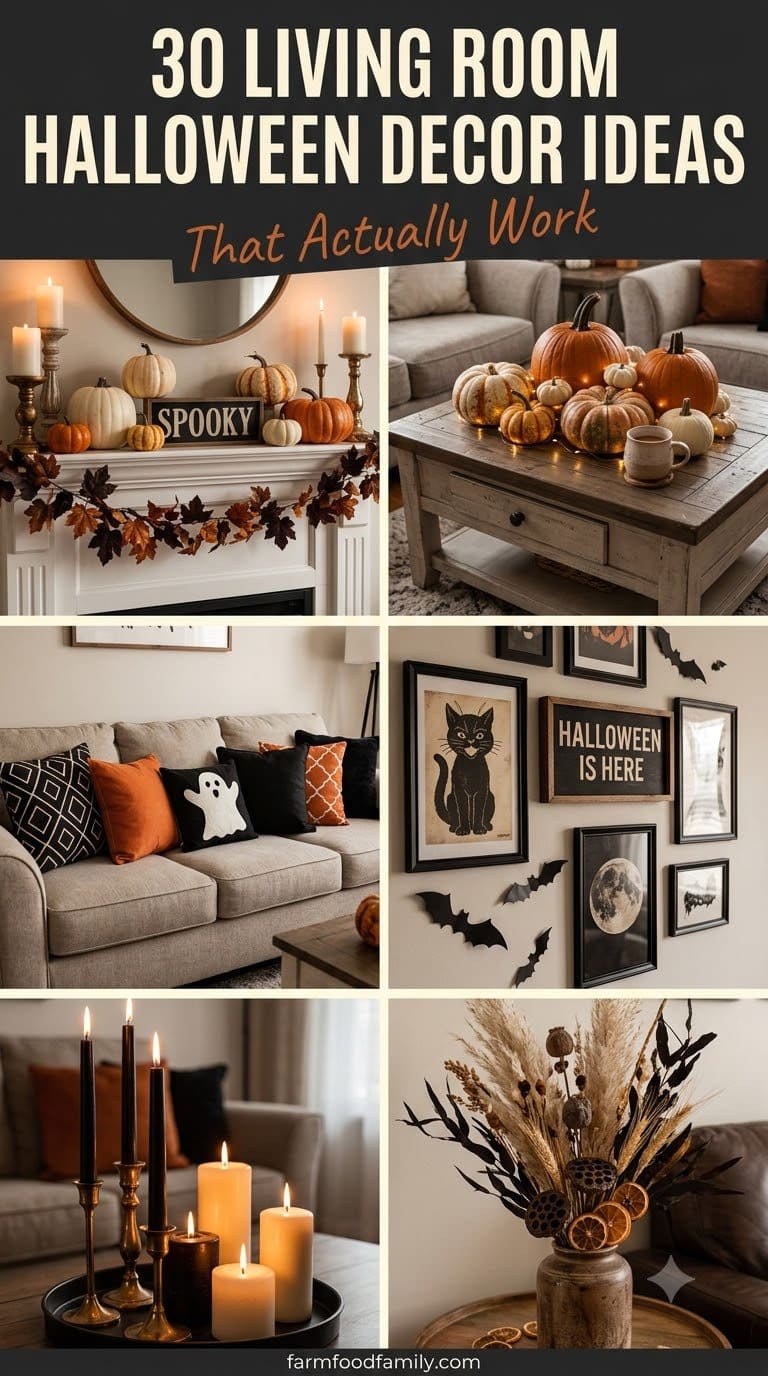
Your living room is probably where sheer drapes, throw blankets, stacked books, and candles all end up in the same space at the same time, which is exactly the kind of flammable-decor-near-candle combination that causes real house fires. Below are 30 genuinely distinct ideas (not padded with reworded repeats), organized by area, each with real…

Never miss an update — choose FarmFoodFamily as your preferred source on Google.
How it works: Tap the button below to open Google’s settings page, then check the box next to FarmFoodFamily.
Tap the checkbox to turn it blue — that’s how you know it’s set.
Your living room is probably where sheer drapes, throw blankets, stacked books, and candles all end up in the same space at the same time, which is exactly the kind of flammable-decor-near-candle combination that causes real house fires.
Below are 30 genuinely distinct ideas (not padded with reworded repeats), organized by area, each with real depth instead of a one-line caption, plus the fire-safety basics almost no other Halloween living room roundup mentions.
Before You Start: Real Candle and Fog Machine Safety
Candles near your other Halloween decor.
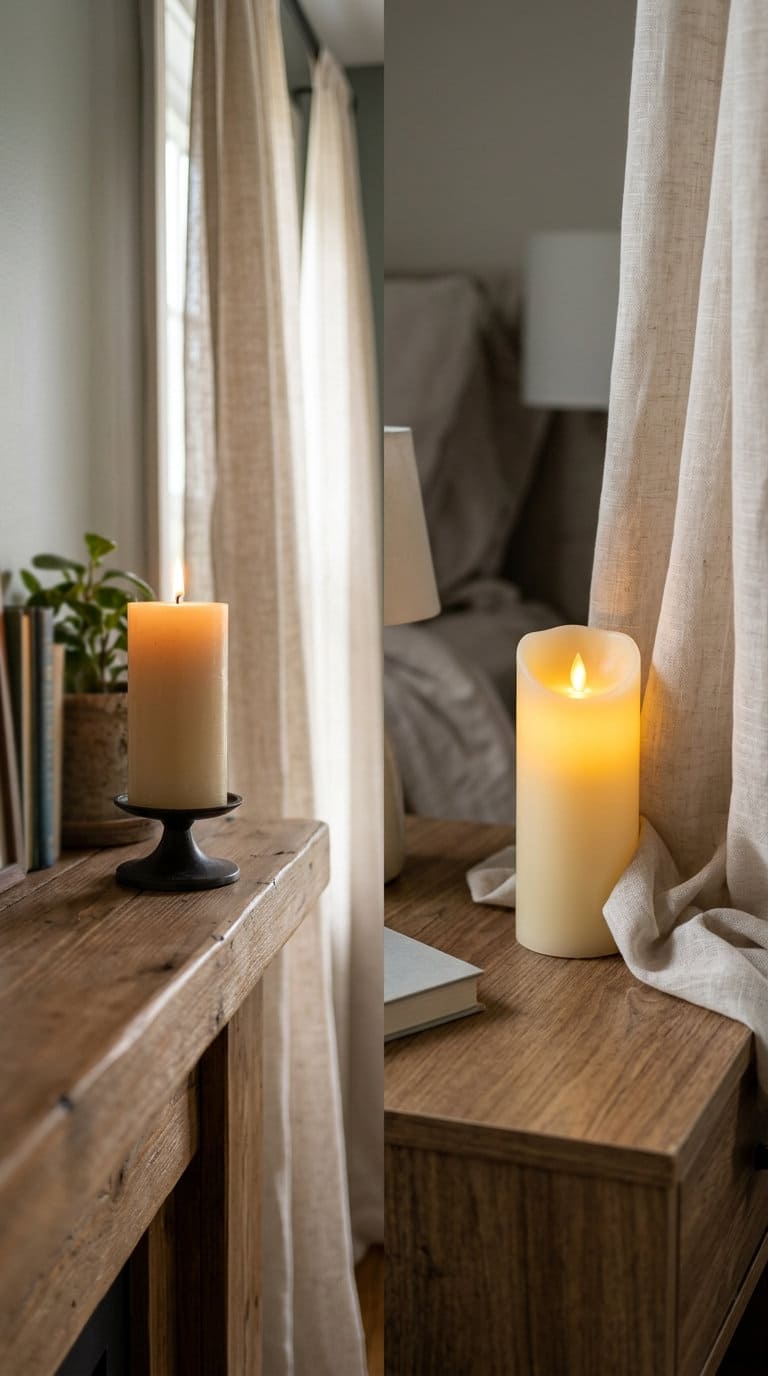
NFPA data shows candles are the 7th leading heat source in fires that start in living rooms specifically, and over half of all candle fires begin when a flammable piece of decor, curtains, throw blankets, stacked paper, or a decoration, is placed too close to the lit candle.
That’s worth taking seriously here, since several ideas below (sheer drapes, throw blankets, stacked books) are exactly the kind of flammable material that stat describes. If a candle idea is going anywhere near fabric or paper decor, use a battery-powered LED alternative instead.
Fog machines and smoke detectors.
A small indoor fog machine (idea 30 below) can trip an optical or ionization smoke detector, since both types work by detecting particulate in the air, and fog machine output is exactly that. Run any indoor fog machine well clear of ceiling-mounted detectors, keep the room ventilated, and never leave it running unattended.



Budget reality check.
Most ideas fall into one of three tiers: DIY-cheap (under $15), moderate ($15-40), or bigger investment ($40+, things like a fog machine or a larger lighting set). Tiers are flagged per idea.
Windows, Curtains, and Entryway
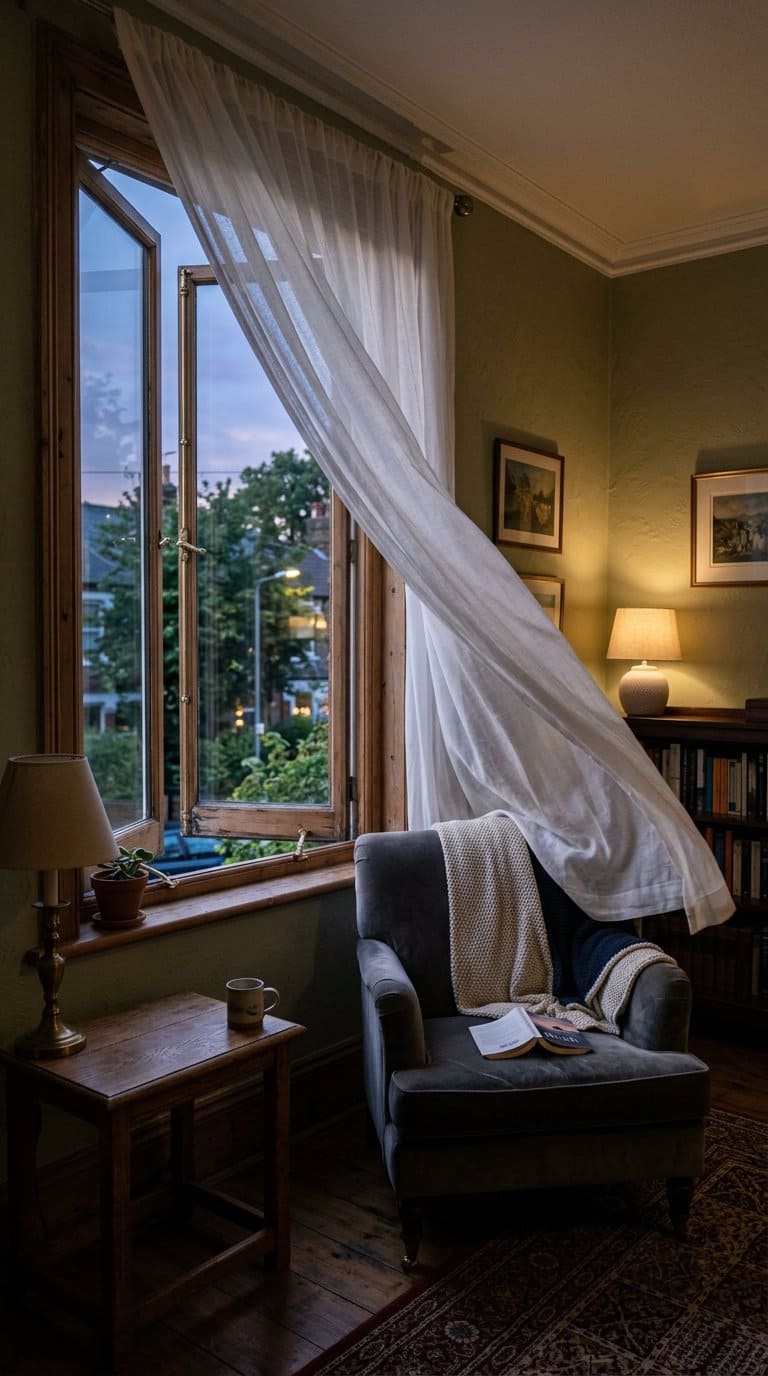
1. Hang Sheer Ghostly Drapes
Budget: DIY-cheap to moderate.
Choose a lightweight voile or chiffon-style fabric rather than a heavier sheer, the lighter the weave, the more it actually moves with a passing breeze from an open window, a ceiling fan, or an HVAC vent rather than just hanging flat.
Hang the panel a few inches longer than your window so the extra length pools slightly at the floor, which reads as more ghostlike than a taut, cropped panel.
Since this is exactly the kind of flammable fabric NFPA’s candle-fire data describes, keep any candle in the room well clear of the fabric, or use the LED alternative from idea 15 below instead, and if the panel is near a floor vent, make sure the fabric can’t get pulled directly over the vent opening.
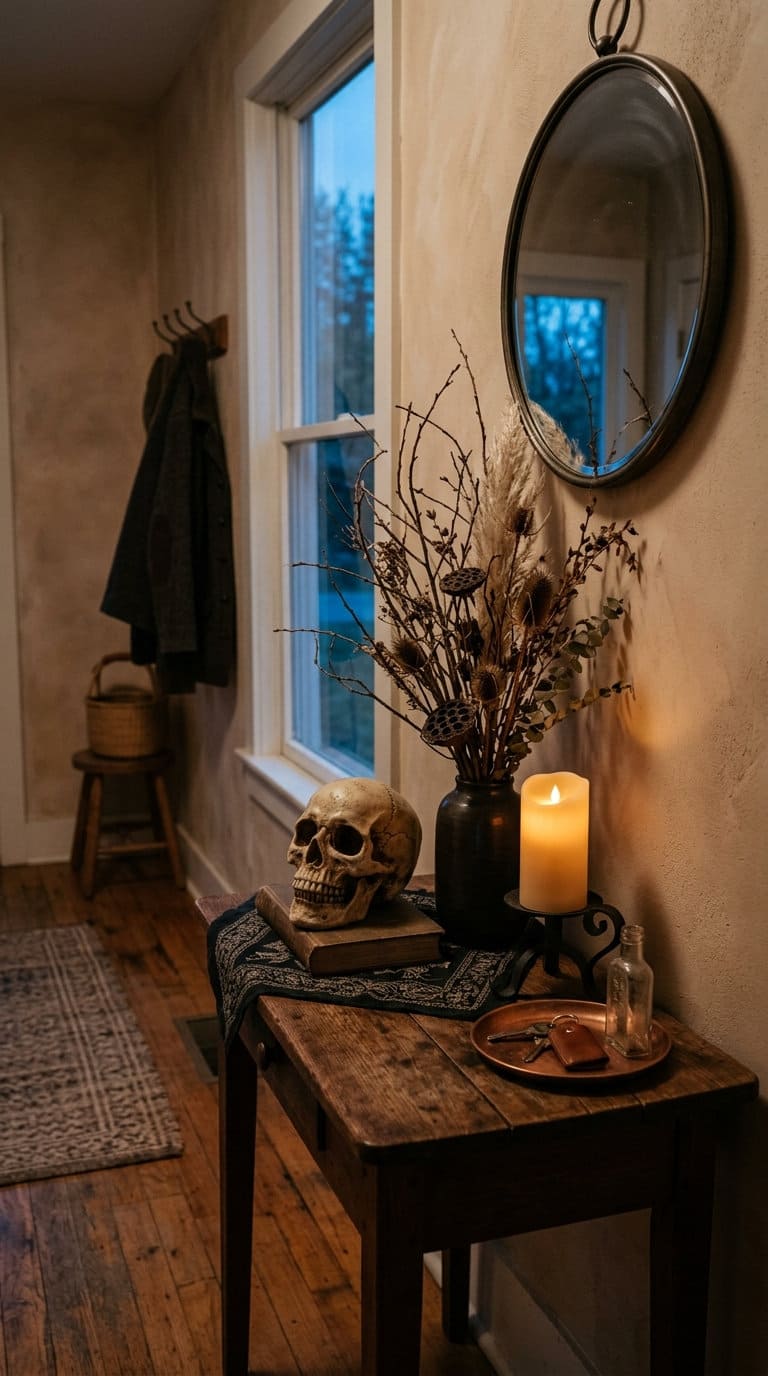
2. Set Up an Eerie Entrance Vignette
Budget: moderate.
A narrow console or small side table (even a stack of 2 wooden crates works if you don’t have furniture to spare) styled with a resin skull, a scattering of dried branches or twigs in a dark vase, and a candle (battery-powered per the safety note above if it’s anywhere near the drapes from idea 1) sets the tone before guests even see the rest of the room.
Add a small tray underneath the arrangement to keep loose branches or moss contained rather than scattered directly on the table surface, this small styling trick is the difference between “curated vignette” and “pile of stuff,” and it gives guests their first “this house is doing Halloween right” moment before they even sit down.

Black bats on orange background, 50x70in, soft flannel fleece for sofa or couch
Shop NowThis post contains affiliate links. We may earn a commission on qualifying purchases at no extra cost to you.
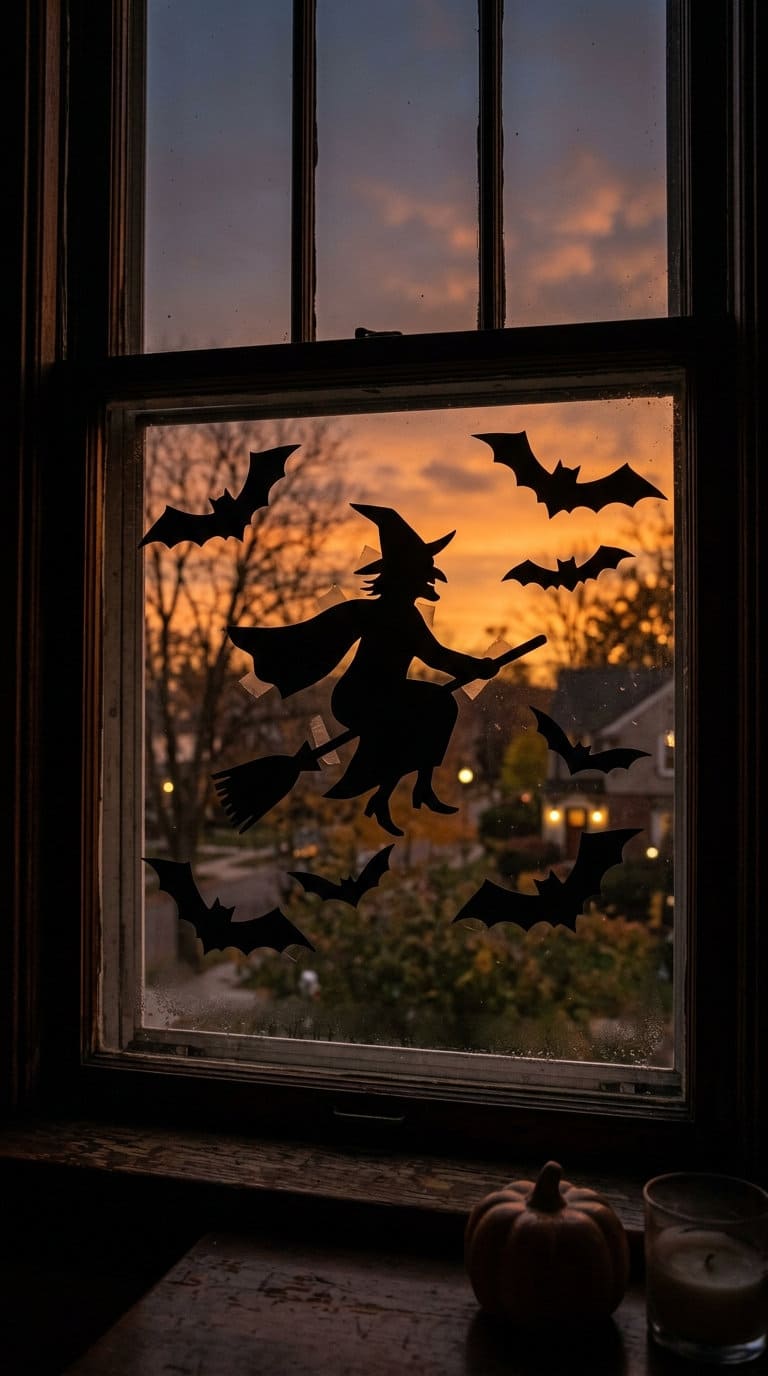
3. Cut Silhouettes for the Windows
Budget: DIY-cheap.
Cut shapes from black construction paper or thin black poster board using a simple printed template (search “witch silhouette template” or draw your own freehand for a cat or bat), then adhere with a light coat of repositionable glue stick or double-sided tape rather than regular tape, which can leave residue on glass.
Vary the sizes across 3-5 cutouts on one window rather than uniform shapes, a large witch on a broom paired with 2-3 smaller bats reads more like an actual scene.
These read as genuine silhouettes once it’s dark outside and the room’s lights are on, a classic effect that costs almost nothing.
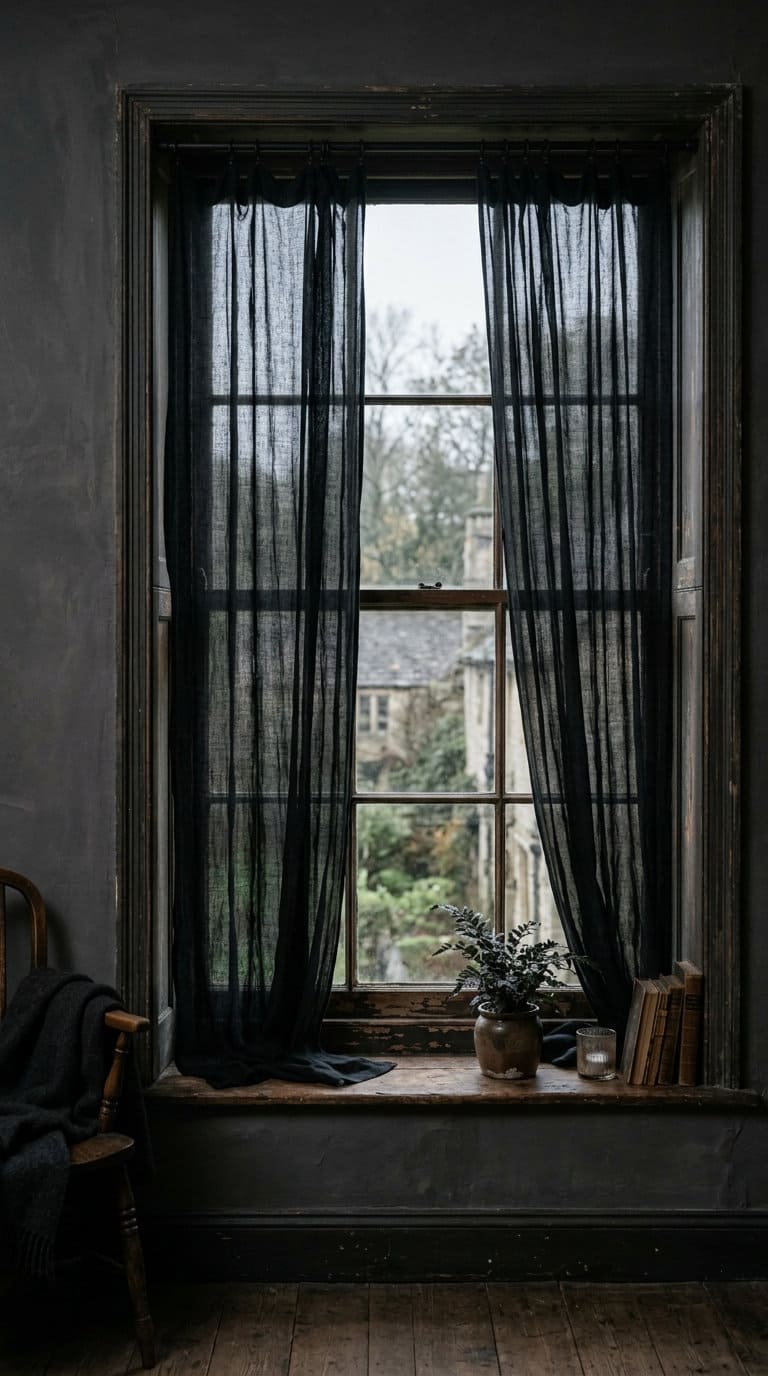
4. Hang Flowy Black Fabric Panels Over the Windows
Budget: DIY-cheap.
A lightweight black tulle or gauze (distinct from the sheer white drapes in idea 1, this is a darker, heavier-feeling look) hung loosely rather than pulled taut lets it drape and shift with any air movement in the room.
Layer it slightly overlapping your existing curtains rather than replacing them outright if you want the option to pull it back during the day and let normal light in, then close it fully for the evening’s full moody effect.
This gives the room a genuinely moodier cast during the day and a dramatic silhouette at night.


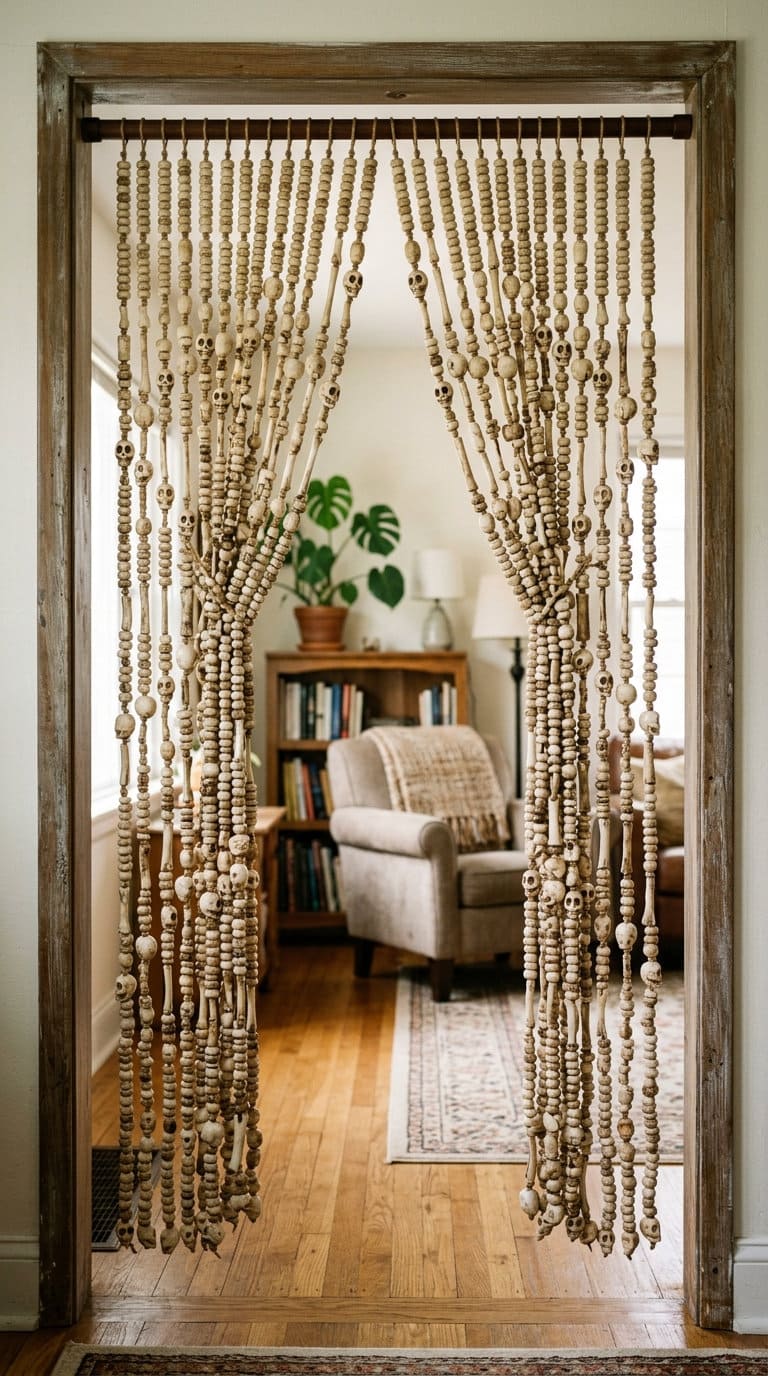
5. Add a Beaded Bone or Skull Doorway Curtain
Budget: moderate.
Measure your doorway width first, most beaded curtains are sold by standard door width but a wider archway may need two panels side by side to fully cover the opening.
Hang it on a tension rod or a curtain rod mounted just inside the doorframe rather than directly on the frame itself, which makes it easier to remove cleanly in November without any patching.
This adds a genuinely tactile, clinking detail every time someone walks through, a different sensory layer than the purely visual ideas above, and it’s a nice cue for guests that they’re crossing into “the Halloween part” of the house.
Walls and Art
6. Swap Family Photos for Haunted House Scenes
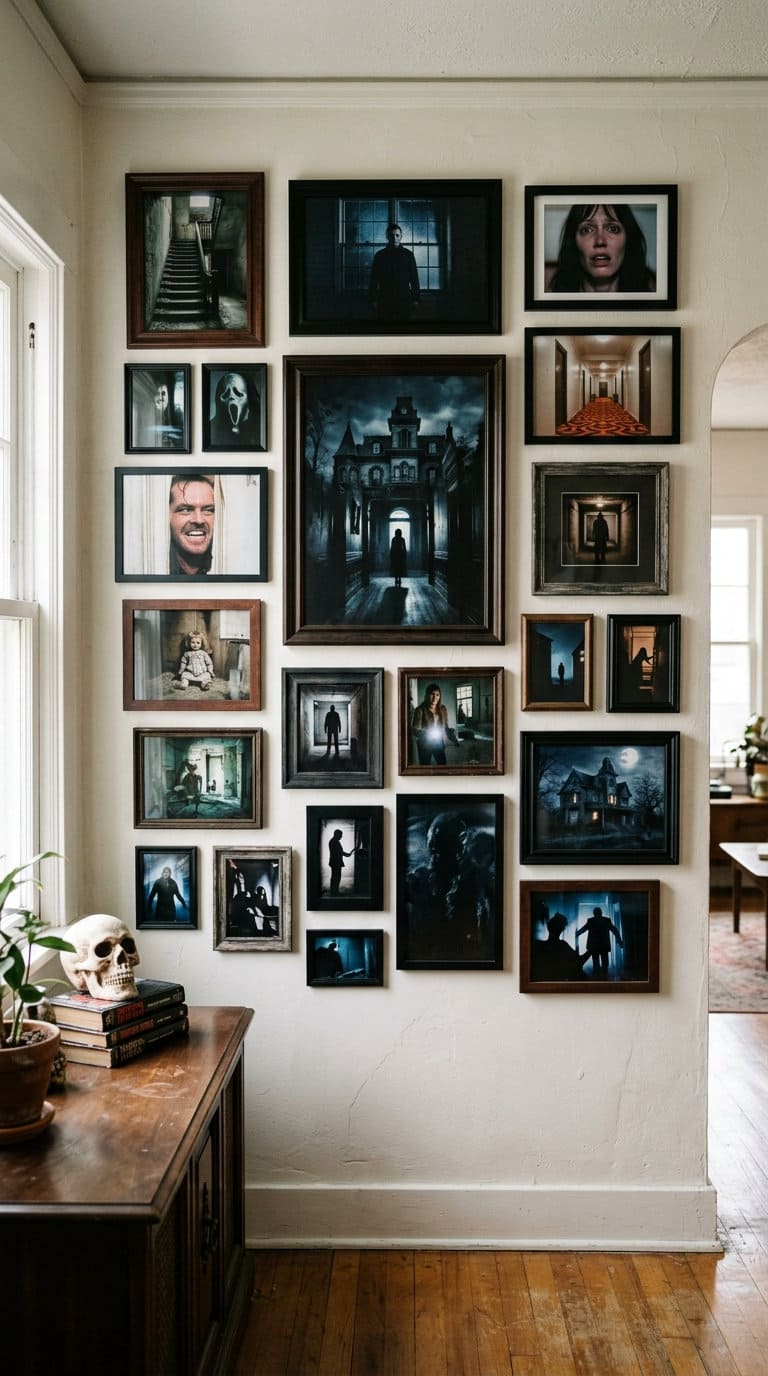
Budget: DIY-cheap.
Print horror movie stills or classic haunted-house artwork at standard photo sizes (4×6, 5×7, 8×10) to match your existing frame openings exactly, rather than buying new frames, this is what makes the swap a five-minute job instead of a full rehang.
Keep the actual family photos in a labeled envelope or small box (not just loose in a drawer) so they go right back in the same frames in the same spots come November.
This is one of the fastest full-room mood changes on this list precisely because you’re reusing the existing gallery wall layout rather than building a new one.
7. Cut Out Bat Silhouettes for the Wall
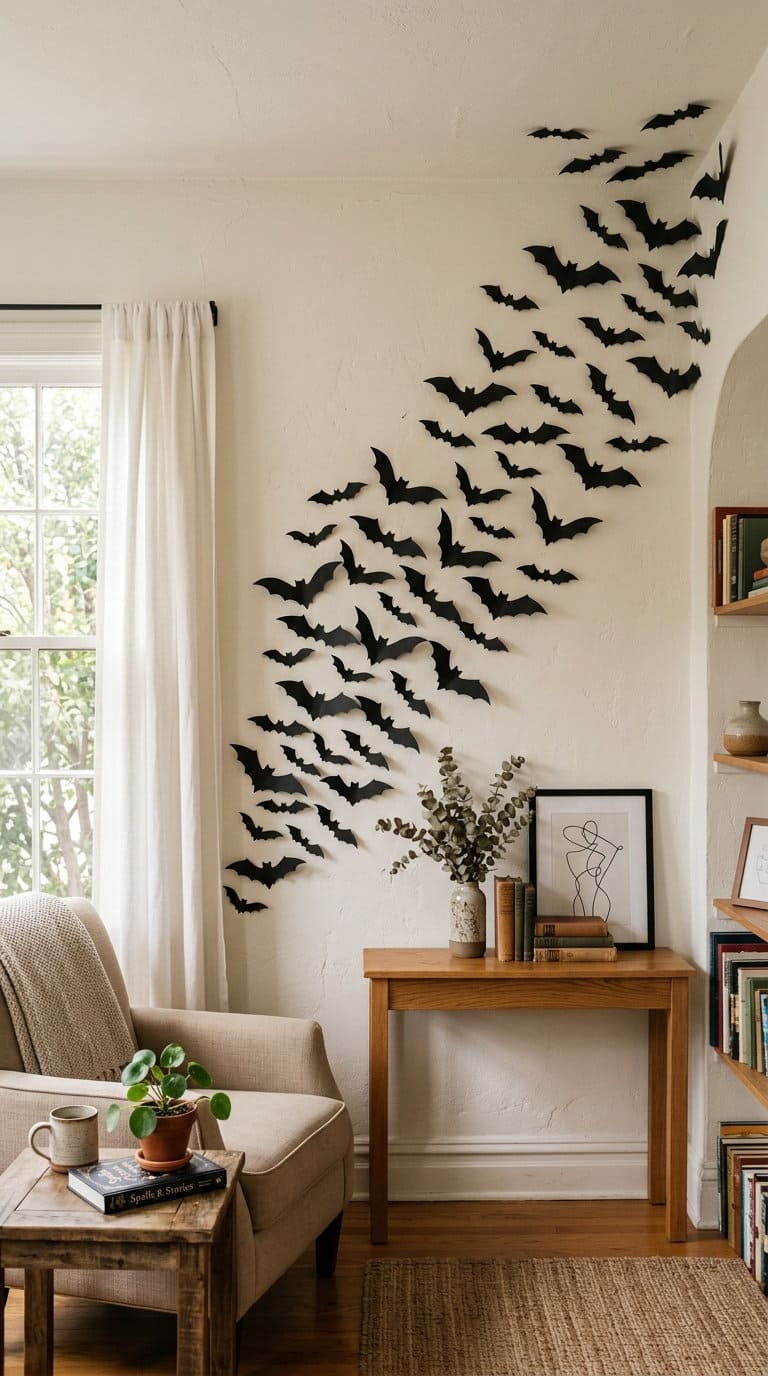
Budget: DIY-cheap.
Cut 15-20 bats in 2-3 different sizes (a mix of 2in, 4in, and 6in wingspans) from black cardstock or foam sheets using a simple two-wing template, then arrange them in a loose diagonal or arcing line up toward a corner of the ceiling rather than a straight column, the angled path is what sells the “in-flight” illusion.
Space them closer together near the bottom of the pattern and further apart as they rise, mimicking how a flock naturally spreads out.
This reads as genuinely in-motion rather than static, more dynamic than a single flat shape stuck in one spot.
8. Frost Your Mirrors for a Phantom Effect
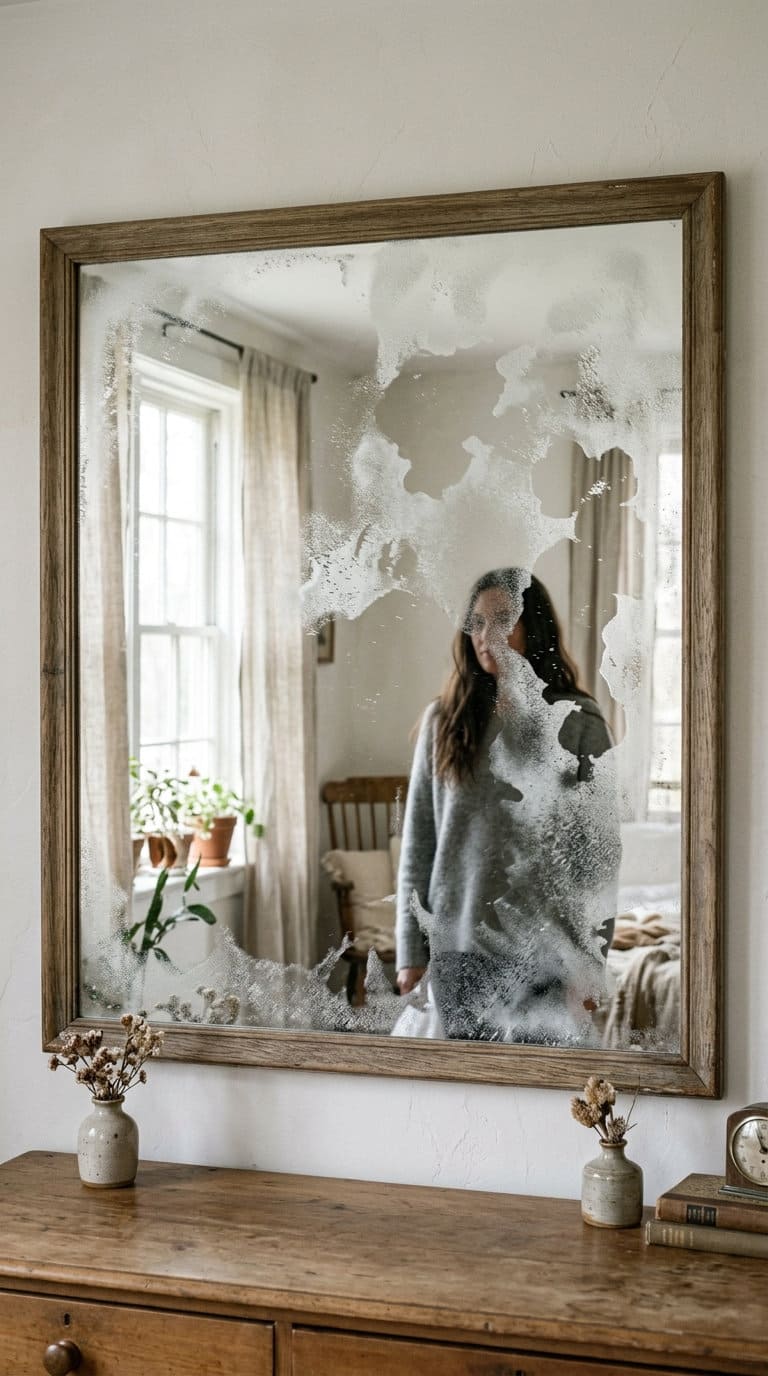
Budget: DIY-cheap.
Use a repositionable frosted glass spray (sold specifically for temporary window/glass privacy film effects) rather than permanent etching spray, and test it on a corner first, some formulas need a light, even coat built up in 2 thin passes rather than one heavy pass to avoid drips.
Leave an irregular section clear in the shape of a hand print or a rough oval near eye level so the “clear window” in the frost looks like something is looking back rather than just an unfinished paint job.
This creates a genuinely unsettling half-visible reflection effect that’s completely reversible with glass cleaner afterward.
9. Build a Spooky Gallery Corner With Vintage Frames
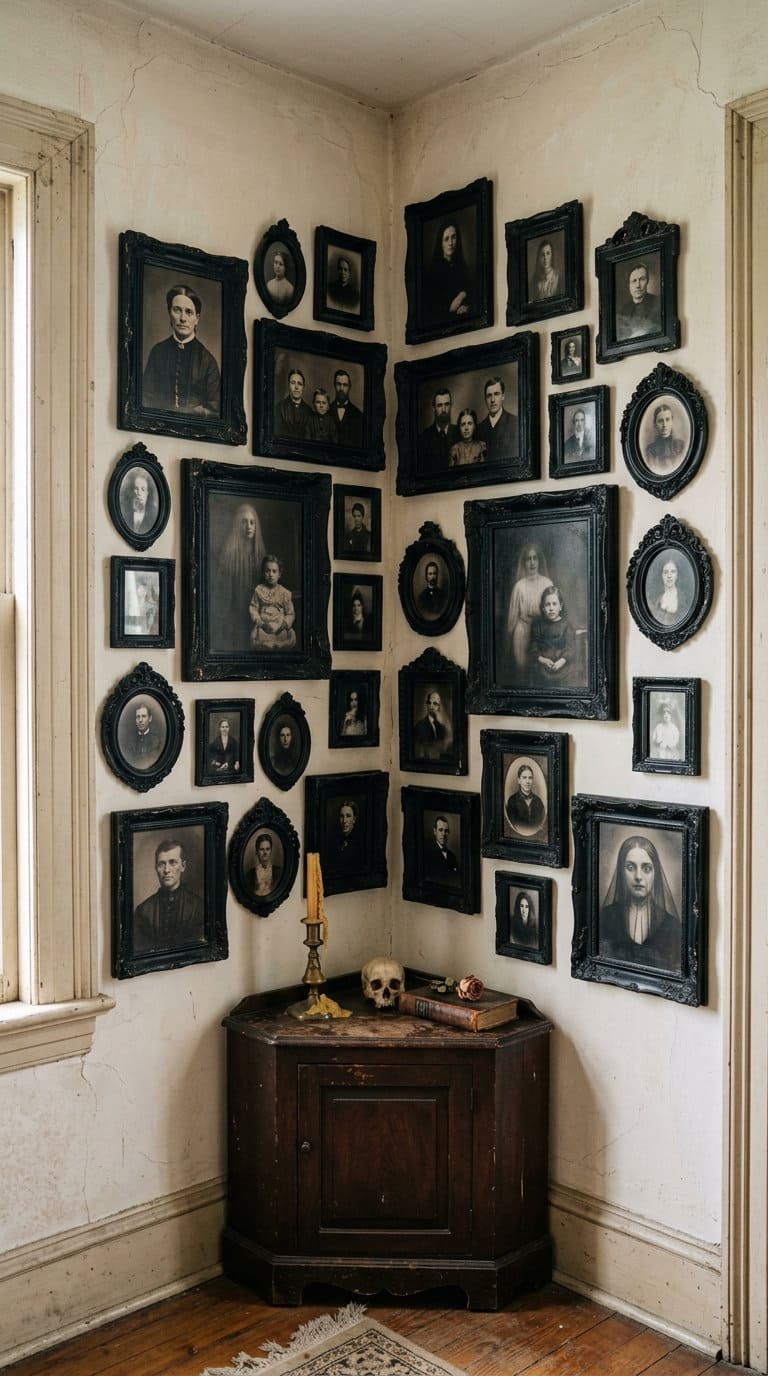
Budget: moderate.
Source mismatched frames from a thrift store (ornate, aged-looking frames sell for a few dollars each and look far more convincing than new frames painted to look old) and spray-paint them a uniform matte black to unify the mismatched styles into one cohesive look.
Print or find royalty-free Victorian-era portrait images and age the edges slightly with a light tea-stain wash on the printed paper for a genuinely aged look.
Grouping 4-6 frames together in one corner rather than spread across the whole wall creates a concentrated focal point instead of diluting the effect room-wide.
Shelves, Books, and Tabletop Styling
10. Stack Old Books With Antique Details

Budget: DIY-cheap.
Thrift-store hardcovers with worn, textured spines (skip anything with a glossy modern dust jacket) stack more convincingly than newer books, remove any dust jackets entirely for a more uniform, aged look.
Stack 4-6 books in a slightly staggered tower rather than perfectly flush edges, then top with a small resin skull, a bundle of dried lavender or wheat tied with twine, or an old-looking skeleton key.
This makes a genuinely elegant vignette for a side table or shelf, more understated than most of the ideas on this list.
11. Build a Witch’s Potion Bottle Display

Budget: moderate.
Reuse 4-6 empty glass bottles in varied shapes and fill with colored water, dry rice dyed black or green, or a few drops of food coloring swirled directly into water for a cloudy potion effect.
Hand-letter labels on kraft paper tied on with twine rather than printed labels taped flat, twine-tied labels catch the light and look more handmade.
Grouped on a shelf or side table, this reads as genuinely apothecary-spooky, and doubles nicely with idea 10’s book stack if you want one concentrated “witch’s study” corner rather than two separate, disconnected displays.
12. Perch Fake Ravens or Crows Around the Room
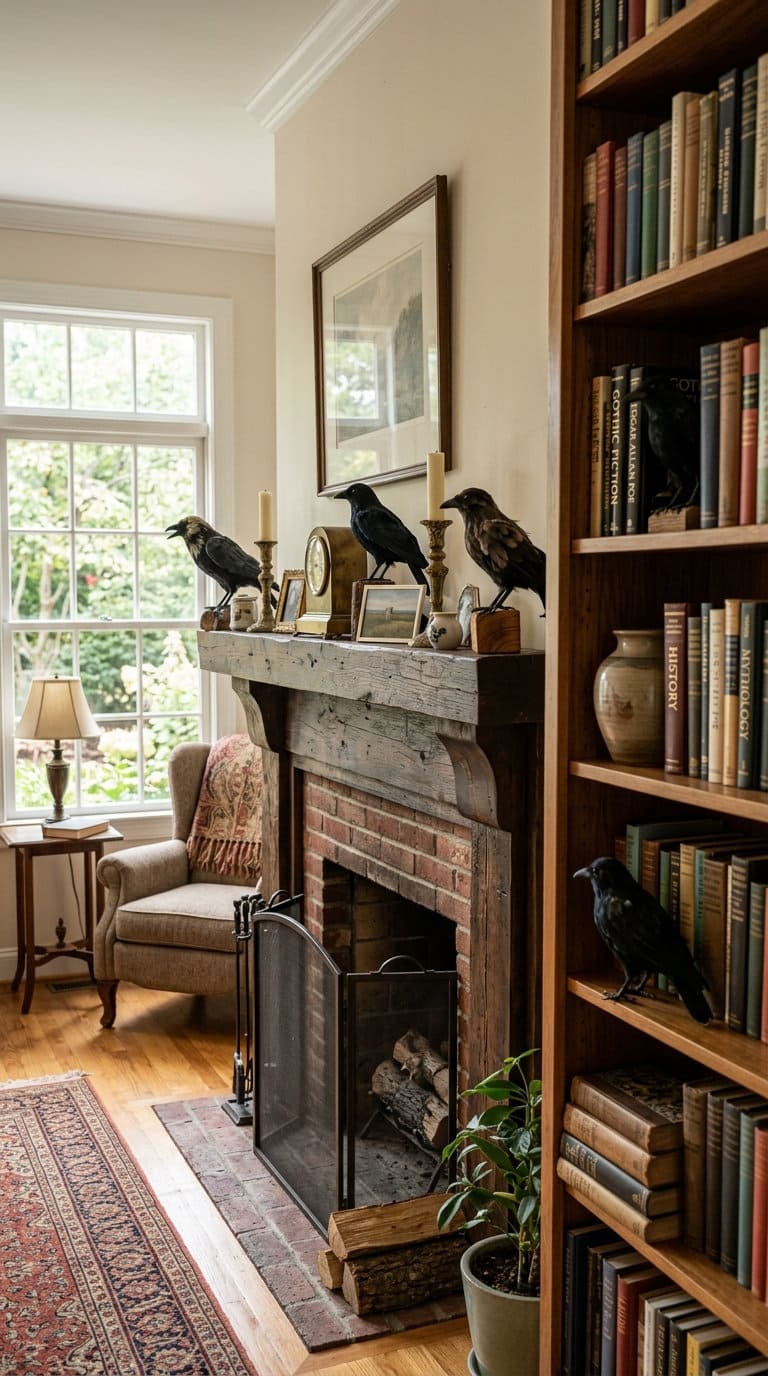
Budget: DIY-cheap to moderate.
Look for a raven with a slightly weighted base or wire feet that let it grip a shelf edge or lamp rim realistically, rather than a flat-bottomed figure that just sits flush, the gripping pose is what sells the illusion from across the room.
Place 2-3 total (one on the mantle, one on a bookshelf, one perched on a lamp) rather than clustering them in one spot, since ravens read as more ominous when they seem to be watching from different corners of the room.
This adds a genuinely ominous presence without needing to touch the walls or windows at all.
13. Set Up a Miniature Haunted House
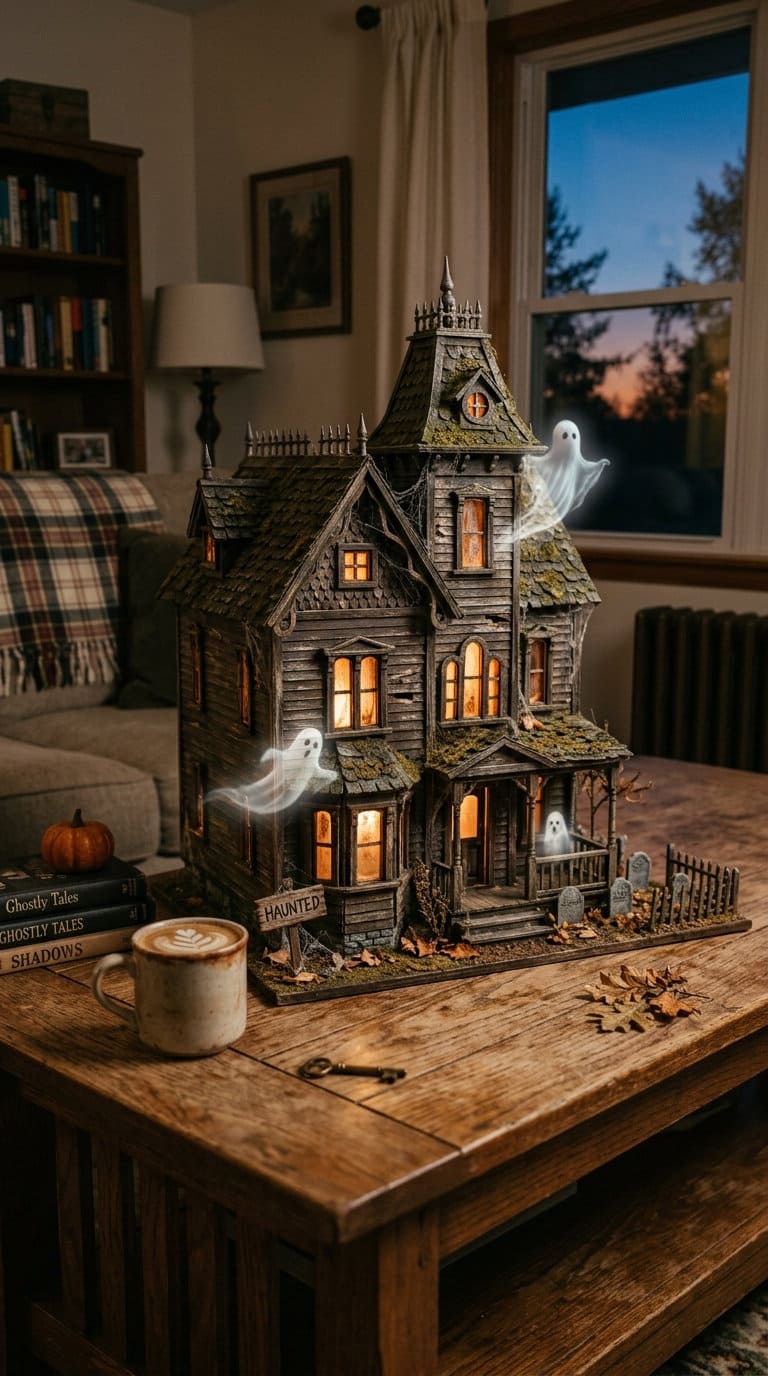
Budget: moderate.
Look for a pre-built dollhouse-style kit specifically sold as a “haunted house” during the Halloween season (widely available at craft and decor stores), or repurpose an existing plain dollhouse with black paint, cobweb detailing, and a few tiny figures added.
If you want the flickering-light effect inside, battery-powered LED tea lights fit most dollhouse-scale rooms and avoid any real flame indoors.
This makes a genuinely striking coffee-table centerpiece that’s distinct from a loose “scene” since it’s one contained object guests can walk up and examine closely.
14. Build a Coffee Table Horror Tableau
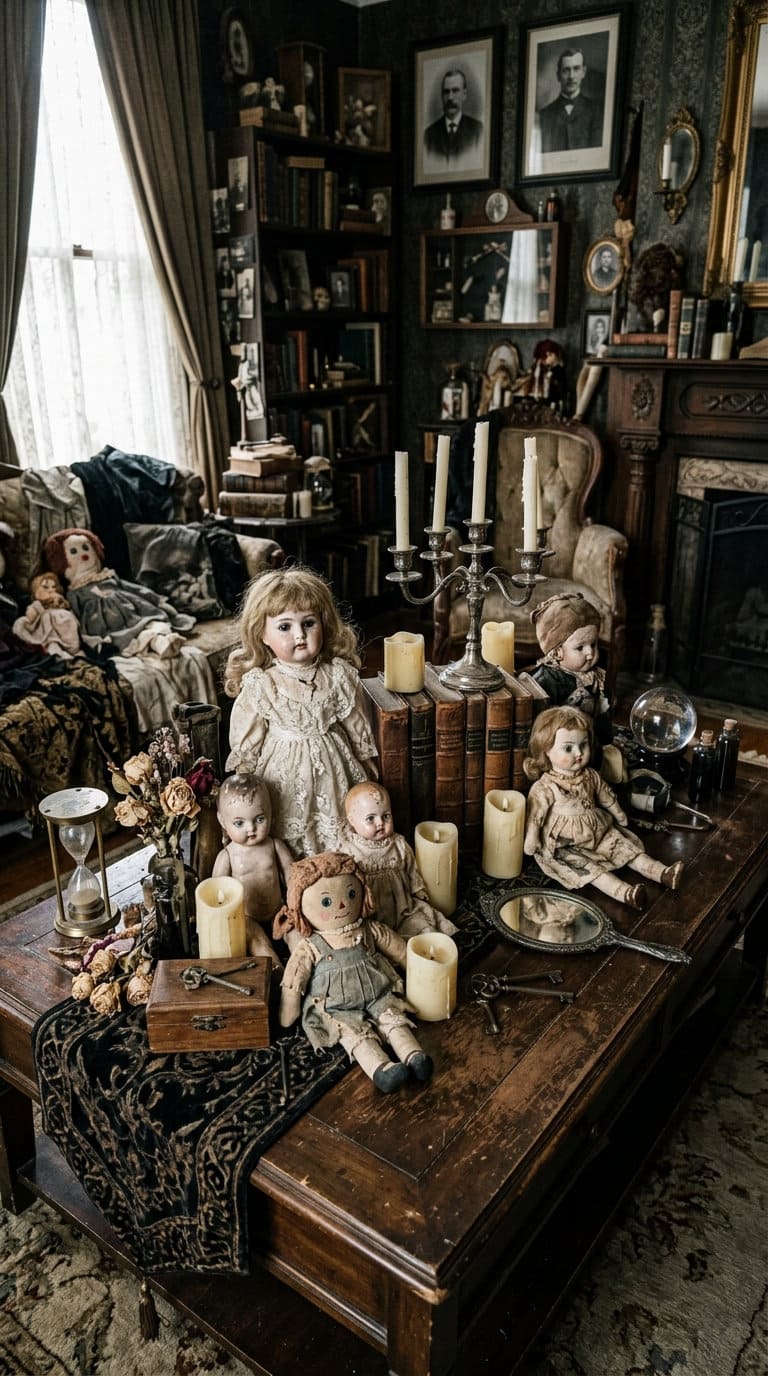
Budget: moderate.
Source a few old dolls or figurines from a thrift store (the more worn and mismatched, the better for this specific effect) and arrange them alongside fake candles, an old-looking book, and a scattering of dried flower petals or fake dust (cornstarch works in a pinch) directly on the coffee table’s surface.
Vary the heights by propping a couple of items on small risers or upside-down teacups hidden under the fabric, rather than laying everything flat.
Arranged this way (rather than inside a miniature house like idea 13) it creates a more sprawling, room-scale scene that guests notice the moment they sit down.
15. Swap to Flameless LED Candles Throughout
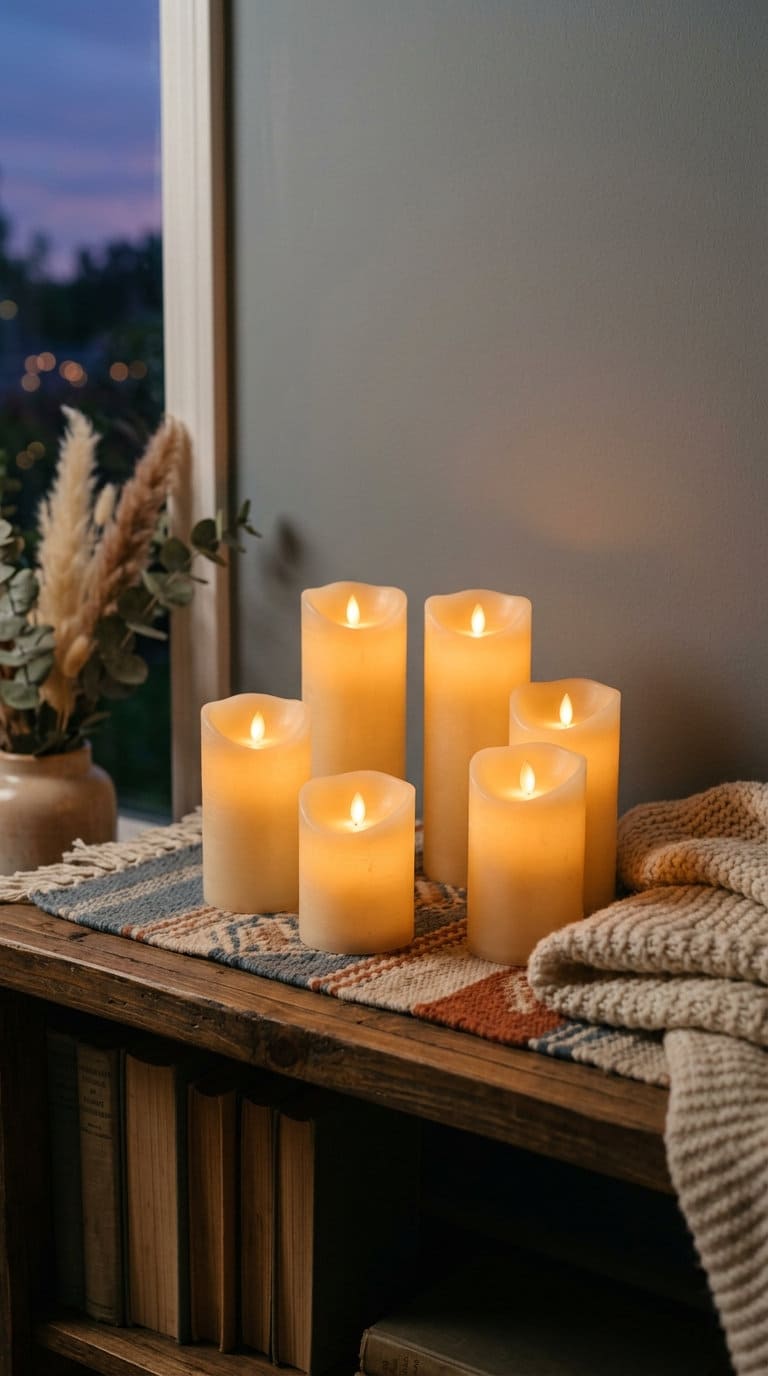
Budget: moderate.
Buy one consistent set (matching wax color and flicker style) rather than mixing several different brands, a uniform look across the room reads more intentional than a mismatched assortment.
Distribute them across every real-candle spot mentioned elsewhere on this list, near the drapes in idea 1, on the book stack in idea 10, and near the coffee table tableau in idea 14, rather than concentrating them in just one place.
LED candles give the same warm glow as real candles without the fire risk NFPA’s candle-fire data describes, genuinely the safer choice anywhere near the drapes, throws, or stacked books elsewhere on this list.
Soft Furnishings and Seating
16. Drape Ghoulish Throw Blankets Over the Sofa
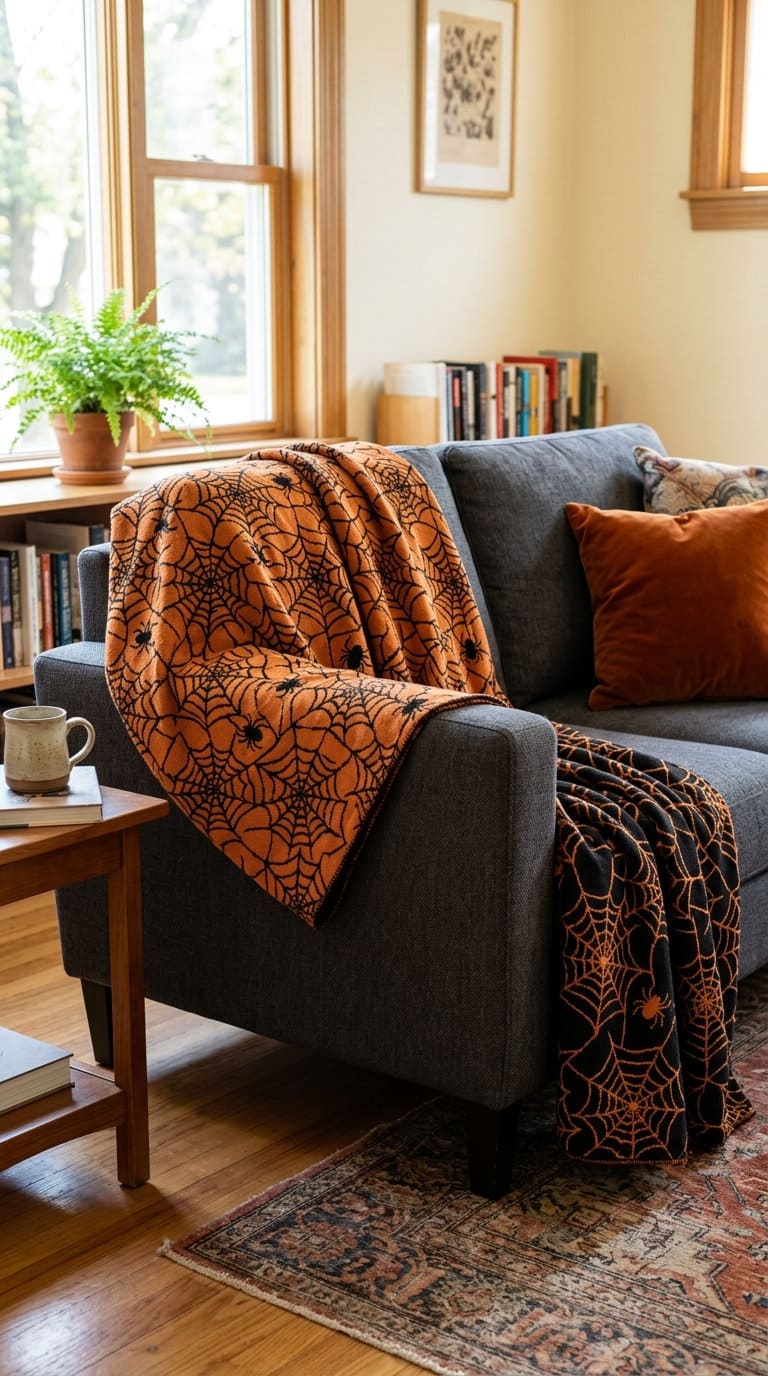
Budget: DIY-cheap.
A fleece or flannel throw drapes more naturally over a sofa arm than a thinner cotton blanket, which tends to slide off. Fold it in a loose diagonal drape over one arm rather than laying it flat across the back cushions, an asymmetrical drape reads more like deliberate styling and less like something left there after a nap.
Black, orange, or spider-web-patterned options genuinely change the room’s whole color story for the cost of one or two blankets.
Keep them clear of any real candle per the safety note above, fleece and flannel are exactly the kind of flammable fabric that guidance is about.
17. Swap in Halloween-Themed Cushions
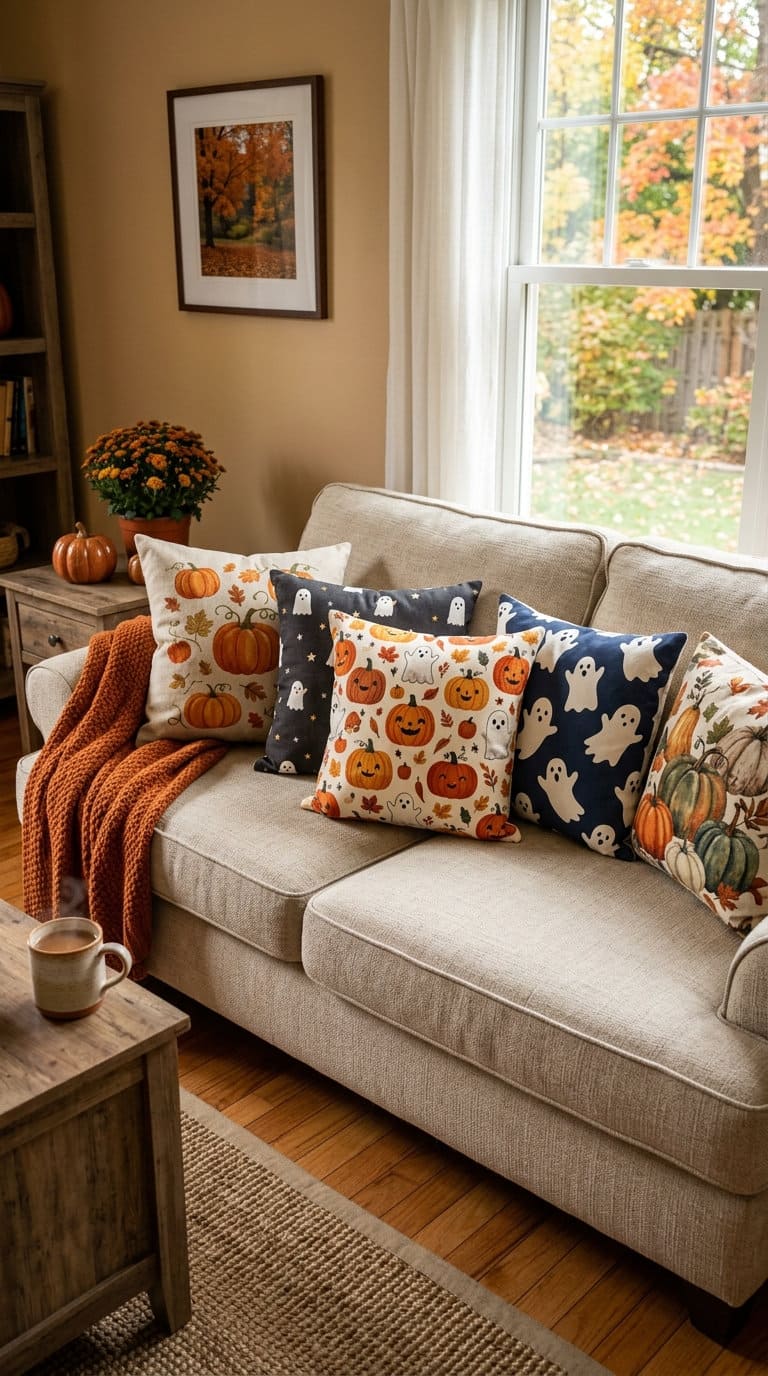
Budget: DIY-cheap.
Buy just the covers (not new pillow inserts) sized to match your existing cushions exactly, an 18x18in cover on an 18x18in insert stays plump, while a mismatched size leaves the cushion looking saggy or overstuffed.
Mix 2-3 different prints (pumpkin, ghost, bat) rather than 4 identical ones for visual variety across the sofa. This is one of the cheapest full-sofa transformations on this list, since you’re only buying the covers, not new pillows.
18. Seat a Skeleton in the Living Room
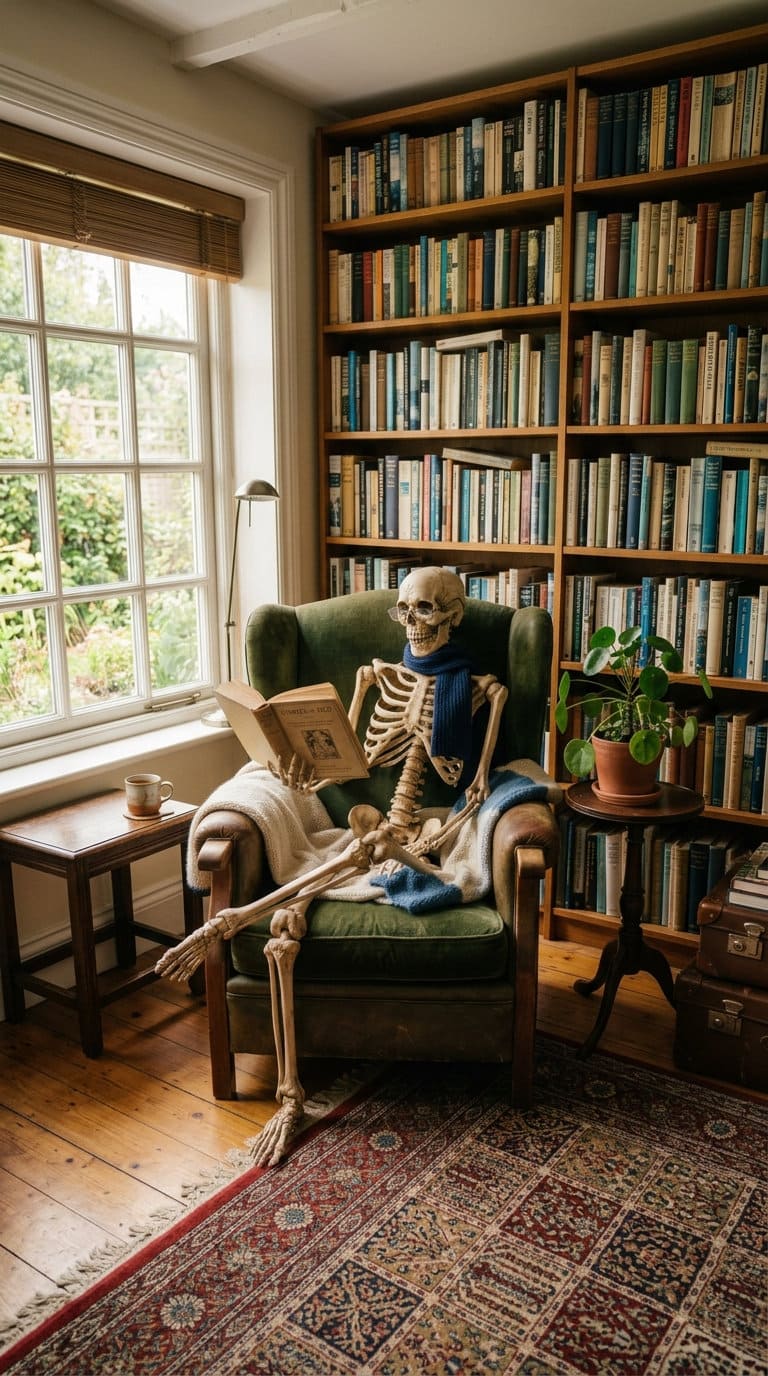
Budget: moderate.
Pose the skeleton with a genuinely funny prop, a TV remote, an open book, a coffee mug, or reading glasses, rather than a generic scary pose, the humor is what makes this idea memorable rather than just another scary prop.
Bend the joints (most life-size Halloween skeletons have posable wire joints) into a natural, relaxed sitting position rather than stiff and upright, which looks far more convincing and photographs better for anyone who takes pictures at your party.
19. Add a Rug With a Spider Web or Graveyard Design
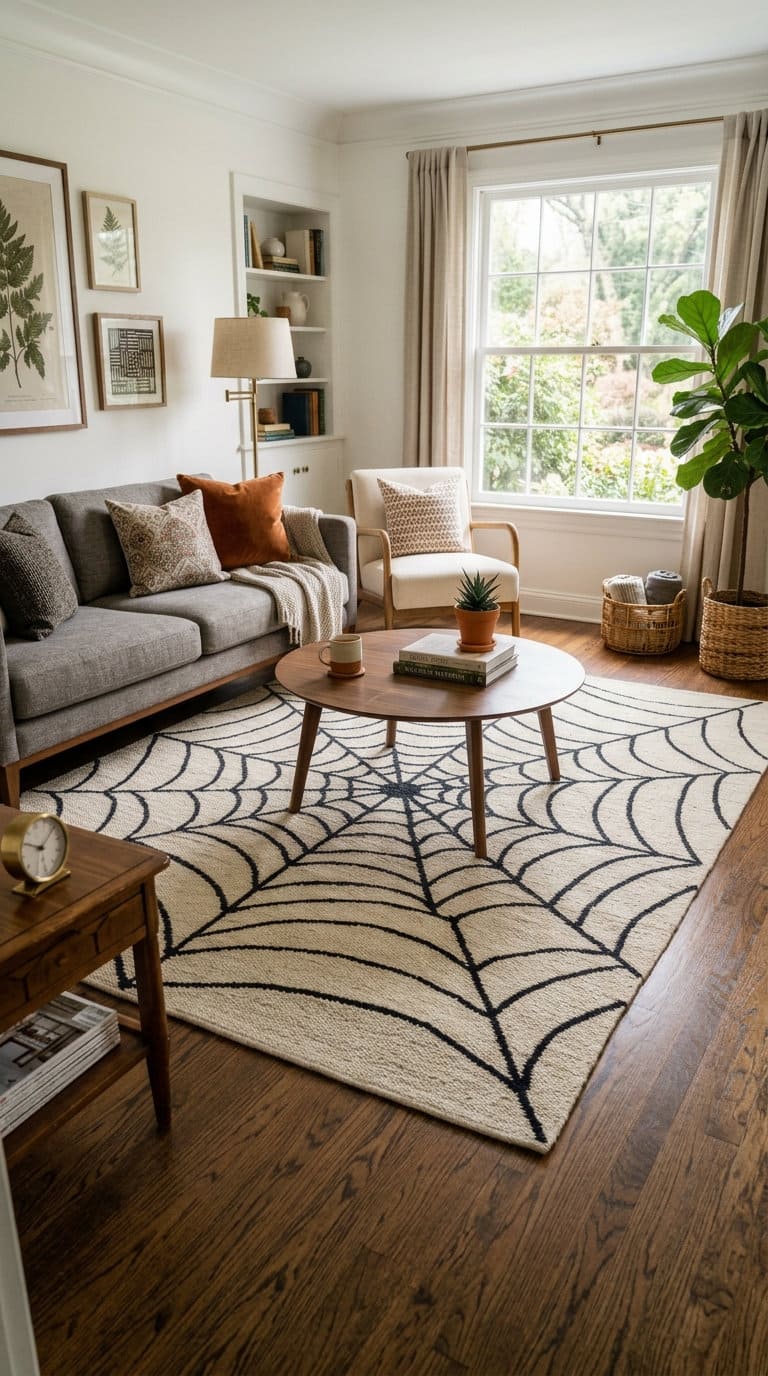
Budget: moderate.
Measure your current rug’s footprint before shopping, a Halloween-specific rug swap only works if you can find a close size match, otherwise you’ll have bare floor showing at the edges.
If a full-size replacement isn’t available in the pattern you want, a smaller accent rug layered on top of your existing neutral rug (rather than a full swap) achieves the same visual effect at a fraction of the cost.
Either approach grounds the whole room’s theme from the floor up, an easy way to tie together everything else you’ve styled above it.
Lighting and Ambiance
20. String Orange and Purple Lights
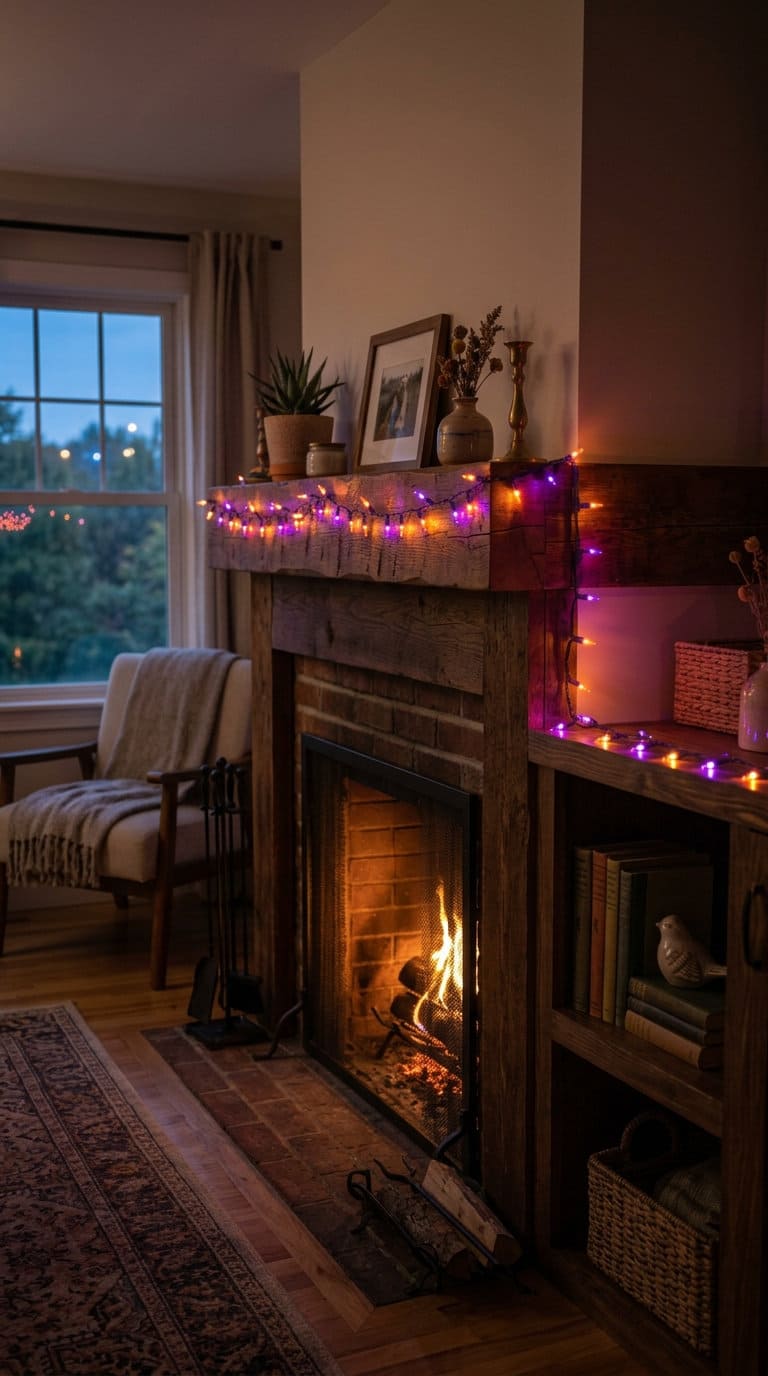
Budget: DIY-cheap to moderate.
Look for an indoor-rated strand with a battery pack or a nearby standard outlet, unlike outdoor string lights, you don’t need a GFCI-specific outlet indoors, but you should still avoid running the cord under a rug or through a high-traffic walkway where it becomes a trip hazard.
Drape the strand loosely along a shelf edge or mantel rather than pulling it taut, a slight sag between anchor points reads more like ambient lighting and less like a straight, stiff line.
Connectable indoor-rated sets make it easy to cover a longer stretch if one strand alone doesn’t span the whole mantel or shelf.
21. Dress Up the Chandelier or Lamps With Web Detail
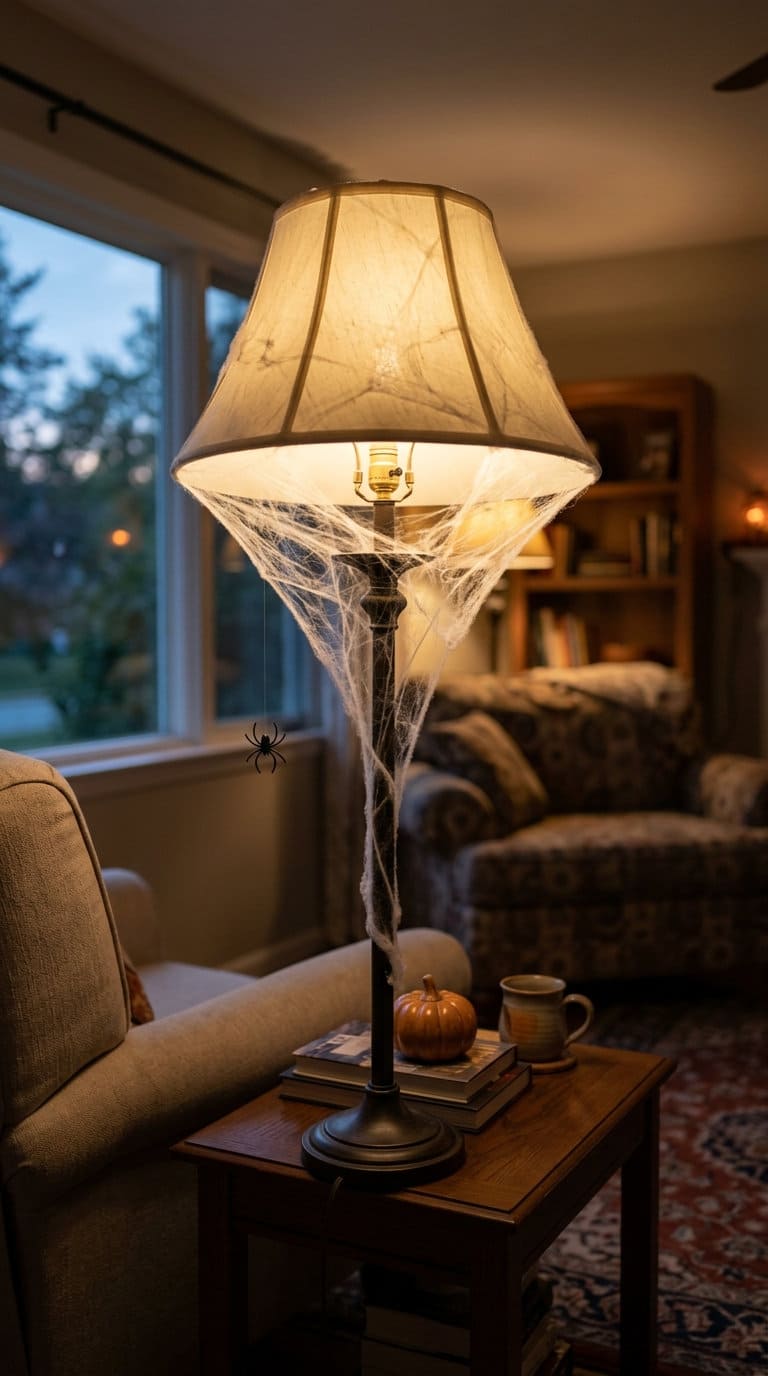
Budget: DIY-cheap.
Stretch the cobweb material thin rather than leaving it in a dense clump, pulling it in multiple directions across your hands before draping it is what creates the wispy, realistic look rather than a solid white mass.
Tuck 1-2 small spider props into the web at different depths rather than placing them all on the surface, and keep any web material at least a few inches from the bulb itself even with an LED, which runs cooler than incandescent but can still discolor synthetic fibers with prolonged direct contact. This is a five-minute upgrade to a fixture you already have.
22. Add Glow-in-the-Dark Accents
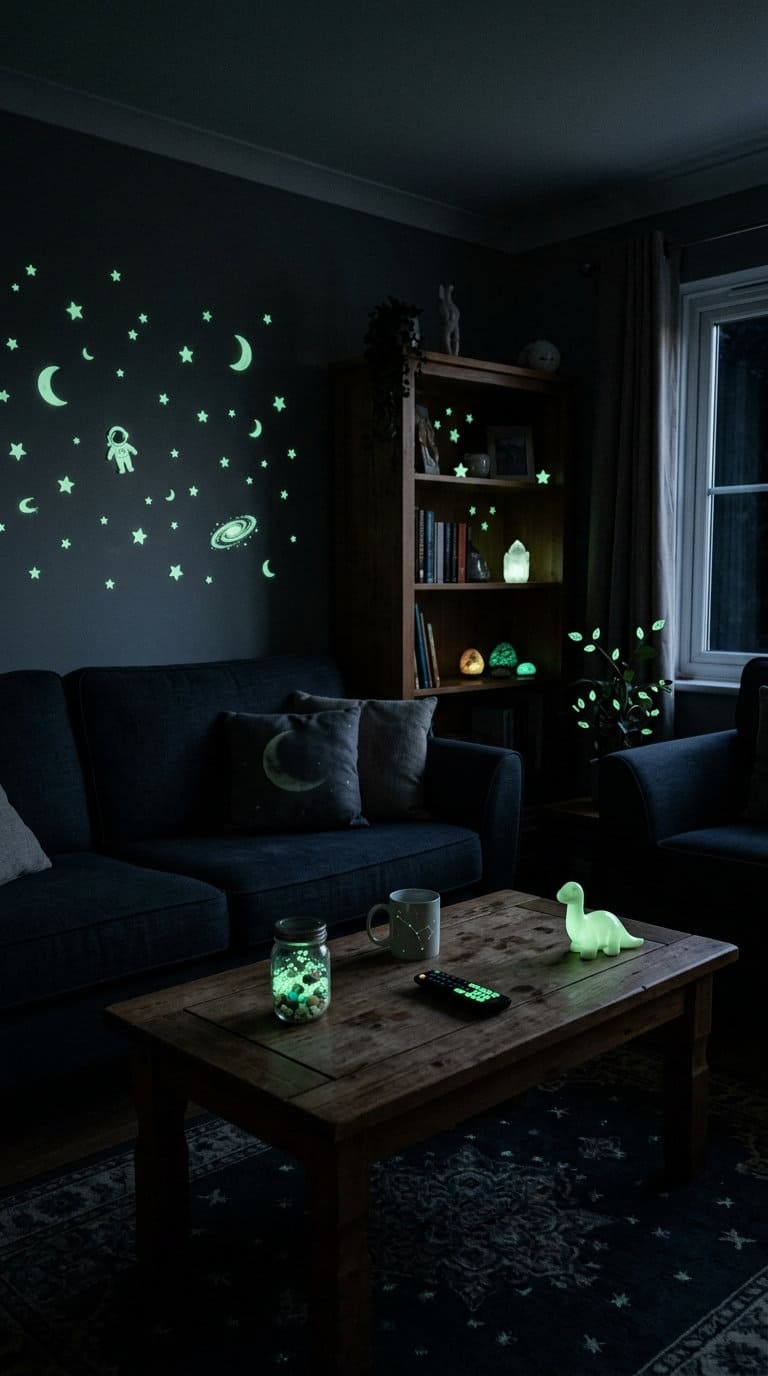
Budget: DIY-cheap.
Glow-in-the-dark decals and accessories need direct light exposure to charge, place them somewhere that gets real daytime light or is near a lamp that’s on for a few hours before dark, rather than a dim corner that never gets bright light, or they won’t glow as strongly at night.
A few glow decals on a picture frame edge, a bowl of glow-in-the-dark rocks or beads on a side table, and a strand of glow stars on the ceiling together build a layered effect rather than one single item.
This gives a genuinely spooky ambient glow once the lights go down at night, without any flame or cord involved at all, a good pick if you want a fire-free lighting layer alongside idea 15’s LED candles.
23. Place Lanterns Around the Seating Area
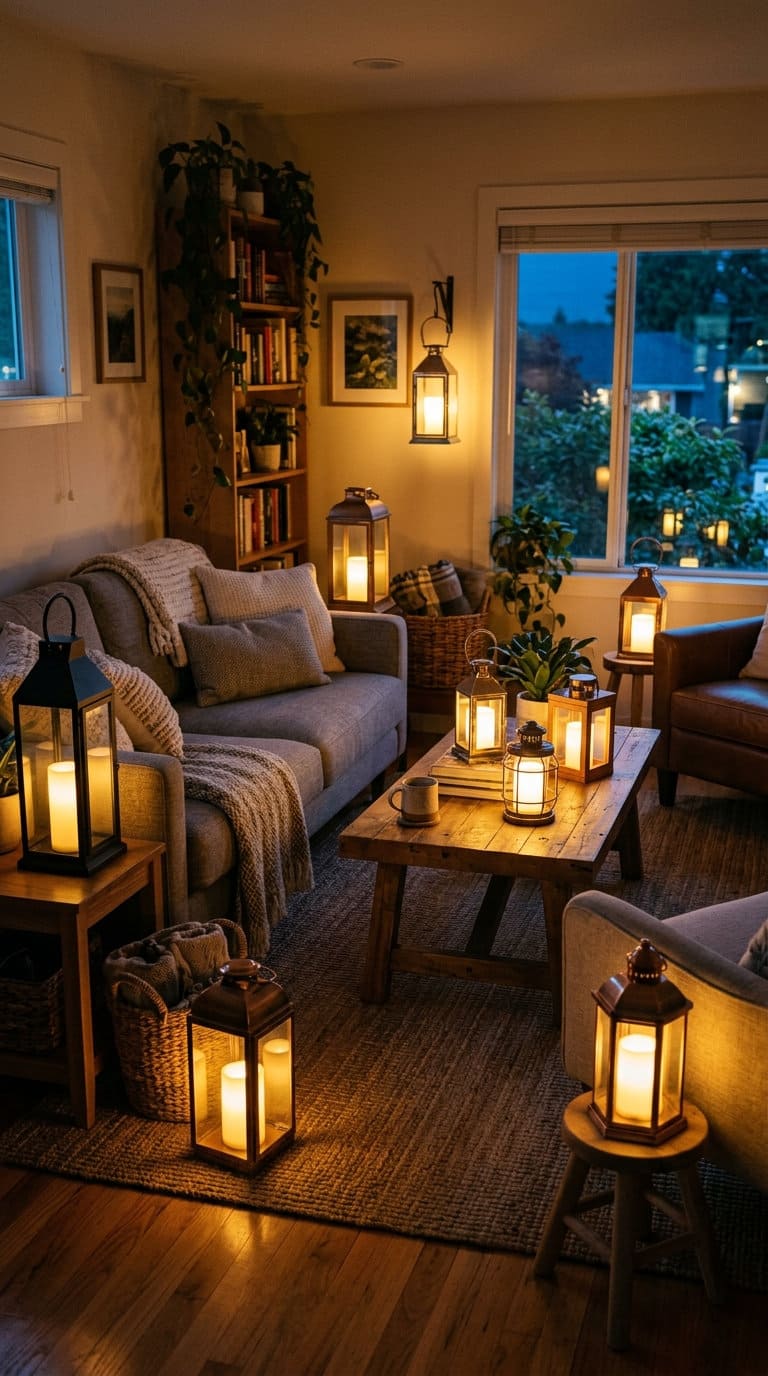
Budget: DIY-cheap to moderate.
Battery-powered lanterns with a flicker-mode setting (not just steady light) read more convincingly candle-like from across the room.
Place them at 3 different heights, one on the floor beside a chair, one on a side table, one on a windowsill, rather than clustered in one spot like idea 11’s bottle display, varying the height spreads the warm glow more evenly across the whole room instead of creating one bright pool and leaving the rest dim.
Floor-to-Ceiling Accents
24. Add Zombie Details to Your Houseplants
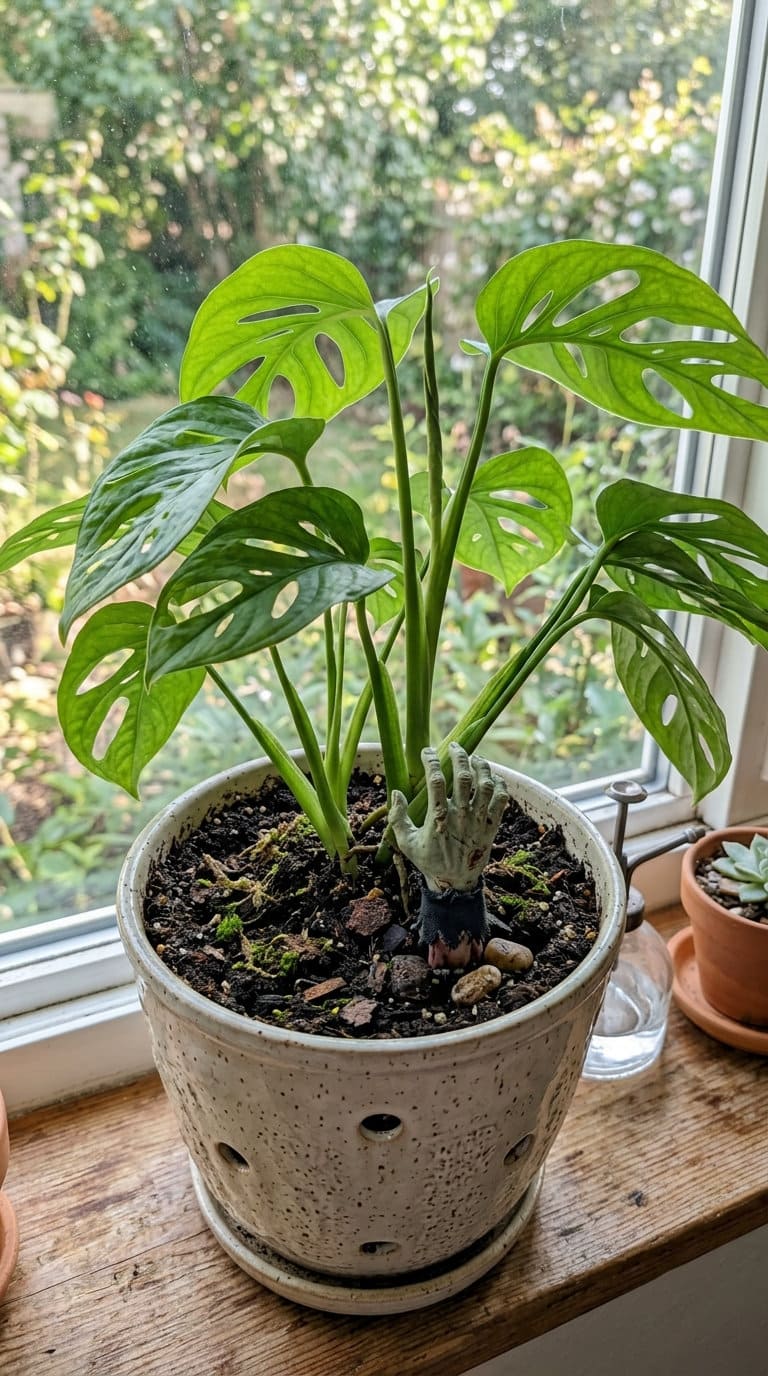
Budget: DIY-cheap. Small zombie-hand picks or tiny zombie masks (sold in the same Halloween craft aisle as cake toppers) push directly into the soil at the pot’s edge without disturbing the plant’s roots.
Use 1-2 accessories per pot rather than covering the whole plant, a single zombie hand reaching out of the soil reads as an intentional detail, while too many crowded into one pot looks cluttered.
This is a genuinely playful, low-cost detail that uses plants you already have instead of buying new decor.
25. Dedicate a Corner to Black Cats
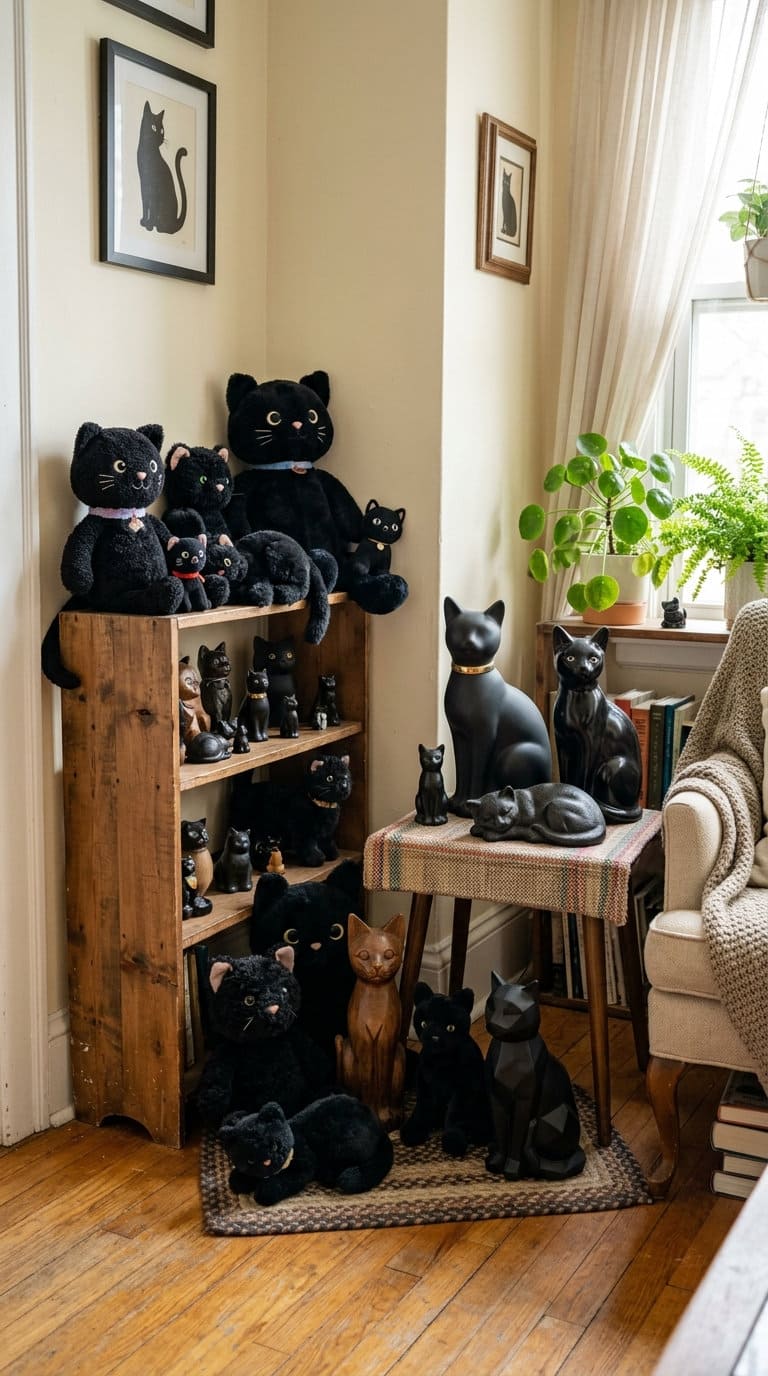
Budget: DIY-cheap.
Group 3-5 black cat items of varying sizes and materials (a ceramic figurine, a small plush, a metal silhouette) rather than several identical items, mixing textures and heights makes a grouped display read as curated rather than a random pile of the same product.
Anchor the display on a small tray or a dark cloth square to visually contain it, this small trick is what separates “styled corner” from “clutter” the same way it does for idea 2’s entryway vignette.
26. Hang Floating Witch Hats From the Ceiling
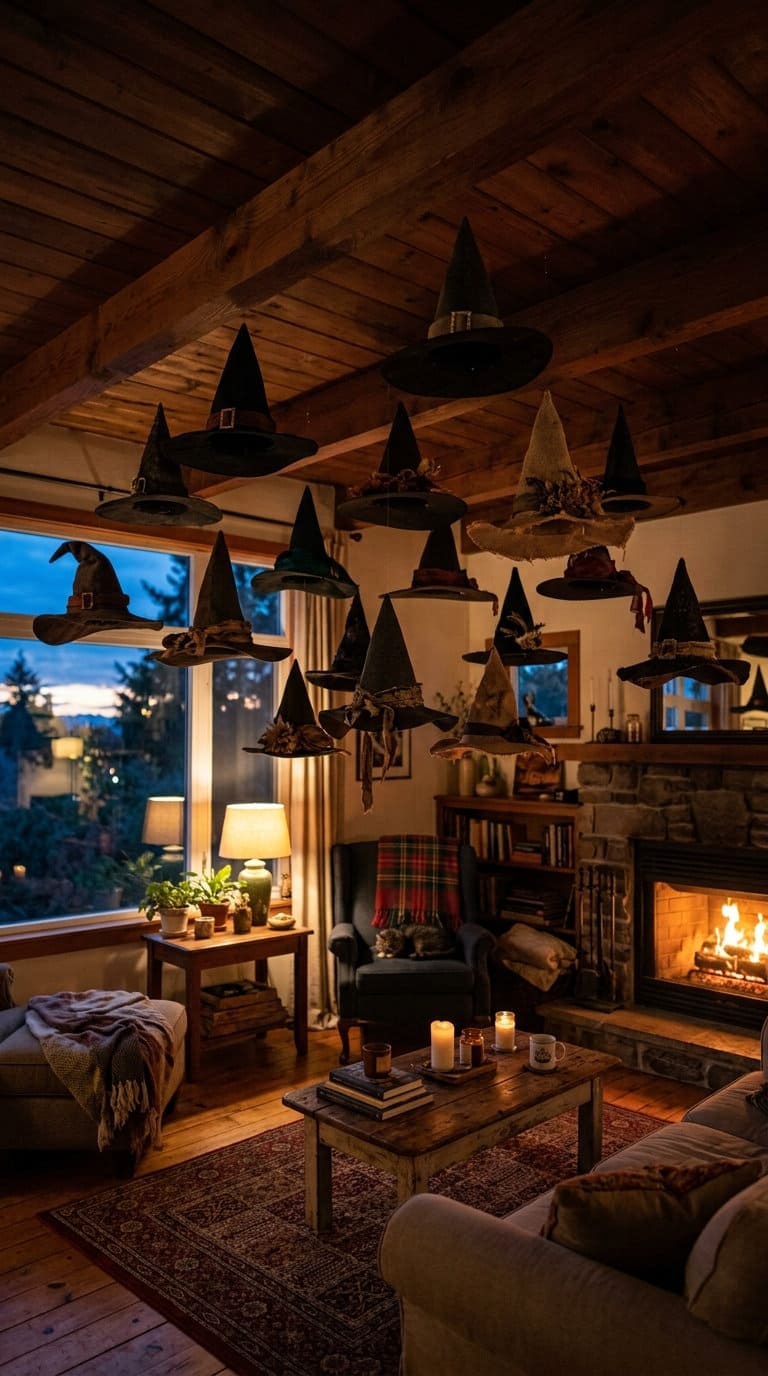
Budget: moderate.
Use clear fishing line or clear nylon thread rather than any visible string, and attach it to the ceiling with a small clear adhesive hook rated for the hat’s actual weight (most felt witch hats are light, but check the hook’s rating rather than guessing).
Hang 2-3 hats at slightly different heights rather than a single hat or a perfectly even row, the varied height is what makes them look like they’re actually drifting rather than pinned in place.
Once the string disappears against your ceiling color, they genuinely look like they’re floating, a fun trick-of-the-eye detail guests often ask about.
27. Cut Out Zombie Window Decals
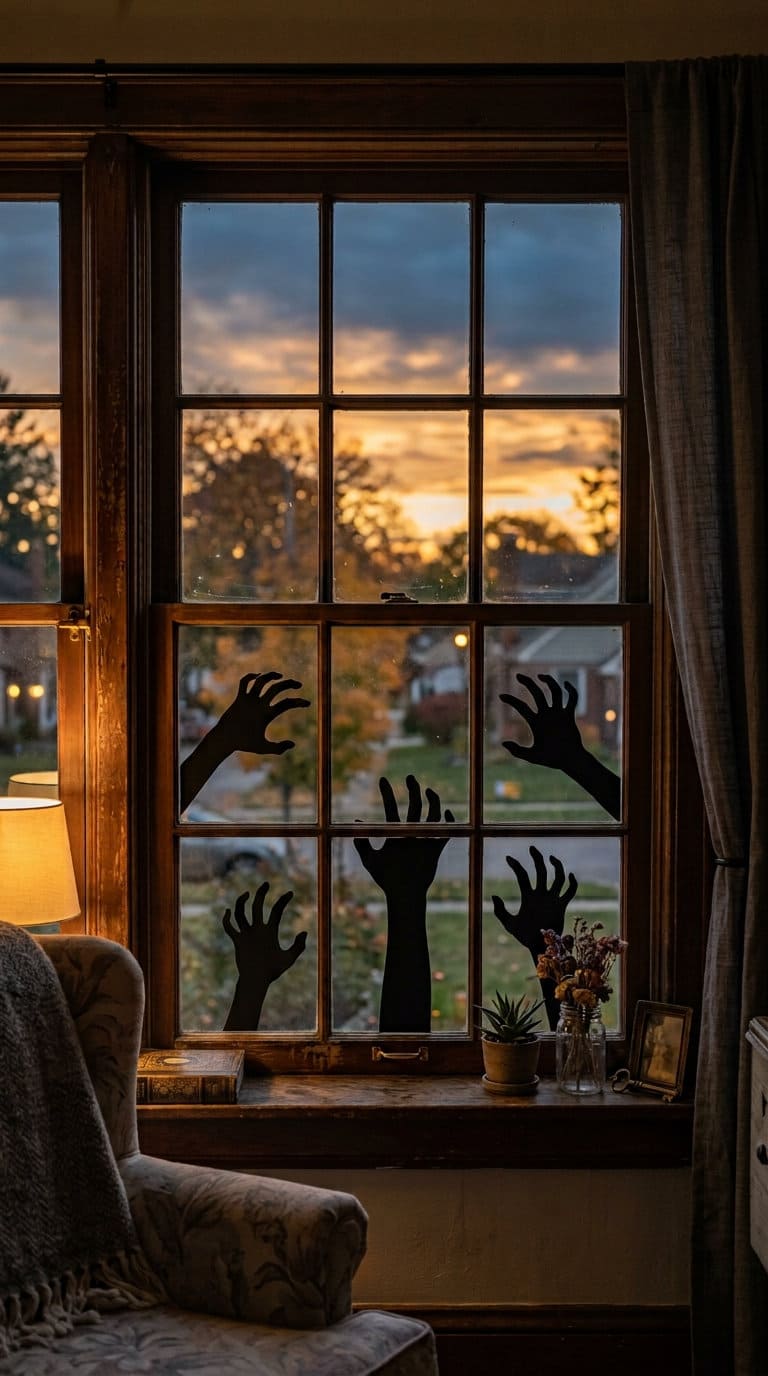
Budget: DIY-cheap.
Cut hand and arm shapes (fingers spread, reaching upward or sideways) from black paper or vinyl using a simple hand-tracing template, this specific “reaching” gesture is what makes it read as a zombie effect rather than a generic silhouette.
Position them at varying heights on the glass, some lower as if climbing, one or two higher as if reaching in, distinct from the witch/cat/bat silhouettes in idea 3, this is specifically a zombie-hand-reaching effect that works especially well backlit at night when the porch or yard light is on outside.
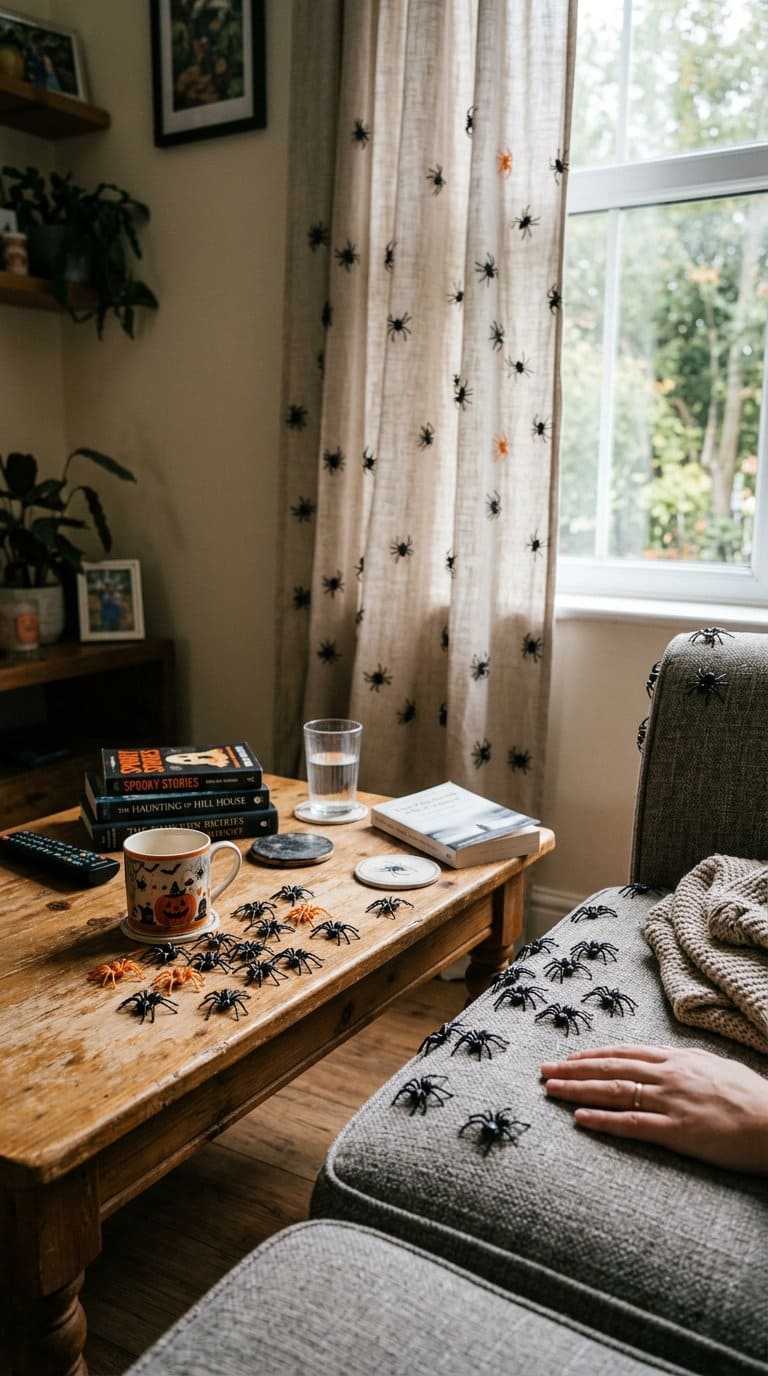
28. Release a Legion of Plastic Spiders
Budget: DIY-cheap.
Buy a mixed-size bag (small spiders for tucking into corners, a few larger ones as focal points) rather than all one size, which reads as more randomly infested and less like a uniform product placed everywhere.
Tuck a few halfway under a book, peeking from behind a curtain fold, or half-hidden under a cushion rather than placing all of them fully visible on flat surfaces, the half-hidden ones are usually what actually make guests jump.
This is one of the cheapest, fastest ways to make the whole room feel infested without touching a single wall or shelf.
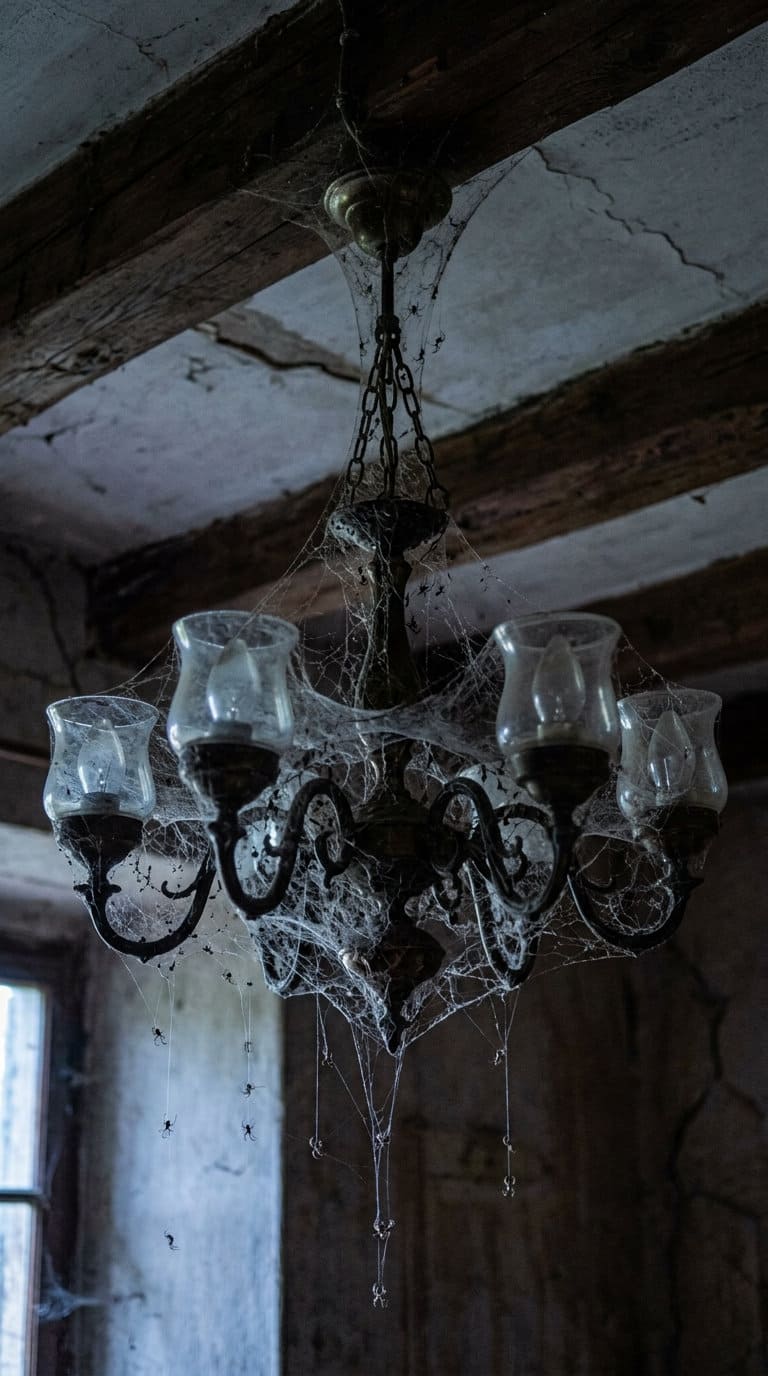
29. Add a Spooky Chandelier Web Effect
Budget: DIY-cheap.
Wrap the cobweb material around the fixture’s base and arms rather than the bulbs themselves, keeping several inches of clearance from any bulb regardless of whether it’s LED or incandescent.
Let a few wisps trail downward several inches below the fixture rather than keeping the whole thing tight and compact, trailing strands catch the light and movement from below far better than a tightly wrapped ball.
If your living room has a ceiling fixture beyond a simple lamp, this creates a genuinely dramatic focal point when guests look up.
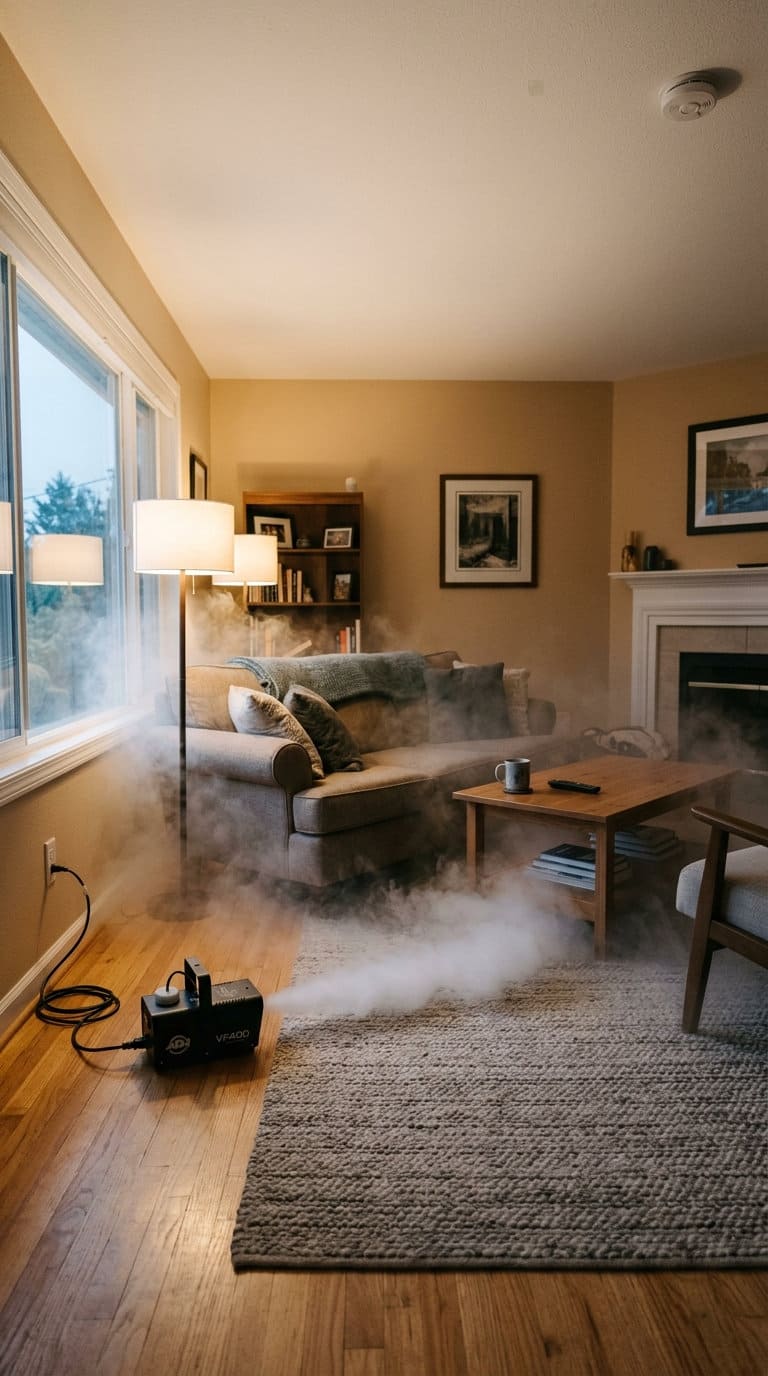
30. Run a Small Indoor Fog Machine
Budget: bigger investment.
Choose a compact, low-output unit specifically sold for indoor home use (not a large event-scale machine, which produces far more fog than a living room needs) and run a test for 10-15 seconds first to gauge how much fog your specific room size actually needs before running it continuously.
Position it at floor level in a corner away from foot traffic so the low, swirling mist rolls outward naturally for a genuinely dramatic party atmosphere.
Per the safety note above, keep it well clear of ceiling smoke detectors, run it in a ventilated room, and never leave it running unattended.
FAQs on Halloween Living Room Decor
How can I make my Halloween decorations kid-friendly? Stick to the playful ideas on this list (zombie plants, black cat corner, glow-in-the-dark accents, floating witch hats) and skip or tone down the more intense ones (coffee table horror tableau, life-size skeleton) for a Halloween-fun-not-scary living room.
Any quick last-minute decor ideas? Plastic spiders (idea 28), a cobweb-wrapped chandelier (idea 21 or 29), and swapped-in Halloween cushion covers (idea 17) together take under 30 minutes and need zero advance planning.
How do I store Halloween decor afterward? Keep fabric items (throws, cushion covers, drapes) in a labeled bin separate from breakables (bottles, frames, figurines) so nothing gets crushed, and store any battery-powered items with the batteries removed to avoid corrosion over the 11 months until next Halloween.
Is a candle-and-fabric combo actually risky, or is that overly cautious? It’s a real, documented risk, not overly cautious. Per the NFPA candle-fire data cited above, over half of all home candle fires start when flammable decor is placed too close to the flame, and a living room combining sheer drapes, throw blankets, and stacked books with an open flame is exactly that scenario. A battery-powered LED candle removes the risk entirely while keeping the same look.
Conclusion


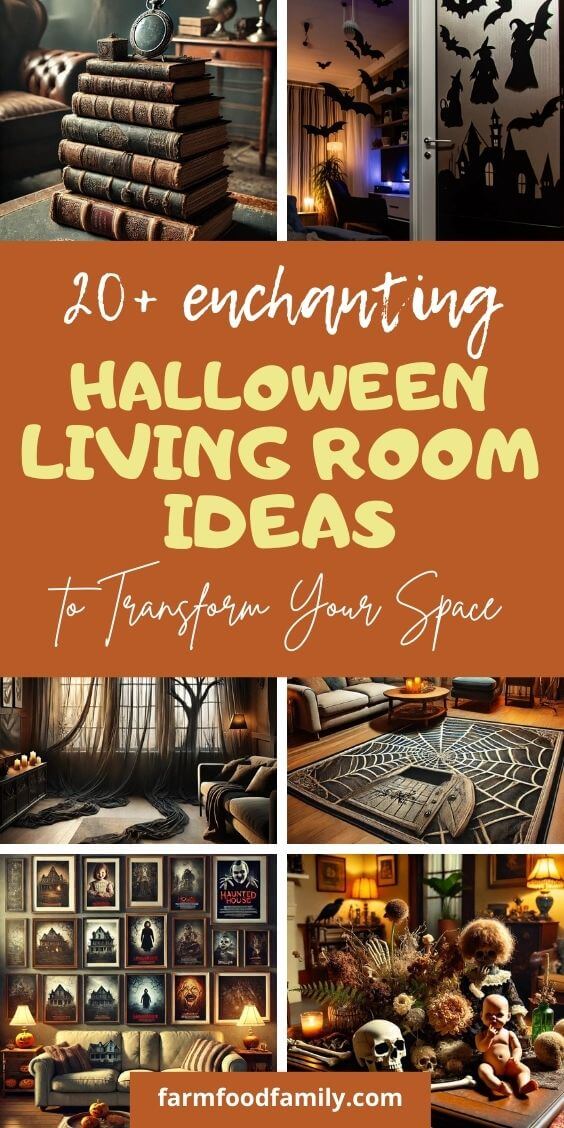
There you have it—20 ways to turn your living room into the ultimate Halloween haunt. Now, let’s get decorating!
Products We Recommend
This post contains affiliate links. We may earn a commission on qualifying purchases at no extra cost to you.
Halloween Fleece Throw Blanket
Black bats on orange background, 50x70in, soft flannel fleece for sofa or couch
Shop Now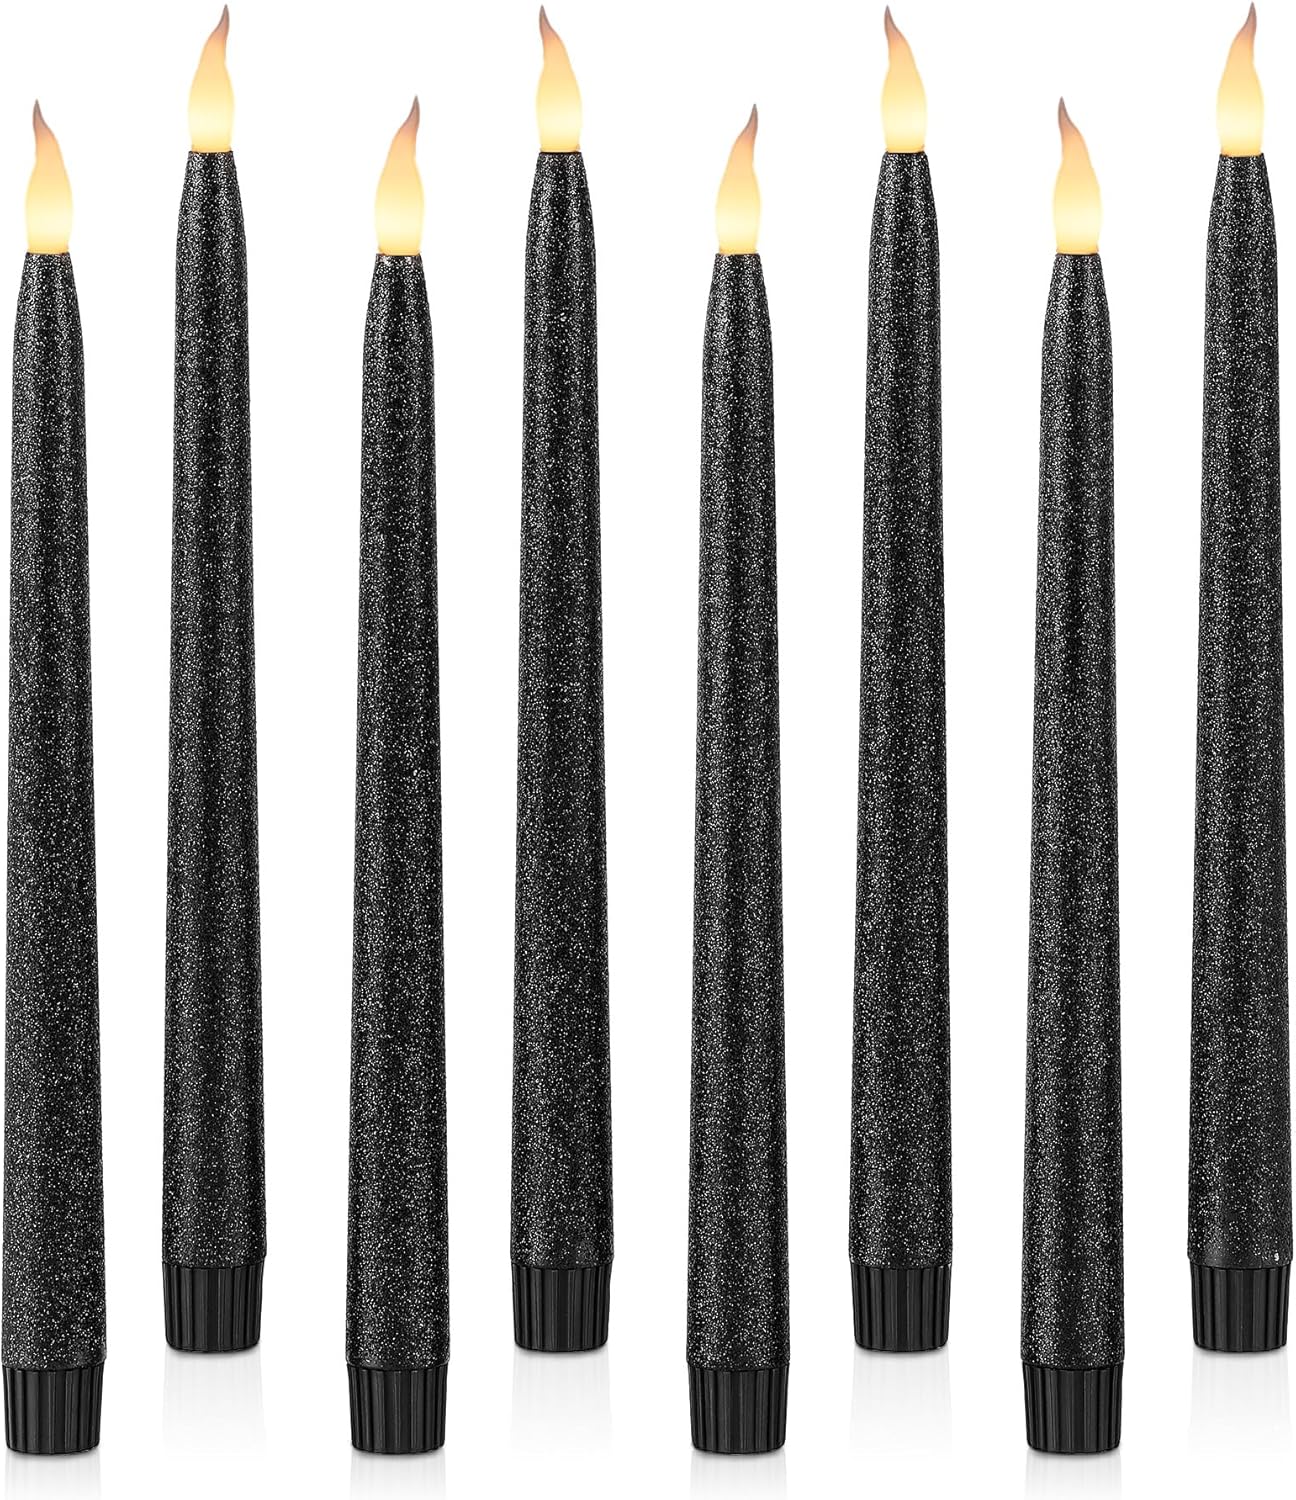
Rhytsing Flameless Taper Candles (Set of 8)
Black glitter 11in battery-operated candles with timer function, the safer alternative discussed in the safety section above
Shop Now
AVOIN Halloween Ghost Throw Pillow Covers (Set of 4)
18x18in black cushion covers, cute-spooky ghost print, fits idea 17
Shop NowNever miss an update — choose FarmFoodFamily as your preferred source on Google.
How it works: Tap the button below to open Google's settings page, then check the box next to FarmFoodFamily.
Tap the checkbox to turn it blue — that's how you know it's set.