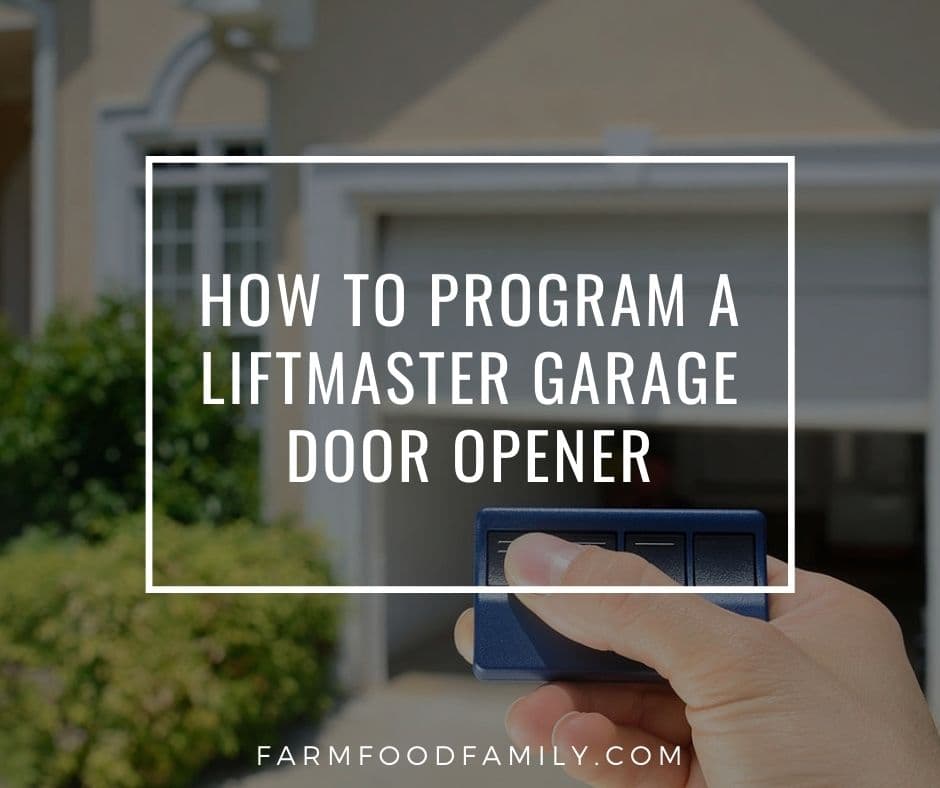
How To Program A Liftmaster Garage Door Opener
Opening and closing the garage door every now and then can be a daunting task especially if you are already tired from work. You cannot even depend on your housemates to immediately open the garage for you while you scream down the doorway.
The average garage is said to be opened and closed at least 15,000 times a year. All of these make a garage door opener essential.
One of the leading brands for garage door openers is LiftMaster. In this post, you will know the basics of how to program a LiftMaster garage door opener. So, if you already have one, read on.
Steps to program a LiftMaster garage door opener
So how do you program a standard LiftMaster garage door opener? I you are doing it on your own, here are the steps that you should master:
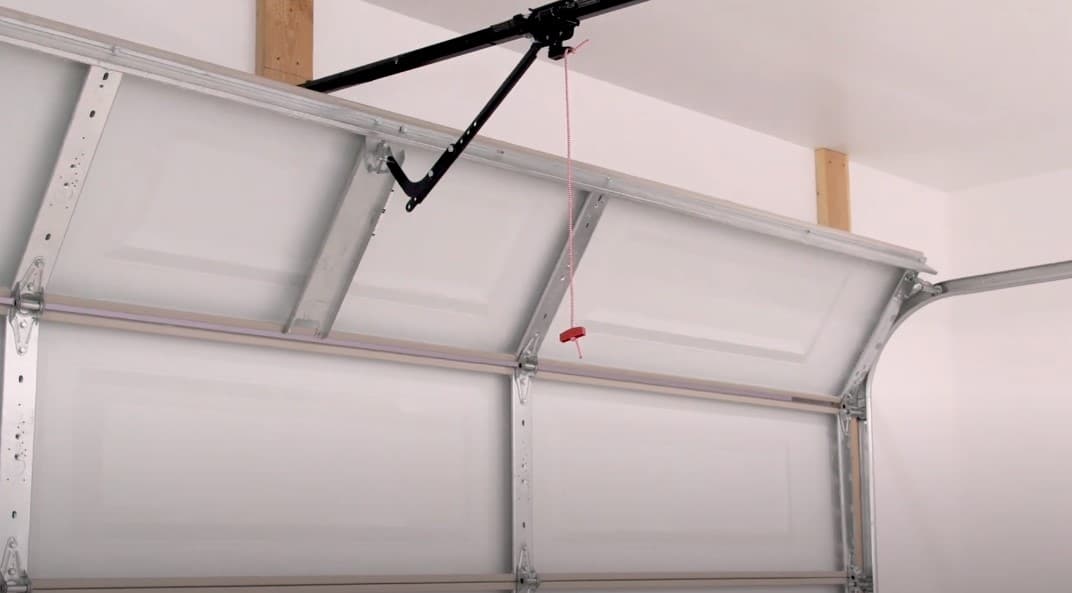
- The first thing to do is to find the ‘learn’ button. It is often beside the antenna of your garage door opener. It can come in many colors such as yellow, green, purple, red, or orange. Beside it would be a small LED light. You will have to remove the lens cover of the button.
- Press the button for at least 30 seconds and then release it.
- Now, press and hold the desired setting or program on the remote for at least 3 seconds and then release it.
- You would know that the garage door has been programmed when the LED light on/off or indicator blinks or when the garage door light is turned on.
- To be sure, press the programmed button to test if it is functioning properly. If not, repeat the procedure until it works.
LiftMaster remote control is a very versatile gadget. It is designed to activate a handful of gadgets including gate operators, garage door opener, and external wide-in receivers. Programming it is very easy too. These five steps listed here are just what you need. Here is a visual from LiftMaster for these steps.
How to program LiftMaster to car without remote
Programming LiftMaster without a remote is laborious but it is totally doable and here are the nine steps to do it.
- Choose your desired controller in place of a remote. It could be a basic keypad remote found in your wall or your car with alphabet and number keys. This one is built-in in your car and comes with a keypad. It usually has four buttons by the rearview mirror complete with LED indicator.
- If you have made your choice, start studying the control panels of the device you have chosen. At this point, you should have checked for operation manuals for the device, check how the buttons work, and locate LED indicators if there are any.
The idea is to delete the pre-installed program in the device so check if there is an available four-digit password or a delete button somewhere.


- If you have found it, press the reset button (it is usually on the top part of the keypad). On the bottom of the keypad, you will find direction arrows. Find your desired program using them. To reset the pre-programmed system, synchronously press the reset button and arrow button. This could take for at least 10seconds.
- You would know that the pre-programmed system is erased when the device’s backlight turns dark.
- Depending on the model of your device, you need to restore default programs. If you are using a basic keypad, you have to key in the code. For Genie, it is 357. Others have 1234 or 0000. Google the default code for your brand.
- If you have keyed-in the code, you must press the program button and then key in the code. And then, check the arrow buttons on the garage door if it responds.
- If the keypad is in your car, you will have to check if it works in a distance. Drive your car at some 10meters away from the driveway. Now key in your code if it works. Next, drive up close to the garage and see if it opens.
- If it works, make your own pin code. It is done by pressing again the reset button and key in a new code. If the LED indicator blinks twice, it worked. Check as necessary though.
- If it does not work, repeat the process until it works.
You can also opt for a primary control box resembling the control box of your garage opener, but it is too taxing and might need professional help.
Related: How To Program Old Craftsman Garage Door Opener
How to program LiftMaster remote to another remote
Programming your LiftMaster remote from another remote can come in handy if you every misplace your original remote. To do this, the following steps should be memorized.
- Erase all pre-programmed setting in another remote by pressing A and B buttons simultaneously. Press for about 5seconds or until quick light flashing is seen. When the light becomes slow and flashes once and then remains off, the previous programs/codes have been cleared.
- Now, place the LiftMaster remote next to the other remote.
- Press the button of the program that you wish to copy for your other remote. Find the equivalent of that button in the other remote and do the same.
- Hold down the button until the LED indicator in the other remote blinks very fast. As soon as it becomes steady, you have transferred the code of your original LiftMaster remote to the other remote. You can now use the other remote like how you use your LiftMaster remote.
Related: How To Program A Genie Garage Door Opener
How do you program a LiftMaster multiple garage door opener?
Did you know that the LiftMaster Max remote can open multiple garage door openers? It works with most LiftMaster garage door opener manufactured since 1993. To program multiple Liftmaster garage door openers, you need the following steps.
- The first thing to do is to locate the program button on your remote.
- 890 and 895 MAX remote: press the program button using a safety pin. Press until the LED indicator on the top part of the remote blinks or turns on.
- 893 MAX remote: the program button is at the back of the remote, just below the visor clip. Press for it to be activated.
- 877 MAX remote: for this, press # and * synchronously until the light becomes steady.
- Press and release the button that you want to program on the remote.
- Wait for the light on the remote to stop blinking before slowly pressing and releasing the button again. If you press and release immediately, the program will be set into another setting. Now, do the same process until the blinking stops and become steady.
- Once it becomes steady, press any button in the remote control.
- To program other garage door openers, you must repeat the process.
You cannot program multiple garage door openers at once. They must be programmed one at a time.
How do I reset my LiftMaster garage door opener?
LiftMaster garage door openers work are installed are installed using wireless technology so in order to reset yours, here’s what you should do.
- Erase all WiFi settings. Make sure that the LED light is green and steady. Then, press and hold the settings button until it turns blue.
- To clear all installed programs, press and hold the settings button again until the blue LED light until it blinks quickly and then release for a while.
- As it blinks, press and hold the same setting button until the blue light beeps or stops blinking.
- Now to reset to factory default settings, press and hold #1 button. A yellow light will blink. Continue press and hold until the light turns off.
- Next, press and hold #2 button. Do the same process when the yellow light appears.
Just a word of caution, if a green and blue light simultaneously blinks, you must unplug your router before trying the process again. Here is a visual on how to do it.
Can you change the code on a LiftMaster garage door opener?
Changing your LiftMaster code every now and then adds a layer of security to your garage. There are two ways to change the code of LiftMaster garage door opener: one is through your remote keypad and the second is through the learn button.
Using the keypad:
- First, go to your pin box and key in your present code.
- Find the # button. Press and hold the button until the LED indicator on your garage door opener blinks twice.
- Key in your new four-digit code. Press enter.
- To make sure that it has been programmed, test the new code on your garage door opener. If it does not work, repeat the process.
Using the ‘learn’ button:
- Find the learn button by your garage door. As soon as you press it, the light should come on immediately.
- Hold the button for at least 30 seconds and then slowly release it. As soon as you release the button, key in your new four-digit code.
- Press enter and hold it down until the light on the garage opener blinks.
- Test your new code. Repeat the process if it does not work the first time.
Conclusion
The good thing about programming LiftMaster garage door openers is that it is relatively easy to do. General programming only includes four steps. You can find a substantial amount of tutorials and helpful visuals in programming, resetting, and troubleshooting your LiftMaster garage door opener. With all things considered, you should be programming yours now.