21+ Creative Repurposed Garden Container Ideas on a Budget
Turning junk into planters saves real money, but the wrong container can leach lead or paint into your vegetables, so here’s what actually works and what to skip.

Never miss an update — choose FarmFoodFamily as your preferred source on Google.
How it works: Tap the button below to open Google’s settings page, then check the box next to FarmFoodFamily.
Tap the checkbox to turn it blue — that’s how you know it’s set.
I spent about $340 on planters one spring before I figured out my neighbor’s curb pile was basically a garden center. An old dresser, three mismatched buckets, and a chipped enamel pot later, half my patio garden cost nothing but a Saturday afternoon. And honestly, some of those free containers have outlasted the $40 ones I bought at a big box store.
Repurposing containers for your garden is one of the easiest ways to stretch a landscaping budget, cut down on what goes to the curb, and get a patio that doesn’t look like everyone else’s. But it’s not just “grab anything hollow and add dirt.” Some materials leach chemicals into soil.
Some trap heat and cook roots by July. Some just fall apart in six weeks. This guide covers both sides: which repurposed containers genuinely work, and the safety rules that most roundups skip entirely.
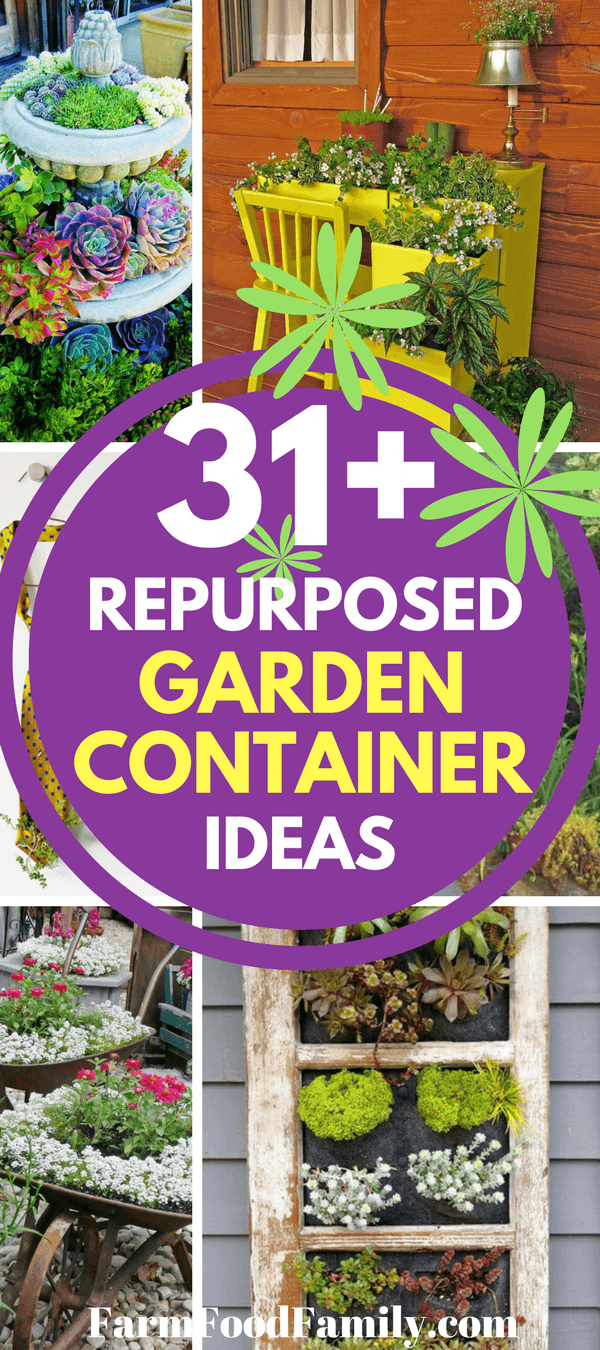
Quick Answer: What Makes a Repurposed Container Actually Work
A repurposed container works long-term if it drains freely, isn’t made from a material that leaches chemicals into soil (lead paint, certain plastics, chemically treated wood), and can handle repeated wet-dry cycles without rotting or rusting through.
According to Sharon Yiesla, Plant Knowledge Specialist at The Morton Arboretum, just about anything you can poke drainage holes in and that won’t decay quickly can become a container. For edible plants specifically, skip anything that held chemicals, solvents, or lead-based paint, and stick to food-grade plastics, untreated wood, ceramic, or metal.

For ornamental flowers, the rules loosen quite a bit since you’re not eating what grows in the soil.
Answer 4 quick questions and get matched to the exact fix for your yard — drainage, budget, layout, or something else entirely.
Take the Free QuizThe two habits that matter most, no matter what you’re growing, are drilling real drainage holes before you plant anything and giving the container a good scrub first. Skip those two steps and even a perfectly safe material will still end up with soggy roots or a moldy mess by midsummer.
Is It Actually Safe to Repurpose Containers for Plants?
This is the part most “creative container” articles skip, and it’s the part that actually matters if you’re growing anything you plan to eat.
Old paint is the biggest hidden risk. Paint made before 1970 often contained high concentrations of lead, and that lead can leach into soil and get taken up by plant roots. If you’re repurposing an old dresser, chair, or toy for anything you’ll eat out of, either strip the paint down to bare wood first or use it strictly for flowers.
Plastic matters too. Plastics labeled with resin codes 3 or 6 can contain chemicals including phthalates and styrene, and BPA-containing plastics are worth avoiding for food crops as well. Codes 1, 2, 4, and 5 are generally considered safer bets for a planter that’ll hold vegetables or herbs.
Chemically treated lumber is the trickiest call. Per the University of Maryland Extension, research shows chemicals do leach out of treated wood into soil and get taken up by plants in very small amounts, though there isn’t strong evidence that the level is significant enough to threaten human health. Still, if you want to be careful, line the inside with heavy plastic sheeting before adding soil, or just default to a naturally rot-resistant wood like cedar, black locust, or redwood instead.
Old tires get a lot of Pinterest love, but the caveat is real: some gardeners and university sources flag potential concern about chemicals in tire rubber breaking down over time, especially for edible crops. If you want the tire look without the tire, use it for flowers only, or find a heavy rubber livestock tub instead.
Bottom line for edible plants: food-grade plastic, ceramic, ungalvanized metal, and untreated or naturally rot-resistant wood are your safest picks. For ornamentals, almost anything goes as long as it drains.
Most yard problems trace back to one specific, fixable cause. Find yours in 4 quick questions.
Take the Free Quiz
Titanium-coated bit set that handles wood, thin metal, and ceramic drainage holes without dulling after a few containers, 4.8 stars with 13.8K ratings
Shop NowThis post contains affiliate links. We may earn a commission on qualifying purchases at no extra cost to you.
What You Need Before You Start
Every repurposed container needs three things before soil goes in: drainage holes, a good scrub, and, sometimes, a liner.
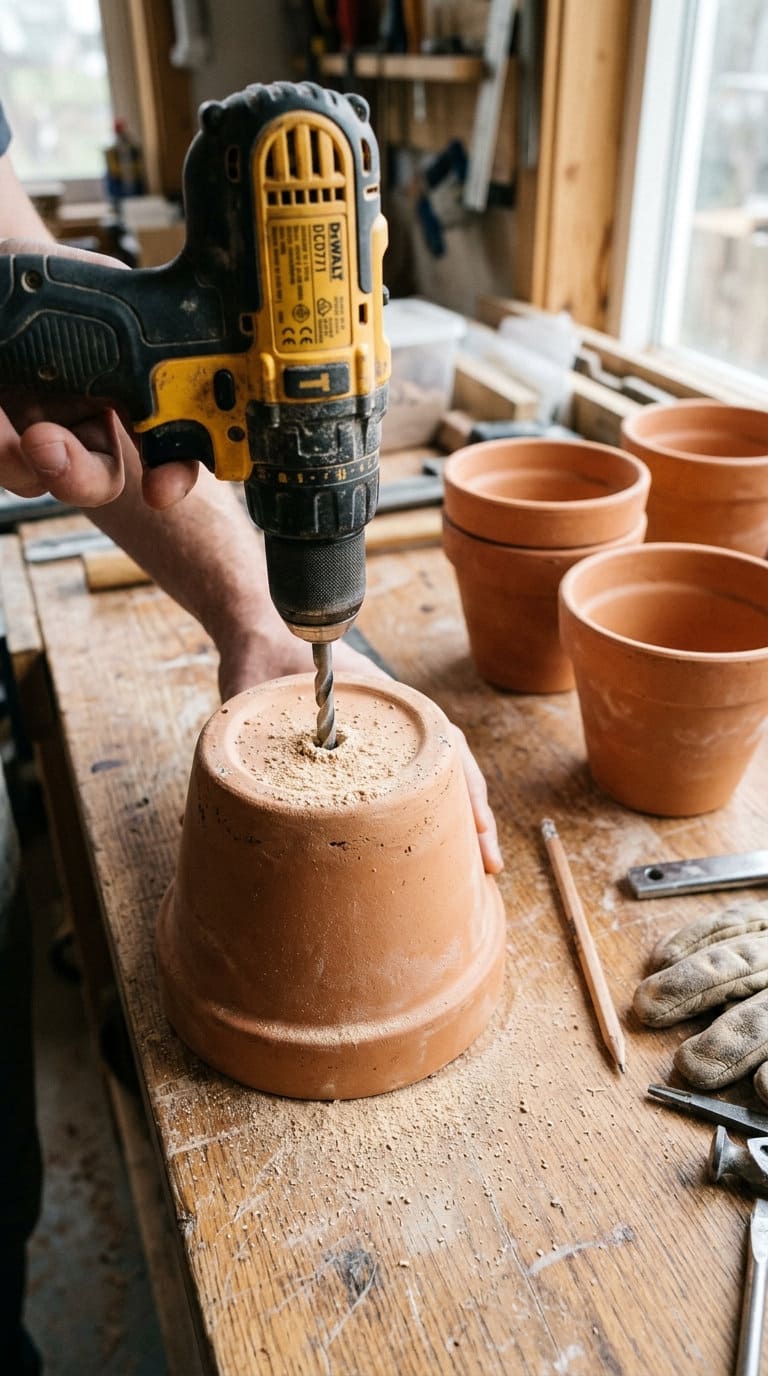
Drill drainage holes with a masonry bit for ceramic or a standard bit for wood and thin metal, spacing holes about 1 to 2 inches apart across the base. No drill? A hammer and a masonry nail will punch through most ceramics in a pinch, though you’ll get a rougher hole.
Wash containers with a diluted bleach solution (about 1 part bleach to 9 parts water) if they previously held food, then rinse thoroughly and let them air dry for a day before planting.
Budget-wise, most of these ideas cost under $15 once you count drill bits, potting mix, and the odd sealant, versus $35 to $90 for an equivalent new decorative planter at a garden center.
Furniture You Can Turn Into Planters
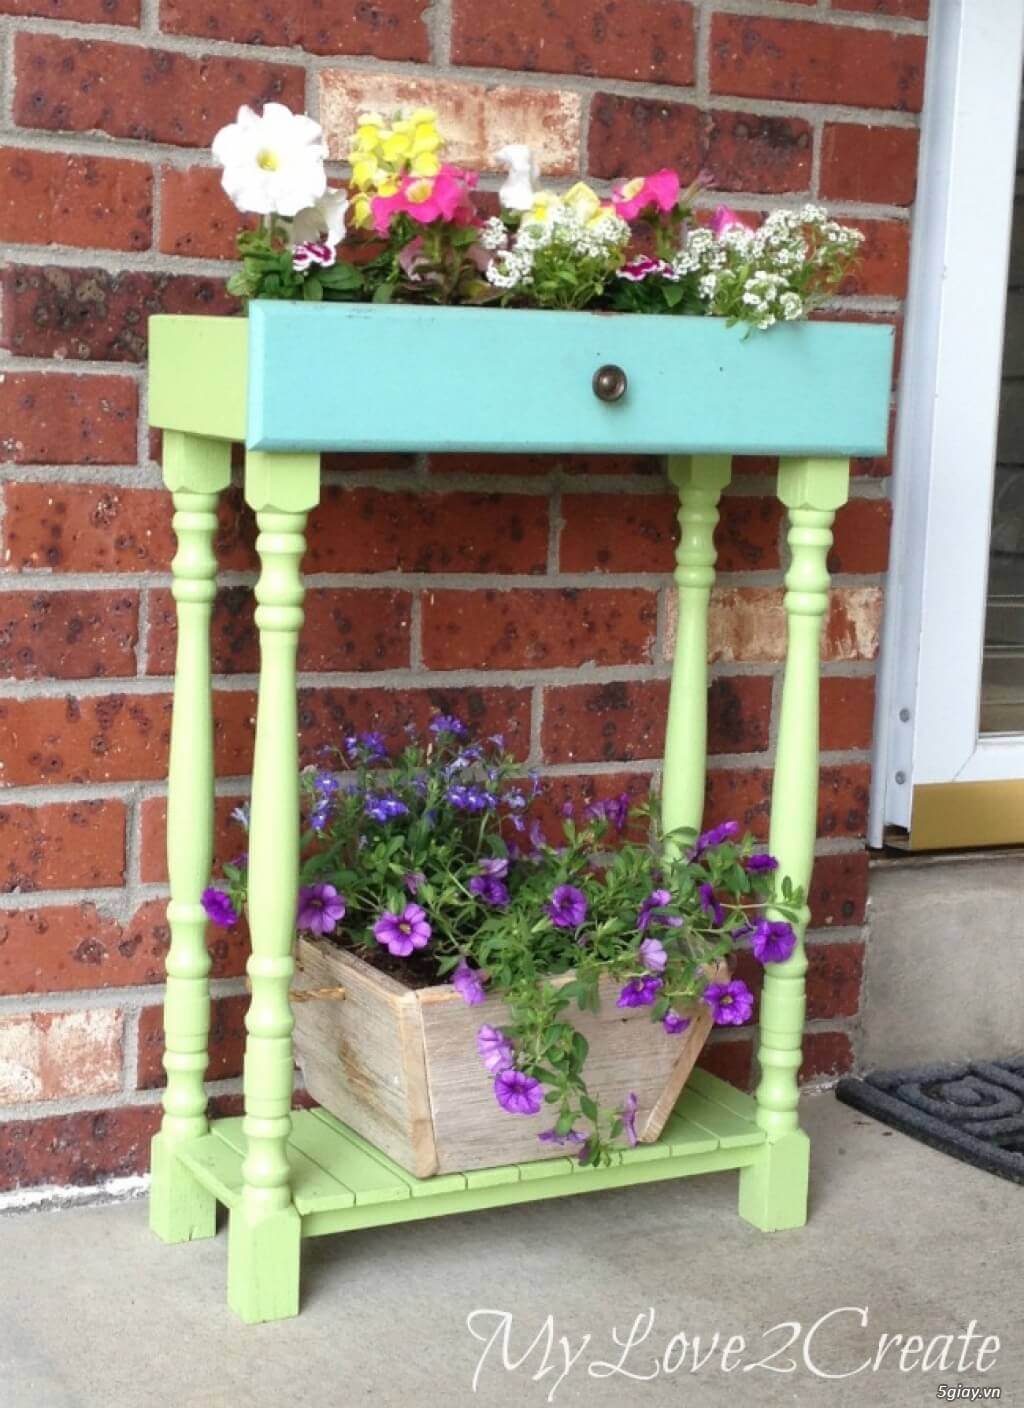
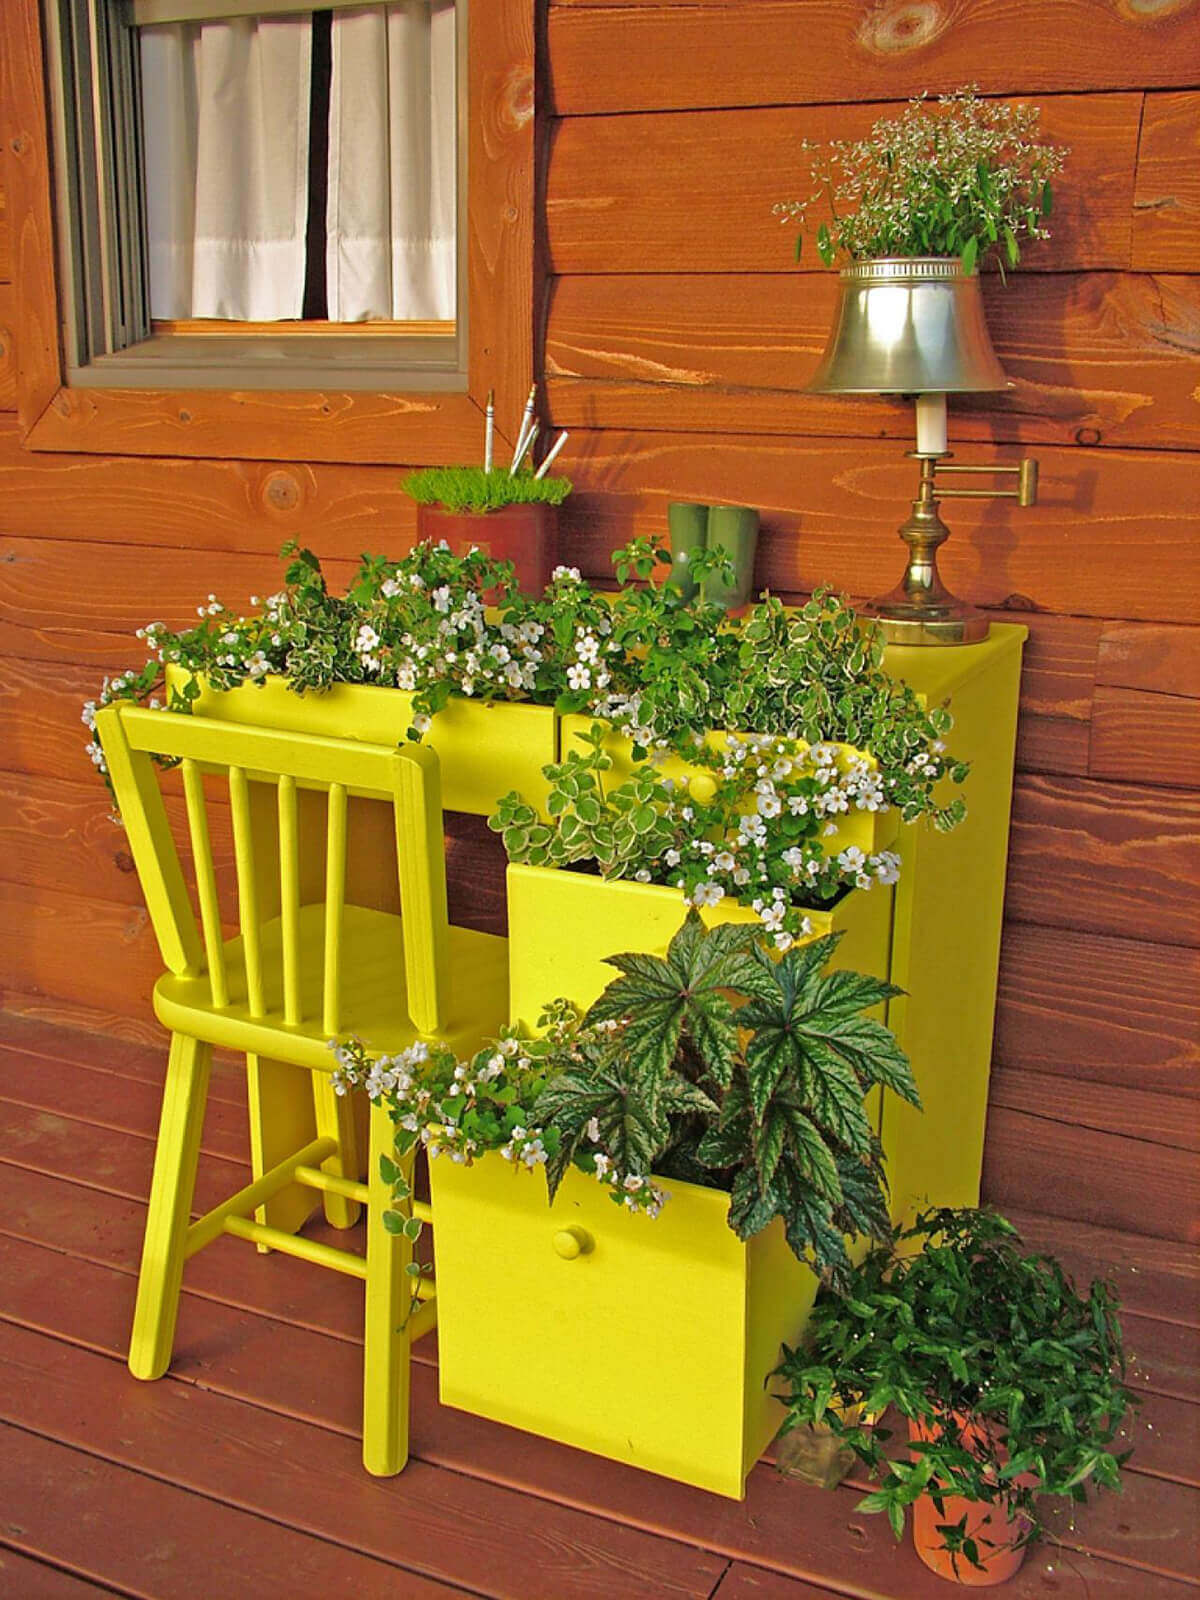
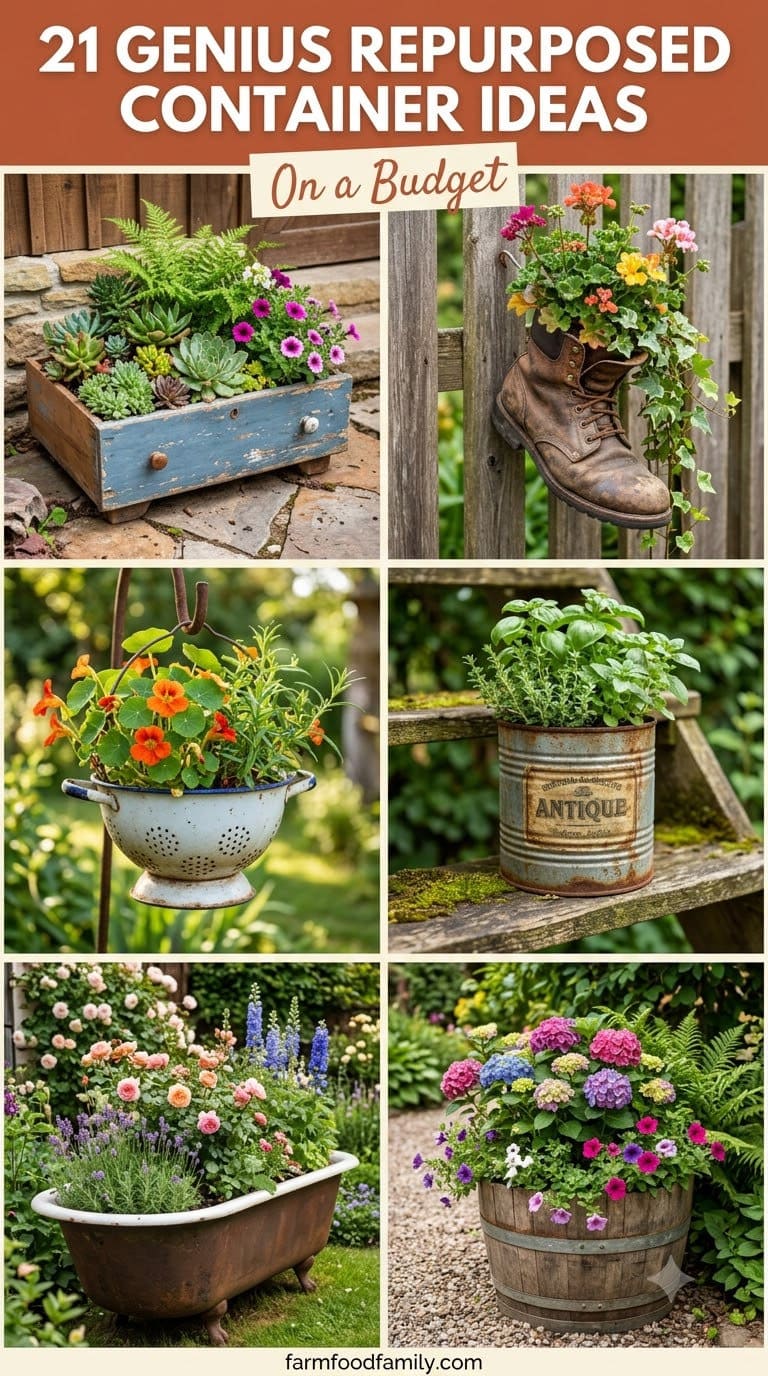
1. Dresser Drawers as Tiered Planters
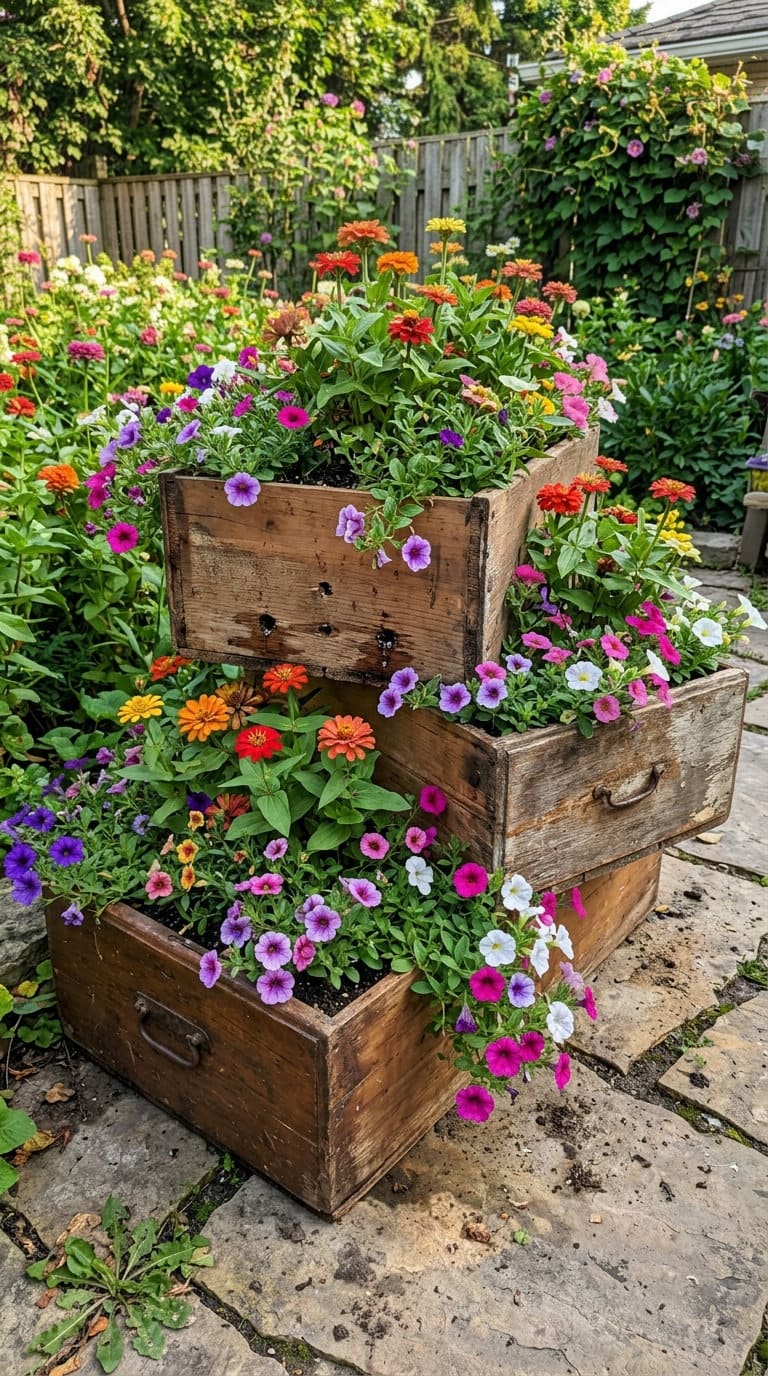
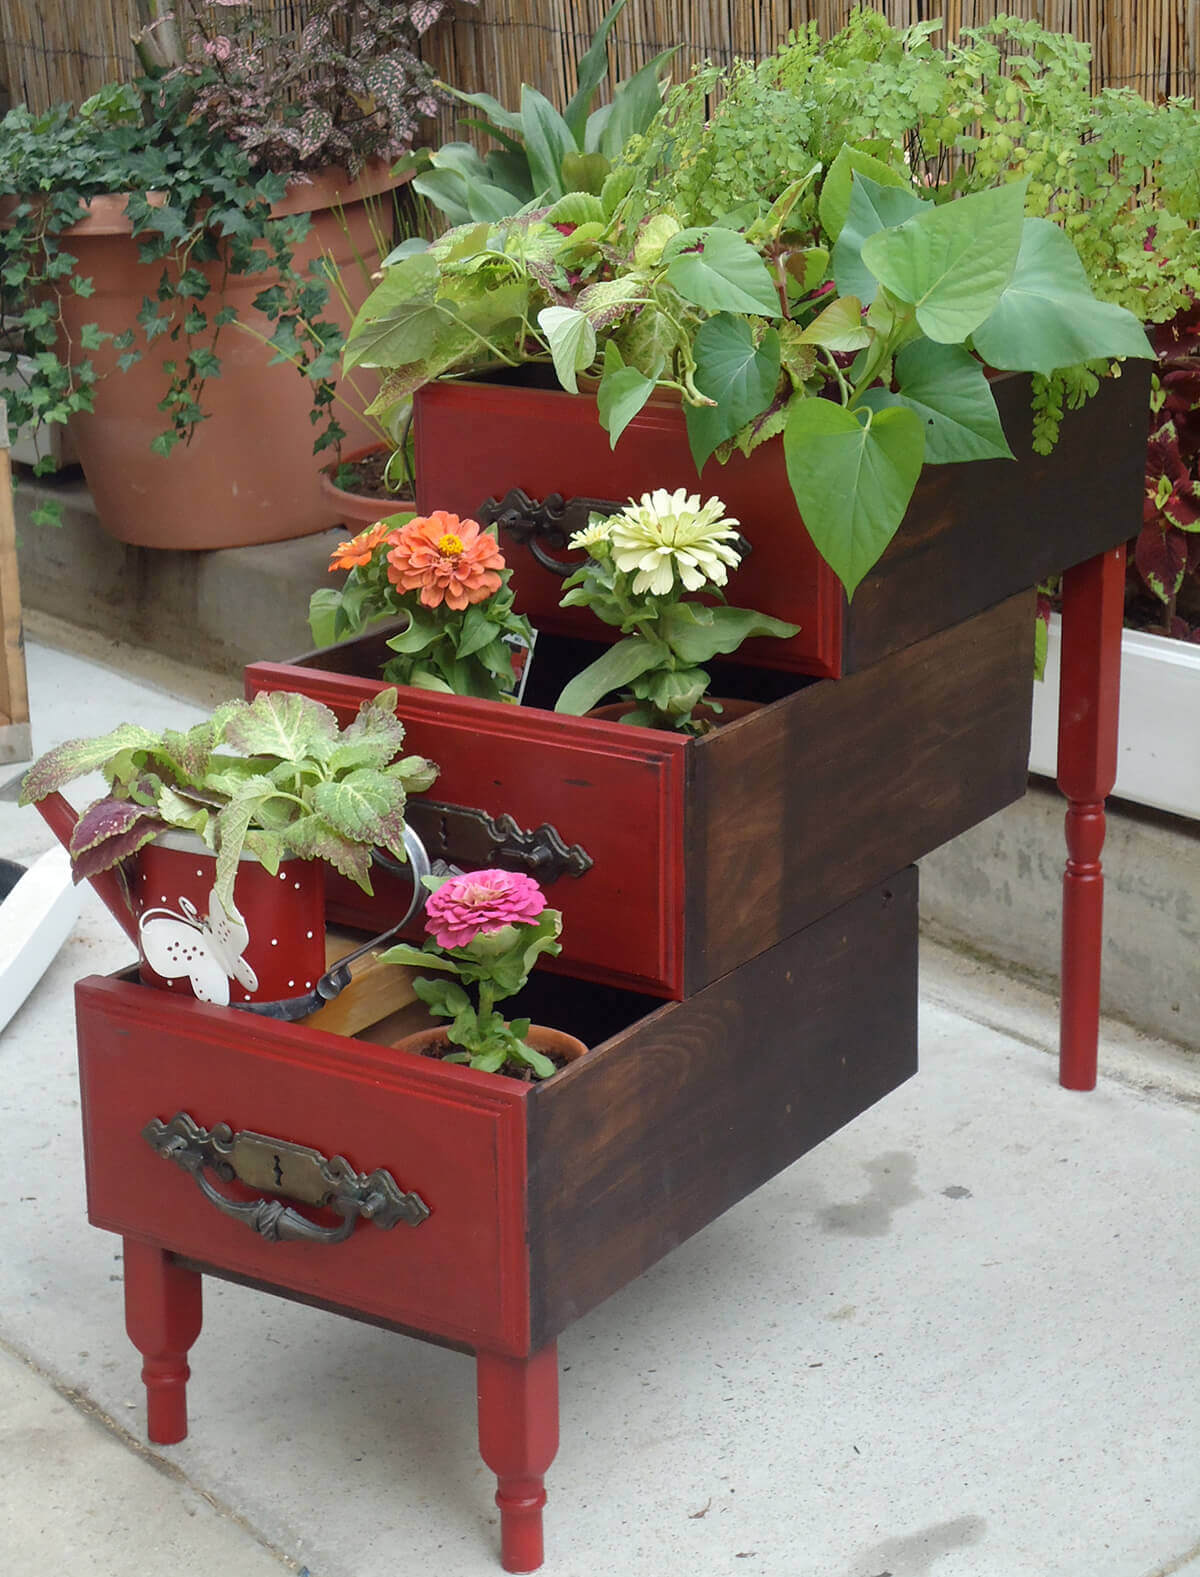
Pull the drawers out of an old dresser and stack them at staggered depths, largest on the bottom, so each one gets full sun.
Drill four to six drainage holes per drawer bottom, line the inside with landscape fabric to keep soil from spilling through gaps, and fill with a lightweight potting mix rather than garden soil, since drawers get heavy fast.
A standard 24-inch drawer holds roughly 1.5 cubic feet of soil, enough for a mix of trailing petunias and upright zinnias. If the dresser has old paint and you’re planting anything edible, sand it down first per the safety notes above.
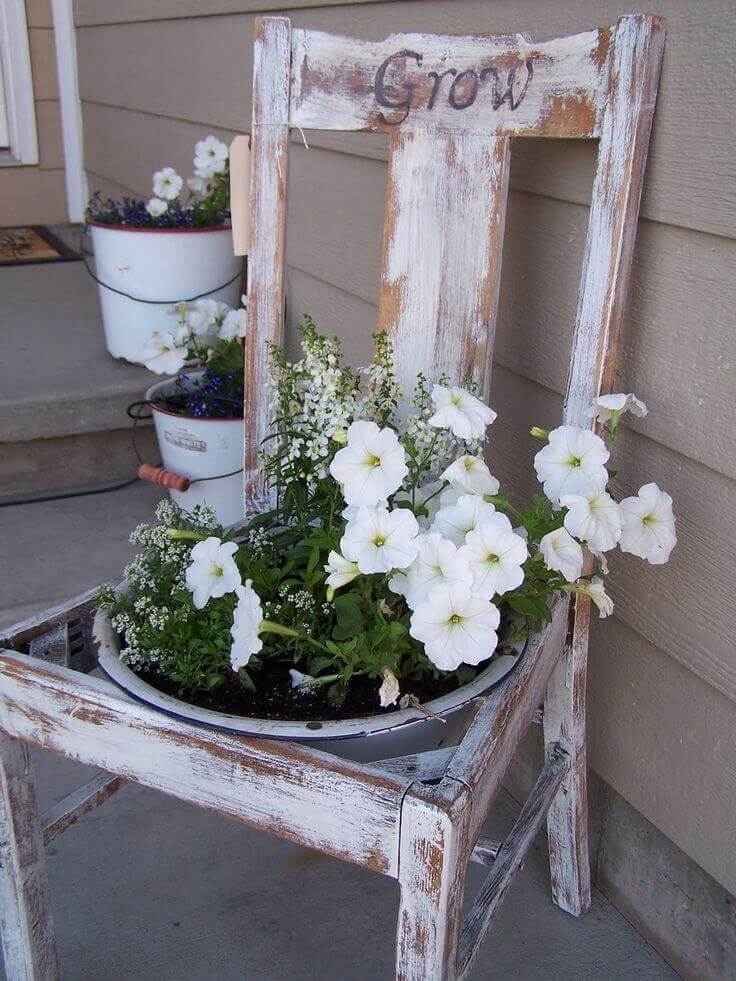
2. Wooden Chairs With the Seat Cut Out
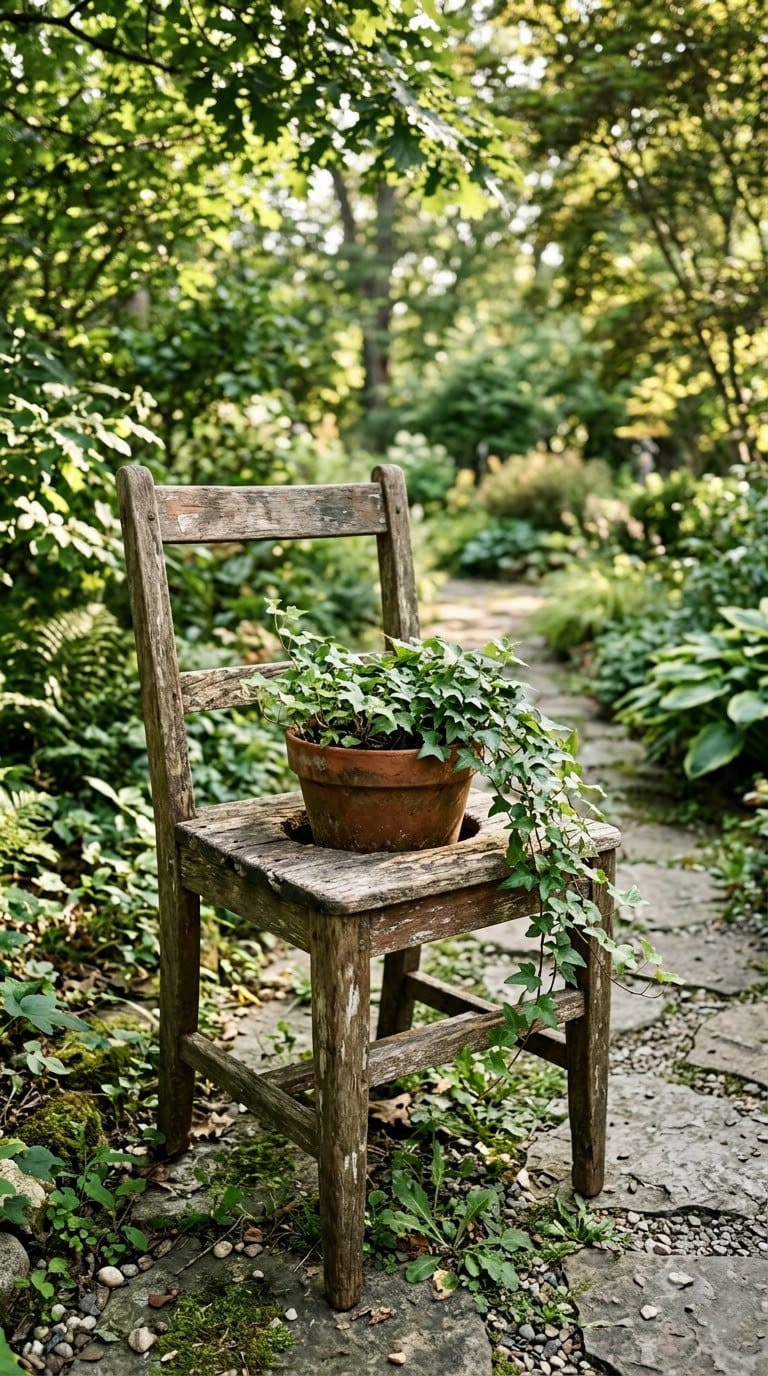
Cut a circular hole roughly 10 to 12 inches wide into the seat of a wooden chair, then set a plastic pot or a fabric grow bag of matching size into the opening instead of planting directly into the chair frame.
This protects the wood from constant moisture and means you can swap plants seasonally without redoing the whole piece. Chairs with a cane or wicker seat work especially well since the hole is already half-formed.
The average homeowner spends $616/year on yard fixes that don't address the real problem. Find out what yours actually is — before you spend another dollar.
Take the Free Quiz3. An Old Bathtub as a Raised Bed
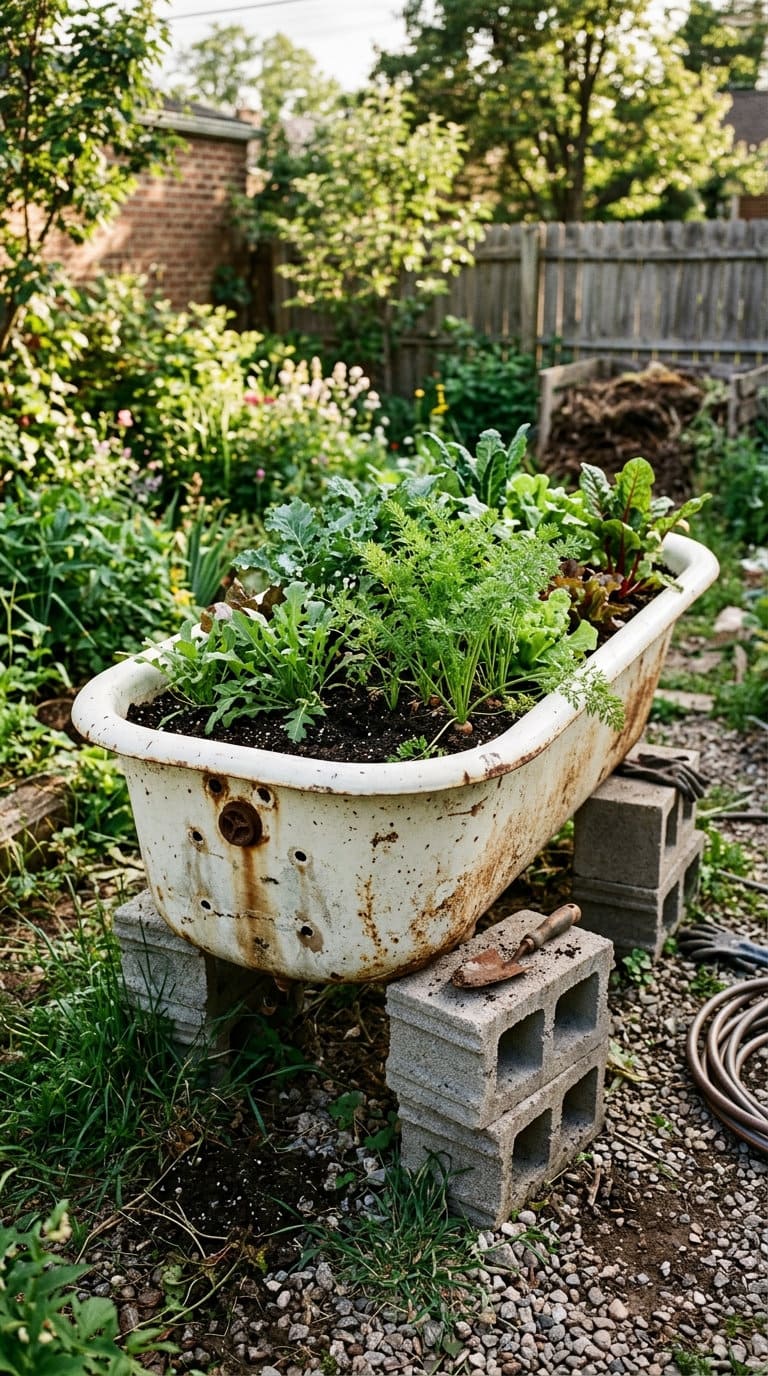
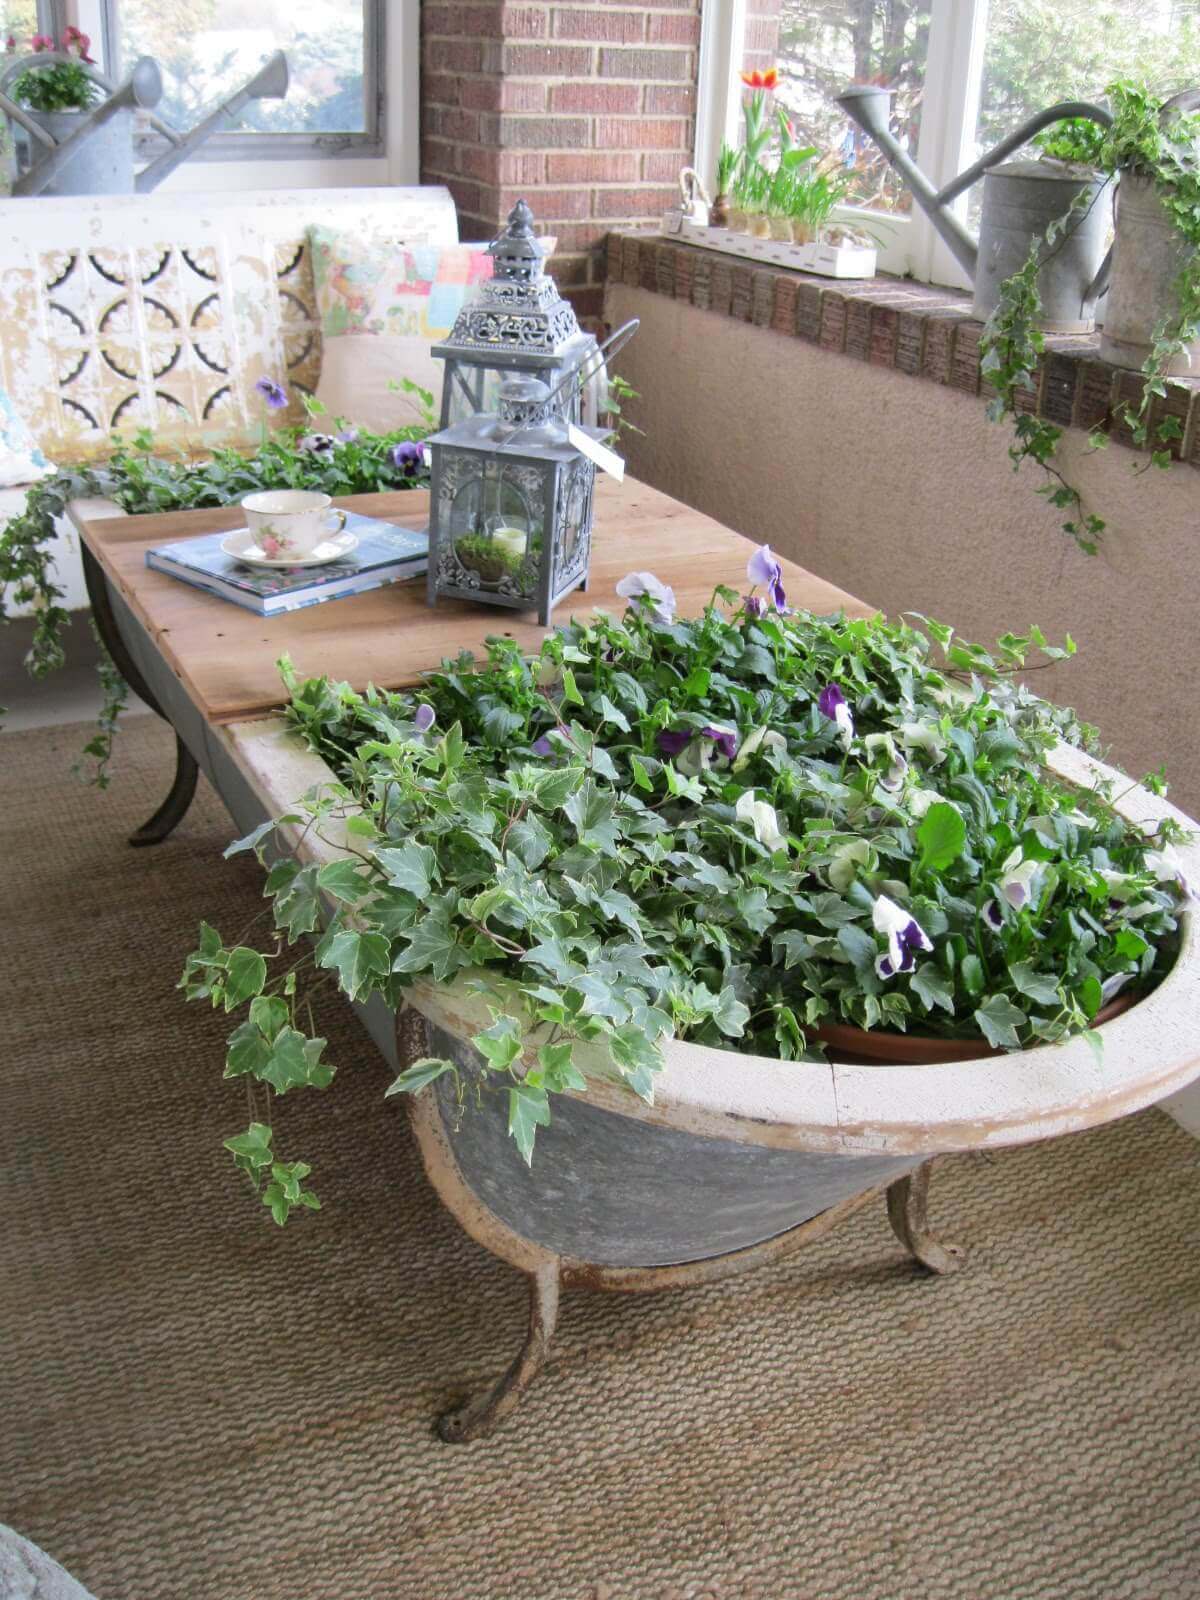
A cast-iron or acrylic tub makes a genuinely deep raised bed, often 14 to 16 inches deep, which is enough for root vegetables like carrots or potatoes that need more soil depth than a typical container offers.
Drill or hammer drainage holes at the low end near the original drain, prop the tub up on cinder blocks for airflow underneath, and expect to fill it with 8 to 10 cubic feet of soil, which is the one real downside: soil alone can run $60 to $100 for a tub this size.
4. Bookshelf Turned Vertical Planter Stand
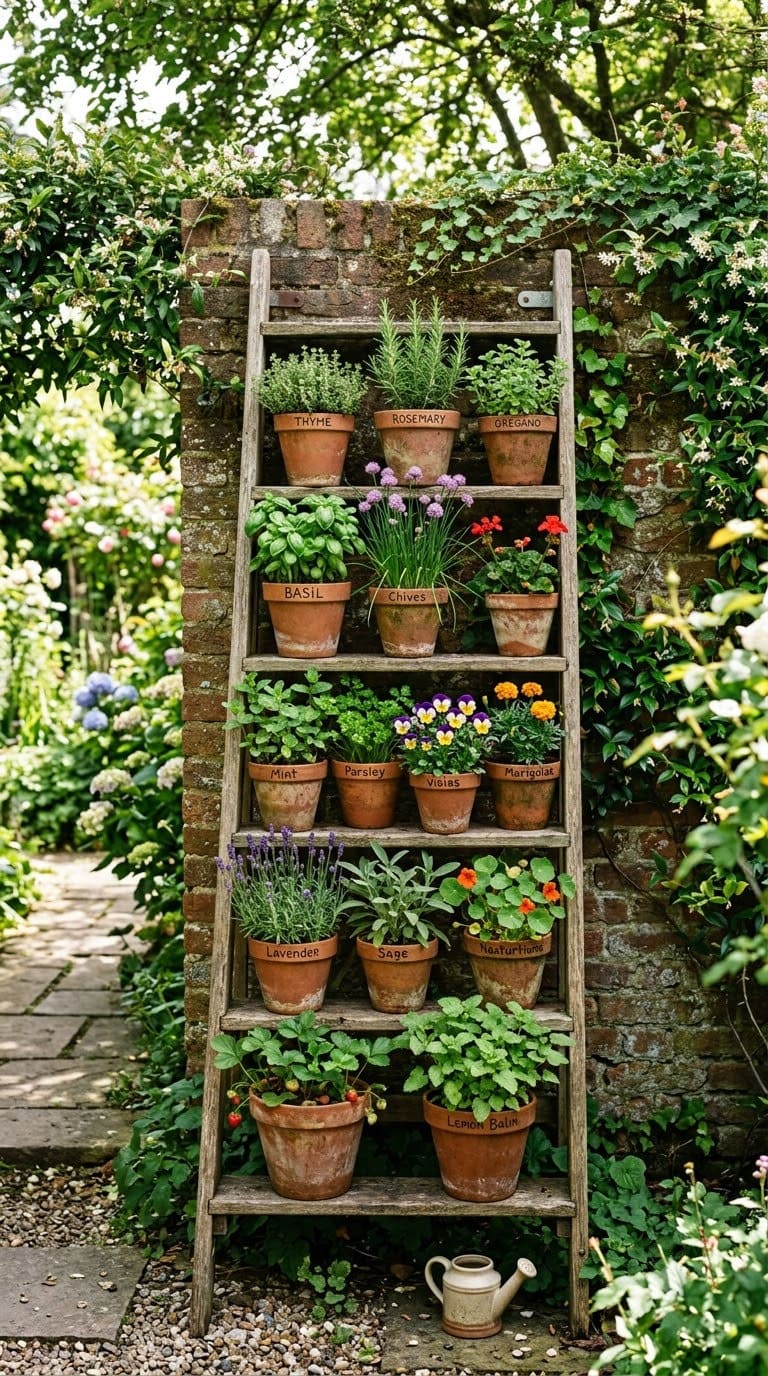
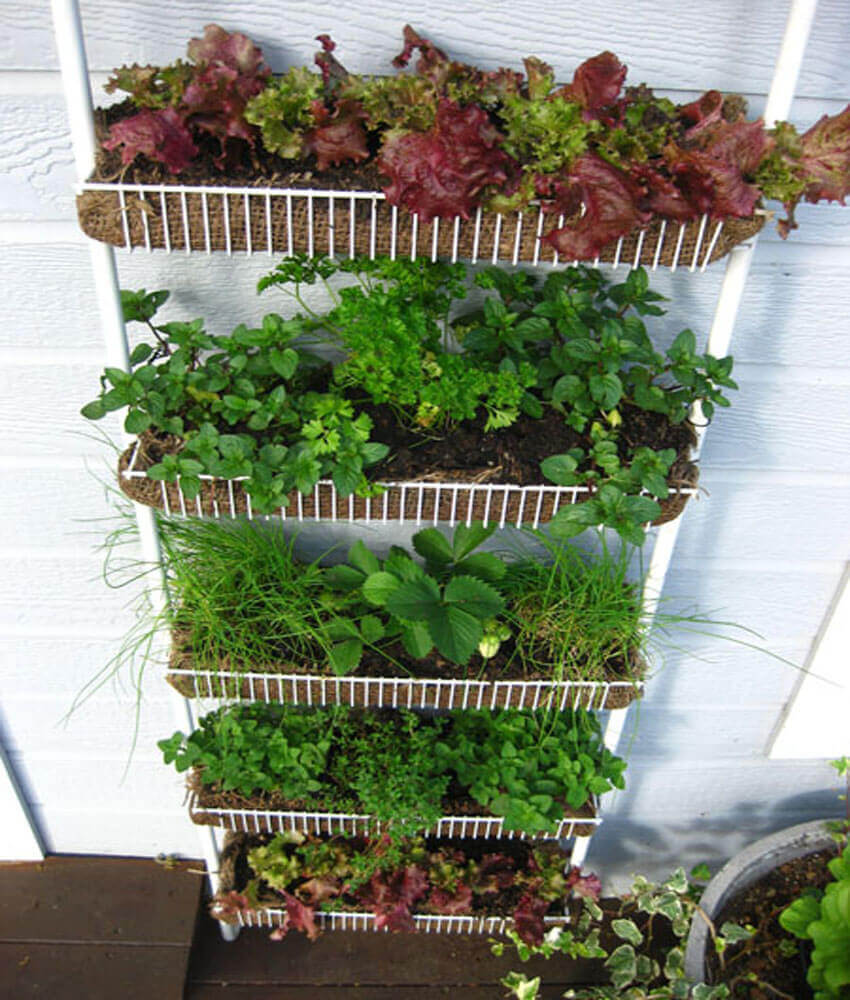
Lay a ladder-style bookshelf on its back or keep it upright against a wall and set individual pots into each shelf slot instead of planting directly into the wood.
This keeps the shelf dry and reusable and lets you mix container sizes, small herb pots up top, a trailing plant on a lower shelf.
Choose a shelf without particleboard, since particleboard swells and crumbles fast outdoors even with pots on it.
Kitchen Items That Make Surprisingly Good Planters
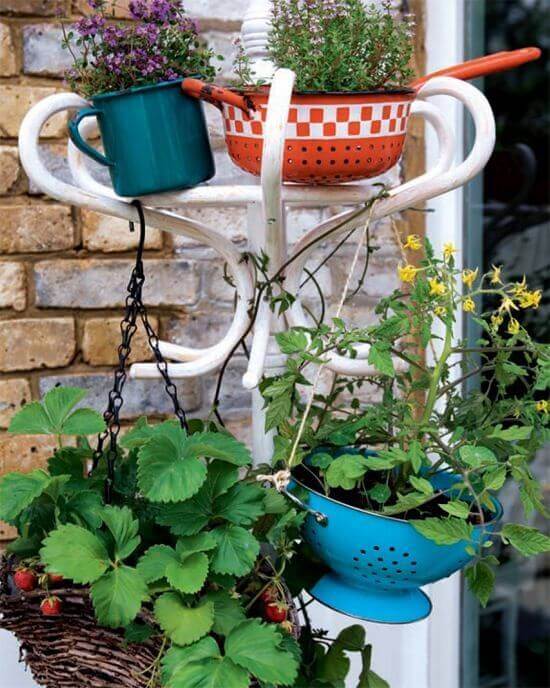
5. Colanders and Strainers
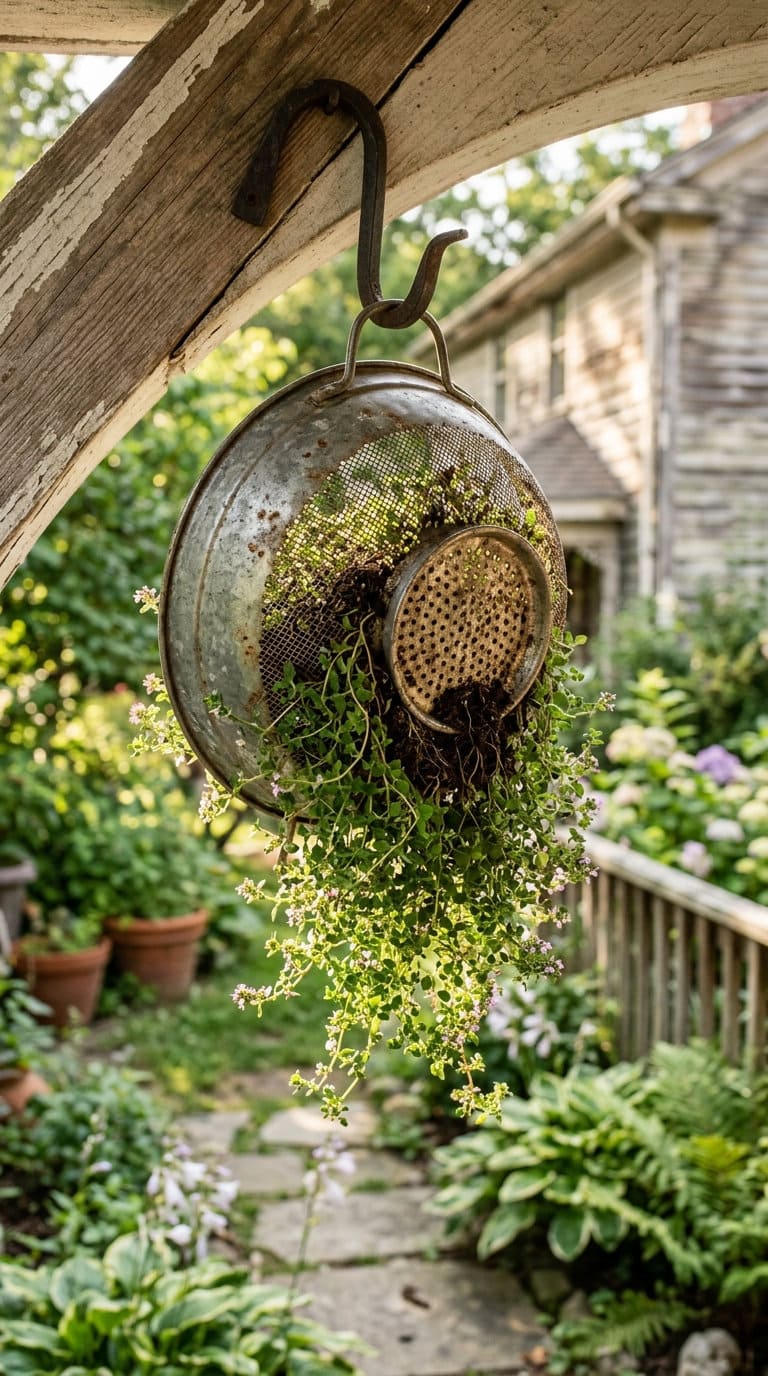
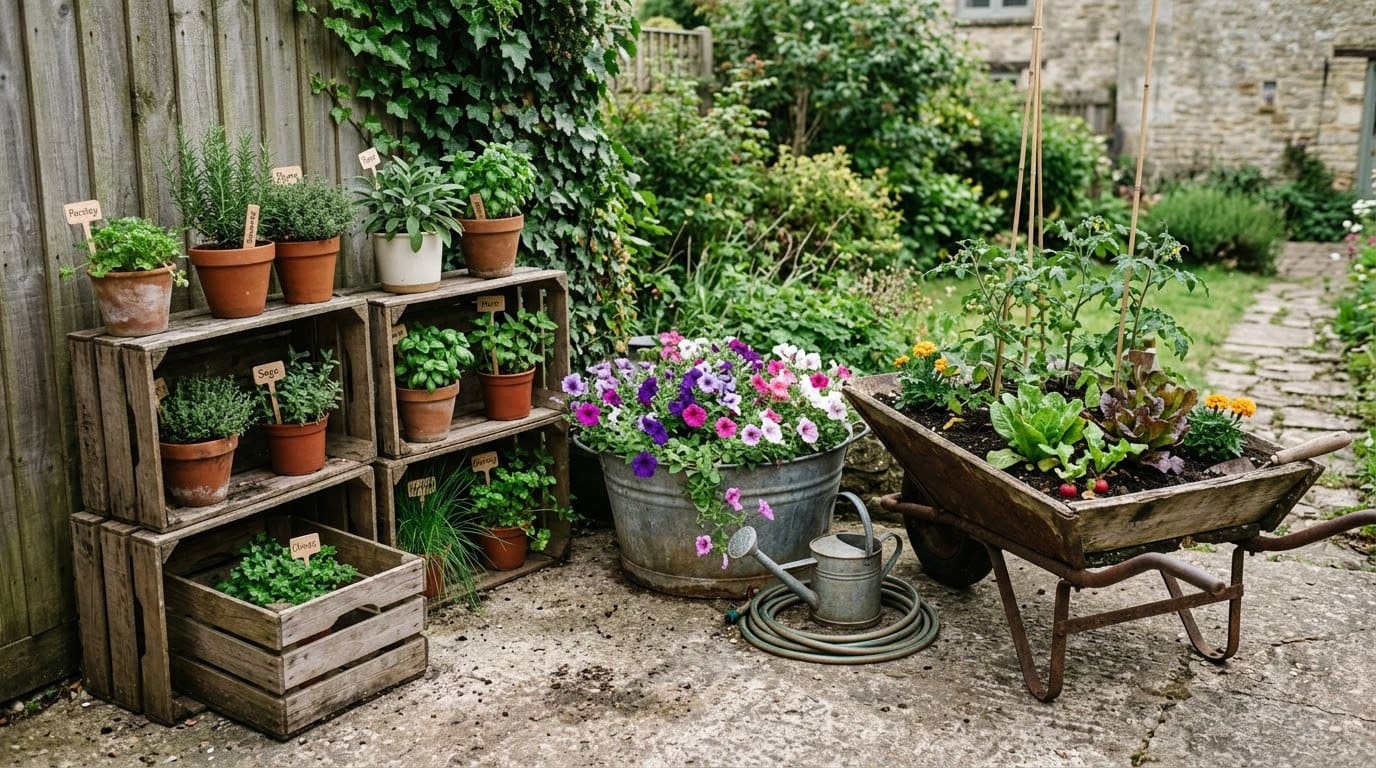
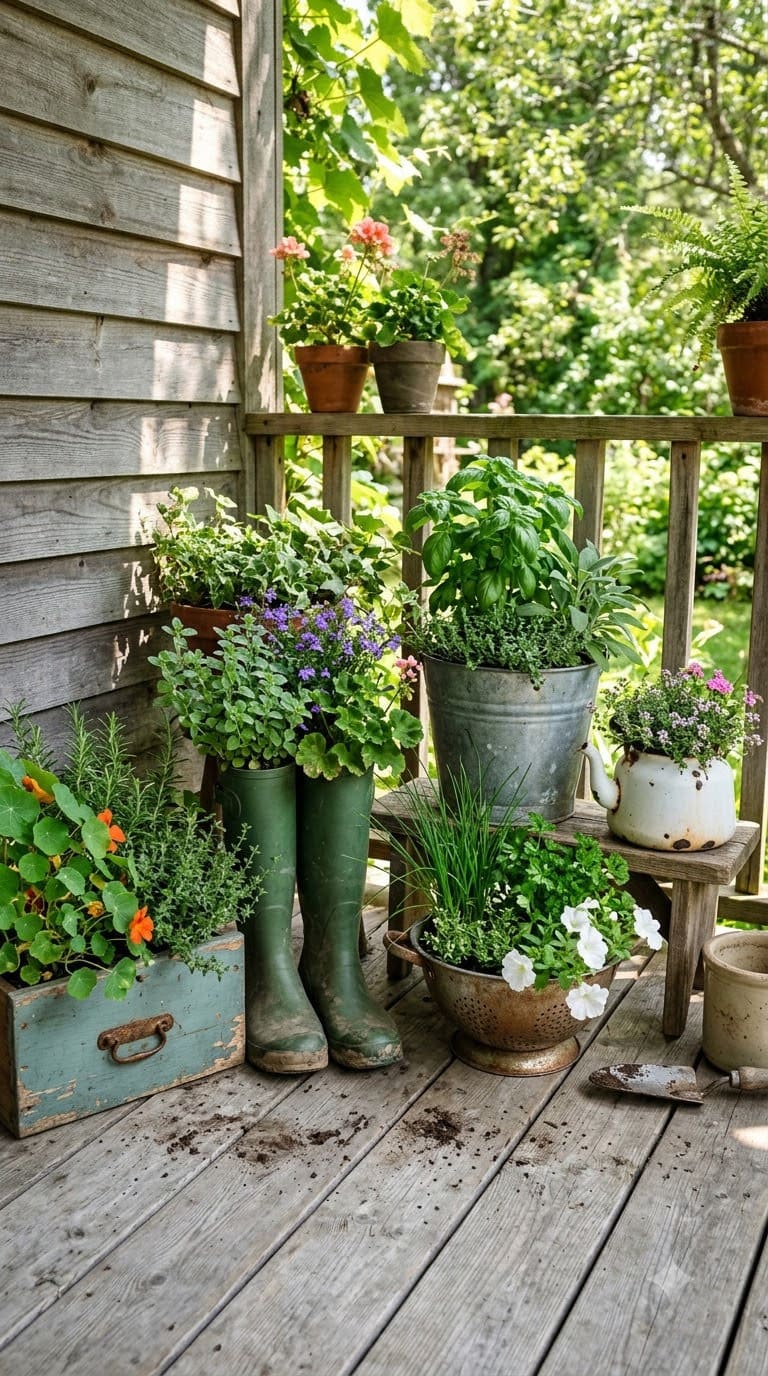
A metal or ceramic colander is basically a pre-drilled planter. Drainage is already built in through the mesh holes, so all you need is a coffee filter or a layer of landscape fabric on the bottom to stop soil from washing out, then fill with potting mix.
These work best for shallow-rooted herbs like thyme and oregano rather than anything with a long taproot.
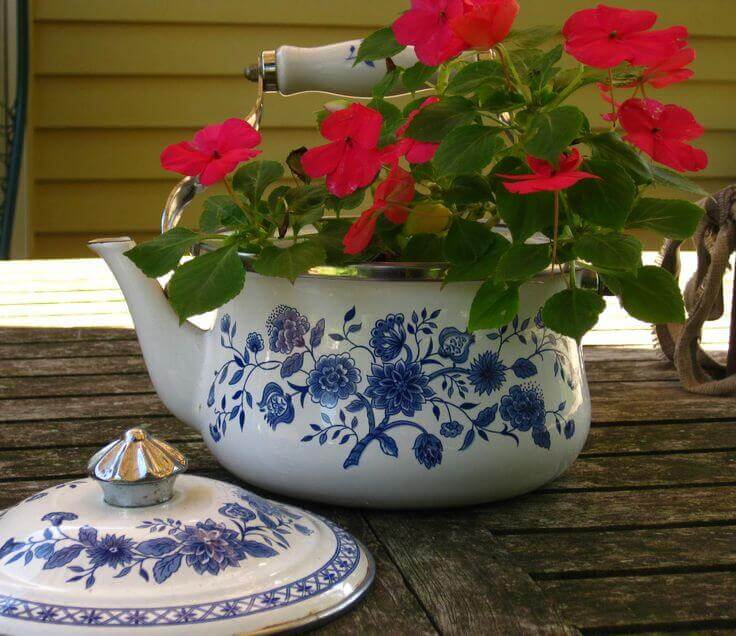
6. Enamel Pots and Teapots
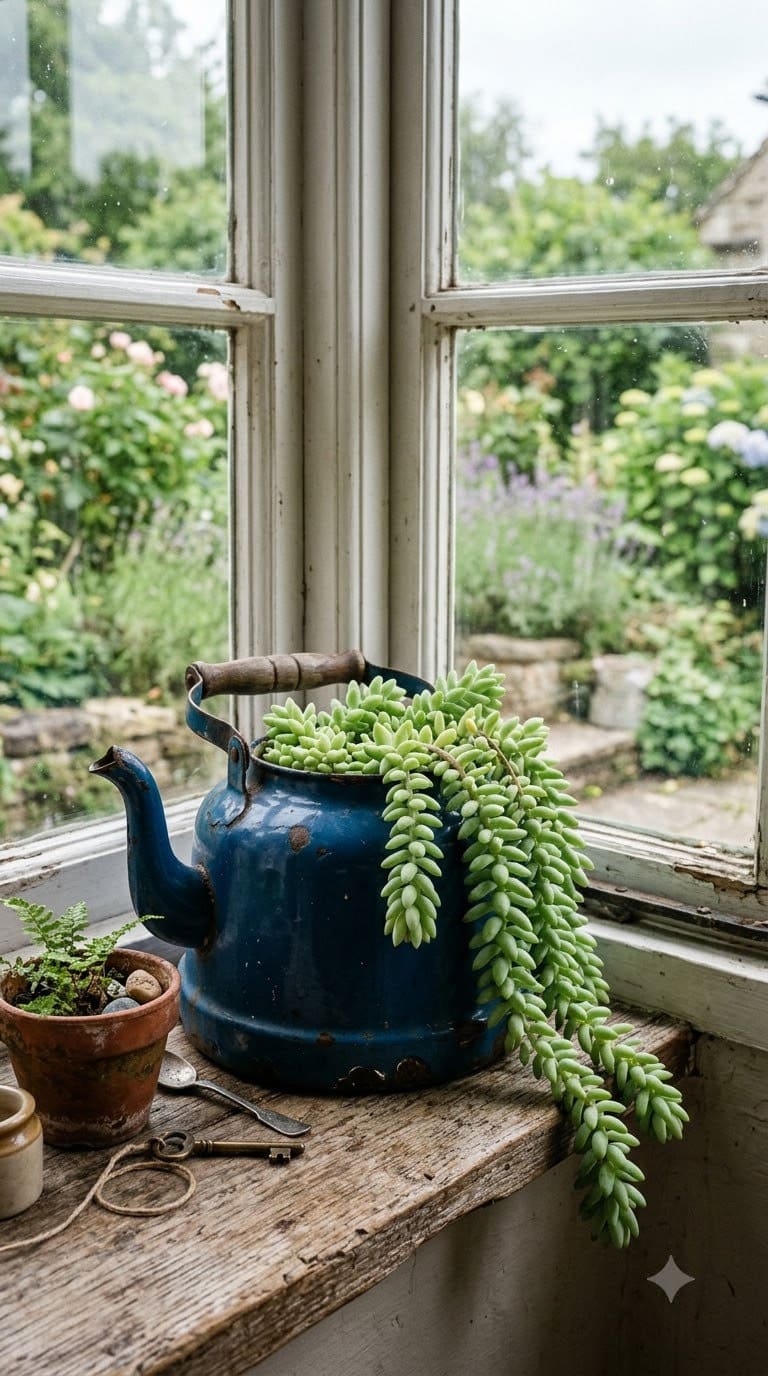
Chipped enamelware still looks good once it’s holding trailing plants, and the enamel coating means no rust risk against soil.
Drill through the enamel with a masonry or carbide-tipped bit (go slow, enamel chips if you rush it), and stick to succulents or shallow annuals since most teapots and small enamel pots don’t hold much root depth.
7. Mason Jars With a Wick System
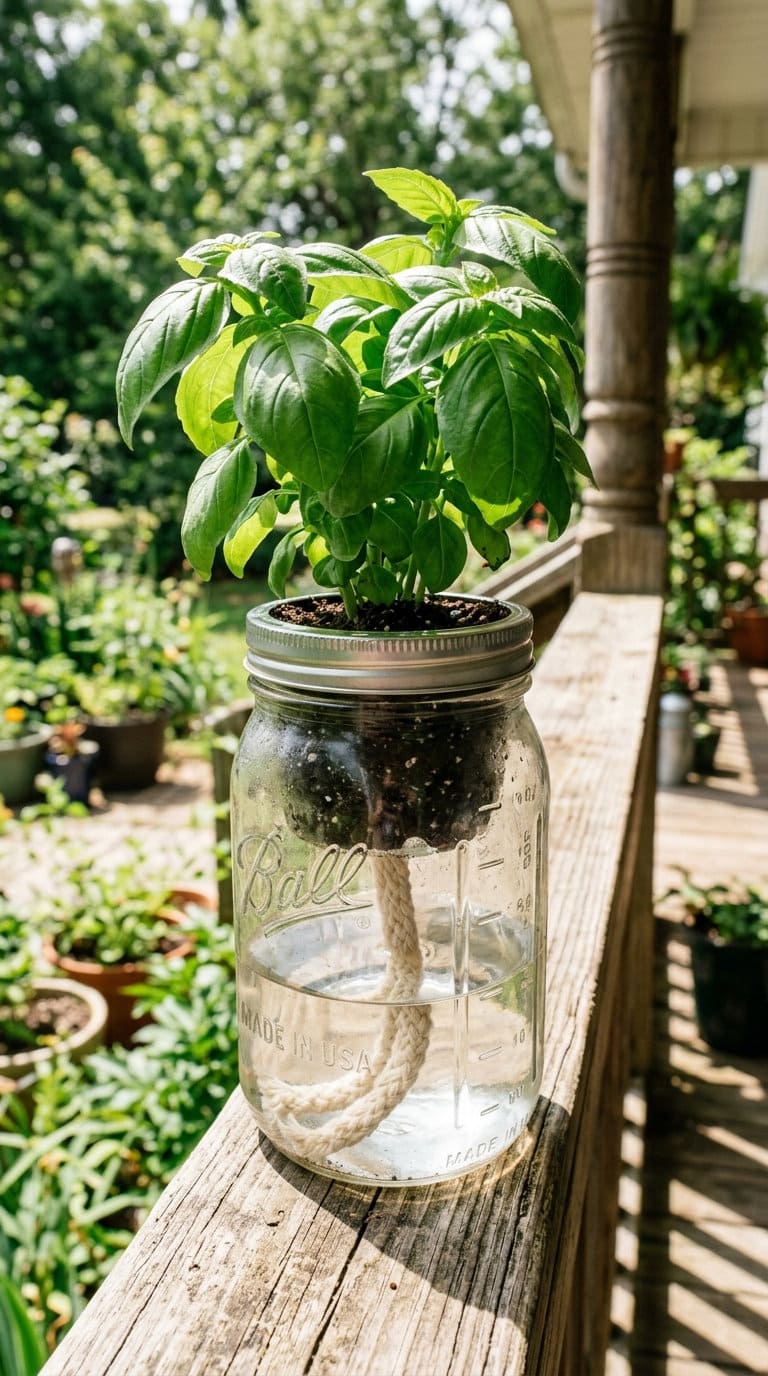
For a countertop-to-porch herb setup, thread a cotton wick or strip of felt through a small hole in the jar lid, set the jar on top of a water reservoir, and let capillary action keep the soil evenly moist without daily watering.
This self-watering trick works well for basil, mint, and other herbs that hate drying out between waterings, and it’s a good option if you’re gone for a long weekend.
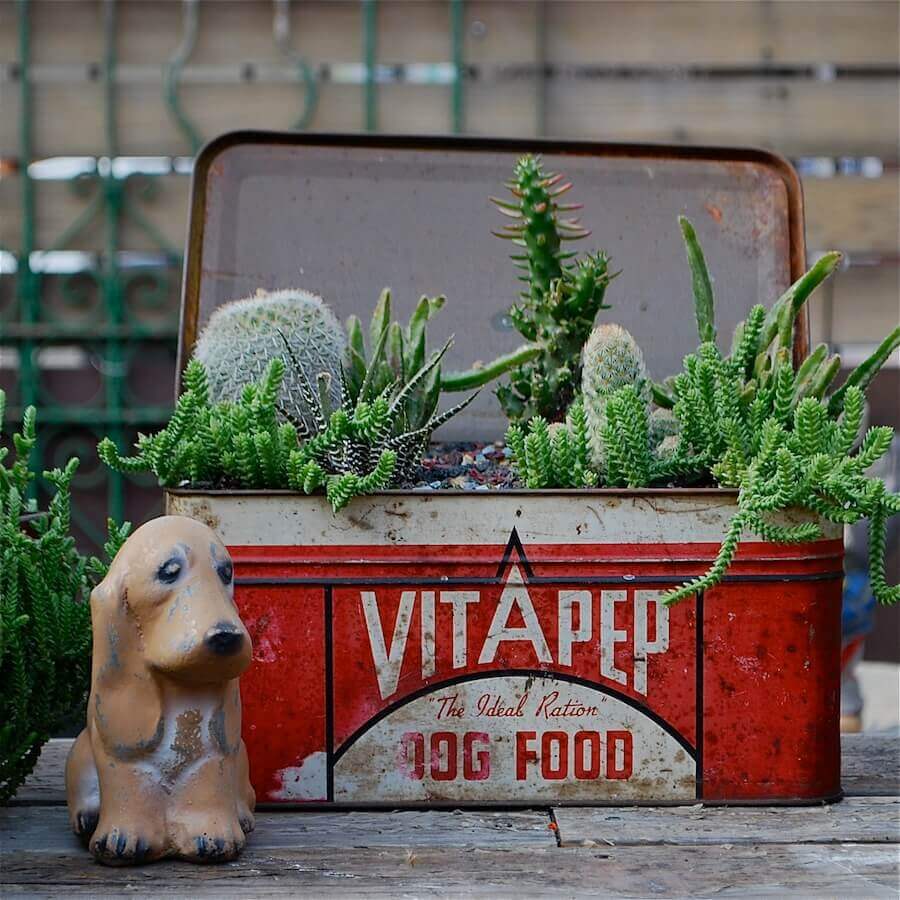
8. Olive Oil Tins and Coffee Canisters
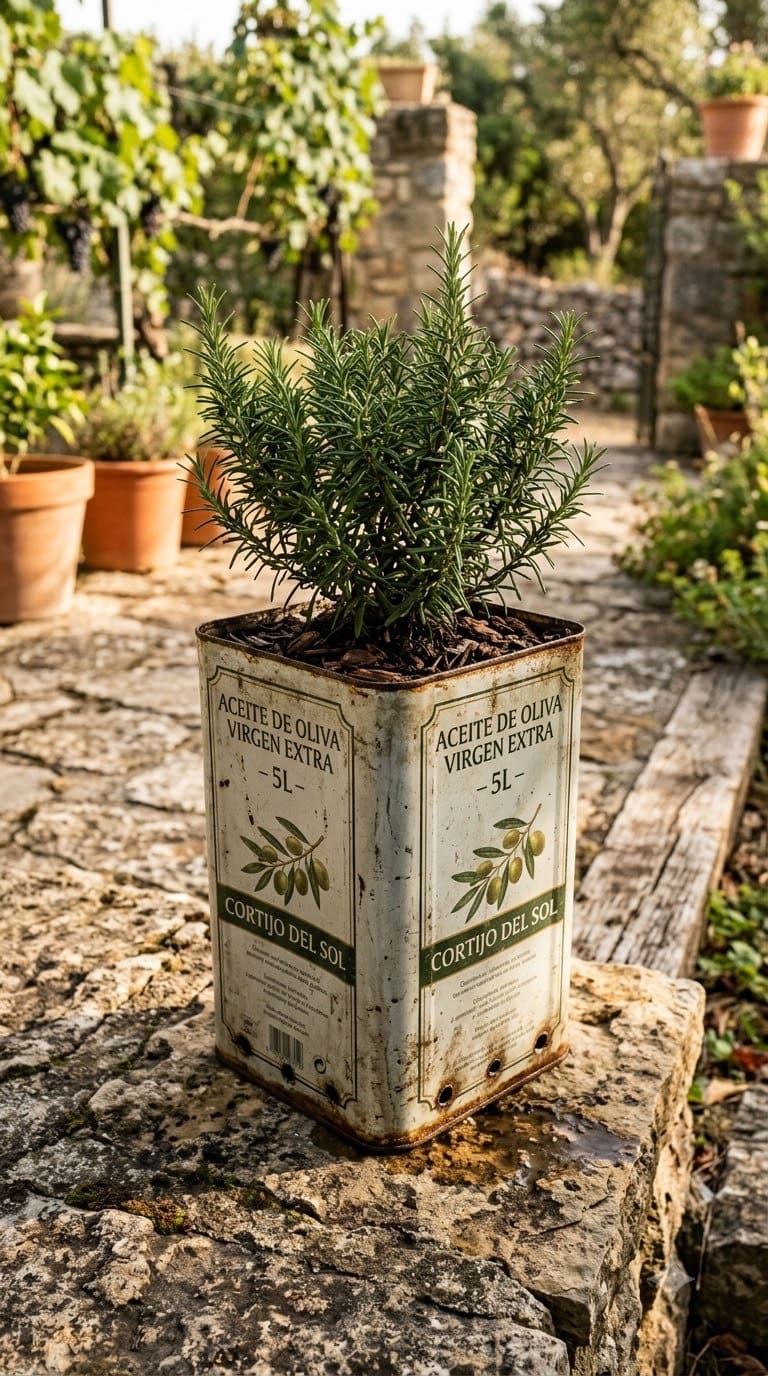
Cut the top off a large olive oil tin, wash it thoroughly to remove oil residue, and seal the inside with a clear acrylic sealant to keep it from rusting through in a season.
Let it cure for about 48 hours, then drill drainage holes in the bottom. Coffee canisters work the same way but tend to be smaller, better suited to a single herb than a full plant.
Bathroom Fixtures Worth a Second Life
9. Pedestal Sinks as Statement Planters
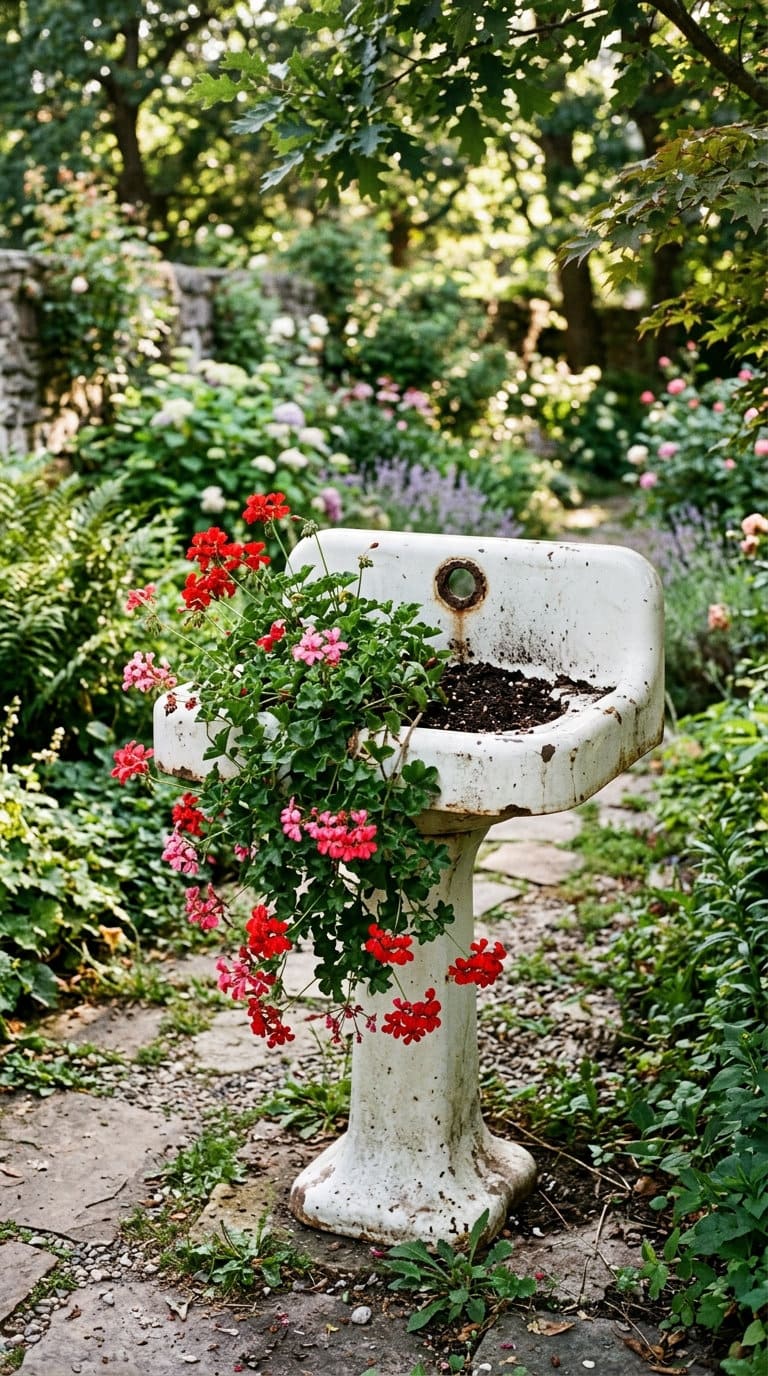
A pedestal sink already has drainage built into the original faucet hole, so you’re mostly just cleaning it and filling it with soil.
The pedestal base doubles as a plant stand, which puts trailing flowers at eye level on a porch or entryway. These are heavy once filled, plan on it staying wherever you put it.
10. Clawfoot Tub Herb Garden
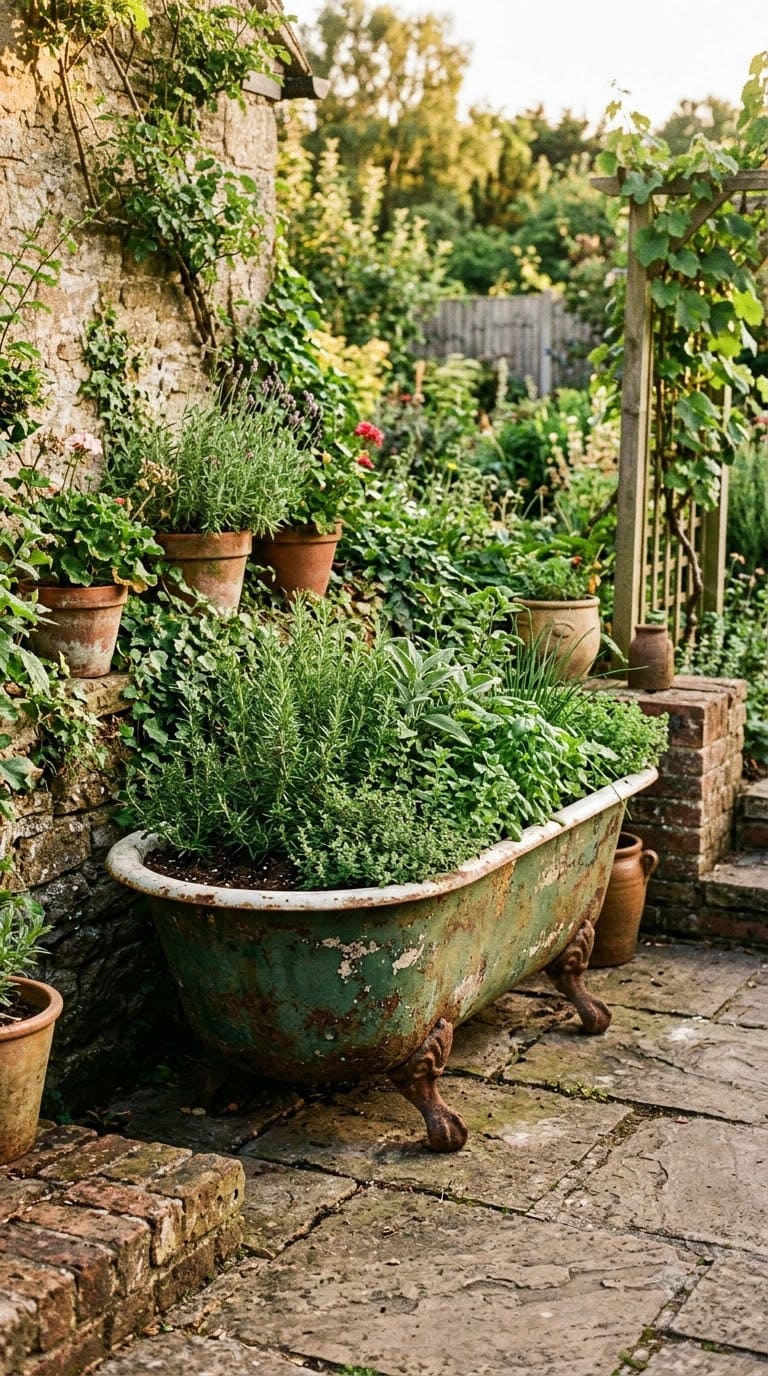
Similar to the bathtub raised bed above but scaled for a smaller space, a clawfoot tub set on a patio corner makes a striking herb garden with real depth for root development.
Because clawfoot tubs sit up on their feet already, drainage and airflow underneath are less of an issue than with a flat-bottomed tub.
11. Toilet Tank Planters (Yes, Really)
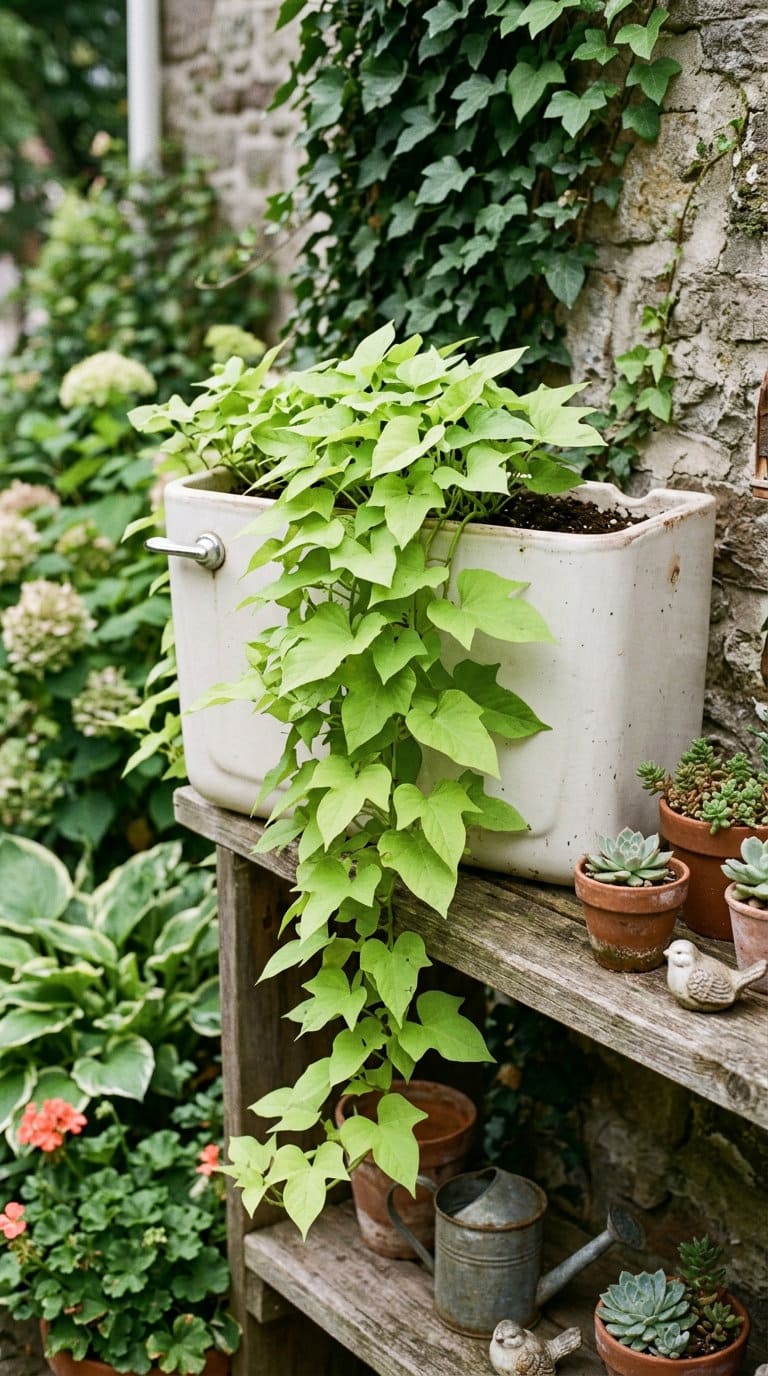
This one gets side-eye until people see it in person. A cleaned, disinfected toilet tank (never the bowl for anything edible, stick to flowers only here) makes a genuinely funny, conversation-starting planter for trailing annuals like sweet potato vine.
Drill through the porcelain slowly with a diamond-tipped bit, and expect some cracking risk since porcelain isn’t forgiving.
Footwear, Bags, and Fabric Containers
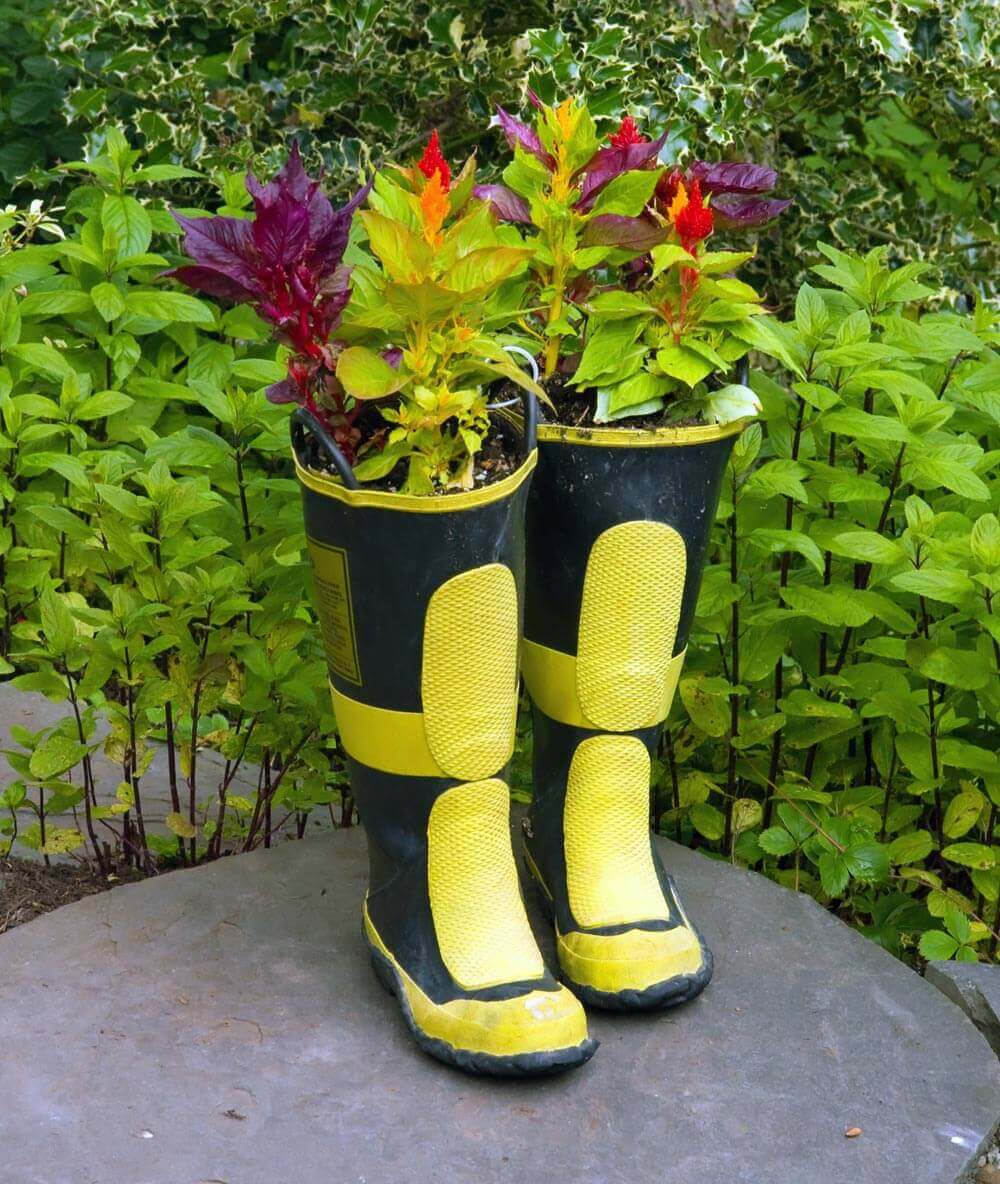
12. Rain Boots and Work Boots
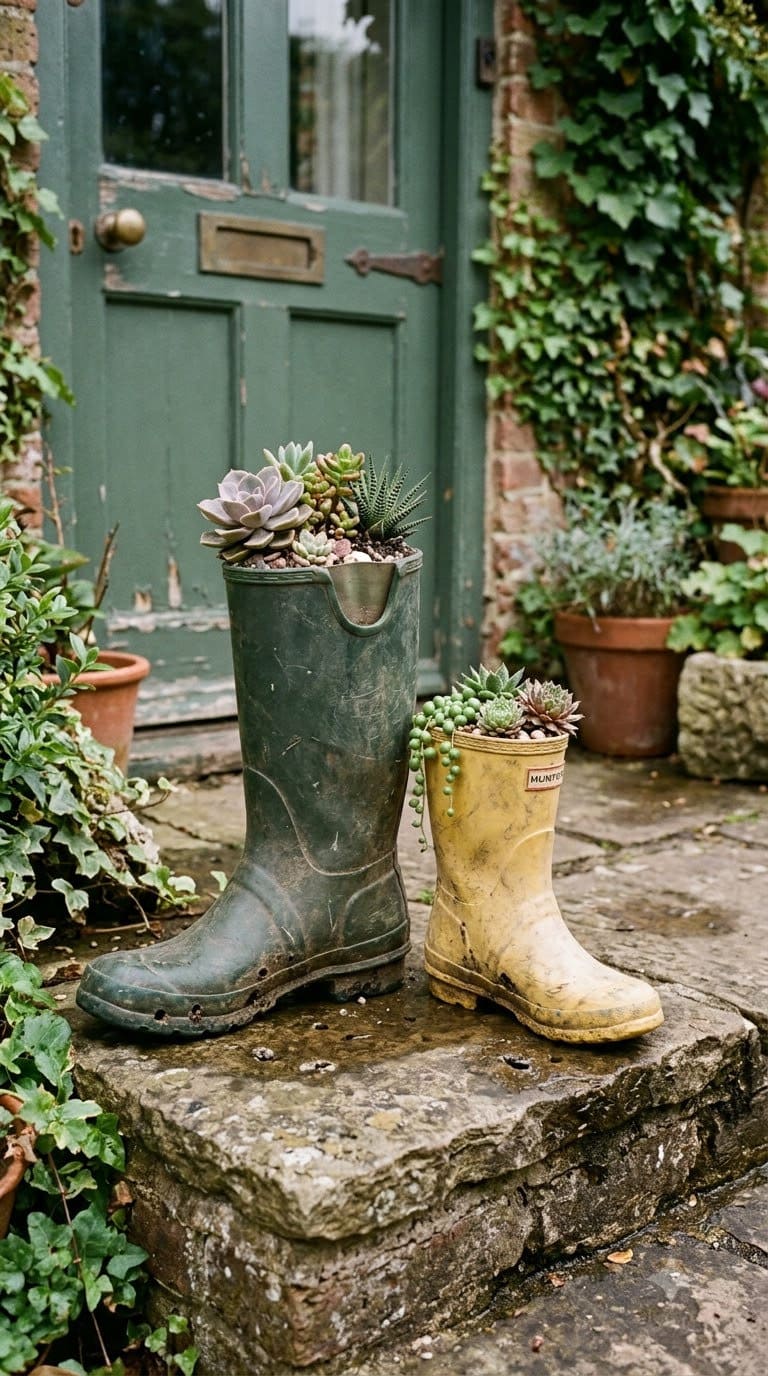
Old rubber rain boots already resist water damage, so all they need is a few holes punched through the sole for drainage.
Pair two boots at slightly different heights for a mini succulent display by a front step. Leather work boots don’t hold up nearly as long outdoors, expect a season or two before the leather starts to break down.
13. Canvas Totes and Feed Sacks
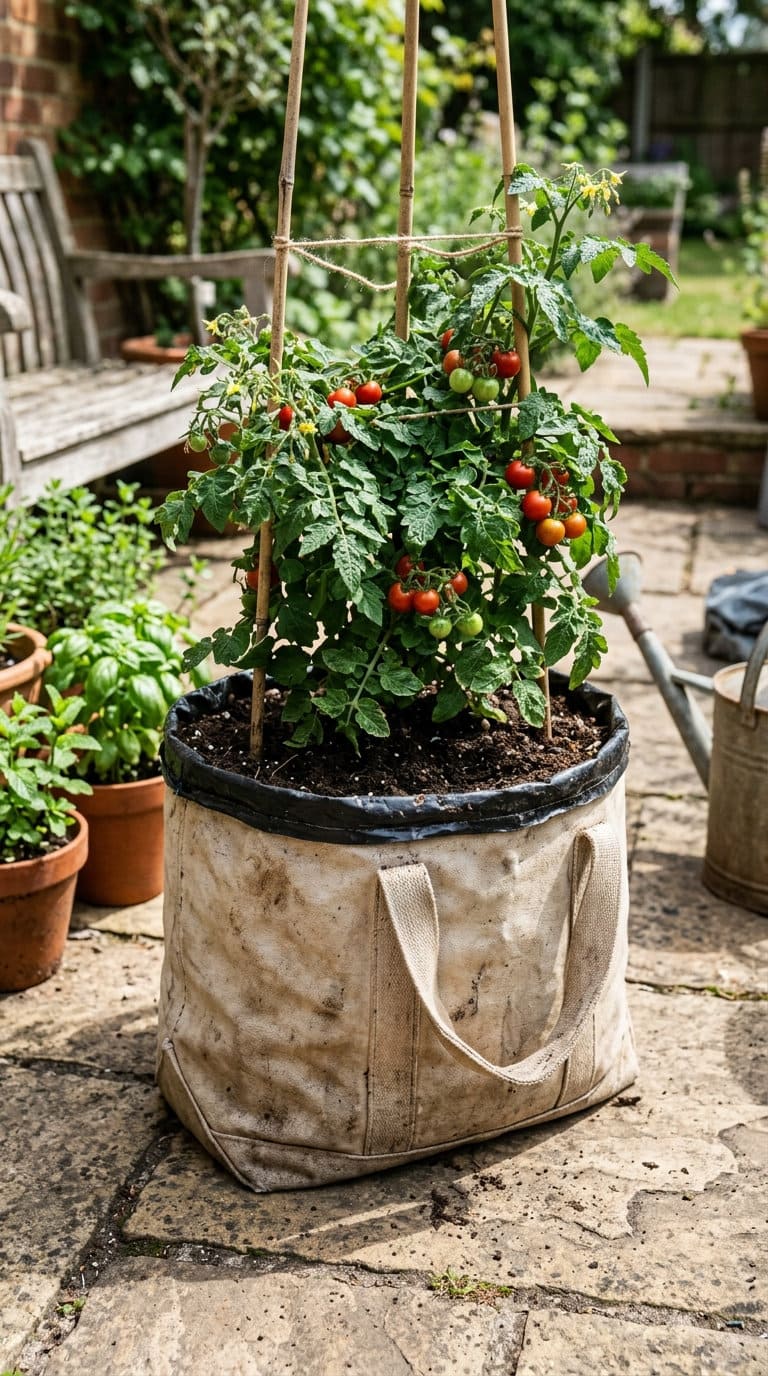
A sturdy canvas tote or an old feed sack lined with a plastic grow bag insert makes a soft-sided planter that’s genuinely portable, you can move it around the yard as the sun shifts.
Fold the top edge over for structure and cut a few slits in the plastic liner’s bottom for drainage. Expect one to two growing seasons before canvas starts to sag and needs replacing.
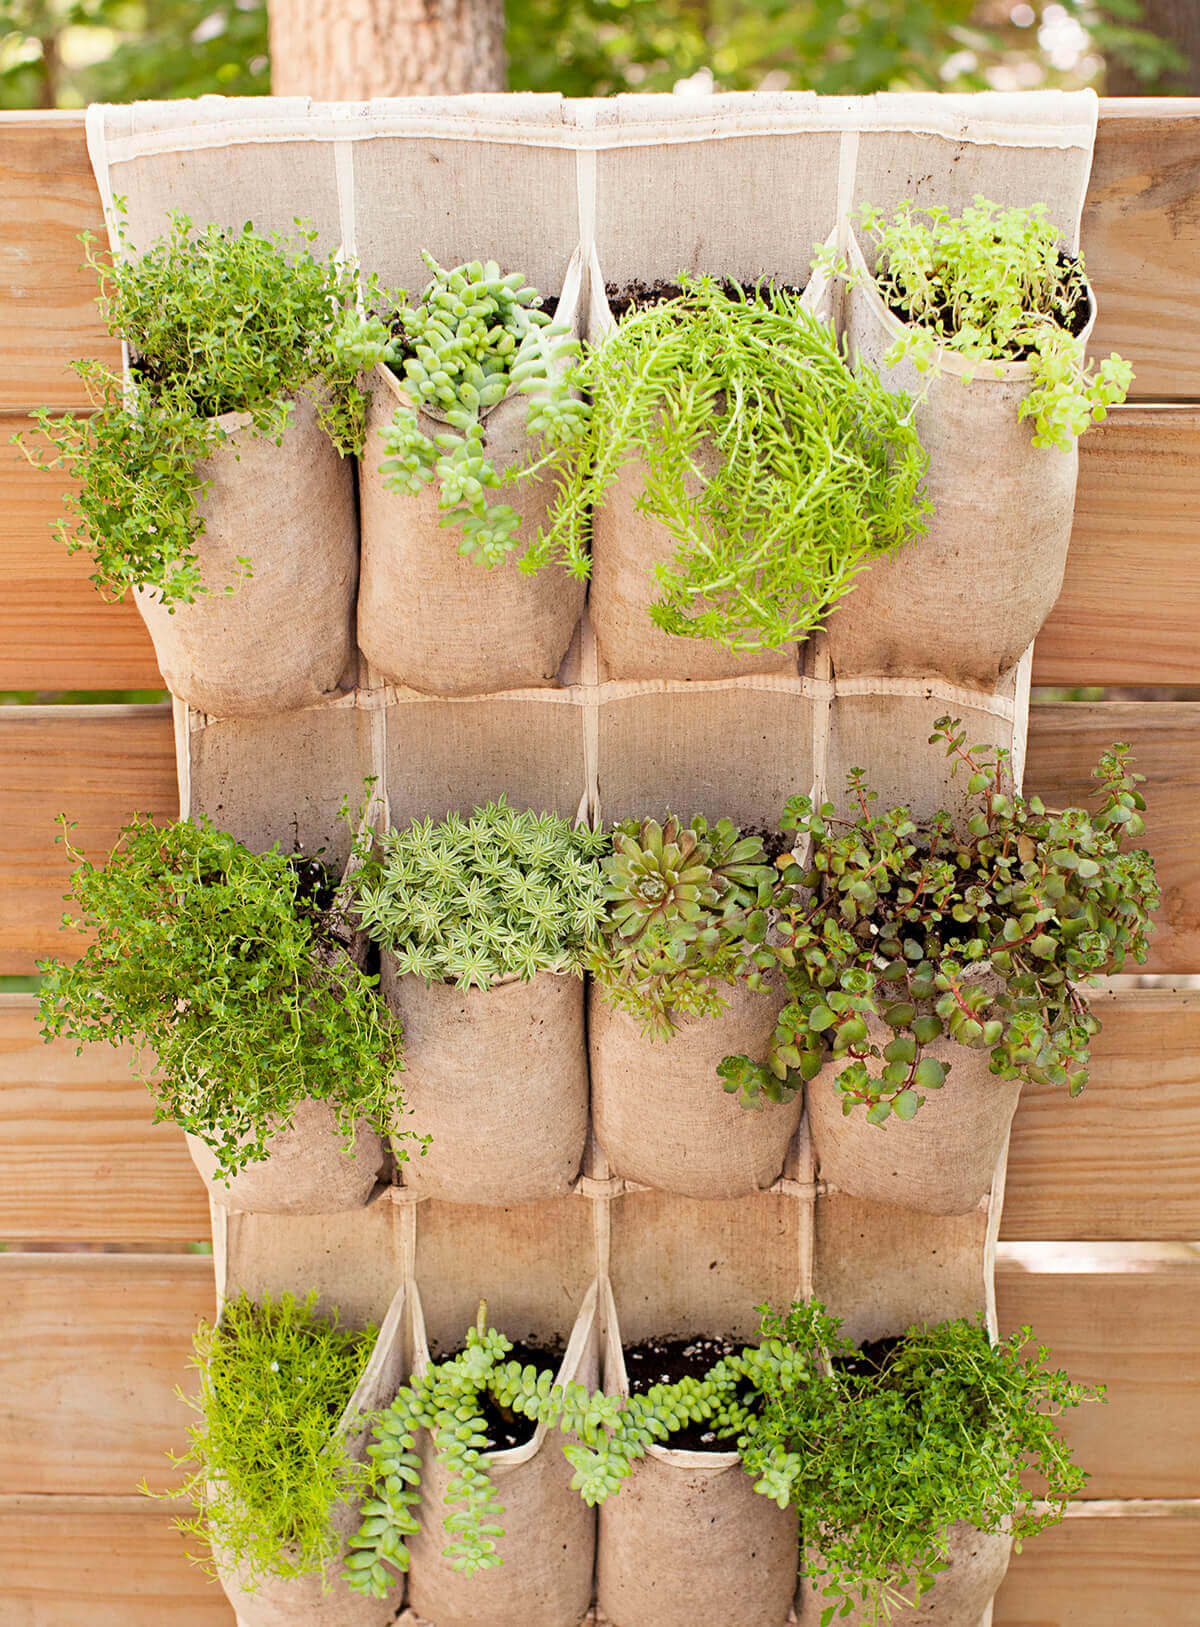
14. Denim Pocket Planters
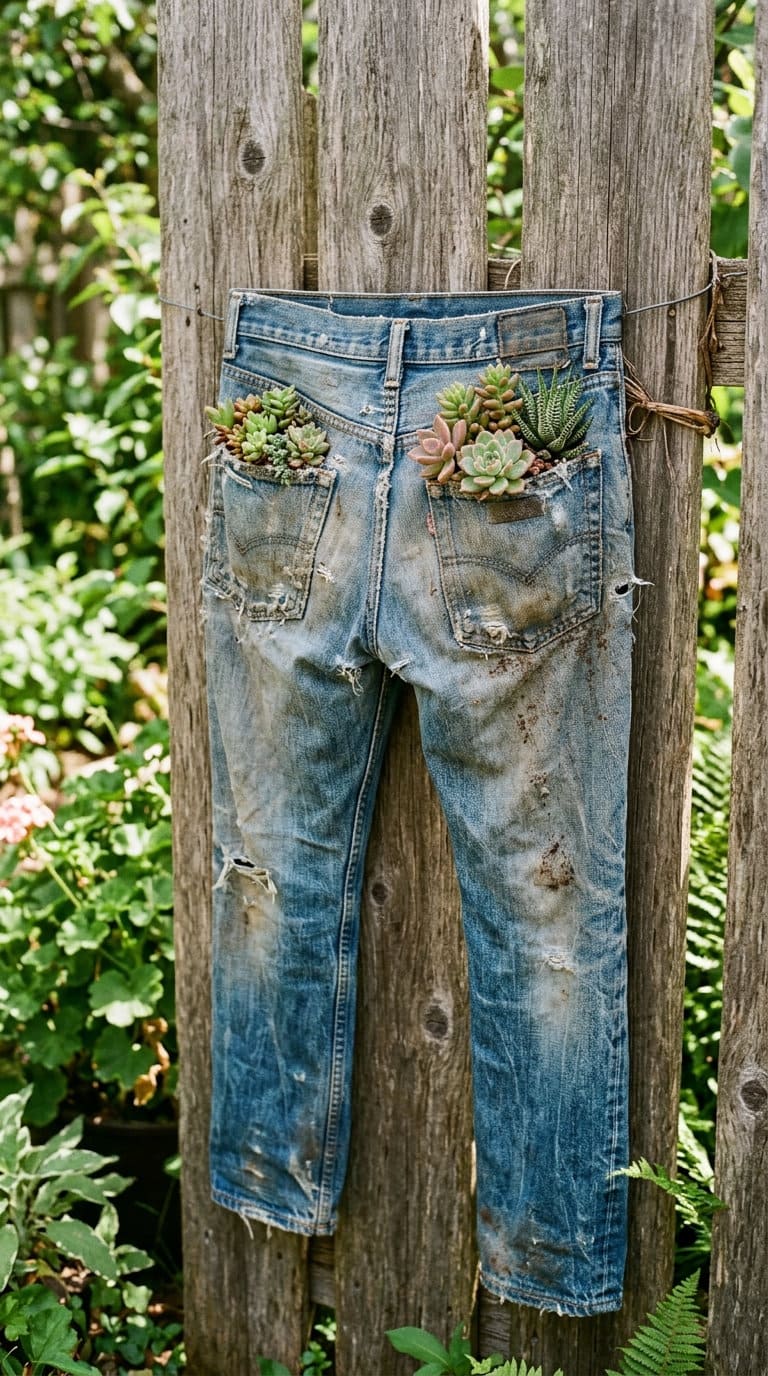
Cut the back pockets off a pair of old jeans, staple or sew the open top shut except for a small gap, and mount the whole leg on a fence or wall as a vertical succulent display.
This is one of the few ideas here that’s purely decorative, the fabric holds barely any soil, so stick to small succulents with minimal root needs.
Metal and Tin Containers
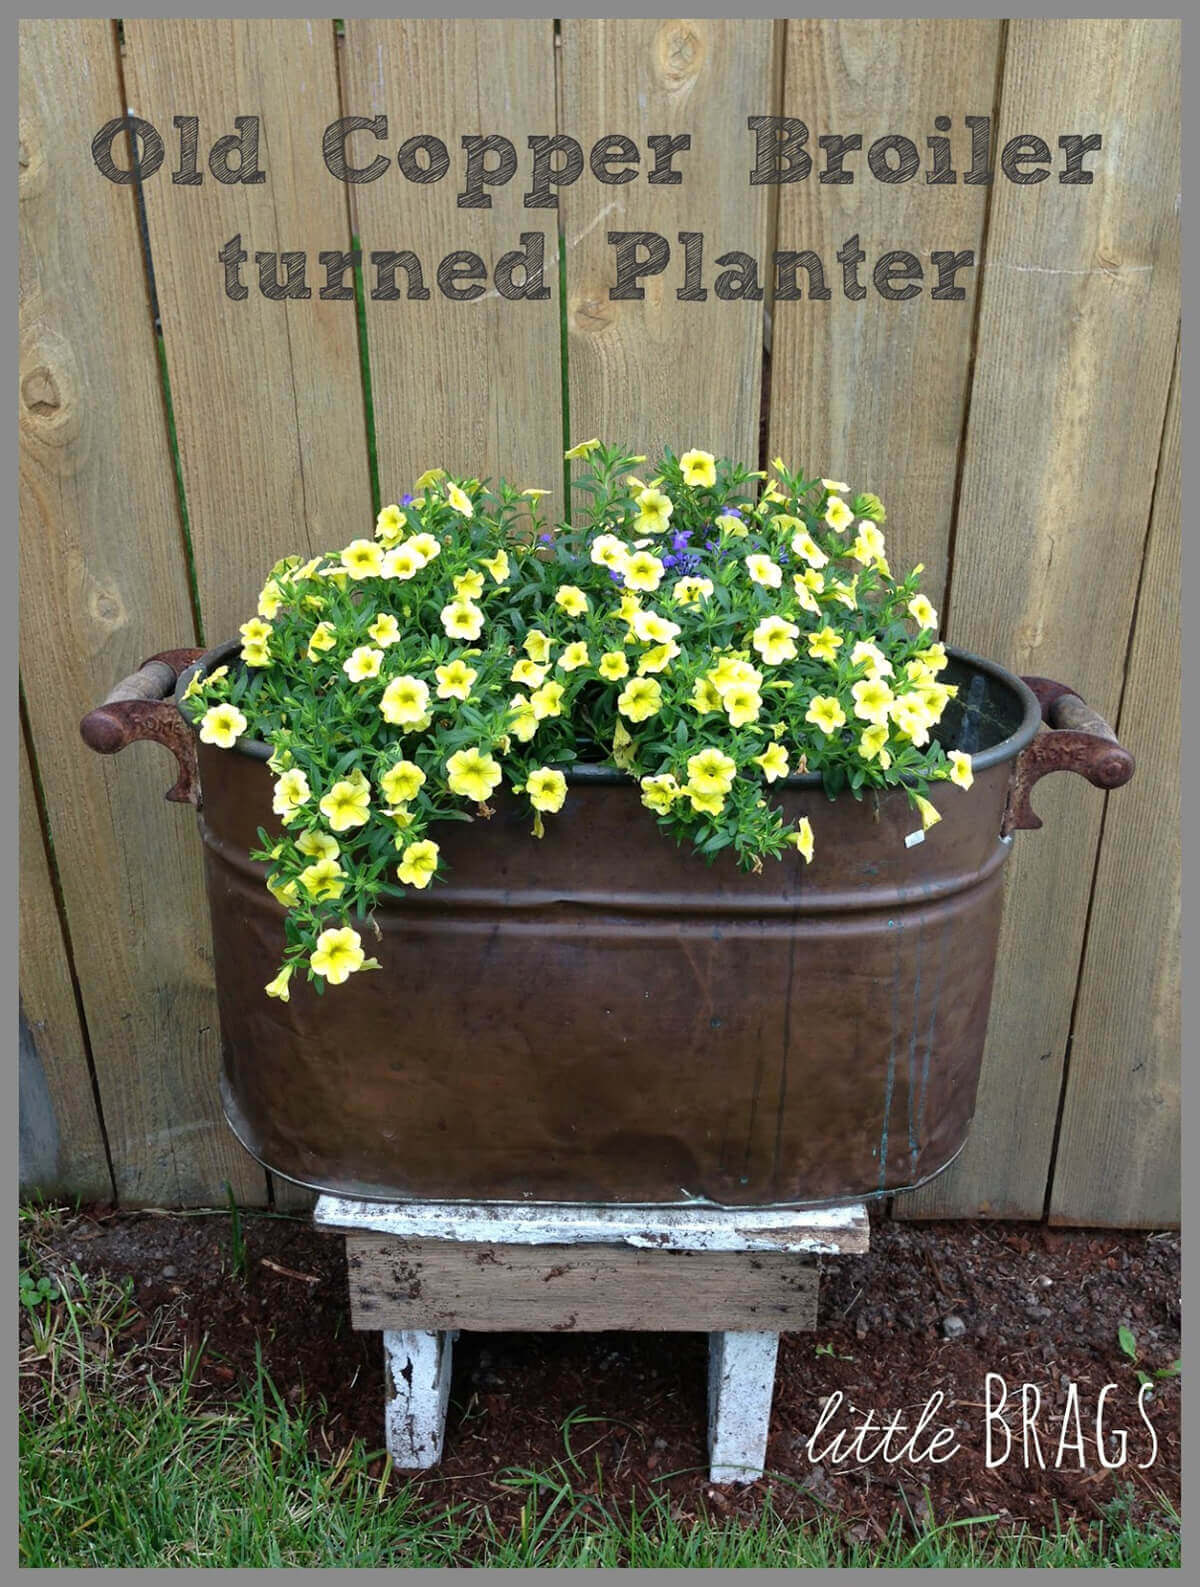
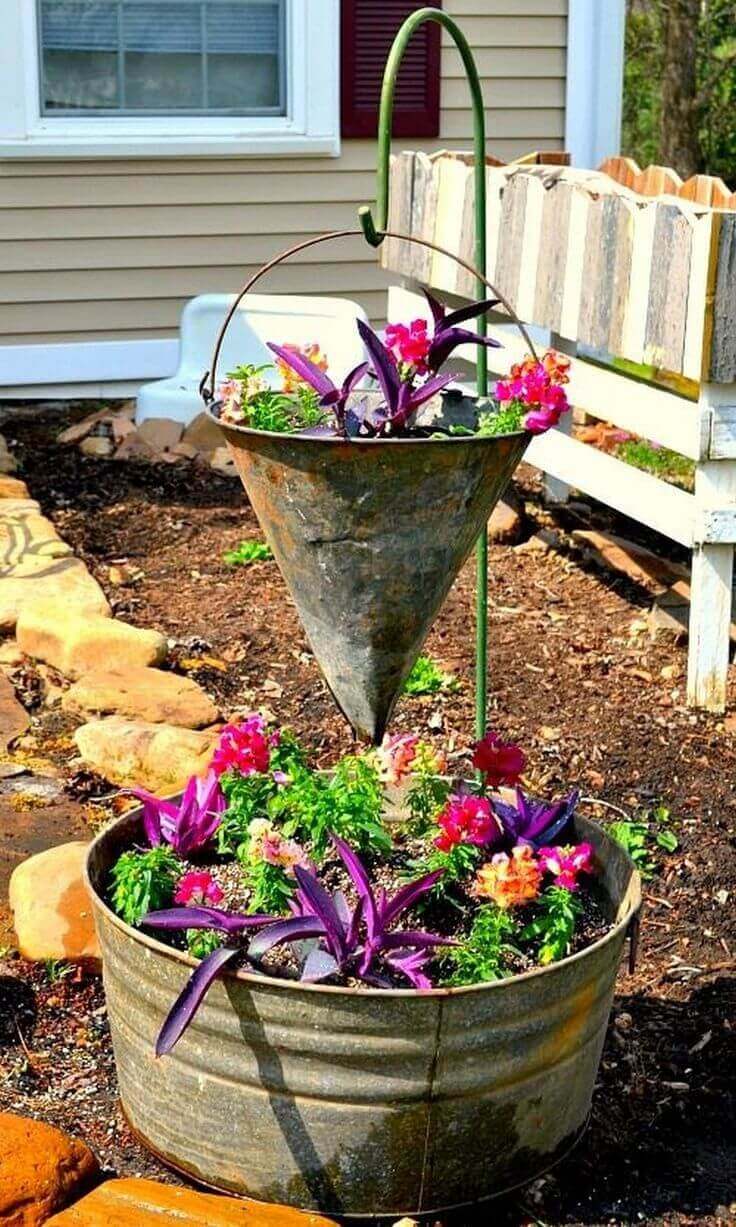
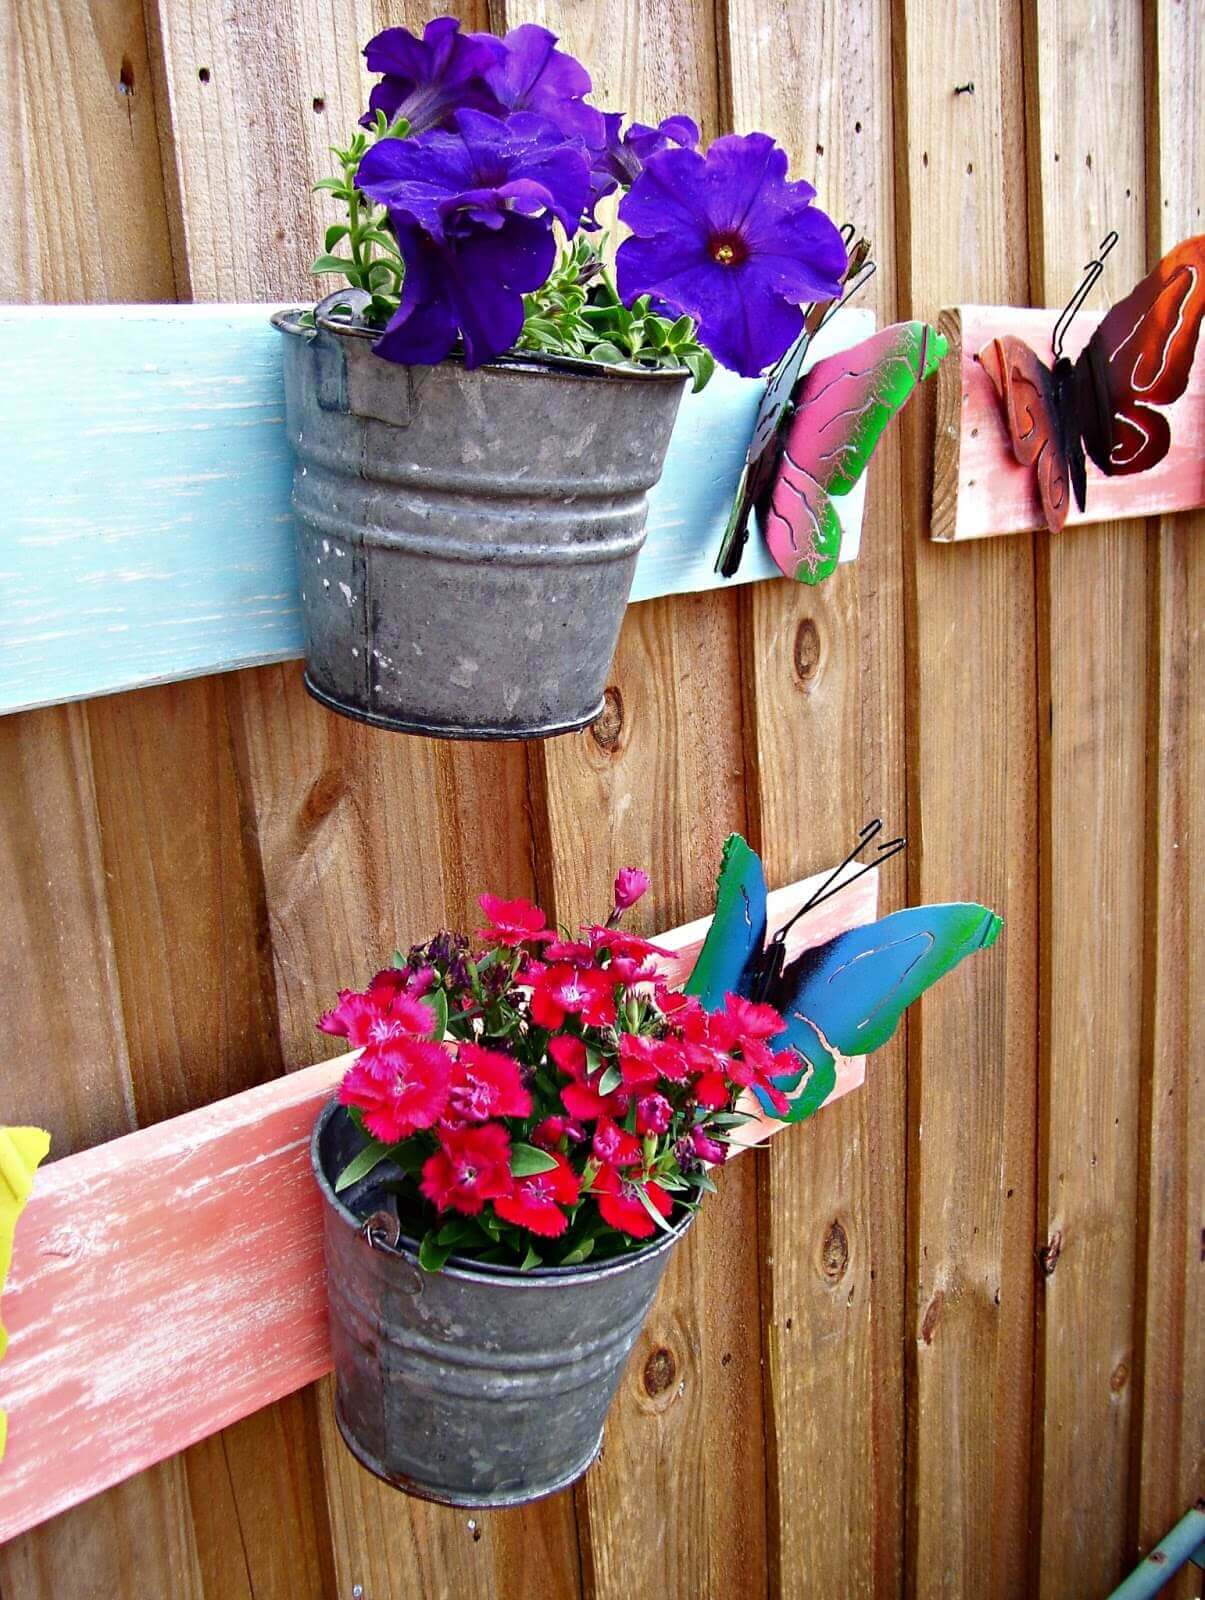
15. Galvanized Buckets and Wash Tubs
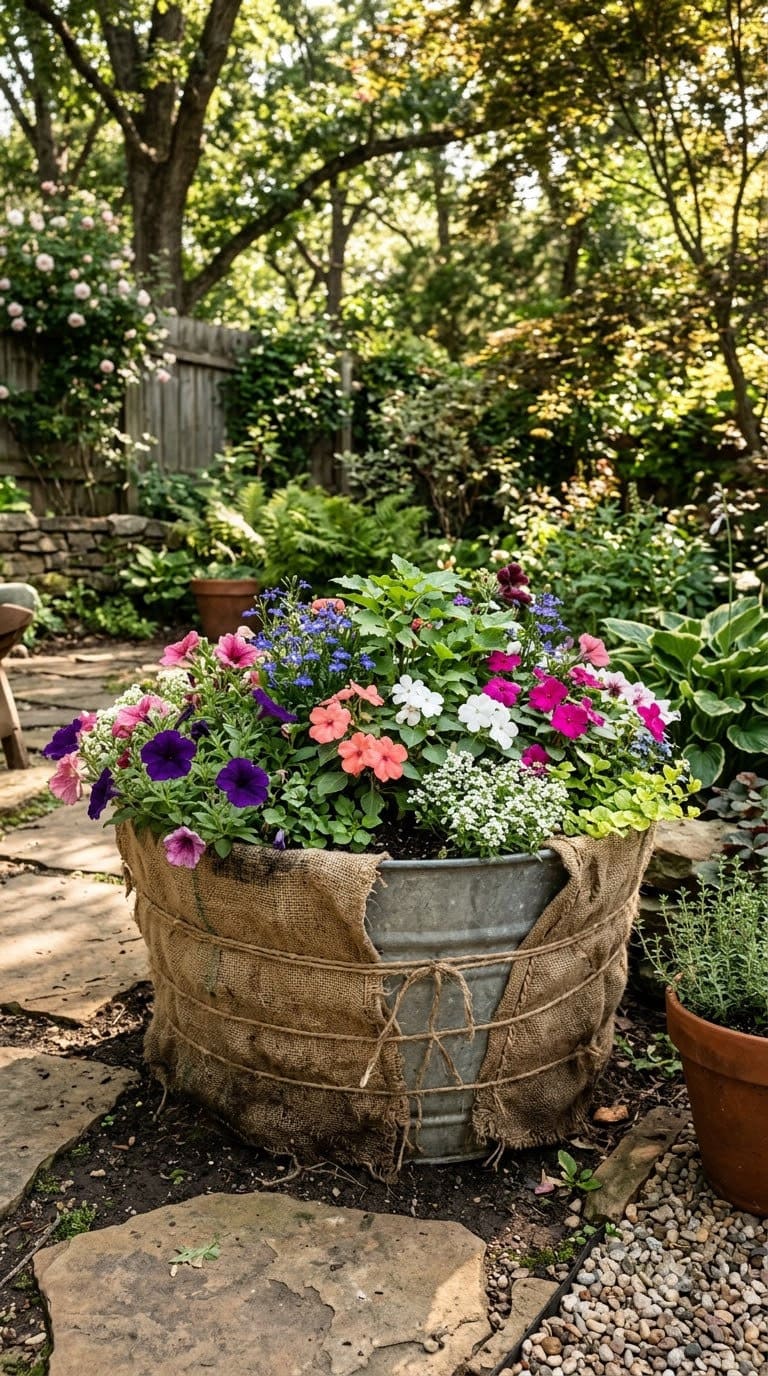
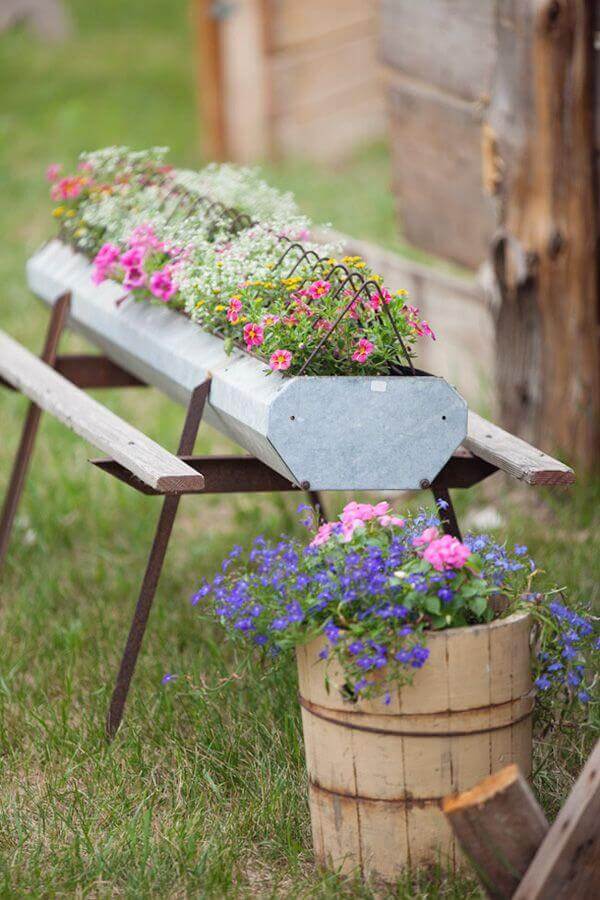
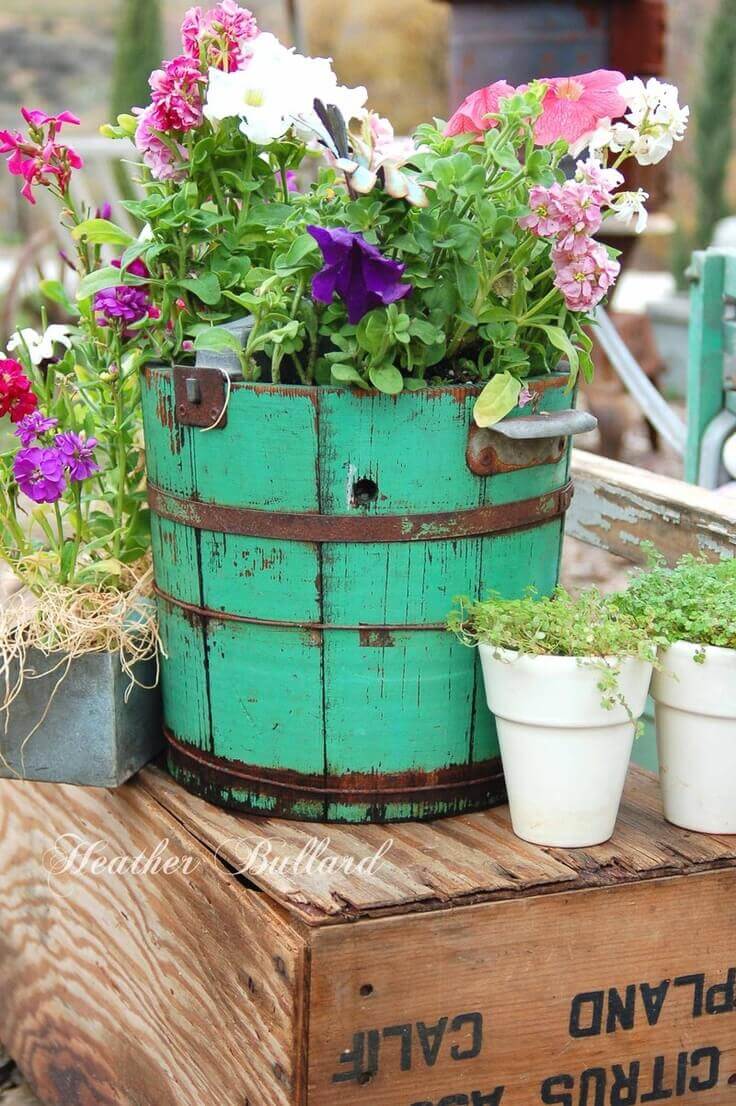
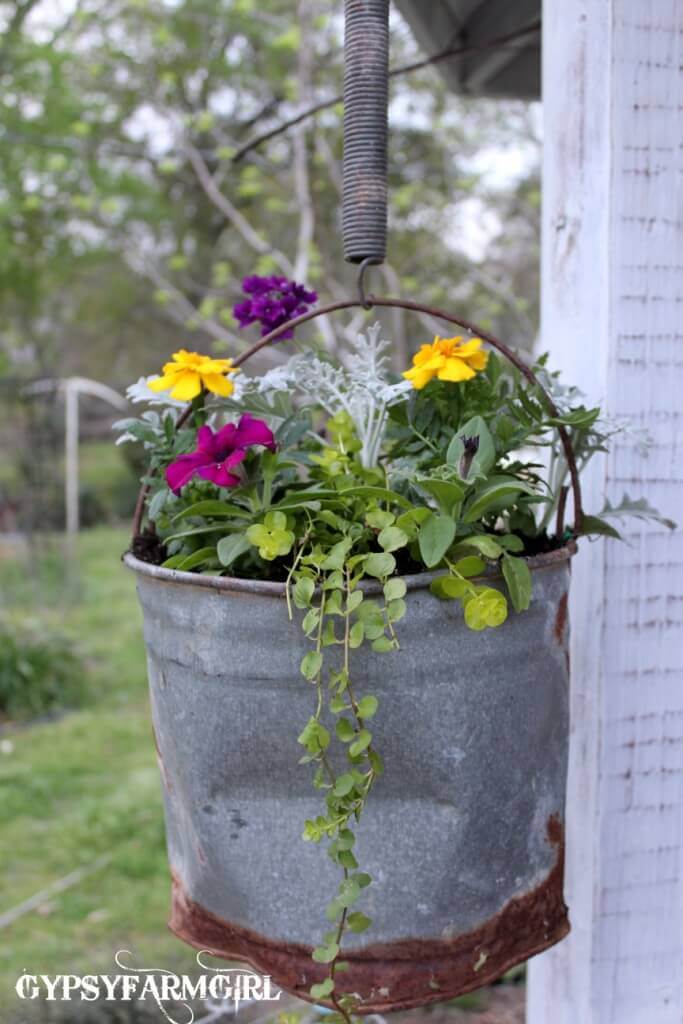
Galvanized metal resists rust for years, making these some of the longest-lasting repurposed containers on this list.
Drill drainage holes in the bottom (galvanized metal needs a step bit or a slow, steady hand since it’s thicker than tin), and know that dark metal absorbs heat fast in direct sun.
OSU Extension horticulture educator Keith Reed has pointed out that some popular metal-container ideas look great online but struggle in extreme heat, so in hot climates, wrap the outside in burlap or set the bucket in partial afternoon shade to keep roots from cooking.
16. Coffee Cans and Tin Containers
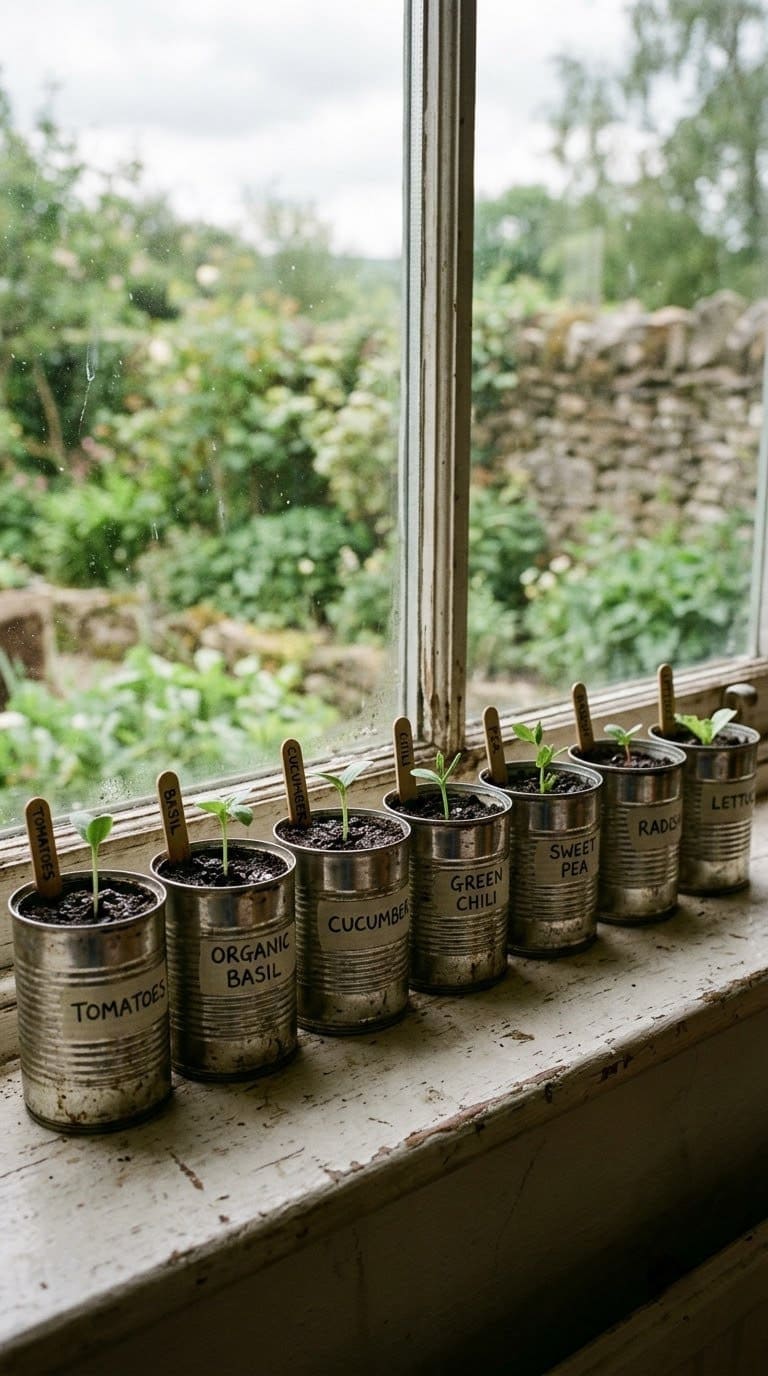
Small tin cans are best for starting seedlings rather than growing a plant to maturity, since they rust through within a season or two once exposed to regular watering.
Punch drainage holes with a hammer and nail, and treat these as a free, temporary nursery step before transplanting into something sturdier.
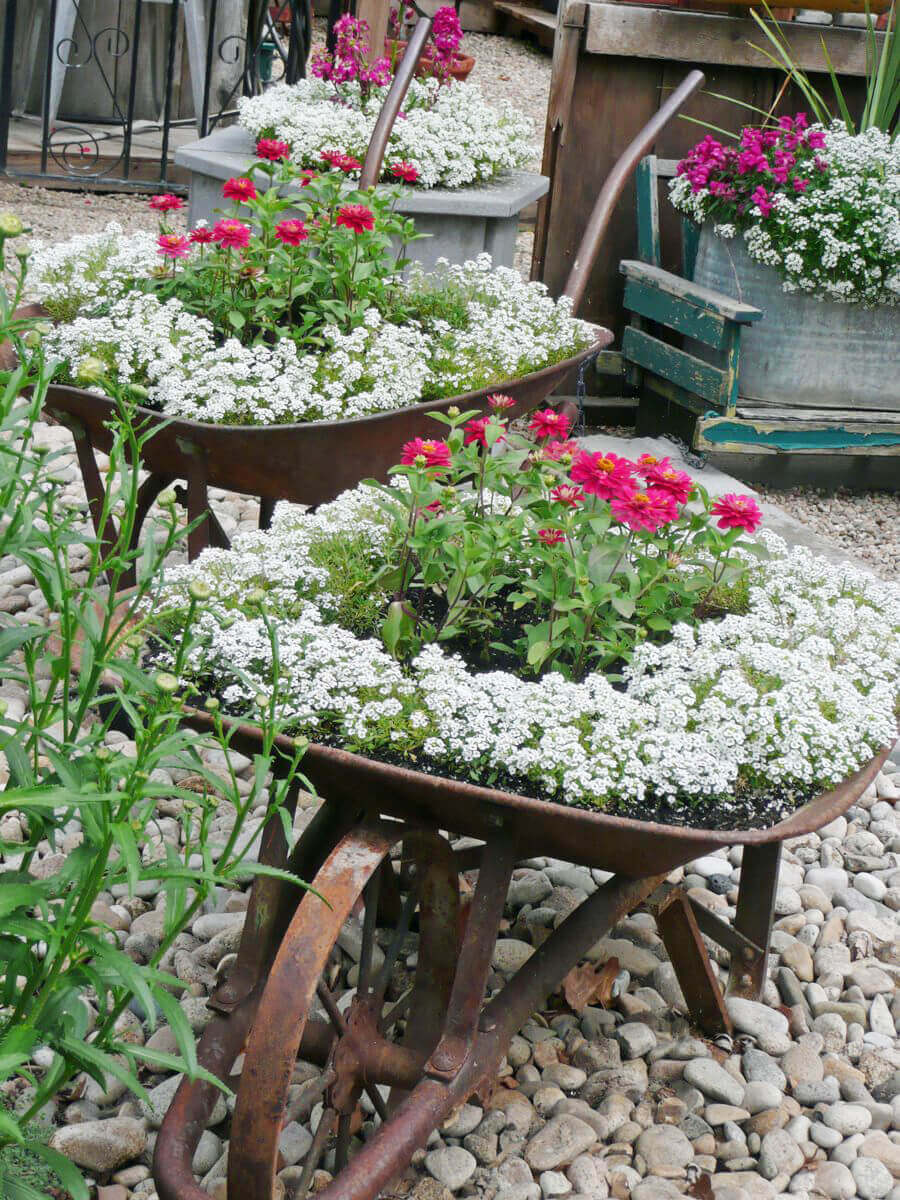
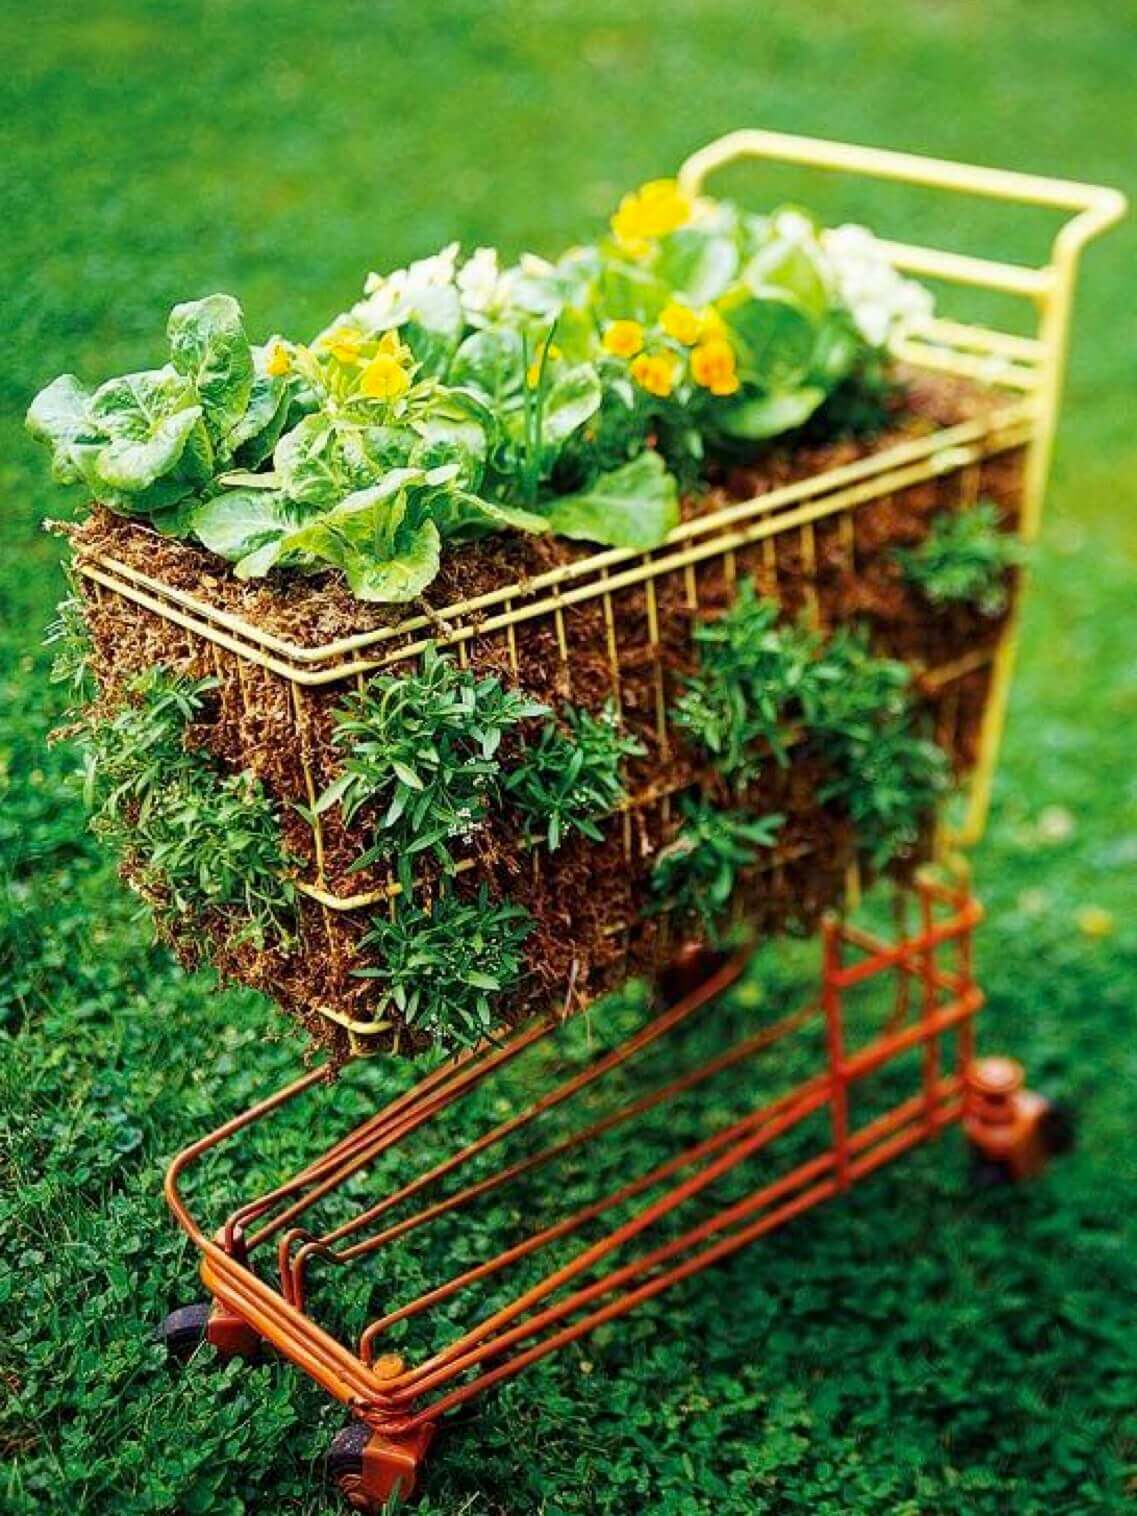
17. Wheelbarrows
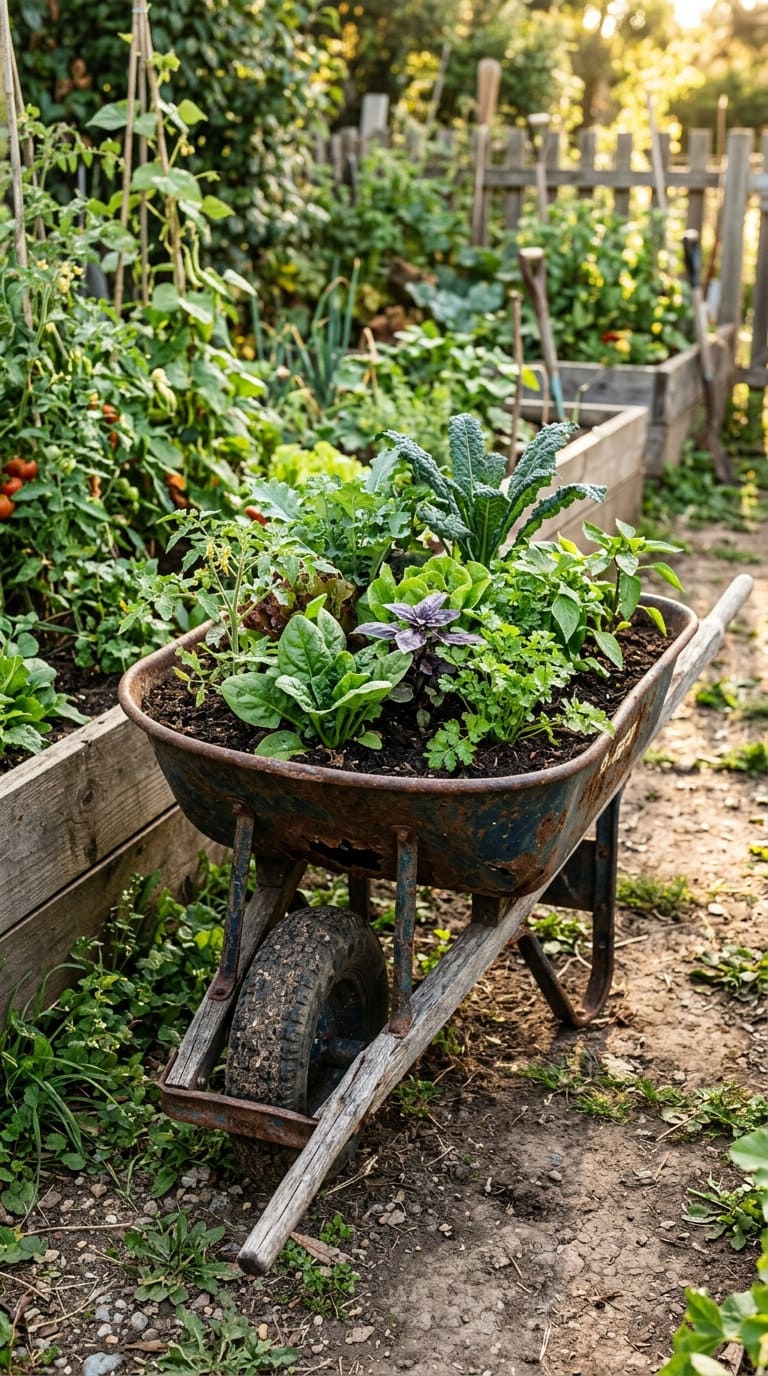
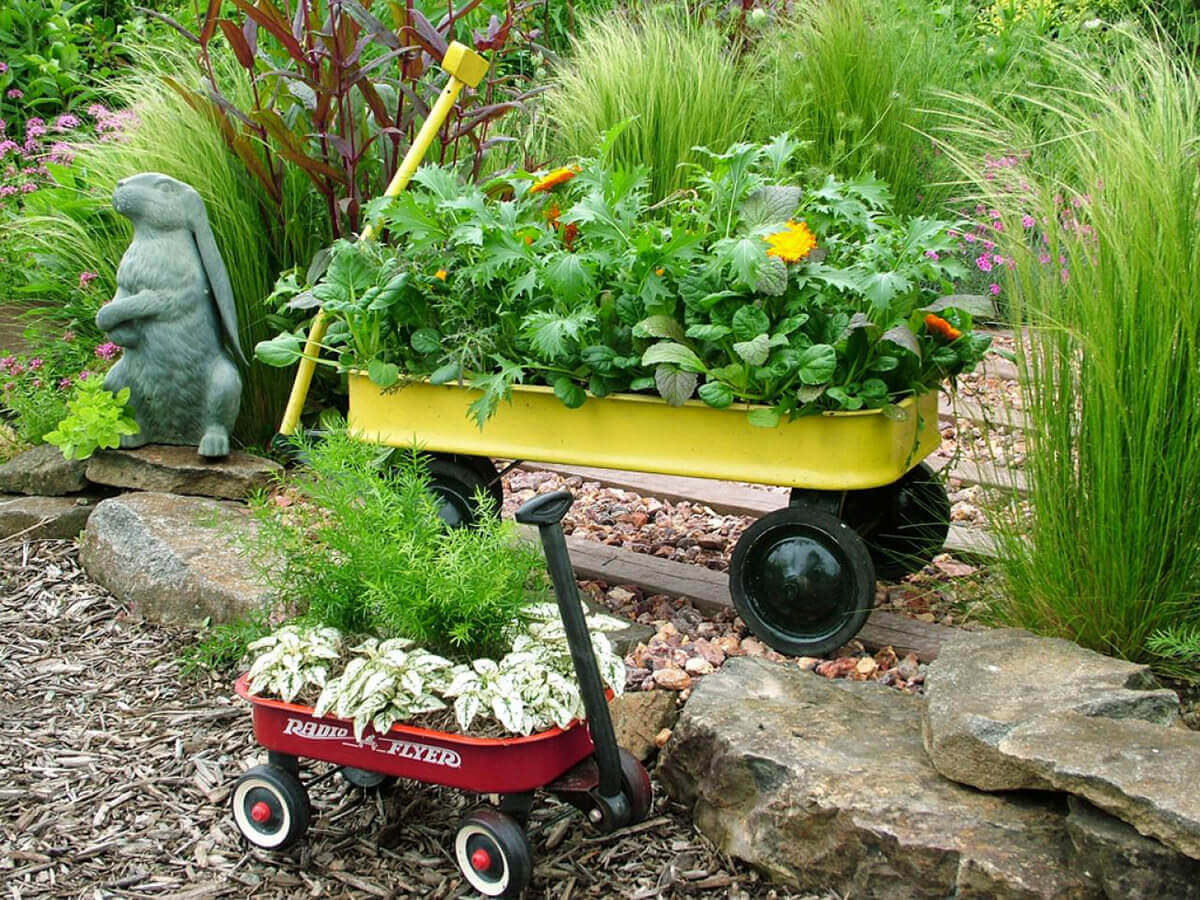
A wheelbarrow with a rusted-out bottom that’s no longer useful for hauling makes an excellent mobile planter, since it already rolls to follow the sun.
Drill a handful of drainage holes if the rust hasn’t already done that job for you, and expect it to hold a genuinely large volume of soil, often 3 to 4 cubic feet, enough for a small vegetable patch.
18. Tire Planters (With a Caveat)
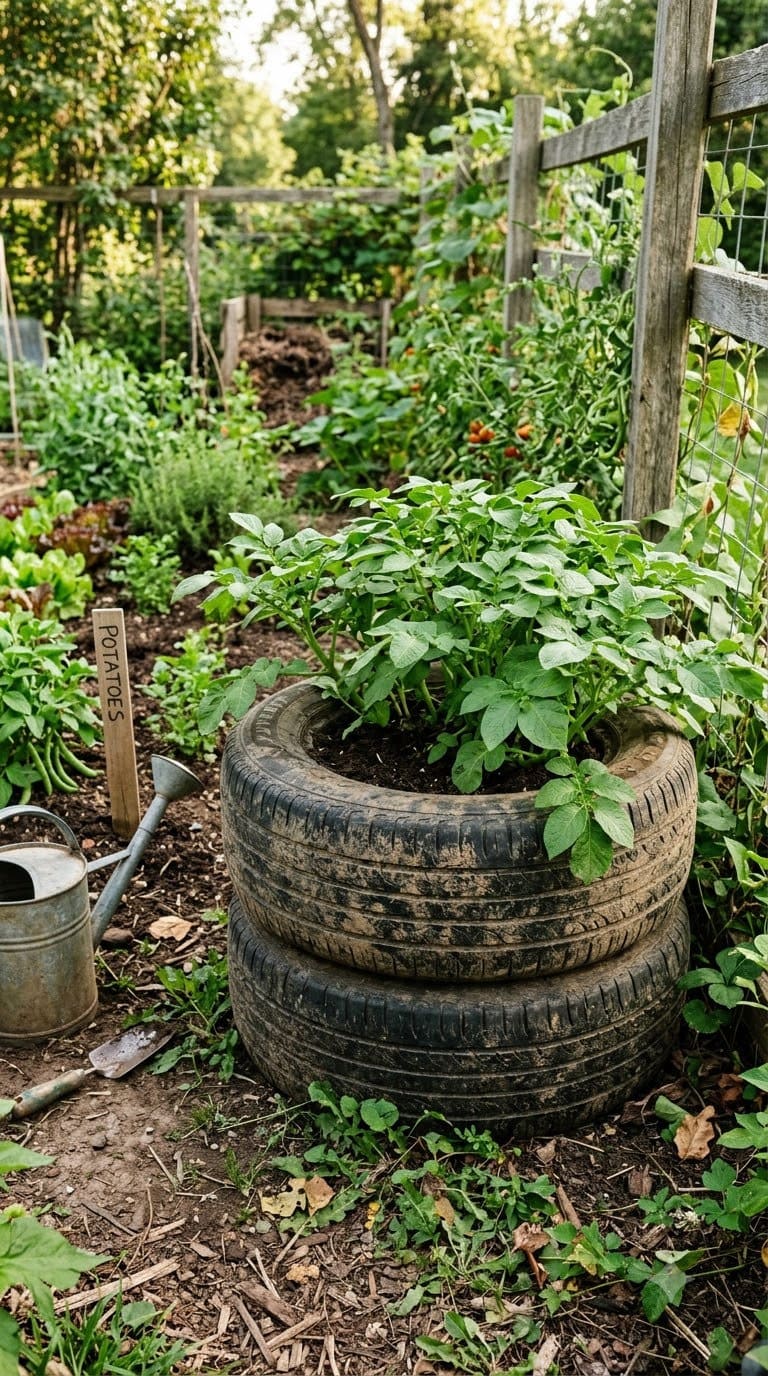
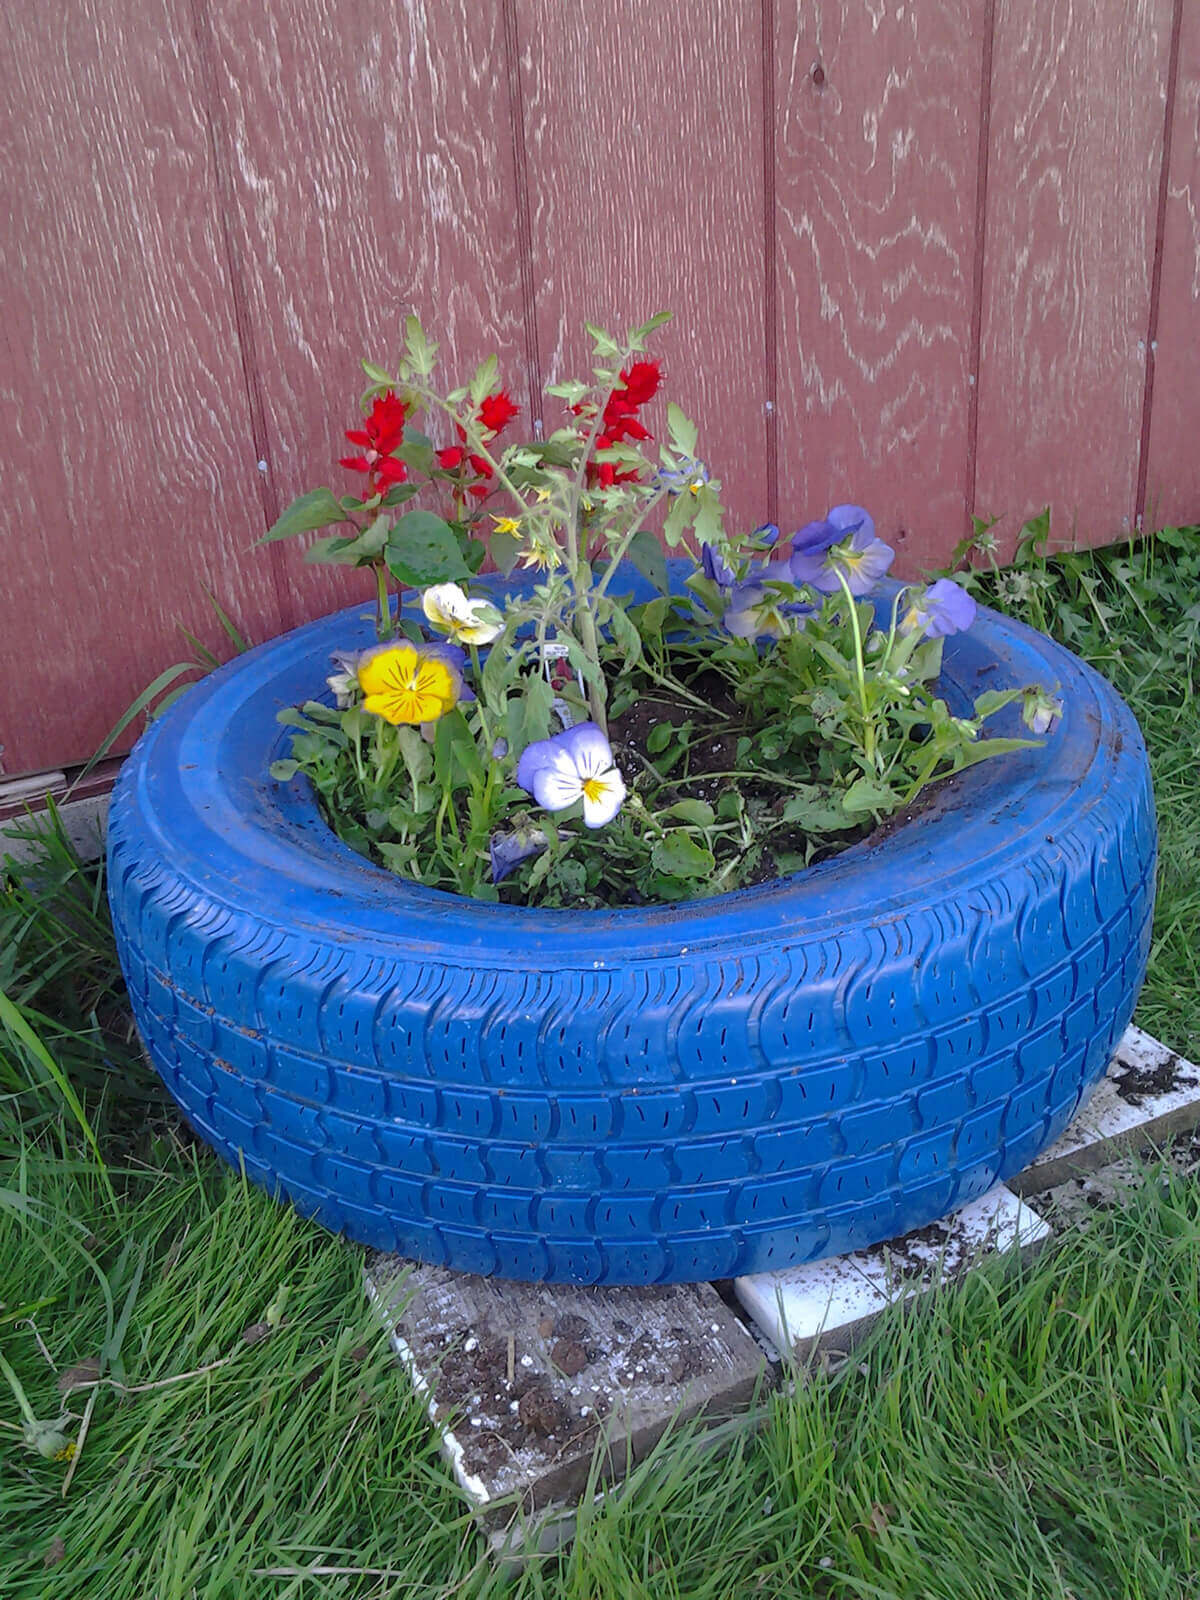
Stack one or two tires and fill with soil for a cheap, deep planter that’s great for potatoes since you can keep adding soil as the plant grows.
Given the concerns raised above about chemicals in tire rubber, most gardening sources recommend keeping tire planters to ornamental flowers rather than food crops, or lining the inside with heavy plastic sheeting as a barrier if you do want to grow vegetables in one.
Wood Crates, Pallets, and Barrels
19. Wooden Crates
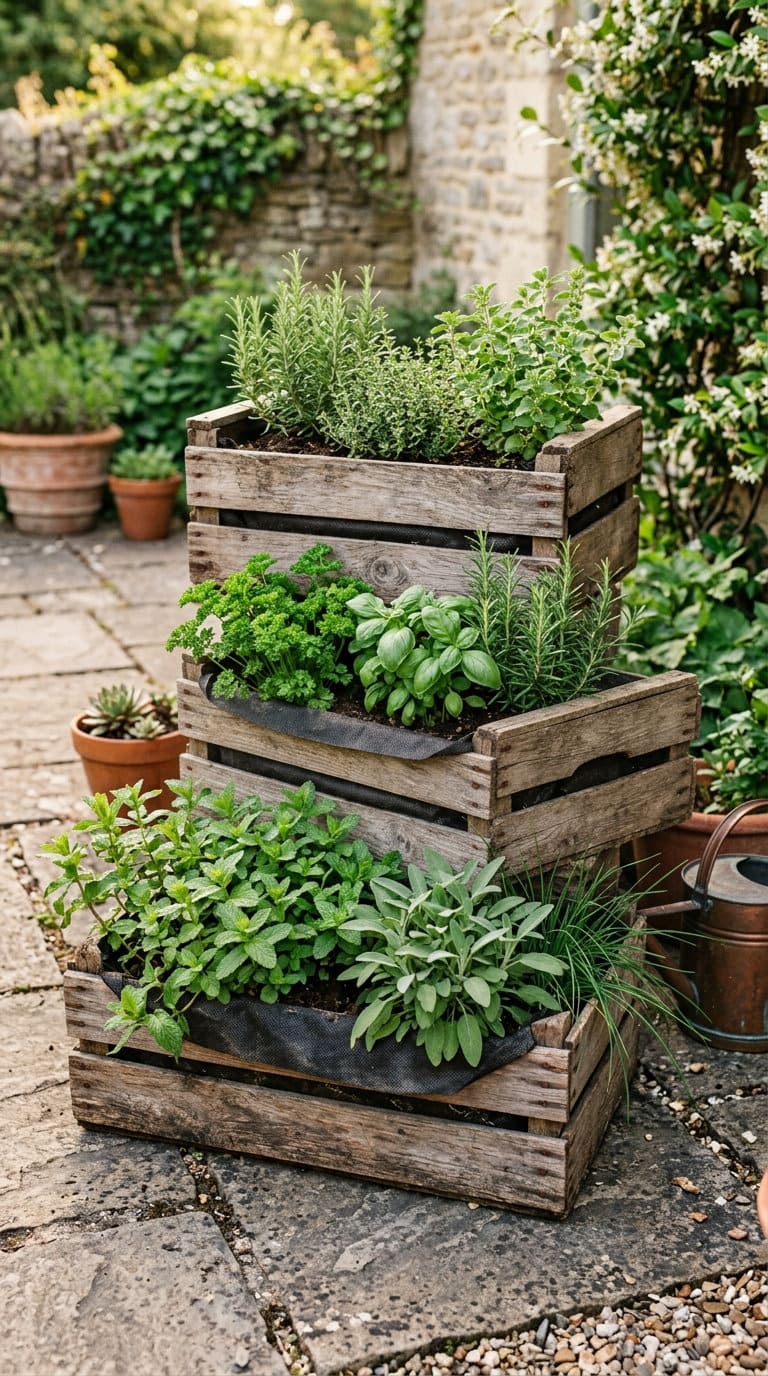
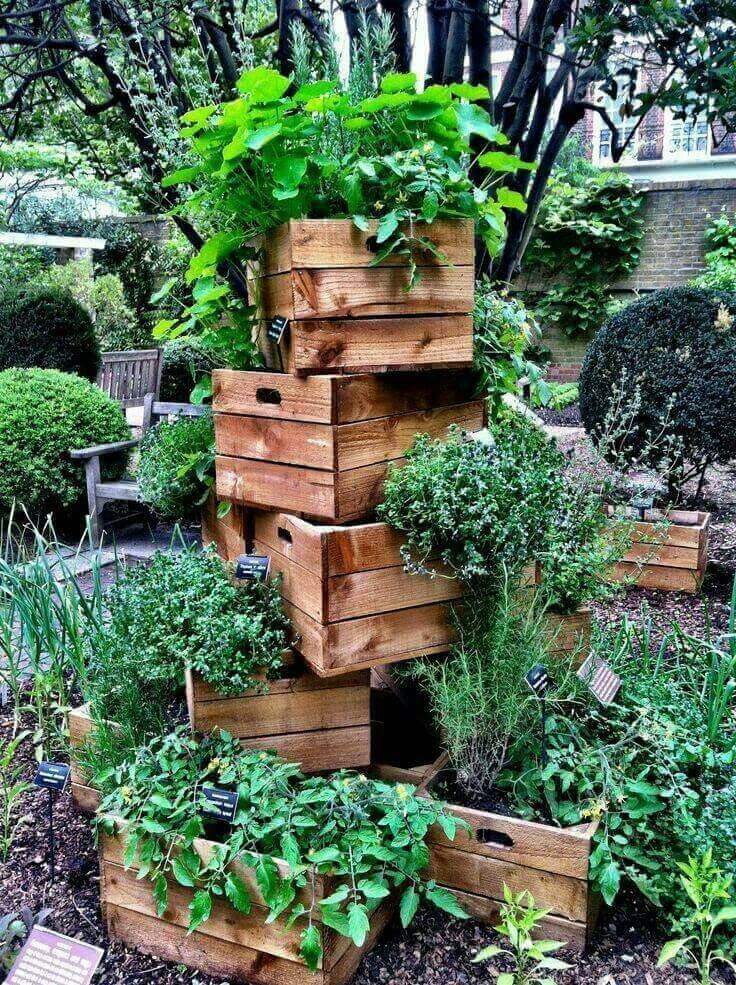
Line the inside of a wooden crate with landscape fabric before adding soil, since crate wood is usually thin and untreated pine that rots faster than furniture-grade lumber.
Stack two or three crates at different heights for a tiered herb garden that costs next to nothing if you can find crates secondhand.
20. Half Barrels
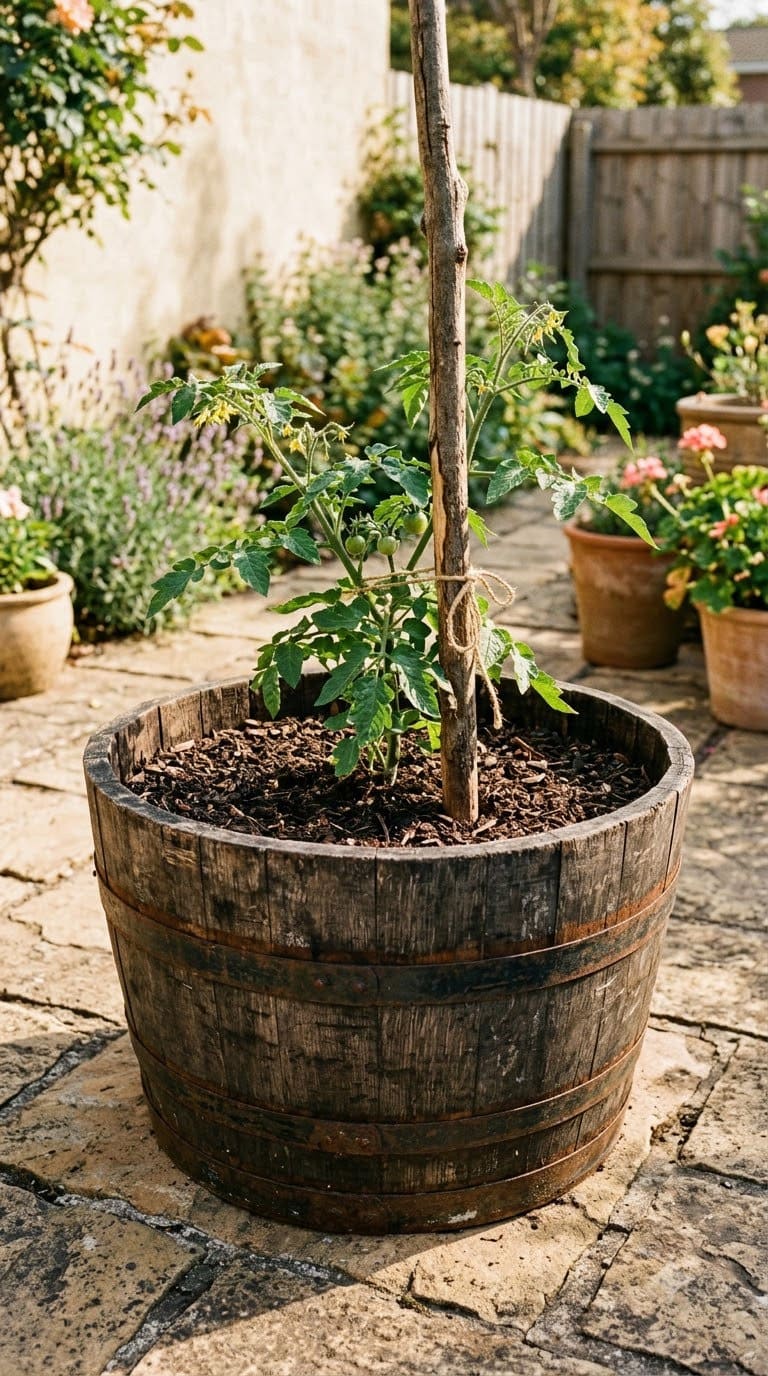
A halved wine or whiskey barrel is one of the most durable repurposed options here, the wood is thick and often already weathered to resist rot.
Drill several drainage holes in the base and expect this one to last five-plus years outdoors, easily the best cost-per-year value on this entire list even though the upfront find can run $20 to $40 secondhand.
21. Pallet Planter Boxes
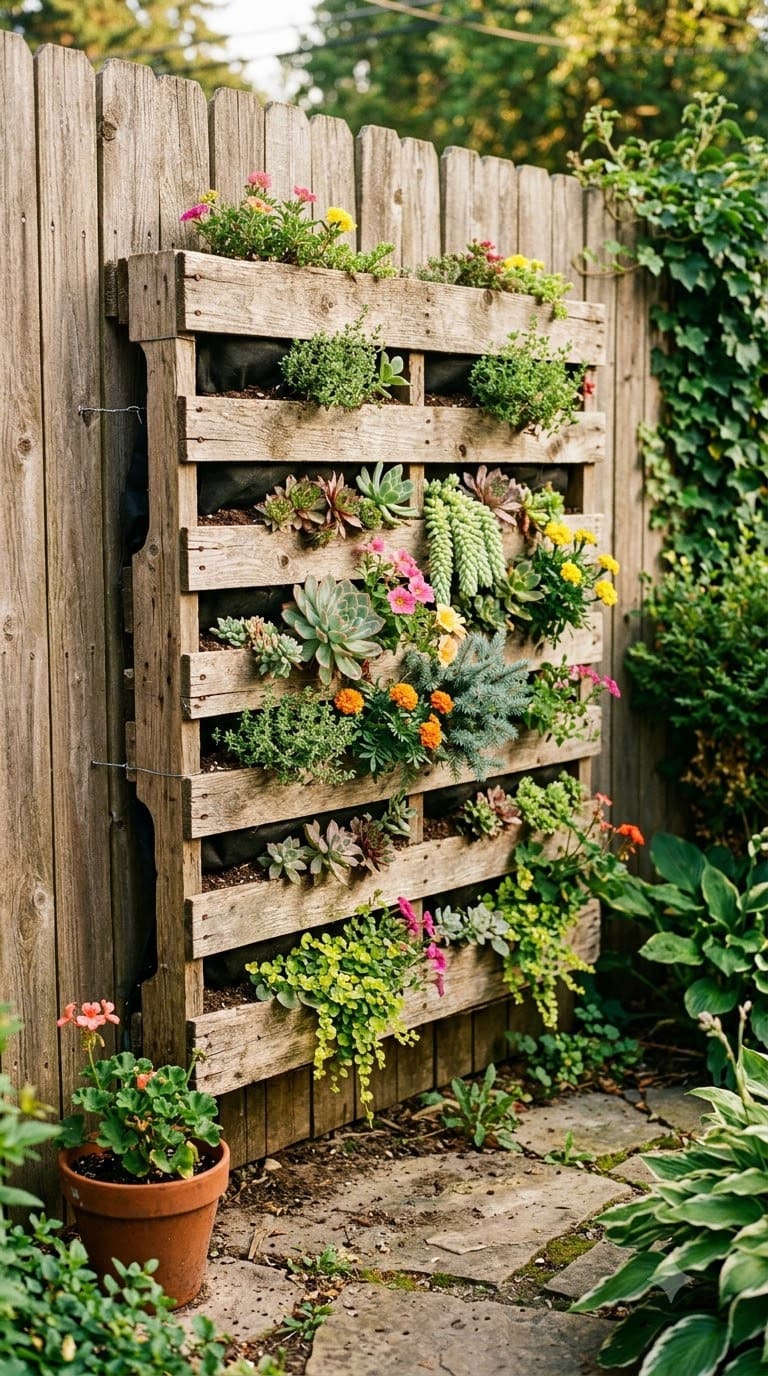
Break down a pallet into individual boards and rebuild them into a shallow planter box, or leave the pallet mostly intact and staple landscape fabric across the back to create vertical planting pockets between the slats.
Confirm the pallet is stamped “HT” (heat-treated) rather than “MB” (methyl bromide fumigated) before using it anywhere near edible plants, the stamp is usually on the side block.
What We Learned the Hard Way About Repurposed Containers
My first attempt at this was a metal watering can I found at an estate sale, painted a cheerful yellow that I later realized was probably older than I am. I planted marigolds in it without a second thought.
It looked great for about six weeks, then the paint started flaking into the soil every time it rained, and I pulled it before I ever found out if the lead worry was real or not. Better safe than sorry, but it cost me a summer’s worth of marigolds.
The bigger lesson was drainage, not aesthetics. I lost an entire tray of basil in a “cute” ceramic teapot because I didn’t want to drill a hole in something that pretty. The soil stayed soggy for a week straight after a rainy stretch, and the roots just gave up. Now I drill first and worry about looks second, every single time, no exceptions.
And weight sneaks up on you. A bathtub raised bed sounds charming until you realize you need two people and a hand truck to move it once it’s full of wet soil. Plan its final spot before you fill it, not after.
Repurposed vs. New Containers: Is It Actually Cheaper?
| Container Type | Typical Cost | Lifespan | Best For |
|---|---|---|---|
| Repurposed (dresser, boots, tins) | Free to $15 | 1 to 3 seasons | Ornamentals, short-term projects |
| Repurposed (half barrel, cast-iron tub) | $20 to $100 | 5+ years | Vegetables, long-term beds |
| New plastic planter | $10 to $30 | 3 to 5 years | Low-maintenance annuals |
| New ceramic or fiberglass planter | $35 to $90 | 5 to 10 years | Statement pieces, patios |
The honest takeaway is that repurposed containers win big on upfront cost and character, but the cheap-and-free options (tins, canvas, boots) don’t last as long as a $25 plastic pot from the garden center.
The durable repurposed picks, half barrels and cast-iron tubs especially, actually beat new containers on long-term value once you factor in years of use.
Source: littlebrags.blogspot.com
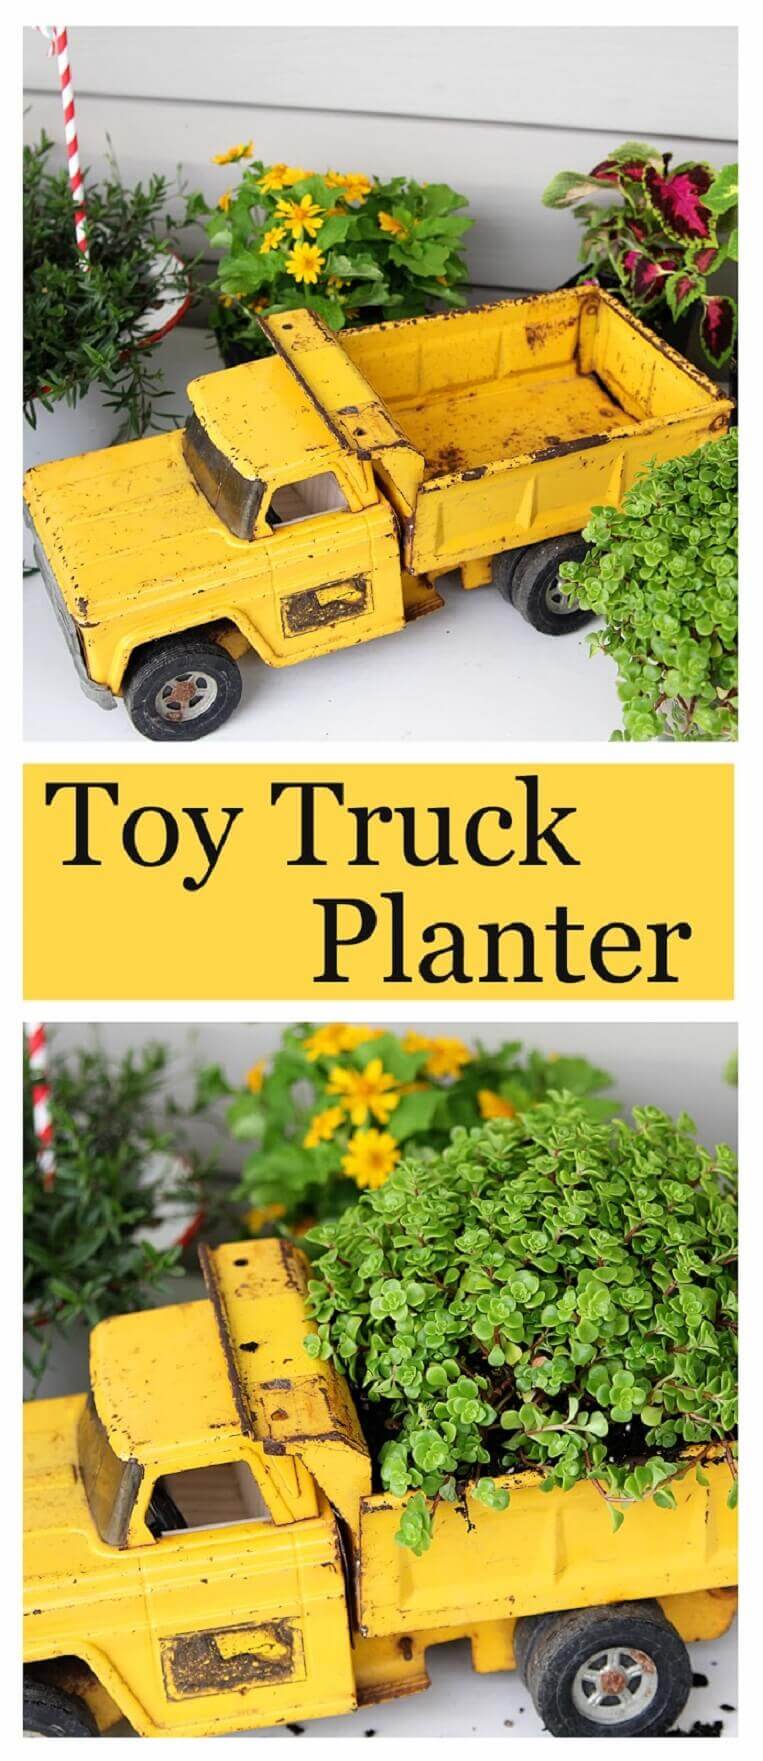
Source: houseofhawthornes.com
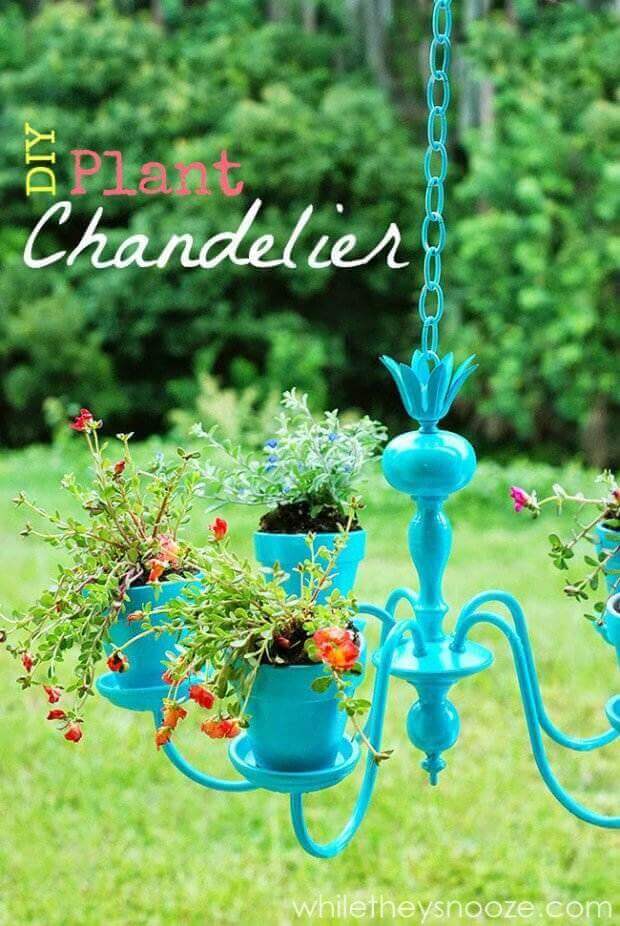
Source: bloglovin.com
Source: sweetpeagardencollection.blogspot.com
Source: guidepatterns.com
Source: hometalk.com
Source: wshg.net
Source: copyepaste.com
Source: decorateme.com
Source: mylove2create.com
Source: 100layercake.com
Source: heatherbullard.typepad.com
Source: homedit.com
Source: vickys-home.blogspot.com
Source: jeuxipad.info
Source: ranchoreubidoux.com
Source: seputarindonesa.com
Source: hgtv.com
Source: igardendaily.com
Source: hometalk.com
Source: doctoravintage.com
Source: yourstory24.com
Source: goodhousekeeping.com
Source: chaoticallycreative.com
Source: homeepiphany.com
Source: inerteco.com
Source: desrolph.com
Source: flowergarden.ml
Source: gypsyfarmgirl.net
Source: latimesblogs.latimes.com
Source: rusticrediscovered.com
Source: 1001gardens.org
Source: pebblesoup.co.uk
Frequently Asked Questions
Can I use any plastic container for growing vegetables?
No. Stick to plastics marked with resin codes 1, 2, 4, or 5. Avoid codes 3 and 6, which can contain phthalates and styrene, and skip anything marked with BPA for food crops specifically.
Do repurposed containers need more drainage holes than regular pots?
Usually yes, since most repurposed items weren’t designed to hold soil. Aim for holes spaced about 1 to 2 inches apart across the base rather than a single center hole.
Is it safe to grow food in an old tire?
Most gardening sources recommend keeping tires to ornamental use only, or lining the inside with heavy plastic sheeting if you want to use one for vegetables, since there’s ongoing concern about chemicals in tire rubber leaching into soil over time.
How do I know if old paint on a container is lead-based?
If the piece is older than about 1978 and the paint hasn’t been tested or stripped, treat it as a possible lead risk. A hardware store lead-test swab kit is a cheap way to check before planting anything edible in it.
Related Posts
Products We Recommend
This post contains affiliate links. We may earn a commission on qualifying purchases at no extra cost to you.
DEWALT Titanium Nitride Drill Bit Set, 14-Piece (DW1354)
Titanium-coated bit set that handles wood, thin metal, and ceramic drainage holes without dulling after a few containers, 4.8 stars with 13.8K ratings
Shop Now
VIVOSUN 5-Pack 7 Gallon Fabric Grow Bags with Handles
BPA-free, thickened nonwoven fabric pots that work as a food-safe liner insert inside a repurposed tire, crate, or canvas tote, 4.6 stars with 62.8K ratings
Shop Now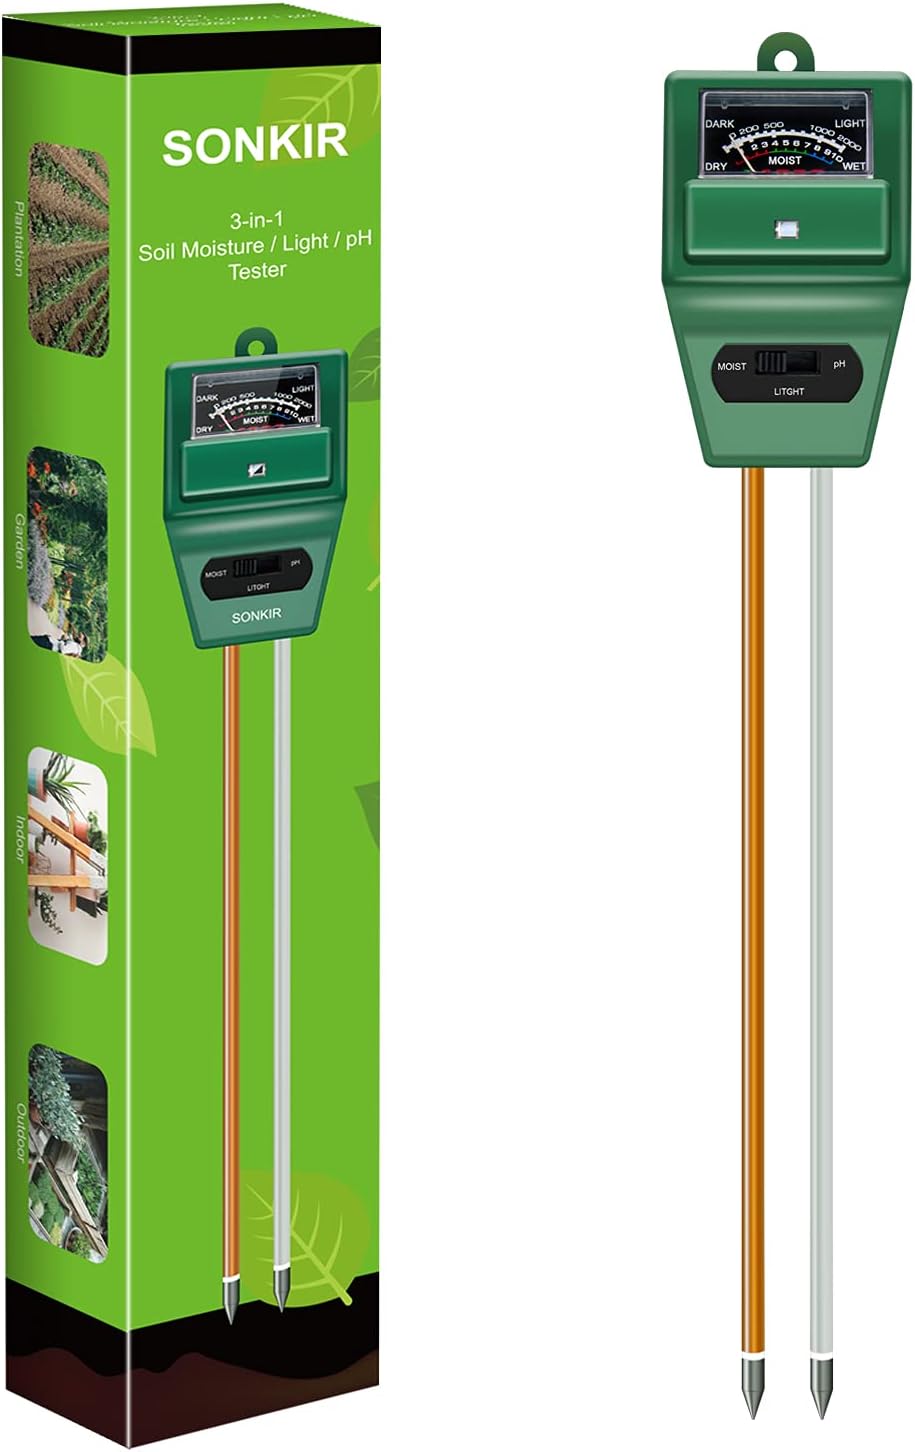
SONKIR MS02 3-in-1 Soil Moisture, Light and pH Meter
No batteries needed, useful for tracking how fast a repurposed container dries out compared to a standard pot so you can catch drainage problems early, 4.1 stars with 46.6K ratings
Shop NowNever miss an update — choose FarmFoodFamily as your preferred source on Google.
How it works: Tap the button below to open Google's settings page, then check the box next to FarmFoodFamily.
Tap the checkbox to turn it blue — that's how you know it's set.