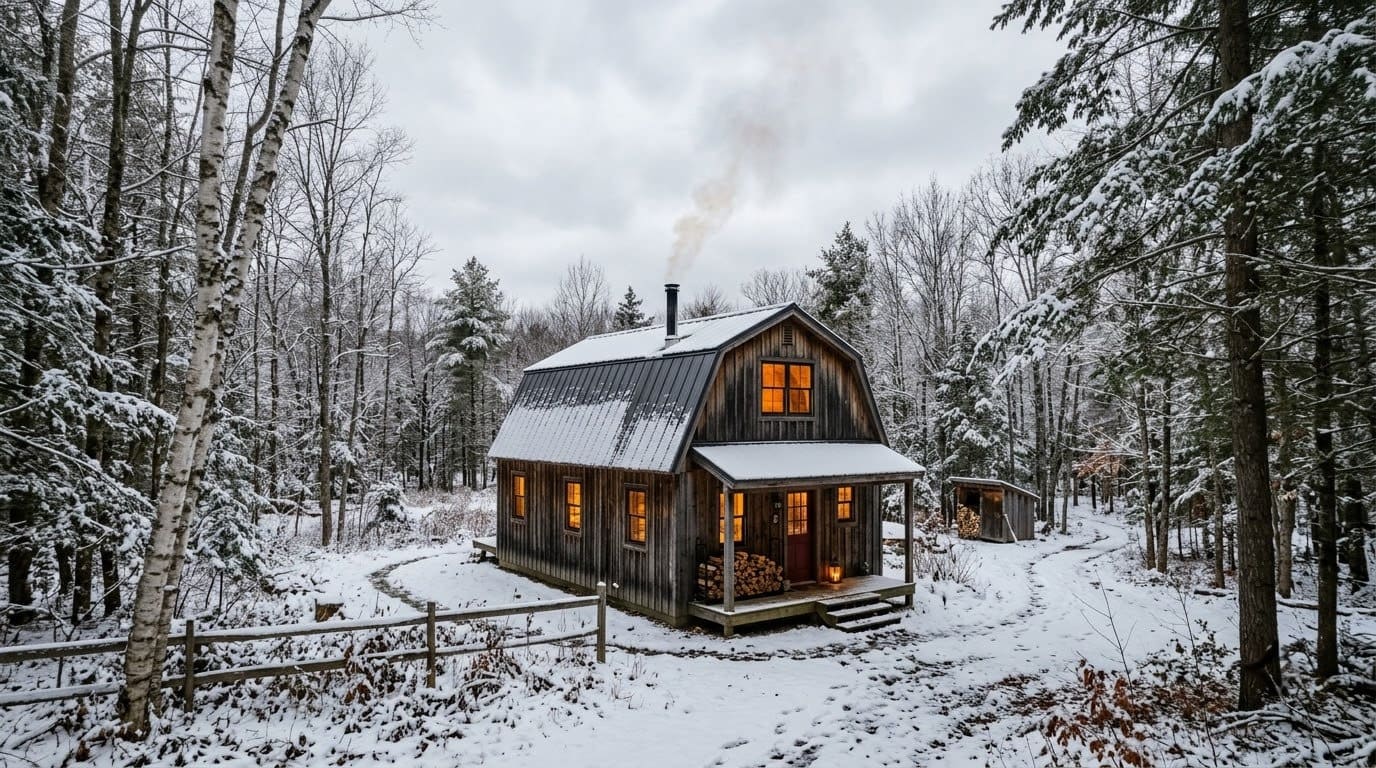
12 Essential Tips for a Year-Round Tiny Home in a Deluxe Lofted Barn Cabin: Insulation, Ventilation, and Heating
A barn cabin can be a warm, dry, cheap-to-run tiny home in any season, but only if you build the shell, the airflow, and the heat as one connected system instead of three separate afterthoughts.

Never miss an update — choose FarmFoodFamily as your preferred source on Google.
How it works: Tap the button below to open Google’s settings page, then check the box next to FarmFoodFamily.
Tap the checkbox to turn it blue — that’s how you know it’s set.
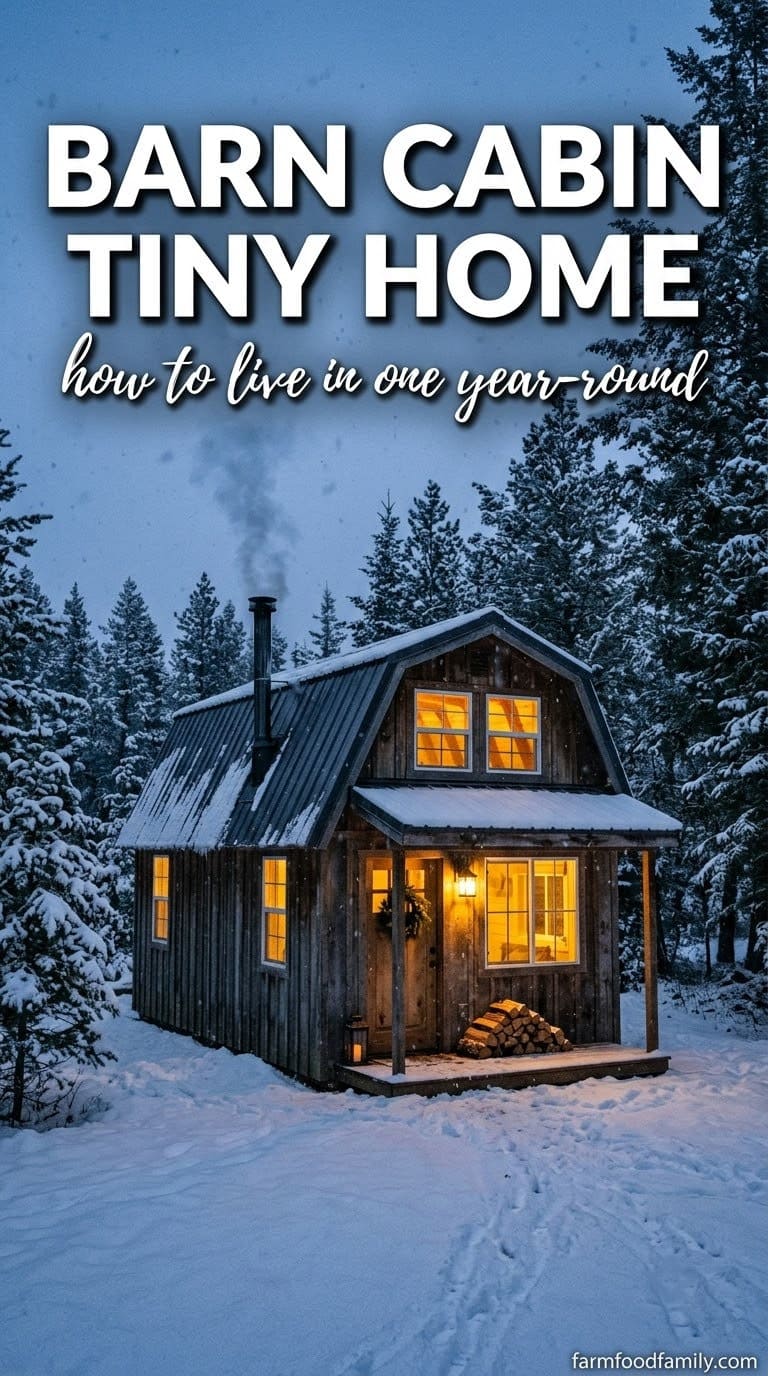
More people are trading oversized mortgages for small, efficient living spaces. A deluxe lofted barn cabin is one of the most practical ways to start that kind of life. These cabins arrive with solid wood construction, a loft for sleeping or storage, and enough headroom to stand up in. That puts them ahead of a lot of shed-to-tiny-home conversions. But living in one through January and August takes more than a space heater in the corner.
You want a cabin that holds heat when the wind howls. You also want it to stay breathable when the summer sun beats on the roof. That means planning three things together: insulation, ventilation, and heating. Get one wrong and the other two will not save you. This guide walks through 12 tips in plain language, grouped by system.
Quick answer: what does a year-round barn cabin actually need?
To live in a deluxe lofted barn cabin through every season, treat the shell, the air, and the heat as one system. Insulate to your climate zone. The U.S. Department of Energy and ENERGY STAR suggest roughly R-13 to R-21 in 2×4 or 2×6 walls. Aim for R-30 to R-60 in the ceiling and R-13 to R-38 in an exposed floor. Air-seal every gap first, because leaks cut measured performance. Vent the roof if it is metal, since Building Science Corporation warns that trapped moist air condenses on cold panels. Add spot exhaust fans over the cooktop and in the bathroom. Then use a small energy recovery ventilator or a simple cross-vent routine for fresh air. For heat, a cold-climate mini-split runs about 2.5 times more efficient than electric baseboards. Keep indoor humidity between 30 and 50 percent, the range the EPA links to lower mold risk.
Why plan the three systems together?
Think of the cabin as a bucket. Insulation decides how fast heat leaks out. Heating decides how fast you pour it back in. Ventilation decides whether the moisture inside has a way out.
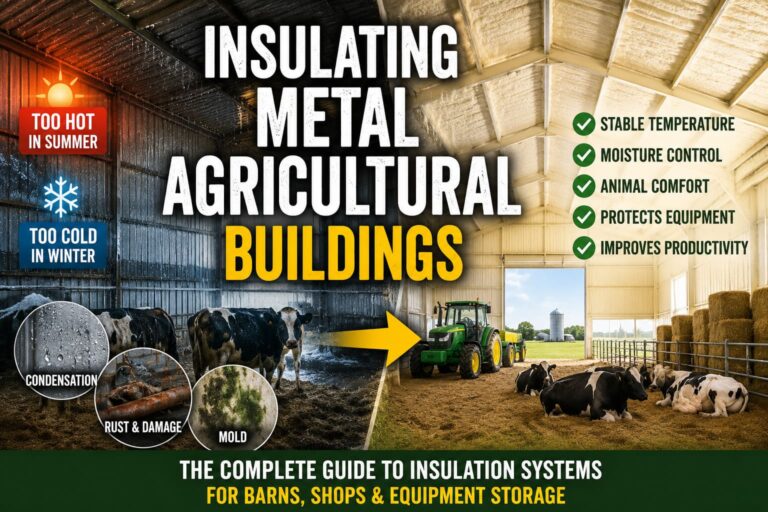
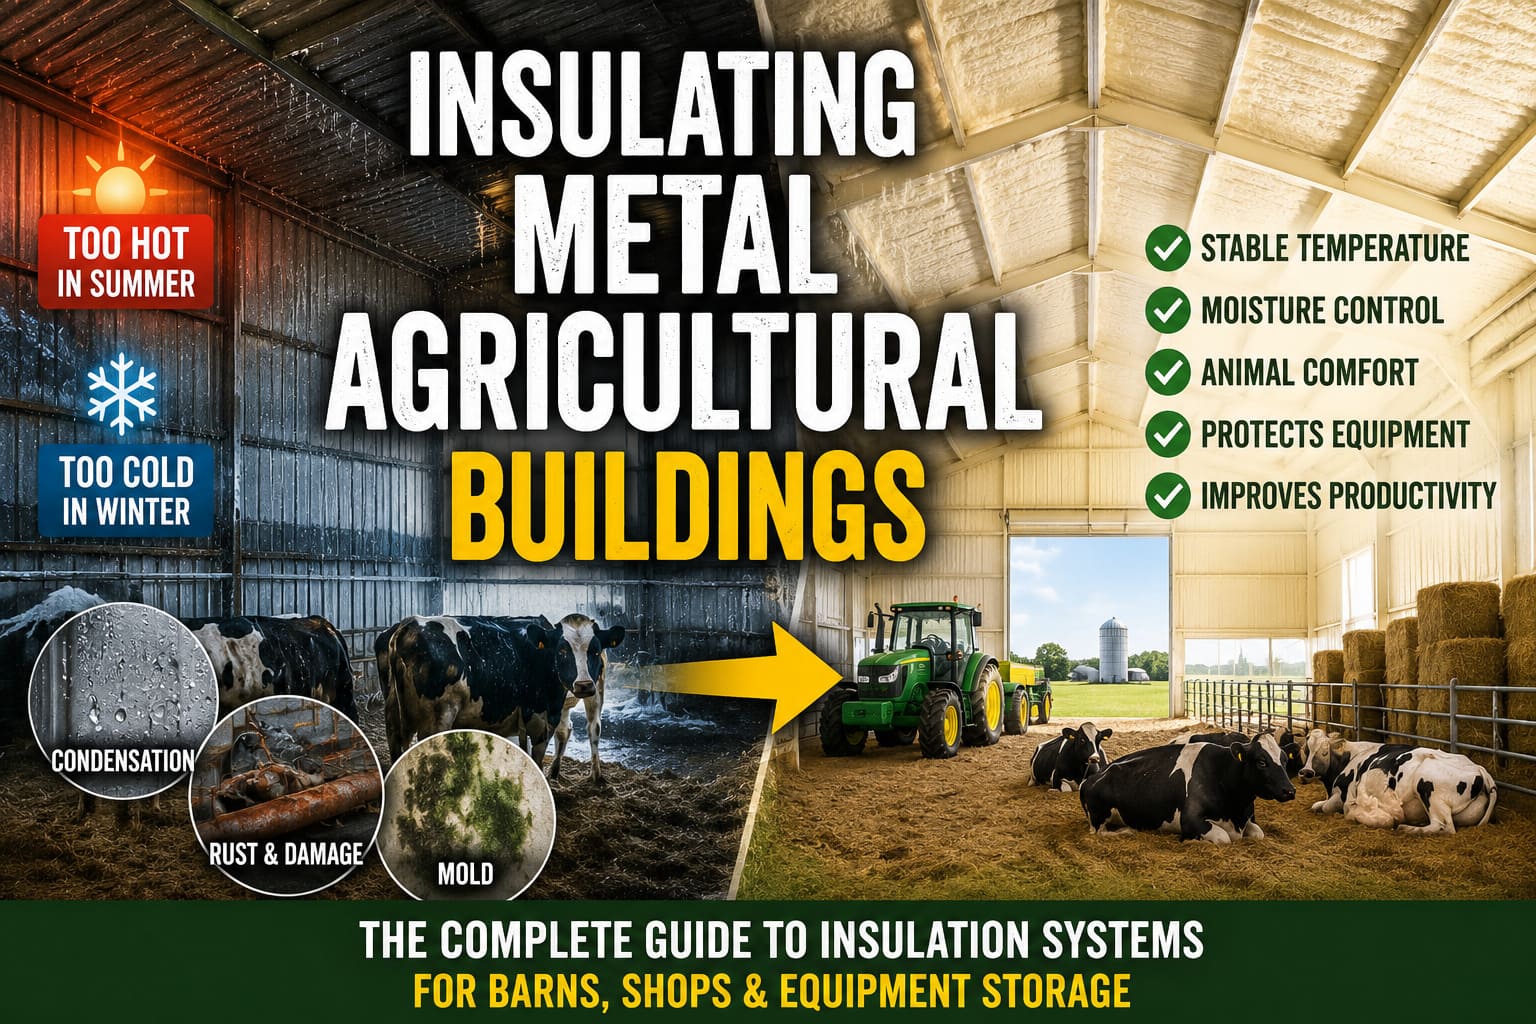
Fix only the insulation and you seal moisture inside a tight box. Fix only the heating and you pay to warm air that pours through the walls. Fix only the ventilation and you dump your heat outside all winter. The three choices push and pull on each other. So size them as one plan before you buy a single batt or heater. Many of the same rules apply to insulating an agricultural building, just at a smaller scale.
Insulation: build a shell that holds its temperature
Insulation is the part most people underestimate. It is also the part that decides whether your heating bill stays reasonable or runs out of control. A deluxe lofted barn cabin is typically framed with 2×4 or 2×6 walls. That gives you room for a full insulation layer, not just thin foam panels.
1. Air-seal every gap before you add insulation
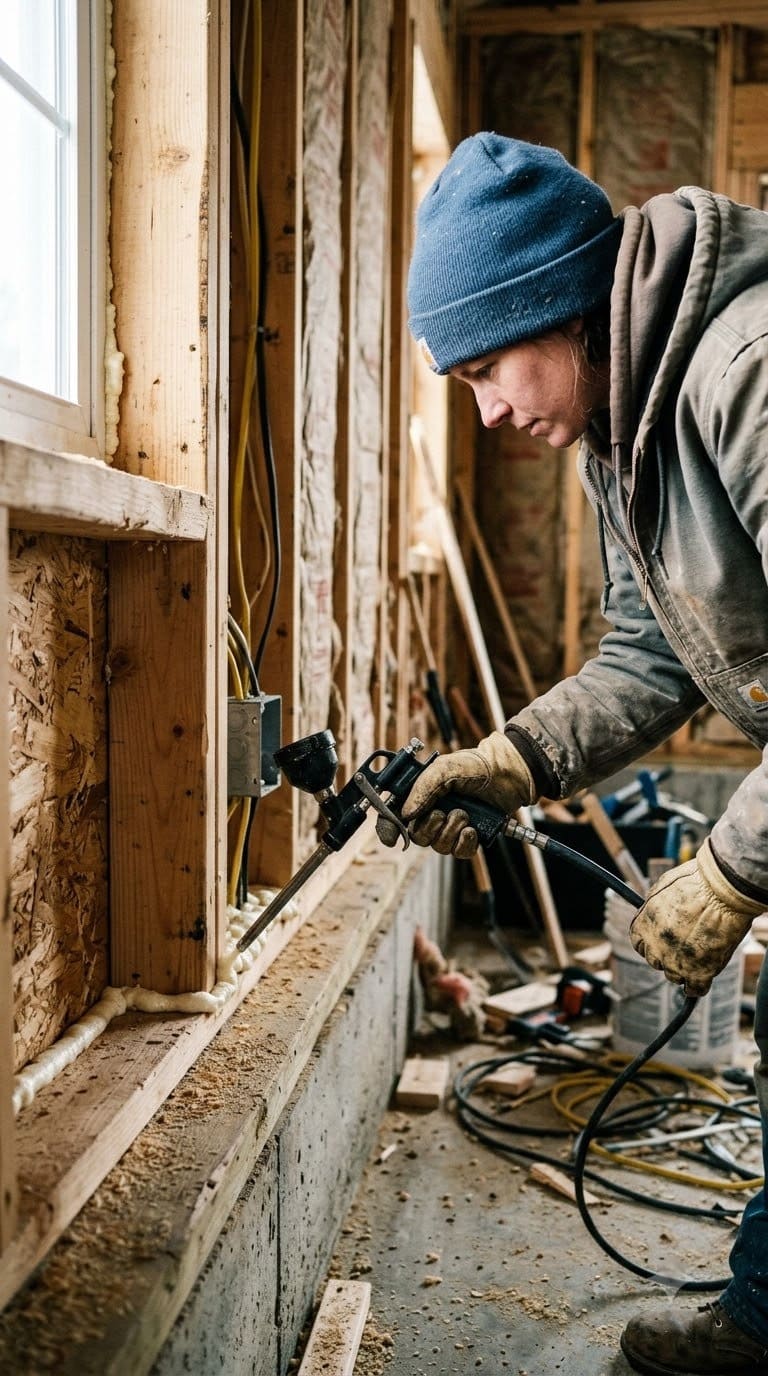
Every wire, pipe, and vent through the wall or roof is a spot where air leaks. The Department of Energy stresses air sealing before insulating, because a leaky assembly never hits its rated R-value. Work through the cabin with a can of low-expansion foam and a tube of caulk. Seal the sill plate, the corners, the electrical boxes, and every penetration.
Quick tip: Use a low-expansion “window and door” foam around frames. Standard high-expansion foam can bow a jamb and stop a window from closing.
2. Match wall insulation to your framing and climate zone
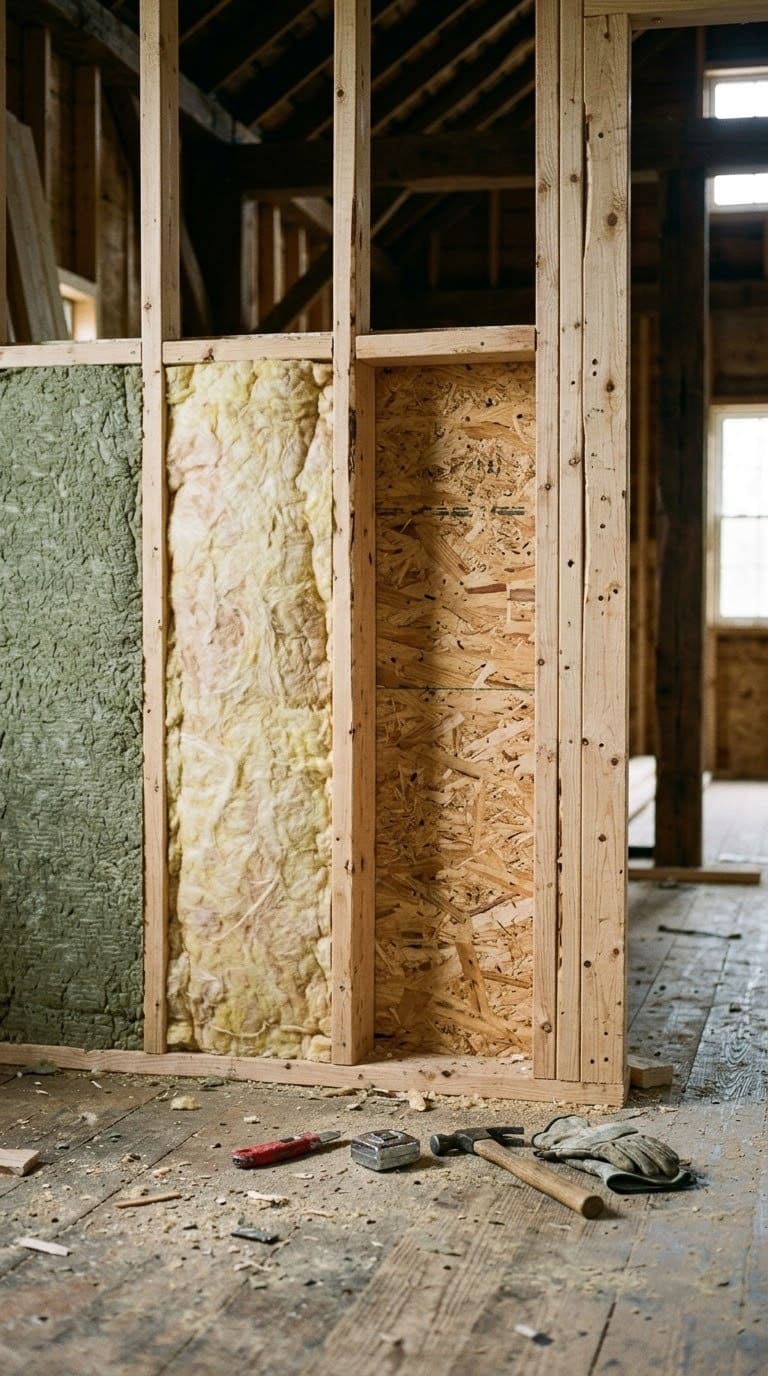
For the walls, fiberglass batts sized for the cavity are the most affordable option, and they perform well when installed correctly. The key phrase is “installed correctly.” Gaps, compressions, and voids around outlets can cut a batt’s real-world performance close to half. Mineral wool batts cost a little more. They resist moisture better and add sound dampening, which matters in a 200-square-foot space.
The Department of Energy puts cavity insulation at about R-15 in a 2×4 wall and about R-21 in a 2×6 wall. Your framing depth sets your ceiling. In colder zones, add a layer of rigid foam sheathing outside the framing to reach code.
Quick tip: If you want the highest performance in the thinnest wall, closed-cell spray foam hits the top R-value per inch and seals air at the same time. Budget for a pro crew, not a weekend.
3. Insulate the exposed floor, not just the walls
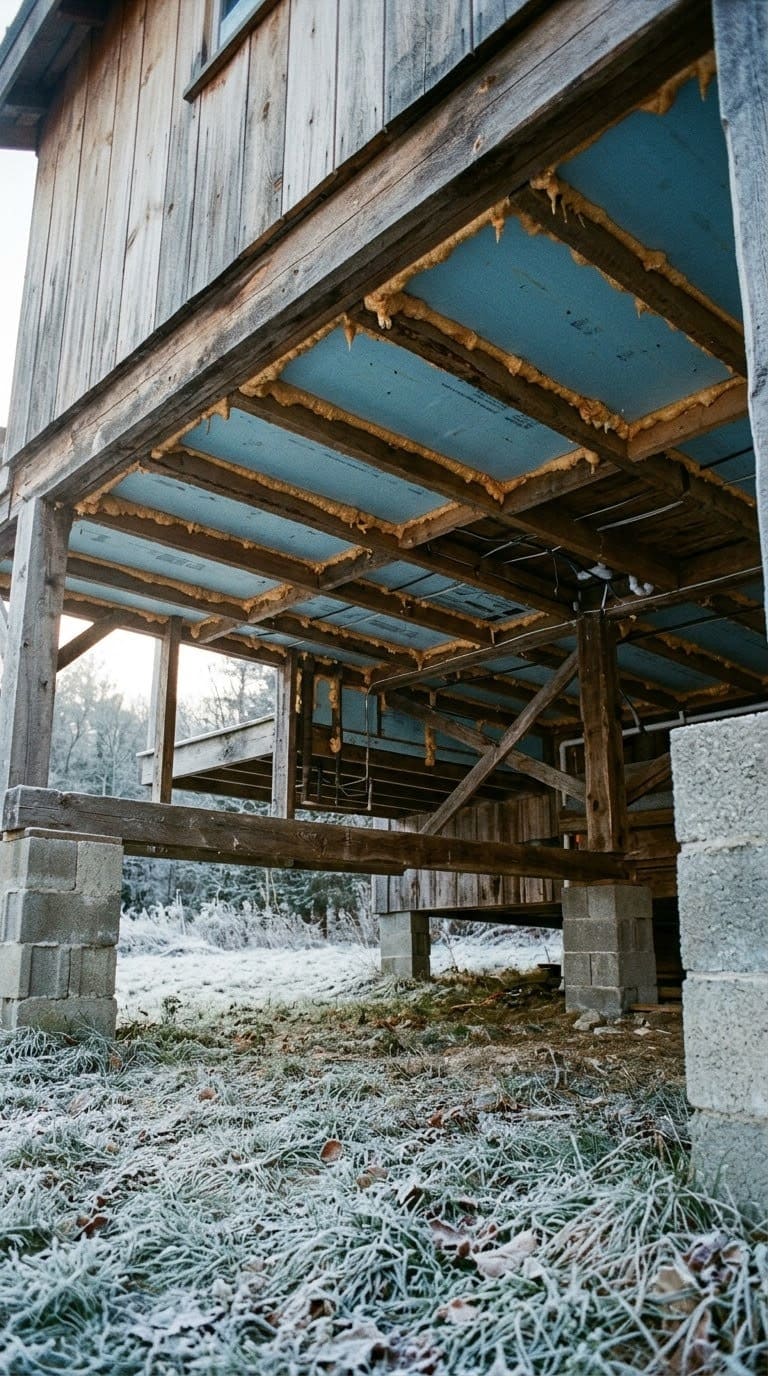
A lot of cabin owners insulate the walls and roof, then wonder why their feet are freezing in November. If your cabin sits on skids or blocks, the floor is exposed to outside air on all sides.
Cut rigid foam board to fit between the floor joists. Seal the edges with spray foam. That stops the cold from radiating up through the subfloor. Skirting the perimeter with rigid foam adds another buffer and keeps pipes from freezing.

Low-expansion polyurethane foam for air-sealing the sill plate, wiring, and plumbing penetrations before you insulate.
Shop NowThis post contains affiliate links. We may earn a commission on qualifying purchases at no extra cost to you.
Quick tip: ENERGY STAR floor targets run from about R-13 in warm zones to R-30 or higher in cold zones. Pair the foam with a thick rug for instant comfort while you build.
4. Over-insulate the roof and loft ceiling
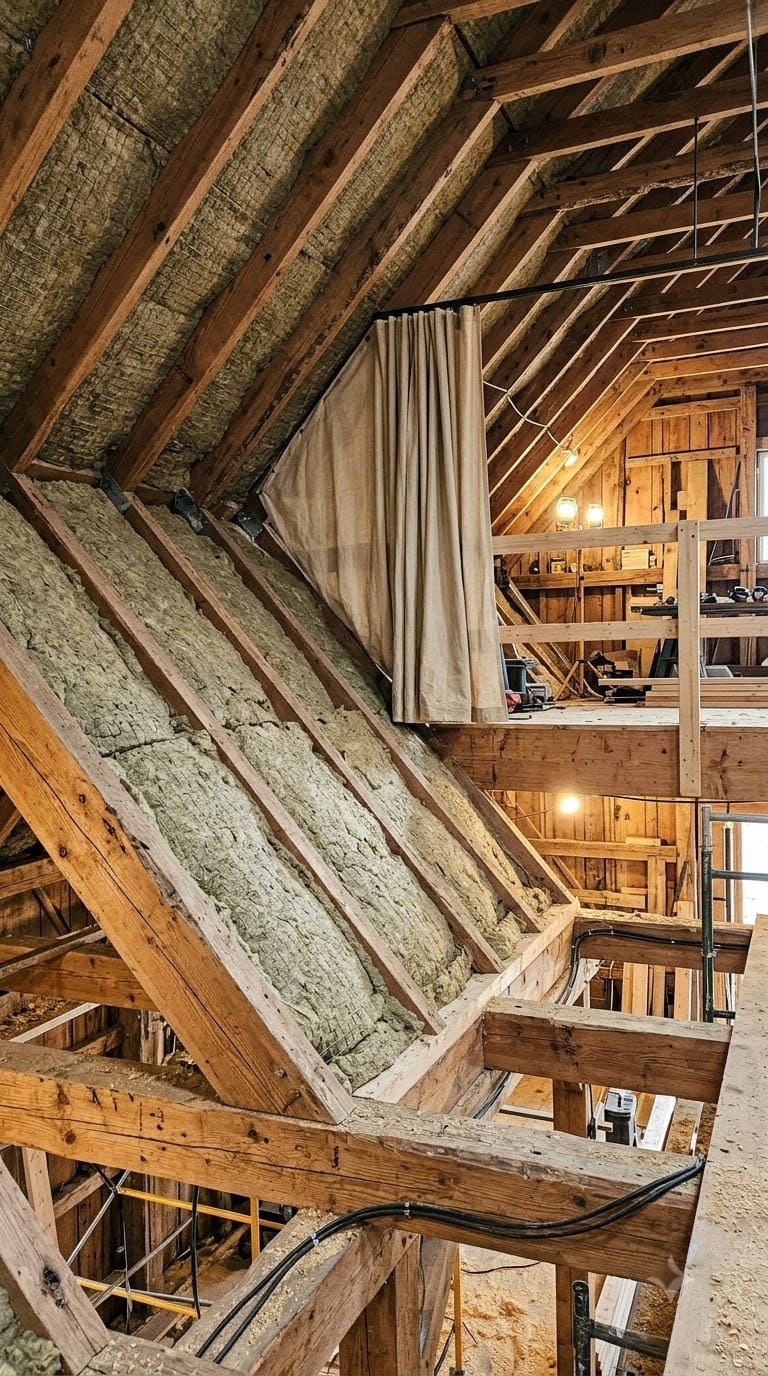
Heat rises, so the roof and the loft are where you lose the most warmth if you cut corners. The loft puts you close to the ceiling, which is the least insulated surface in most builds.
For a cabin lived in year-round, keep the roof R-value higher than the walls. A common split is R-30 or more in the ceiling and R-13 to R-21 in the walls. The same air-sealing rule applies here, since the ceiling plane leaks the most.
Quick tip: If you sleep in the loft, insulate between the loft floor and the main space too. At the least, hang a heavy curtain you can close so you can heat the sleeping area alone at night.
5. Vent a metal roof, or foam it correctly
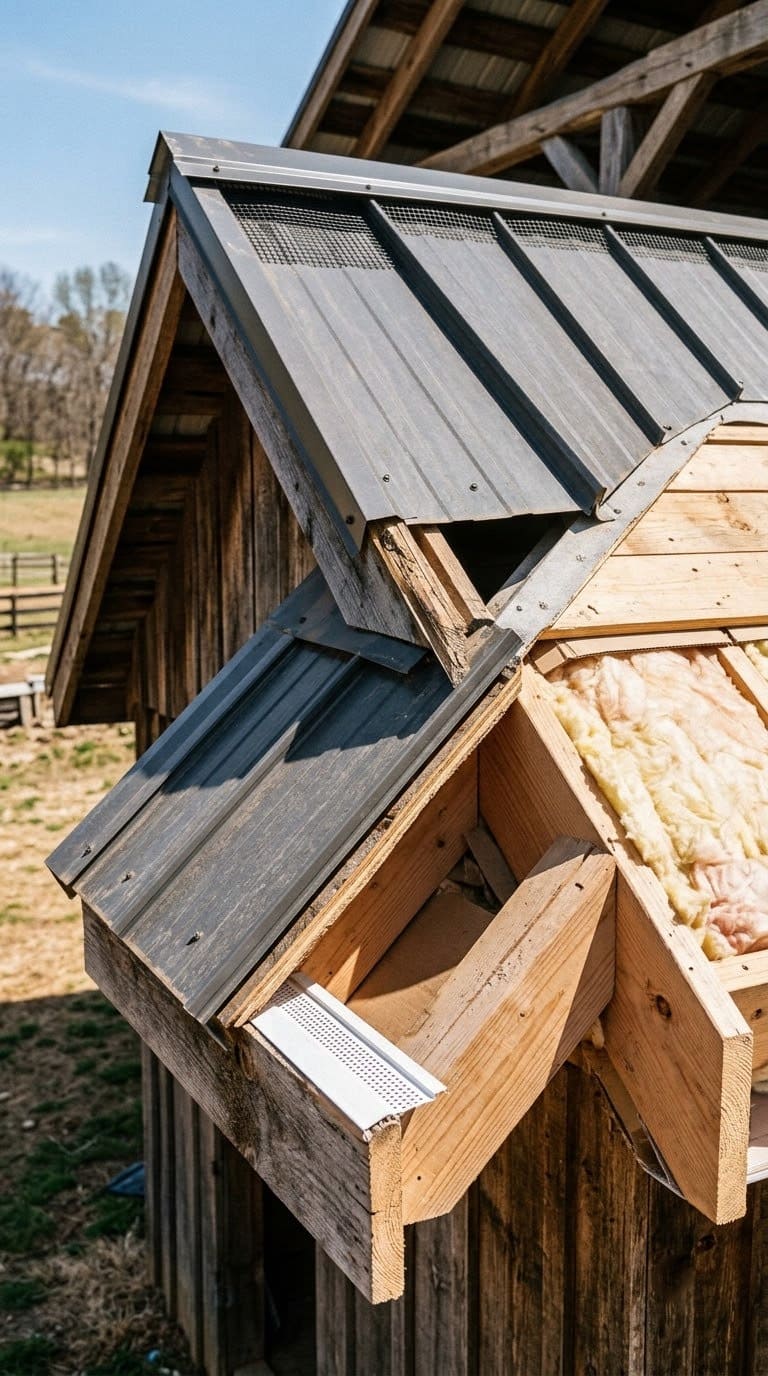
If your cabin has a metal roof, plan for a vented roof assembly. That means insulation under the roof deck with an air gap above it that connects to soffit vents and a ridge vent. The air gap lets warm, moist air escape instead of condensing on the underside of the cold metal.
Building Science Corporation warns that the night-sky cooling effect can form condensation under a metal roof. That also slows summer drying. Skip the venting and water can drip back onto your insulation. That ruins the R-value and eventually rots the wood.
Quick tip: Prefer an unvented roof? Closed-cell spray foam sprayed straight onto the deck is the assembly building scientists consider safe. It controls vapor before it reaches the sheathing. Our notes on insulating a metal roof cover the tradeoffs.
Ventilation: give moisture a way out
A well-insulated tiny cabin is also an airtight tiny cabin. An airtight space without ventilation turns into a humidity problem fast. Cooking, showering, and even breathing put moisture into the air. In a 200-to-400-square-foot space, that moisture has nowhere to go unless you give it a path out.
6. Add spot exhaust over the cooktop and in the bathroom
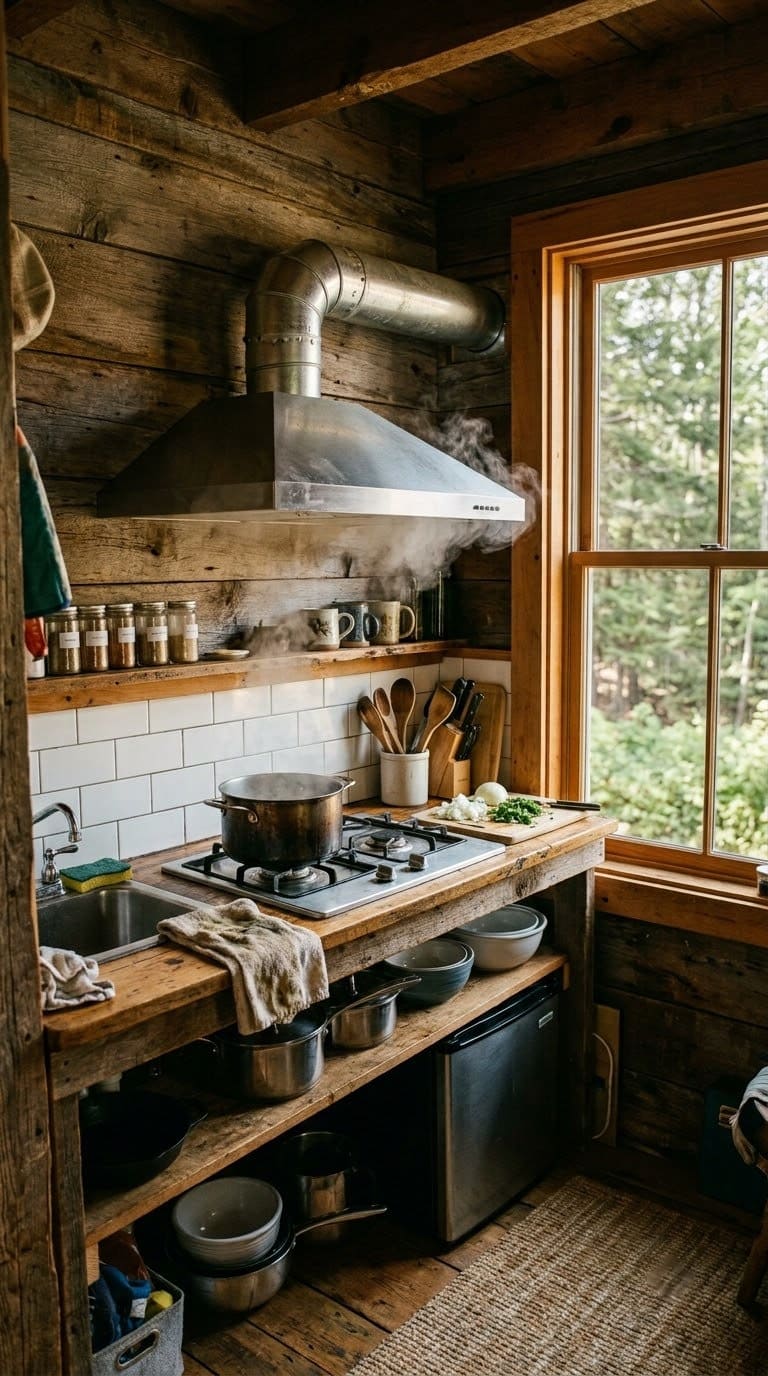
Spot ventilation removes moisture at the source. Put a range hood or vented fan over the cooktop and an exhaust fan in the bathroom. Both should vent straight outside, never into a wall cavity or the loft space.
Quick tip: Wire the bathroom fan to the light switch so it runs every time the bathroom is used. It is the cheapest humidity control you can install.
7. Right-size whole-space ventilation
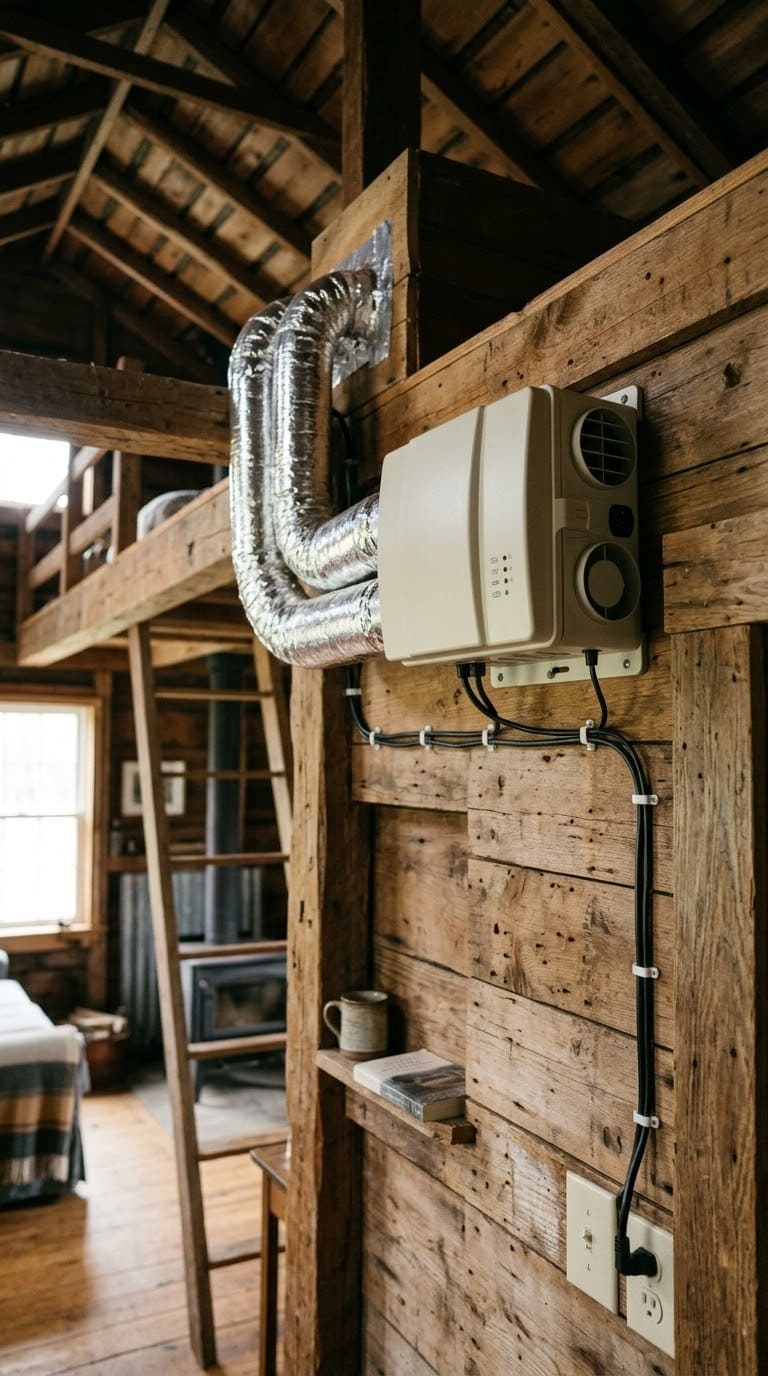
The Building America Solution Center summarizes the ASHRAE 62.2 standard this way. The whole-house rate is about 1 CFM per 100 square feet of floor area, plus 7.5 CFM per person. For a 300-square-foot cabin with two people, that is roughly 3 plus 15. So about 18 CFM.
That is a small number. Below 15 CFM, the standard does not require a mechanical system at all. A small energy recovery ventilator (ERV) is still a comfort upgrade. It brings in fresh air while it exhausts stale air, and it transfers heat between the two streams.
Quick tip: No room in the budget for an ERV? Crack a window on the sheltered side of the cabin. Run a small exhaust fan on the opposite side for 15 minutes, twice a day.
8. Hold indoor humidity between 30 and 50 percent
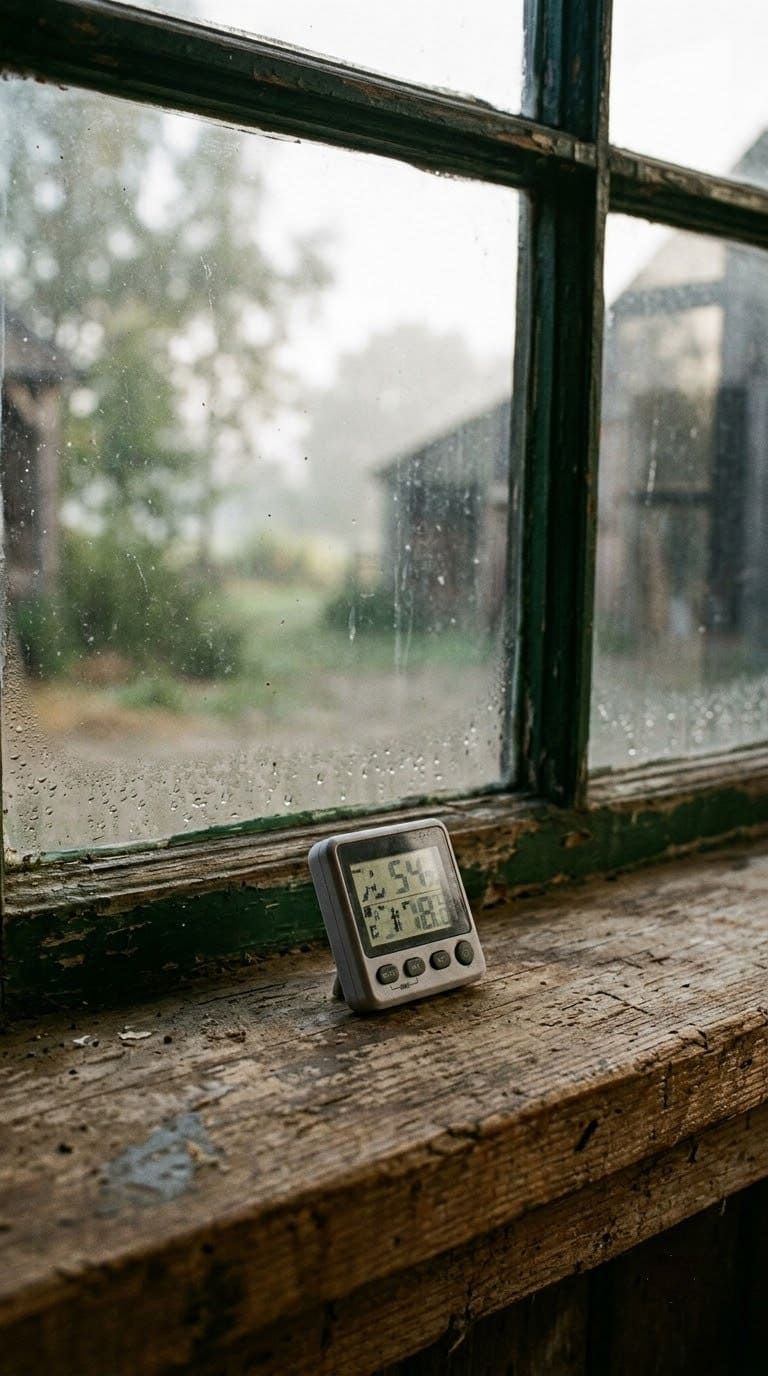
The first sign of poor ventilation is usually condensation on the windows in the morning. The second sign is a musty smell that lingers. The third sign is mold in the corners of the loft or behind furniture. The EPA links relative humidity above 60 percent to condensation and mold, and recommends keeping indoor air between 30 and 50 percent.
Quick tip: Keep a cheap hygrometer on the wall. Above 50 percent, add ventilation. Below 30 percent, a small humidifier or a kettle on the stove brings it back. Our guide to bringing down indoor humidity has more fixes.
Heating: match the source to how you live
Once your cabin is insulated and ventilated, heating gets much easier. You are not fighting heat loss and moisture at the same time. The right heat source depends on your climate, your budget, and whether you are on grid or off grid.
Which heating options fit a barn cabin?
| Option | Best for | Efficiency | Upfront cost | Watch-outs |
|---|---|---|---|---|
| Cold-climate mini-split heat pump | Grid-tied cabins, most climates | About 2.5x electric resistance. ENERGY STAR sets a COP of 1.75 at 5°F | Medium to high | Capacity drops in deep cold, so size it for your design temperature |
| Wood stove | Off-grid, cold climates, power outages | EPA-certified units cap at 2.0 g/h emissions and burn less wood | Medium, plus chimney and hearth | Needs clearances, a roof penetration, and dry firewood. Dries the air |
| Direct-vent propane heater | Off-grid or backup heat | Good, sealed combustion | Low to medium | Only a sealed direct-vent unit is safe indoors |
| Electric resistance (baseboard or panel) | Occasional-use cabins, backup | COP of 1.0, the baseline | Low | Cheapest to install, most expensive to run |
9. Start with a cold-climate mini-split heat pump
A cold-climate mini-split heat pump is the most efficient choice for most people. One indoor head can heat and cool a small cabin. Because it moves heat instead of making it, it uses far less electricity than resistance heat. The Building America Solution Center notes that cold-climate models hold usable output well below freezing.
Quick tip: Capacity still falls as it gets colder, so size the unit to your local design temperature, not to a mild average day. Learn how a heat pump works before you shop.
10. Use a wood stove sized to the space
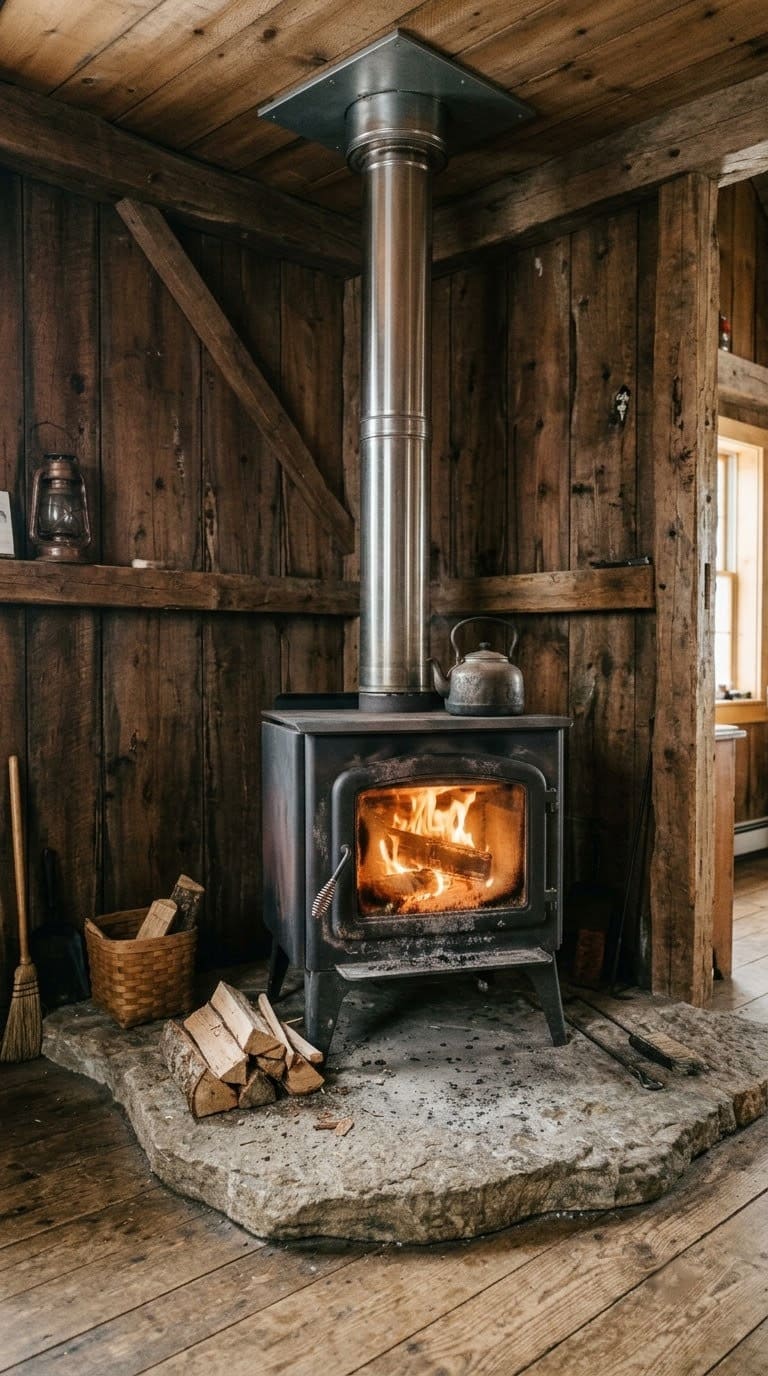
A wood stove is the romantic option, and it works beautifully in a small space. It also comes with serious tradeoffs. You need a proper hearth, a cleared clearance zone, and a chimney through the roof. That roof penetration is another potential leak point.
Quick tip: The EPA recommends matching stove size to the space. An oversized stove makes you burn it low and smoky, which fouls the glass and the flue. A small EPA-certified stove run hot is cleaner and safer.
11. Only run sealed direct-vent propane indoors
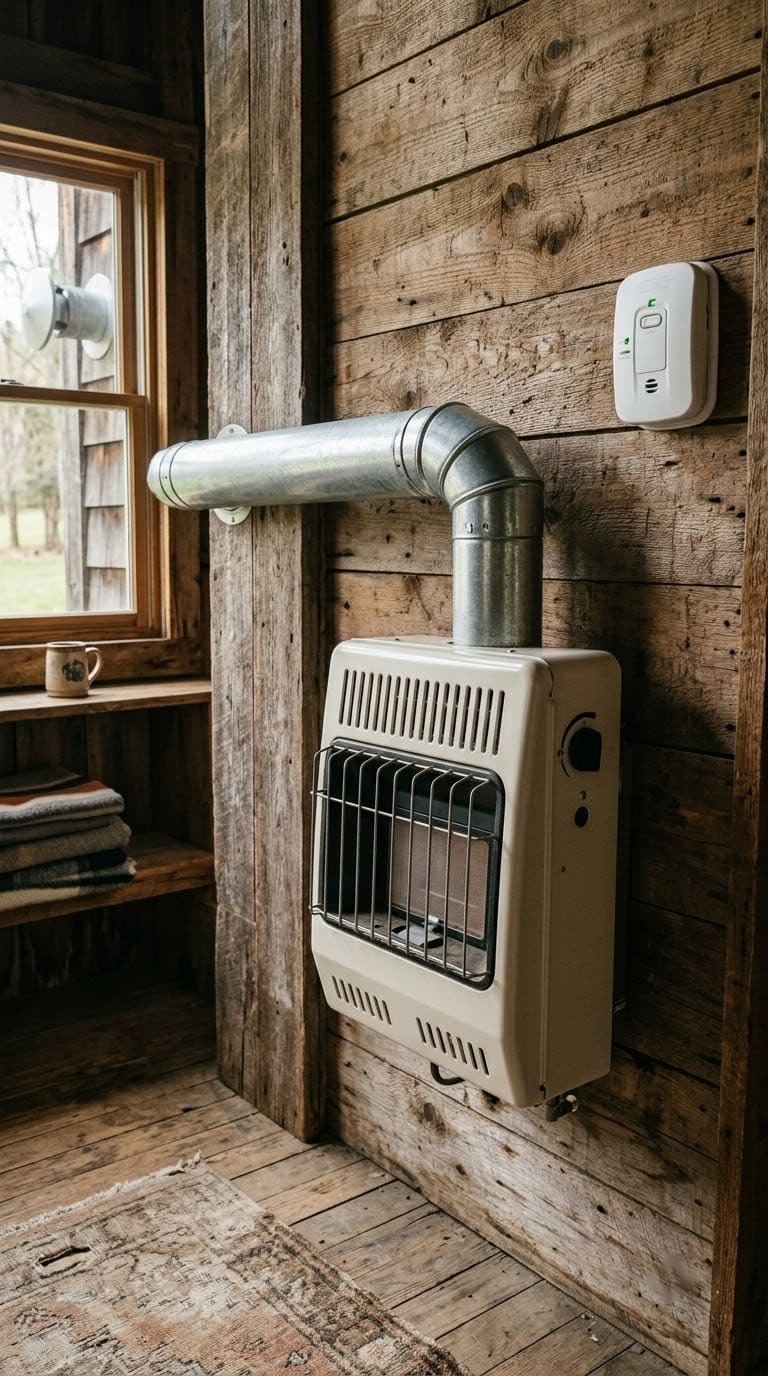
Propane heaters suit off-grid cabins and backup heat. The key word is vented. The Consumer Product Safety Commission notes that unvented gas heaters release moisture and combustion gases straight into the room. In a tight space that is a safety and air-quality problem.
Quick tip: A direct-vent unit pulls combustion air from outside and sends exhaust outside. That is the only safe way to run propane heat indoors. Add a carbon monoxide alarm no matter which fuel you choose.
12. Keep electric resistance heat as backup only
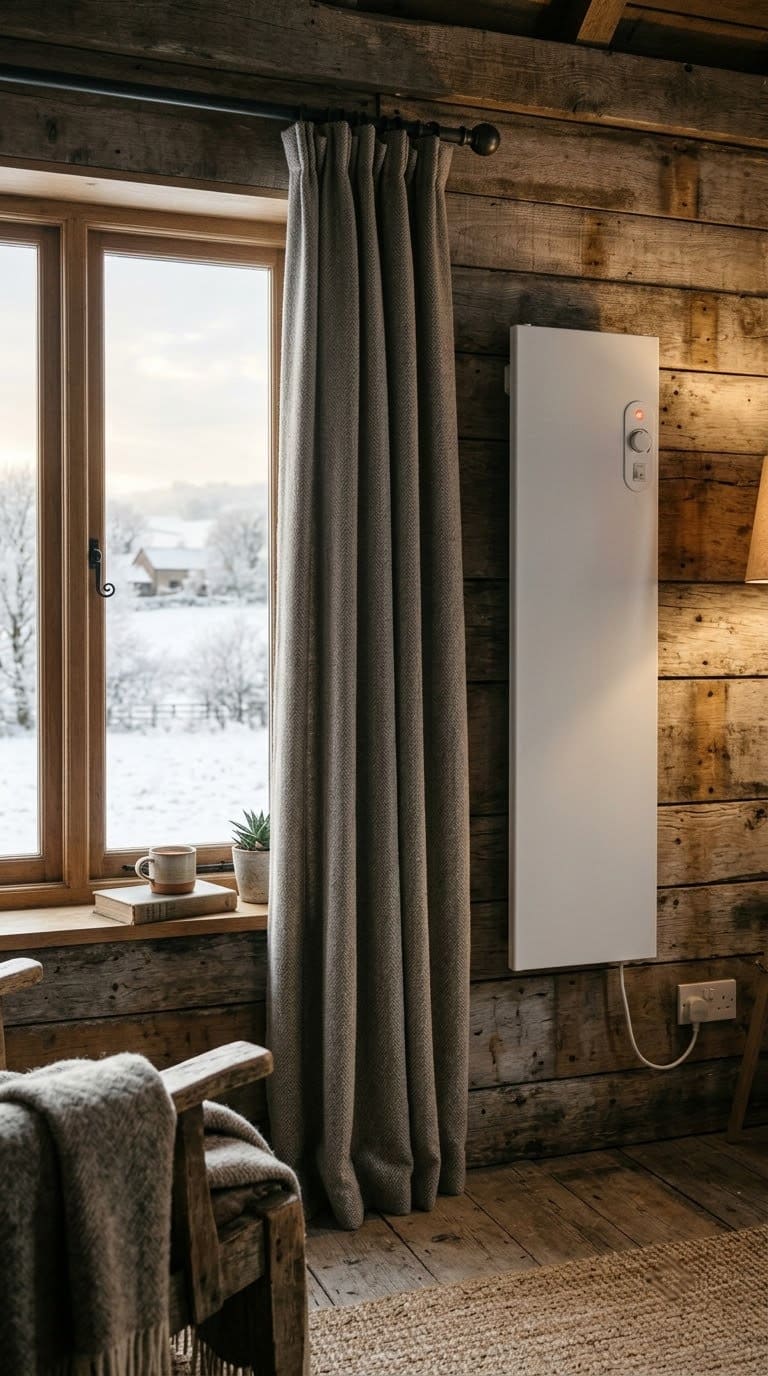
Electric resistance heat, like baseboards or a panel heater, is the simplest and cheapest to install. It is also the most expensive to run, because its COP is 1.0. It makes sense as backup, or for a cabin used only now and then and warmed up on demand.
Quick tip: In very cold zones, keep a small backup for the coldest nights and for outages. A direct-vent propane heater or an electric panel works. For a barn or outbuilding, see choosing a heater for a barn.
A few finishing details
Use thermal curtains on every window and on the loft opening. In a small space, windows are a major source of heat loss at night and heat gain during the day. Curtains that close fully cost very little, and they outperform most upgrades.
Air-seal again after the trades finish. Plumbers and electricians open new holes. Walk the cabin one more time with foam and caulk before you close the walls. Our steps to insulate a home for energy efficiency checklist helps here.
The bottom line
A deluxe lofted barn cabin can absolutely work as a year-round tiny home. It only works if you treat the shell, the air, and the heat as one connected system. Insulate the walls, the floor, and the roof with materials sized for your climate zone. Vent the space so moisture cannot build up and quietly cause damage. Choose a heat source that fits how you actually use the cabin, not the one that looks best in photos.
Do those three things and you get a small space that stays comfortable, stays dry, and stays cheap to run through every season. The upfront work is not glamorous. It is the difference between a cabin you love and one you abandon by February.
Frequently asked questions
How much does it cost to insulate a barn cabin for year-round use? It depends on size and material. Fiberglass or mineral wool batts for a 12×24 cabin often run a few hundred to about a thousand dollars in materials for a DIY job. Closed-cell spray foam for the same cabin usually runs several thousand dollars installed, because it needs a pro crew.
What R-value do I need in a lofted barn cabin ceiling? Follow ENERGY STAR climate-zone targets. That is about R-30 to R-49 in warm zones and up to R-60 in cold zones. Because the roof loses the most heat, keep the ceiling R-value higher than the walls.
Can I heat a tiny cabin with just a mini-split? In most climates, yes. A single cold-climate mini-split head can cover a well-insulated cabin under 400 square feet. In very cold zones, keep a small backup like a direct-vent propane heater or an electric panel for the coldest nights and for power outages.
Do I need an ERV in a tiny house? Not always. Under the ASHRAE 62.2 math, a small cabin with one or two people may fall below the 15 CFM threshold that triggers a mechanical system. Spot fans plus a daily cross-vent can be enough, though an ERV adds comfort and steadier air quality.
Why is my new cabin getting condensation on the windows? Condensation means the indoor air holds more moisture than the cold surfaces can handle. Run your kitchen and bath exhaust fans, cut back on unvented moisture sources, and check that humidity sits between 30 and 50 percent. Persistent condensation points to weak ventilation.
Is an unvented propane heater ever safe in a cabin? Treat it as no. The CPSC ties unvented gas heaters to carbon monoxide risk and indoor moisture. Use a sealed direct-vent unit that draws combustion air from outside and exhausts outside.
Related Posts
- Sustainable Materials for Tiny Houses
- Tiny House Kitchen Ideas
- How to Design the Perfect Barn Shed for Your Property
Products We Recommend
This post contains affiliate links. We may earn a commission on qualifying purchases at no extra cost to you.
Great Stuff Gaps & Cracks Insulating Foam Sealant, 12 oz
Low-expansion polyurethane foam for air-sealing the sill plate, wiring, and plumbing penetrations before you insulate.
Shop Now
TempPro TP50 Digital Hygrometer
Compact indoor thermometer and humidity gauge so you can keep the cabin in the 30 to 50 percent range the EPA recommends.
Shop Now
NICETOWN Thermal Insulated Blackout Curtains (2 panels)
Grommet-top thermal drapes that cut night heat loss and summer heat gain at the windows and the loft opening.
Shop NowNever miss an update — choose FarmFoodFamily as your preferred source on Google.
How it works: Tap the button below to open Google's settings page, then check the box next to FarmFoodFamily.
Tap the checkbox to turn it blue — that's how you know it's set.