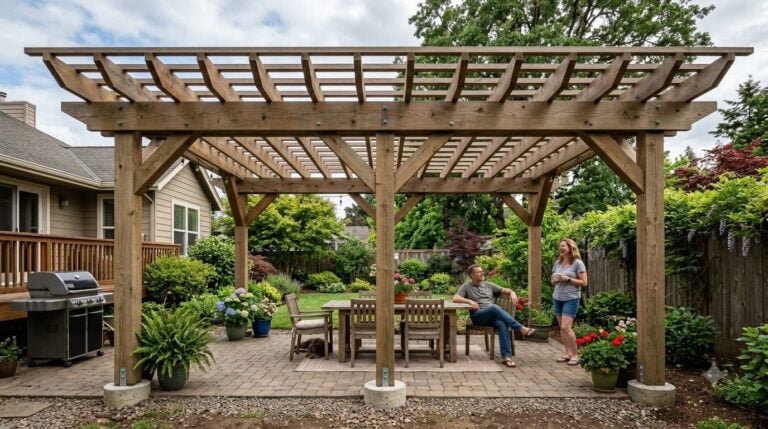
8 Clever Signs Your Patio Needs Regrouting Before Winter
Refilling patio joints in the fall closes the gap that freeze-thaw pries open all winter, as long as you catch it before overnight lows hit freezing and the repair products stop curing.

Never miss an update — choose FarmFoodFamily as your preferred source on Google.
How it works: Tap the button below to open Google’s settings page, then check the box next to FarmFoodFamily.
Tap the checkbox to turn it blue — that’s how you know it’s set.
“Regrouting a patio” sounds like one job. It’s really three, and which one you need depends on how your patio was built.
A sand-set paver or brick patio has joints filled with plain sand. A newer paver patio might have polymeric sand, which hardens into a firm joint.
A flagstone or slab patio usually has mortar packed between the stones. Each one fails in its own way, and each one has a different fix.
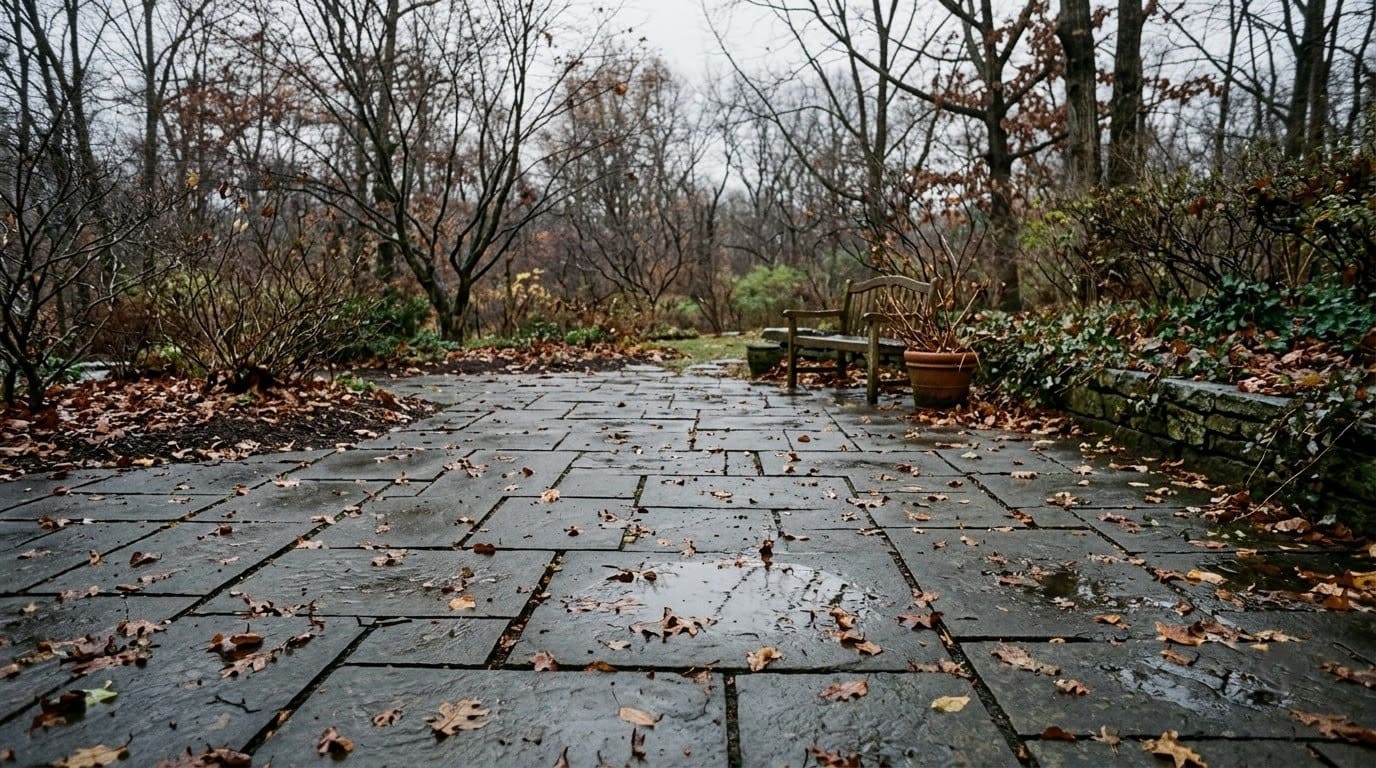
Winter is the deadline for all three. Water works its way into a loose or open joint, freezes, and expands about 9 percent. That pressure lifts pavers, widens the gap, and chips the face off mortar.
Every warm-day, cold-night cycle repeats the movement. An empty joint you shrug at in October can be a shifted, weedy, tripping-hazard section by March.
Here is how to tell if yours needs attention now, sorted by what you’ll actually see when you walk out there and look.


Answer 4 quick questions and get matched to the exact fix for your yard — drainage, budget, layout, or something else entirely.
Take the Free Quiz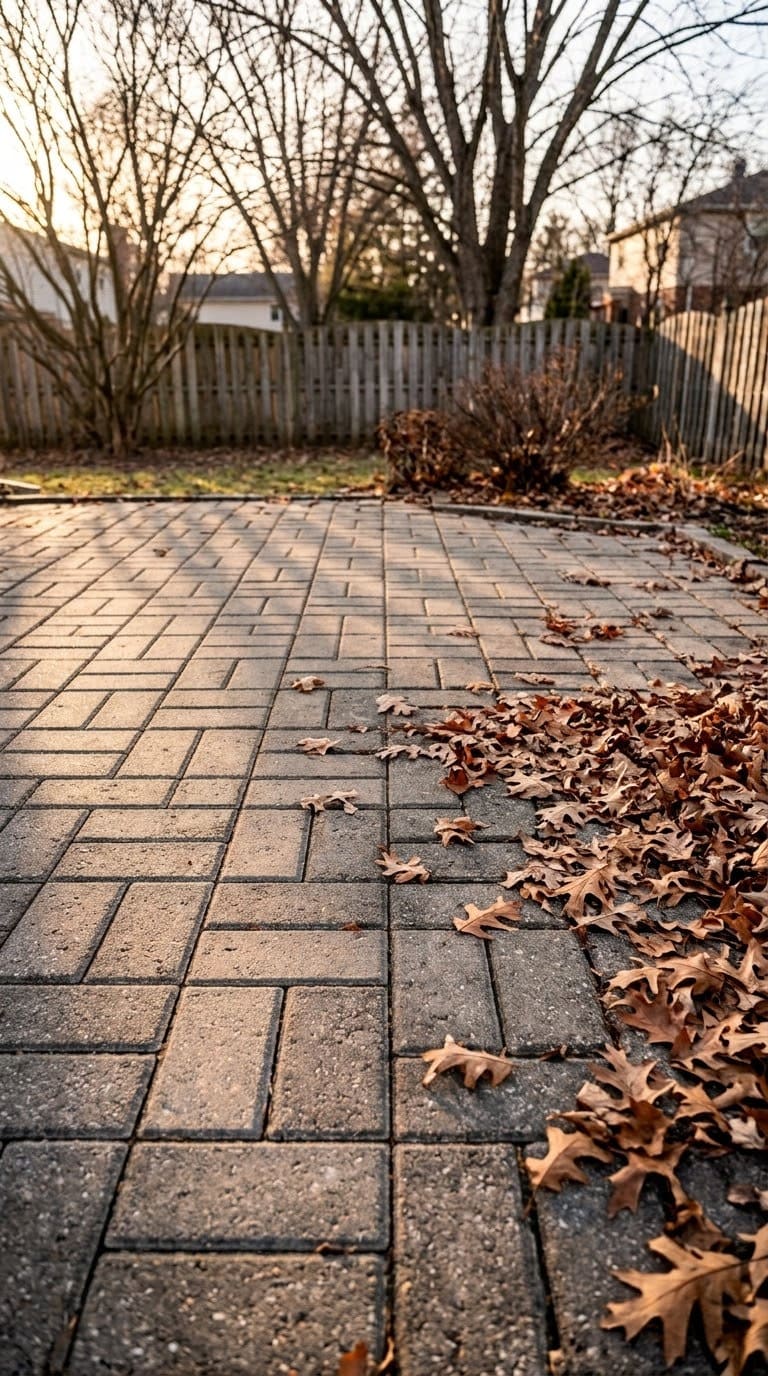
Quick Answer
Refill patio joints before winter when the sand has dropped more than half an inch below the paver surface, when you can rake loose material out of a joint with a screwdriver, or when any paver rocks under your foot. The Concrete Masonry & Hardscapes Association uses that half-inch drop as the point to top up joint sand on interlocking pavement. Below that line, the joint stops holding neighboring pavers in place, so water pools in the low spot instead of draining, then freezes and spreads the pavers apart.
A joint that is slightly low but still firm can wait until spring. A joint that is open to the base, or sits next to a paver that moves, cannot. That combination lets meltwater reach the bedding layer, and freeze-thaw does the rest over the winter.
Fix those joints during a dry fall stretch, before nighttime temperatures drop to freezing and joint products stop setting.
Which patio do you have?
The signs below apply differently depending on your joint type, so figure out which row you’re in first.
| Patio type | What’s in the joint | How it fails | The fix | DIY or pro |
|---|---|---|---|---|
| Sand-set concrete pavers or brick | Plain masonry sand | Washes and blows out, especially at edges and downspouts | Sweep in fresh dry masonry sand, mist, repeat yearly or add a stabilizer | DIY, one afternoon |
| Polymeric-sand pavers | Sand plus a binder that hardens | Cracks, hazes, or turns back to loose sand when installed wrong or over a wet base | Remove the failed sand, diagnose the base, reinstall poly sand in a dry window | DIY if the base is sound, pro if pavers move |
| Mortar-pointed flagstone or slab | Cement mortar | Cracks, crumbles, sounds hollow, pops out in chunks | Rake out the bad joint to 1 inch, repoint with a softer mortar mix | DIY on small areas, pro for widespread cracking |
If your pavers are moving as a group, or one part of the patio has sunk near a downspout, that is a base or edge-restraint problem, not a joint problem. Refilling the joints over a failed base just fails again by spring. Have a hardscape contractor look before you buy a single bag of sand.
One patio type is exempt from all of this. A poured concrete slab with a stamped pattern pressed into it has no real joints, just tooled control lines, so if that’s what you have, you’re looking at crack sealing rather than regrouting.
1. The joint sand has dropped more than half an inch below the paver surface
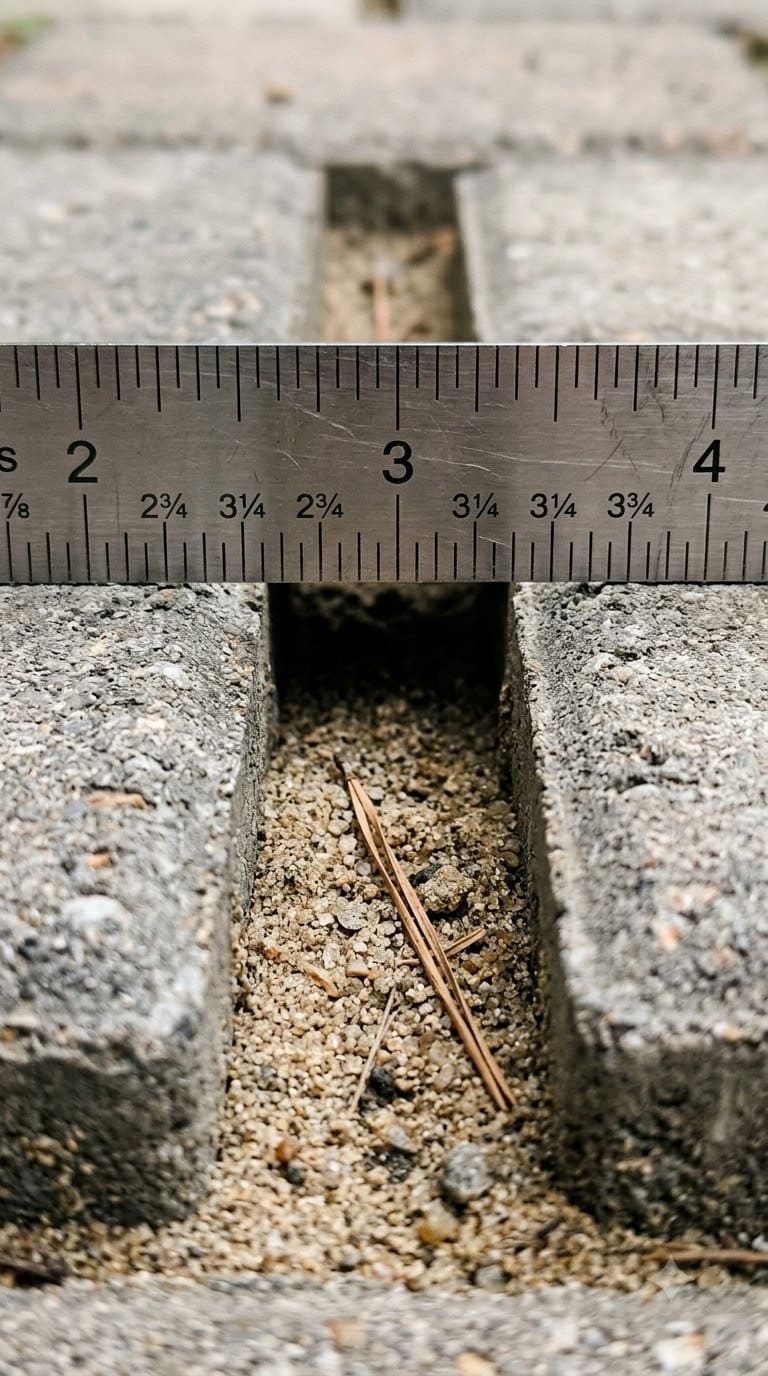
Lay a straightedge across two pavers and look at the gap underneath in the joint. On a healthy sand-set patio the sand sits close to the surface, maybe an eighth of an inch down. Once it drops more than half an inch, the joint has lost enough material to stop doing its job.
Most yard problems trace back to one specific, fixable cause. Find yours in 4 quick questions.
Take the Free Quiz
Sand-plus-binder joint sand for concrete paver and stone joints from 1/8 inch up to 4 inches wide, for a firm joint that resists washout once it cures in a dry 50 to 85 degree window
Shop NowThis post contains affiliate links. We may earn a commission on qualifying purchases at no extra cost to you.
Low joints turn into little channels. Rain runs along them instead of soaking evenly into the base, and it collects in the lowest ones. Come the first freeze, that trapped water expands and starts pushing pavers apart from below.
Quick tip: Check the joints along the patio edge and below any downspout first. Those lose sand fastest because that’s where runoff concentrates. If the perimeter joints are fine, the field joints usually are too.
2. You can dig loose sand or crumbling mortar out of a joint with a screwdriver
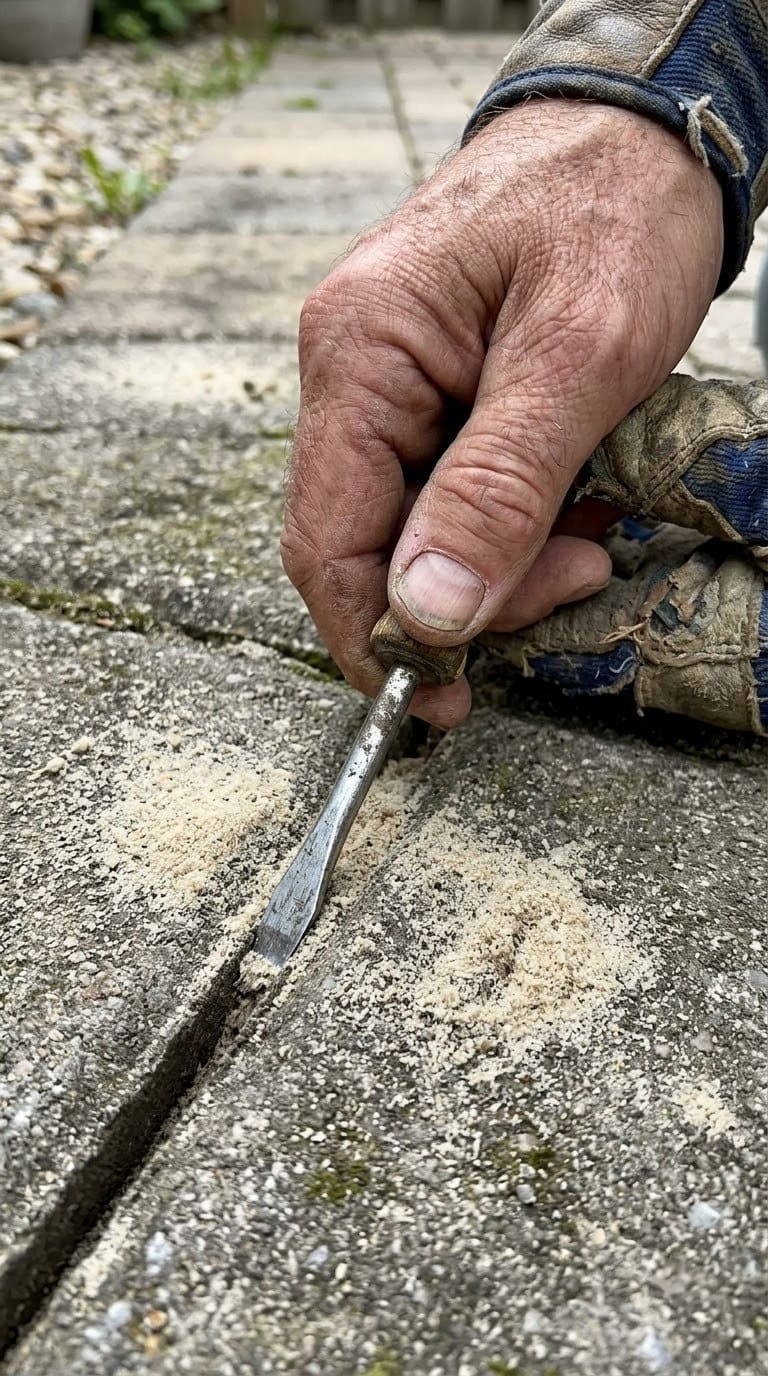
Run a flathead screwdriver down a few joints. On a sand-set patio that’s been rained on for a season, the top layer is often loose while the sand deeper down is still packed. That’s normal, and a quick sweep-in fixes it.
What’s not normal: the screwdriver goes down an inch or more and keeps pulling out loose material, or on a mortar patio it flakes the joint apart with almost no pressure. That joint is open most of the way to the bedding layer. Water has a clear path in.
Quick tip: Polymeric sand should feel firm, like soft rock, not gritty. If a poly-sand joint has gone back to loose sand you can dig out, the binder never cured. That’s usually a watering mistake or a damp base, and just adding more poly sand on top won’t hold either.
3. A paver rocks, clicks, or tips when you step on the edge
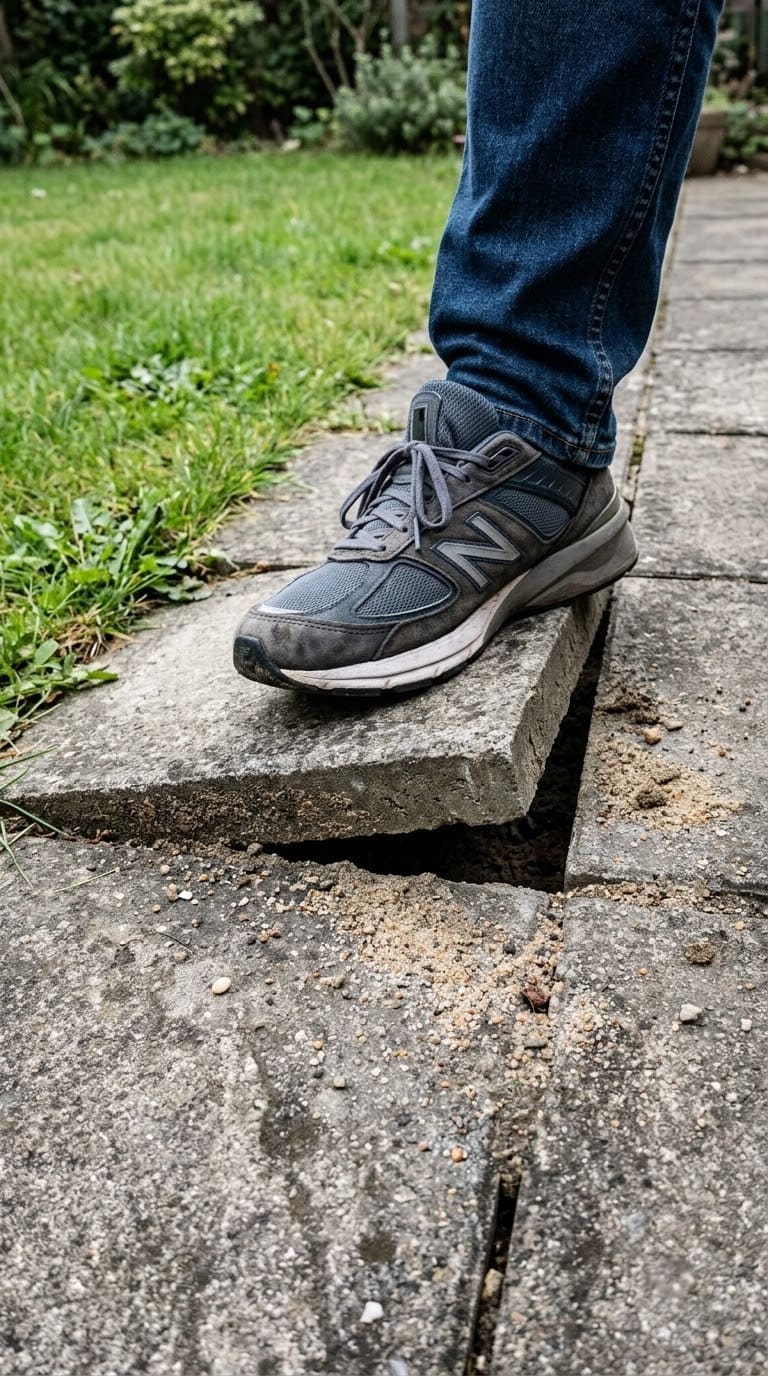
Walk the whole patio slowly and put your weight on the edge of each paver, especially near the perimeter, steps, and any spot that feels uneven. A paver that rocks, clicks, or drops under your foot has lost the joint support on at least one side.
This one matters more than low sand on its own. A moving paver grinds its neighbors, opens the joint wider with every step, and channels water straight down to the base. Freeze-thaw then has room to lift and spread that whole area.
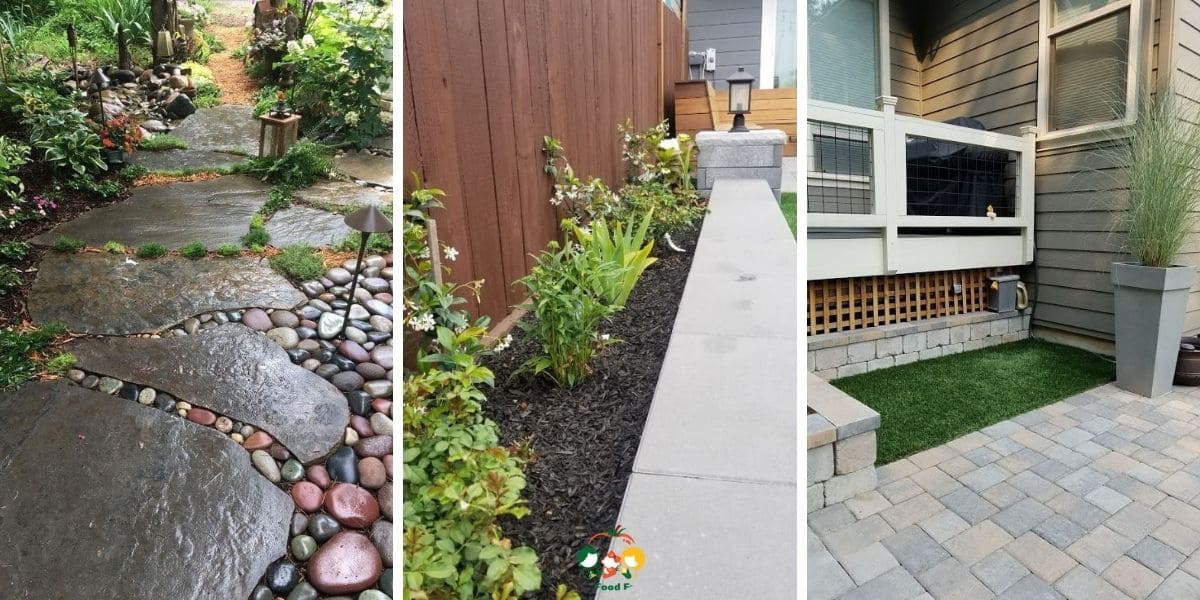
Quick tip: One or two loose pavers at the edge often means the edge restraint has shifted. Fix or replace the restraint, reset those pavers on fresh bedding sand, then re-sand the joints. Do it in that order, because new joint sand around a loose paver just washes right back out. It’s the same logic that keeps a narrow stone path from spreading apart underfoot over a few seasons.

4. Weeds, moss, or grass are growing up through the joints
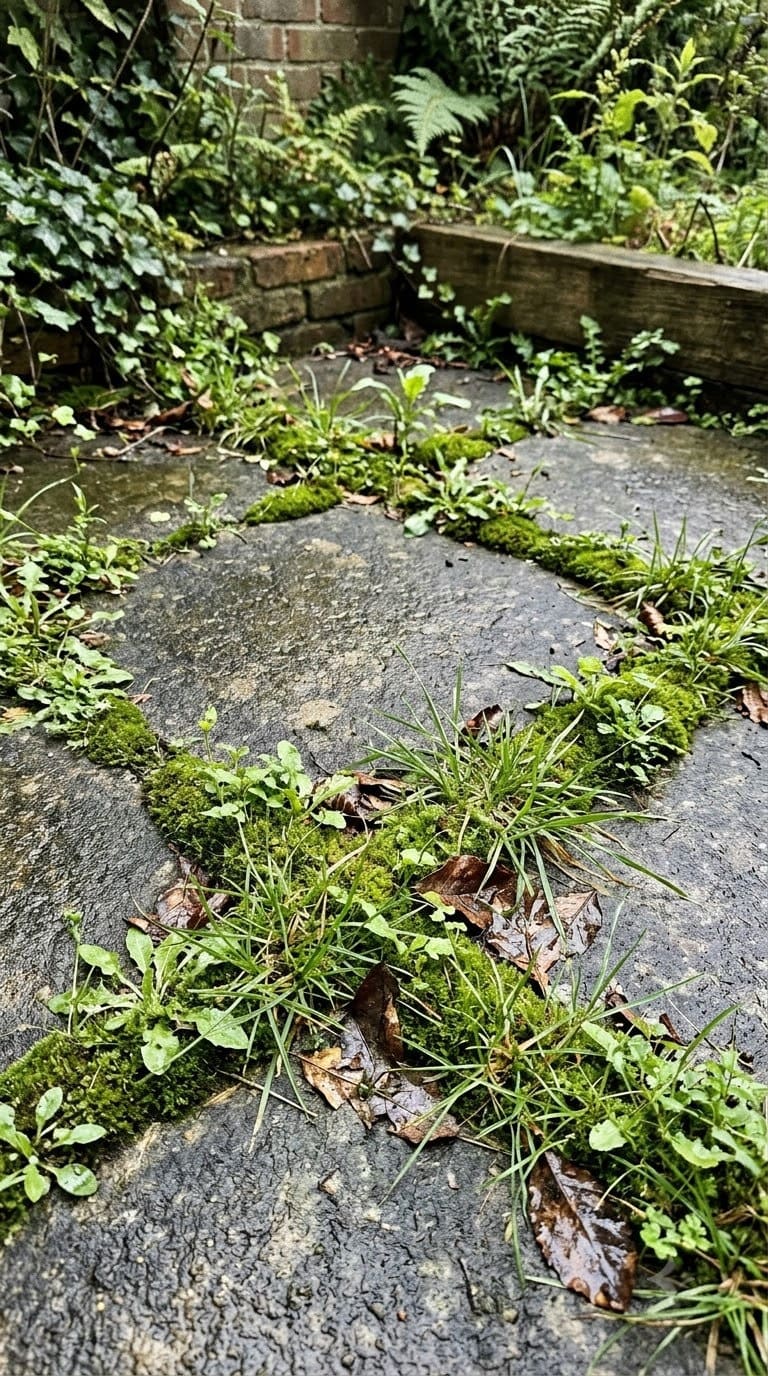
Green growth in the joints is one of the four repointing signs Gary Duffy of Joint-It points to, and it works as a tell for every patio type. Weeds root in the debris that fills a low joint. Moss shows up where a joint stays damp because water sits in it instead of draining.
The average homeowner spends $616/year on yard fixes that don't address the real problem. Find out what yours actually is — before you spend another dollar.
Take the Free QuizThe plants themselves aren’t the structural problem. They’re the symptom.
A full, firm joint that sheds water has nowhere for a seed to catch. A low, damp, debris-packed joint is a planter.
Quick tip: Pull or burn off the growth, then actually clear the joint out and refill it. Spraying weed killer and walking away leaves the low joint that grew them, and it’ll be green again by summer. Moss also makes pavers slick, which is its own hazard once frost arrives.
If your patio is really loose stone over a gravel and sand base rather than a solid paver field, weeds are almost a given, and the fix there is landscape fabric under the surface, not joint sand on top.
5. Water sits on the surface or pours into the joints instead of sheeting off
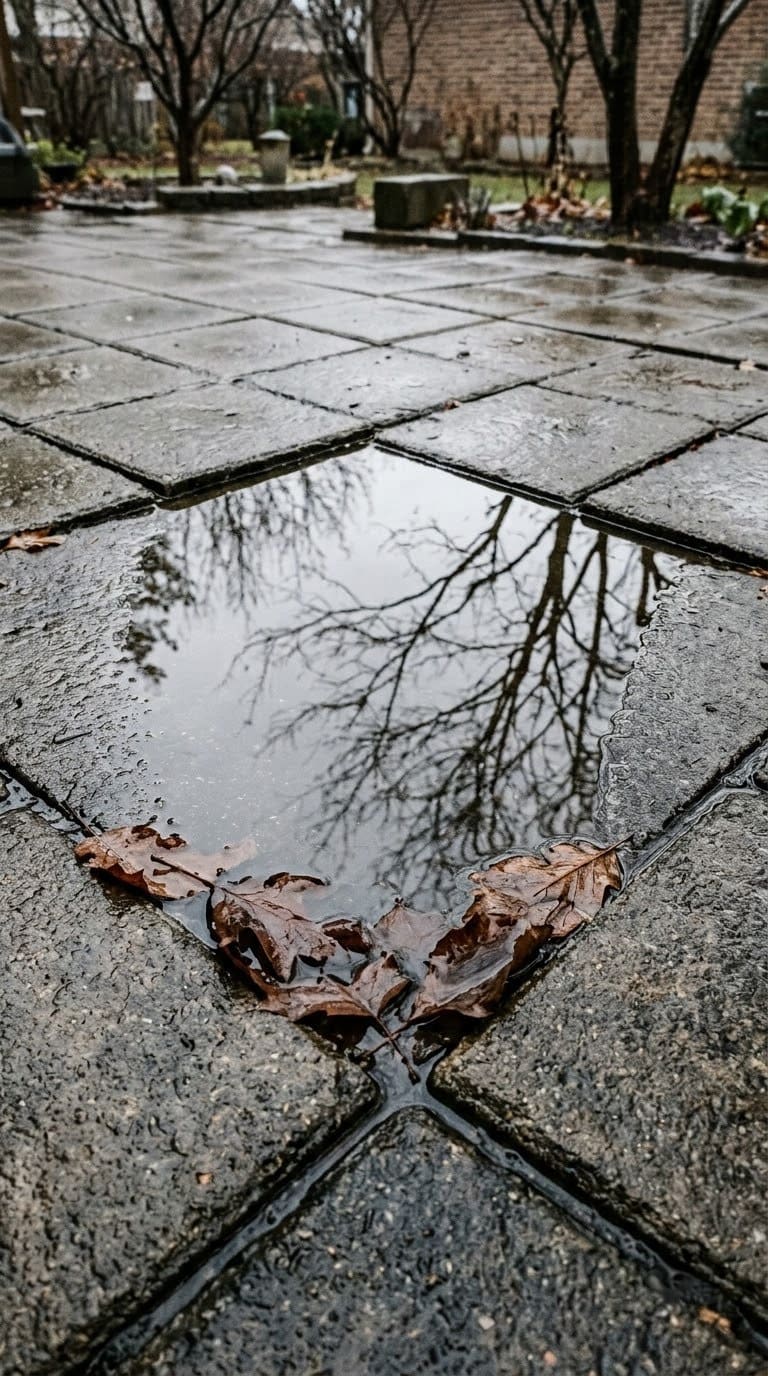
Watch the patio during a rain, or hose it down and watch. A patio in good shape sheds water across the surface toward its low edge, with only a little soaking into the joints. Warning signs: puddles that sit for more than an hour, or water visibly running into the joints and disappearing.
Pooling after rain is another sign on Joint-It’s list, and the reason it’s urgent before winter is simple. Standing water plus a freeze equals ice expansion right at the joint. Water that drains into open joints saturates the bedding layer, which then heaves when it freezes.
Quick tip: A patio that has started holding water in the middle, away from the edges, may have a settled base rather than just low joints. Refilling sand won’t relevel it. That’s a lifting-and-relaying job, and it’s worth a contractor’s opinion before winter makes the low spot worse. If it comes to a full rebuild, note that a ground-level patio poured or laid on grade tends to shift less than one raised up on a wall.
6. Fans of washed-out sand, or sand piled on the pavers, after a hard rain
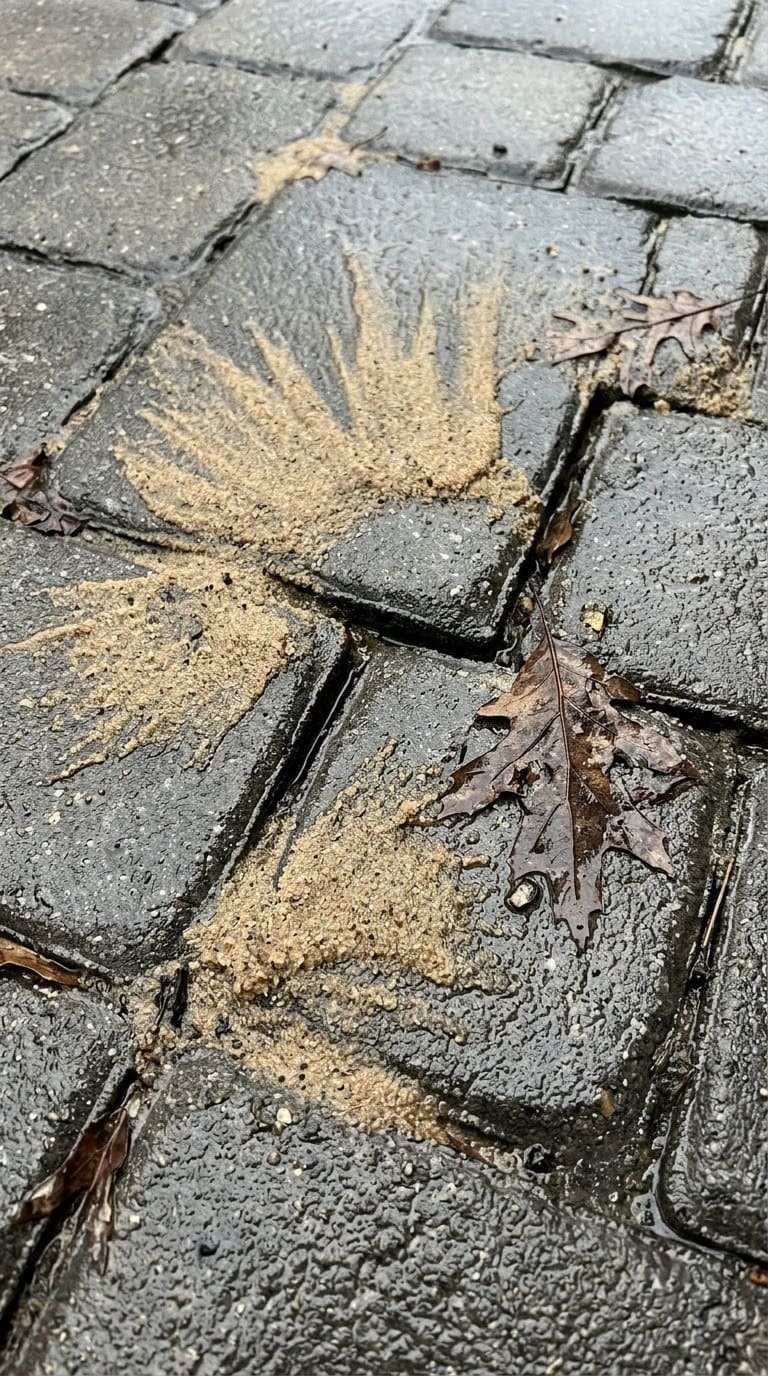
After a heavy rain, look for little fan-shaped deposits of sand on the paver faces, or a line of sand washed toward the patio’s edge. That sand came out of the joints. On a sloped patio you’ll sometimes see the uphill joints emptying while sand collects against the downhill pavers.
Every rain that moves sand out of a joint lowers it a little more. By late fall a joint that was full in spring can be down the half inch from sign 1, right as the freeze-thaw season starts.
Quick tip: Repeated washout in the same joints usually means water is being dumped there, from a downspout, a grading issue, or an AC condensate line. Redirect the water first. New sand in that joint without fixing the source is a yearly chore forever.
7. Cracked, hollow-sounding, or missing mortar in a flagstone or slab patio
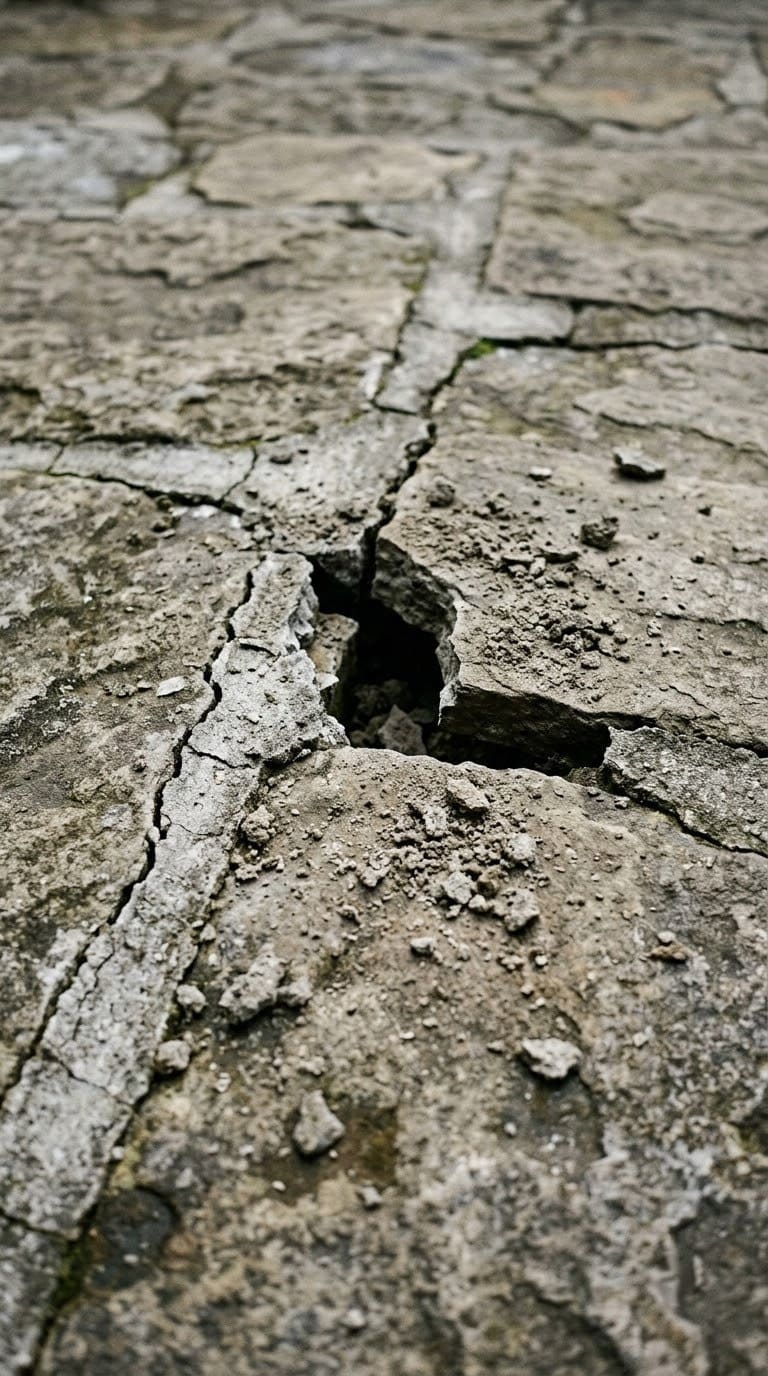
For mortar-pointed patios, tap along the joints with the handle of a screwdriver or a small hammer. Solid mortar gives a sharp tap. A dull, hollow sound means the mortar has separated from the stone underneath, even if the surface still looks intact.
Add in any visible hairline cracks, crumbling edges, or spots where a chunk has already popped out.
Cracked mortar is a direct freeze-thaw entry point. Water gets behind the joint, freezes, and levers more mortar loose. One winter turns a hairline crack into a missing section.
Quick tip: When you repoint, resist the urge to mix the mortar rich and hard. Maryland mason Richard T. Kreh Sr., writing in Fine Homebuilding, makes the counterintuitive point that a harder, richer mortar is worse in a patio joint, not better.
His mix is roughly 1 part portland cement, 2 parts hydrated lime, and 8 parts masonry sand. The lime keeps the joint soft enough to flex with the stone through freeze-thaw instead of cracking. Rake the old joint out to about 1 inch deep, dampen it, then pack the new mortar in.
8. One paver or stone sits more than about 1/8 inch proud of its neighbors
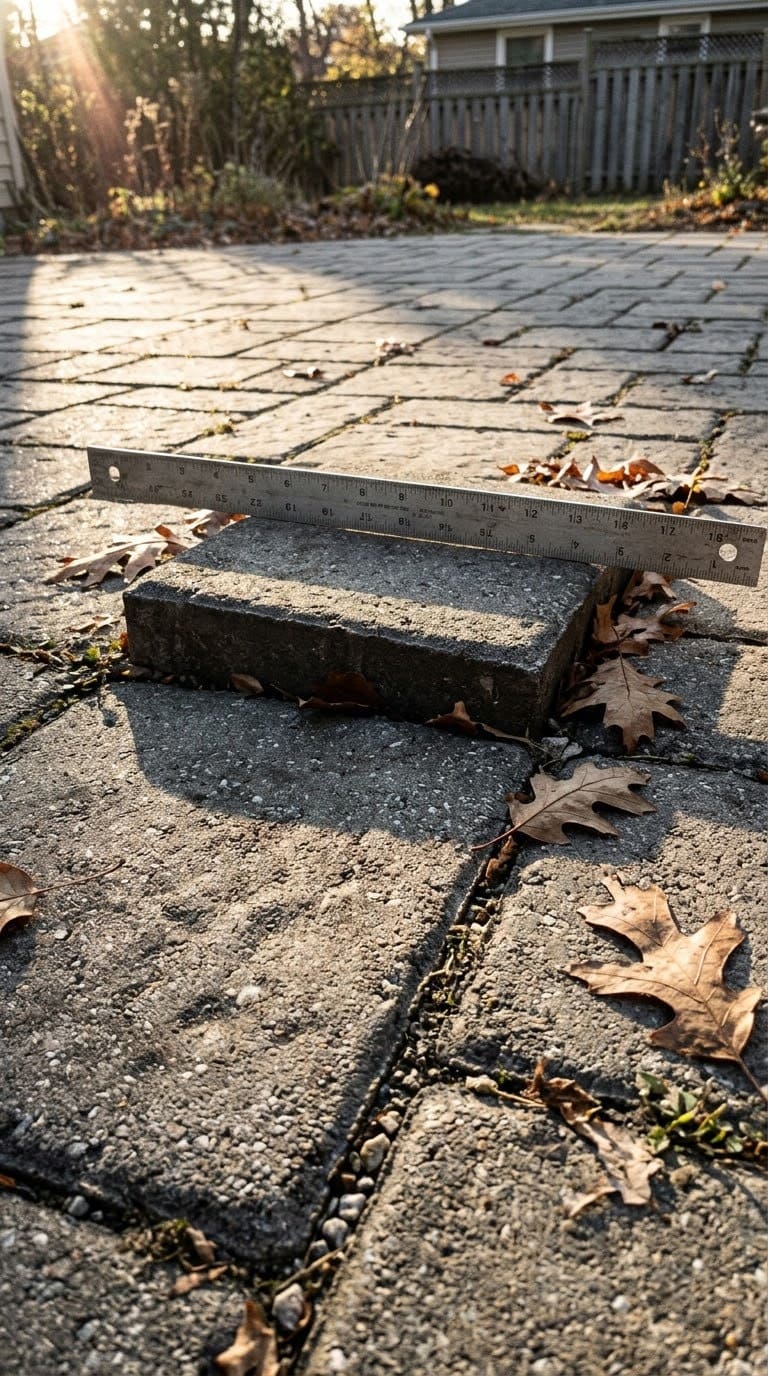
Run your foot or a straightedge across the patio and feel for edges that catch. When one paver or stone sits higher than the ones around it, that’s called lippage, and it means something under that paver has moved. Often it’s early frost heave from water that got in through a bad joint last winter.
CMHA’s maintenance guide says units with lippage greater than one eighth of an inch should be reset before winter. Left alone, the raised edge catches more runoff, holds more water against the joint, and heaves further with each freeze. It’s also the classic patio stubbed toe.
Quick tip: Reset a heaved paver now while the ground is still workable. Pull it, scrape the bedding layer flat, check that the joint sand around the gap is full, and tap the paver back level. Once the ground freezes, you’re waiting until spring and living with the trip hazard through the ice season.
Should you fix it now or wait for spring?
If the only issue is slightly low but firm joints, waiting for spring is fine. Sweep in sand then, when you’re not fighting the weather.
If you have open joints, moving pavers, cracked mortar, or lippage, the damage compounds all winter, so the sooner the better. But the repair products themselves set the real cutoff.
Polymeric sand needs a specific window. According to installation guidance based on Techniseal’s specs, you want air and surface temperatures between 50 and 85 degrees, nothing below freezing for 48 to 72 hours after, and no rain in that same window.
RCP Block & Brick puts the hard minimum at 32 degrees. And the sand keeps curing for about 30 days after that. A late-October install that gets rained on or frosted overnight can wash out or stay soft.
Mortar has the same problem. It needs to stay above freezing while it cures, and Kreh’s method calls for about a week before you even wash the joints. If your overnight lows are already flirting with 32 degrees, a plain dry-masonry-sand refill or a temporary patch is the safer fall move, with the real polymeric or mortar work done in spring.
Plain dry masonry sand has no temperature floor to worry about. That’s the fallback when the calendar has run out.
How to re-sand a sand-set patio
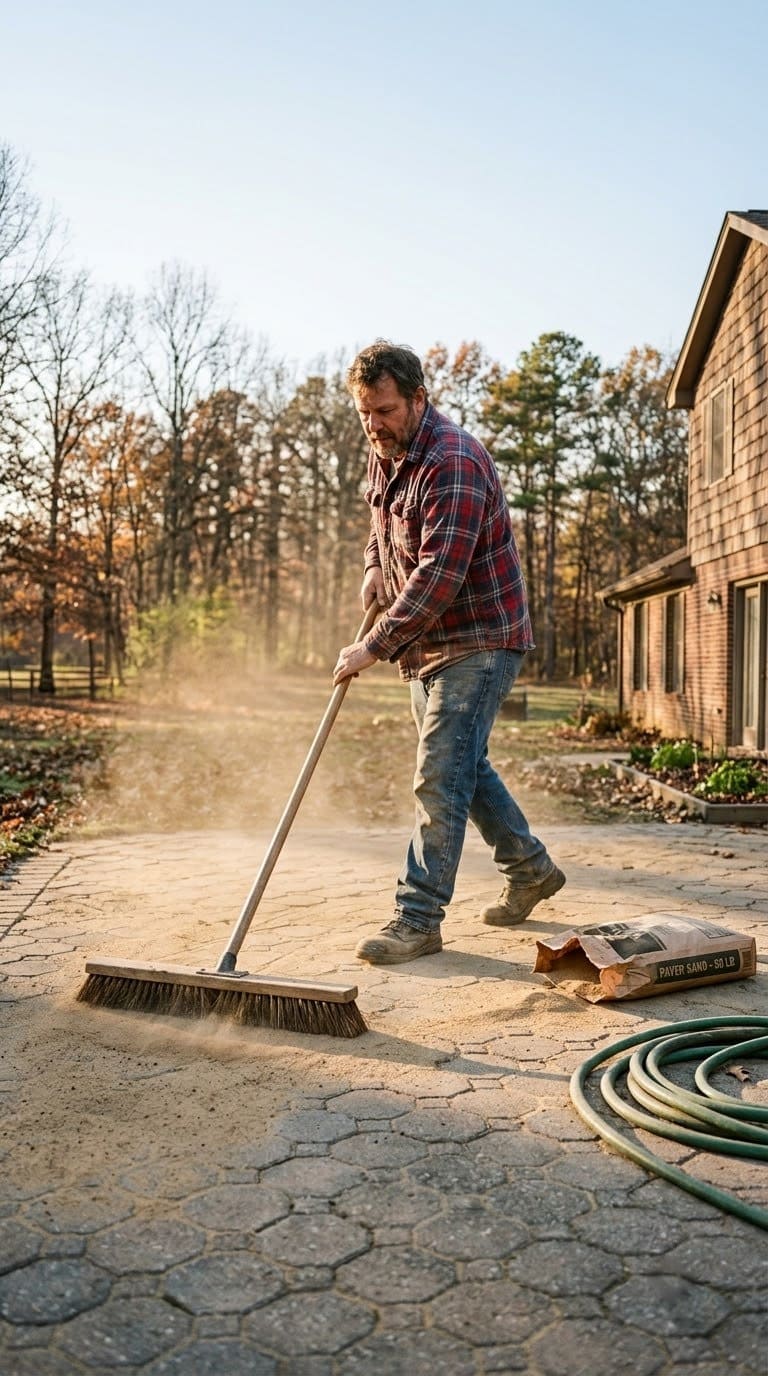
This is the DIY case, and on a small patio it’s an afternoon.
Wait for a stretch of dry days. Sweep the whole patio clean, then use a leaf blower on low or a stiff broom to pull the loose top layer of old sand out of the joints. You want to get down to firm sand.
Pour dry masonry sand across the surface and sweep it diagonally into the joints until they’re full to about an eighth of an inch below the paver chamfer. CMHA specifically recommends plain dry masonry sand for topping up, not polymeric, because poly sand doesn’t bond well to old sand already in the joint.
Tamp the pavers with a hand tamper or a plate compactor if you have one, which settles the sand. Sweep in another pass to top off.
Then mist the whole thing lightly to help the sand knit. Sweep off the excess before it dries on the paver faces.
If you’re tired of doing this every year, that’s the signal to either apply a joint sand stabilizer over the fresh sand, or strip the joints properly and switch to polymeric during a good weather window next spring. The same firm-joint standard applies to anything built from pavers, including a fire pit ring set into the patio, where a loose joint at the base is more than cosmetic.
What we learned the hard way
A few things that only became obvious after getting them wrong.
Re-sanding every single year is not normal, and more sand isn’t the answer. If the same joints empty out every spring, water is being aimed at them.
We chased a downspout splash-back problem for two seasons before adding a short extension actually fixed it. The joints have held since. Getting the water routed away is the same first move that protects any hard surface near the house, poured or paved.
Polymeric haze is real and it’s avoidable. The first poly-sand job we did left a cloudy film on the paver faces that took a pressure washer and a lot of regret to remove.
The cause was sweeping on a humid morning with dust still on the pavers, then watering too aggressively. Blow the surface truly clean first, work when it’s dry, and water in a gentle shower, not a blast.
A rocking paver is not a sand problem. We topped off the joints around a wobbly paver near the steps three times before accepting that the edge restraint behind it had shifted. Once we reset the restraint and the paver, the joint stayed full on the first try.
And the fall cold snap will catch you. One year an early frost hit about 40 hours after a polymeric sand install, and half those joints never fully hardened.
They had to be redone in spring. Now anything involving a binder waits for a genuinely mild week, or waits until then.
Frequently asked questions
Can I use polymeric sand to top up joints that already have sand in them? It’s not recommended. CMHA’s guide says to top up with plain dry masonry sand, because polymeric sand needs to fill the joint from the bottom and bond as one mass.
Poured over old sand, it tends to sit shallow and crack. To switch to polymeric, you have to remove the existing sand down to the bedding layer first.
Is it too late to fix patio joints once it has frozen a few times? For a full polymeric or mortar repair, usually yes, because they won’t cure properly in the cold. You can still sweep in plain dry masonry sand as a stopgap at any temperature, which at least fills the gap and slows water entry. Plan the permanent fix for spring.
How often should patio joint sand be replaced? Plain masonry sand often needs a top-up every year or two, more if runoff hits the patio. Polymeric sand installed correctly can last several years without attention. CMHA recommends a full patio check twice a year, once in spring and once in late summer or early fall.
Sand, polymeric, or mortar for a cold climate? Polymeric sand is the usual choice for concrete pavers in freeze-thaw regions because it locks the joints and resists washout, as long as it’s installed in the right weather window. Mortar suits flagstone and slab patios but only with a lime-softened mix that can flex. Plain sand is the cheapest and easiest to redo, but it’s also the one that washes out fastest.
Does sealing a patio help the joints? A joint sand stabilizer or a paver sealer that soaks into the joints reduces washout and water intrusion, which CMHA notes is worth doing in high-traffic or high-runoff areas. It’s an add-on after the joints are full and firm, not a fix for joints that are already low or failed.
Can I repoint a flagstone patio myself? On a small area with a few cracked joints, yes. Rake the bad joints out to about an inch, mix a soft mortar along the lines Kreh describes, dampen the joint, and pack it in. Widespread cracking, or mortar that’s failing over most of the patio, is a job for a mason, and it often points to a base or slab problem underneath.
Related Posts
Products We Recommend
This post contains affiliate links. We may earn a commission on qualifying purchases at no extra cost to you.
DOMINATOR Polymeric Sand (10 lb, Camel Brown)
Sand-plus-binder joint sand for concrete paver and stone joints from 1/8 inch up to 4 inches wide, for a firm joint that resists washout once it cures in a dry 50 to 85 degree window
Shop Now
24-inch Outdoor Push Broom (2-Pack)
Wide stiff-bristle push broom for sweeping joint sand in on the diagonal and clearing the paver faces before you water
Shop Now
8" x 8" Steel Hand Tamper, 48-inch Handle
Hand compactor for settling fresh joint sand and tapping a reset paver back level with its neighbors
Shop NowNever miss an update — choose FarmFoodFamily as your preferred source on Google.
How it works: Tap the button below to open Google's settings page, then check the box next to FarmFoodFamily.
Tap the checkbox to turn it blue — that's how you know it's set.