20+ Genius Cheap Landscaping Ideas That Actually Look Expensive
Eight core upgrades and thirteen small add-ons, most under fifty bucks, that make a plain yard look like you hired someone.

Never miss an update — choose FarmFoodFamily as your preferred source on Google.
How it works: Tap the button below to open Google’s settings page, then check the box next to FarmFoodFamily.
Tap the checkbox to turn it blue — that’s how you know it’s set.
I’ve talked to enough first-time homeowners to know the pattern by now. You buy the house, you’re thrilled, and then you walk into the backyard and it’s just… dirt and patchy grass.
No plan, no budget left after closing costs, and a nagging feeling that “real” landscaping is a five-figure project you can’t afford yet. It isn’t, honestly. A lot of the yards that look expensive were built $40 at a time.
The American Society of Landscape Architects generally tells homeowners to plan for landscaping to run somewhere around 5 to 10 percent of their home’s value when they’re first mapping out a plan, and that a well-executed outdoor space can add back 15 to 20 percent in resale value (ASLA).
That’s a useful anchor even if your actual spend this year is a few hundred dollars, not a few thousand. You don’t need the whole budget on day one. You need to know which projects give you the most visual payoff per dollar, and that’s what this list is.
Below are 8 core projects, each one deepened with real materials, techniques, and pricing, plus 13 smaller quick-fix ideas tucked in around them. That’s about 21 total upgrades. I’m calling it “20+” because that’s honest, not because it sounds bigger.
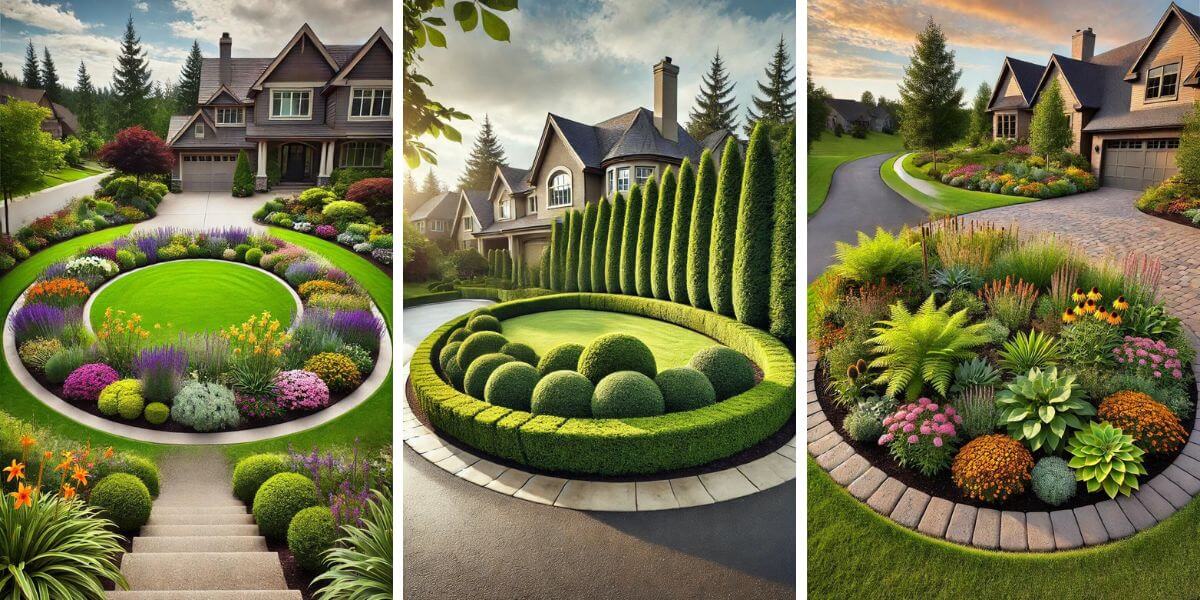
Hardscaping: Big Visual Impact, Almost No Upkeep
Hardscaping is where cheap materials do the most work. Gravel, paint, and reclaimed wood cost a fraction of what a full patio rebuild runs, and they change how a yard reads from the street almost immediately.
Answer 4 quick questions and get matched to the exact fix for your yard — drainage, budget, layout, or something else entirely.
Take the Free Quiz1. Gravel Paths with Defined Edges
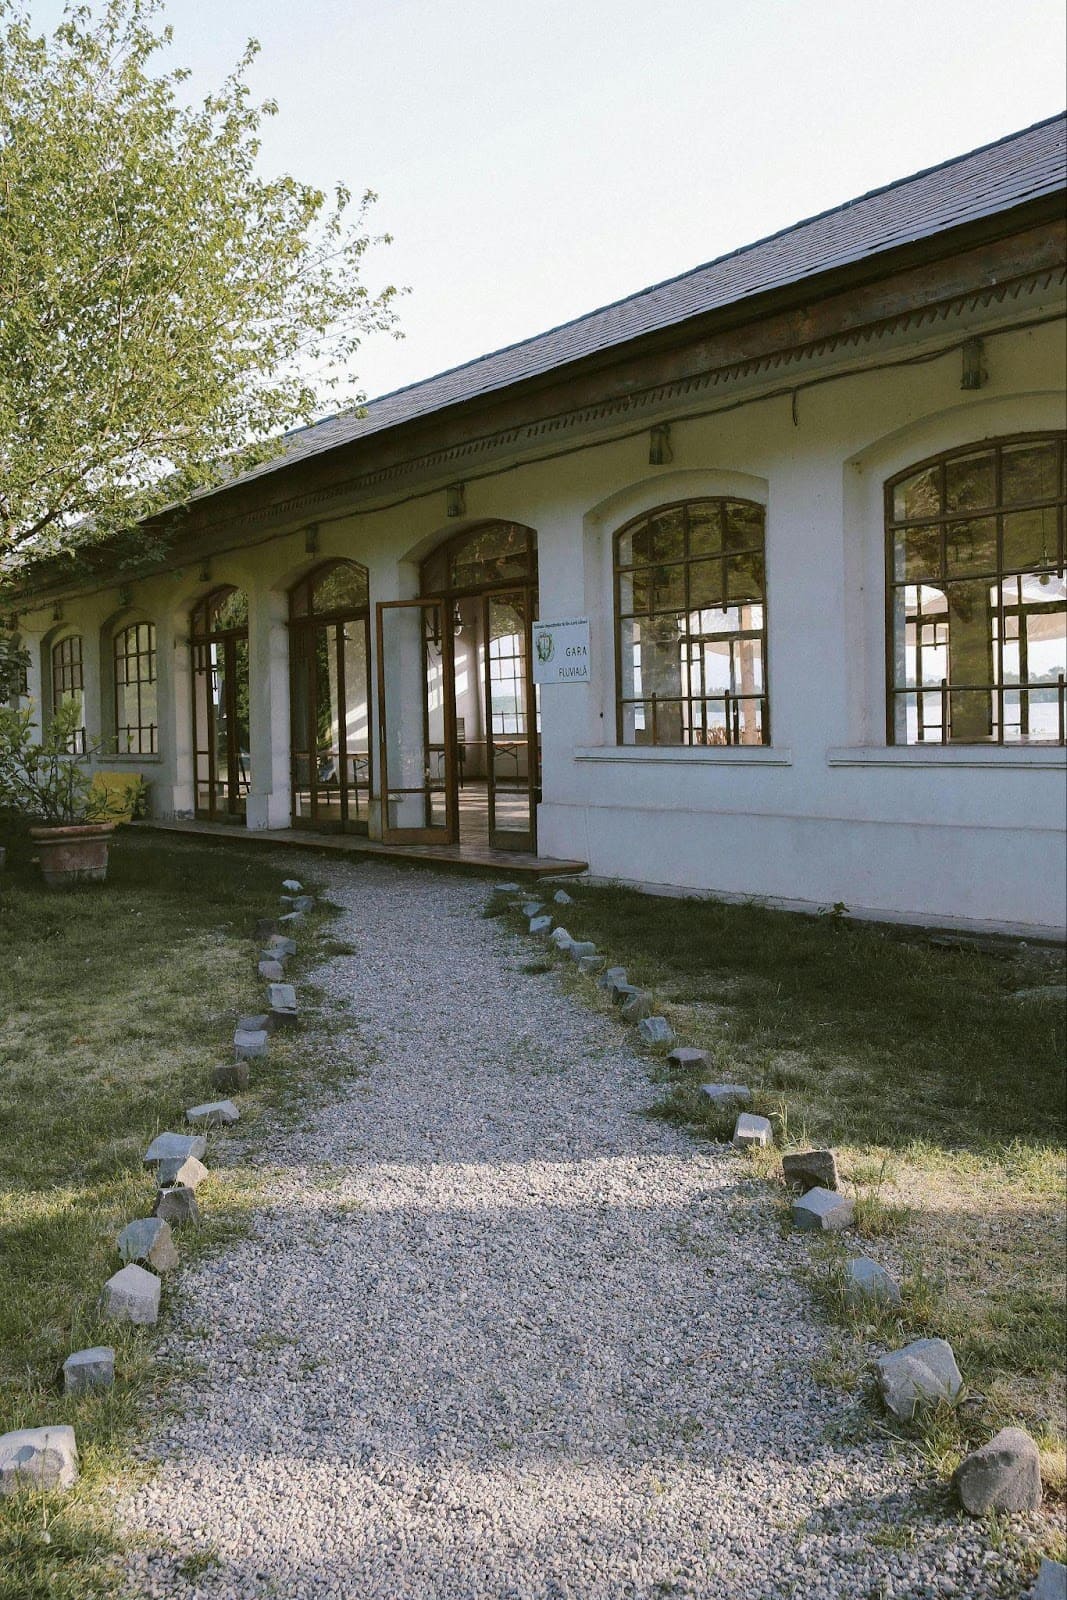
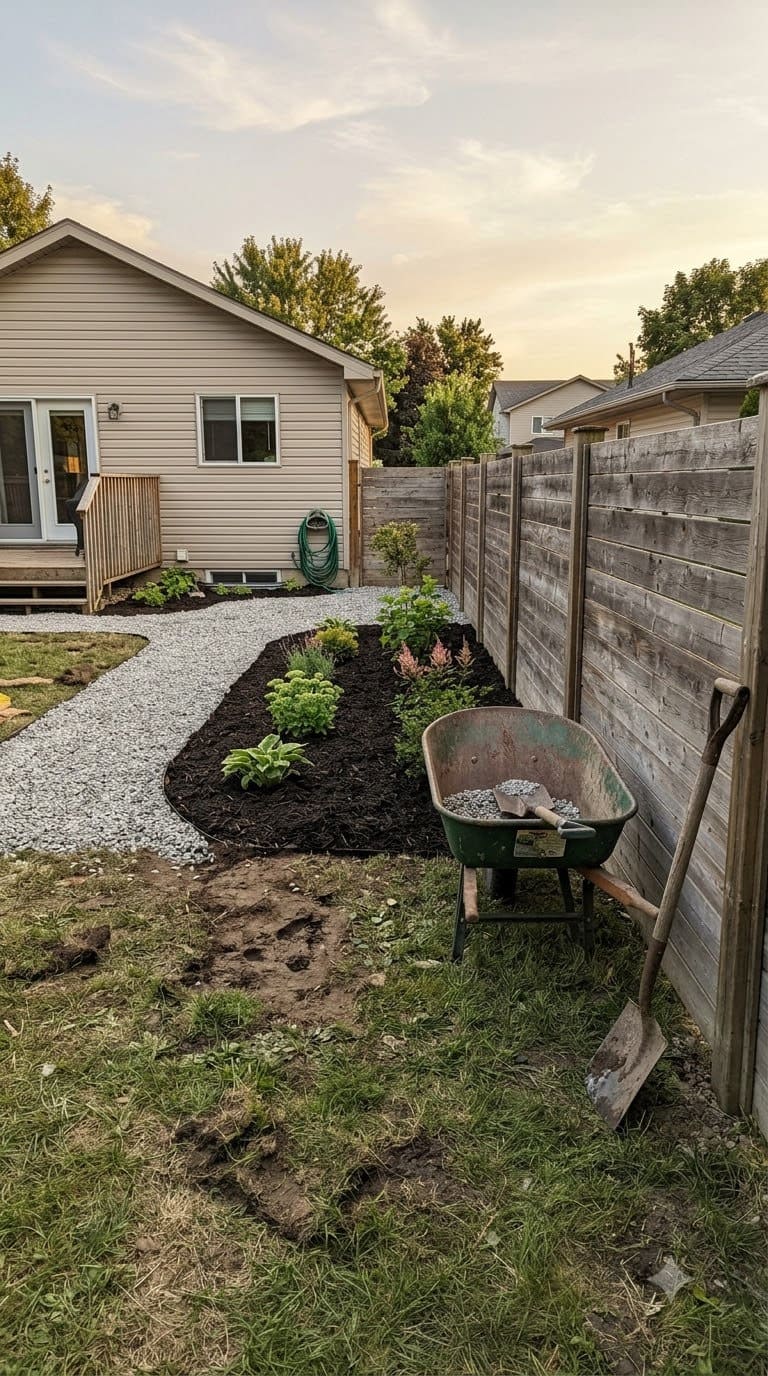
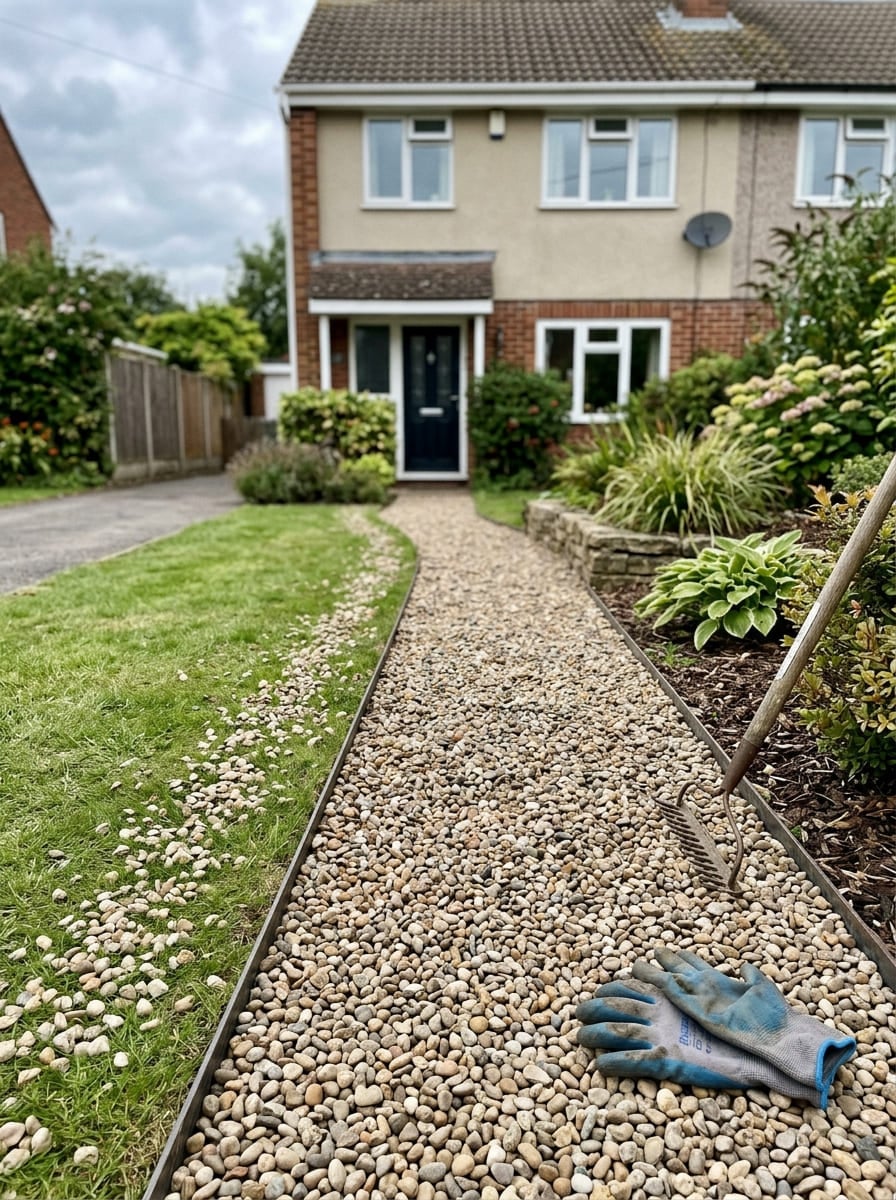
A gravel path is probably the single cheapest square-footage upgrade in this whole list, and it’s the one most likely to fail if you skip the boring part: the base.
This Old House walks through the actual build order, and it matters (This Old House): dig out 4 to 6 inches of soil, lay landscape fabric to block weeds, add a compacted base layer of crushed gravel, then top it with your decorative layer, pea gravel, crushed granite, or decomposed granite depending on the look you want.
Skip the fabric and base layer and you’ll be pulling weeds out of your “low-maintenance” path within a season. I learned that one the hard way on my own side yard.
Pea gravel runs somewhere around $1 to $3 per square foot delivered, decomposed granite is similar, and crushed granite or river rock can run a bit higher depending on your region and how far the quarry is from you.
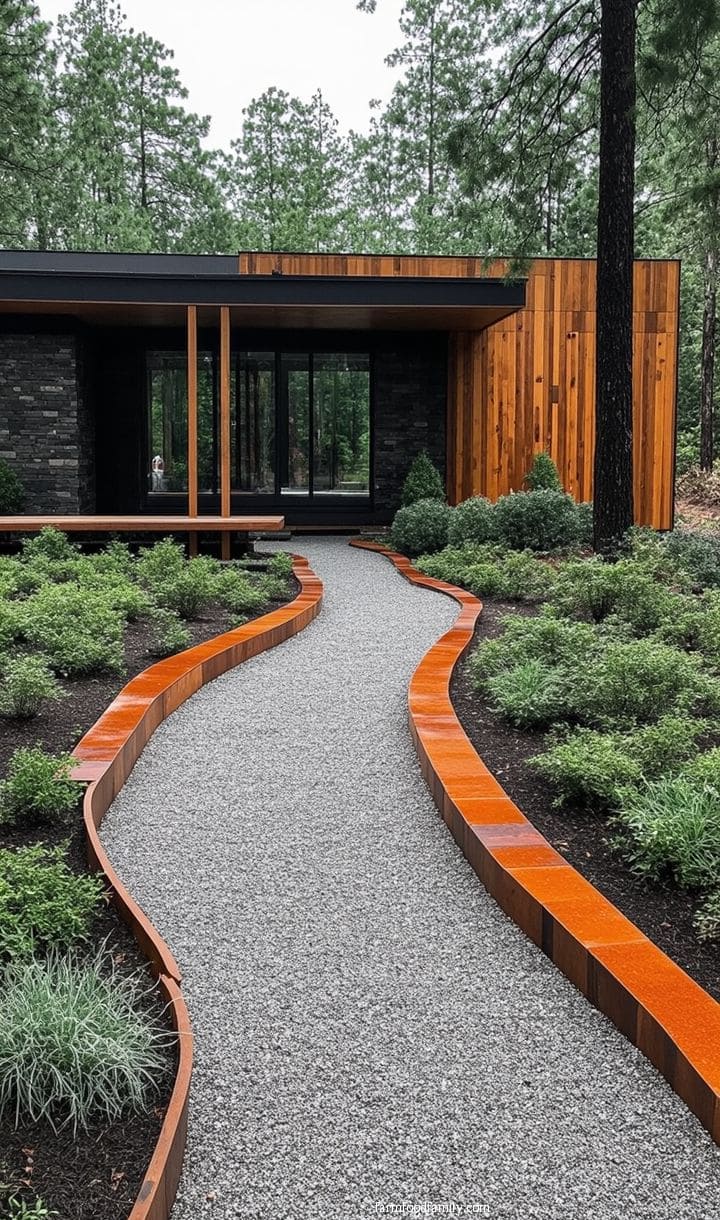
Steel or aluminum edging (roughly $2 to $4 per linear foot) keeps the gravel from migrating into your lawn, and it reads as a much more finished, intentional line than plastic edging does.
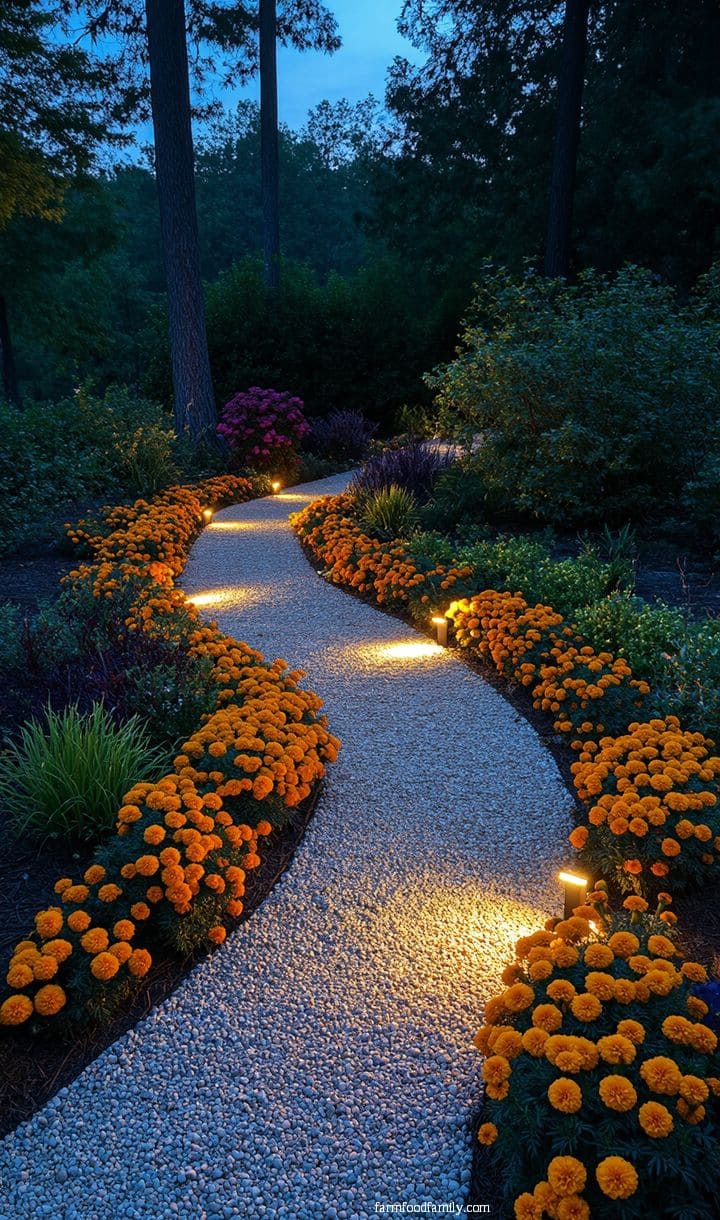
Curved paths photograph better than straight ones, and they also force you to slow down and actually look at the yard as you walk it, which is kind of the whole point of a path in the first place.
Most yard problems trace back to one specific, fixable cause. Find yours in 4 quick questions.
Take the Free Quiz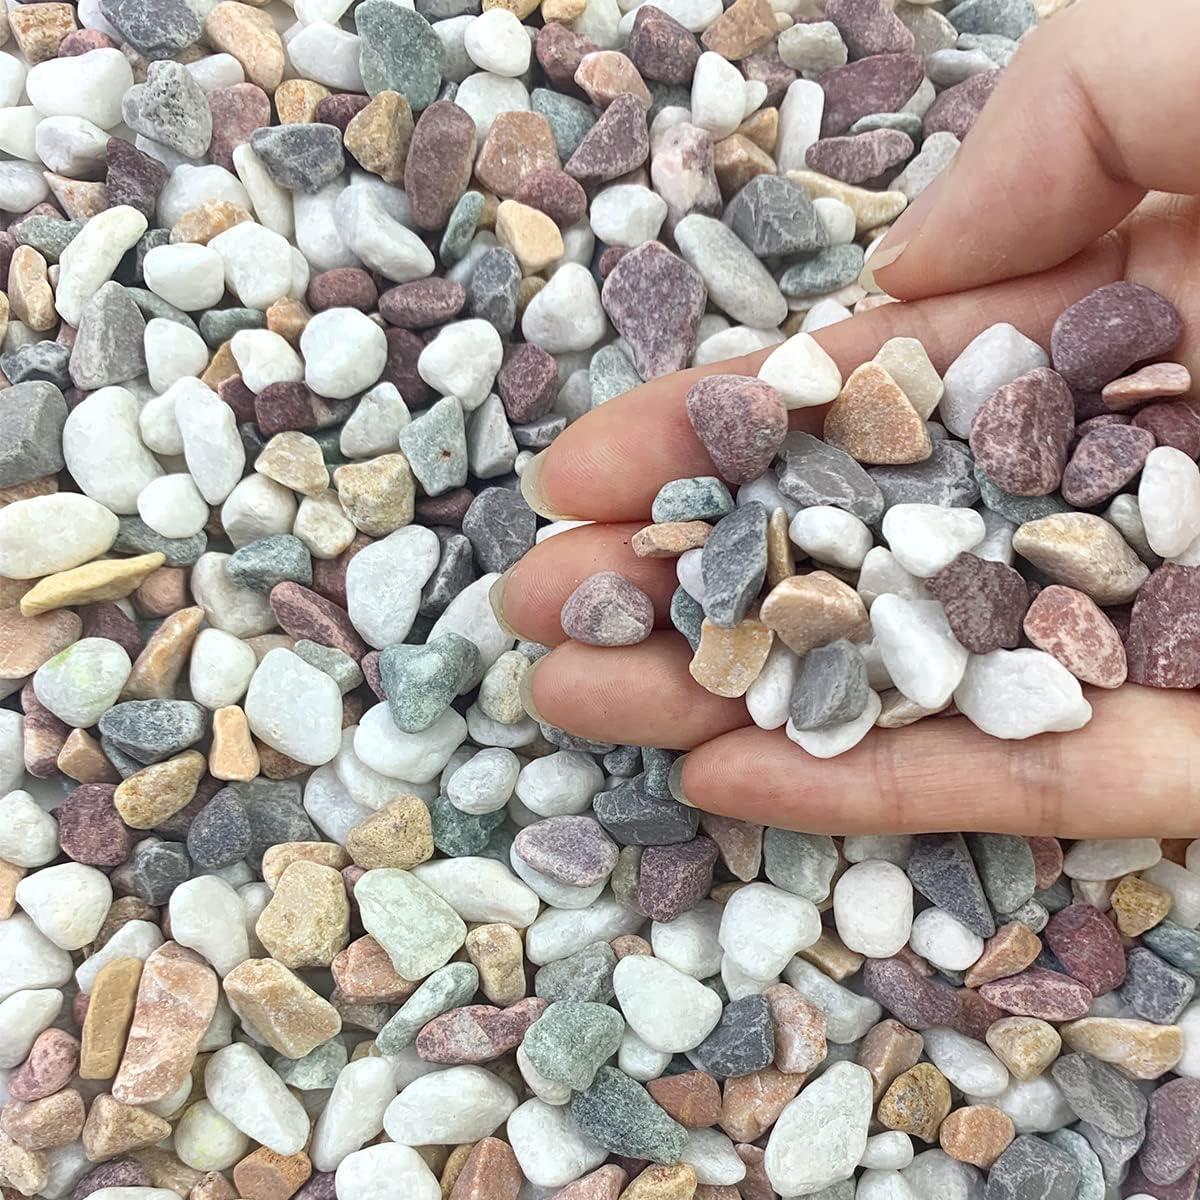
Natural pea gravel for the gravel path idea (#1), sold by the bag so you can buy exactly what you need for a small path or edging strip.
Shop NowThis post contains affiliate links. We may earn a commission on qualifying purchases at no extra cost to you.
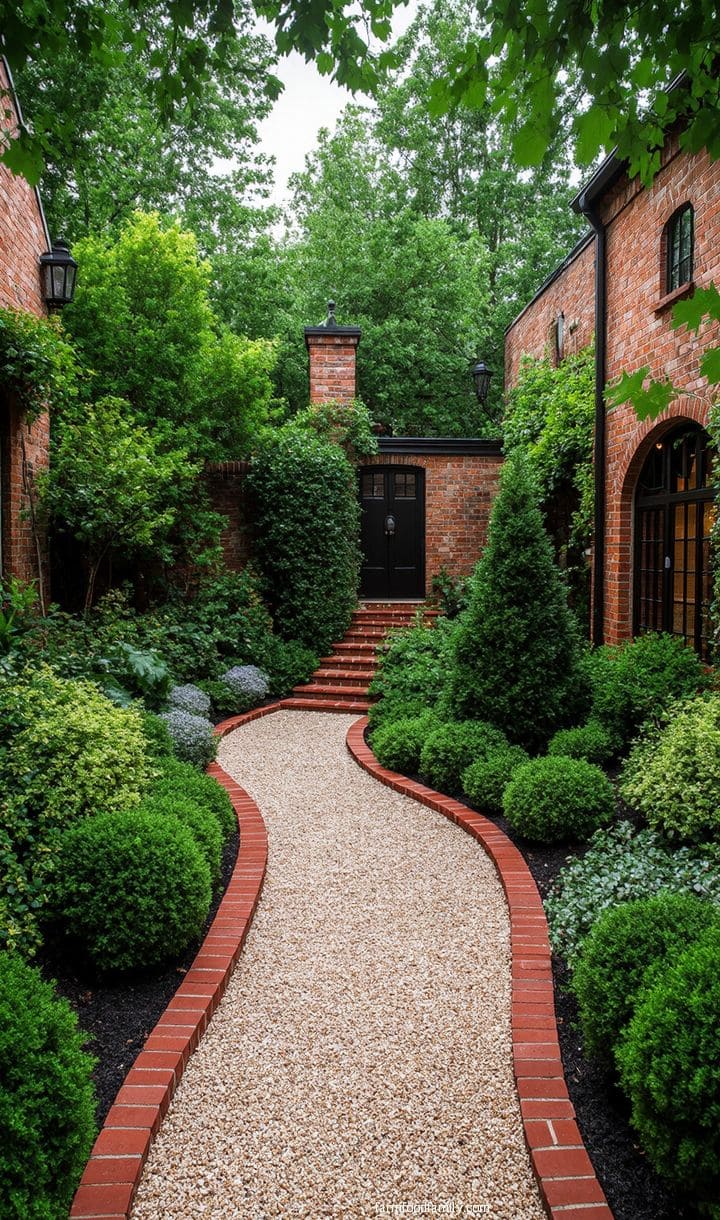
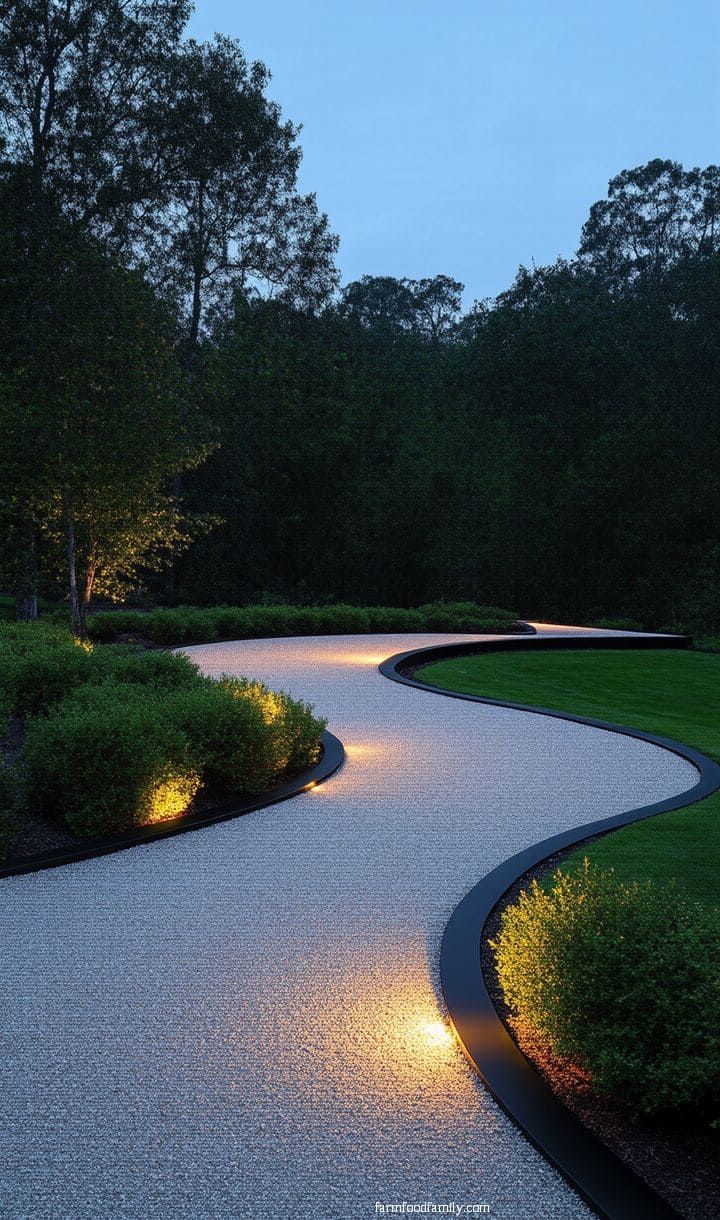
Do the math by the ton, not by the bag, and pea gravel gets cheap fast. A standard 3/8-inch gravel path costs a lot less than poured concrete for the same square footage. And there’s no curing time, you can walk on it the same afternoon you lay it.
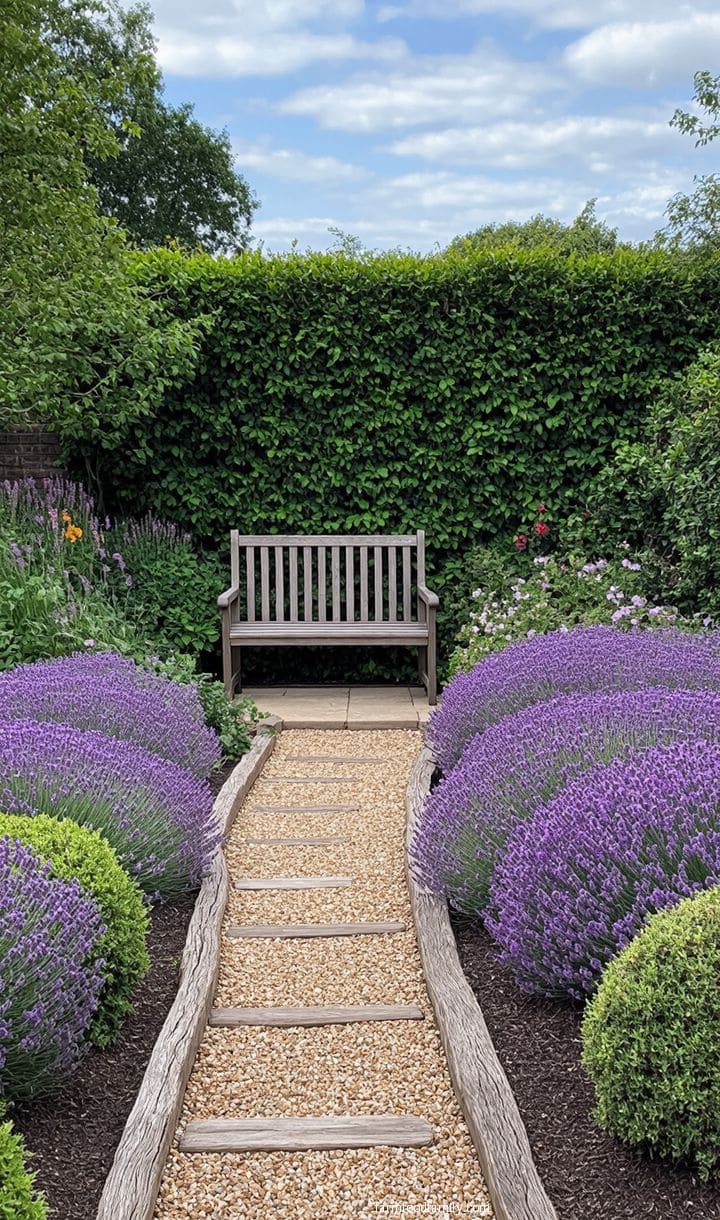
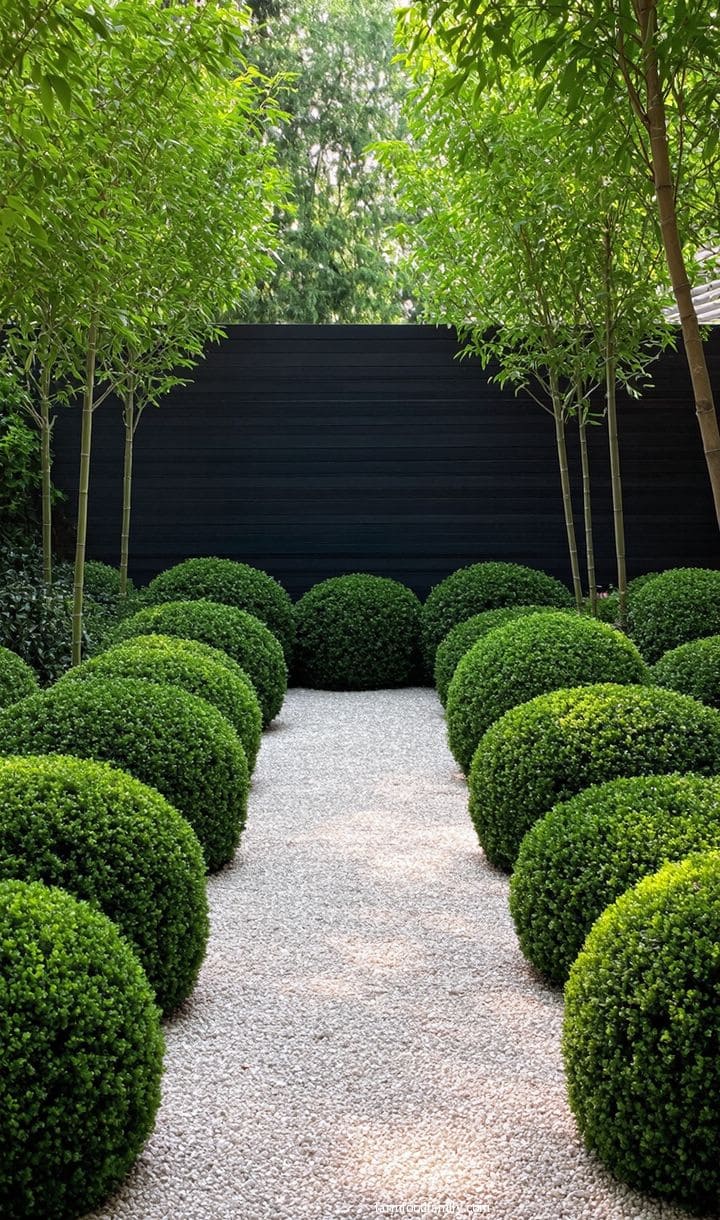
Honestly, the edging is what makes or breaks this project. Skip it and you’ll be raking gravel out of the lawn by next spring.
Steel or heavy plastic strips staked in every couple feet hold the line, and that’s the whole trick between a real path and a gravel pile slowly spreading into the grass.
2. Painted Concrete Patio or Pavers
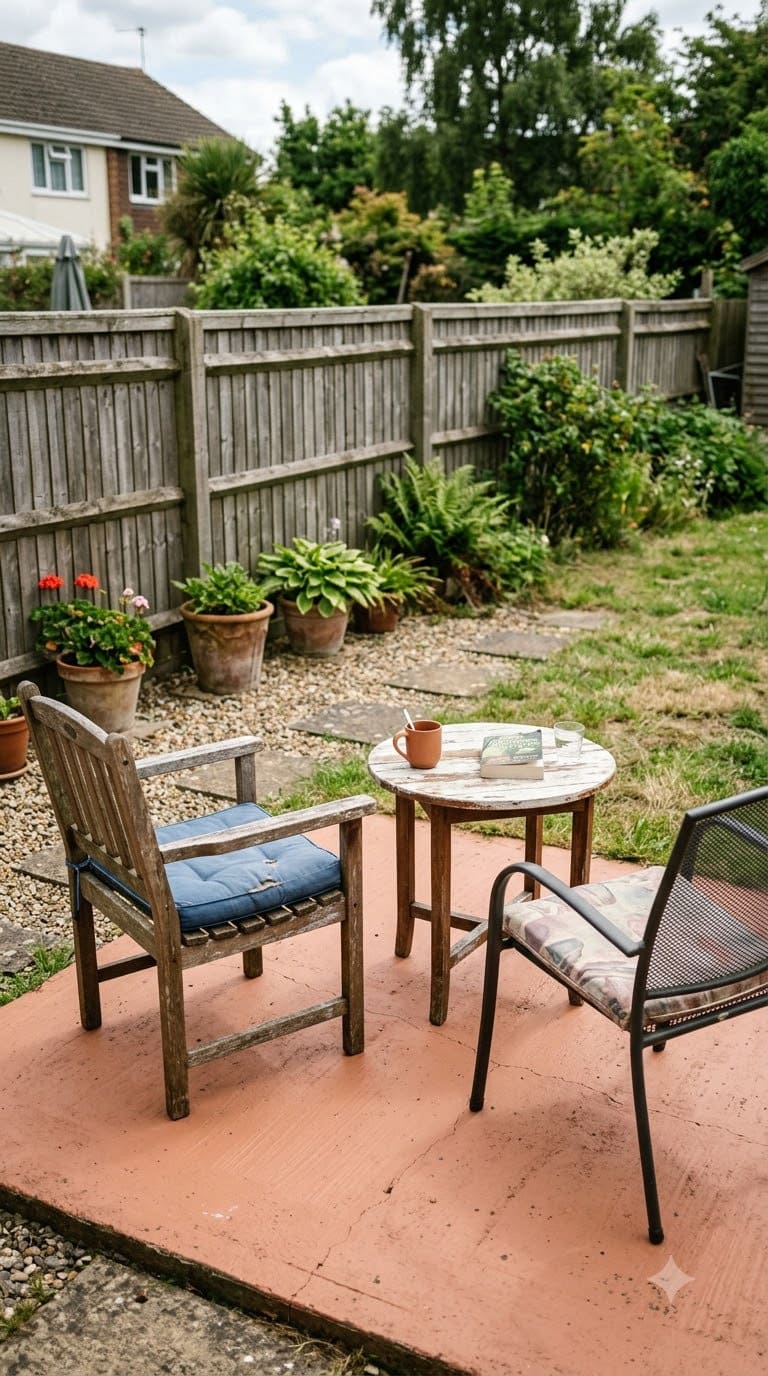
If you already have a concrete slab patio, you’ve basically got free hardscaping, it just looks tired. A concrete floor paint or a masonry stain (about $30 to $50 per gallon, covering roughly 300 to 400 square feet) can completely change how the whole backyard reads.
Warm terracotta, charcoal, and soft sage are the three tones that show up again and again in the yards people actually compliment, probably because they read as intentional rather than “leftover builder-grade slab.”
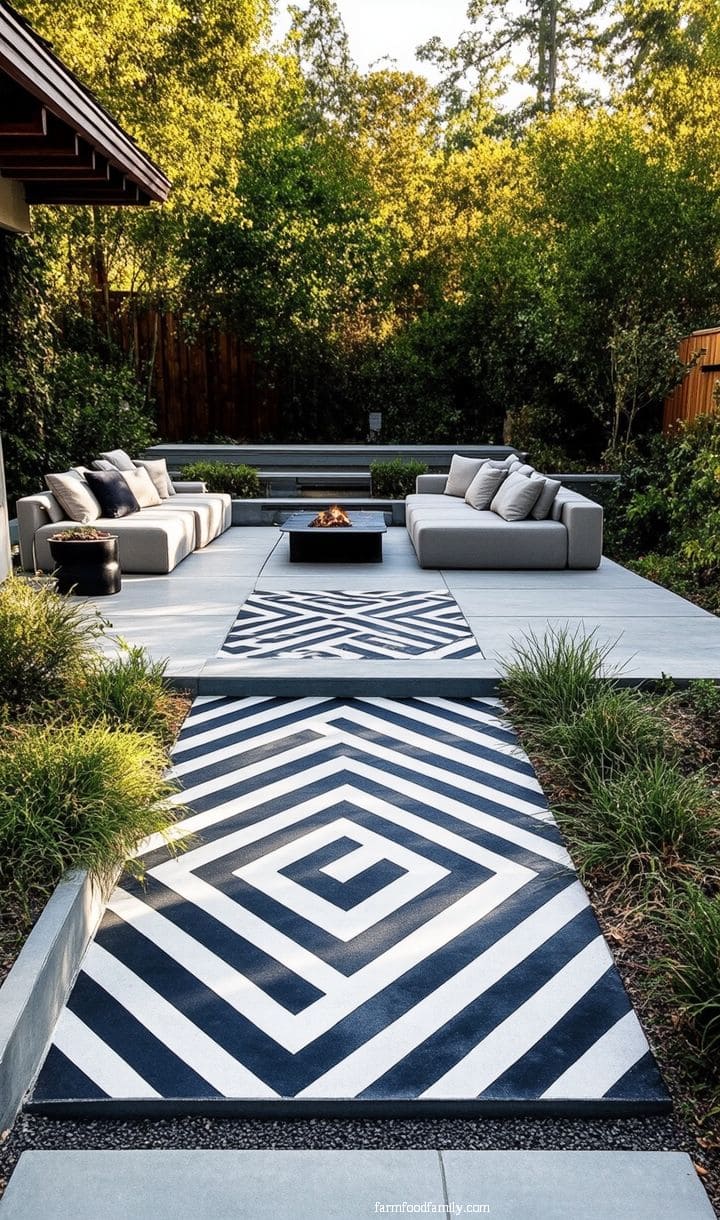
Clean the concrete first, patch any cracks with a concrete patch compound, and use a proper masonry primer if the surface is glossy or sealed already, paint won’t grip otherwise.
A single coat of a UV-stable exterior sealant on top buys you a couple more years before it needs a touch-up. If your slab is cracked beyond a simple patch, interlocking pavers laid straight over a sand base can be a weekend project instead, and they hide unevenness a lot better than paint ever will.
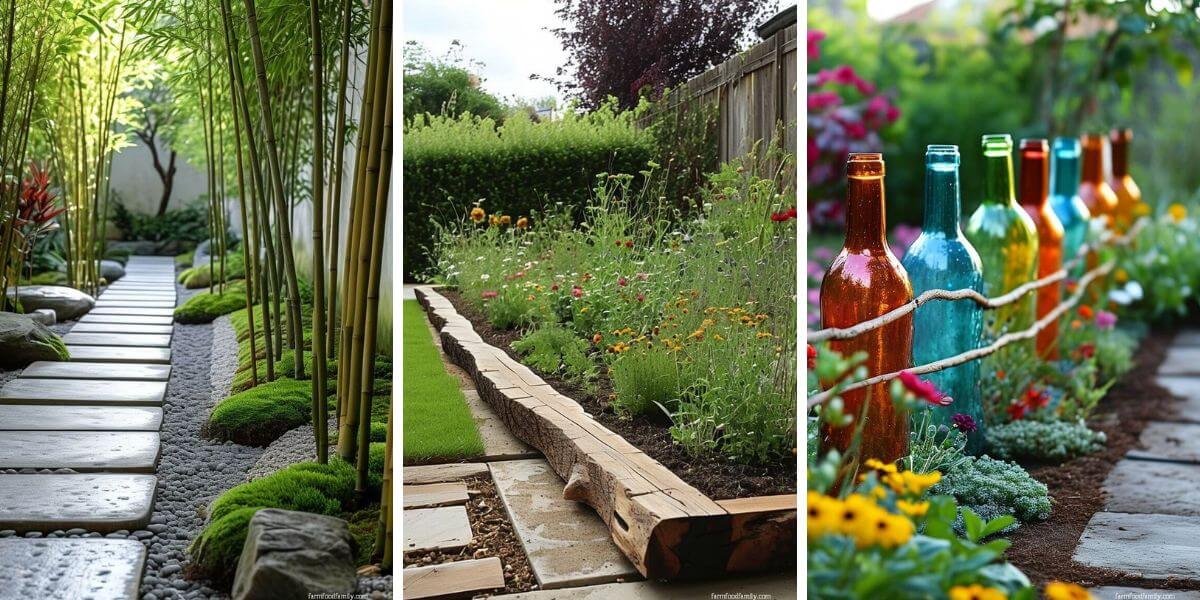
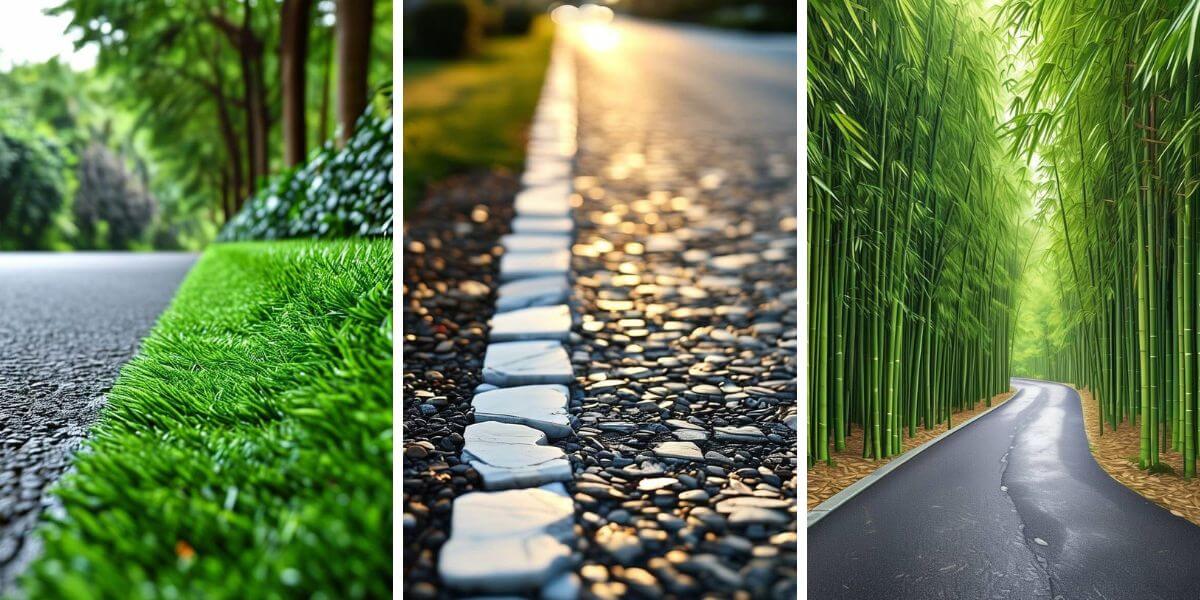
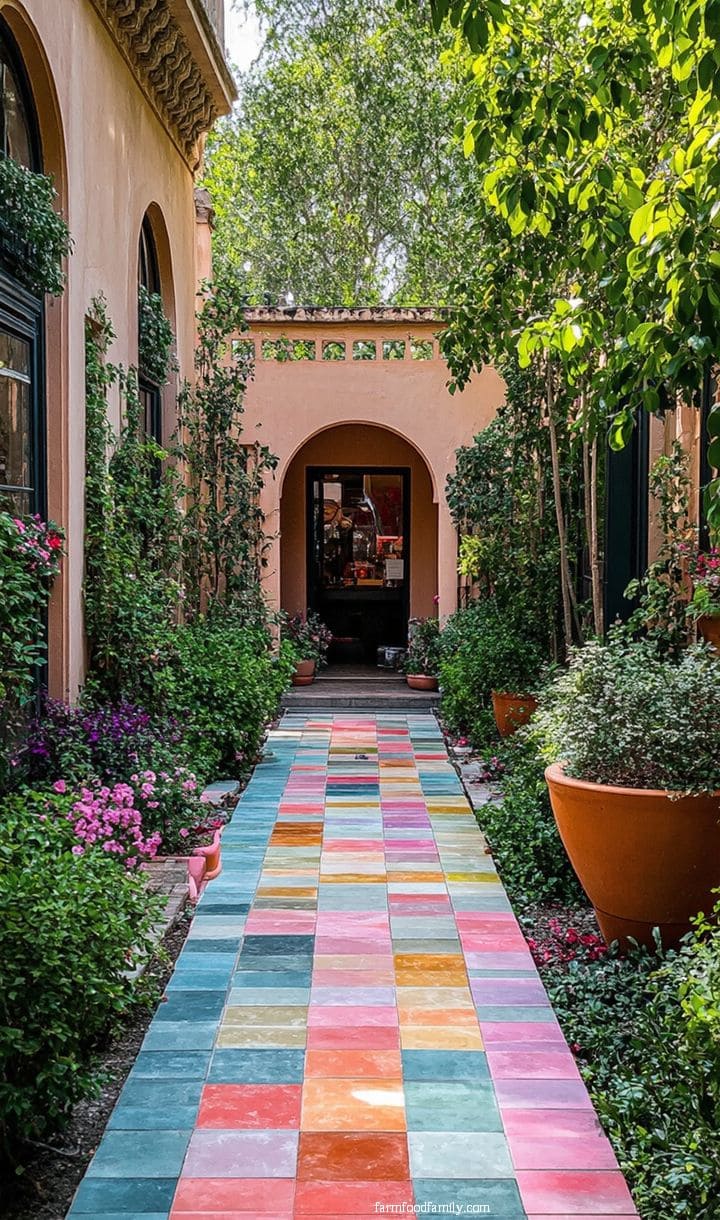
Warm gray or terracotta reads as chosen, not patched. Stark white tends to do the opposite, it shows every stain and hairline crack instead of hiding them.
The average homeowner spends $616/year on yard fixes that don't address the real problem. Find out what yours actually is — before you spend another dollar.
Take the Free QuizTwo coats gets the job done for most patios. A third coat only really matters somewhere high-traffic, like right under the grill.
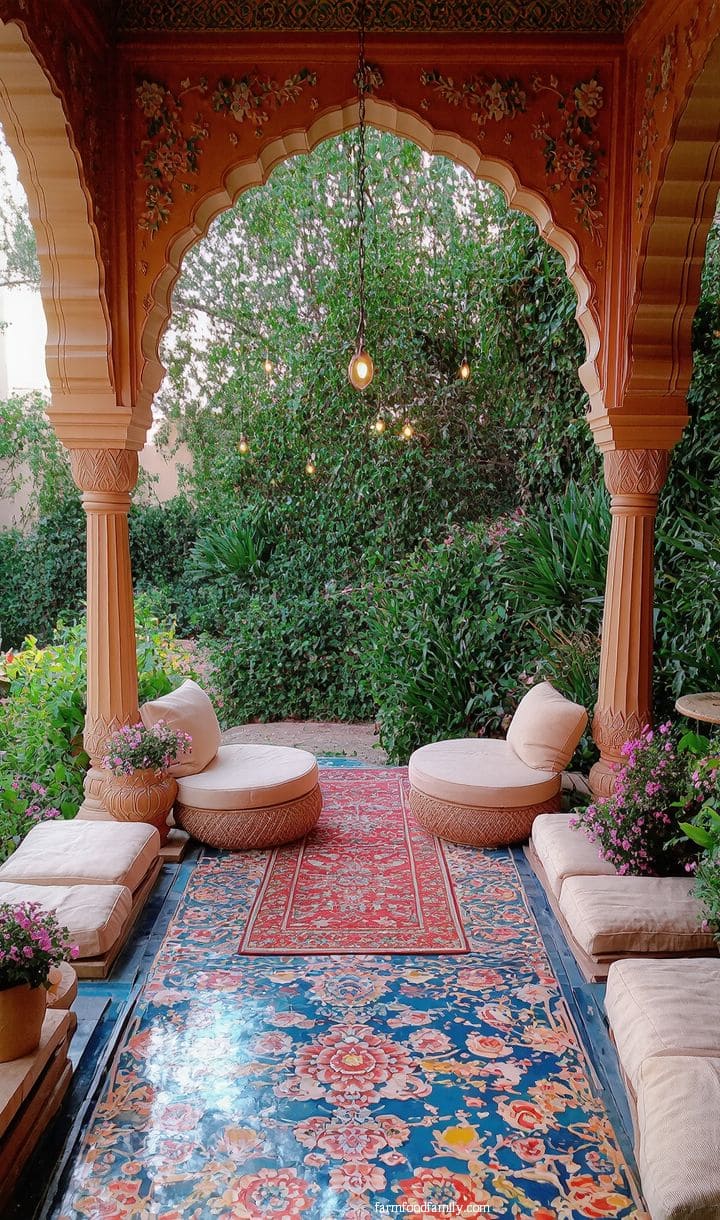
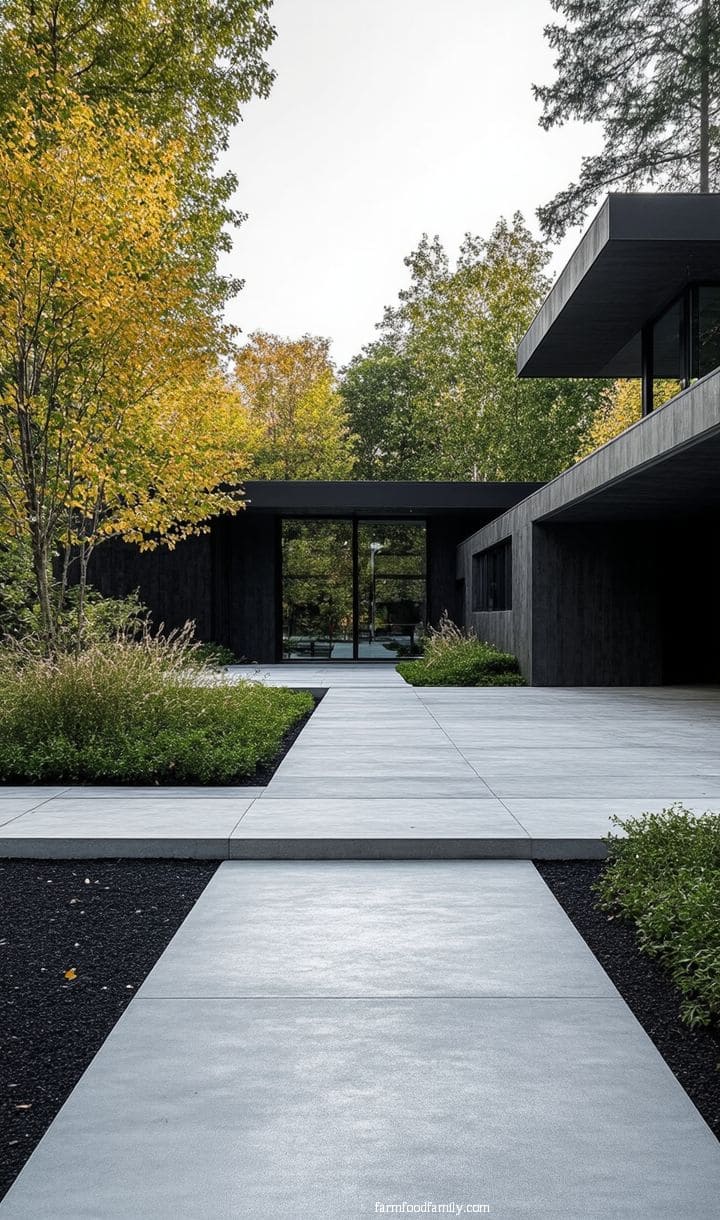
Give the slab a full 24 hours to dry after pressure washing before you touch it with paint. Trapped moisture under the surface is the reason a lot of these jobs peel within a year, not the paint quality.
Patch the hairline cracks with filler first too, paint alone won’t hold a structural gap together.
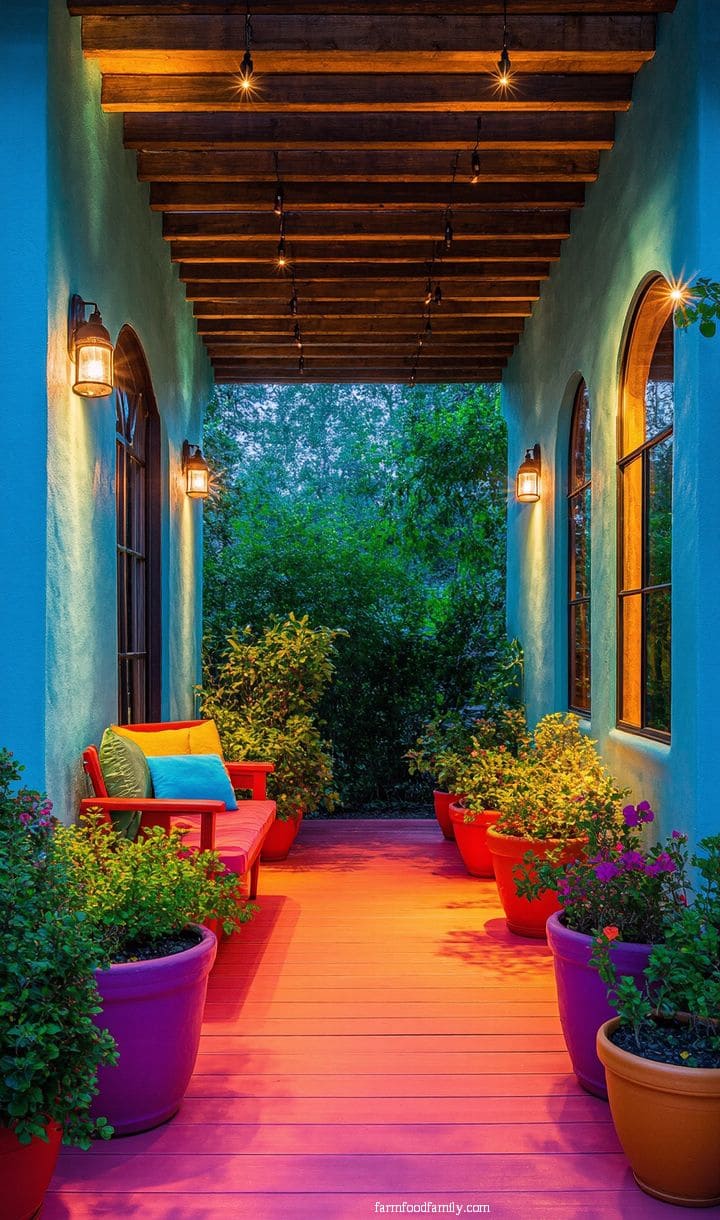
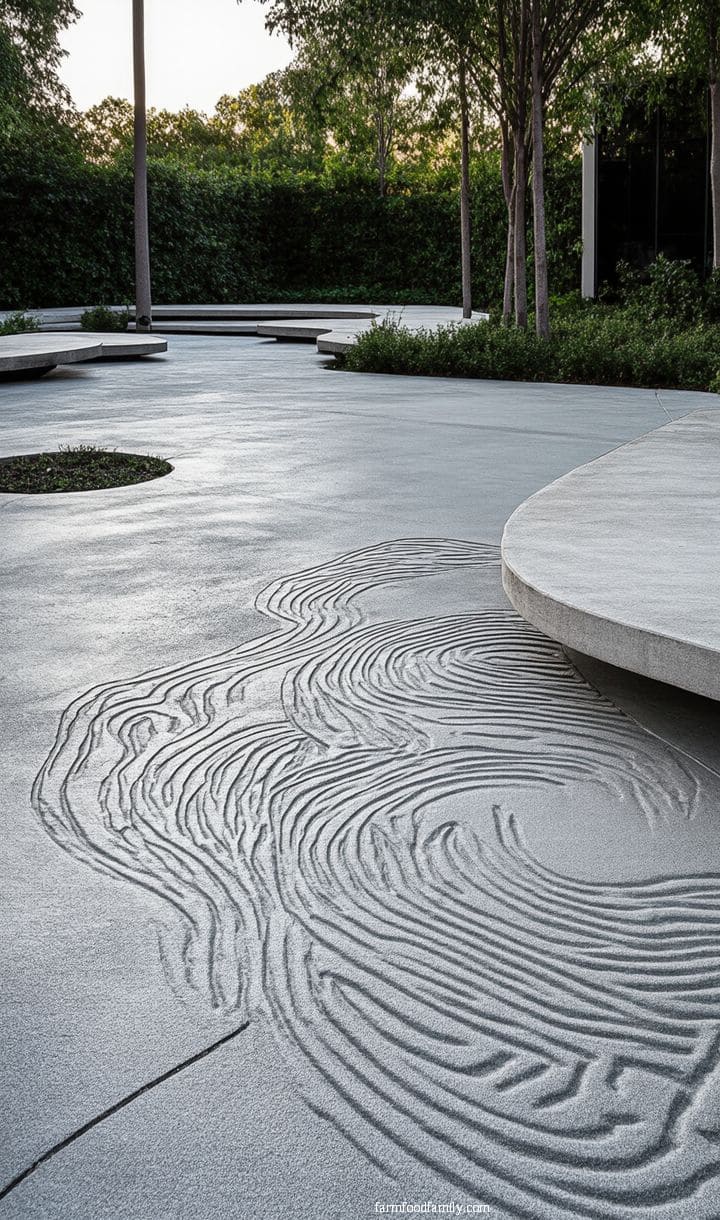
3. Outdoor Lighting for Ambience
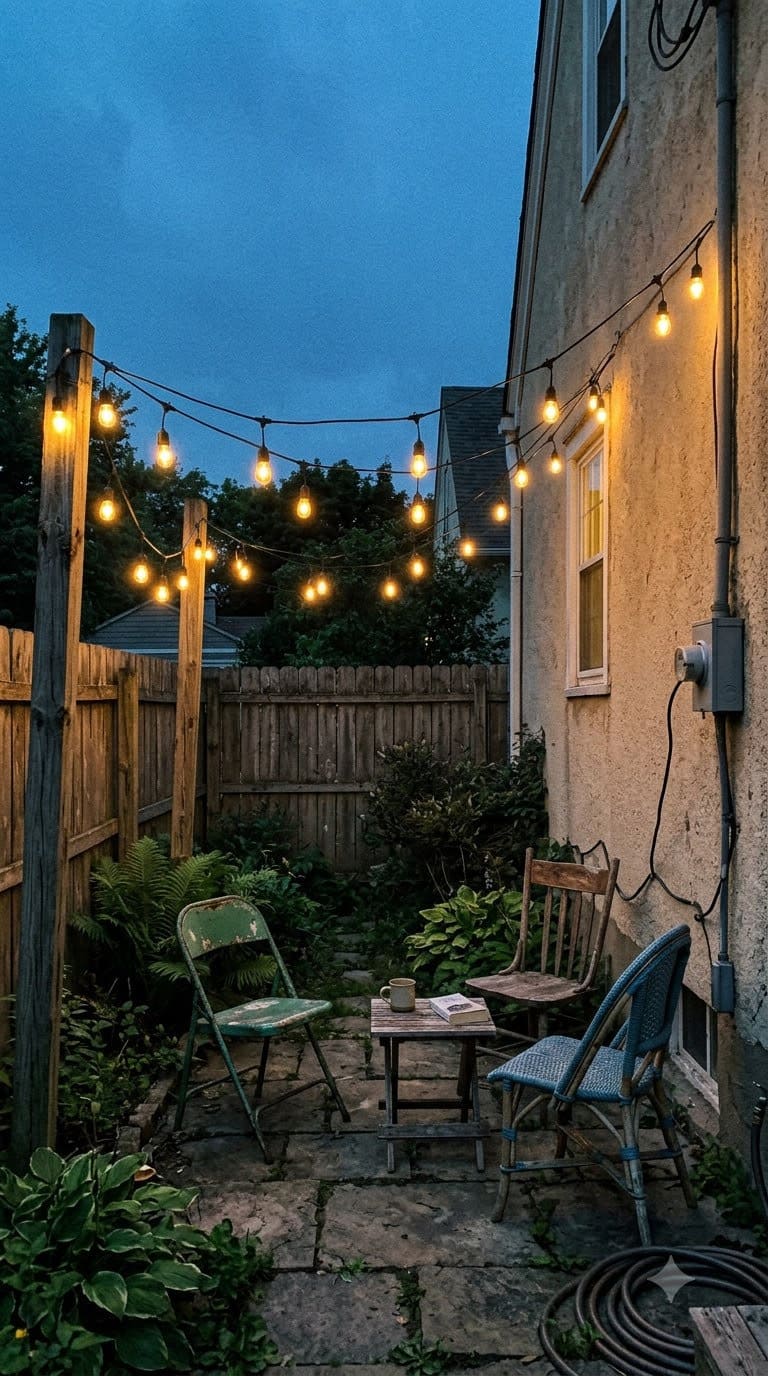
Lighting is the cheapest way to make a yard look finished after dark, and also the one place in this entire list with a real electrical safety line you shouldn’t skip.
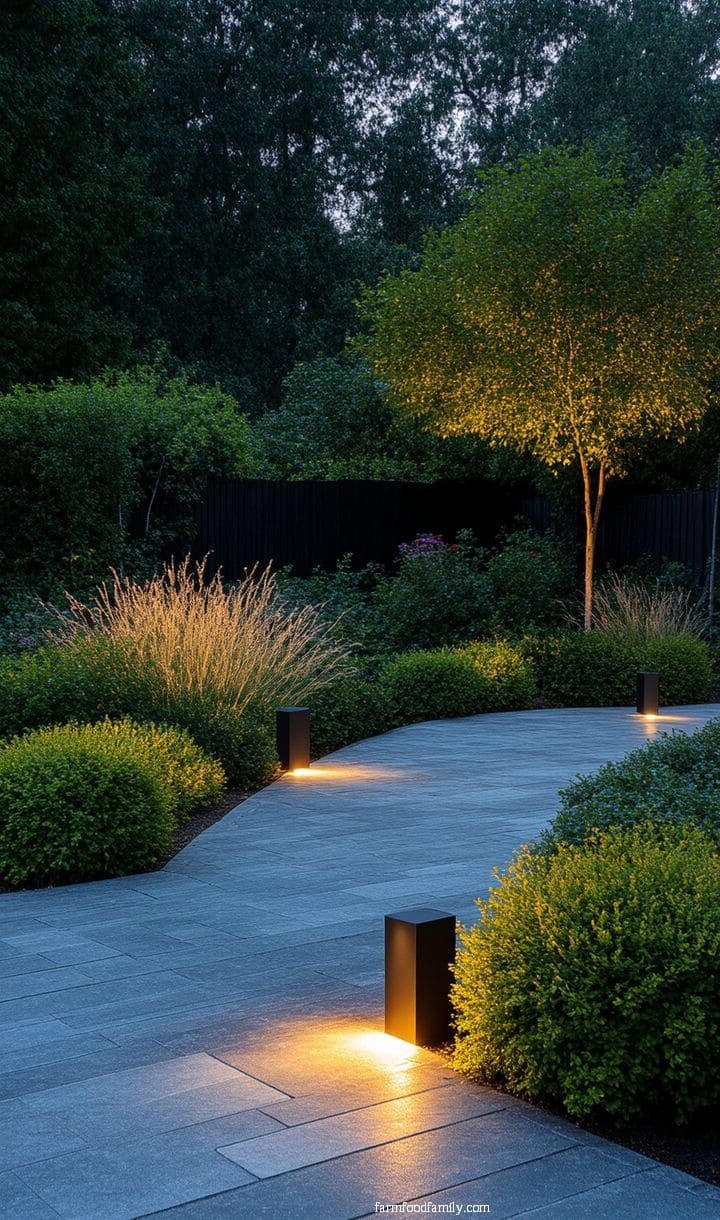
Low-voltage landscape lighting kits (path lights, a small transformer, and connector cable) run around $60 to $150 for a basic 6 to 8 light set, and they plug into a standard outdoor outlet through the included transformer, no electrician required for a basic install.
Here’s the part that actually matters: the Electrical Safety Foundation International recommends GFCI protection on every outdoor outlet you’re plugging landscape lighting into, low-voltage or not, because a ground fault at the transformer can still be dangerous (ESFI).
And if you’re burying any of the low-voltage cable runs instead of just laying them on top of mulch, most local codes (following the National Electrical Code) want at least 6 inches of cover, 8 inches if the run crosses under a spot where a mower or foot traffic will pass over it. That’s a five-minute check that can save you a melted cord or a nasty shock.
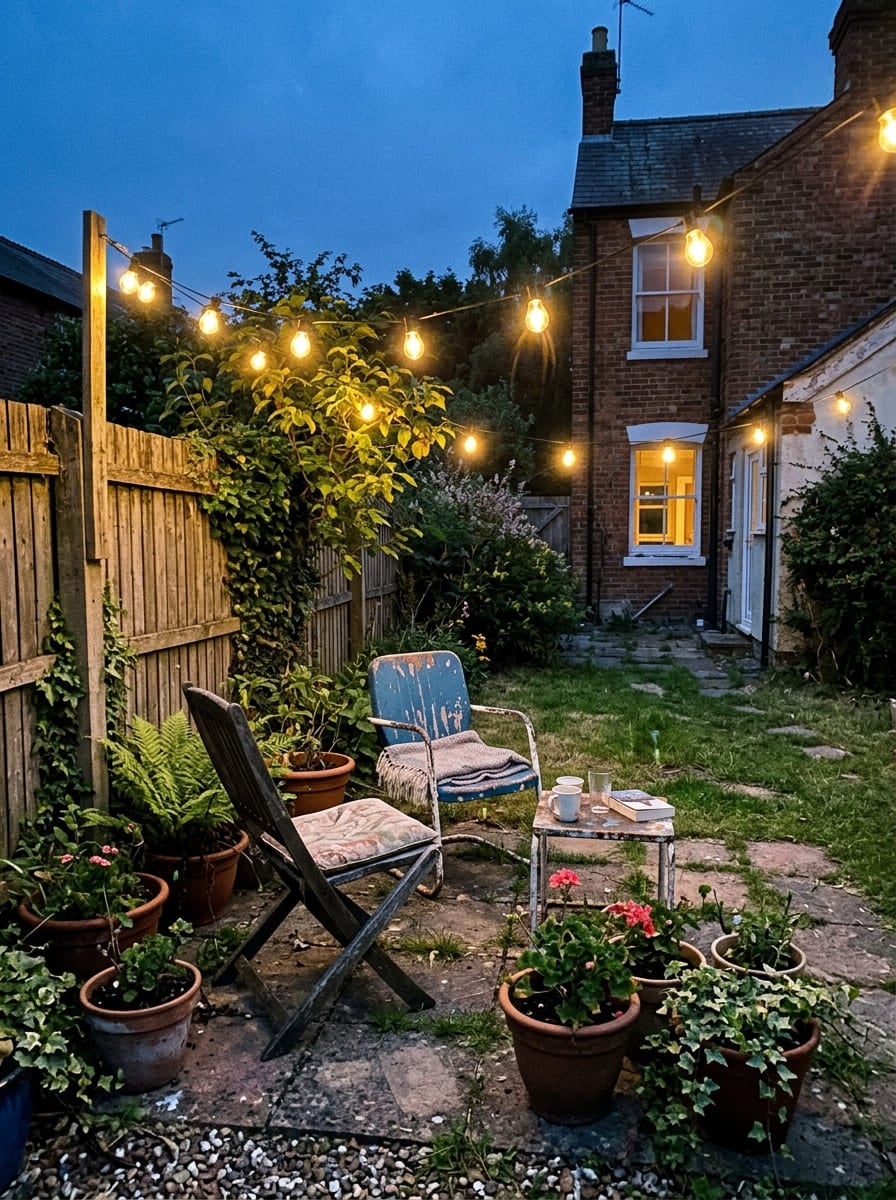
String lights add warmth without any wiring at all, just clip them to a fence line or run them between two posts. Solar path lights ($15 to $25 for a pack of 4 to 6) are the zero-wiring option if you’d rather not deal with cords at all, though they’re noticeably dimmer than the plug-in kits, worth knowing before you buy a dozen expecting stadium lighting.
Five quick hardscaping fixes to layer in around your main projects:
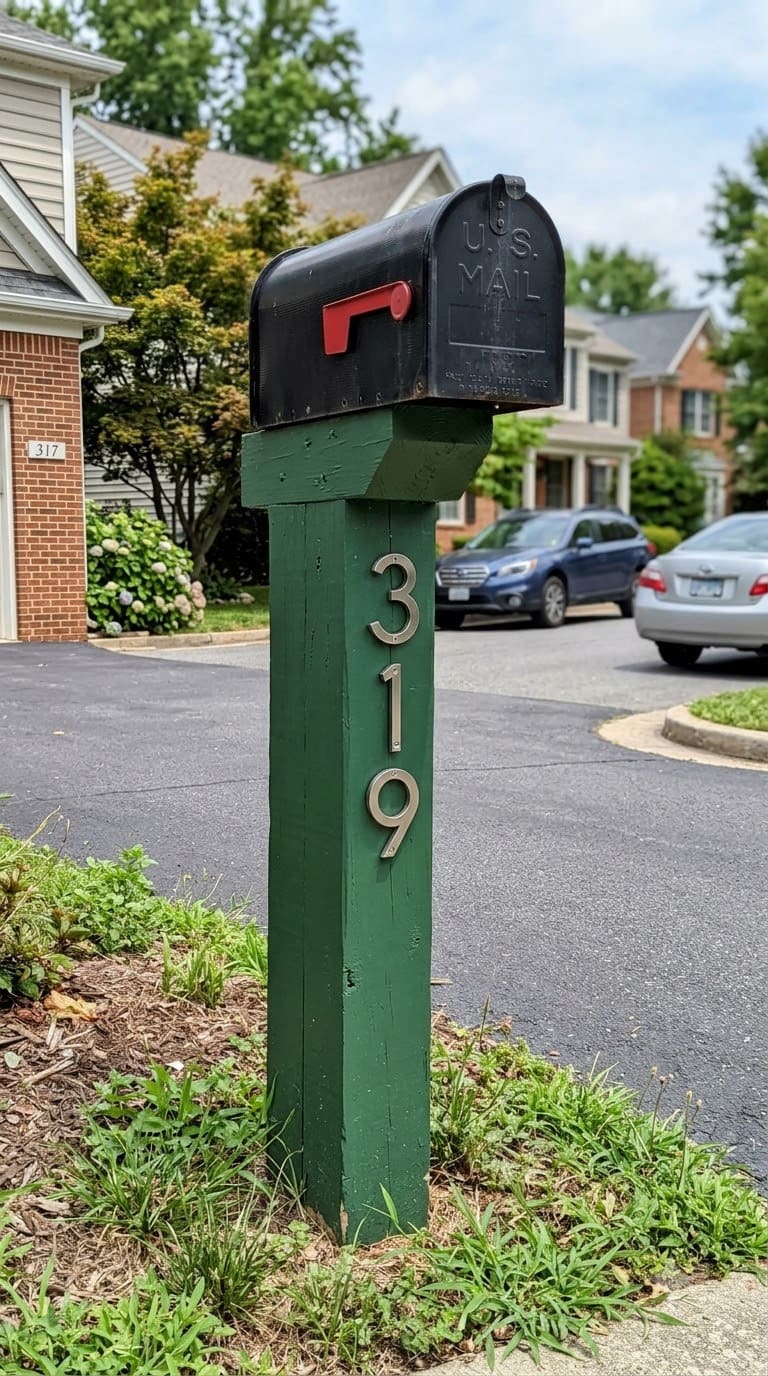
Repaint or stain your house numbers and mailbox post. A $10 can of exterior paint on a tired mailbox post does more for curb appeal per dollar than almost anything else on this list.
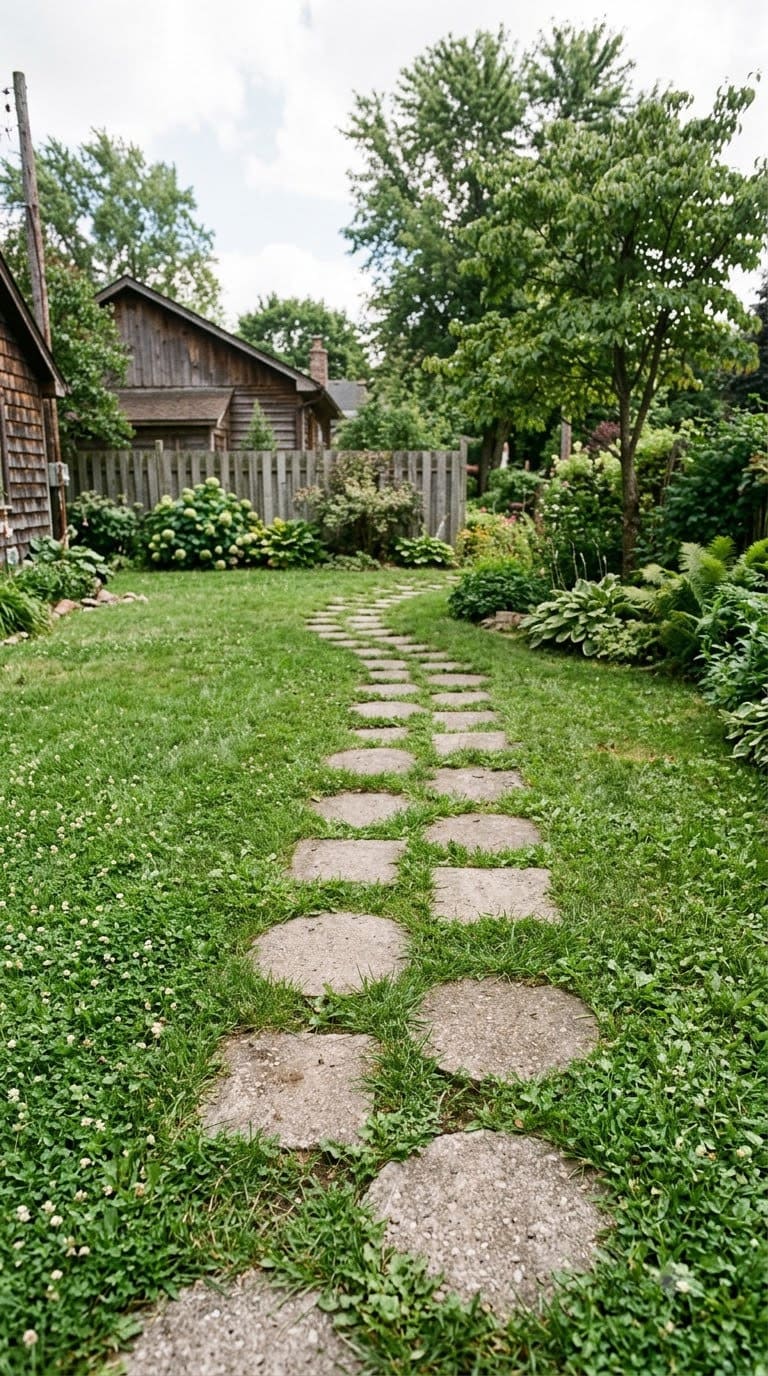
Add a simple stepping-stone accent through a lawn area. Precast concrete pavers ($2 to $5 each) set directly into turf create a path without any excavation.
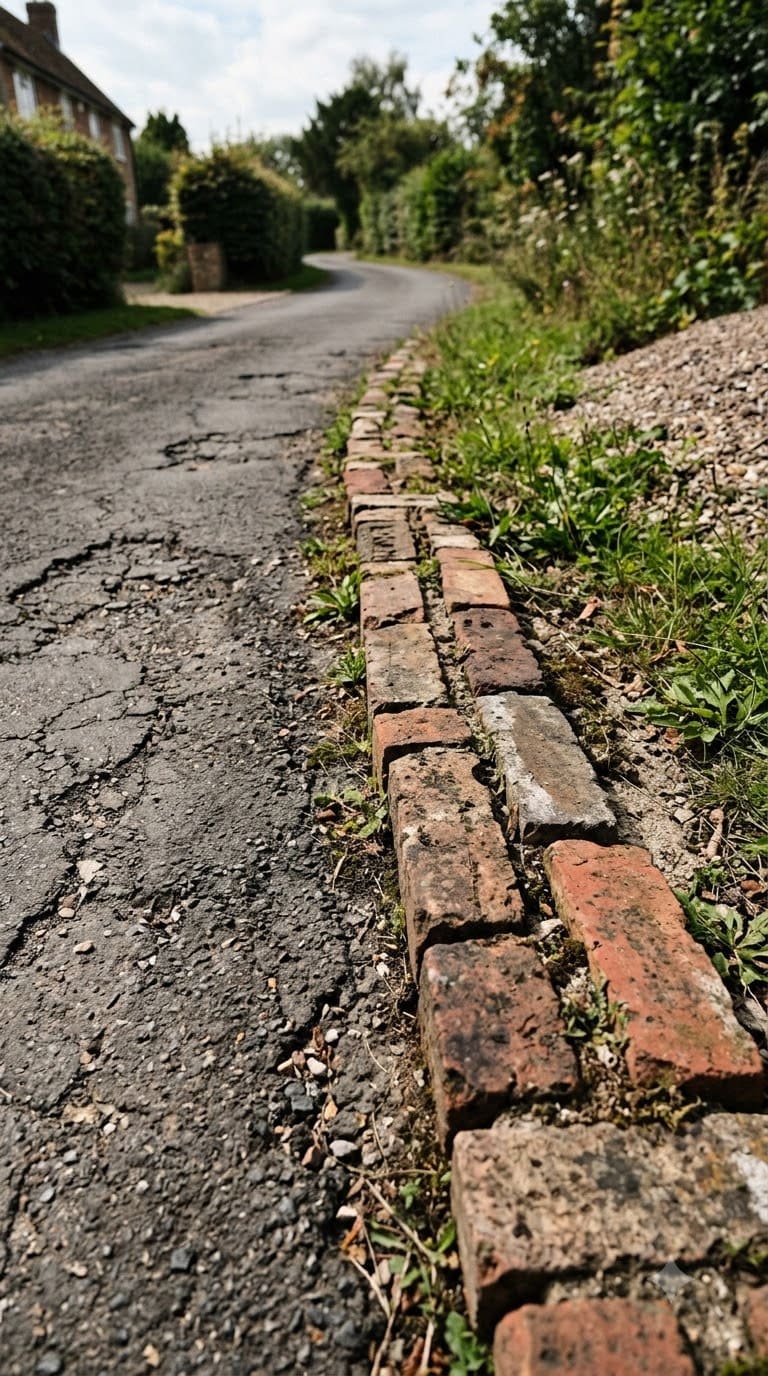
Edge your driveway with brick or paver border. Reclaimed brick from a salvage yard or Facebook Marketplace can run free to a couple dollars a piece, and a clean edge line makes even cracked asphalt look tended.
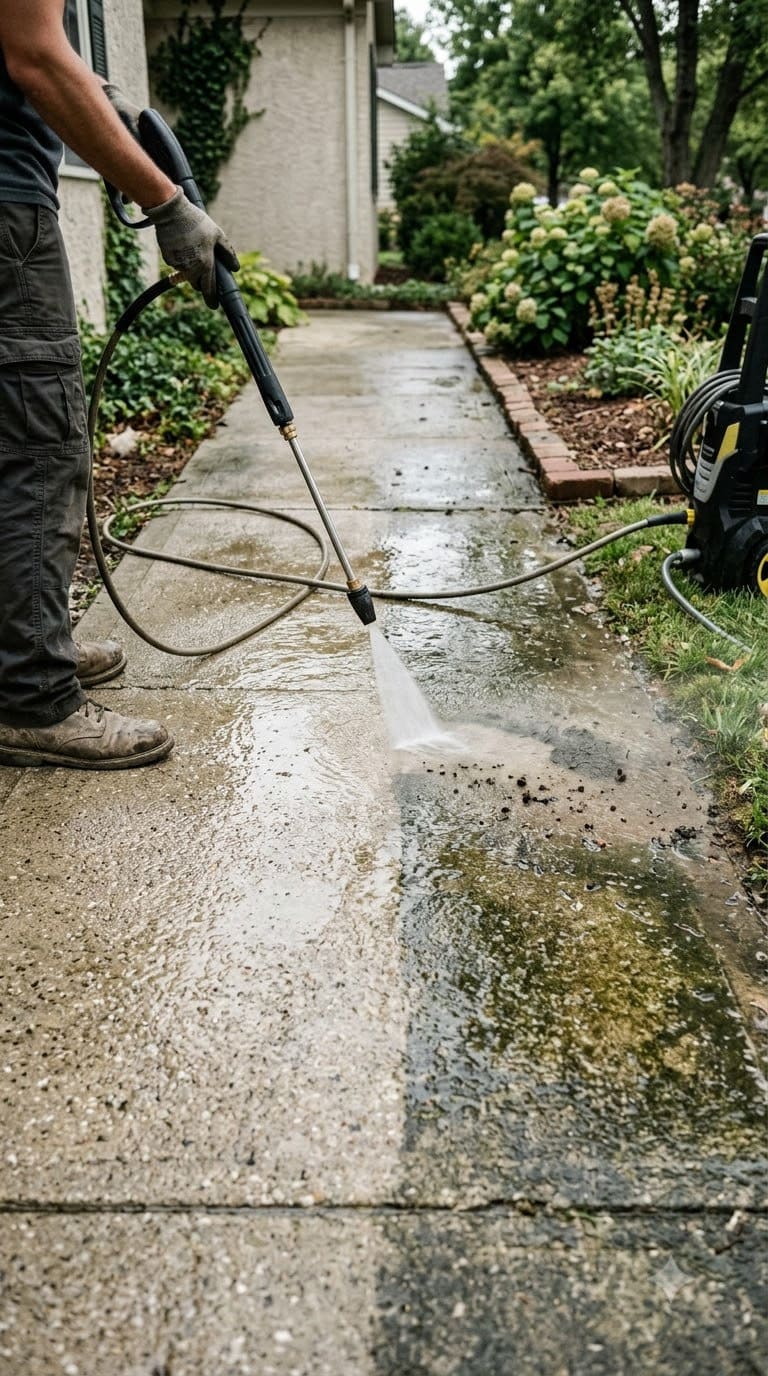
Pressure wash your existing hardscaping. This one’s basically free if you already own or can rent a washer for $40 a day, and dirty concrete or faded pavers instantly look ten years newer once the grime’s gone.
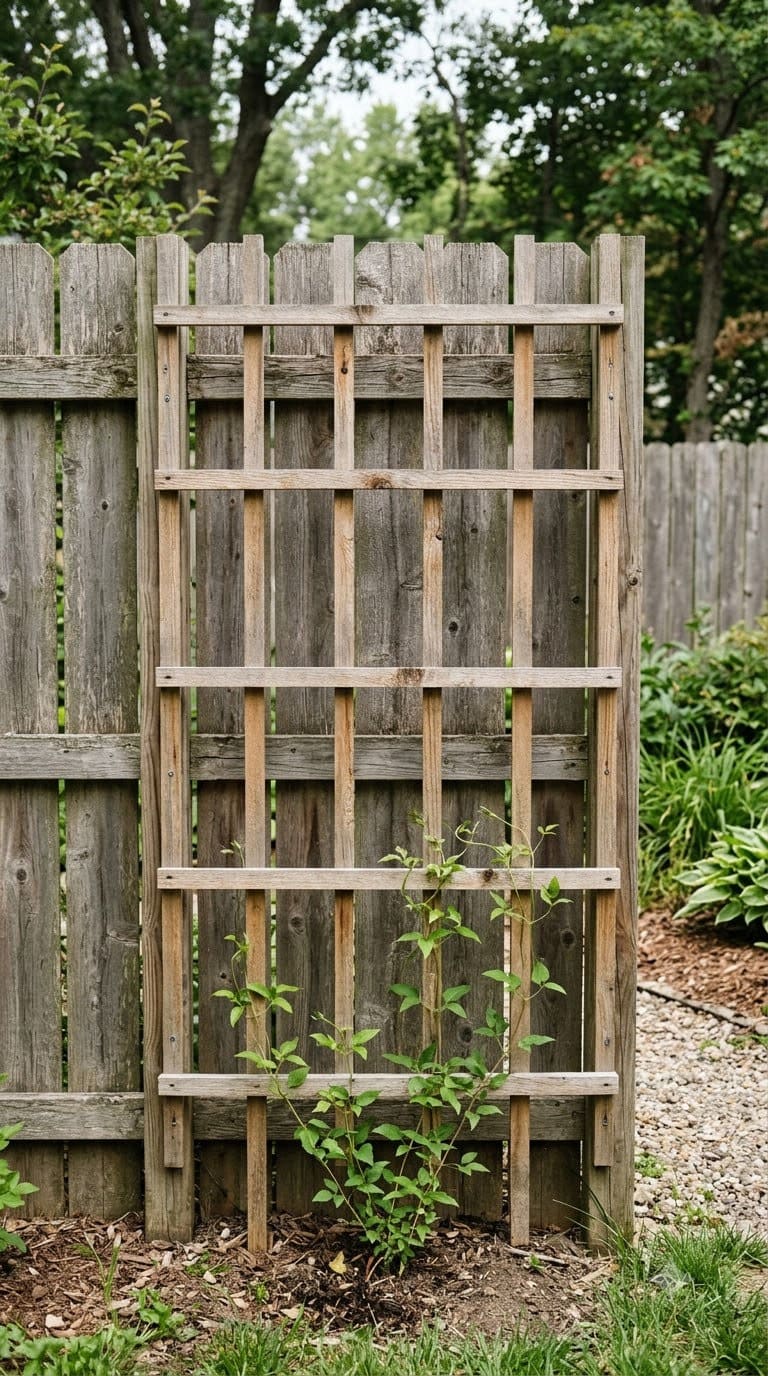
Add a simple trellis against a bare fence or wall. A $20 to $40 cedar trellis with a fast climbing vine (clematis, morning glory) fills vertical space that otherwise just reads as blank.
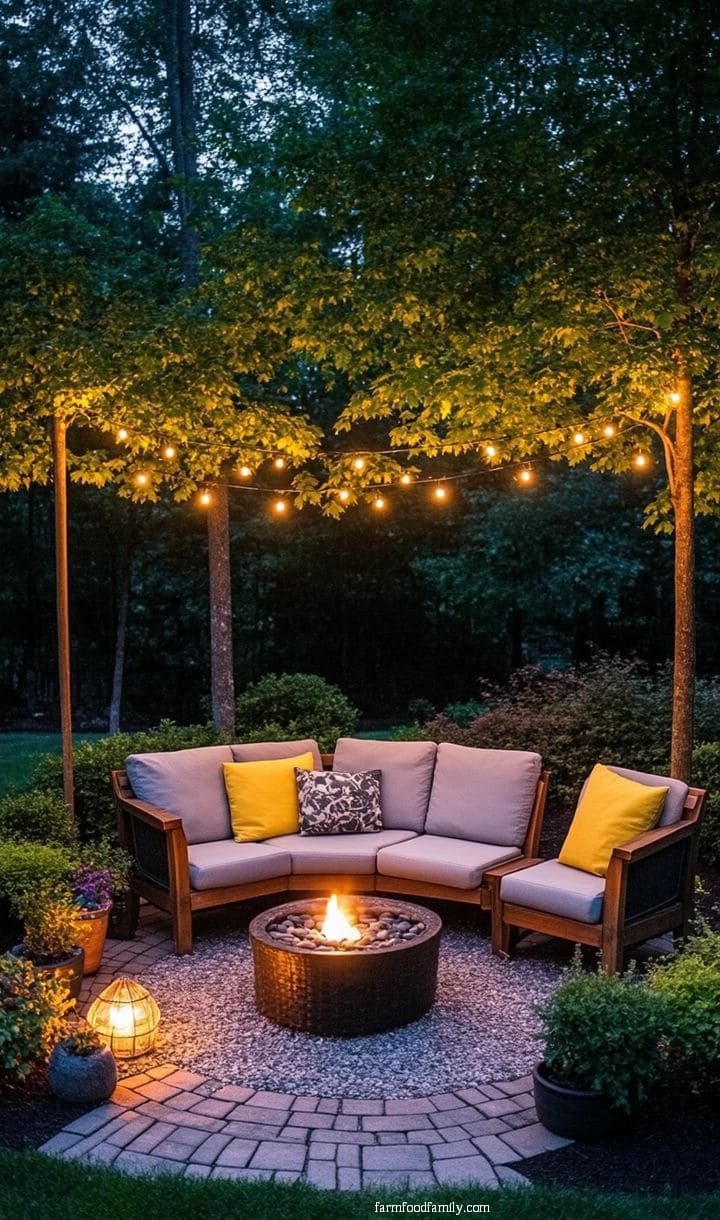
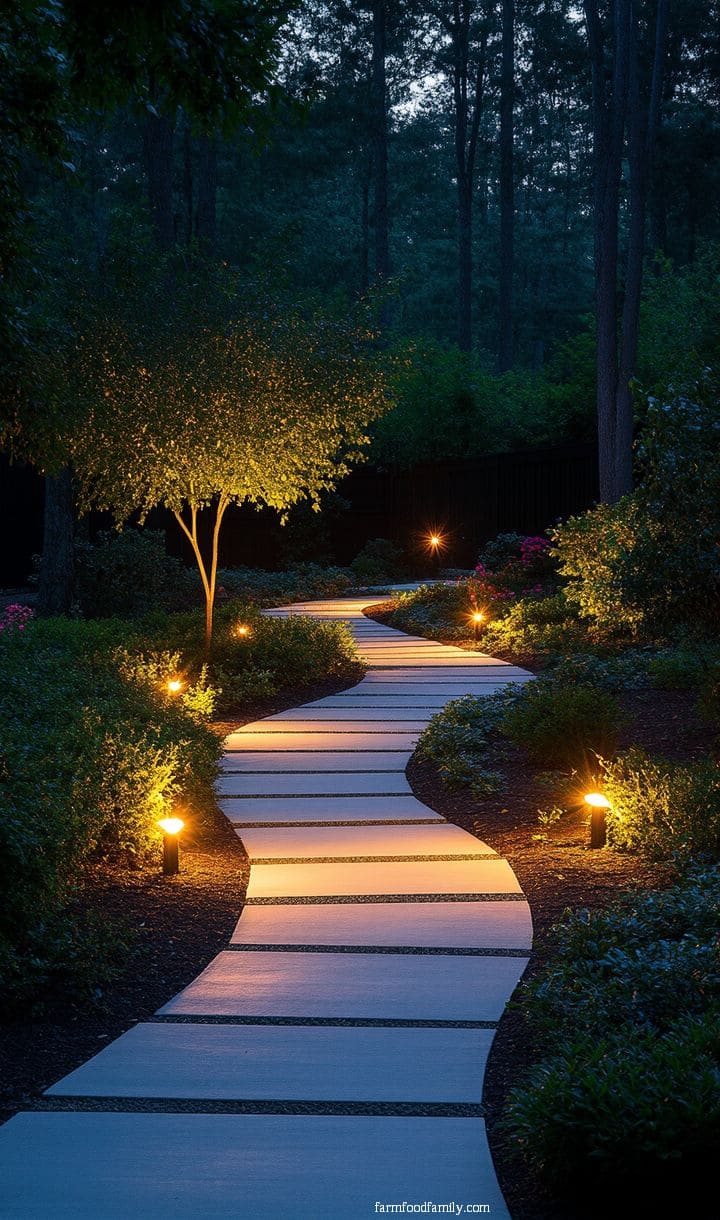
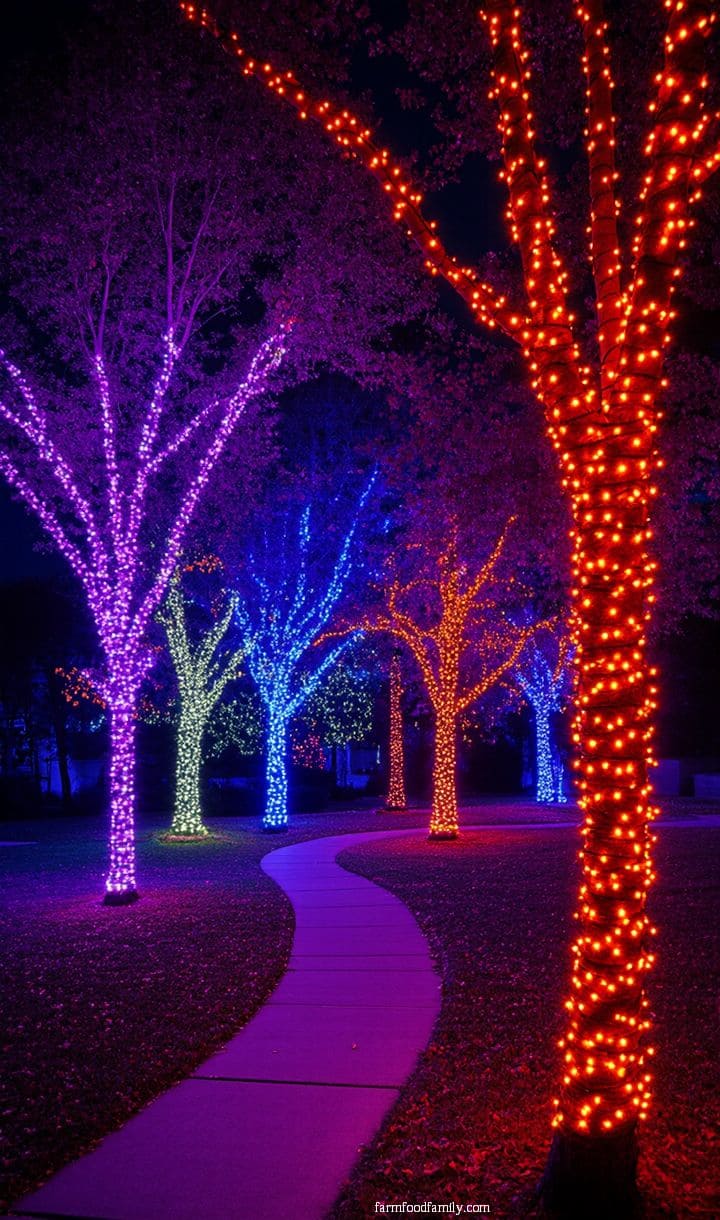
Solar spike lights are about as low-effort as this gets, no wiring, no electrician, just push them into the dirt along a path. But if you only do one lighting upgrade this year, make it uplighting on a single mature tree.
That’s the one guests actually stop and mention, way more than a row of path lights ever gets noticed.
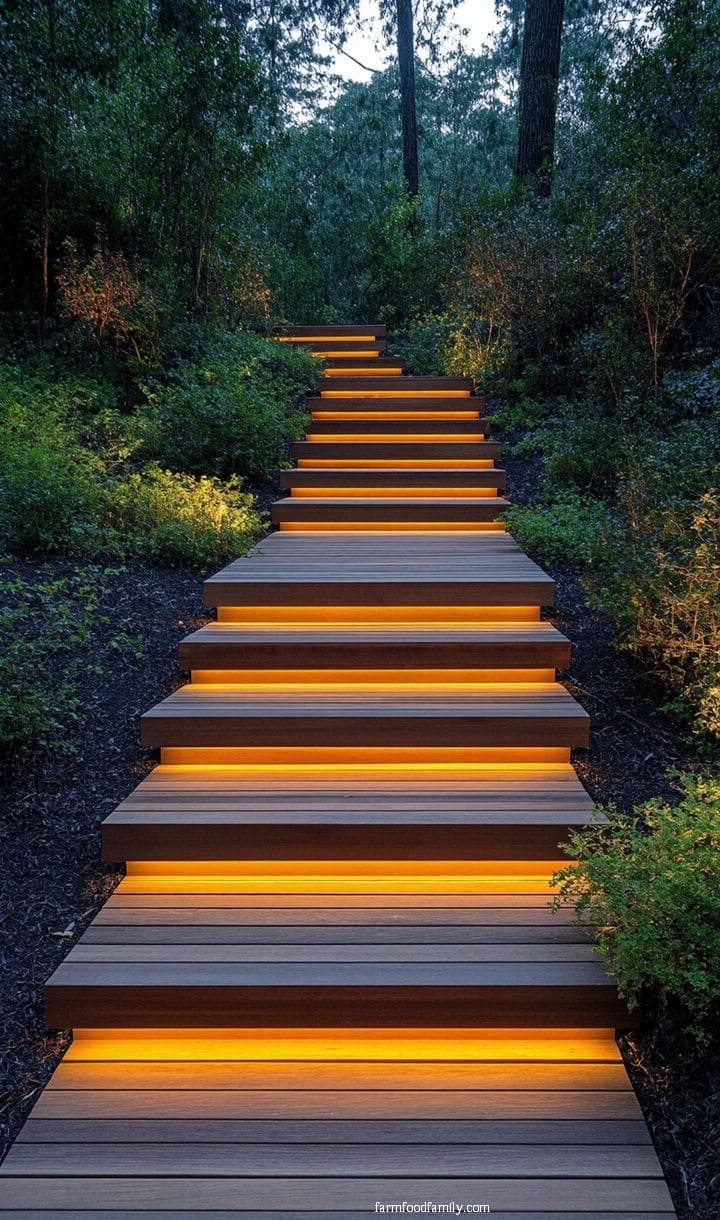
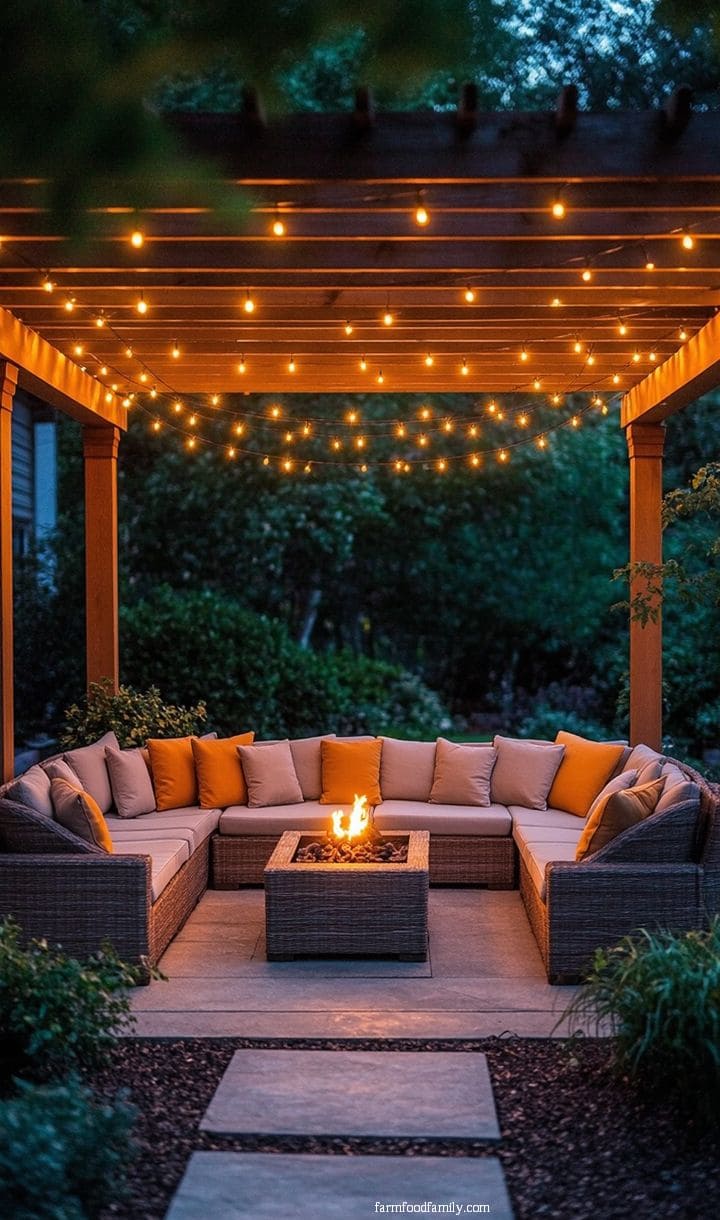
String lights over a seating area finish the look and, kind of a bonus, they stretch how late people actually stay outside.
Keep them at a consistent height, somewhere around 7 to 8 feet, instead of letting them sag loose. A tight, even line looks intentional. A saggy one looks like it went up in a hurry.
Planting on a Budget: What Actually Grows Well for Cheap
Plants are where people overspend the most, mostly because nurseries sell fully grown specimens at a premium. Buying smaller and buying smarter closes most of that gap.
4. Raised Garden Beds Made Using Reclaimed Materials
This is the other spot in the article where “cheap” and “safe” need to be the same sentence.
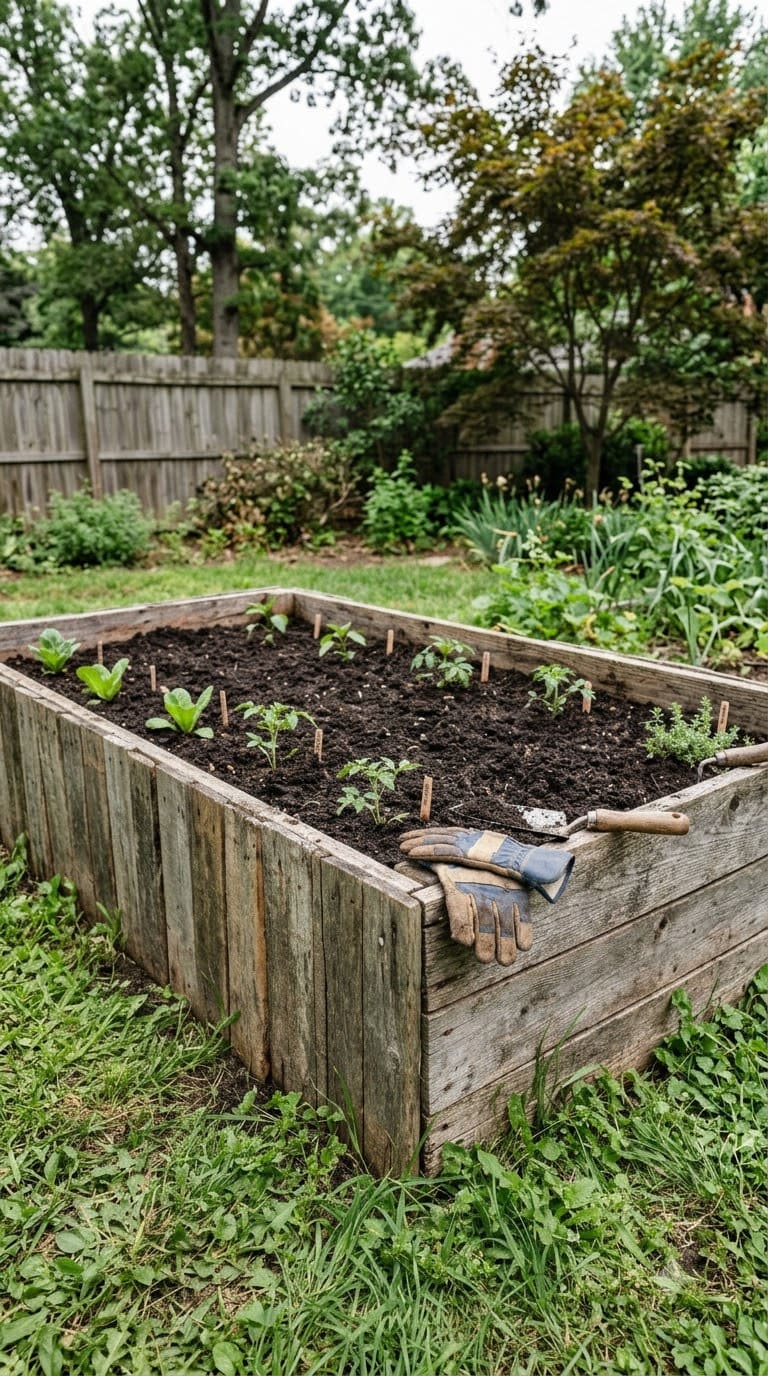
Reclaimed materials are genuinely the budget move here, old cedar fence boards, cinder blocks, even stacked stone you already have on the property.
But the University of Maryland Extension has a specific warning worth reading before you grab whatever’s free: skip old pallet wood, because some pallets are treated with creosote or pentachlorophenol, chemicals that can leach into the soil your food is growing in, and skip recycled railroad ties or landscape timbers made before 2004, since older versions were often treated with arsenic compounds (University of Maryland Extension).
Untreated cedar or redwood fence boards, cinder block, brick, and natural stone are all fine. A basic 4×8 bed built from reclaimed cedar can cost as little as $0 to $40 if you’re sourcing the wood free from a neighbor’s fence teardown, versus $150 or more for a kit from a home center.
Line the bottom with cardboard to smother grass before filling, and you’ve saved yourself a weekend of sod removal too. If you want more layout options once the bed is built, our round raised garden bed ideas roundup has shapes beyond the standard rectangle.
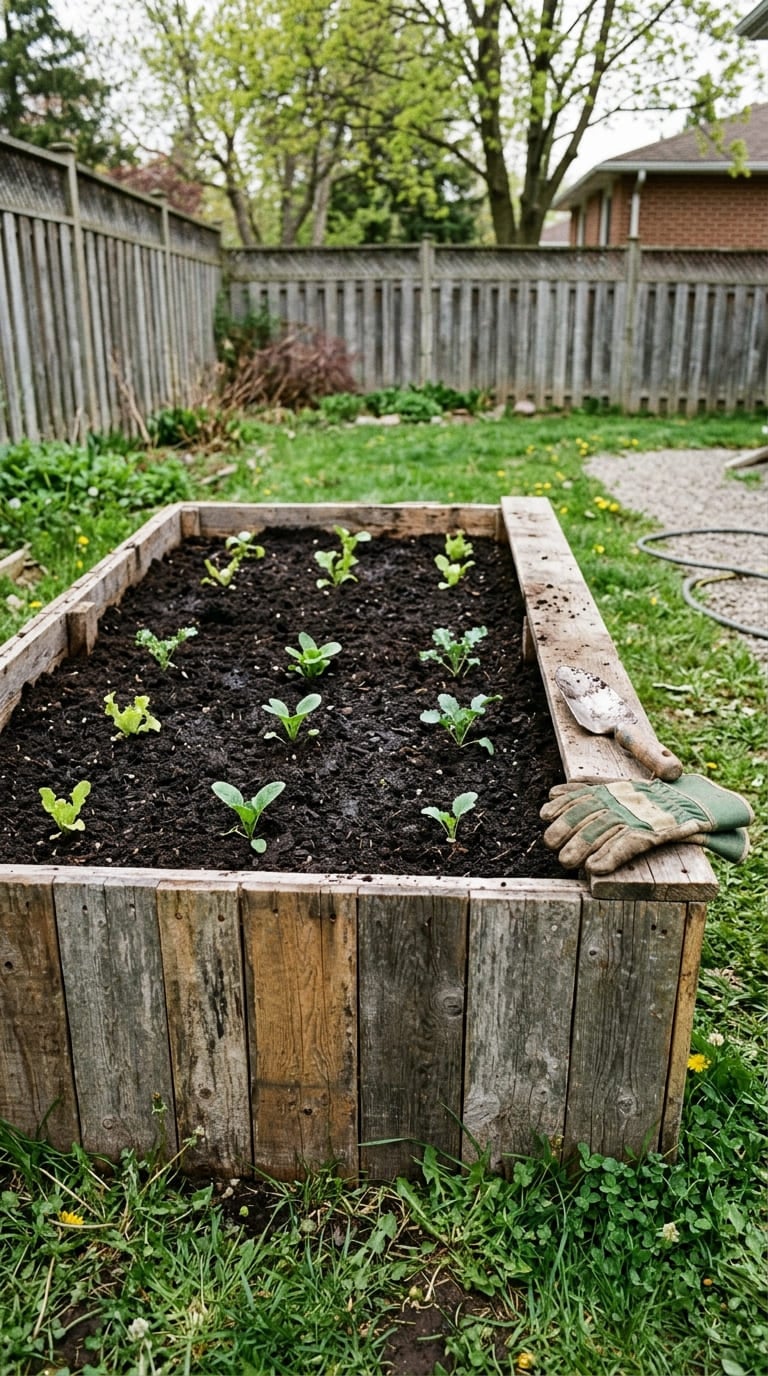
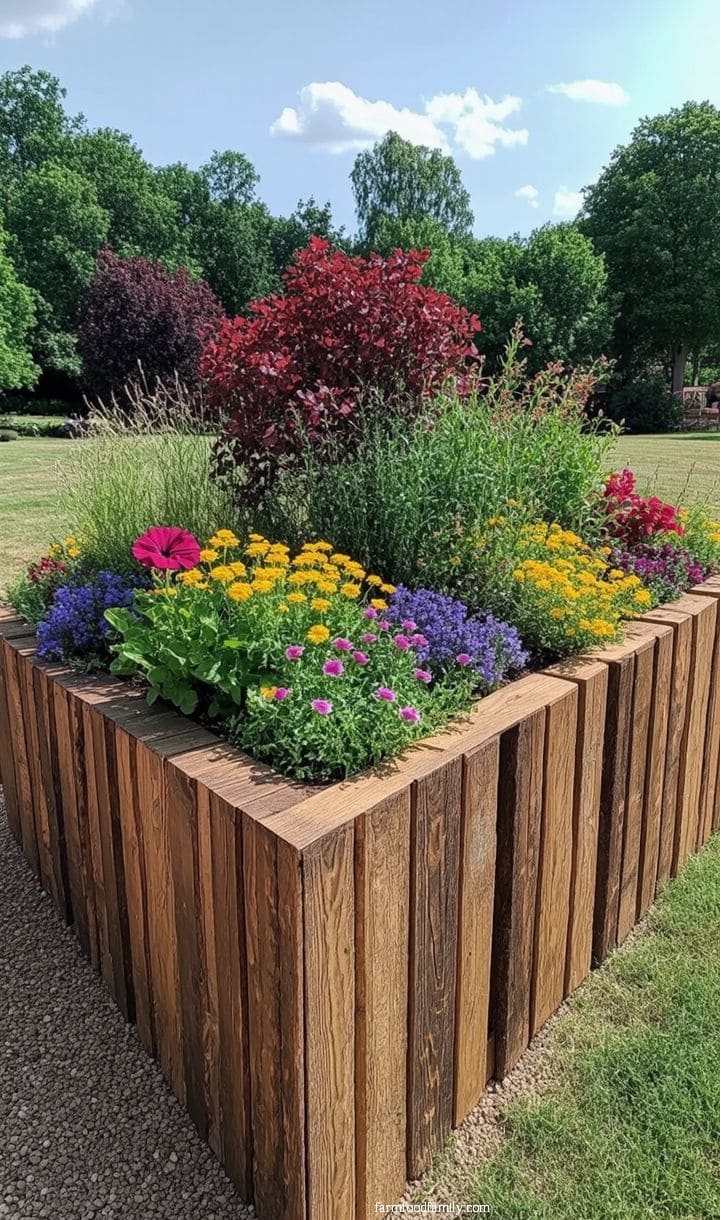
Arrange the beds in geometric patterns or rows to give your yard a more professional appearance. Adding a layer of mulch or gravel around the beds improves their beauty while keeping weeds away.
This project not only saves money but also improves the structure and functionality of your landscape.
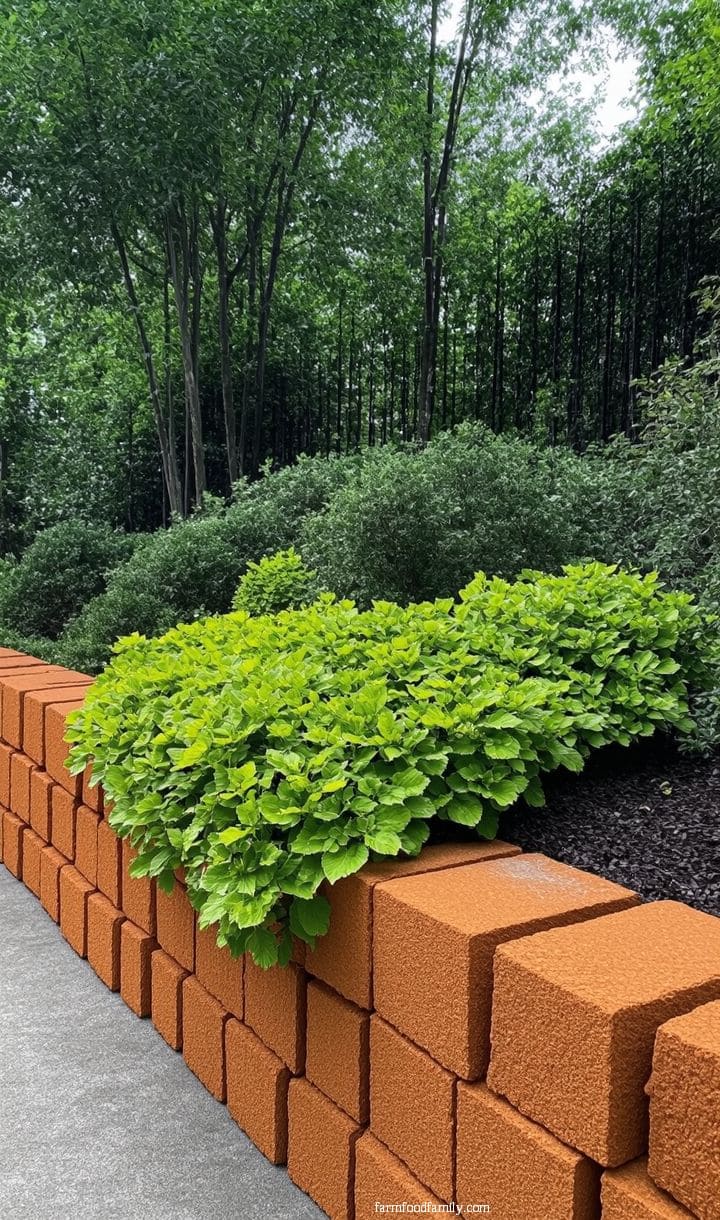
Cinder block beds have a hidden perk most people miss. The open cells on top of each block work as tiny planting pockets for trailing herbs like thyme or oregano. So you’re basically getting a second planting surface without paying for it.
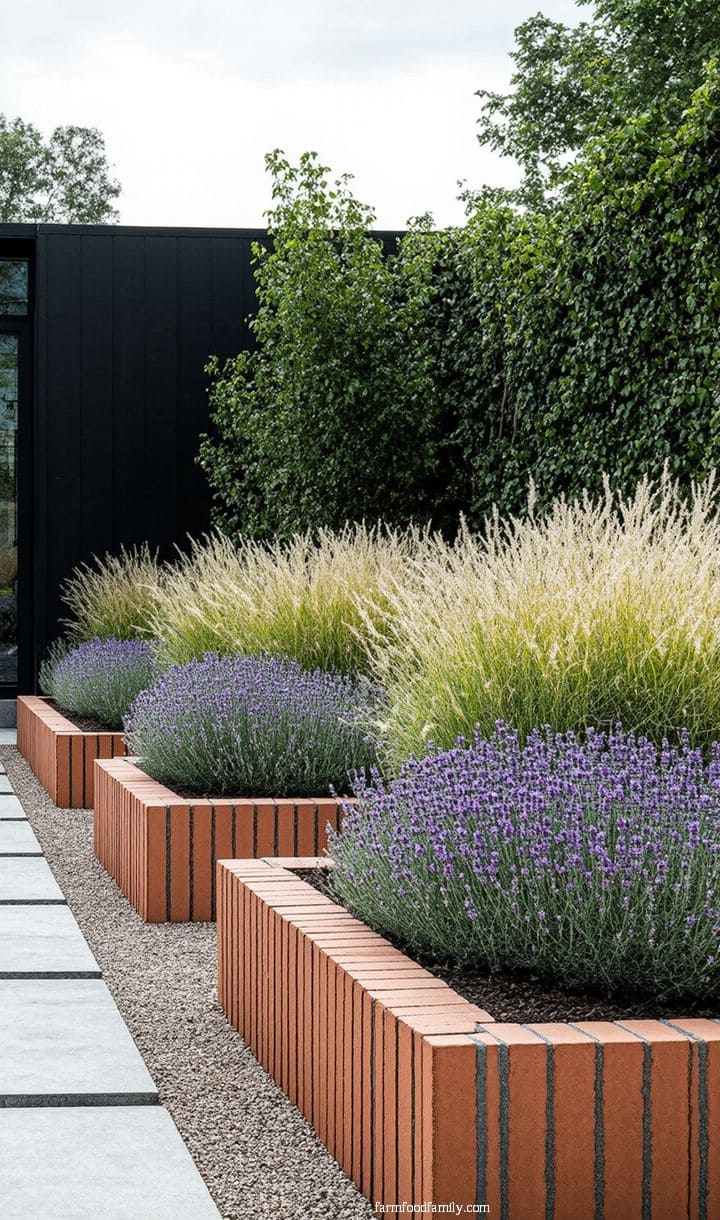
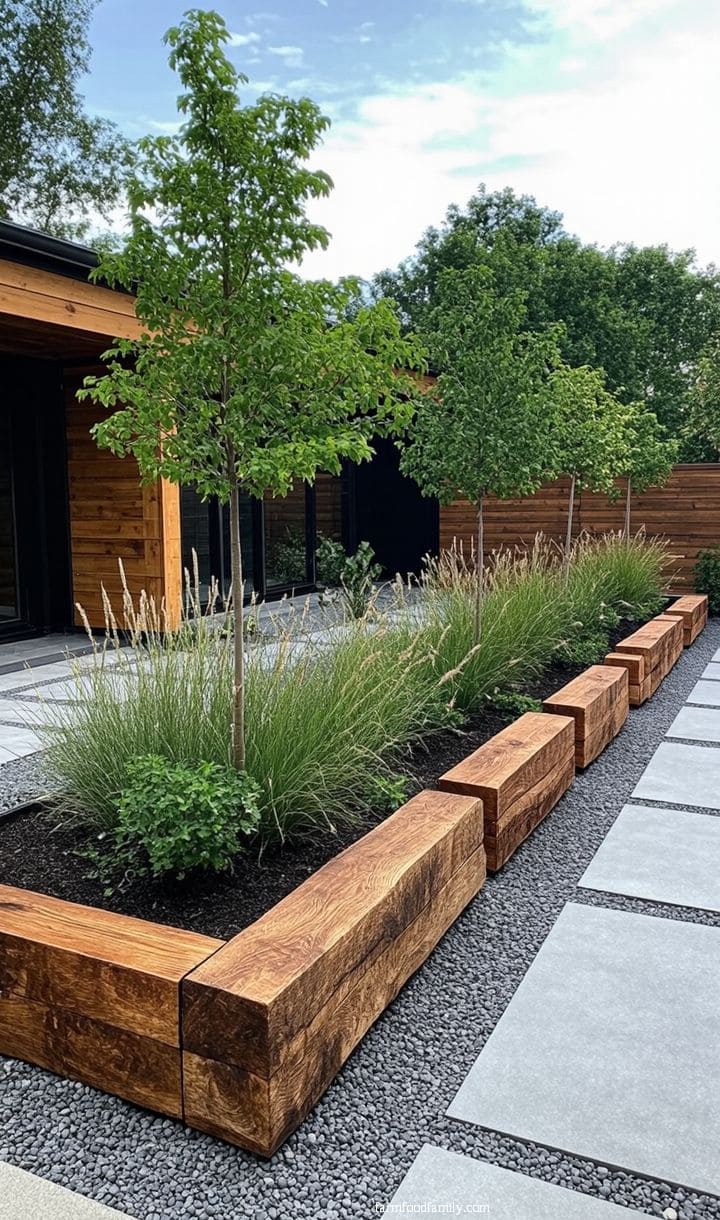
Material matters less than layout for the finished look. Line up three or four beds in parallel rows and it reads as designed.
Scatter the same beds at random angles and, honestly, it just reads as leftover construction material sitting in the yard.
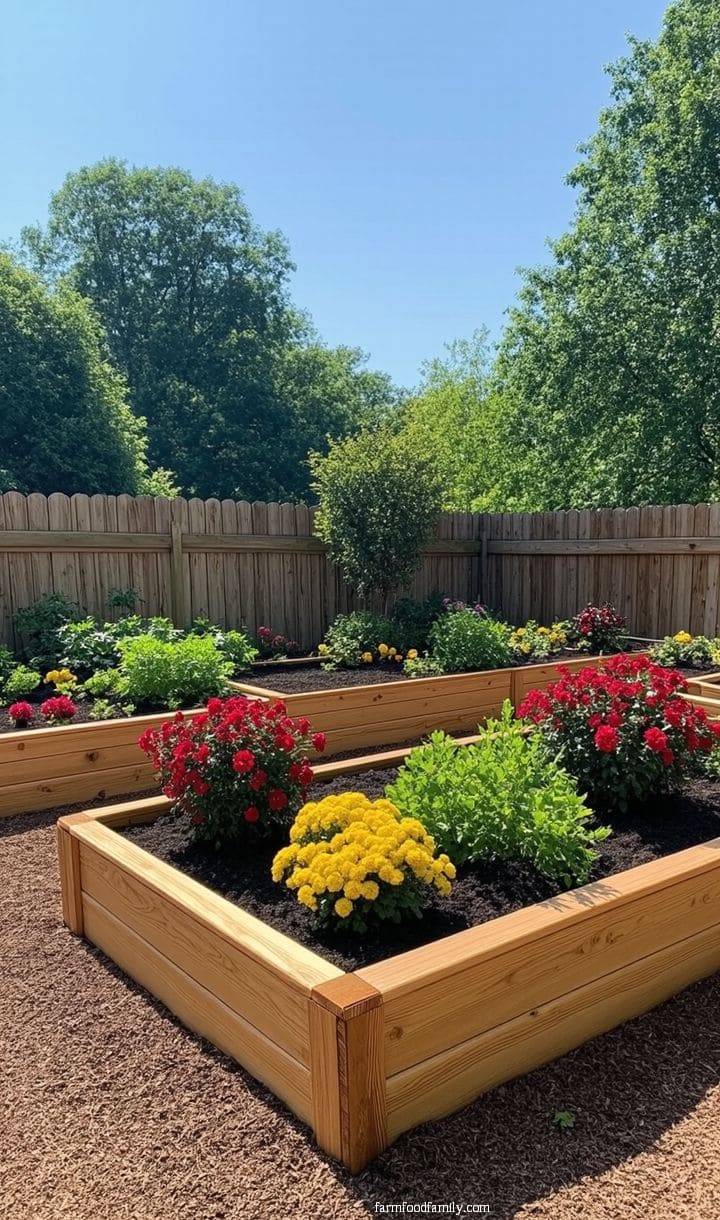
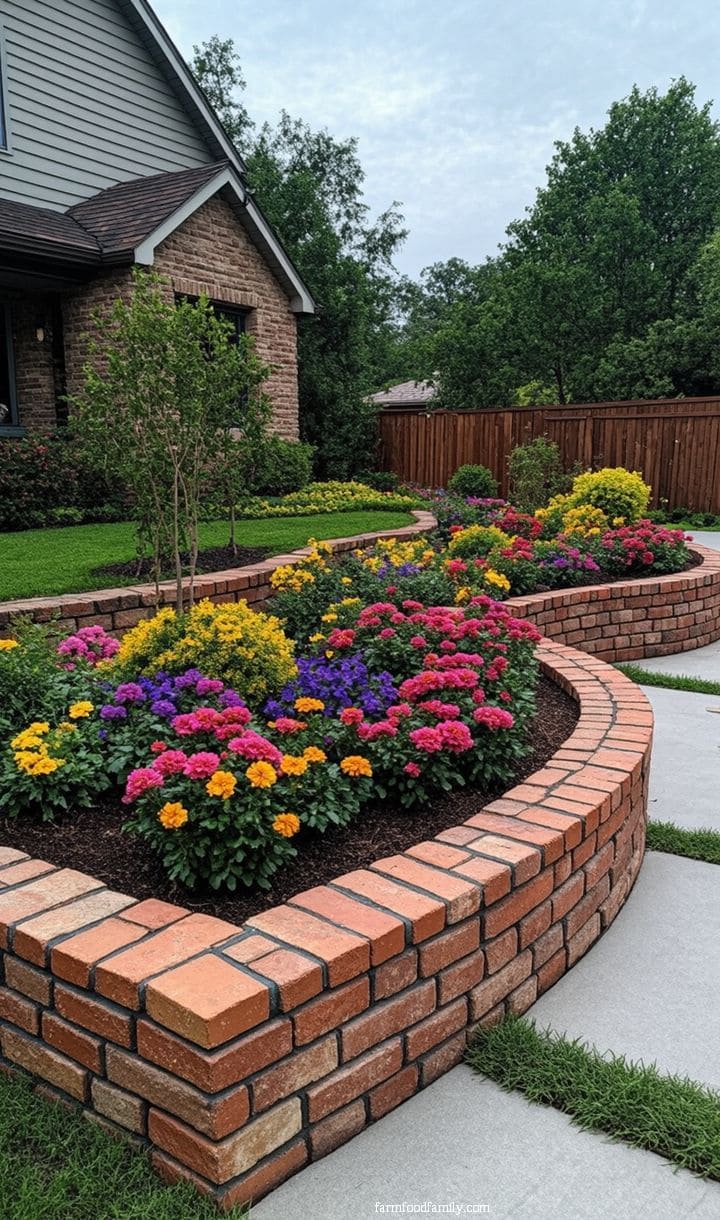
Old fence boards, shipping pallets, or even stacked cinder blocks all work as raised bed walls.
A raised bed built from reclaimed lumber costs mostly just your time, and it solves drainage and soil-quality problems that plague a lot of cheap yards without any excavation.
5. Mulched Garden Beds and Simple Plantings
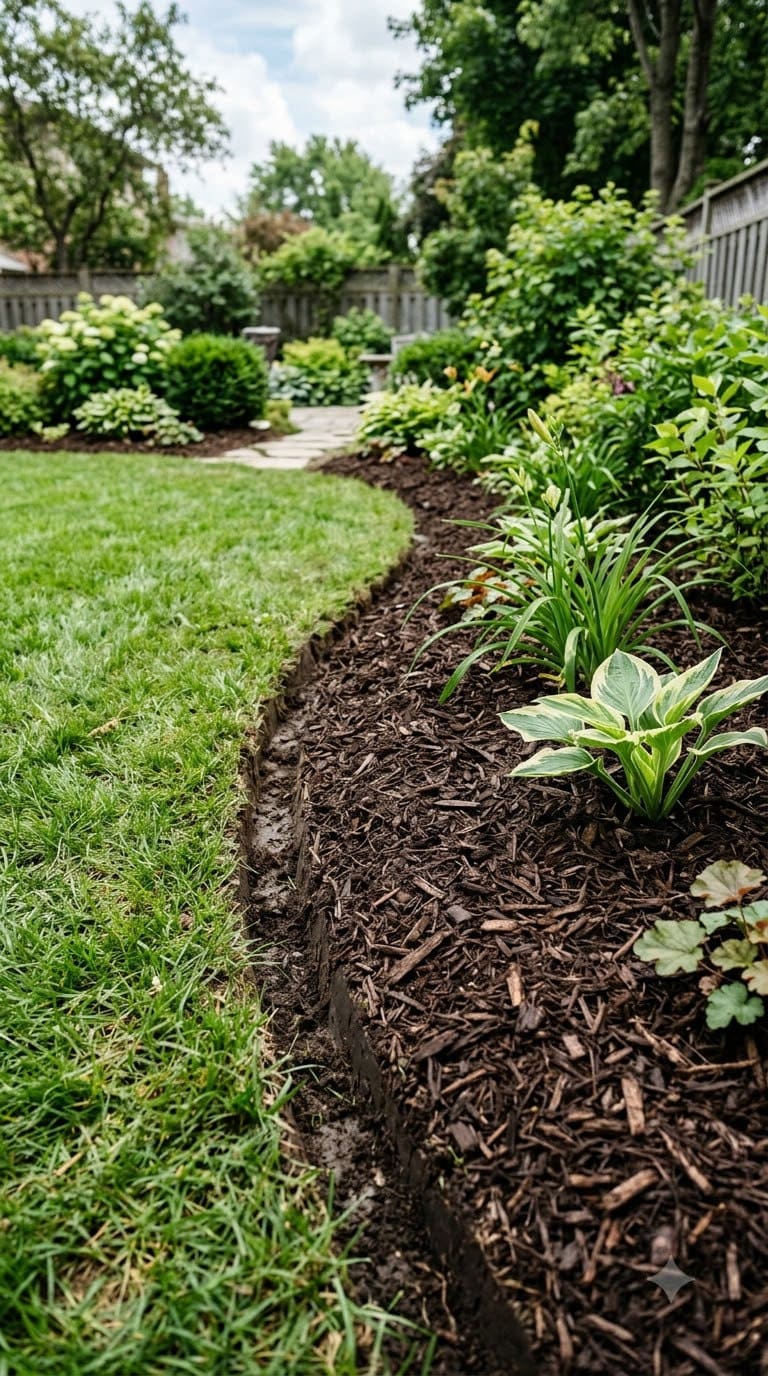
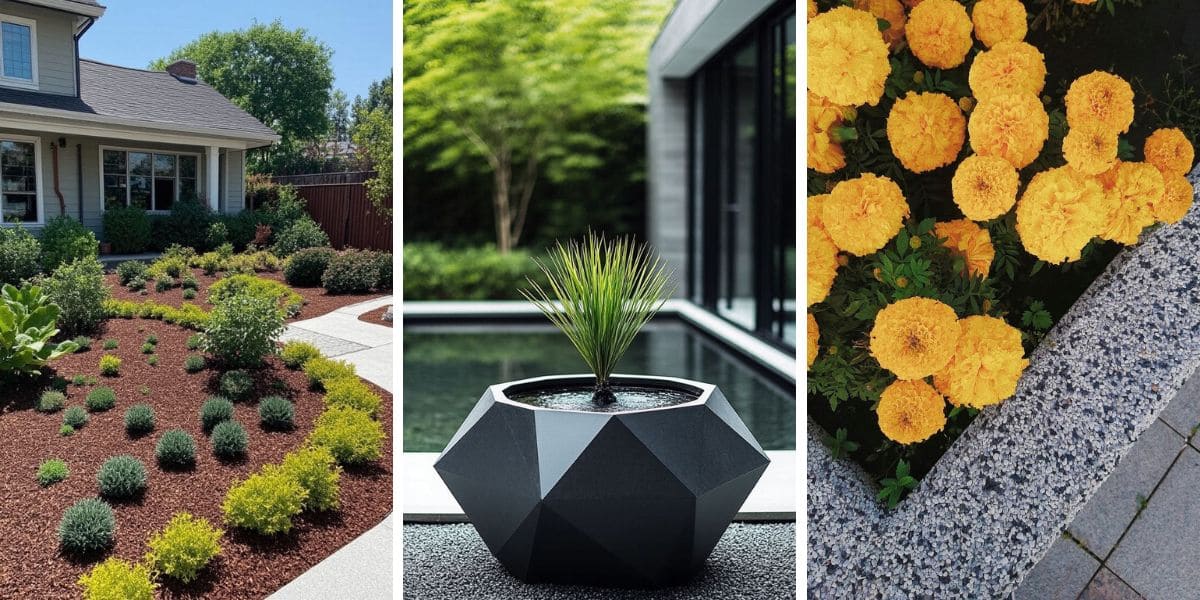
Mulch is doing three jobs at once here: it looks finished, it holds moisture so you’re not watering constantly, and it smothers weeds before they start.
Shredded hardwood mulch runs about $3 to $5 per bag (covering roughly 8 square feet at 2 inches deep), or you can go bulk delivery for closer to $30 to $45 per cubic yard if you’ve got a big bed to cover, which is meaningfully cheaper per square foot once you’re past a couple hundred square feet.
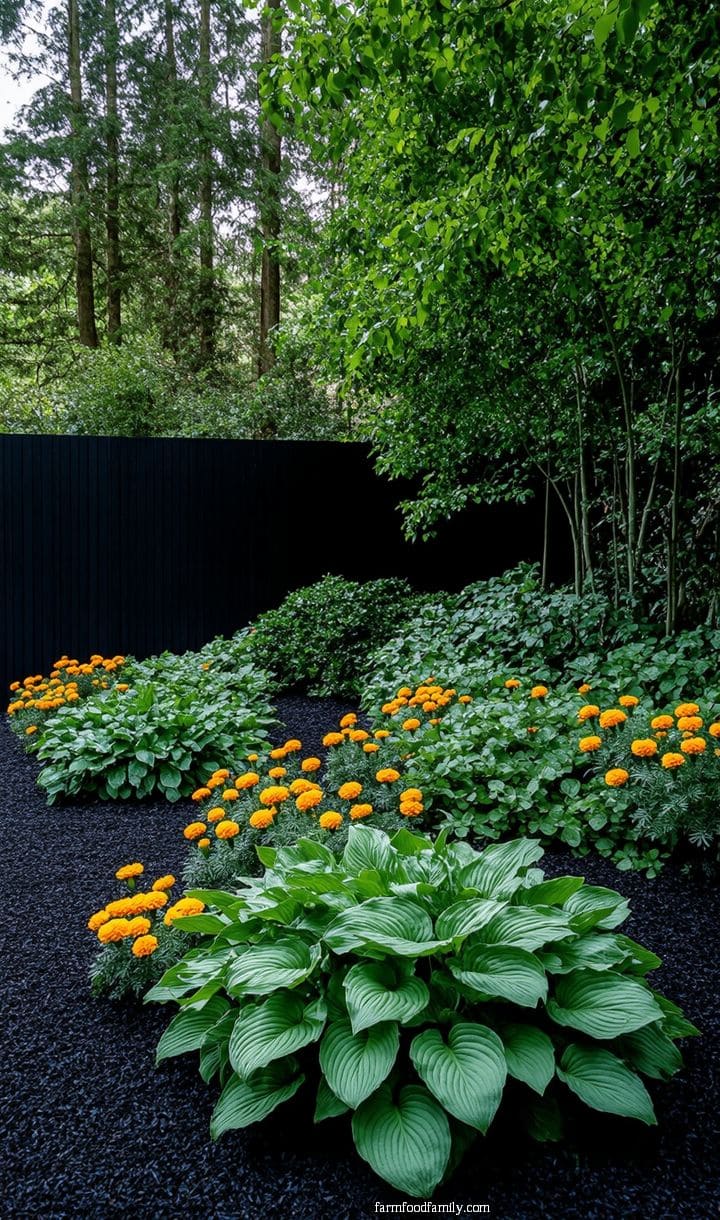
Where people overspend is the plants going into that mulch, not the mulch itself.
A few things that actually saved me money on my own beds, and that came up again and again in a Reddit thread from a first-time homeowner in Hudson Valley working with the same tight budget: buy perennials bareroot online instead of already-potted at a nursery, they cost a fraction as much and you’re just waiting an extra season for them to fill in.
Local garden club plant sales are a real thing and they’re often selling perennials for about $5 a pot, sometimes less. And Facebook Marketplace and neighborhood groups are full of people giving away divided perennials for free when they’re redoing their own beds, you just have to ask.
Annuals fill gaps fast but they’re a one-season purchase, so lean on them for instant color this year while your cheaper perennials establish, not as your long-term plan. For more combinations of mulch color and rock accents, see our mulch and rocks landscaping ideas piece.
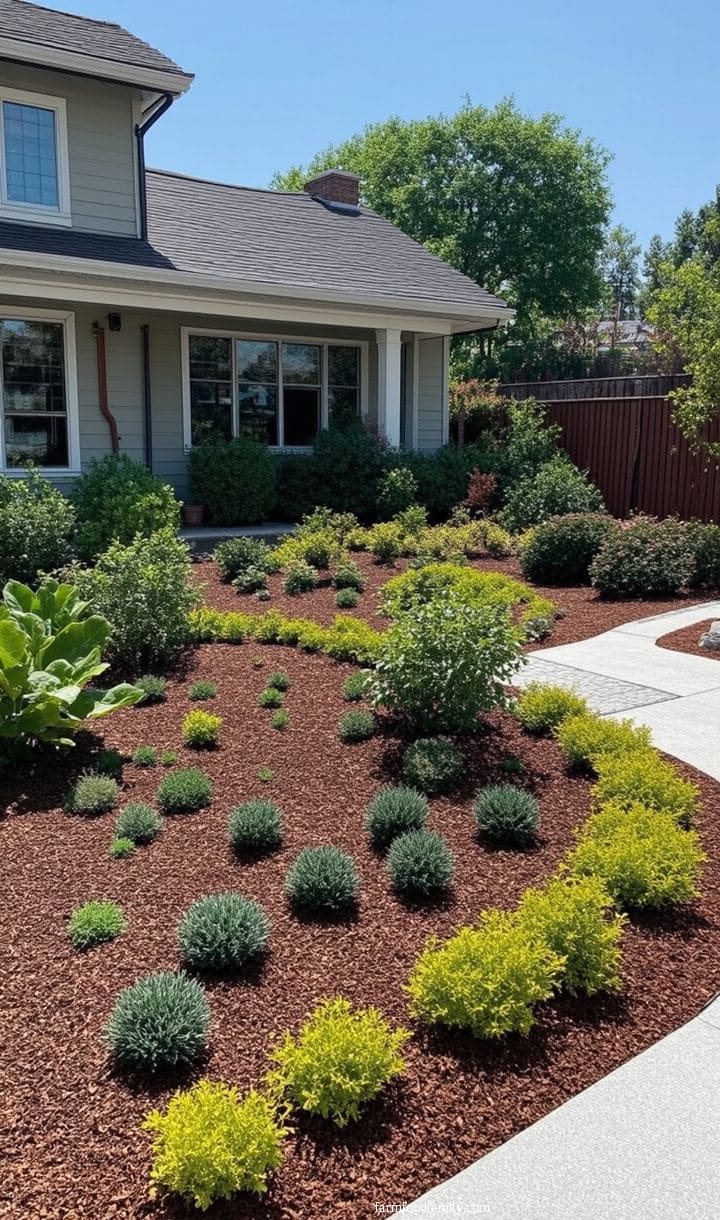
Hostas, daylilies, and marigolds are the three that show up in this kind of bed over and over, and there’s a reason for it, they’re cheap, they fill in fast, and none of them sulk if you forget to water for a week. Not exactly glamorous plants, but that’s kind of the point for a budget bed.
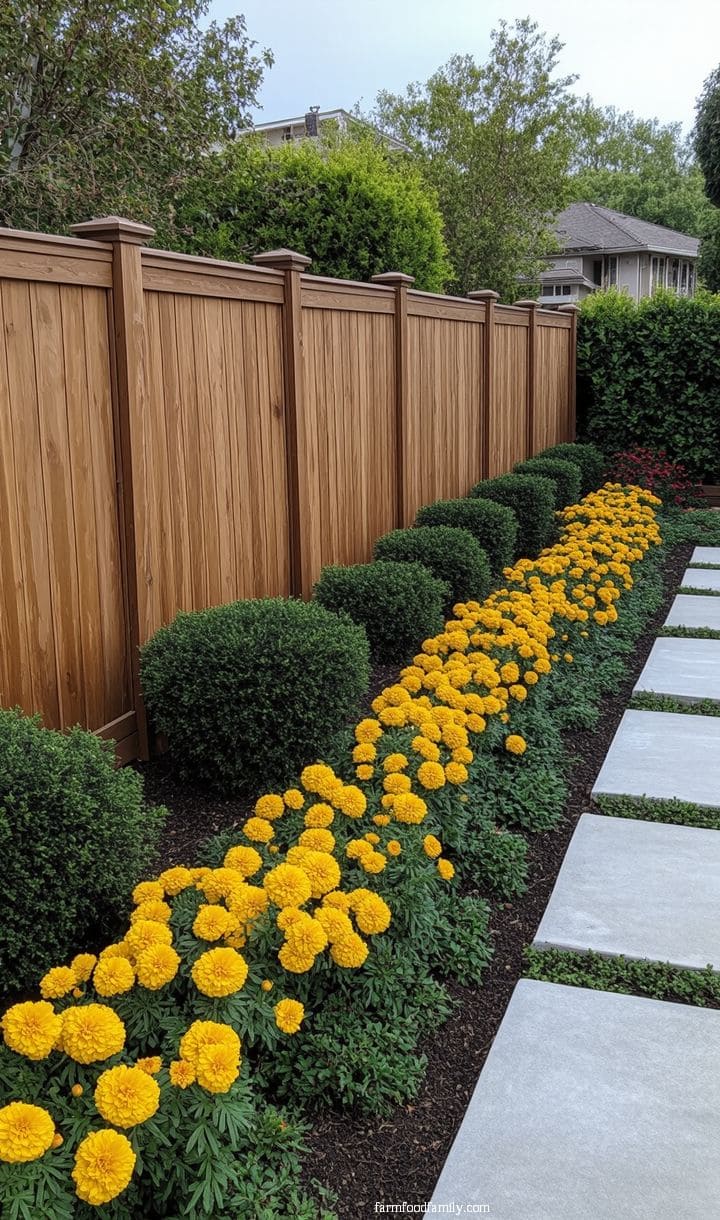
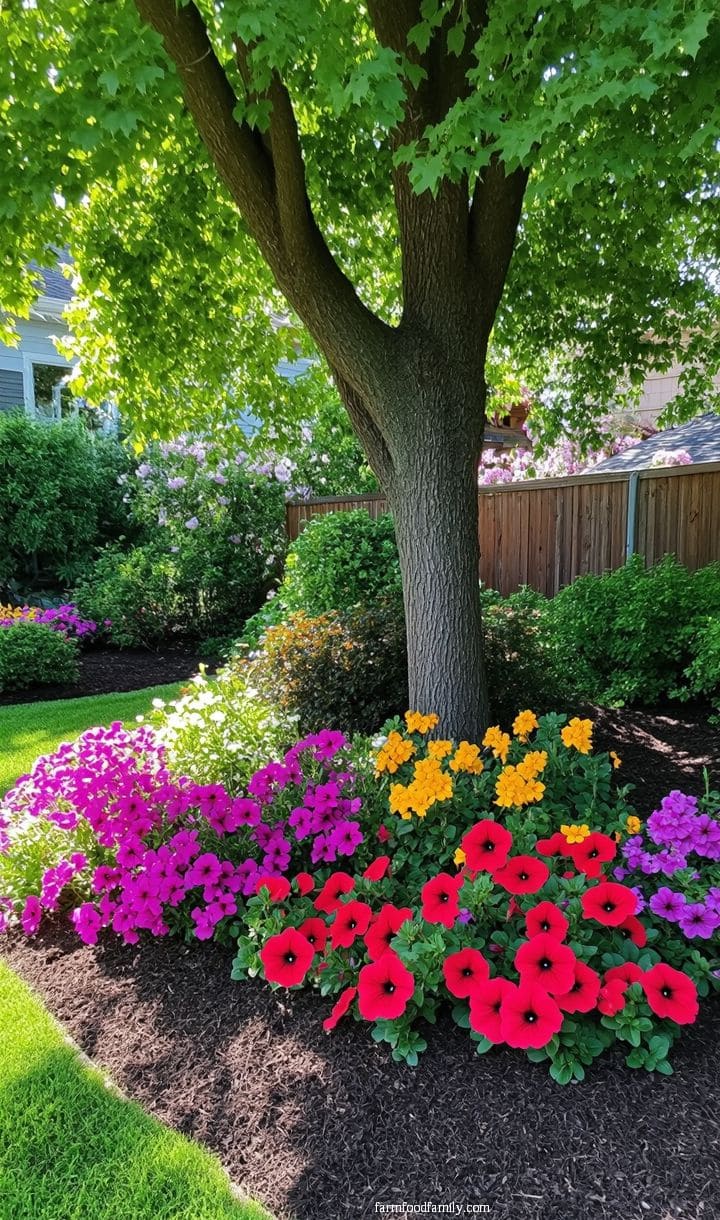
A couple inches of mulch is the sweet spot, maybe 2 to 3 inches deep. Pile it higher than that against a plant stem and, kind of counterintuitively, it can actually rot the base instead of protecting it. Keep it pulled back an inch or so from any stem or trunk.
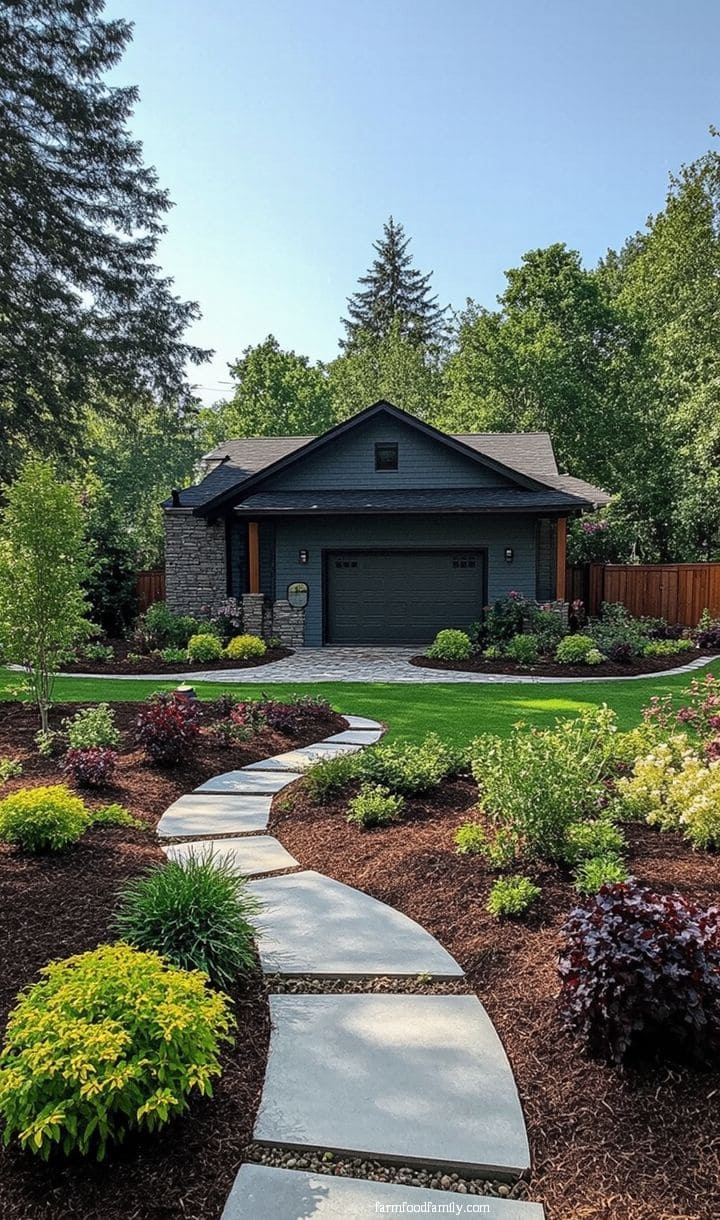
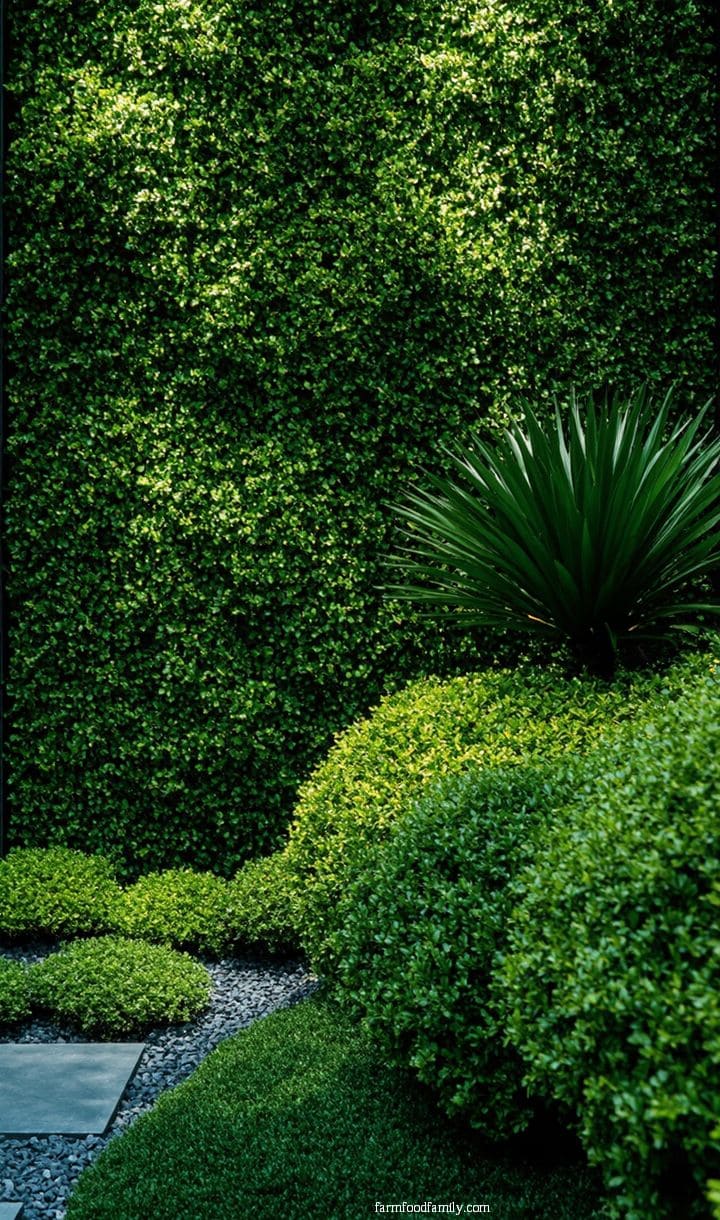
6. What to Plant in a Shady, North-Facing Yard
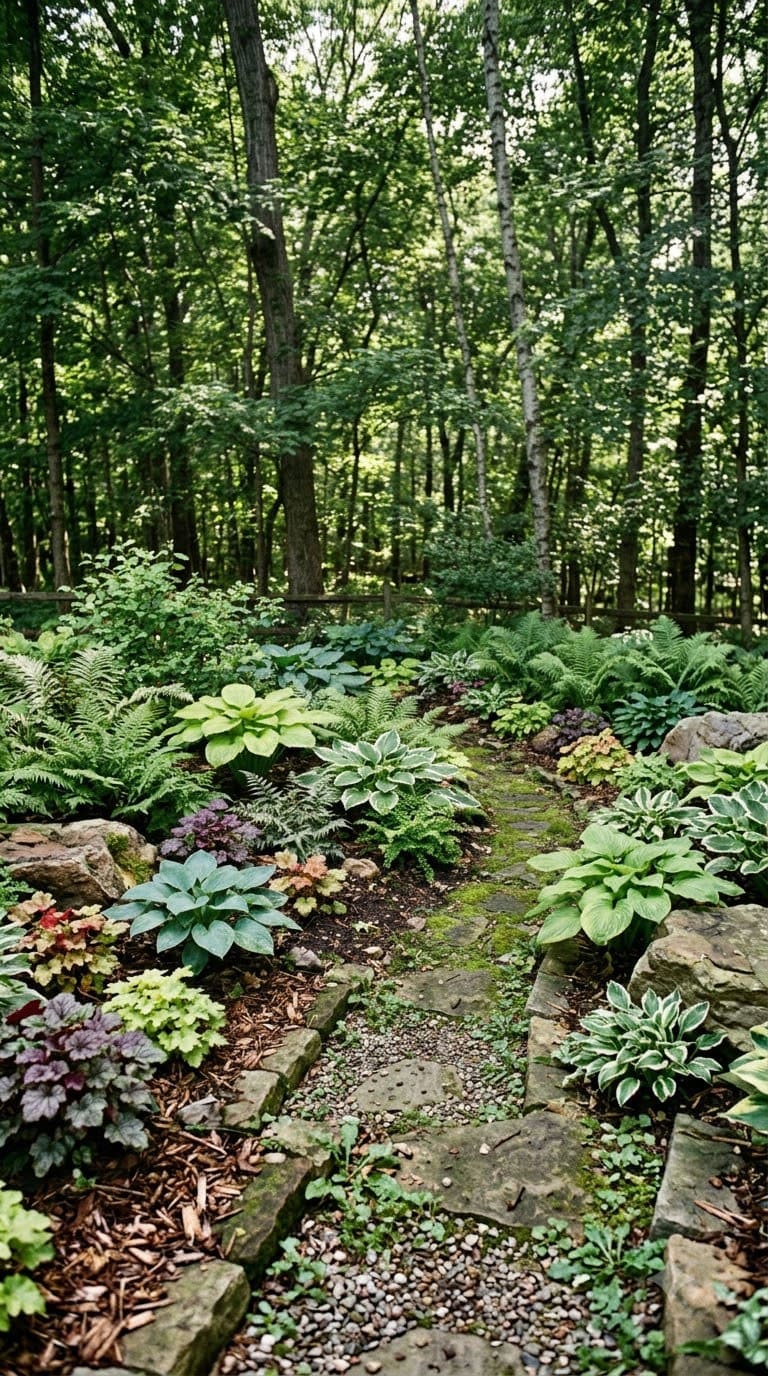
A north-facing yard that barely sees direct sun is genuinely one of the harder landscaping problems, and most generic “cheap landscaping” articles just skip it.
The plant list that actually works in that kind of shade, again straight from real gardeners dealing with exactly this, isn’t a mystery: hostas, heuchera (also called coral bells), astilbe, cardinal flower, and woodland phlox all tolerate low light and still give you real color and texture, not just green filler.
If you want to lean native, native azalea, native rhododendron, and tiarella (foam flower) cover the same shady conditions and tend to need less babying once established since they’re already adapted to your region.
Amend the soil with compost before planting, shade beds tend to be root-competition zones under trees, and a two-inch mulch layer afterward holds onto what moisture does reach the ground.
Most of these are perennials, so the bareroot and plant-sale buying tips from the section above apply here too. Our shade garden ideas gallery has more layout inspiration if hostas and ferns alone feel a little plain.
Fast additions in the planting category:
- Plant one standout shrub or small tree as a focal point instead of scattering a dozen small plants across the yard. One good specimen reads as more expensive than ten mediocre ones.
- Divide perennials already growing in your yard instead of buying new plants. Most established perennials can be split every few years and replanted elsewhere for free.
- Prioritize native species over imported varieties. Missouri University Extension’s water-efficient landscaping guidelines note that native plants are already adapted to local conditions and generally need less water, less fertilizer, and fewer pesticide applications once established, usually around three years in.
- Plant in odd-numbered clusters, three or five or seven, instead of scattering plants at random. Jessica Berrett, an enhancement designer and horticulturist listed with the Utah Nursery & Landscape Association, makes almost the same point from the professional side: her most repeated strategy is choosing fewer plant varieties and repeating them in larger groupings, rather than buying several different plants in small quantities. It’s the difference between a yard that looks designed and one that looks like leftover nursery stock got planted wherever there was space.
- Prune what’s already there before buying anything new. A lot of “ugly” yards aren’t actually missing plants, they just have overgrown hedges and shrubs that haven’t been shaped in years.
7. Perennial vs. Annual: The Choice That Actually Saves Money
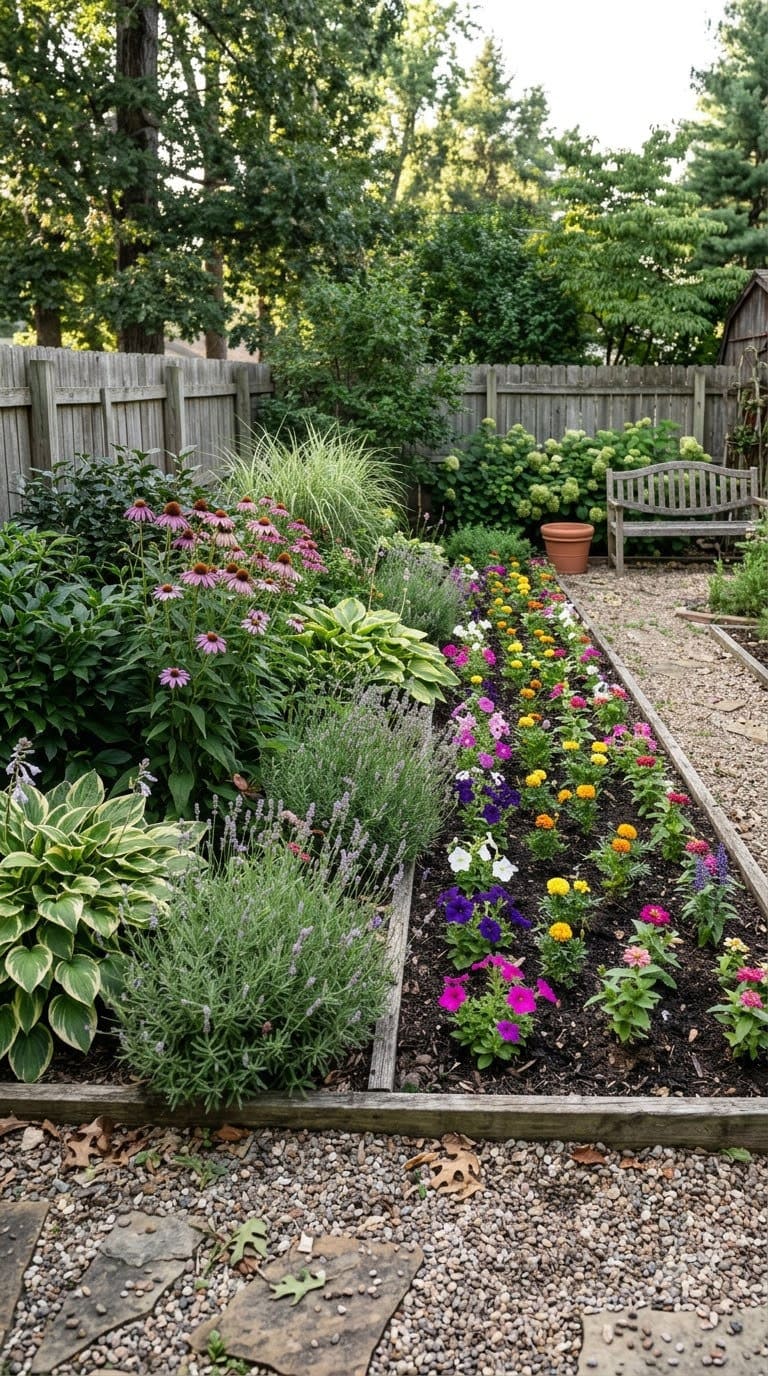
This is less an “idea” than a decision you’ll make over and over as you fill in beds, so it’s worth actually breaking down the math.
Perennials generally run $5 to $50 per plant depending on maturity and variety, they come back every year, and they get bigger (and more valuable) over time as you divide them into new plants for free.
Annuals run cheaper up front, roughly $2 to $15 per plant, and seed packets are cheaper still at $1.50 to $3.50, but you’re buying them again next spring since they die at the end of the season.
The honest answer: perennials are the better long-term value almost every time, but annuals are genuinely the right call for instant, reliable color in year one while your perennial beds are still filling in, or for seasonal color swaps (mums in fall, pansies in early spring) that perennials just can’t do.
Most of the yards that look “expensive” year-round are running a mostly-perennial backbone with annuals used sparingly as accents, not the other way around.
Five quick planting additions to fill gaps and add texture:
Add a single dwarf shrub as an anchor plant near your entry. A dwarf boxwood or hydrangea ($20 to $35) gives a bed structure that annuals alone can’t provide.
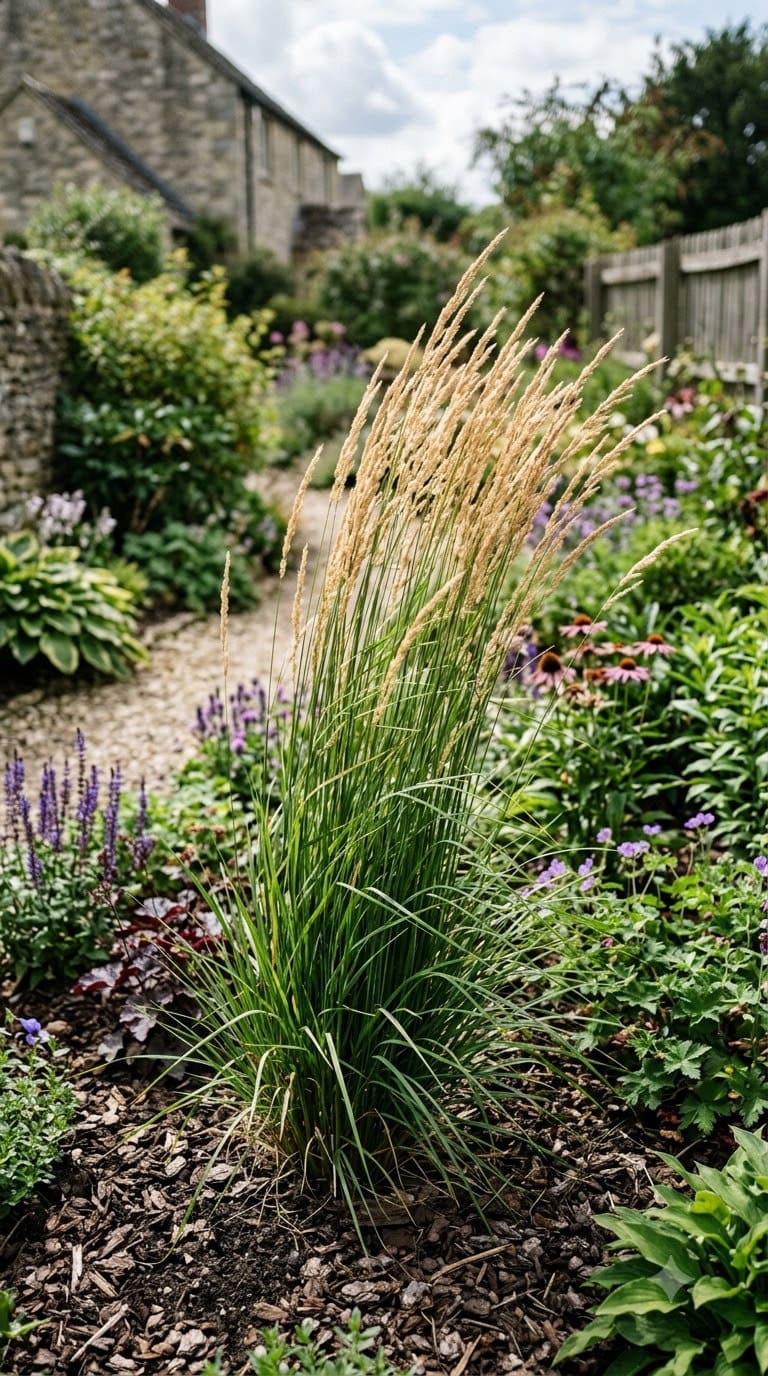
Add an ornamental grass clump as a focal accent. Feather reed grass or fountain grass ($8 to $15 a pot) gives you movement and height without any real maintenance.
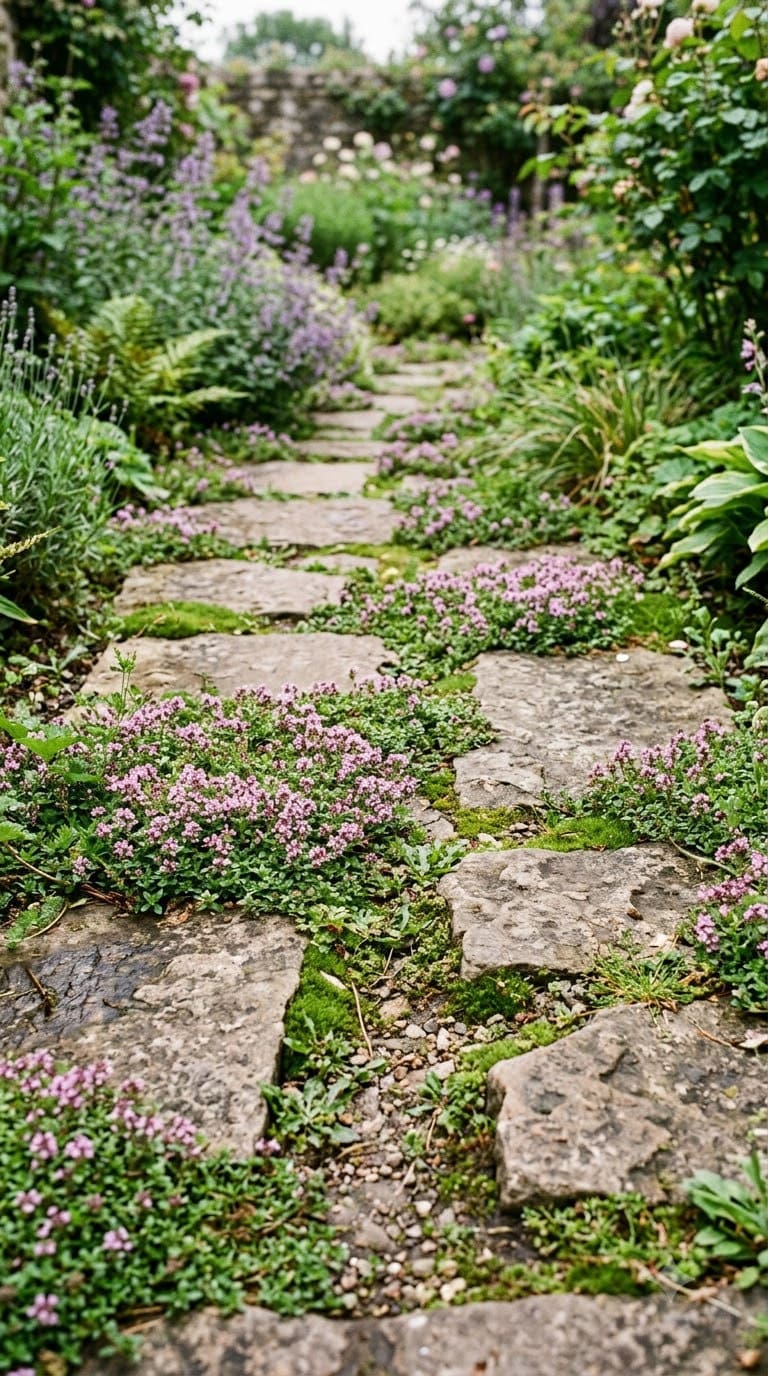
Tuck in groundcover between stepping stones. Creeping thyme or Irish moss fills gaps cheaply and takes light foot traffic without complaint.
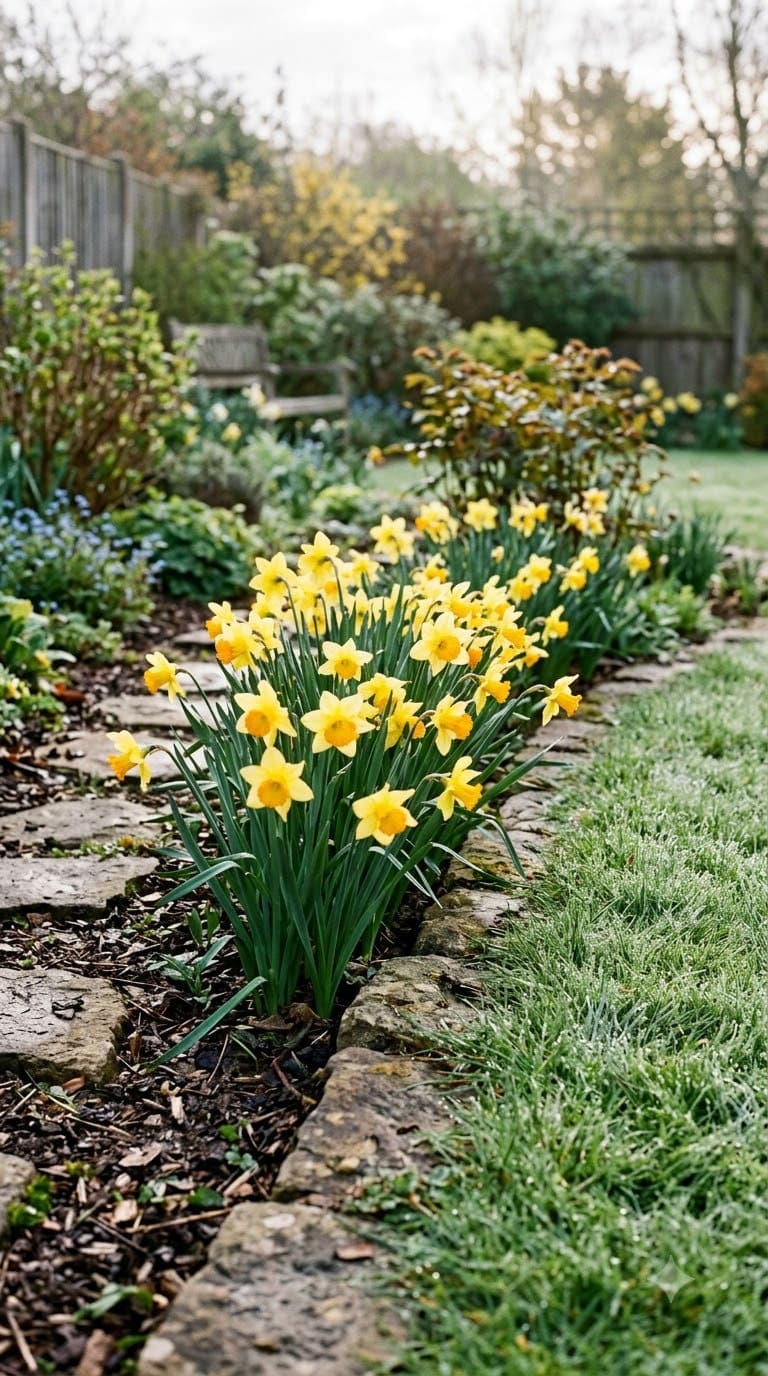
Plant spring bulbs in fall for a free color boost next year. Daffodil and crocus bulbs run pennies each in bulk and multiply on their own over a few seasons.
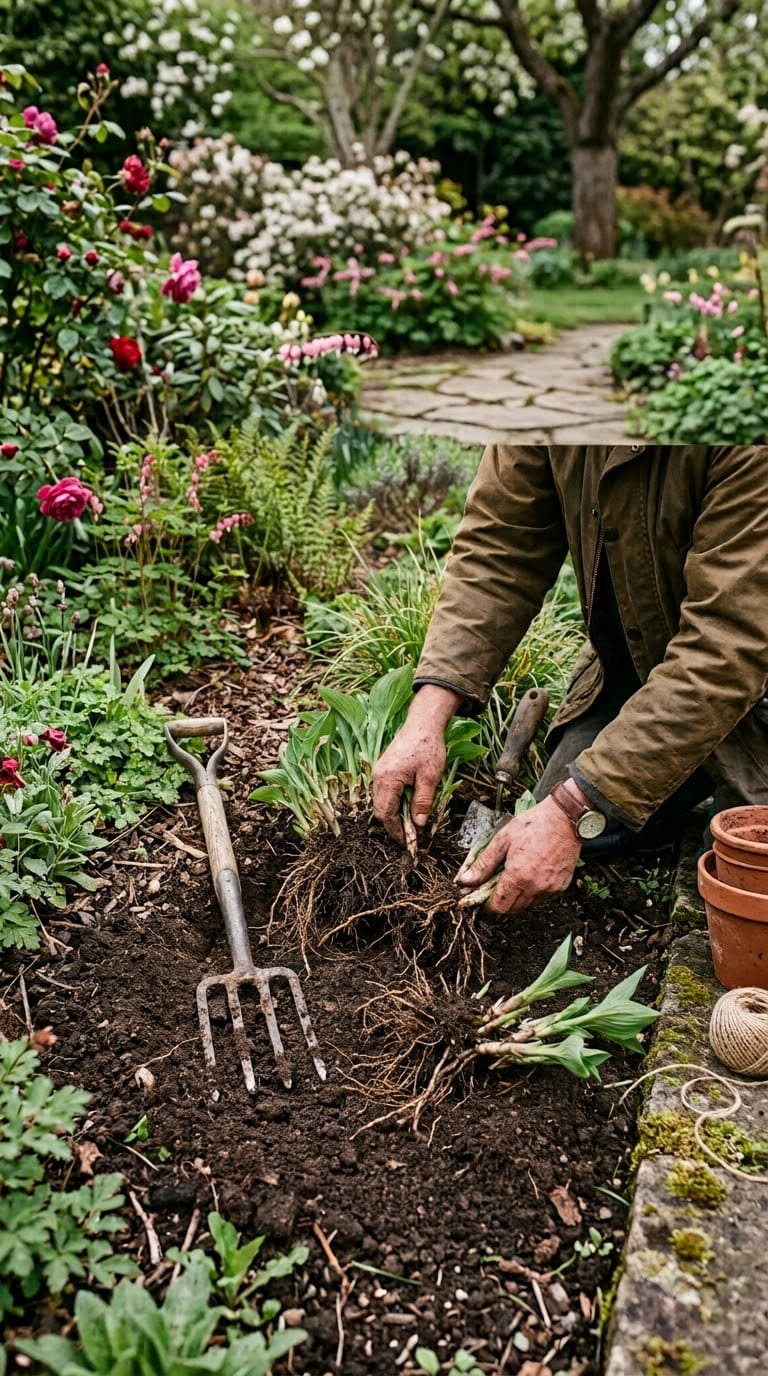
Divide an existing perennial clump instead of buying a new plant. Most established perennials can be split into 2 to 4 new plants every few years, essentially free plant material.
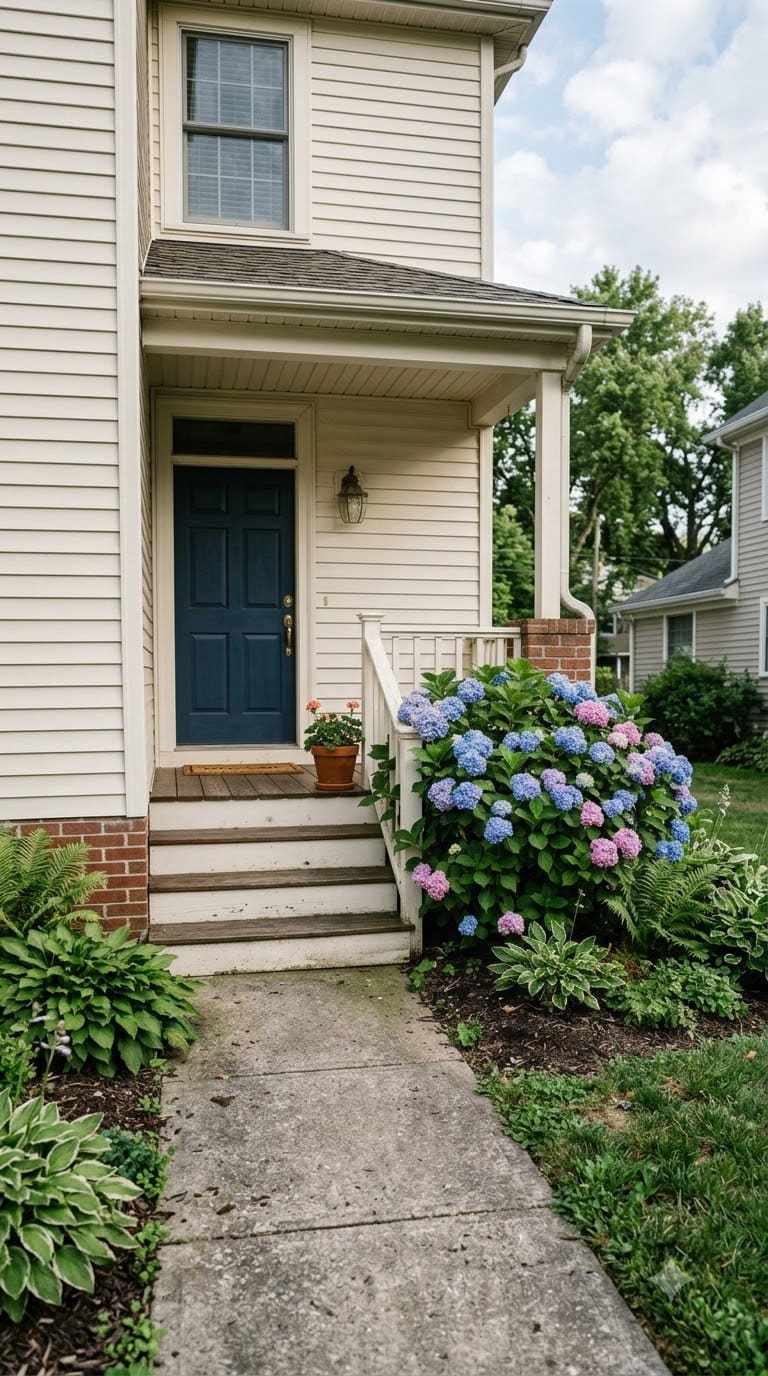
Focal Points Worth the Effort
A yard doesn’t need five focal points. It needs one or two done well.
8. DIY Water Features with a Modern Touch
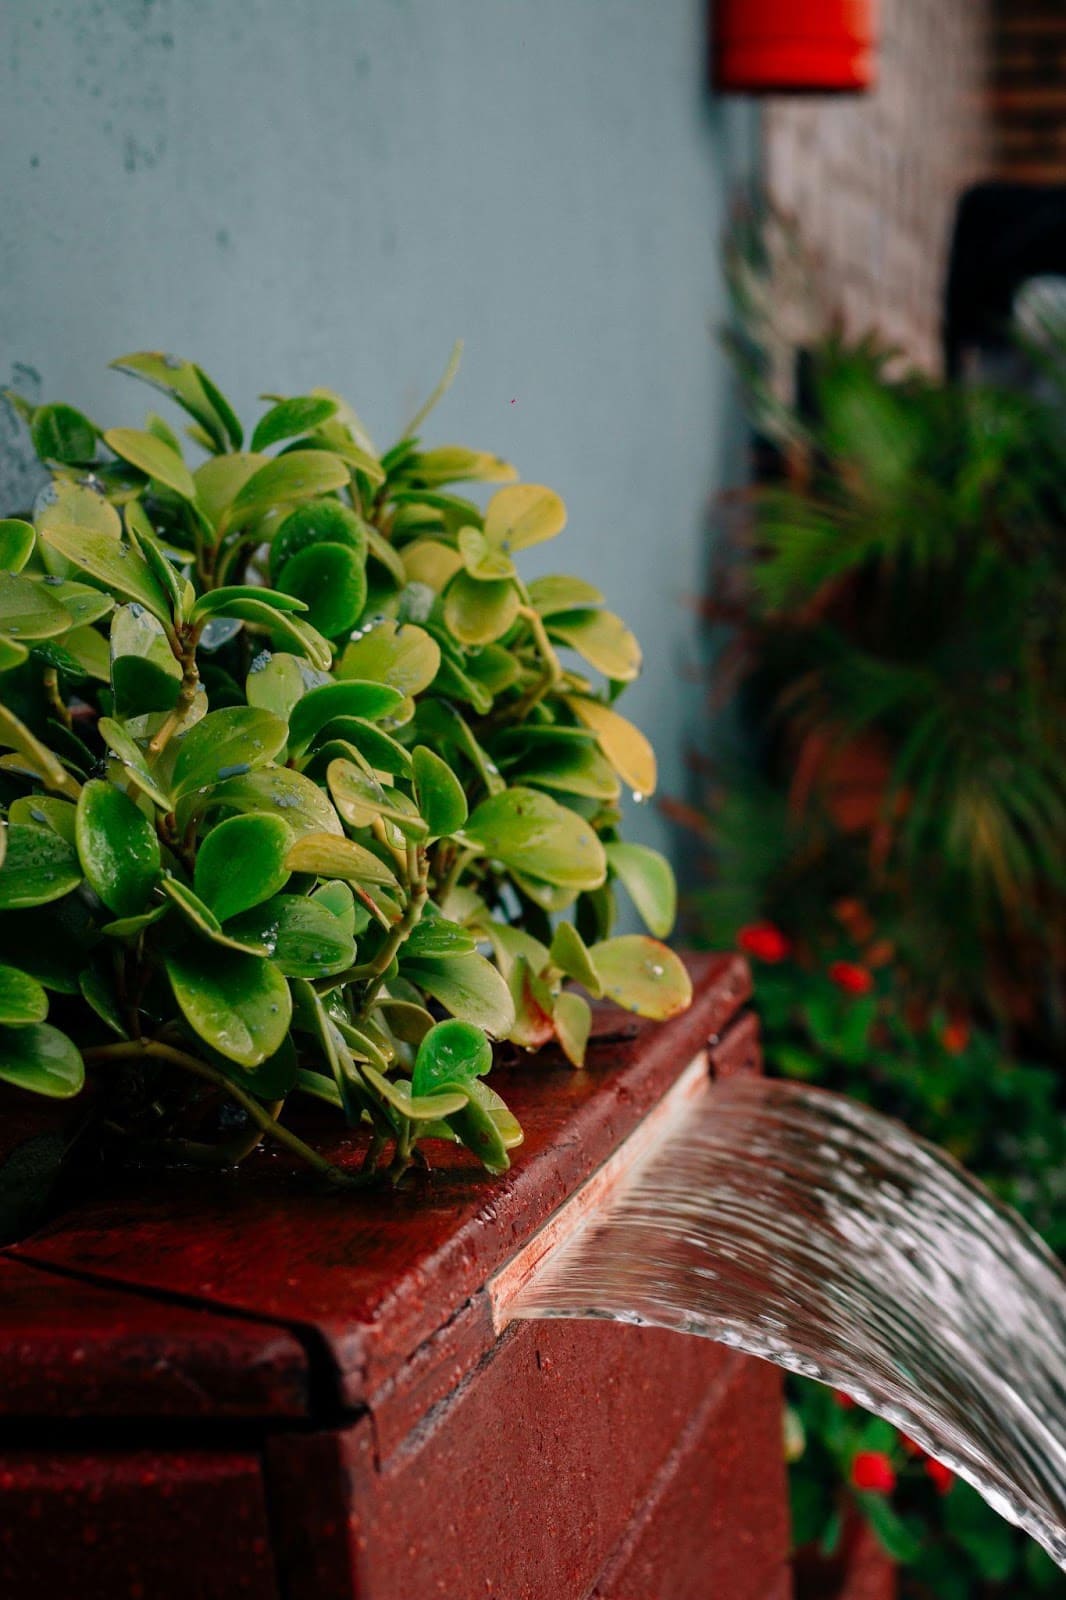
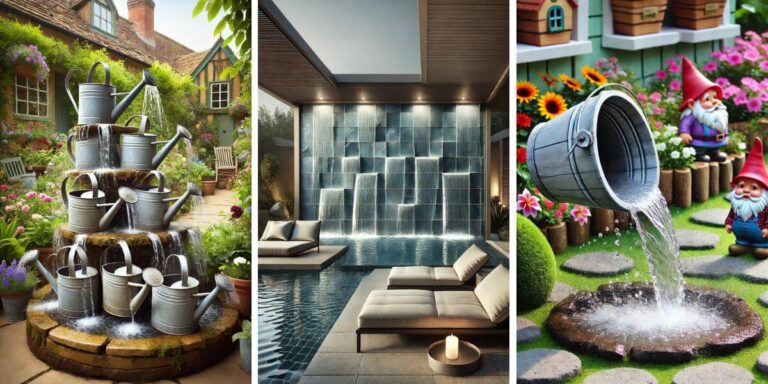
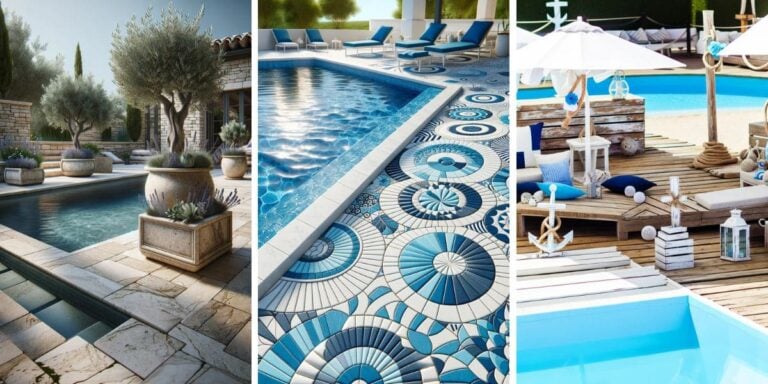
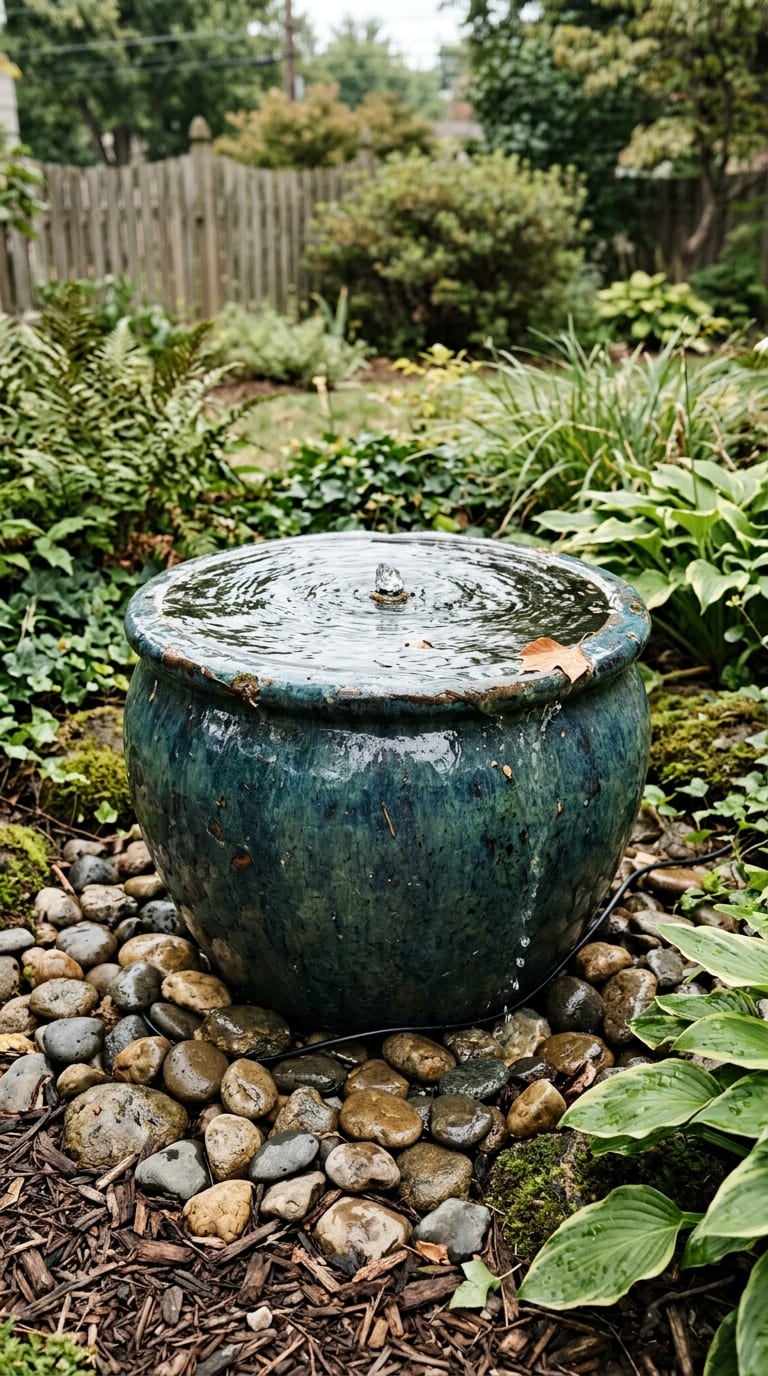
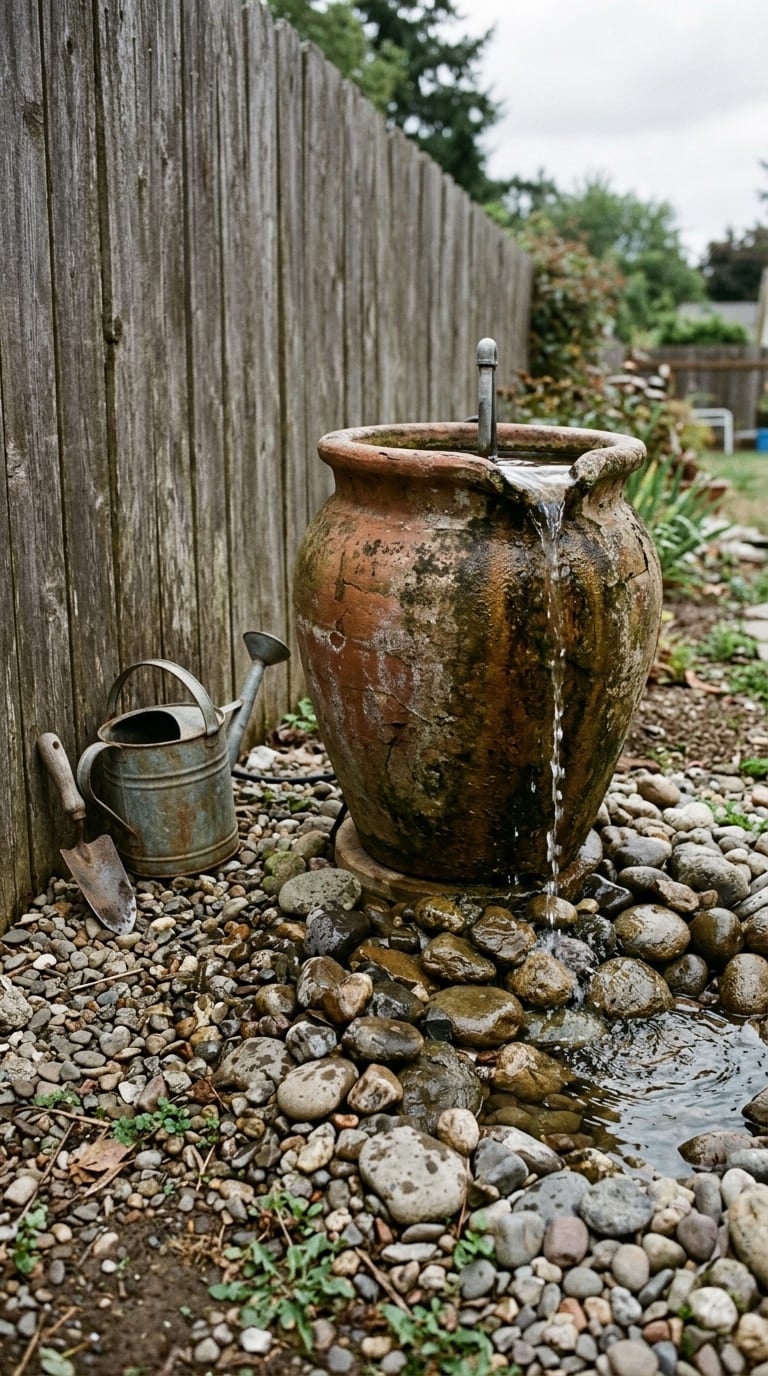
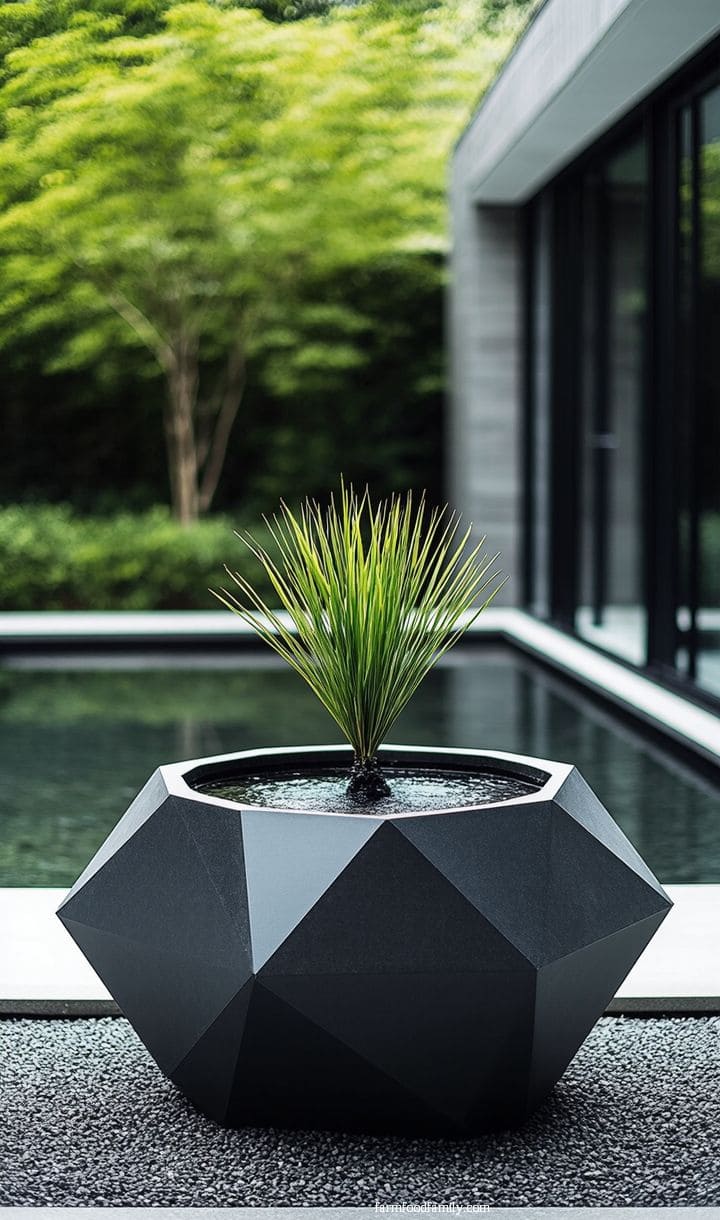
A water feature sounds like the most expensive item on this list and it doesn’t have to be. A basin fountain built from a large glazed pot, a submersible pump ($20 to $40), and a bit of gravel to hide the reservoir gets you the sound of moving water for well under $100 total, no pond excavation, no permit conversation.
Drill or have a pro drill a drainage hole in the pot, set the pump on a brick riser inside, and run the tubing up through a smaller decorative stone or spout.
If you’re running the pump off a standard outdoor outlet, the same GFCI point from the lighting section applies, plug it into a GFCI-protected outlet, full stop, since it’s sitting near water.
If you’d rather skip electricity entirely, a simple gravity fountain (upper basin overflowing into a lower one) with no pump at all is a real option, it just needs occasional topping off since there’s no recirculation.
Three quick focal-point ideas to finish the space:
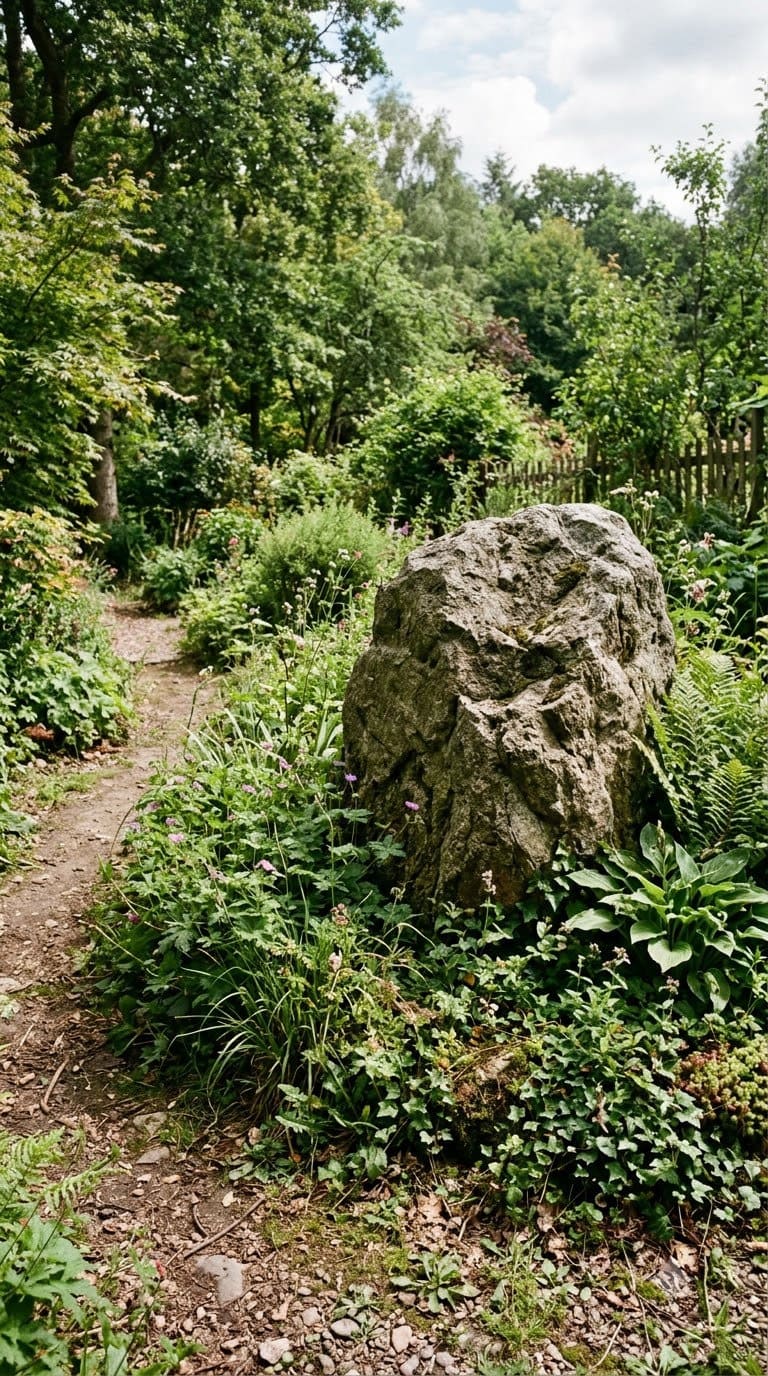
Set a single large boulder or a cluster of three river rocks as a standalone accent. Landscaping supply yards often sell “specimen” rocks individually, no bag required, for a flat delivery fee.
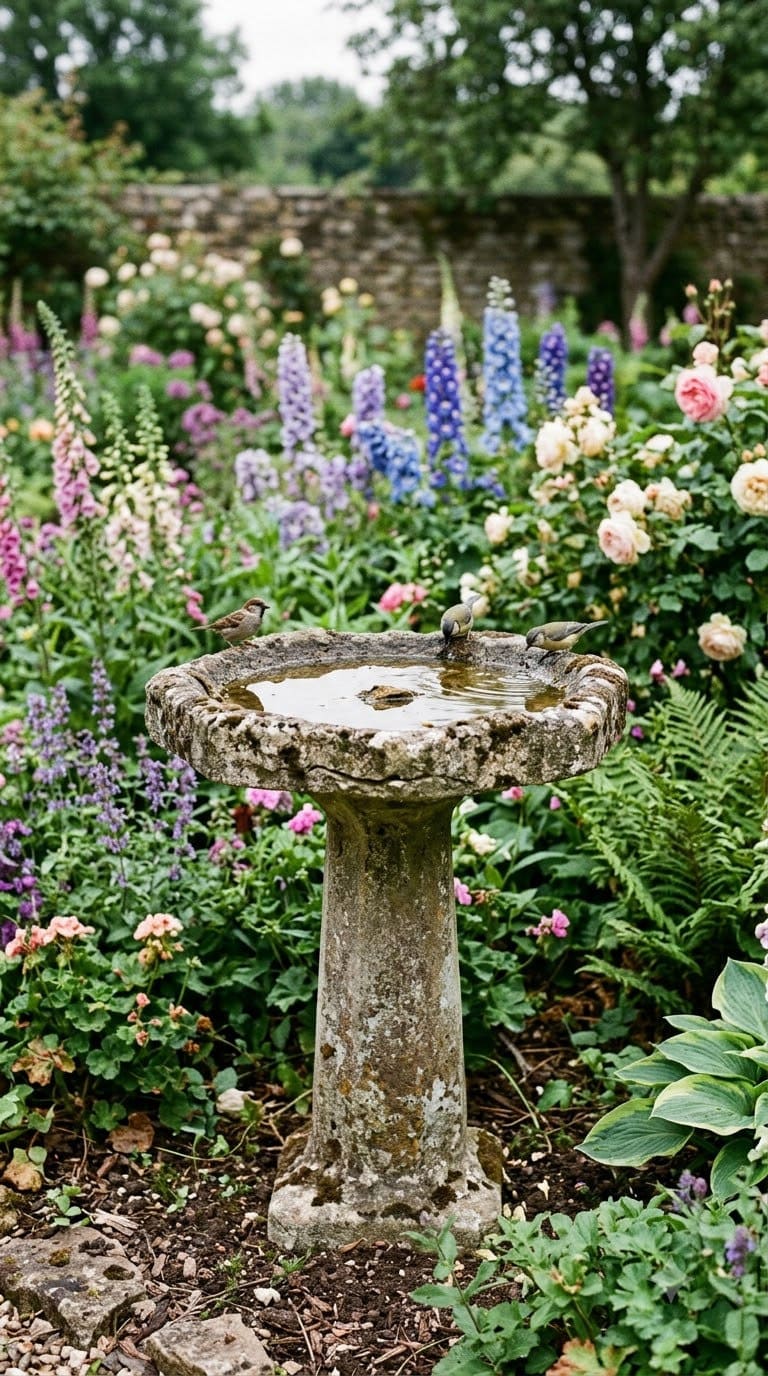
Hang a simple birdbath or repurposed bowl on a pedestal. A concrete or resin birdbath ($25 to $50) adds height and movement (actual birds) to an otherwise flat bed.
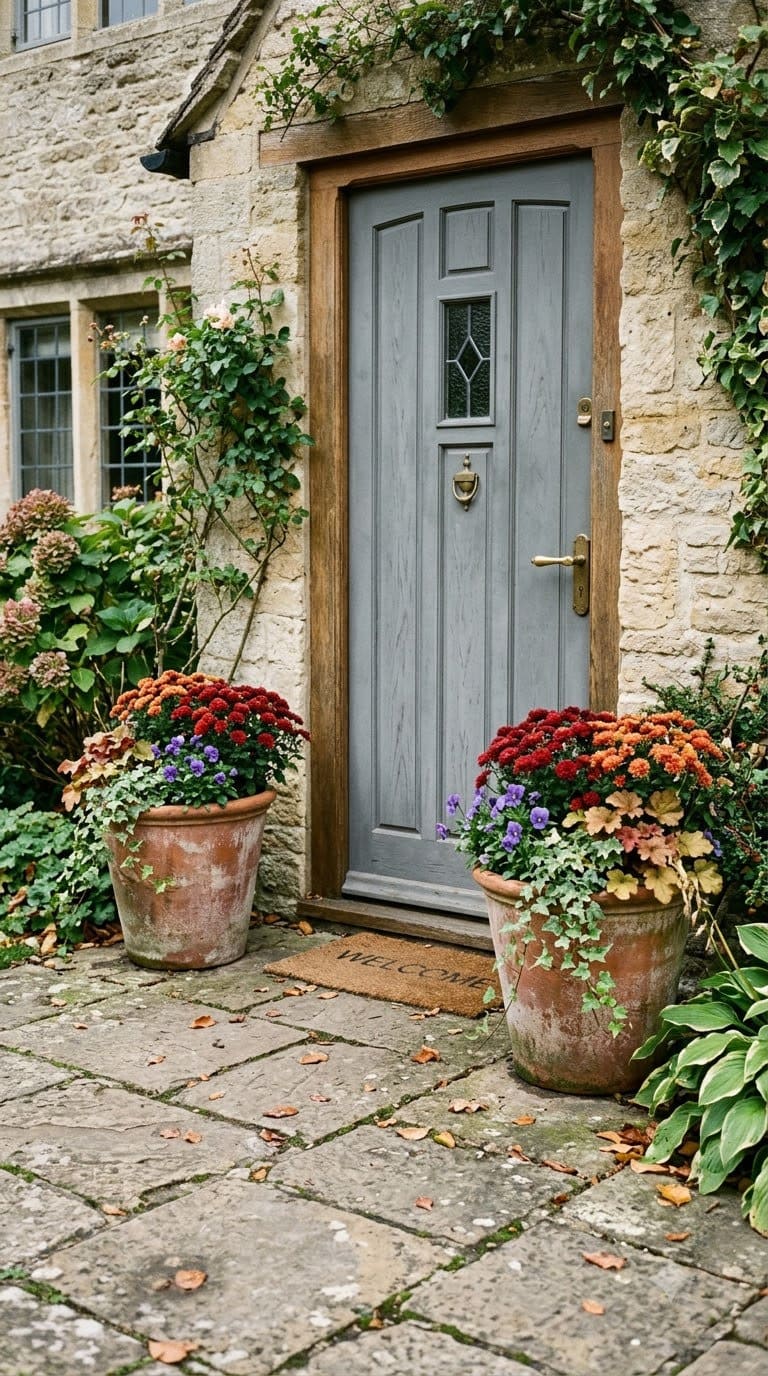
Frame your front door or patio entry with matching planters. A pair of matching pots, even inexpensive resin ones, reads as far more designed than one random planter off to the side.
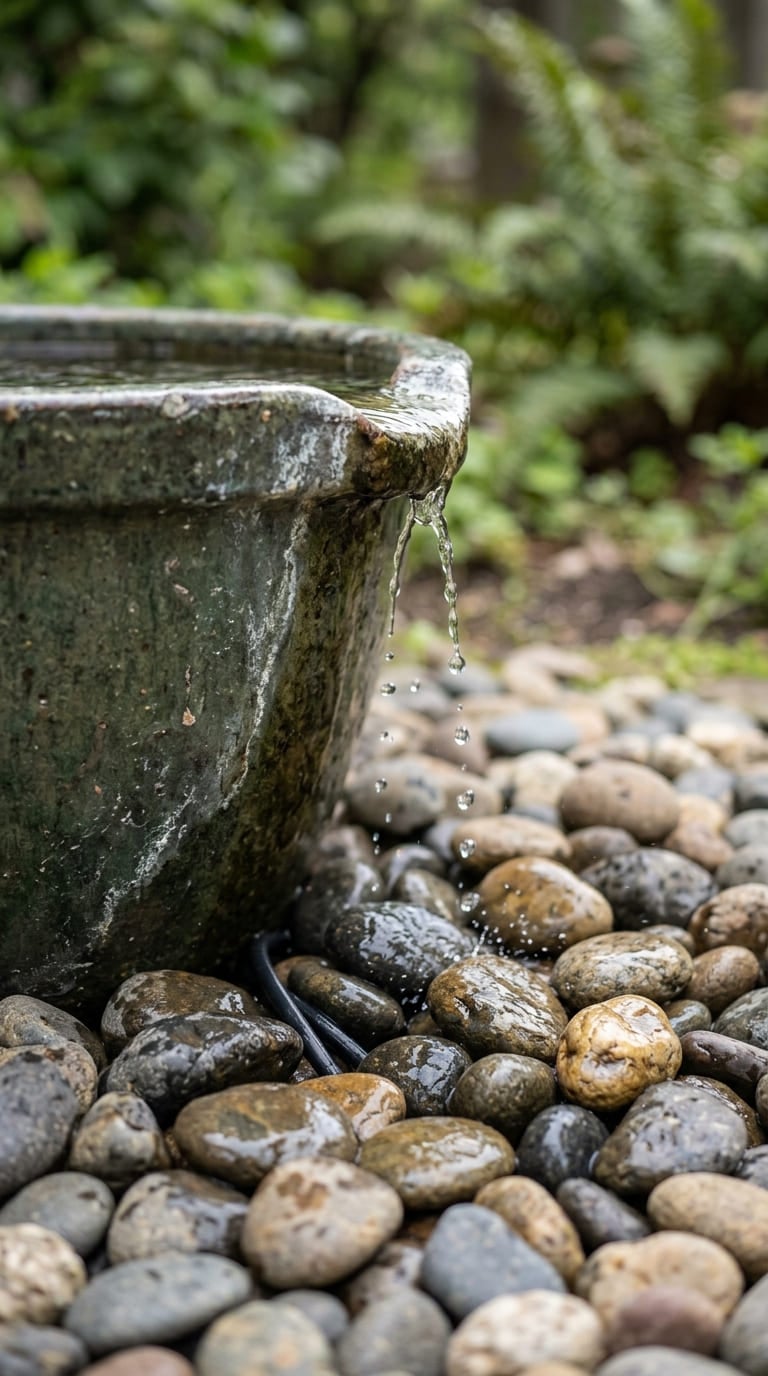
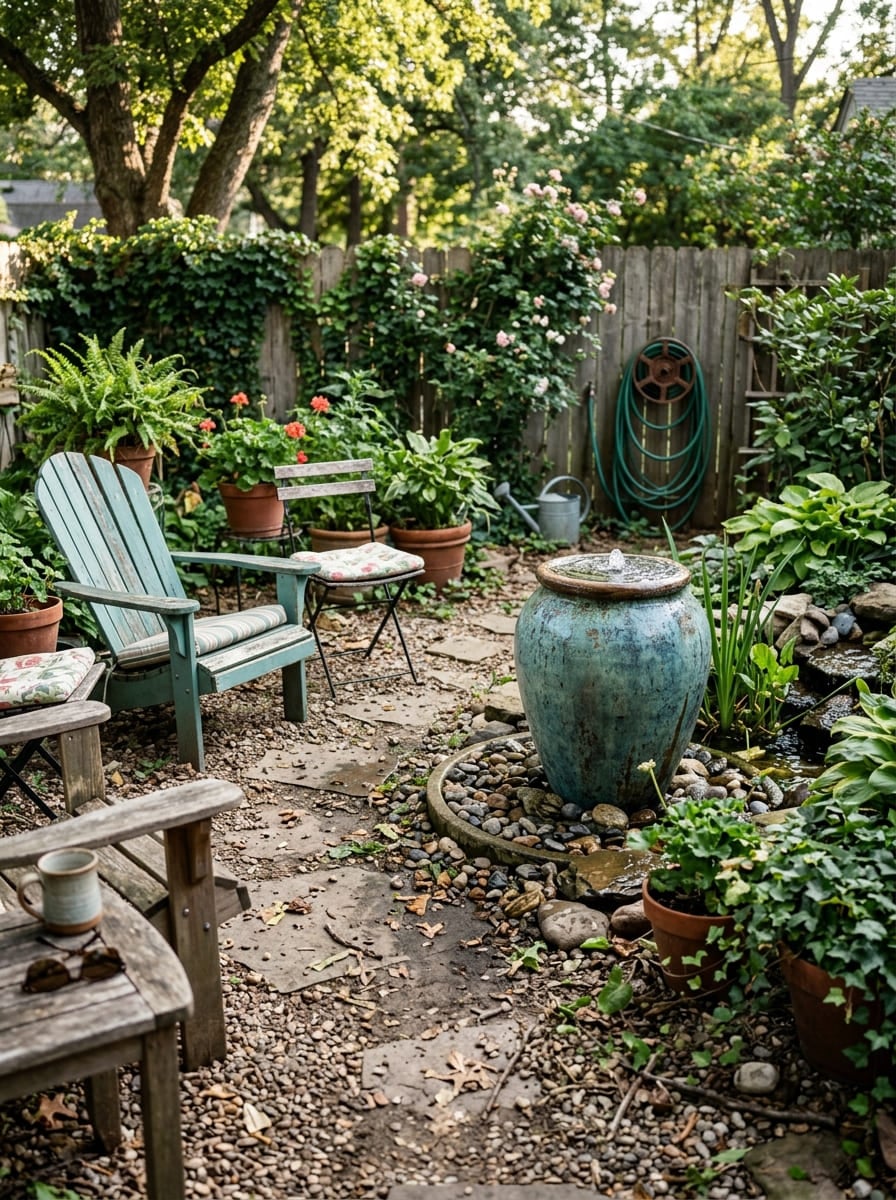
Pump size is really the only spec worth worrying about here. Something rated around 100 to 200 GPH is plenty for one ceramic pot fountain. Go bigger than that and it just splashes water out over the rim, which, take it from anyone who’s tried it, gets annoying fast.
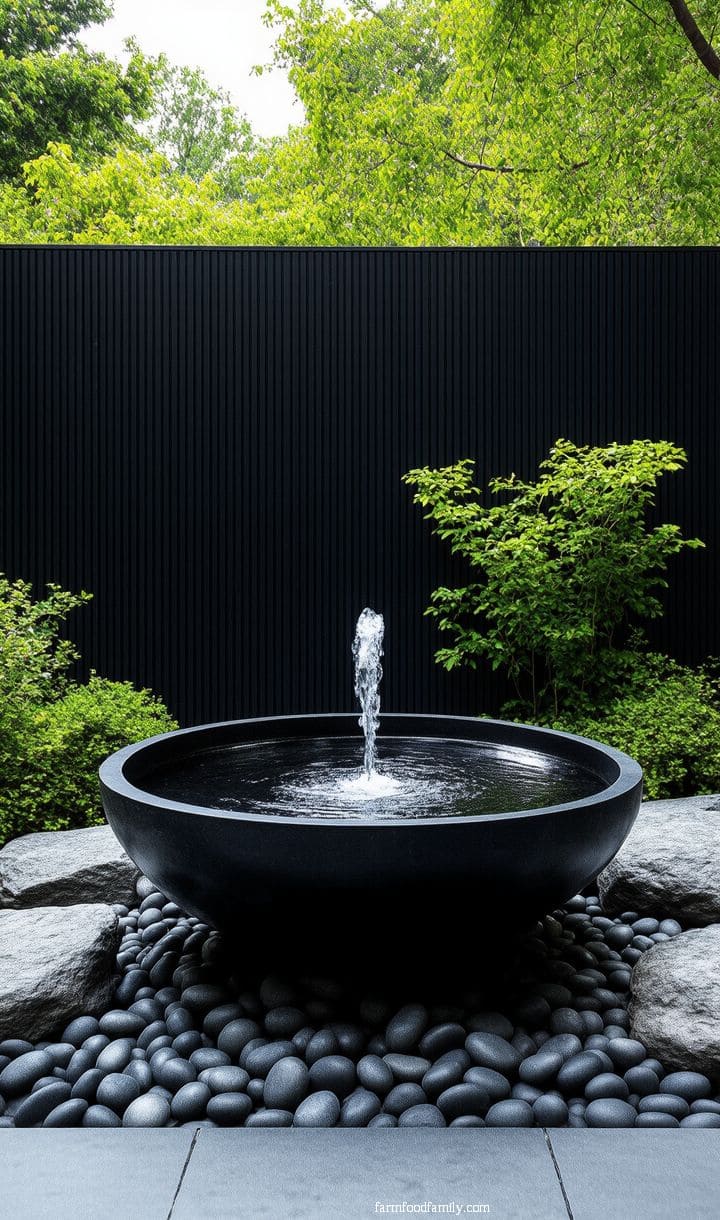
Seal the drilled cord hole with aquarium-safe silicone, not regular caulk. Regular caulk can leach into standing water over time, and regular silicone that isn’t rated for aquariums sometimes clouds the water with additives.
It’s a small detail, but it’s the difference between clear water and a murky pot after a few weeks.
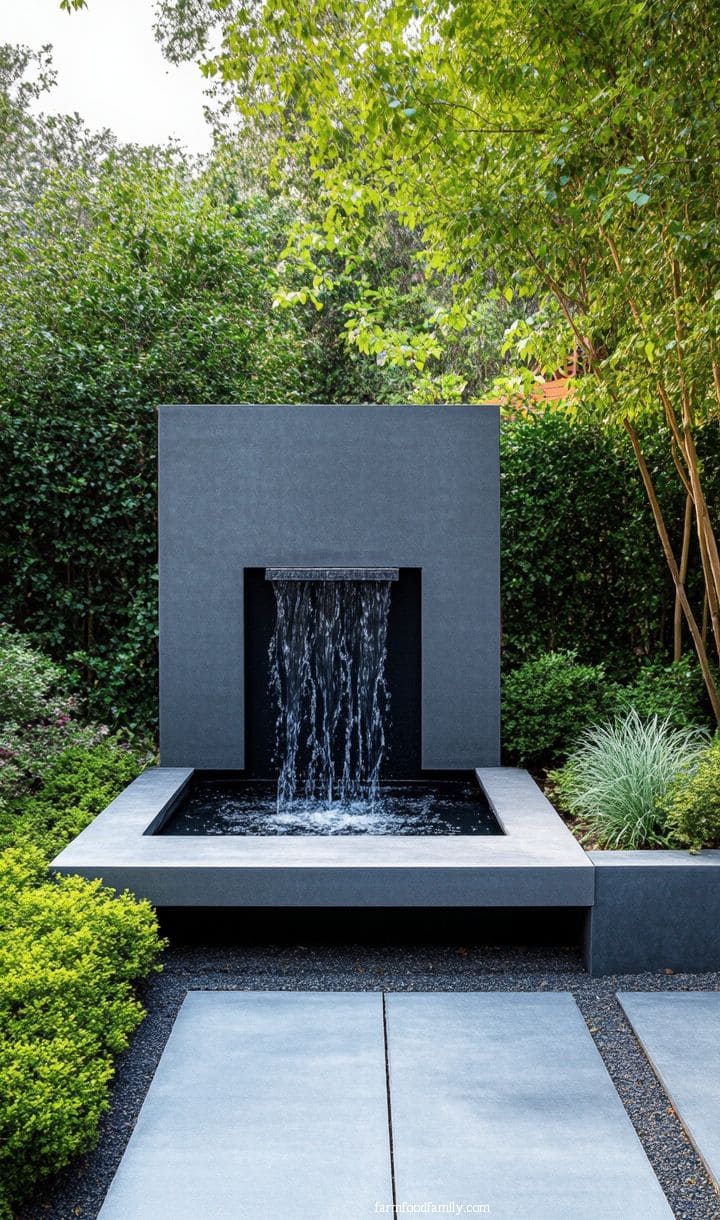
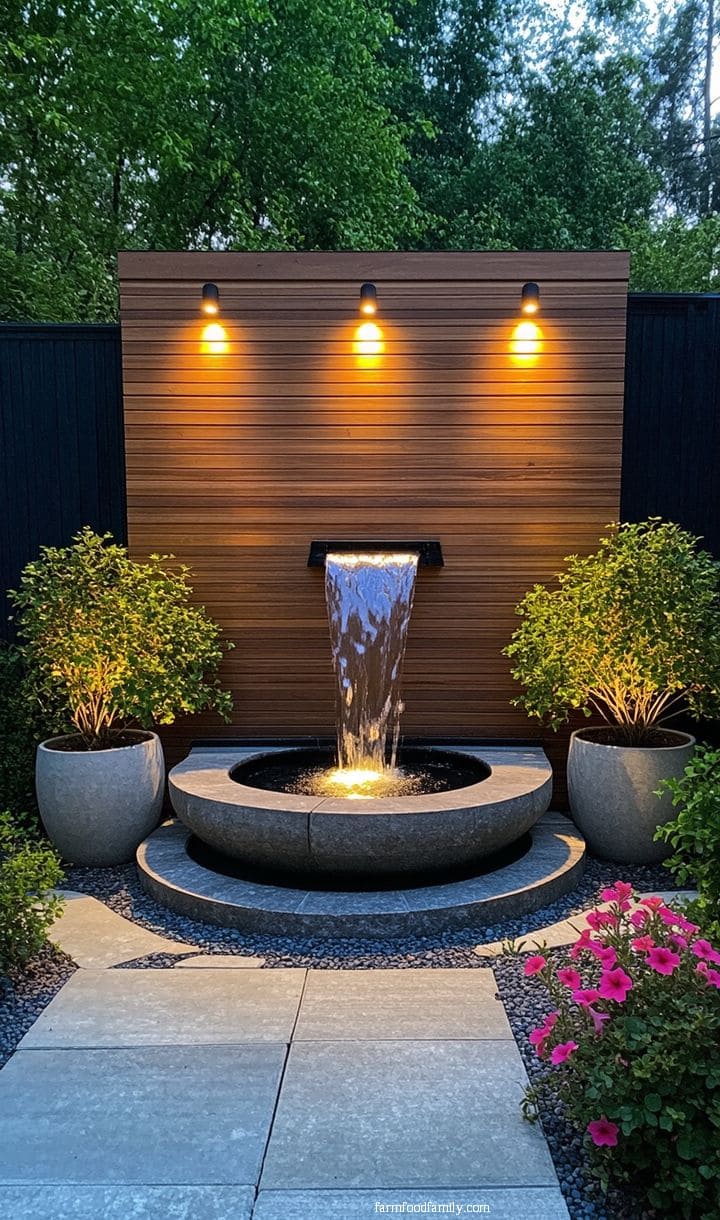
Pick a pot without a drainage hole in the bottom, or plug the one it came with. Sounds obvious, but it trips people up constantly since most ceramic planters are drilled for soil use, not water.
And if the pot’s staying outside through winter, get one rated frost-proof or you’ll be gluing shards back together in spring.
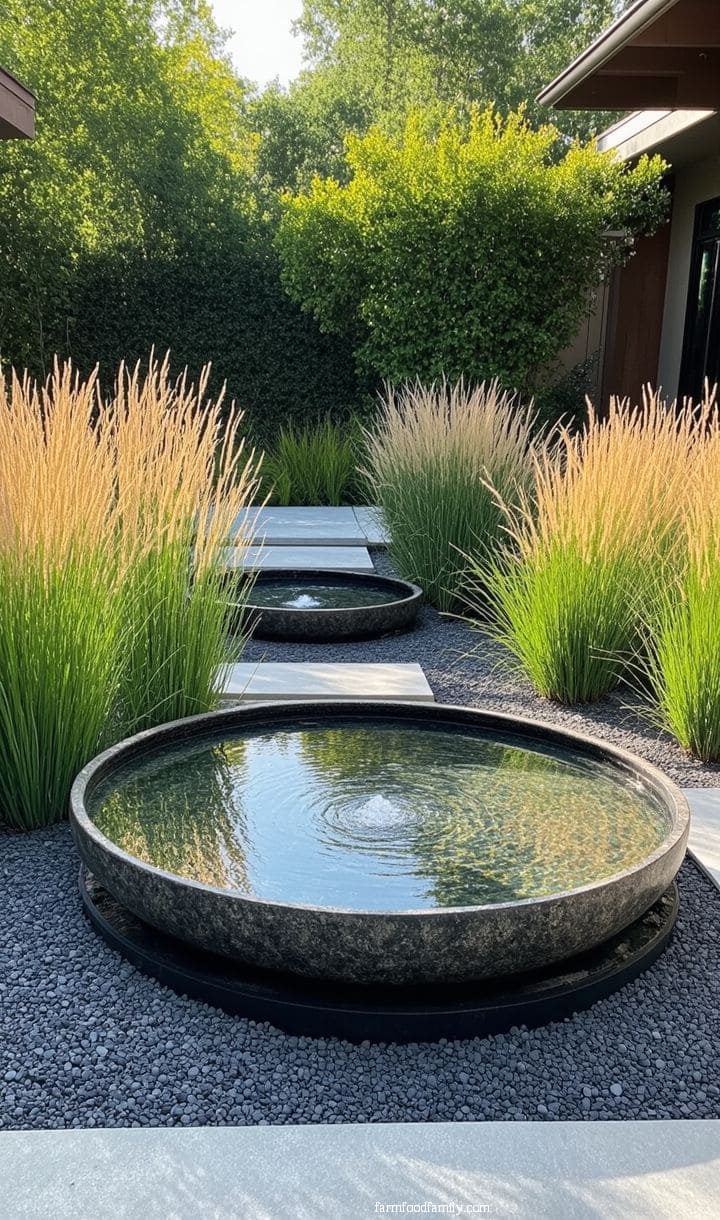
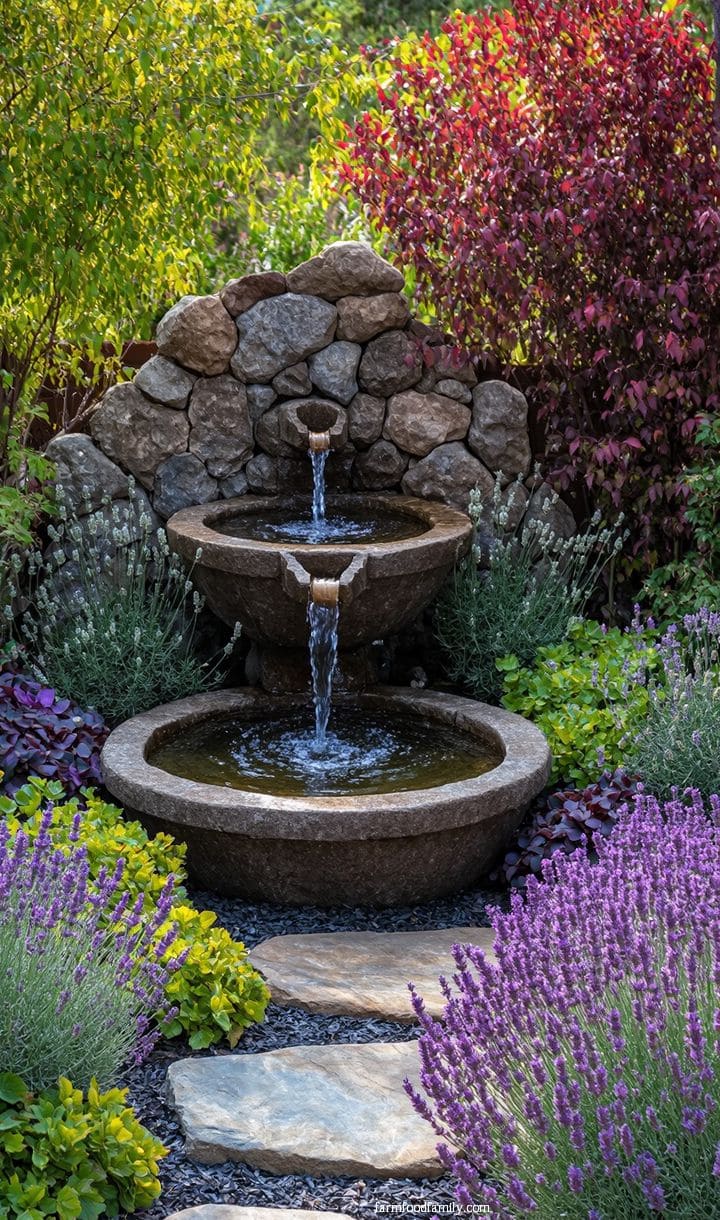
Put it somewhere you’ll actually hear it, near the patio or a window that stays open in summer, not tucked in a back corner of the yard. And keep it clear of overhanging trees if you can. Falling leaves clog a small pump way faster than people expect.
Where to Buy Plants and Materials for Less
This is the part most landscaping guides skip entirely, probably because it’s less photogenic than a finished yard. It’s also where the real savings are.
Bareroot plants cost noticeably less than potted, fully leafed-out specimens at a nursery. You’re buying a literal root, planting it, and waiting for it to leaf out on its own, which most people can do without any special skill.
Local garden clubs run plant sales, sometimes with perennials going for as little as $5 each, worth checking your area’s gardening groups for dates.
Facebook Marketplace, Craigslist, and neighborhood groups are full of people giving away or cheaply selling plants they’re digging up during their own redesigns, this is one of the most underused resources on this entire list.
And the standard advice still holds: end-of-season sales at Home Depot, Lowe’s, and Walmart are the cheapest window of the year to buy, usually as summer winds down and inventory needs to move.
Before anything goes in the ground, work compost or fertilizer into the soil, then mulch on top once it’s planted. Skipping this step is the single most common reason cheap plants fail to thrive, it’s not the plant, it’s the dirt it went into.
When DIY Makes Sense, and When It Doesn’t
Most of this article assumes you’re doing the work yourself, and for almost everything above, that’s the right call. But it’s worth being honest about where that assumption breaks down.
A homeowner on Reddit’s r/landscaping described inheriting a front yard that was, in their words, essentially a dirt pit full of broken glass and trash after buying their first home.
They got quotes from four companies and went with a full front-yard xeriscape install, native grasses and zero-irrigation plantings, for around $18,000, finished start to finish in five days.
Their reasoning wasn’t that they couldn’t handle it themselves. It was that they didn’t have months of weekends to spend on it, and they’d bought the house partly so their dog would have a yard to use immediately.
Here’s the part that makes this worth including instead of just being a plug for hiring professionals: the top comments on that same thread tore the finished job apart. A section of sidewalk sat recessed enough to be a real trip hazard. The path edging wasn’t a consistent width in places.
One commenter pointed out grading that would likely pool water into a small lake every time it rained. Someone even quoted the contractor admitting they’d eyeballed the grade line instead of measuring it properly.
The most upvoted comment in the whole thread made the sharpest point: paying a professional is supposed to buy you their design judgment and their grading expertise, not just labor. If you already know exactly what you want built and just need hands to build it, hiring general laborers for a fraction of the cost gets the same physical work done.
So it’s really three tiers, not two. DIY is fine, often better, for anything reversible and low-stakes, which covers most of the ideas in this article. Hired general labor makes sense once you already have a clear plan and just need execution.
Full professional design-build is worth the premium specifically for grading, drainage, and anything structural that’s expensive to fix after the fact. The American Society of Landscape Architects points to exactly this distinction: landscape architects train specifically in site analysis, grading, and drainage engineering, which is the part of a project that never shows up in the finished photos but is the part most likely to go wrong without it.
Even then, get more than one quote and ask pointed questions about drainage before anyone breaks ground, the Reddit case above shows that a big budget alone doesn’t guarantee it gets done right.
Affordable landscaping can achieve the same luxurious feel as high-end designs when approached creatively. Strategic elements like symmetry, lighting, and vertical gardens add elegance without requiring a large budget.
Before You Start
Take a few photos of your yard as it actually looks right now, then look through a few neighbors’ yards or do a quick image search before buying a single plant. It’s a lot easier to spot what you actually want when you’re looking at real examples instead of trying to picture it from scratch.
Pick one small zone and finish it completely before moving to the next. Spreading a tight budget across the whole yard at once usually means every section stays half-done for a year. Finishing one corner well beats starting five corners badly.
Frequently Asked Questions
My yard faces north and is mostly shade. What can I plant that’s both cheap and looks good? Hostas, heuchera, astilbe, and woodland phlox all genuinely thrive without direct sun, and none of them are expensive plants to start with. Buy them small or bareroot and let them fill in over a season or two.
Where’s the cheapest place to buy plants without waiting for a seasonal sale? Local garden club plant sales and Facebook Marketplace or neighborhood groups. Both routinely beat nursery prices by a wide margin, and neither requires timing your purchase around a specific sale window.
Should I DIY my landscaping or hire a professional? Depends what you’re doing. Planting, mulching, gravel paths, and lighting are all reasonable DIY projects. Grading, drainage, and anything structural are where paying for real expertise tends to pay off, since mistakes there are expensive to fix later.
Do perennials or annuals save more money long term? Perennials, in almost every case. They come back year after year and can usually be divided into new plants after a couple of seasons. Annuals are better reserved for filling small gaps or adding quick color, not as the backbone of a budget-conscious yard.
Start with whichever section matches what your yard actually needs right now, not the whole list at once. A gravel path and some shade-tolerant perennials this month, string lights next month, and in a season or two the yard stops looking like a project and starts looking finished.
If you’re planning a bigger overhaul, our Garden hub has more on backyard and landscape design ideas beyond what’s covered here.
These ideas allow you to transform your outdoor space into a stunning retreat that feels expensive while staying well within your means.
Did this list have an idea you’re planning on trying out? Let us know in the comments and share it with family and friends!
Products We Recommend
This post contains affiliate links. We may earn a commission on qualifying purchases at no extra cost to you.
FANTIAN 10 lbs Pea Gravel, 3/8 Inch Pebble Stone
Natural pea gravel for the gravel path idea (#1), sold by the bag so you can buy exactly what you need for a small path or edging strip.
Shop Now
GIGALUMI 6-Pack Solar Lights Outdoor Waterproof
Zero-wiring solar path lighting for the outdoor lighting idea (#3), a fair option if you'd rather skip the low-voltage kit and GFCI check entirely.
Shop Now
Sunocity 4 ft x 300 ft Heavy Duty Landscape Fabric
Weed-block fabric for the gravel path base layer (#1) and for smothering grass under a new raised bed (#4).
Shop NowNever miss an update — choose FarmFoodFamily as your preferred source on Google.
How it works: Tap the button below to open Google's settings page, then check the box next to FarmFoodFamily.
Tap the checkbox to turn it blue — that's how you know it's set.