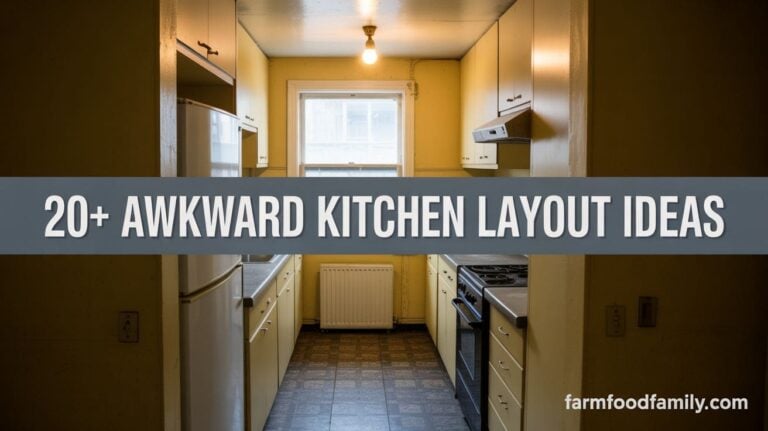
20 Galley Kitchen with Island Ideas (That Actually Fit the Clearance Math)
Twenty real ways to add an island to a narrow galley kitchen, plus the actual clearance numbers most kitchen island galleries never mention.

Never miss an update — choose FarmFoodFamily as your preferred source on Google.
How it works: Tap the button below to open Google’s settings page, then check the box next to FarmFoodFamily.
Tap the checkbox to turn it blue — that’s how you know it’s set.
A galley kitchen’s two parallel runs of cabinetry make it efficient, but they also make adding an island the single riskiest layout decision in the whole remodel.
Get the width math wrong and an island doesn’t just look cramped, it turns two comfortable walkways into two aisles nobody can actually cook in at the same time.
Is My Galley Kitchen Actually Wide Enough for an Island?
Most galley-plus-island photo galleries show the finished result and skip the one measurement that actually determines whether an island belongs in your kitchen at all.
Quick answer: A galley kitchen needs real clearance math before an island goes in, not just visual guesswork. Per NKBA (National Kitchen and Bath Association) guidelines, a single-cook kitchen needs at least 42 inches of clear walkway on each side of an island (48 inches for two or more cooks), and a galley or U-shaped layout with an island added needs roughly 60 inches between the two opposing cabinet runs total, genuinely more than the 36 inches that’s often enough for a galley walkway without an island at all. The real trap: measuring your kitchen’s existing width and assuming that’s the total clearance available, when adding an island actually splits that width into two separate, narrower aisles, one on each side of the island itself, not one shared walkway. Skip that step and even a genuinely spacious-feeling galley can end up with two aisles too tight to open an appliance door or pass another person comfortably.
Two more things worth knowing before you commit to a fixed island.


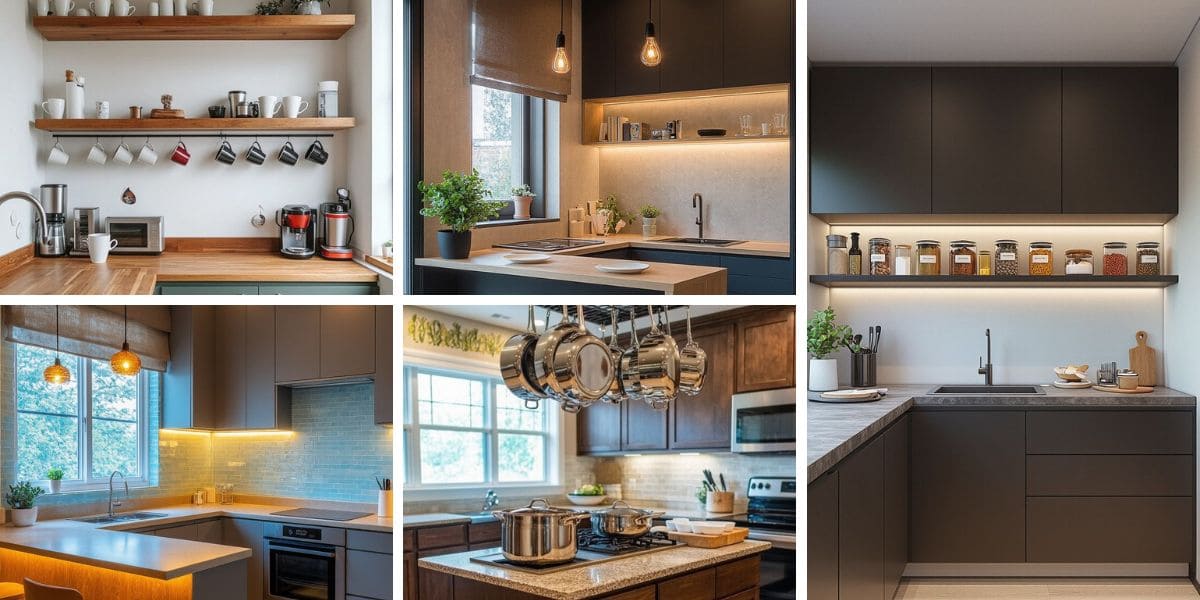
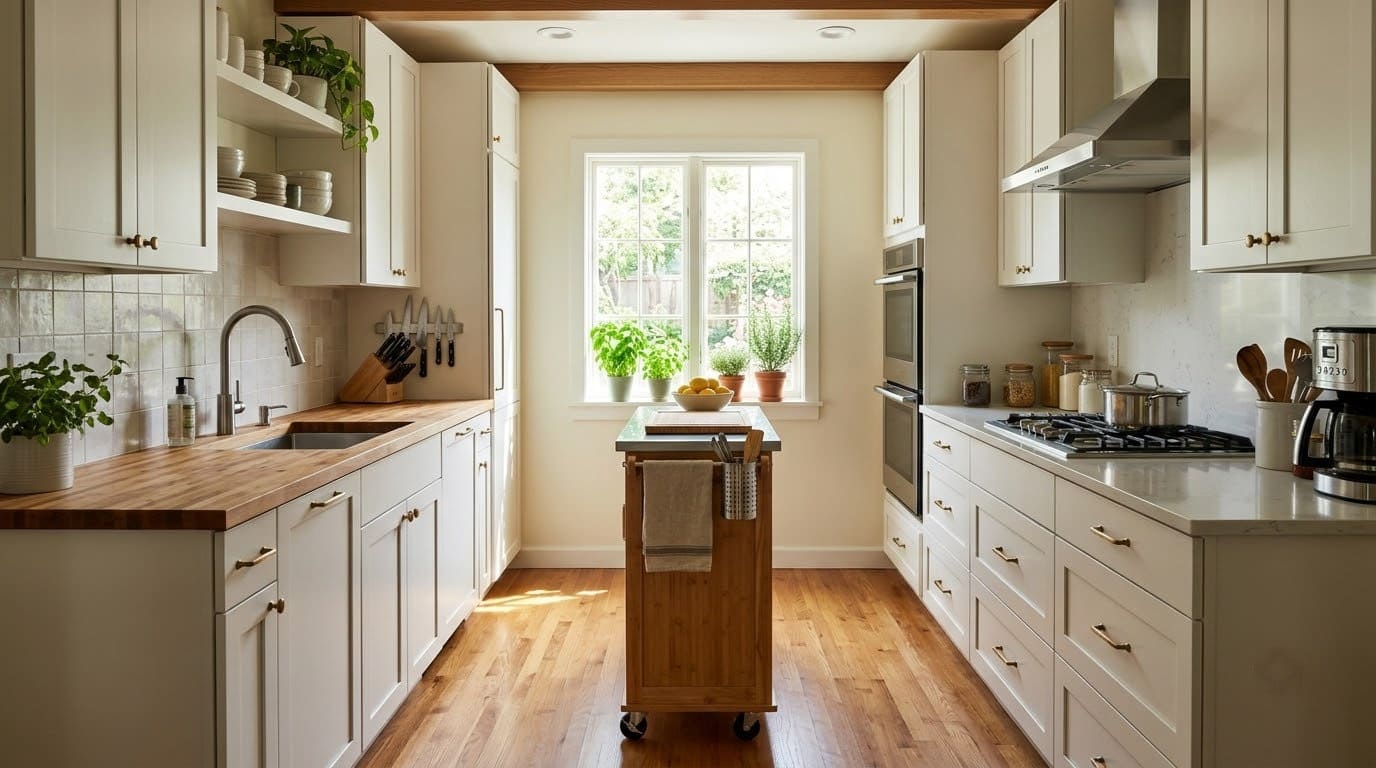
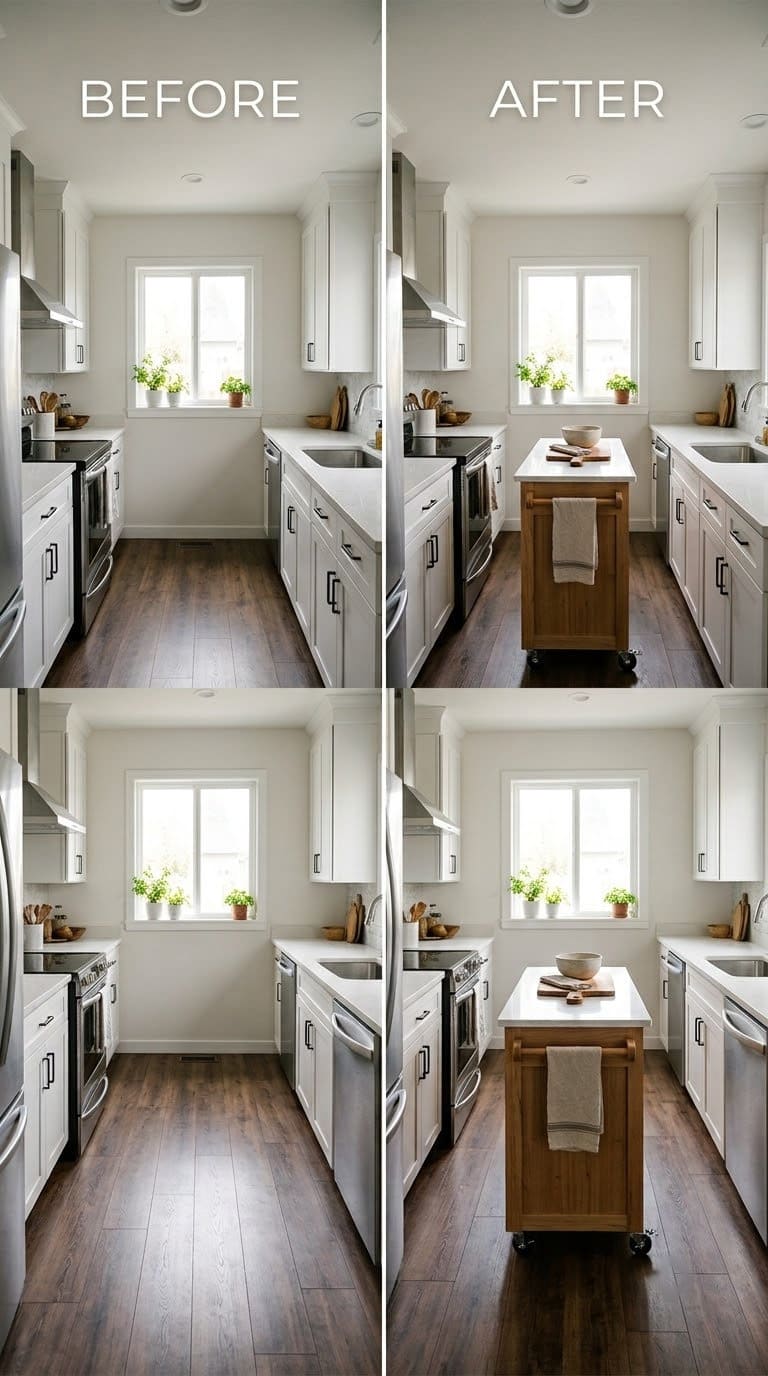
First, Sharon Sherman, Founder of Thyme & Place Design and a Certified Kitchen Designer, points to a real project where an island on lockable wheels solved the storage-and-flexibility problem at once: open storage on one side, a trash and recycling pull-out on the other, and the ability to roll the whole thing out of the way for a party, proof that a portable island can do everything a fixed one does in a genuinely tight galley.
Second, if your galley kitchen measures under 8 feet wide, a full island is likely too tight regardless of style, a peninsula or a narrow rolling cart usually solves the same need without violating the clearance minimums above.
Fixed Island, Rolling Island, Peninsula, or Console: Which Fits a Galley Kitchen Best?
| Approach | Clearance Needed | Typical Cost | Flexibility | Best For |
|---|---|---|---|---|
| Fixed built-in island | Highest, needs the full 60in NKBA minimum between runs | Bigger investment | None, permanent placement | Galley kitchens 9-10+ feet wide |
| Rolling/portable island | Moderate, can be pushed aside when not needed | Moderate | Highest, moves or leaves entirely | Galley kitchens 7-9 feet wide, or households wanting flexibility |
| Peninsula (attached at one end) | Moderate, only needs clearance on 3 sides | Moderate to bigger investment | Low, semi-permanent | Galley kitchens open to an adjacent room on one end |
| Console table or butcher block “island” | Lowest, sized to whatever space allows | DIY-cheap to moderate | High, can be repositioned or removed | Galley kitchens under 7 feet wide |
Which Space-Assessment Strategies Actually Work First?
1. Tape out the island footprint before buying anything
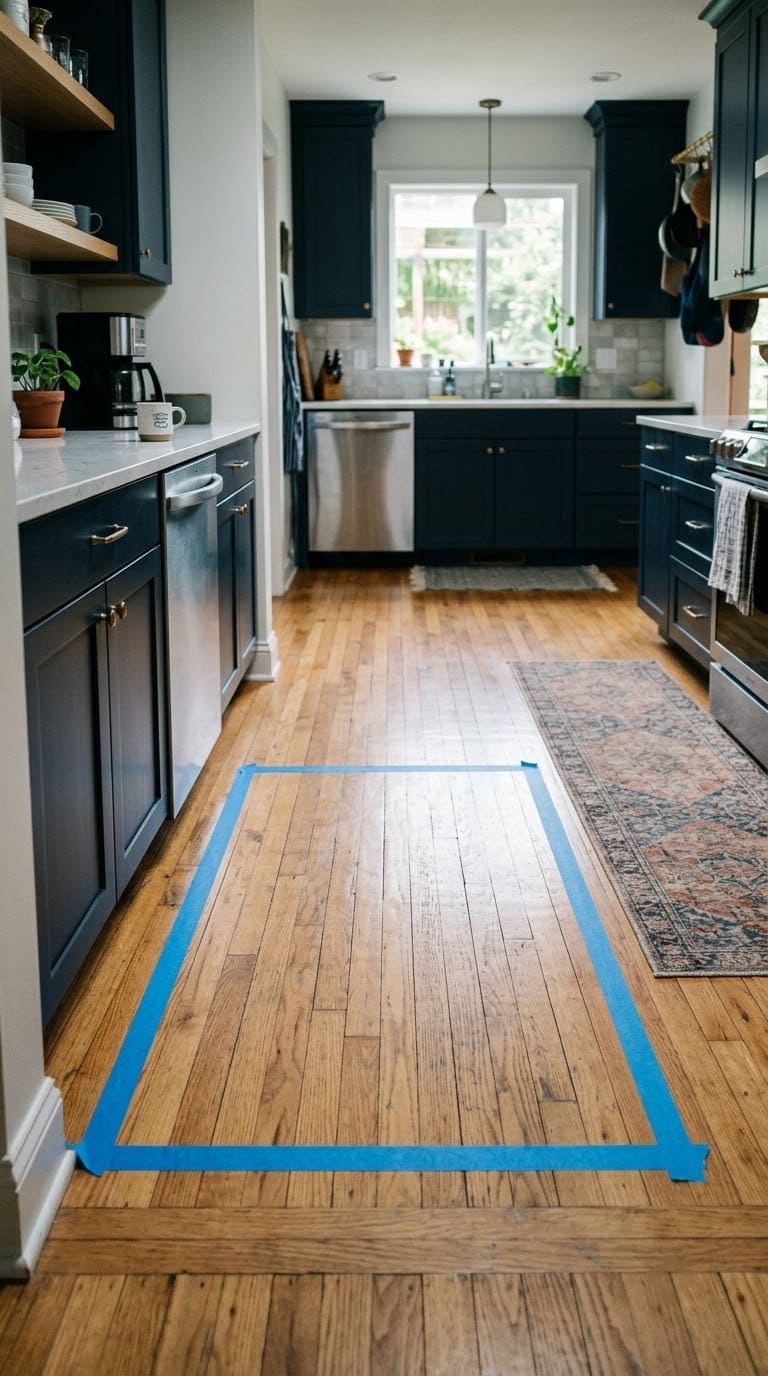
Using painter’s tape on the floor to mark the exact proposed island dimensions, then walking the space for a few days doing normal kitchen tasks, is the single cheapest way to catch a clearance problem before it’s a $3,000 mistake. Budget tier: free.
2. Measure the real total width, then subtract the island
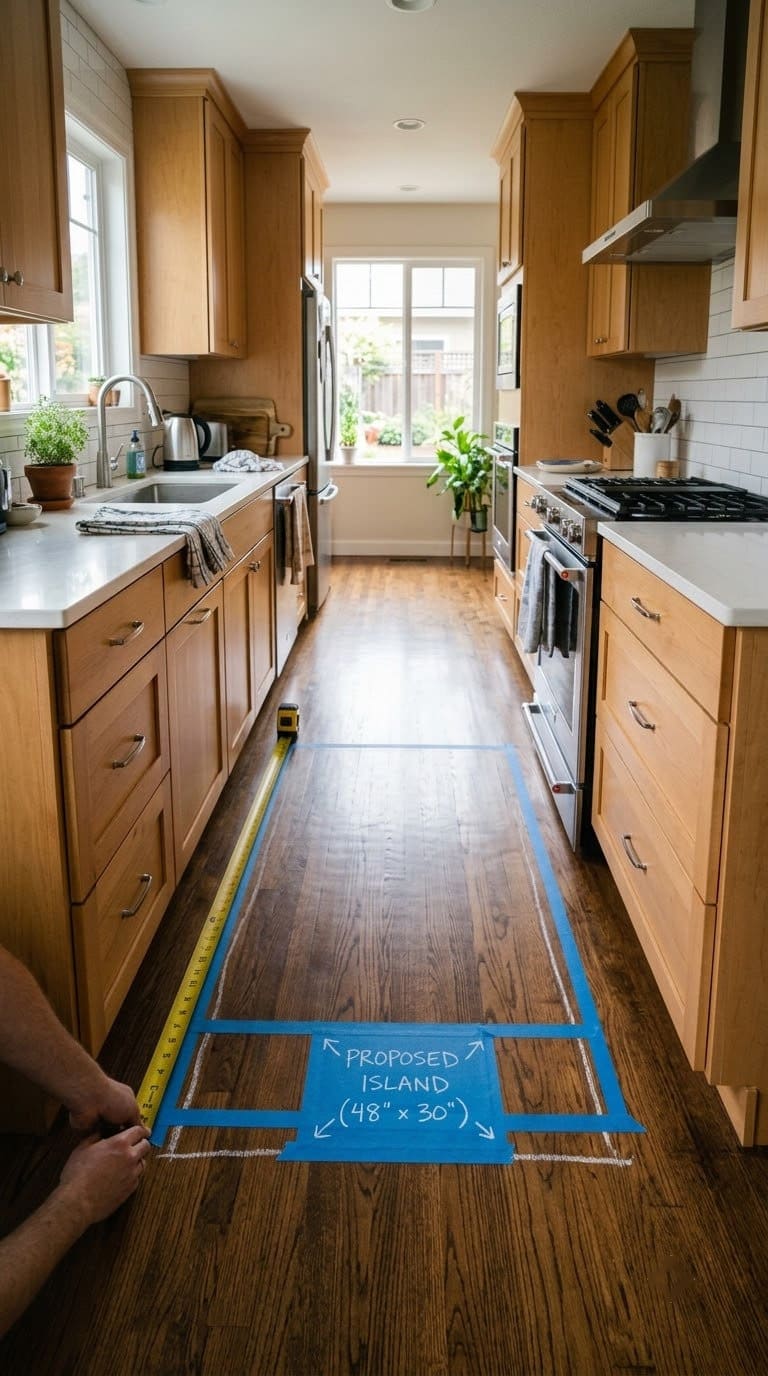
Measure wall-to-wall (or cabinet-face to cabinet-face) first, then subtract your proposed island’s width to see what’s actually left for the two side aisles, not the single combined number. A 10-foot-wide galley with a 3-foot island leaves 3.5 feet on each side, comfortably clearing the 42-inch NKBA single-cook minimum. Budget tier: free.
3. Convert to a single-wall galley to free up floor width
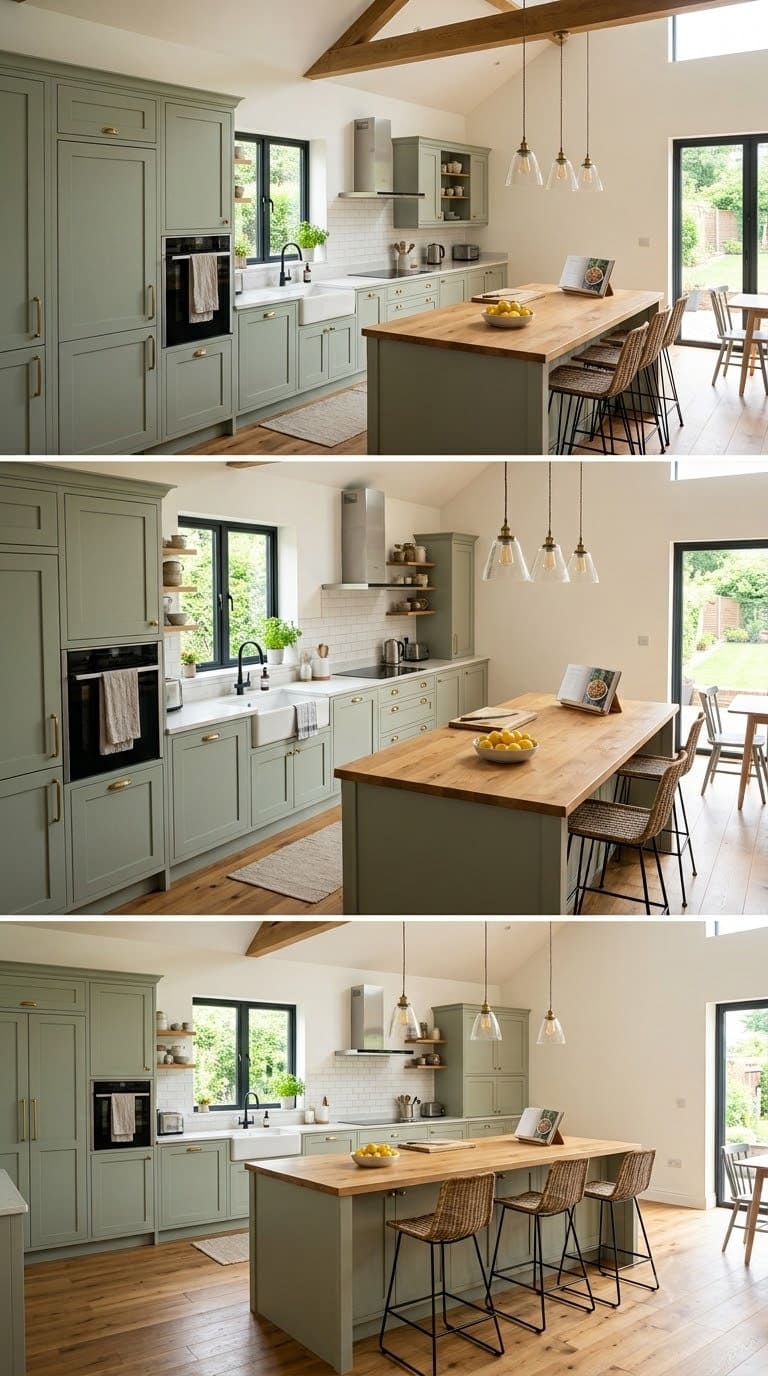
Removing one full run of cabinetry and relocating that storage vertically or into a pantry can free up 24-36 inches of floor width, sometimes the difference between “an island doesn’t fit” and “a genuinely comfortable one does.” Budget tier: bigger investment given the cabinetry and plumbing/electrical relocation involved.
4. Choose a peninsula instead of a full island
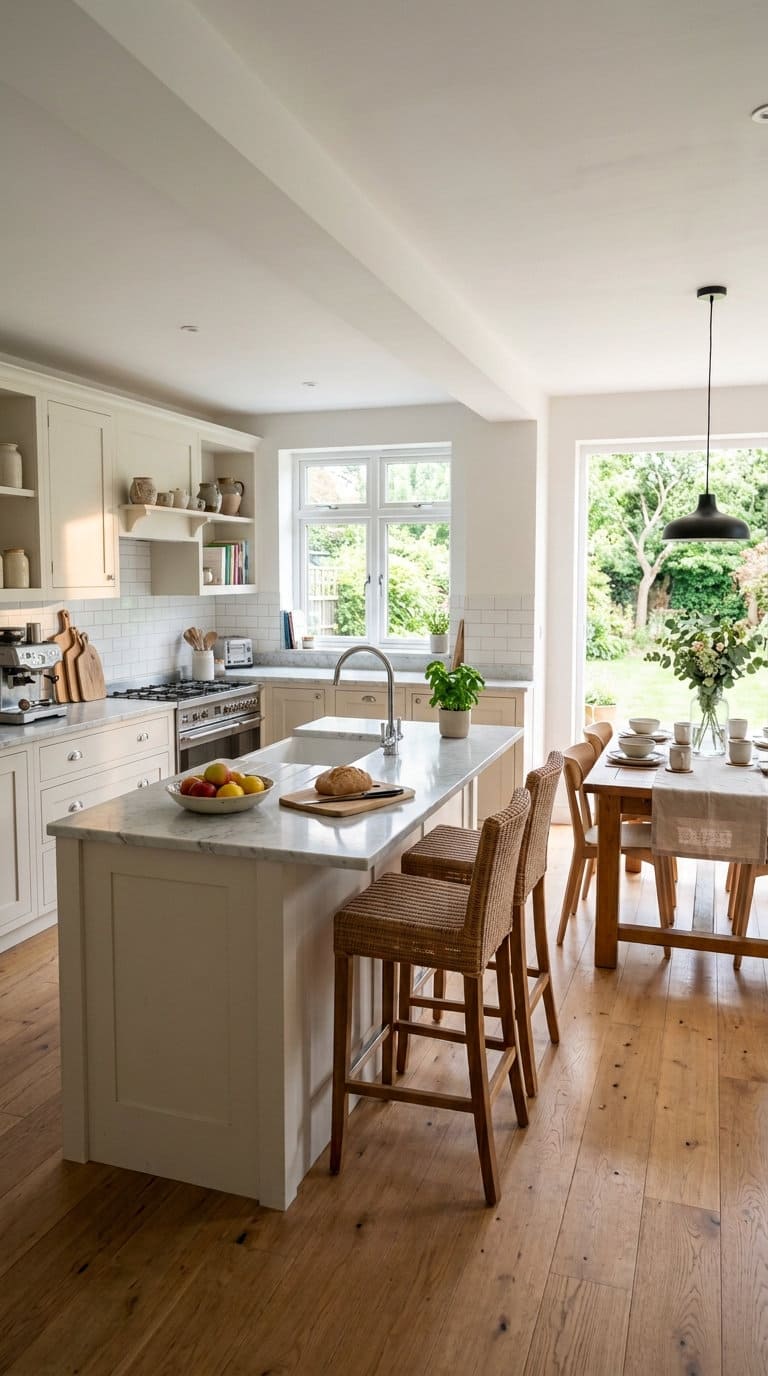
A peninsula, attached to one existing cabinet run rather than freestanding, only needs clearance on three sides instead of four, often the difference-maker in a galley kitchen open to a dining or living area at one end. Budget tier: moderate to bigger investment.
5. Reduce island width to fit the space
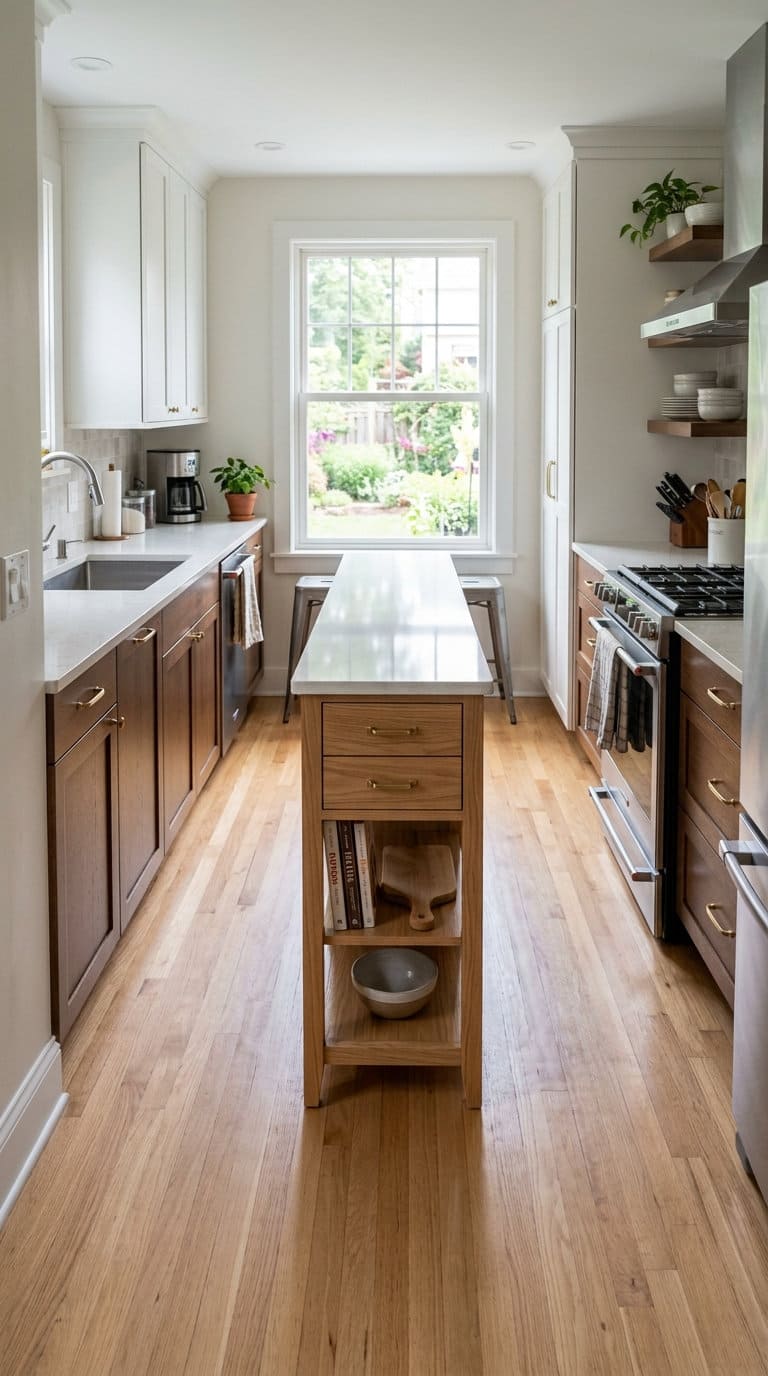
A narrower island, as slim as 24-30 inches deep rather than a standard 36-42 inches, can still provide real prep surface and storage while preserving the NKBA clearance minimums in a tighter galley. One real documented project reduced island width to just 25 inches to make the numbers work. Budget tier: moderate.
Which Portable and Flexible Solutions Solve the Same Problem?
6. A rolling cart-style island
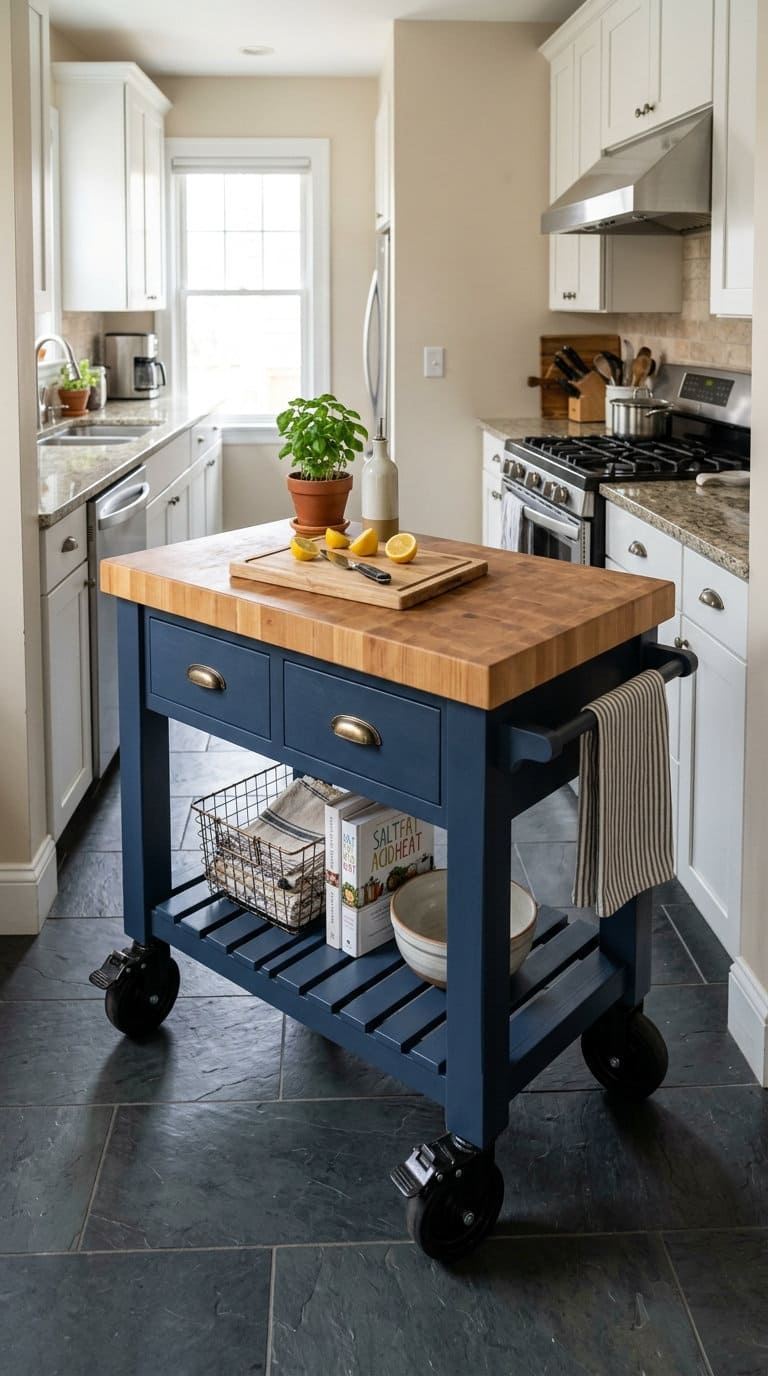
A cart-style island on locking wheels, per Sharon Sherman’s real project example, gives storage and a work surface while staying fully repositionable, roll it flush against a wall during heavy-traffic cooking and back into place for prep or serving. Budget tier: moderate.

Direct product match for idea 6, Sharon Sherman's real project example, Amazon's Choice, 4.6 stars / 563 ratings
Shop NowThis post contains affiliate links. We may earn a commission on qualifying purchases at no extra cost to you.
7. A butcher block on a console table
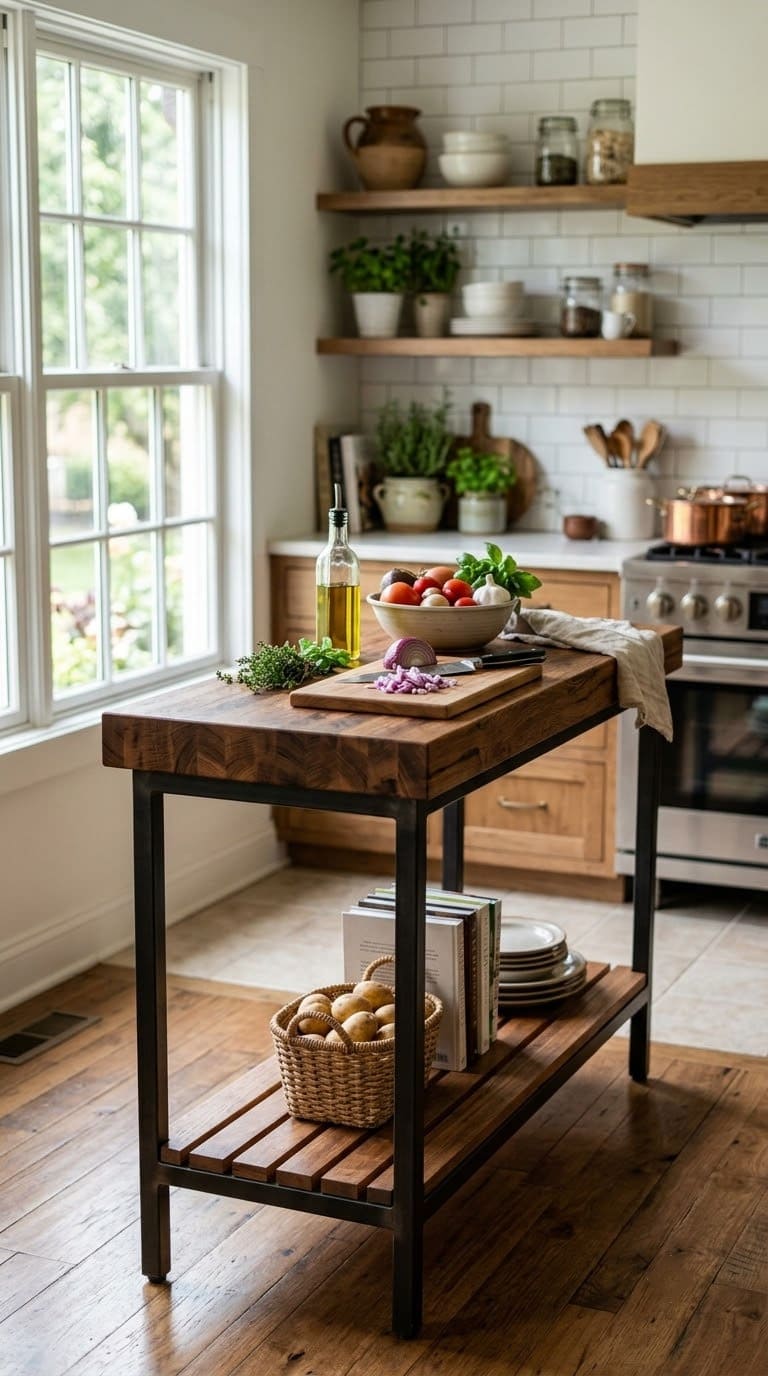
A simple console table topped with a butcher block or cutting board surface creates an island-like prep zone without the footprint or cost of a true island, and can be moved or removed entirely if the space needs to open up. Budget tier: DIY-cheap.
8. A fold-down or drop-leaf island extension
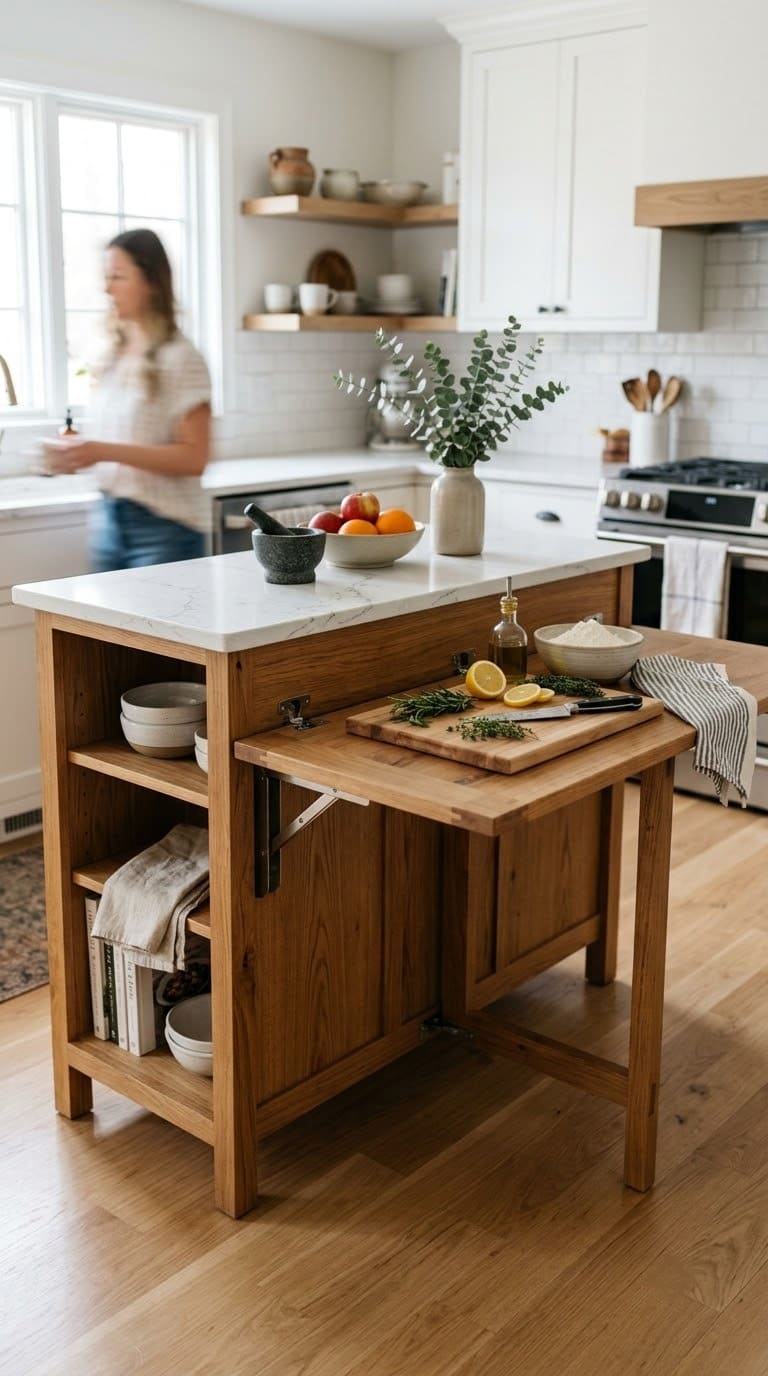
A fixed narrow base with a hinged leaf that folds up for extra surface area during prep and folds down the rest of the time effectively gives two different clearance numbers depending on when you need them, tight galley width most of the day, full island width when actually cooking. Budget tier: moderate.
9. A nesting or slide-under island
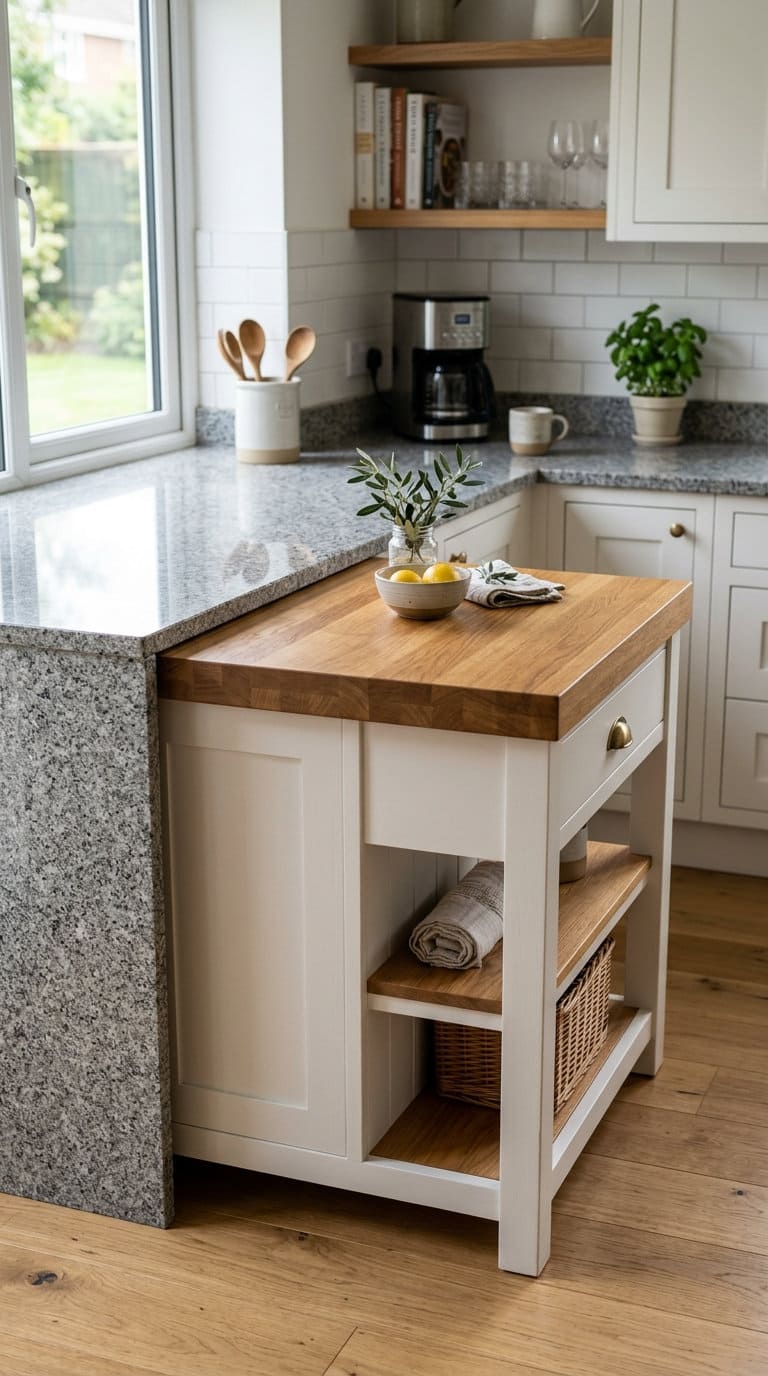
A compact island sized to slide partially under an adjacent counter or cabinet overhang when not in use recovers real floor clearance on demand, useful in a galley narrow enough that even a slim fixed island would violate NKBA minimums during normal foot traffic. Budget tier: moderate to bigger investment for a custom-built version.
10. A multi-purpose lockable-wheel cart
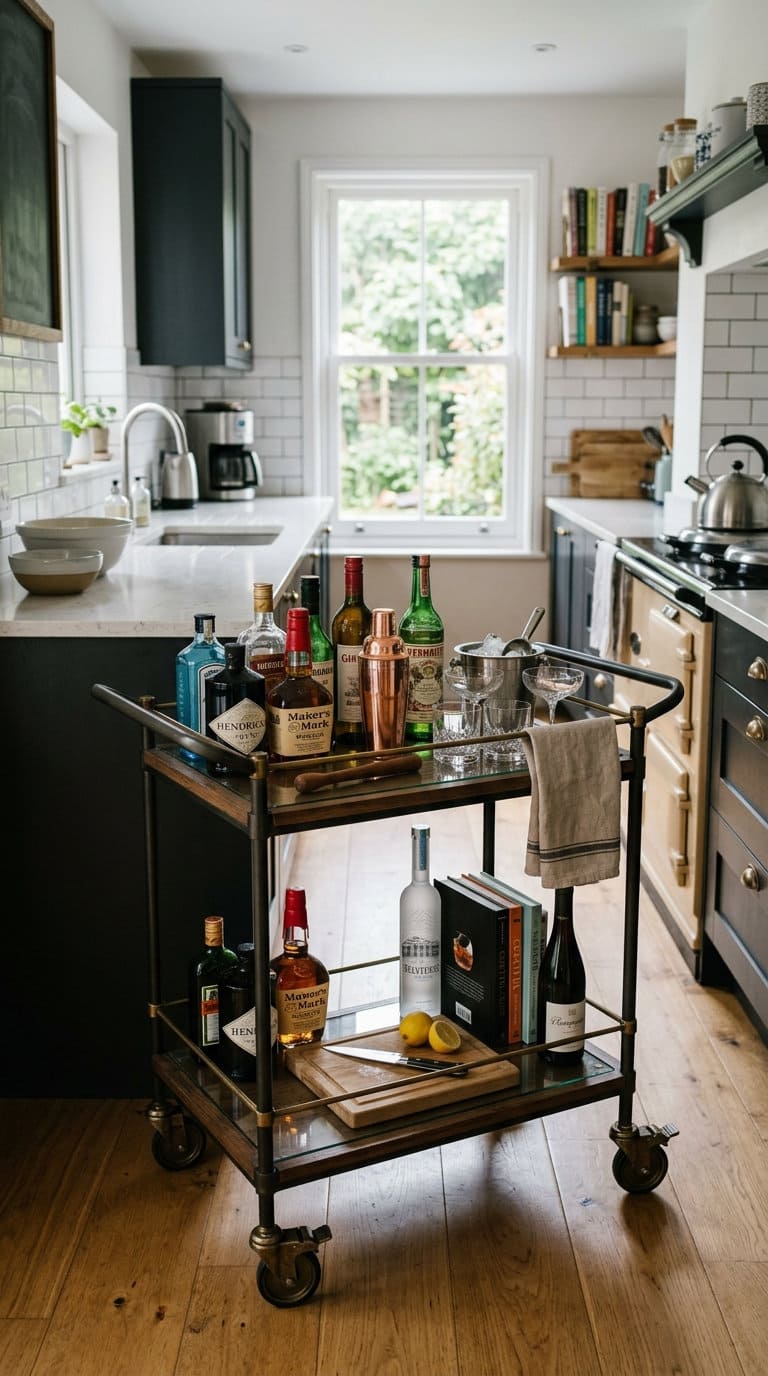
Beyond Sharon Sherman’s storage-and-buffet example, a cart sized to double as a bar cart, a plant stand, or extra counter space when the kitchen isn’t in active use gets more daily value out of the same footprint. Budget tier: moderate.
Which Fixed Island Solutions Make the Most of Available Space?
11. A narrow fixed island with under-counter storage
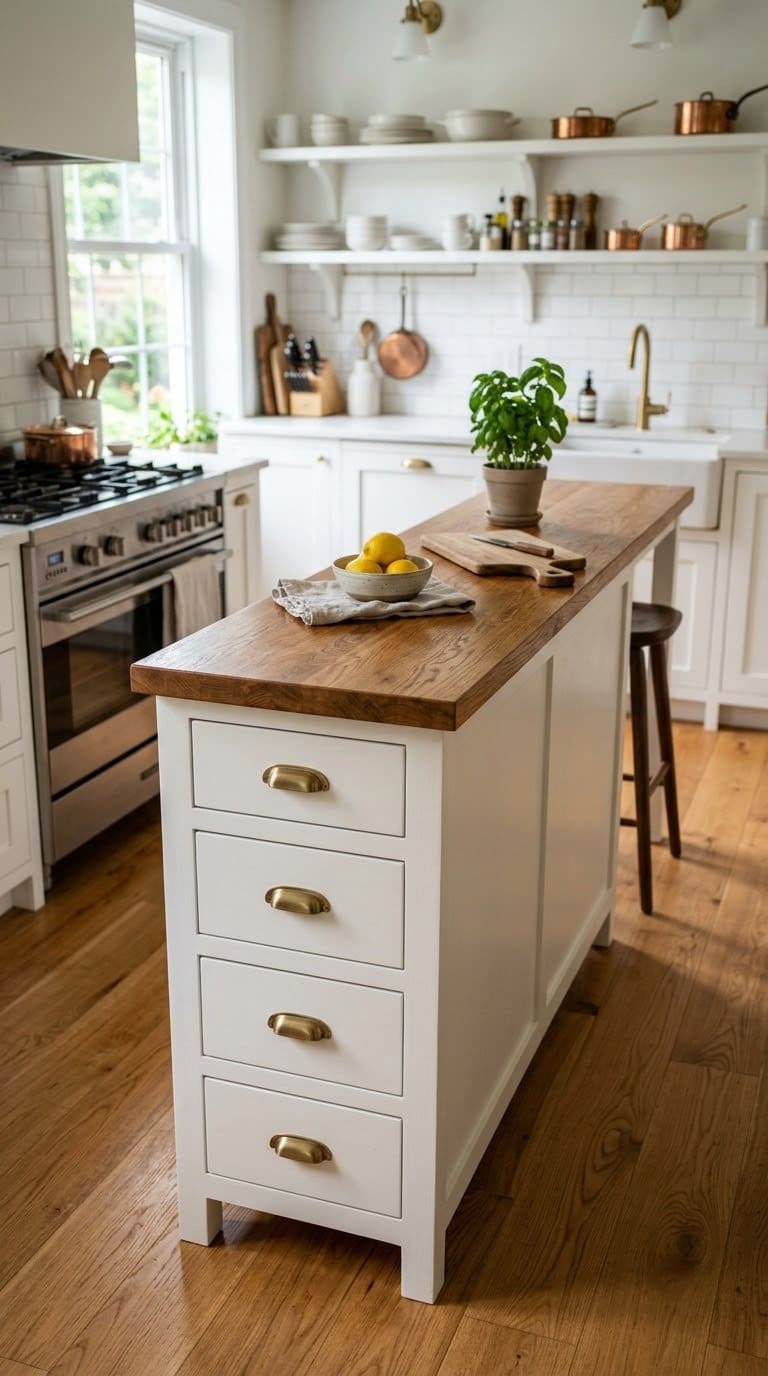
A built-in island at the minimum comfortable width, around 24-30 inches, with drawers or open shelving underneath gives permanent storage without eating into the clearance the NKBA numbers require. Budget tier: bigger investment.
12. A single-end seating island
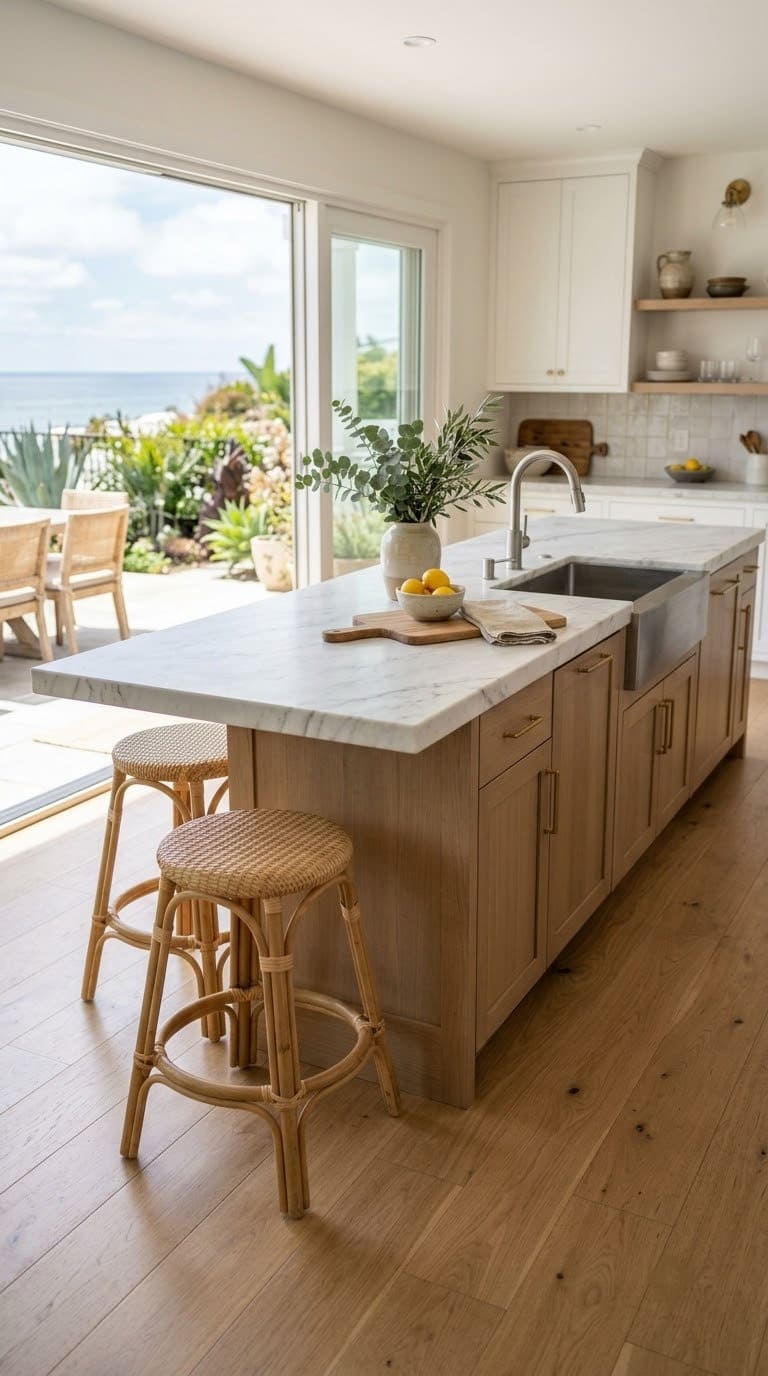
Rather than seating along the island’s full length (which adds real depth and eats clearance), a seating overhang at just one end keeps the bulk of the island at its narrowest working width. Budget tier: bigger investment.
13. Relocating the cooktop or sink to the island
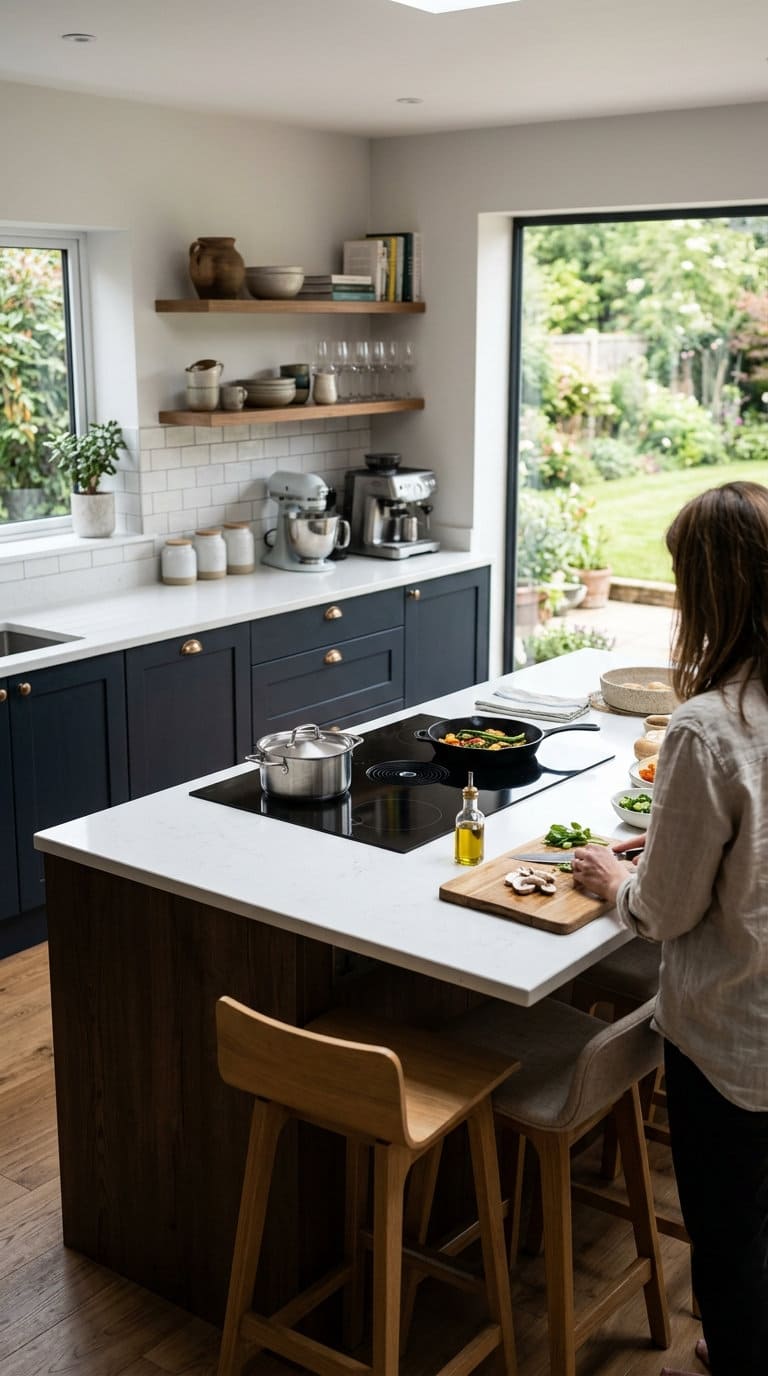
Moving a cooktop or prep sink from one of the wall runs onto the island itself can free up wall-run cabinet space and let you narrow one side of the galley, sometimes recovering enough width to meet the clearance minimums that wouldn’t otherwise work. Budget tier: bigger investment given the plumbing/electrical/ventilation relocation.
14. A curved-edge island for tight turns
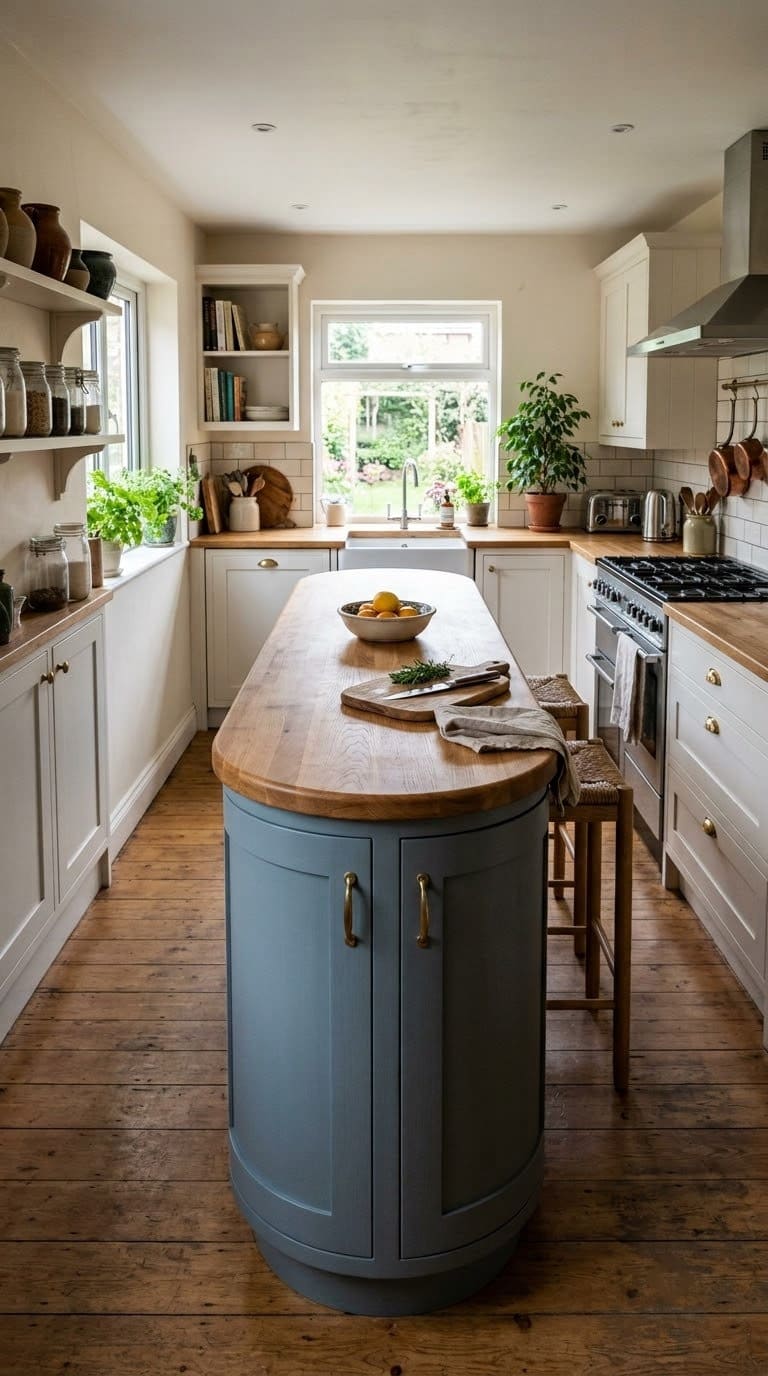
Rounding the corners of an island, rather than square edges, effectively adds an inch or two of usable clearance at the exact pinch points where people turn the corner from one aisle to another, a small but genuinely functional detail in a tight galley. Budget tier: moderate, curved edges typically add a modest premium over square-edge fabrication.



Which Function-Specific Additions Are Worth Building In?
15. A trash and recycling pull-out
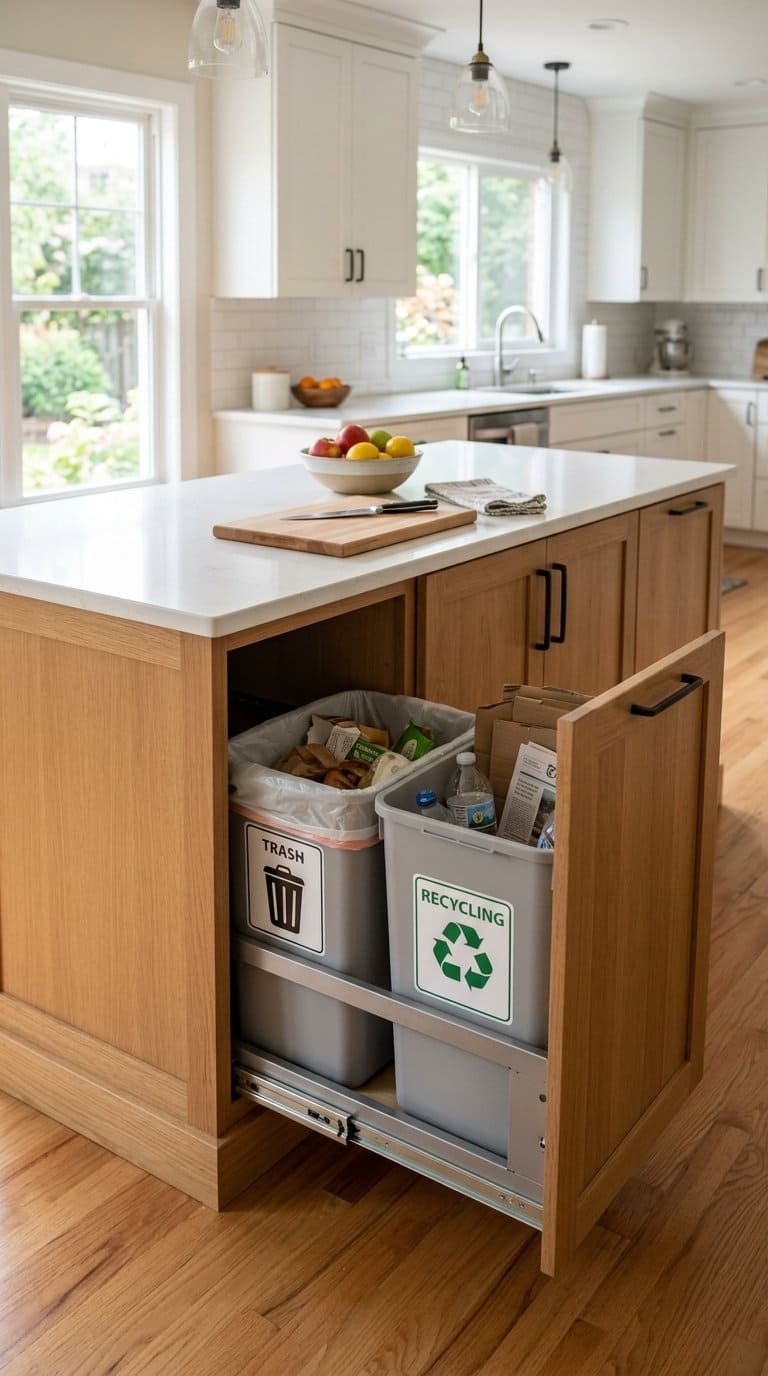
Building trash and recycling pull-outs into the island itself (as in Sharon Sherman’s real project) frees up wall-run cabinet space for other storage, genuinely useful when every inch of wall-run width matters in a narrow galley. Budget tier: moderate, as an add-on to any fixed or semi-fixed island.
16. Open shelving instead of closed cabinetry
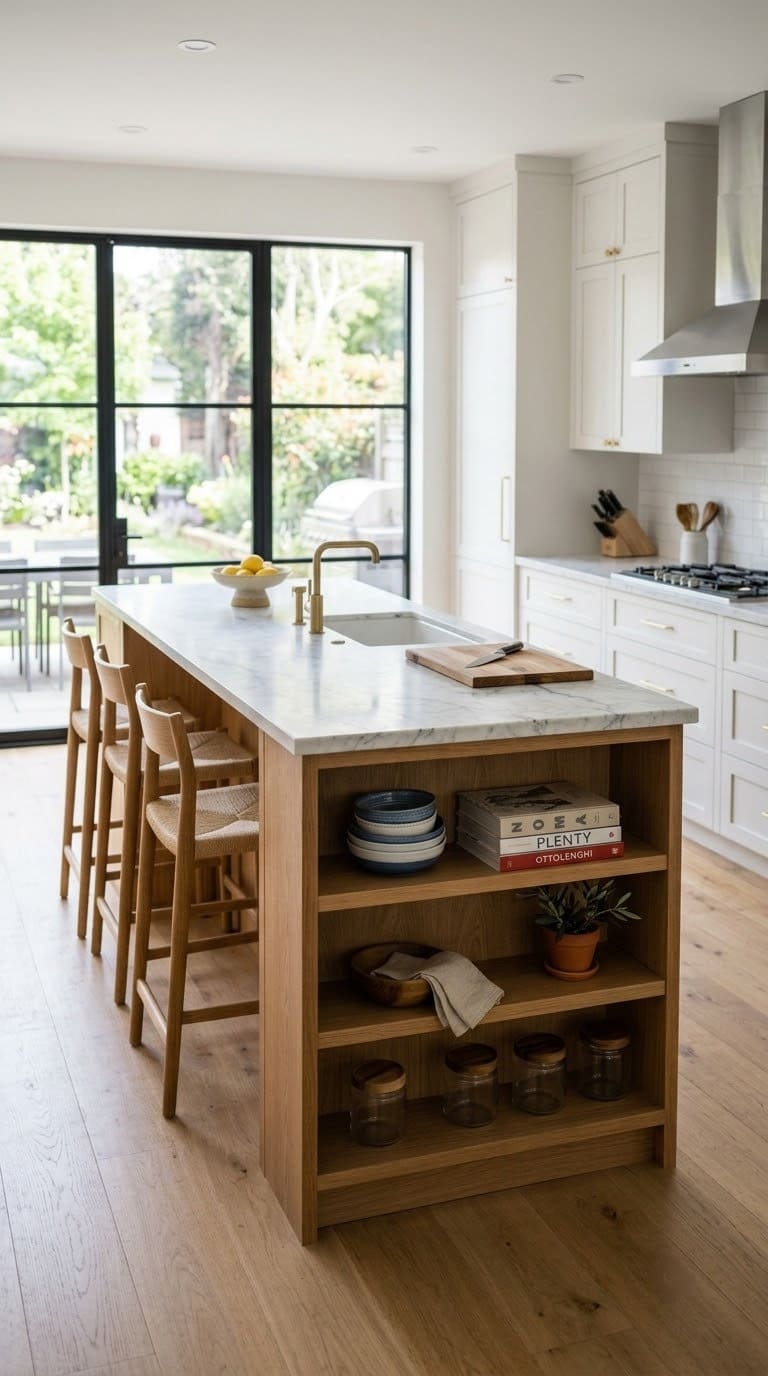
Open shelves on the island’s ends or base read as visually lighter than solid cabinet panels, a real trick for making a necessarily-present island feel less like it’s shrinking the room. Budget tier: DIY-cheap to moderate.
17. A waterfall countertop edge
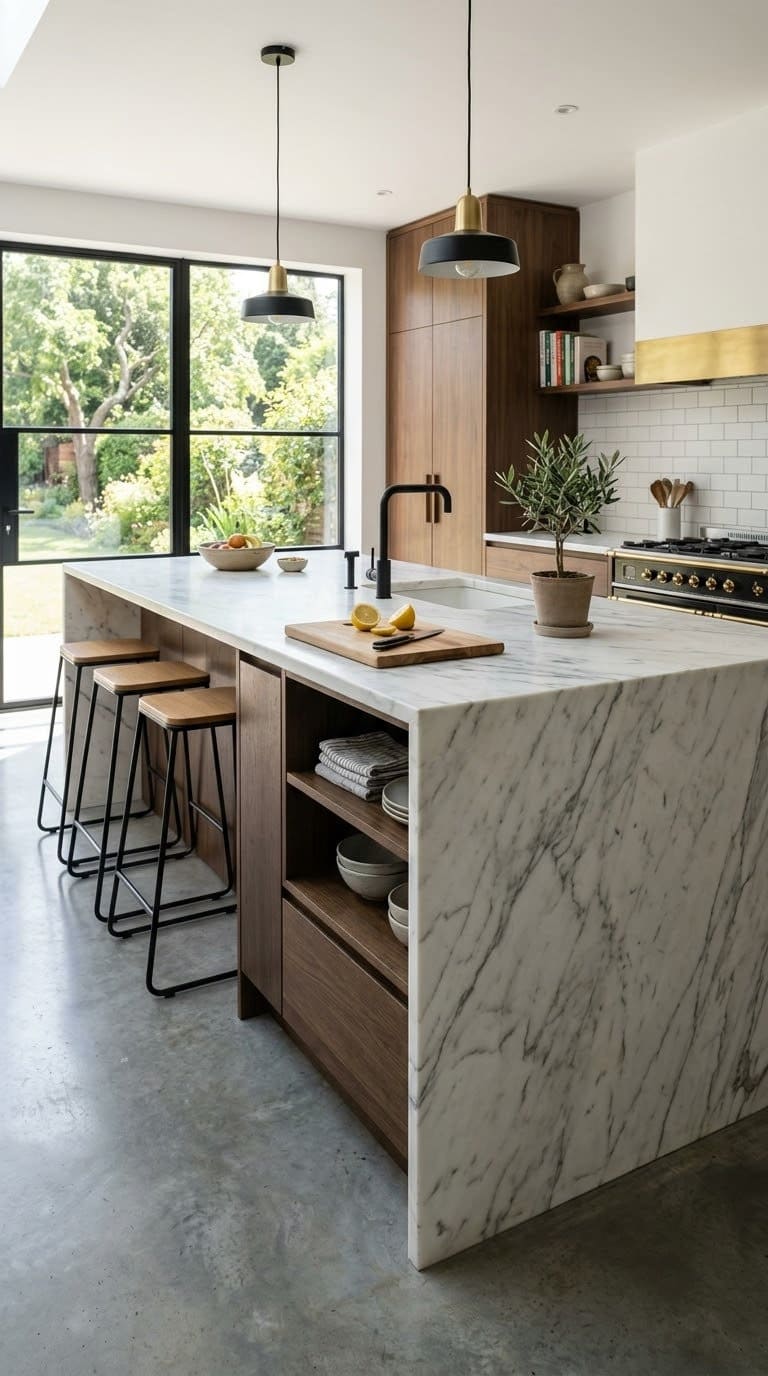
A waterfall edge, where the countertop material wraps continuously down the island’s side to the floor, creates a clean, seamless look that reads as less visually bulky than a standard countertop-plus-cabinet-base combination, useful when every visual inch matters in a tight galley. Budget tier: bigger investment.
Which Lighting and Visual Tricks Make a Tight Island Work?
18. Pendant lighting sized to a narrow island
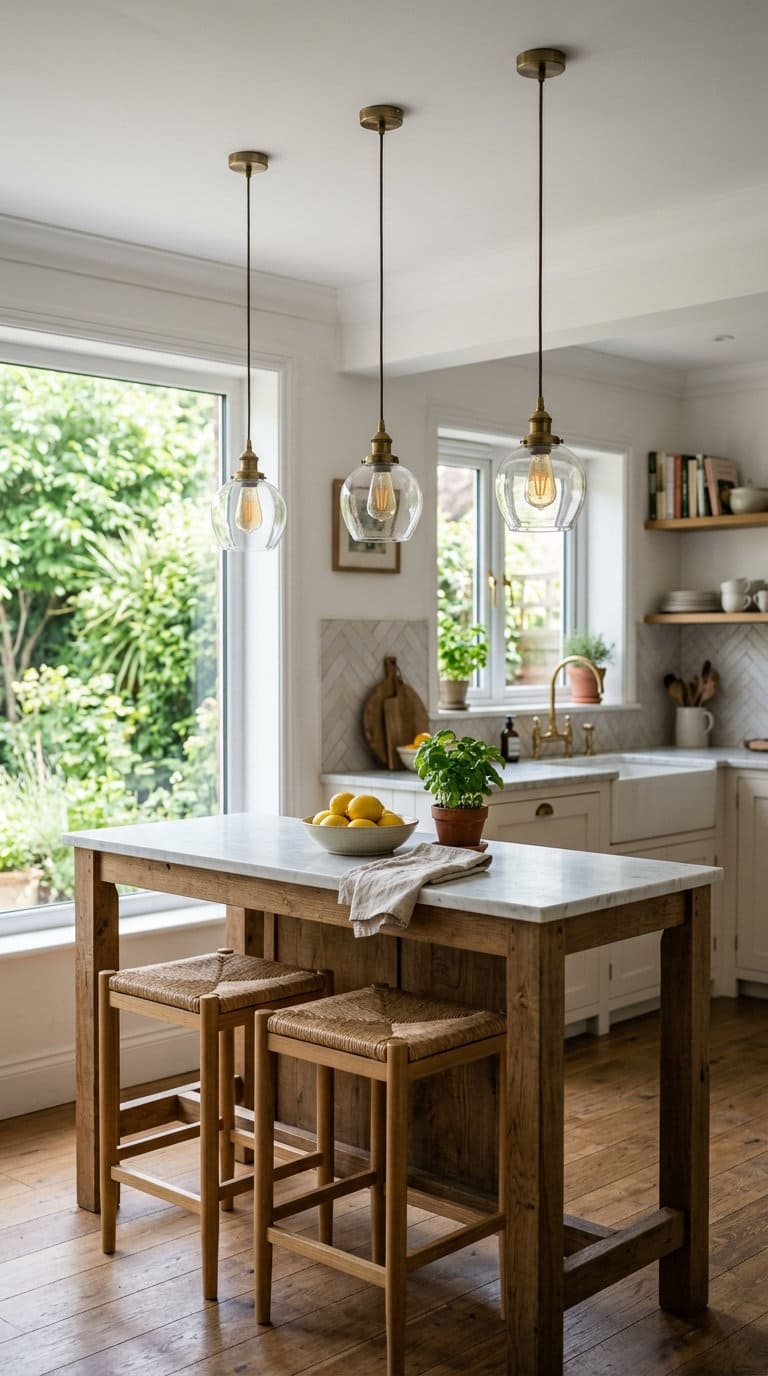
Oversized pendants can visually overwhelm a genuinely narrow island, choose fixtures scaled down proportionally (roughly a third of the island’s length in total pendant width) so the lighting doesn’t compete with an already-tight space. Budget tier: DIY-cheap to moderate.
19. A light-toned island to reduce visual bulk
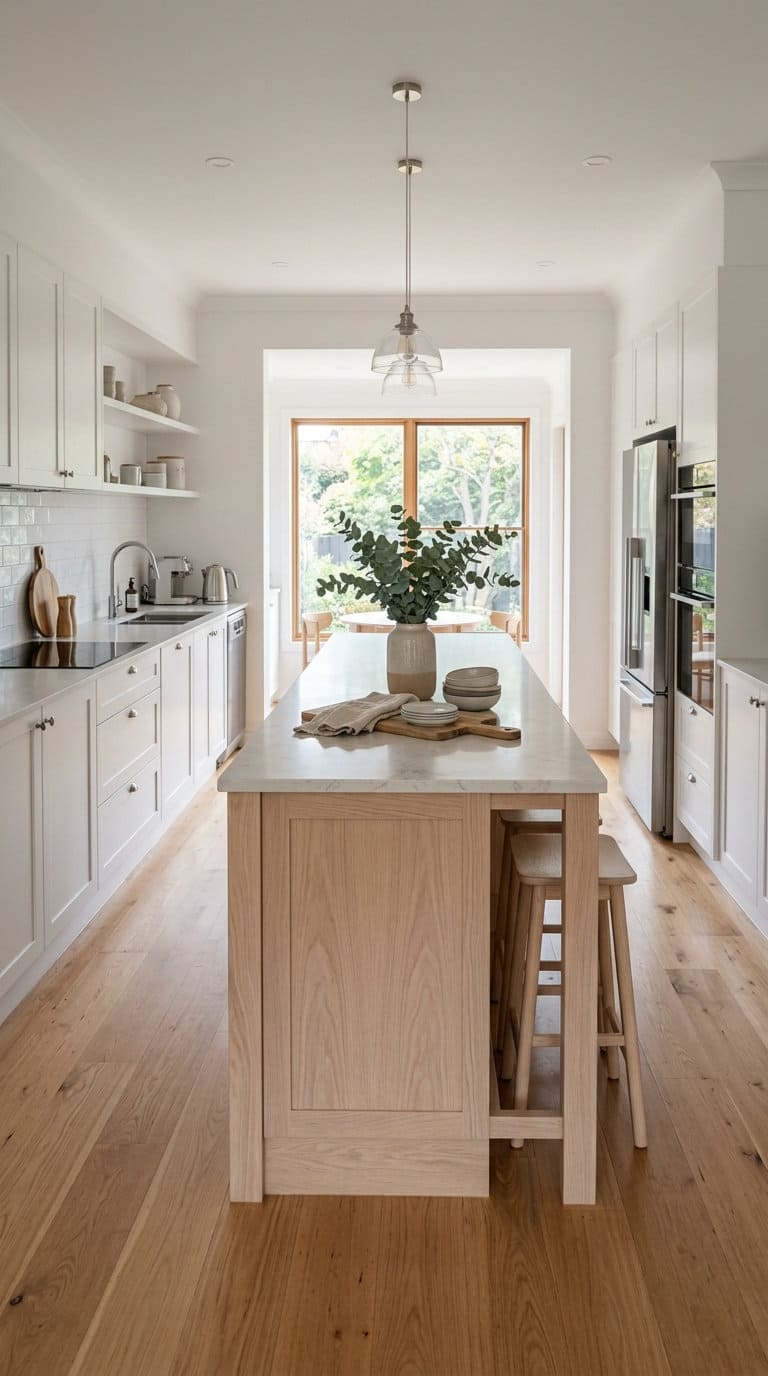
A light-colored island (white, pale wood, light stone) visually recedes compared to a dark one, genuinely useful in a galley where the island is unavoidably present and needs to feel as unobtrusive as possible. Budget tier: no cost difference from a darker finish.
20. Glass-front or mirrored island panels
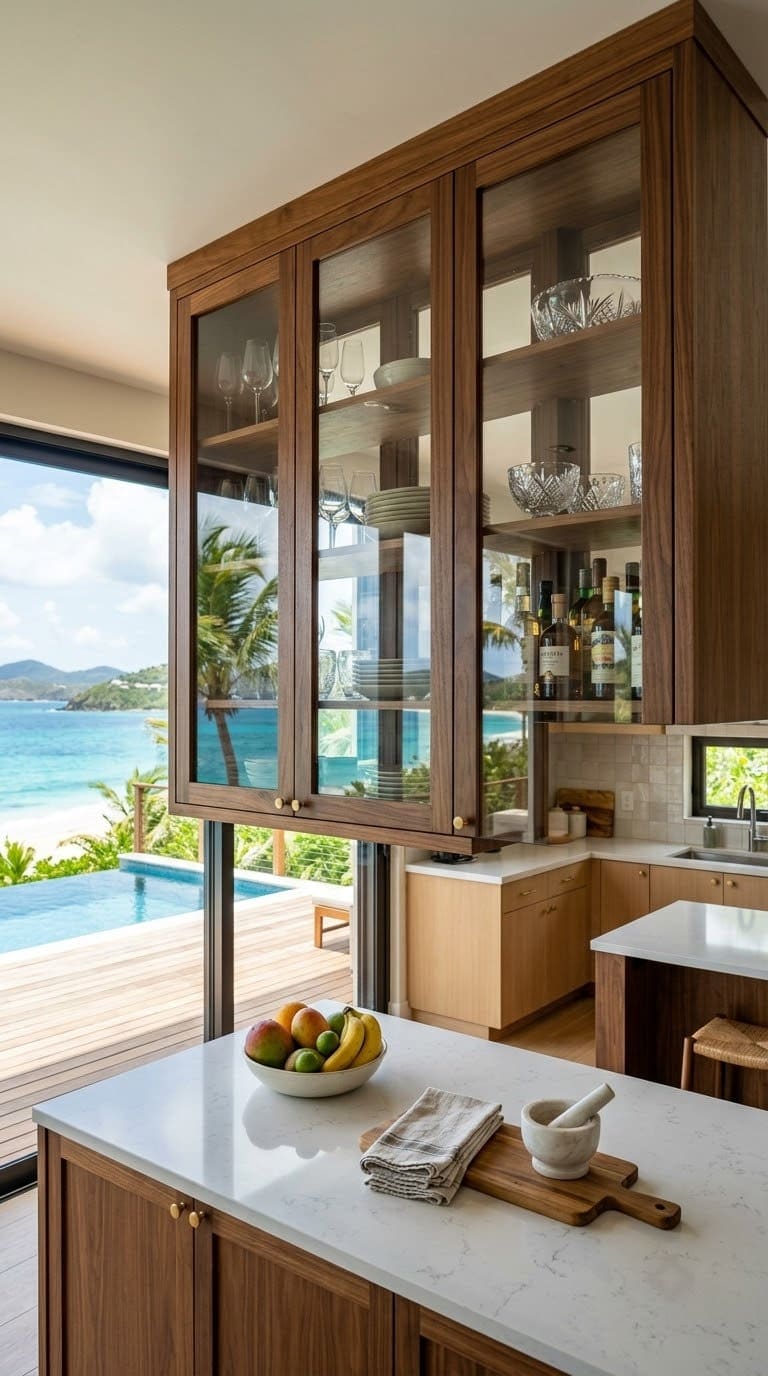
Glass-front cabinet doors or a mirrored kick panel on the island’s base reflect light and reduce the visual weight of the island’s solid mass, a real trick for making a necessary fixed island feel less like a wall in the middle of the room. Budget tier: moderate.
What We Learned the Hard Way
The most common mistake isn’t picking an ugly island, it’s measuring the kitchen’s total width once and assuming that number is the clearance available. A 9-foot-wide galley sounds like plenty until a 3-foot island splits it into two 3-foot aisles, both under the 42-inch NKBA single-cook minimum.
If there’s one thing worth doing before ordering any island, fixed or portable, it’s the actual subtraction: total width minus island width minus island width again, since you need clearance on both sides, not the total as a single number.
The second mistake is committing to a fixed island when a rolling one would have solved the exact same need. We’ve seen kitchens where a beautiful built-in island gets in the way during actual cooking because the clearance was always genuinely too tight, exactly the scenario a lockable-wheel cart avoids entirely, since it can roll out of the way when the aisle needs to be clear.
And the one that costs nothing to avoid: skipping the tape-out step. Marking the proposed island’s actual footprint on the floor with painter’s tape and living with it for even a few days catches a real clearance problem before a single cabinet is ordered, a five-minute step that several real kitchen designers point to specifically because it’s so often skipped.
FAQ
How much clearance do I need around a kitchen island? At least 42 inches per NKBA guidelines for a single-cook kitchen, 48 inches for two or more cooks, on each side of the island, not as a single combined total.
Is my galley kitchen too narrow for an island? If your galley measures under roughly 8 feet wide, a full fixed island is likely too tight to meet clearance minimums. A peninsula, rolling cart, or console-style island usually works better below that width.
Is a rolling island a real alternative to a fixed one? Yes. A cart-style island on locking wheels can provide storage, a work surface, and even a buffet spot, then roll out of the way when the aisle needs to be clear, genuinely useful in a galley too narrow for a permanent island.
How wide should a narrow galley kitchen island be? As slim as 24-30 inches can still work well, versus a standard 36-42 inch island, if it means preserving the required clearance on both sides.
What’s the cheapest way to add island-like function to a galley kitchen? A butcher block set on a console table (idea 7) costs a fraction of a built-in island and can be moved or removed entirely if the space needs to open up.
Related Posts
Products We Recommend
This post contains affiliate links. We may earn a commission on qualifying purchases at no extra cost to you.
Yaheetech Rolling Kitchen Island Cart (3 drawers, open shelves)
Direct product match for idea 6, Sharon Sherman's real project example, Amazon's Choice, 4.6 stars / 563 ratings
Shop Now
HomeStock Oasis Console Table with Butcher Block Top (48x16x30in)
Direct product match for idea 7
Shop Now
Osimir Brushed Nickel Mini Pendant Lights (2-pack)
Direct product match for idea 18, sized for a narrow island, 4.7 stars / 603 ratings, live-verified
Shop NowNever miss an update — choose FarmFoodFamily as your preferred source on Google.
How it works: Tap the button below to open Google's settings page, then check the box next to FarmFoodFamily.
Tap the checkbox to turn it blue — that's how you know it's set.