The $2 Olla Pot Hack: Build a Genius Auto-Waterer (and Know When It Fails)
An olla pot waters your plants from underground for about the price of two small clay pots, if your pots really seep and your soil isn’t heavy clay.

Never miss an update — choose FarmFoodFamily as your preferred source on Google.
How it works: Tap the button below to open Google’s settings page, then check the box next to FarmFoodFamily.
Tap the checkbox to turn it blue — that’s how you know it’s set.
Quick Answer
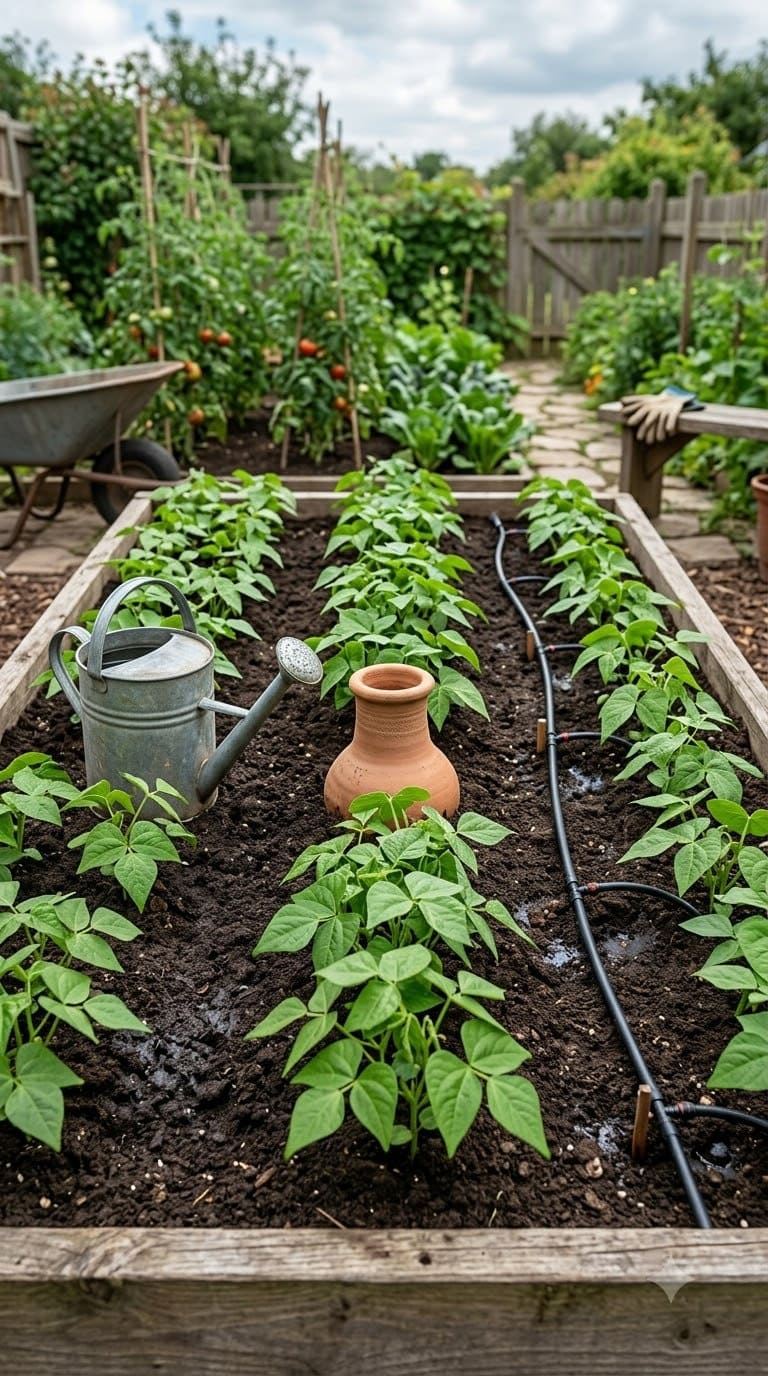
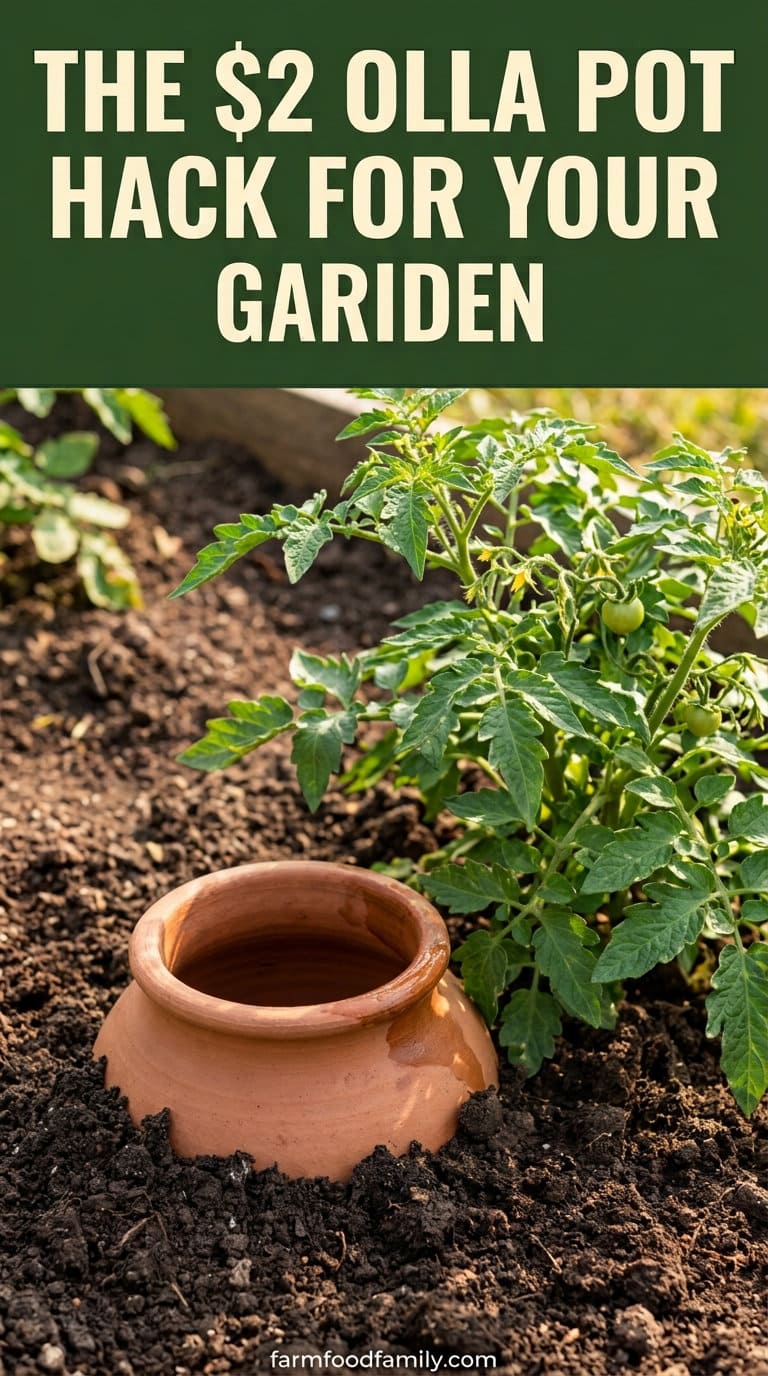
An olla (say “oy-ya”) is an unglazed clay pot you bury and fill with water. Dry soil pulls water through the clay walls, so nearby plants drink as they need. The University of Arizona says it may save 60 to 70 percent of water versus a watering can (one maize study).
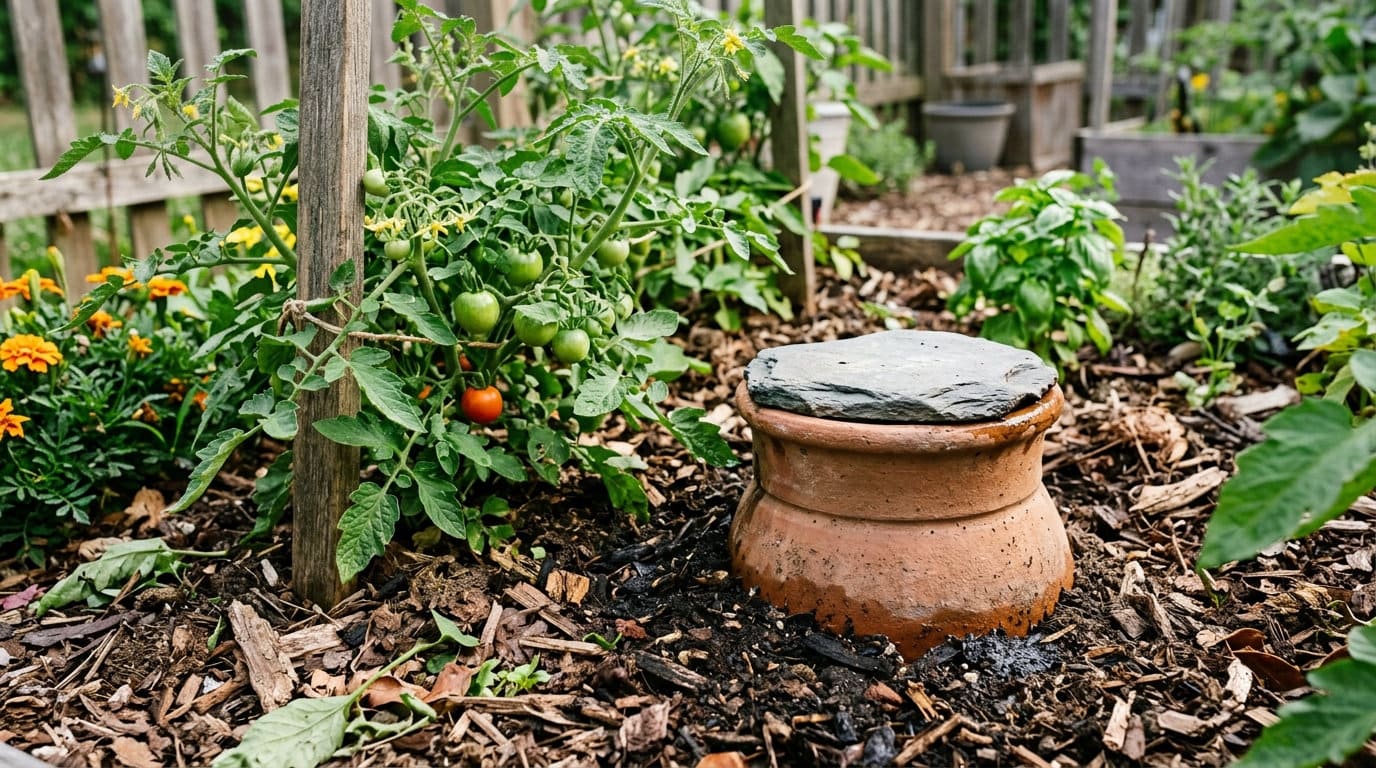
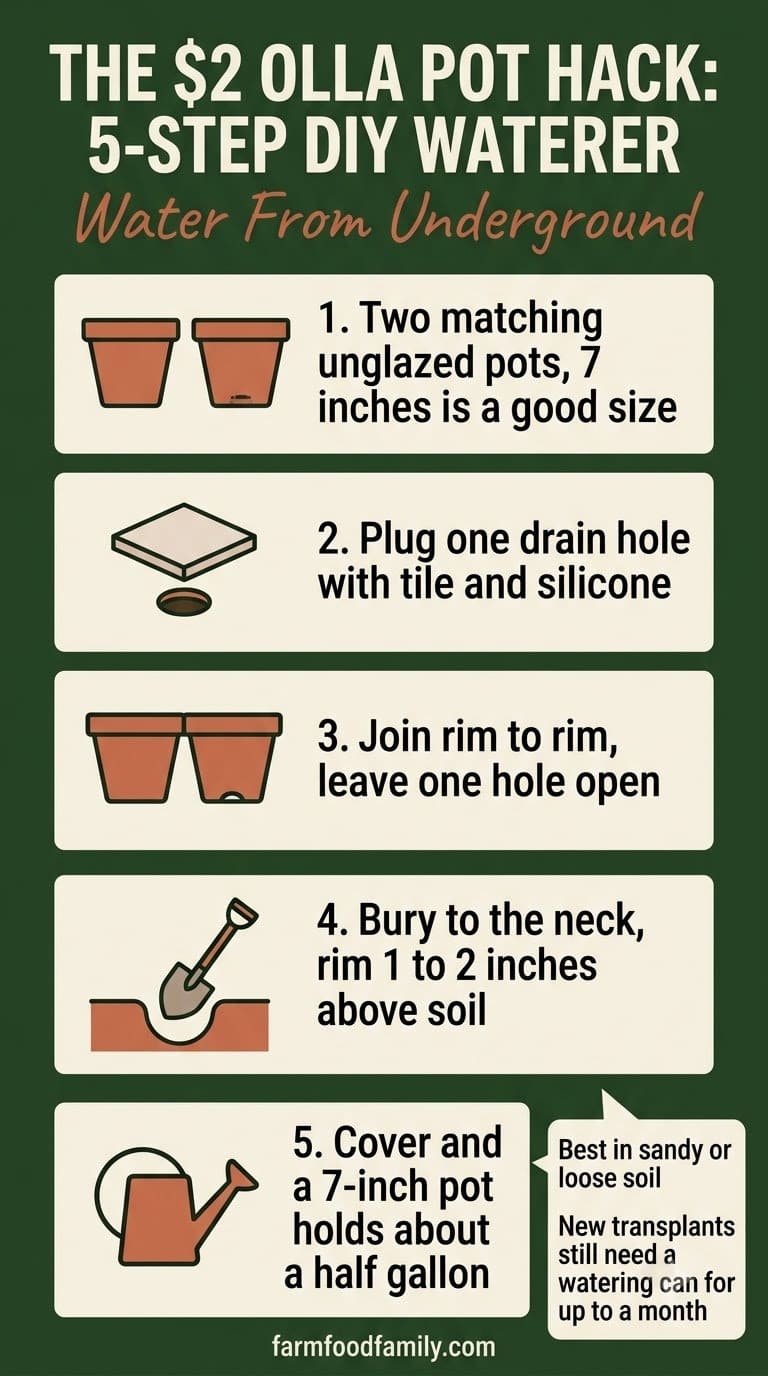
The $2 version joins two small terracotta pots rim to rim. Plug one drain hole, glue the rims, bury the pair to the neck, and fill it through the open hole.
It works best in loose or sandy soil with thirsty plants like tomatoes and squash. It struggles in heavy clay, near woody roots, or if your pots don’t seep. New transplants still need hand watering for up to a month.
What is an olla pot and how does it water plants?
Olla is Spanish for clay pot. Amy Nickel and Andrew Brischke of the University of Arizona Cooperative Extension call it a conservation system that has been around for centuries. Conquistadors brought it to the American Southwest, and it nearly vanished once modern watering gear arrived.
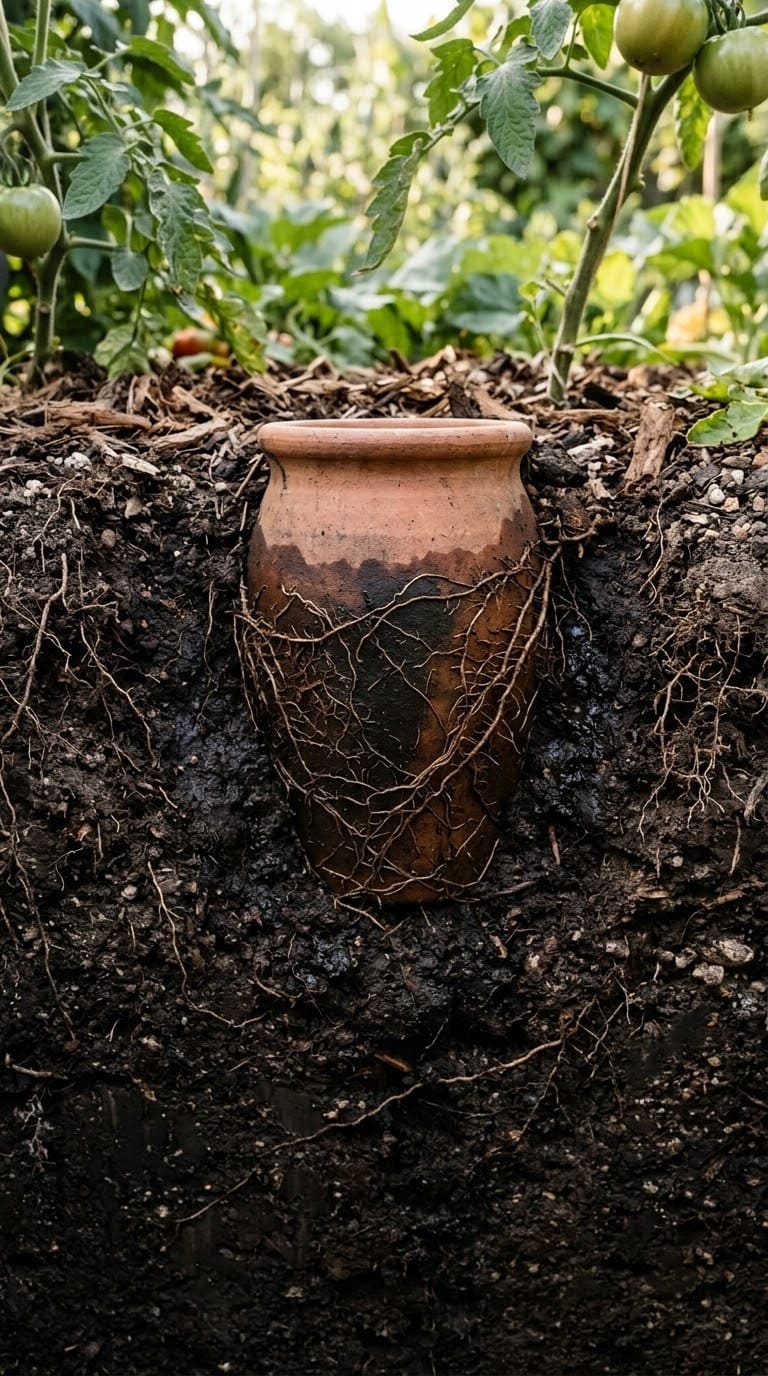
The science is simple. Unglazed clay is porous, so water seeps through the walls.
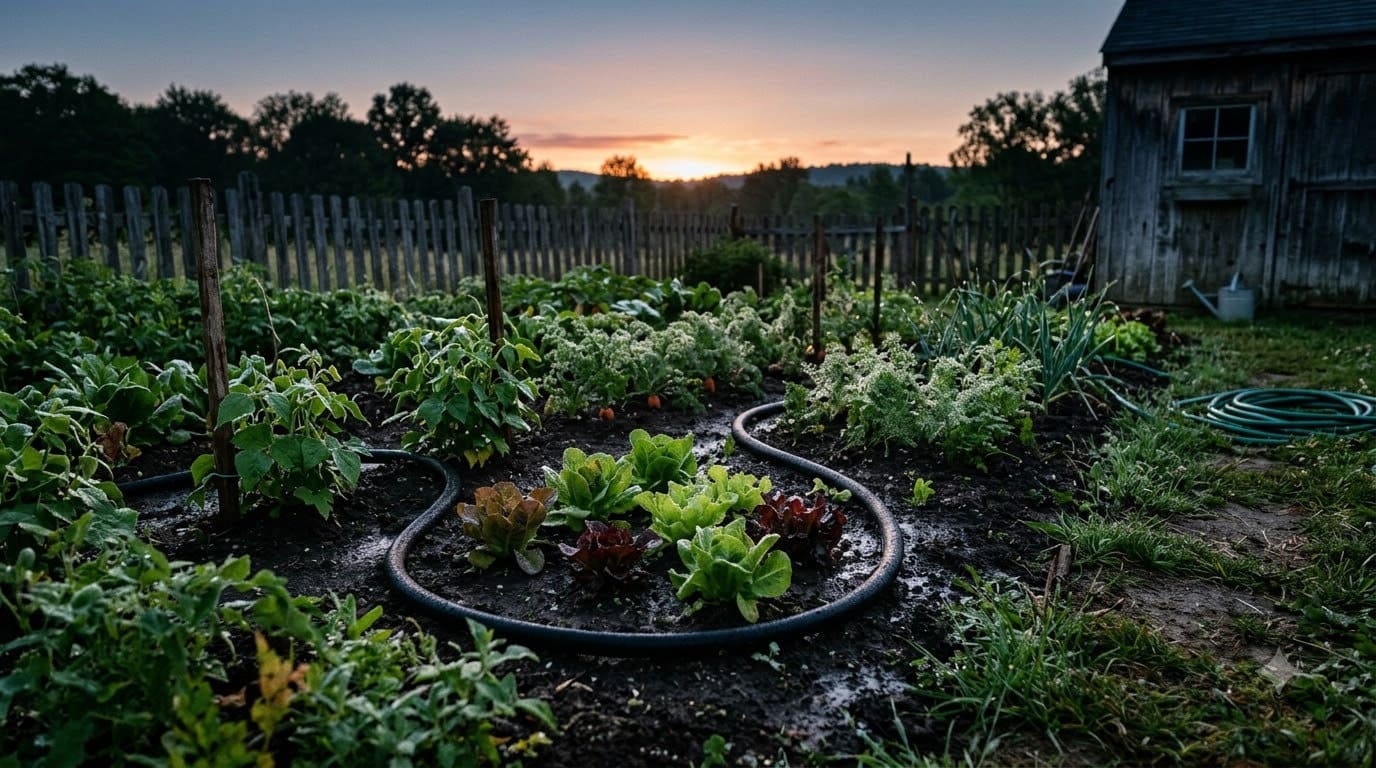
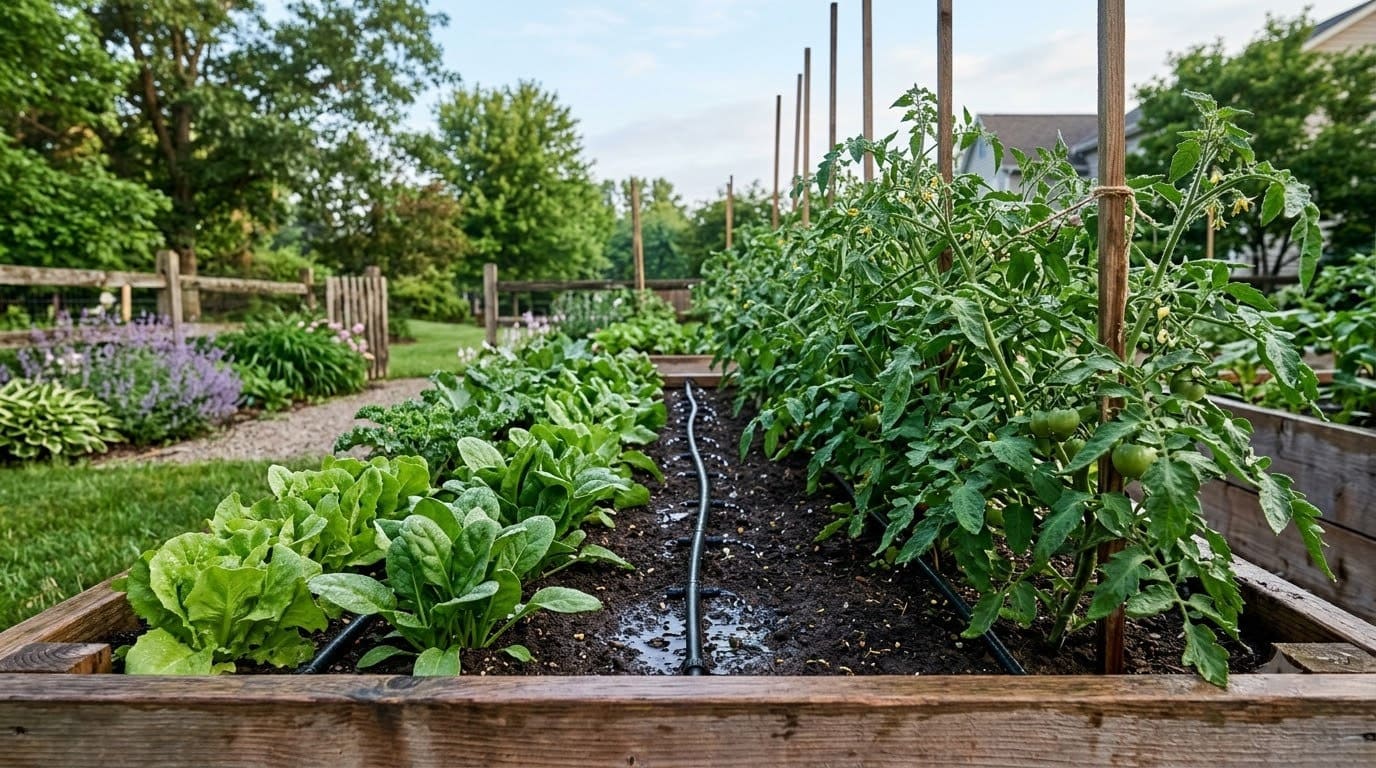
Dry soil pulls that water out until the ground around the pot turns moist. Then the plant roots take it from there.
Answer 4 quick questions and get matched to the exact fix for your yard — drainage, budget, layout, or something else entirely.
Take the Free QuizRoots often find the pot and wrap around it. They drink straight from the clay.
Here’s the part we like most. The soil does the pulling.
A wet bed takes very little water from the pot, and a dry bed takes more. That makes an olla hard to overwater.
Does an olla really save 60 to 70 percent of your water?
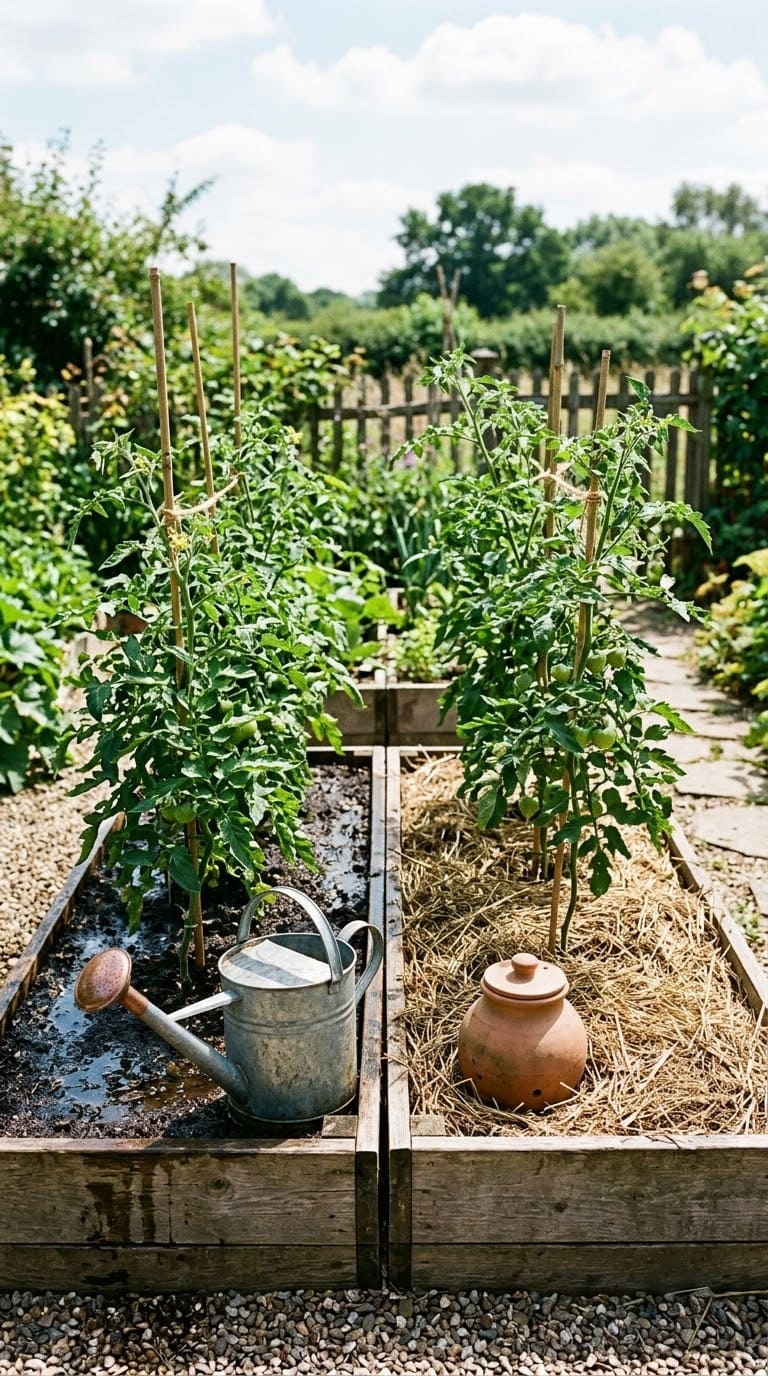
Maybe, but read the fine print. The guide says an olla “may save” 60 to 70 percent of water compared with watering by can. That figure comes from a 2017 study of maize, not from a backyard vegetable bed in the United States.
None of that makes the number wrong. It just means you shouldn’t count on a 70 percent cut on day one. Your soil and your weather set the real savings.
The same guide quotes Curtis Smith, an extension horticulture specialist at New Mexico State University. He says olla watering is equal to or slightly better than drip, depending on how the drip line is set up.
His reasoning is simple. The water goes straight to the plant, so none gets lost.
Most yard problems trace back to one specific, fixable cause. Find yours in 4 quick questions.
Take the Free Quiz
Four 6-inch clay pots with drainage holes. Two of them make one DIY olla, and the second pair covers a second plant. Run the paper-towel seep test from Step 1 first, since the listing says the clay is fired at 1922°F and we can't confirm how porous that leaves it.
Shop NowThis post contains affiliate links. We may earn a commission on qualifying purchases at no extra cost to you.
How much does a $2 olla really cost?
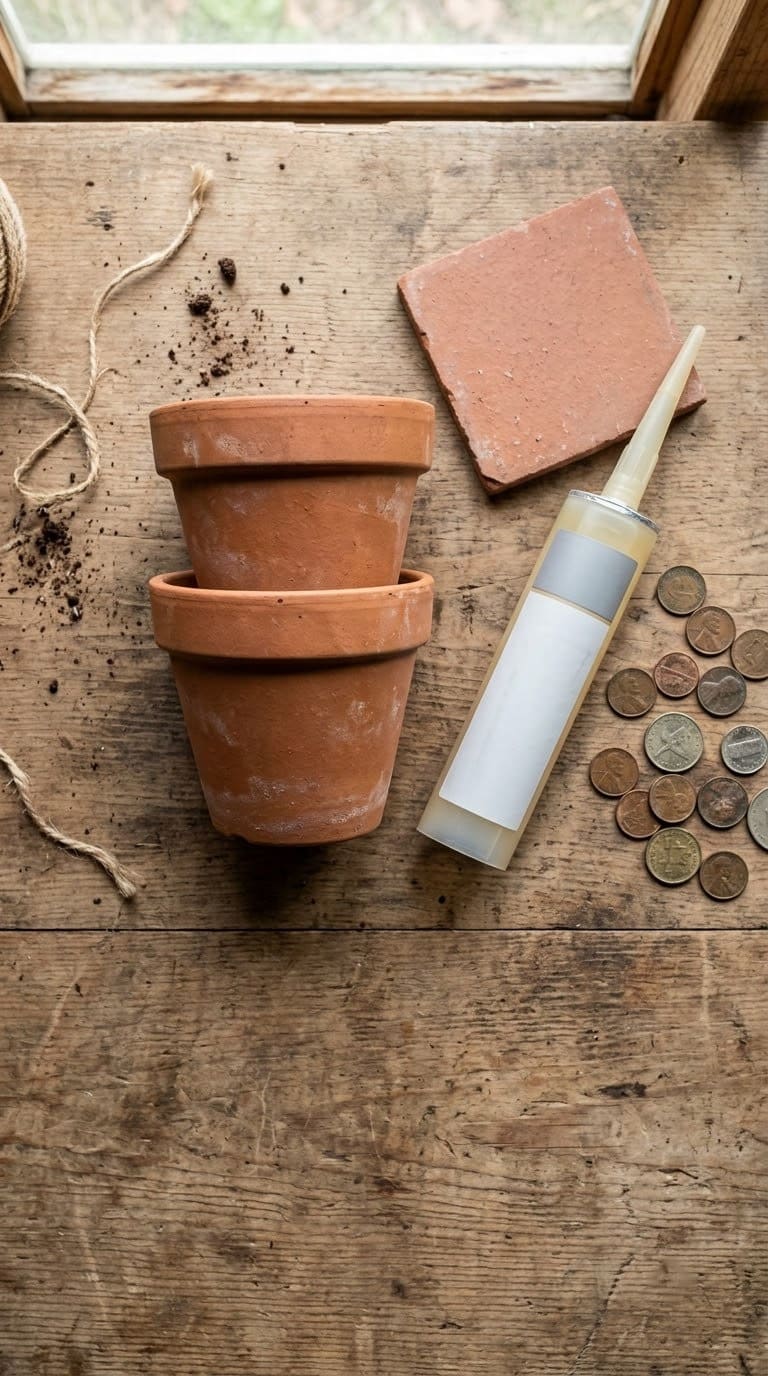
Two small terracotta pots can run about a dollar each at discount stores. Add a scrap of tile and a dab of food-grade silicone. If you don’t already own those, you’re closer to $5 than $2.
Traditional ollas are jug-shaped and made by artisans. Nickel and Brischke say they’re often expensive.
Small ready-made ollas usually cost a few dollars more than the DIY pair. Many also hold less water than two 7-inch pots joined together.
| Option | Typical cost | Water held | Who it fits |
|---|---|---|---|
| DIY pair of terracotta pots | About $2 to $5 | About a gallon for two 7-inch pots | Budget gardeners who don’t mind a little assembly |
| Artisan jug-style olla | Often expensive (per Arizona Extension) | Varies by size | Gardeners who want a long-lasting, ready-made piece |
| Small store-bought olla | Usually a few dollars more than DIY | Smaller than a joined pair | Gardeners who want zero assembly |
| Drip line kit | Costs more up front, needs a water line | Unlimited from the tap | Larger beds with a spigot nearby |
Want more ways to save? Our guide to cheap gardening ideas has more budget tricks for the vegetable patch.
How do you make a $2 olla step by step?
Plan on about 20 minutes and one trip to the store. You need two matching unglazed terracotta pots. You also need a small flat tile or stone bigger than the drain hole, plus food-grade or waterproof silicone.
Step 1: Pick two matching unglazed terracotta pots
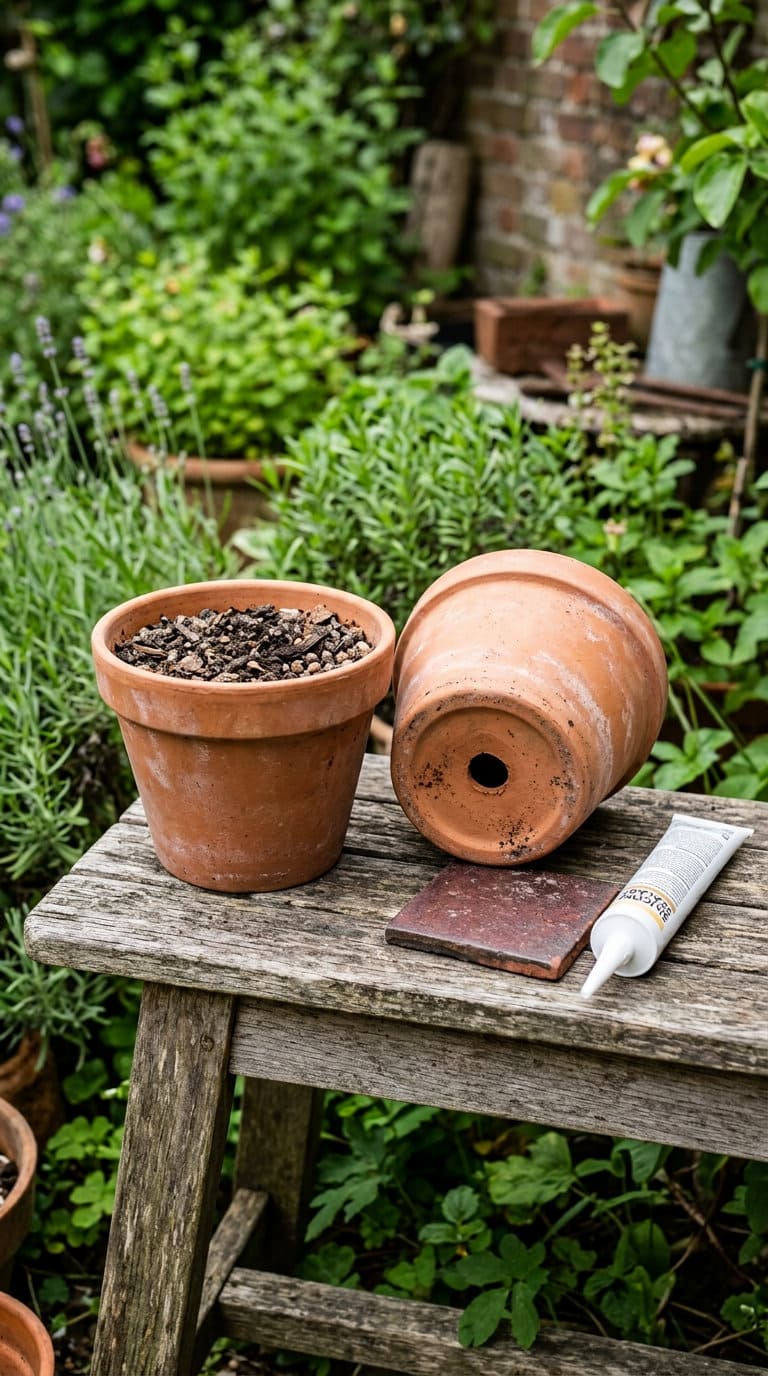
Choose two pots with the same rim width so they sit flush. A pair of 7-inch pots is a good size.
Colorado Master Gardener Di Graski of the Pueblo County Extension says one 7-inch pot holds about a half gallon. Together, the pair holds roughly a gallon.
Skip anything glazed or painted. Glaze blocks the seep, and the whole trick depends on porous clay.
Here’s a quick check we’d suggest before you bury anything. It’s our own idea, not from the extension guides.
The average homeowner spends $616/year on yard fixes that don't address the real problem. Find out what yours actually is — before you spend another dollar.
Take the Free QuizFill one pot, set it on a paper towel or newspaper, and wait a few hours. If the outside turns damp and the paper darkens, the clay seeps. If it stays bone dry, that pot won’t work.
Step 2: Plug the drain hole on one pot
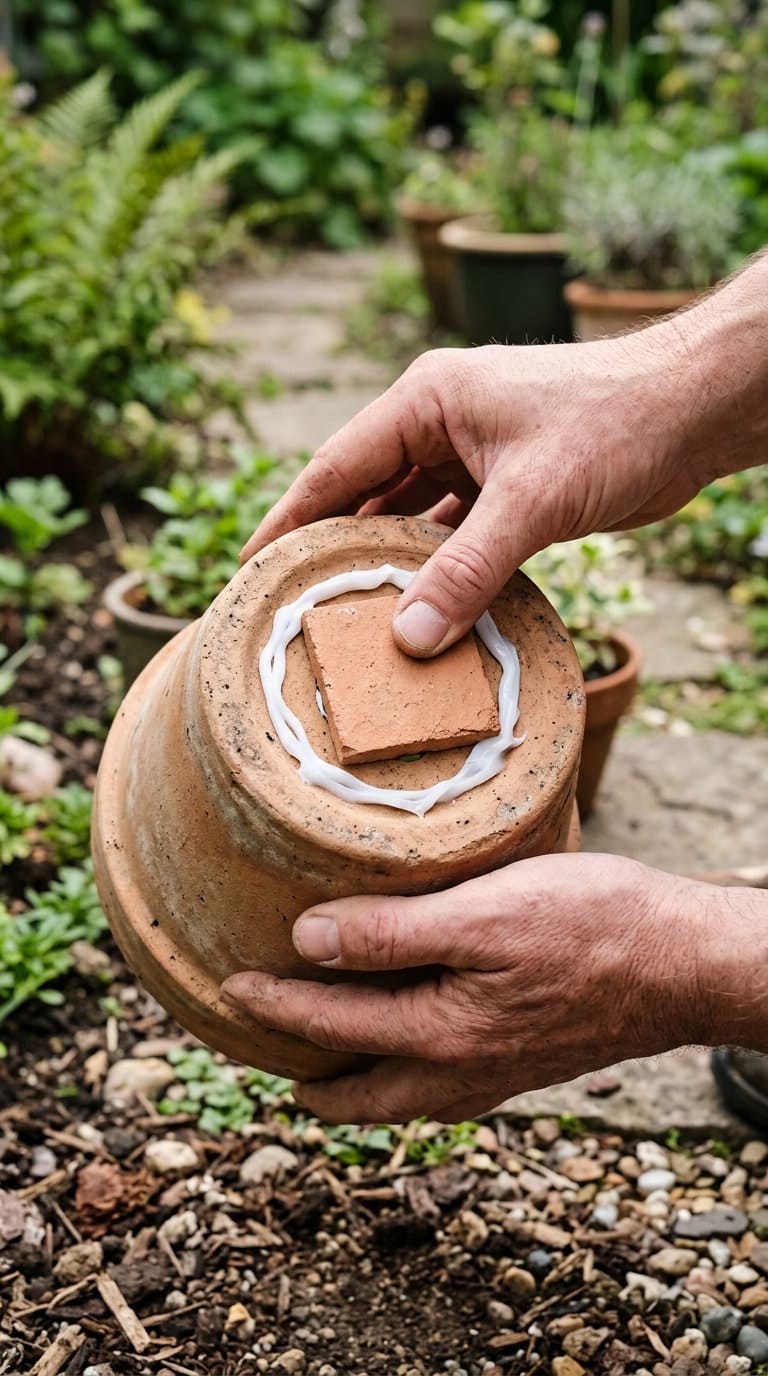
Cover the drain hole on one pot with a small tile or flat rock. It must be larger than the hole.
Seal it with food-grade or waterproof silicone. The Arizona guide shows this same trick, and Graski uses small flat rocks or tiles too.
Press the tile down firmly and run the silicone all the way around. A weak seal is the most common reason a fresh olla leaks out the bottom instead of through the walls.
Step 3: Join the pots rim to rim
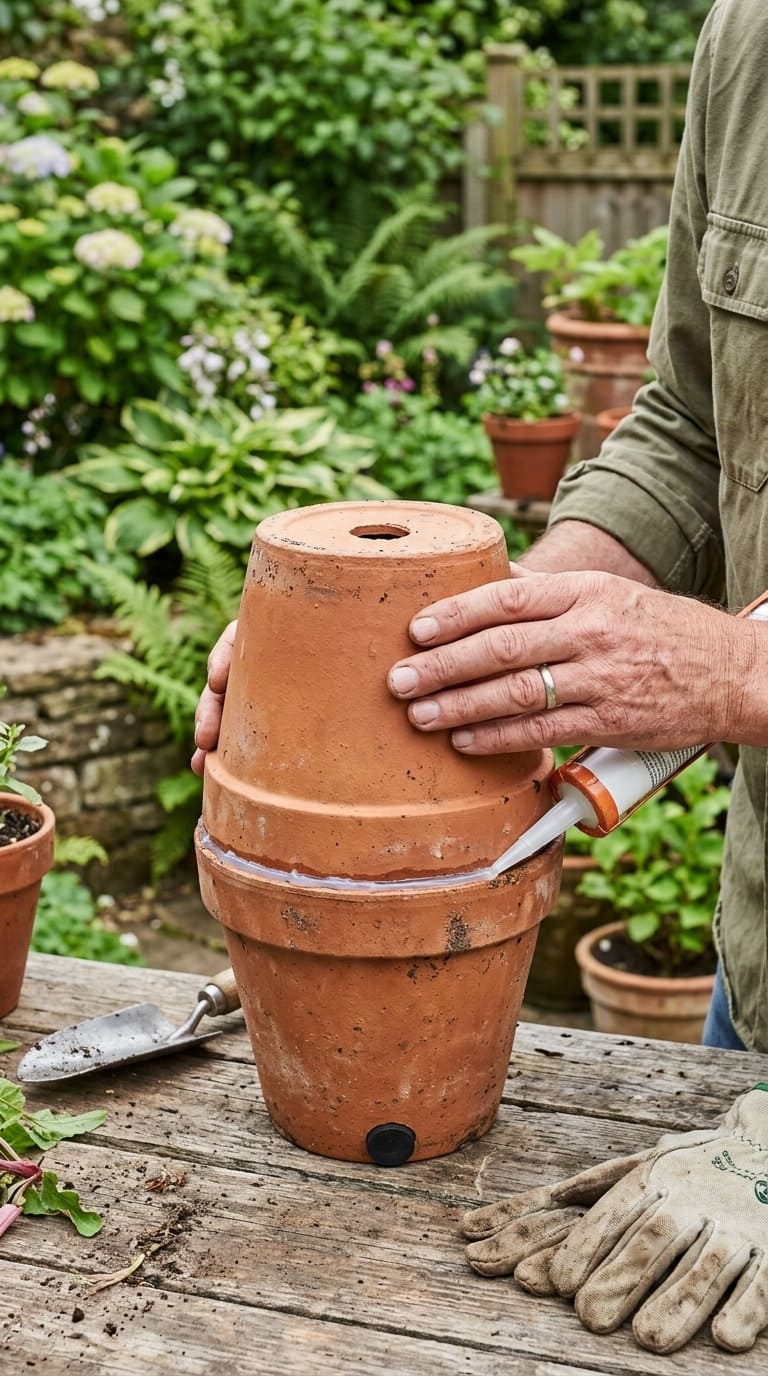
Run a bead of silicone around one rim. Set the second pot on top, rim to rim.
Turn the pair so the plugged hole is at the bottom and the open hole is at the top. Nickel and Brischke describe gluing the edges of two pots together and leaving one drain hole open to fill.
Let the silicone cure before you add water. Check the label for cure time, since brands differ.
Step 4: Dig the hole and bury it to the neck
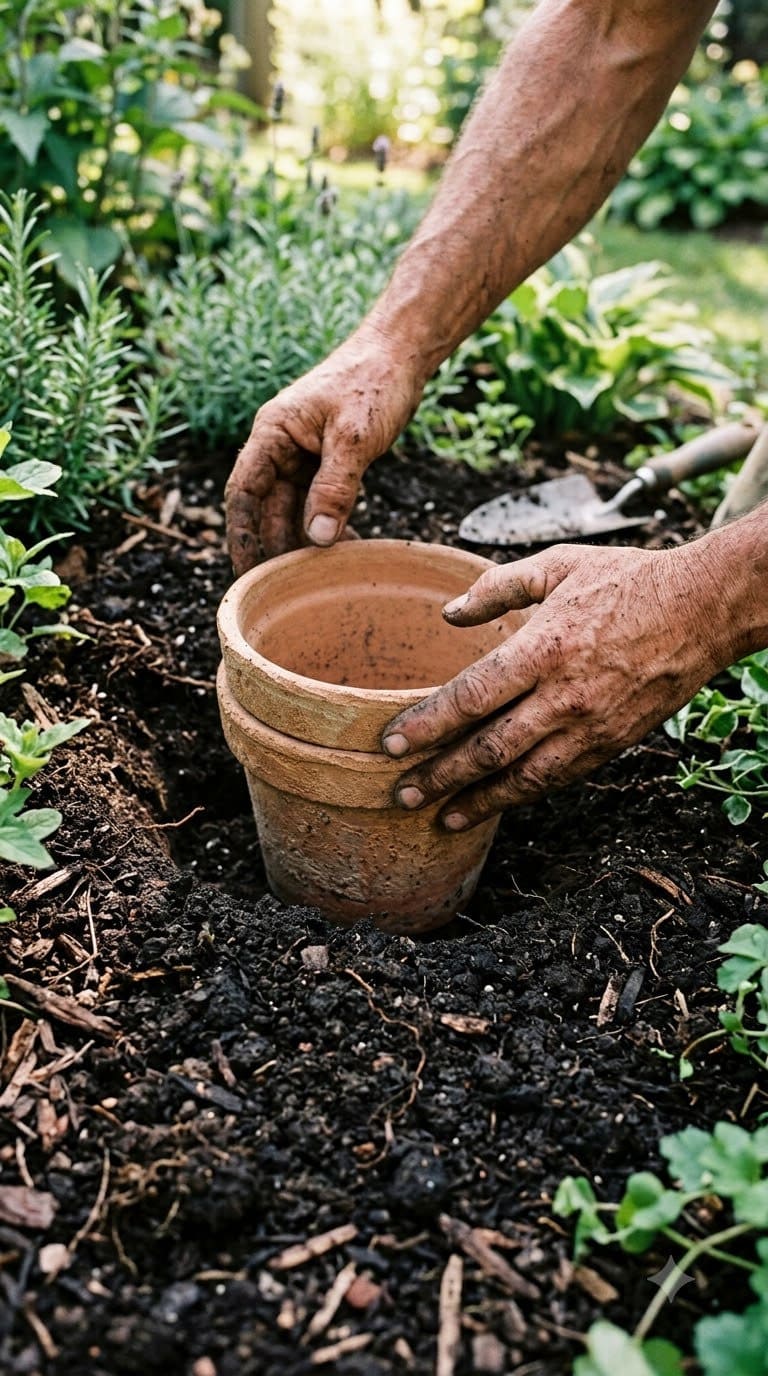
Dig a hole just big enough for the whole pair. Set it in so the top rim sits about 1 to 2 inches above the soil. That’s the height the UC Agriculture and Natural Resources Coastal Gardener recommends.
Backfill and firm the soil around the pot without packing it hard. Mark the spot with a stake or a stone. It’s easy to step on a buried olla.
Step 5: Cover the opening and fill it
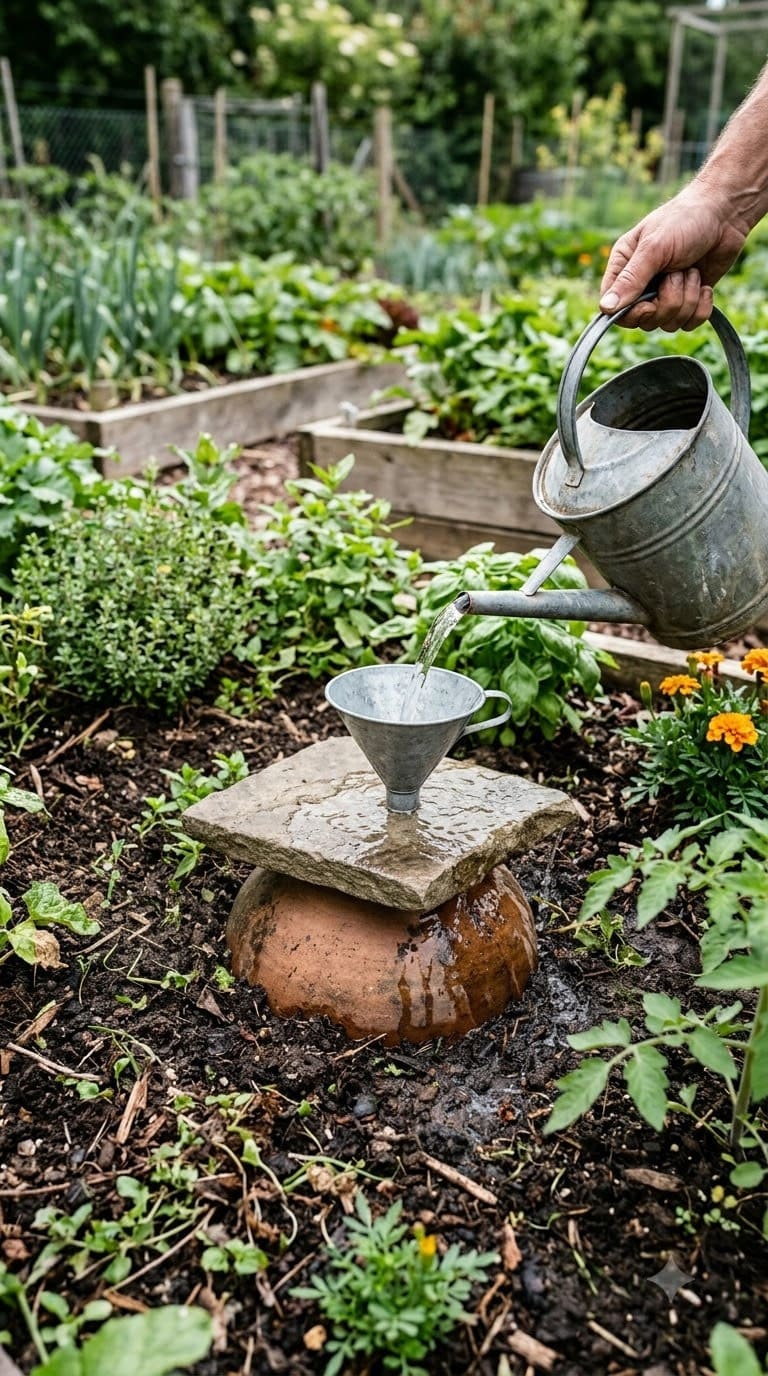
Fill the olla through the open hole. Then cover it with a flat rock or a saucer. The UC guide says a cover cuts evaporation and keeps mosquitoes from breeding.
Water any nearby seeds or new transplants from the top for now. The olla needs a few days to wet the soil around it.
How far does an olla reach, and where should you plant?
Honestly, the experts don’t agree, and that’s worth knowing before you plant.
| Source | Reach or spacing guidance |
|---|---|
| Colorado State University Extension, Pueblo County (Graski) | About 20 centimeters, roughly 7 inches, was the maximum reach in 2017 research |
| University of Arizona (anecdotal) | About twice the pot’s diameter, so an 8-inch pot waters plants up to 16 inches across |
| University of Arizona (maize study) | Up to 20 to 30 centimeters may be enough |
| North Dakota State University (Carrie Knutson, horticulture agent) | A 10-inch pot waters an estimated 20-inch area, citing the Arizona research |
| UC Agriculture and Natural Resources | Space ollas 2 to 3 feet apart, or 3 to 4 feet for ollas over 2 gallons |
Knutson cites the Arizona numbers, so those two sources aren’t fully independent. And Arizona itself says research on ideal spacing is limited.
Our advice is to plan tight. Plant within about 7 inches of the olla, and space ollas 2 to 3 feet apart. If your plants sit farther out, expect dry spots.
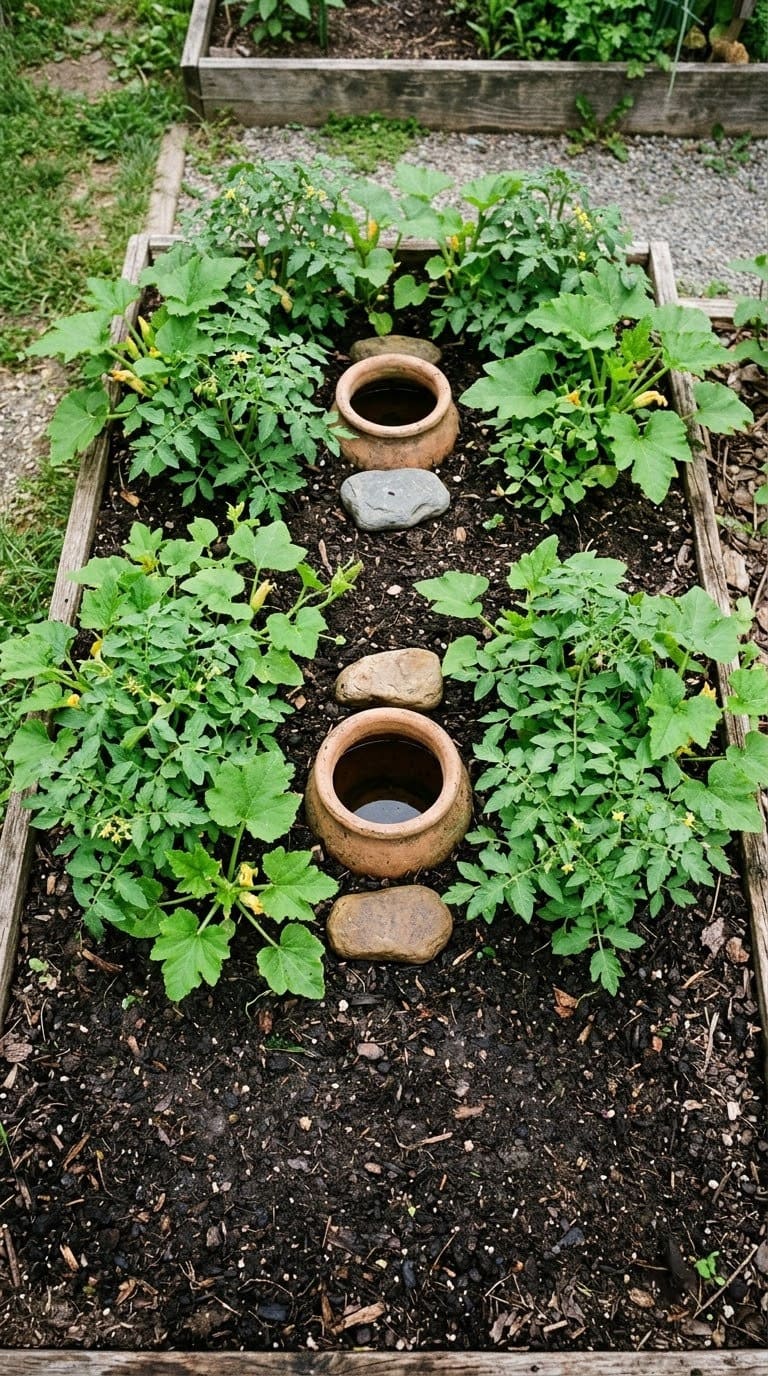
Which plants love an olla and which ones don’t?
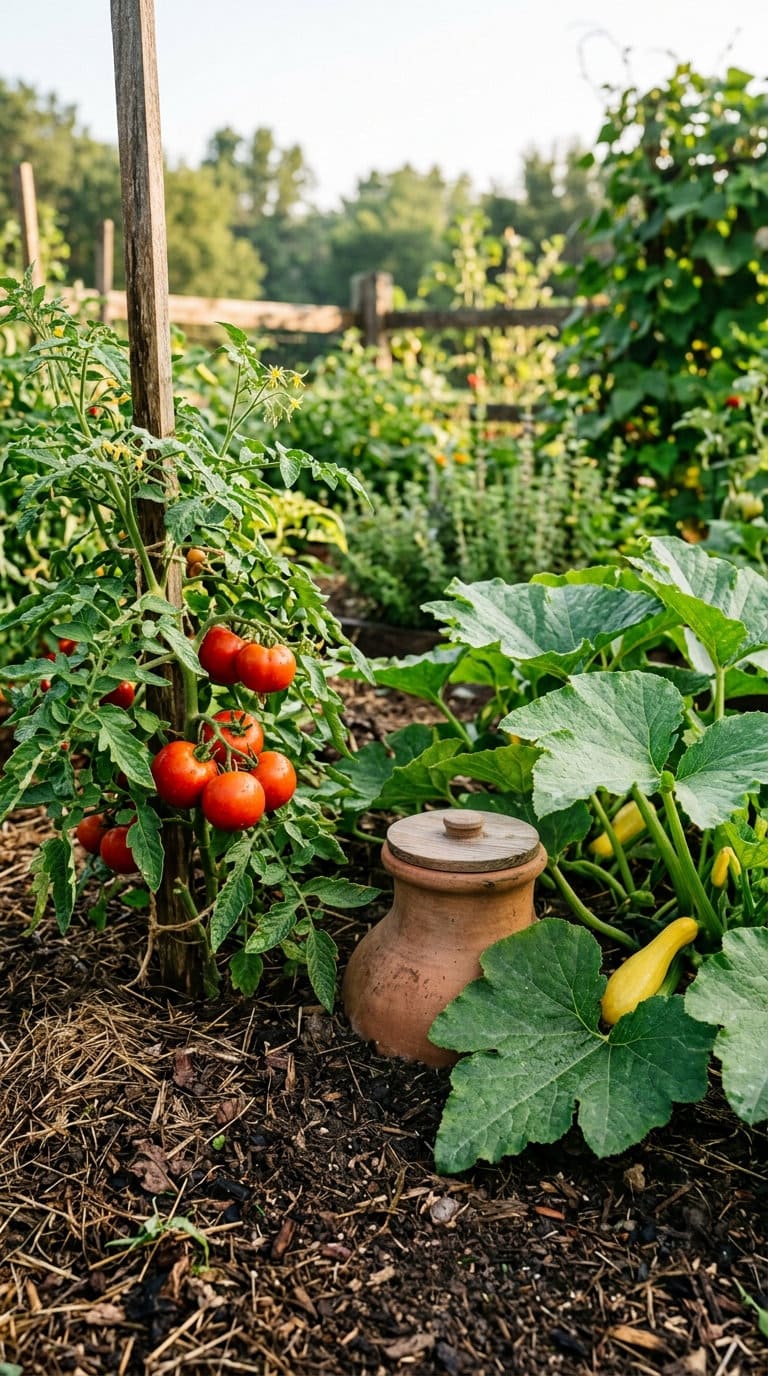
Thirsty, deep-rooted plants do best. The UC guide names tomatoes, squash, melons, and chiles.
Graski points to tomatoes and squash as her best matches. Smith adds that flowering plants and many vegetables are ideal.
Woody plants are a bad idea. Trees and shrubs have roots strong enough to break the pot, so leave them out.
Shallow-rooted leafy greens are a real tossup. Graski says not to bother with spinach and lettuce. She doesn’t recommend an olla for seeds sown straight into the ground either.
Some gardening blogs say lettuce and herbs do fine within a few inches of the pot. We couldn’t find extension backing for that.
We’d side with Graski for seeds and new transplants. And we’d try lettuce only where you can afford a failed experiment.
The UC guide also warns against densely planted annual crops. There simply isn’t room to bury pots between tightly packed rows.
Want proof it can work? One gardener on Reddit’s r/Permaculture, reported by The Cool Down, ran ollas in a small bed through a two-month dry spell. That olla section did best in the whole garden.
The gardener filled the pots once a day or every other day, depending on rain. It’s one person’s report, not a controlled test. Take it with a grain of salt.
Growing tomatoes? Our tomato growing guide covers planting depth and spacing that pair well with an olla.
When does an olla pot fail?
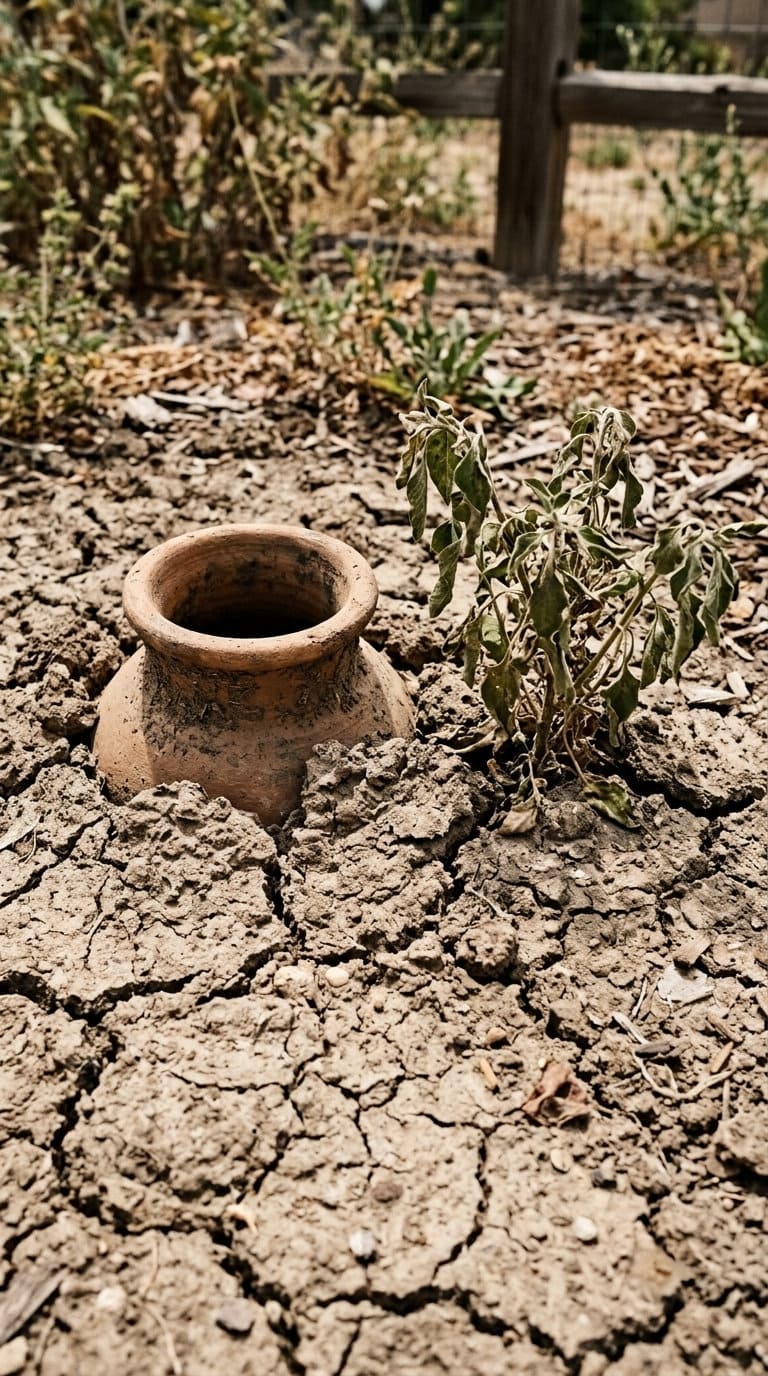
An olla fails in four common ways. Most of them trace back to soil or pot quality.
The first is heavy clay. The UC guide says ollas don’t suit soil with a lot of clay.
They work best in coarse or sandy soil. Clay doesn’t let water move outward from the pot very well.
The second is a pot that doesn’t seep. Glazed pots block water outright.
Some plain terracotta is also fired too hard to let water through. That’s why the paper-towel check in Step 1 saves you a lot of grief.
The third is a bed that’s too small. Nickel and Brischke say ollas take up garden space.
Knutson names the cost of pots and the lost growing area as the two main downsides. In a tiny raised vegetable bed, a buried pot can eat a big share of your planting room.
The fourth is forgetting to fill it. Hand filling is easy to miss.
The guide says it can be unreliable if you forget or go on vacation. If you travel a lot, this may not be your tool.
For a hands-off option, the guide describes linking a series of ollas with tubing. A bigger water tank then feeds them by gravity. That setup also works with collected rainwater.
What gardeners learn the hard way
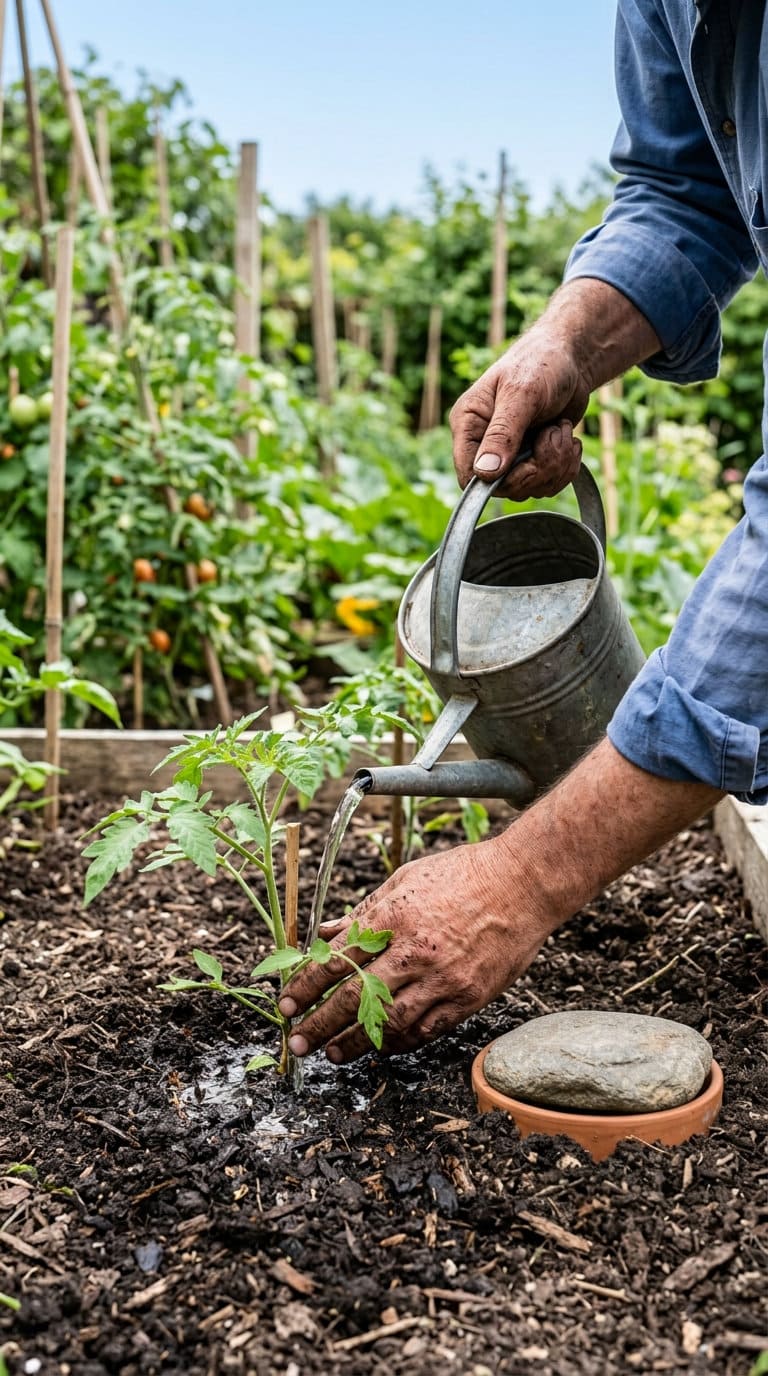
The biggest mistake first-timers make is expecting an olla to water a brand-new plant. It won’t, at least not at first.
Nickel and Brischke say seedlings and new transplants need extra water until their roots find the olla. That can take a month or more.
So keep a watering can handy for the first few weeks. Water new transplants from the top. Then taper off as the plant settles in.
The second surprise is how different the refill schedules are. Graski fills each olla every morning with a watering can.
The UC guide says refill times range from every other day to every seven days or more. It depends on soil, plant density, and weather.
Sandy soil in July will drain your olla fast. Cooler weather and mulch stretch it out.
Third, salts and minerals build up. Nickel and Brischke warn that salts can clog the pores of the clay.
Graski scrubs her pots each spring with a brush and a diluted bleach soak. Her pots were heading into their fourth growing season in 2025.
That’s encouraging. It fits what we’d expect from a $2 hack built from plain clay. Just don’t treat it as maintenance-free.
Finally, watch the spot where the olla meets the ground. Keep the cover on and the rim 1 to 2 inches high.
That stops soil from washing in and clogging the opening. It’s a small detail, but it keeps an olla working season after season.
How often do you refill an olla?
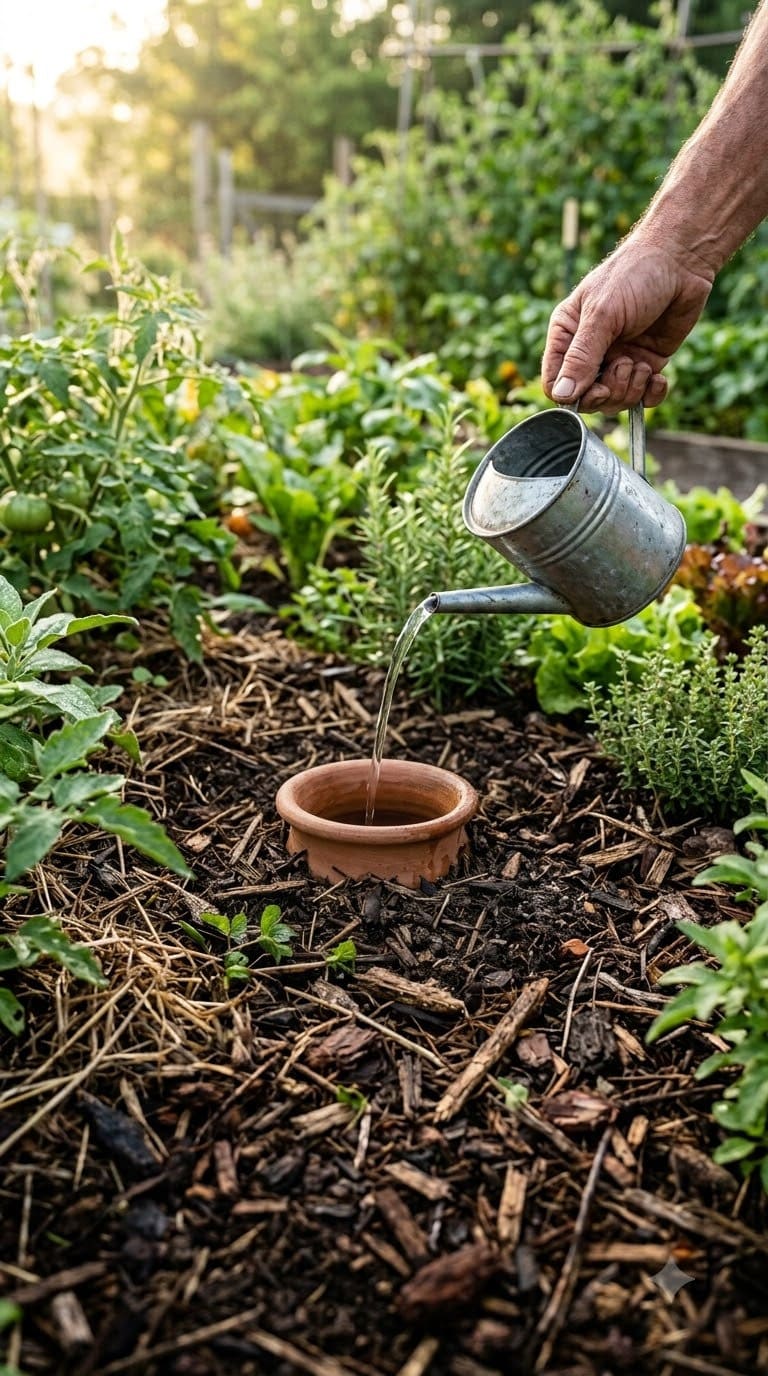
Start by filling it every morning for the first week. Then adjust.
A 7-inch pot holds about a half gallon, so a joined pair holds roughly a gallon. That’s what you’re topping off.
Watch the water level for a few days. If the olla is empty by the next morning, refill daily.
If it’s still half full after two days, stretch to every other day. In cool weather, you can go longer.
Mulch the soil around the pot to slow surface evaporation. Our guide to simple drought-fighting strategies covers mulch and other ways to keep beds from drying out fast.
How does an olla compare to drip and a watering can?
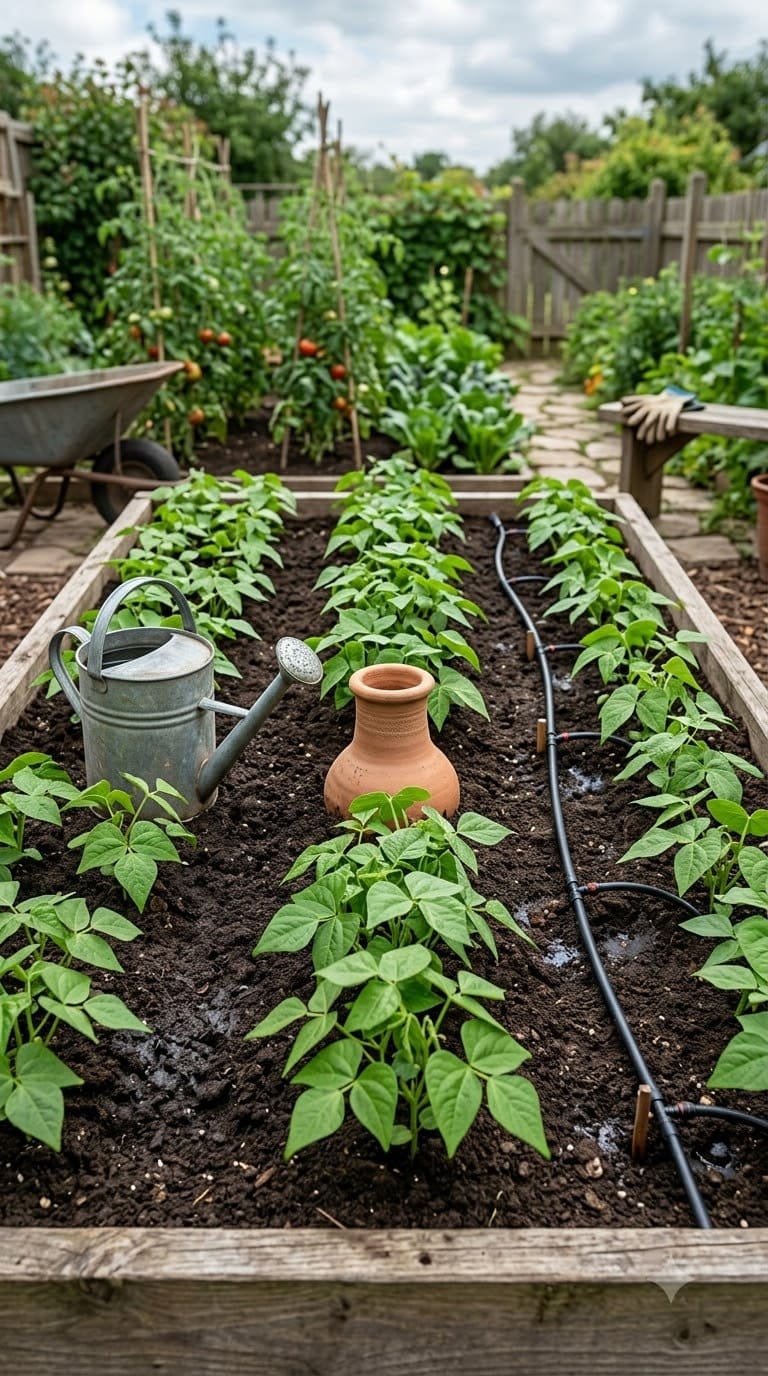
An olla sits between a watering can and a drip system. It costs less than drip and needs no hose or spigot. But it takes more hand work than a timer-controlled line.
| Method | Setup cost | Ongoing effort | Best fit |
|---|---|---|---|
| Watering can | Lowest | Daily hauling and pouring | Tiny gardens and short seasons |
| DIY olla | Low, about $2 to $5 each | Refill every day to every week | Sandy or loose soil, thirsty vegetables, off-grid beds |
| Drip line | Higher, needs a water source | Very little once installed | Larger beds with a spigot nearby |
Nickel and Brischke note that drip lines can be costly. They can get damaged too, and they can clog with sediment or salt. That’s the gap ollas fill, especially where water lines and filters aren’t practical.
Already have a spigot and a big bed? Our post on the benefits of drip irrigation may be a better fit. And if you like data, a soil moisture sensor can show whether your olla keeps the root zone evenly moist.
How do you store an olla over winter?
Dig it up before the ground freezes hard. Graski removes hers before a hard freeze. The UC guide says digging ollas up each winter prevents cracking.
Empty it and let it dry completely. Then store it indoors. Scrub it in spring before you bury it again.
In a mild climate, you can leave ollas in place. Just keep the covers on and check for cracks in early spring.
Frequently asked questions
Can I use glazed terracotta pots for an olla?
No. Glaze seals the clay, so water can’t seep through. Use unglazed, unpainted terracotta only.
Do ollas work in containers?
We couldn’t find extension guidance on containers. Arizona and NDSU both warn that ollas take up growing space. Skip them in small planters unless you have room to spare.
Do ollas attract mosquitoes?
They can if the opening is left uncovered. The UC guide says to cover the opening to cut evaporation and prevent mosquito breeding.
Will an olla work in clay soil?
Usually not. The UC guide says ollas don’t suit soil with high clay content. They work best in coarse or sandy soil.
Can I use an olla while I’m on vacation?
Only if it’s big enough or hooked up to a tank. Arizona says hand filling is unreliable when you’re away. It describes linking ollas with tubing to a larger water tank for a hands-off setup.
Related Posts
- Tips for Water-Saving Vegetable Irrigation for Garden
- DIY Clay Pot Garden Craft Projects
- Terracotta Pot Ideas
Products We Recommend
This post contains affiliate links. We may earn a commission on qualifying purchases at no extra cost to you.
Orceler 6-inch Terracotta & Clay Pots with Saucer, 4-pack
Four 6-inch clay pots with drainage holes. Two of them make one DIY olla, and the second pair covers a second plant. Run the paper-towel seep test from Step 1 first, since the listing says the clay is fired at 1922°F and we can't confirm how porous that leaves it.
Shop Now
Food Grade NSF FDA RTV Silicone Sealant, Clear, 10.3 oz
A food-contact-safe clear silicone for plugging the drain hole and joining the pot rims. One tube covers many ollas.
Shop Now
Gouevn Soil Moisture Meter, 2-pack
A battery-free dial probe that shows whether the soil around your olla is dry, moist, or wet. Handy for setting a refill schedule.
Shop NowNever miss an update — choose FarmFoodFamily as your preferred source on Google.
How it works: Tap the button below to open Google's settings page, then check the box next to FarmFoodFamily.
Tap the checkbox to turn it blue — that's how you know it's set.